
A cracked or split roof truss is one of the few roofing problems that can genuinely keep a homeowner up at night, and rightfully so. Trusses are the triangulated wood skeleton holding your entire roof deck, shingles, insulation, and sometimes HVAC equipment in place. When a chord or web member splits, the load path that was engineered into your roof gets interrupted, and the surrounding members are forced to pick up the slack. Left alone, a small crack can widen under snow load, wind uplift, or simple age and eventually lead to sagging rafters, cracked drywall, sticking doors, or in the worst cases, a partial roof failure.
The good news is that most cracked or split trusses can be repaired rather than replaced, and the repair techniques used by structural engineers and framing contractors are well established. This guide walks through why trusses crack in the first place, how to tell a cosmetic split from a structural emergency, the actual repair methods (sistering, gusset plating, epoxy consolidation, and steel reinforcement), what it costs, and when you genuinely need to stop climbing around your attic and call a professional. We service attics and roof structures across the Greater Toronto Area, and freeze-thaw cycling here makes truss inspection a task worth taking seriously every few years.
If you are dealing with active sagging, daylight through a crack, or any movement you can see happening in real time, skip ahead to the section on emergency signs. For everyone else doing routine maintenance or investigating a crack they just found, read straight through.
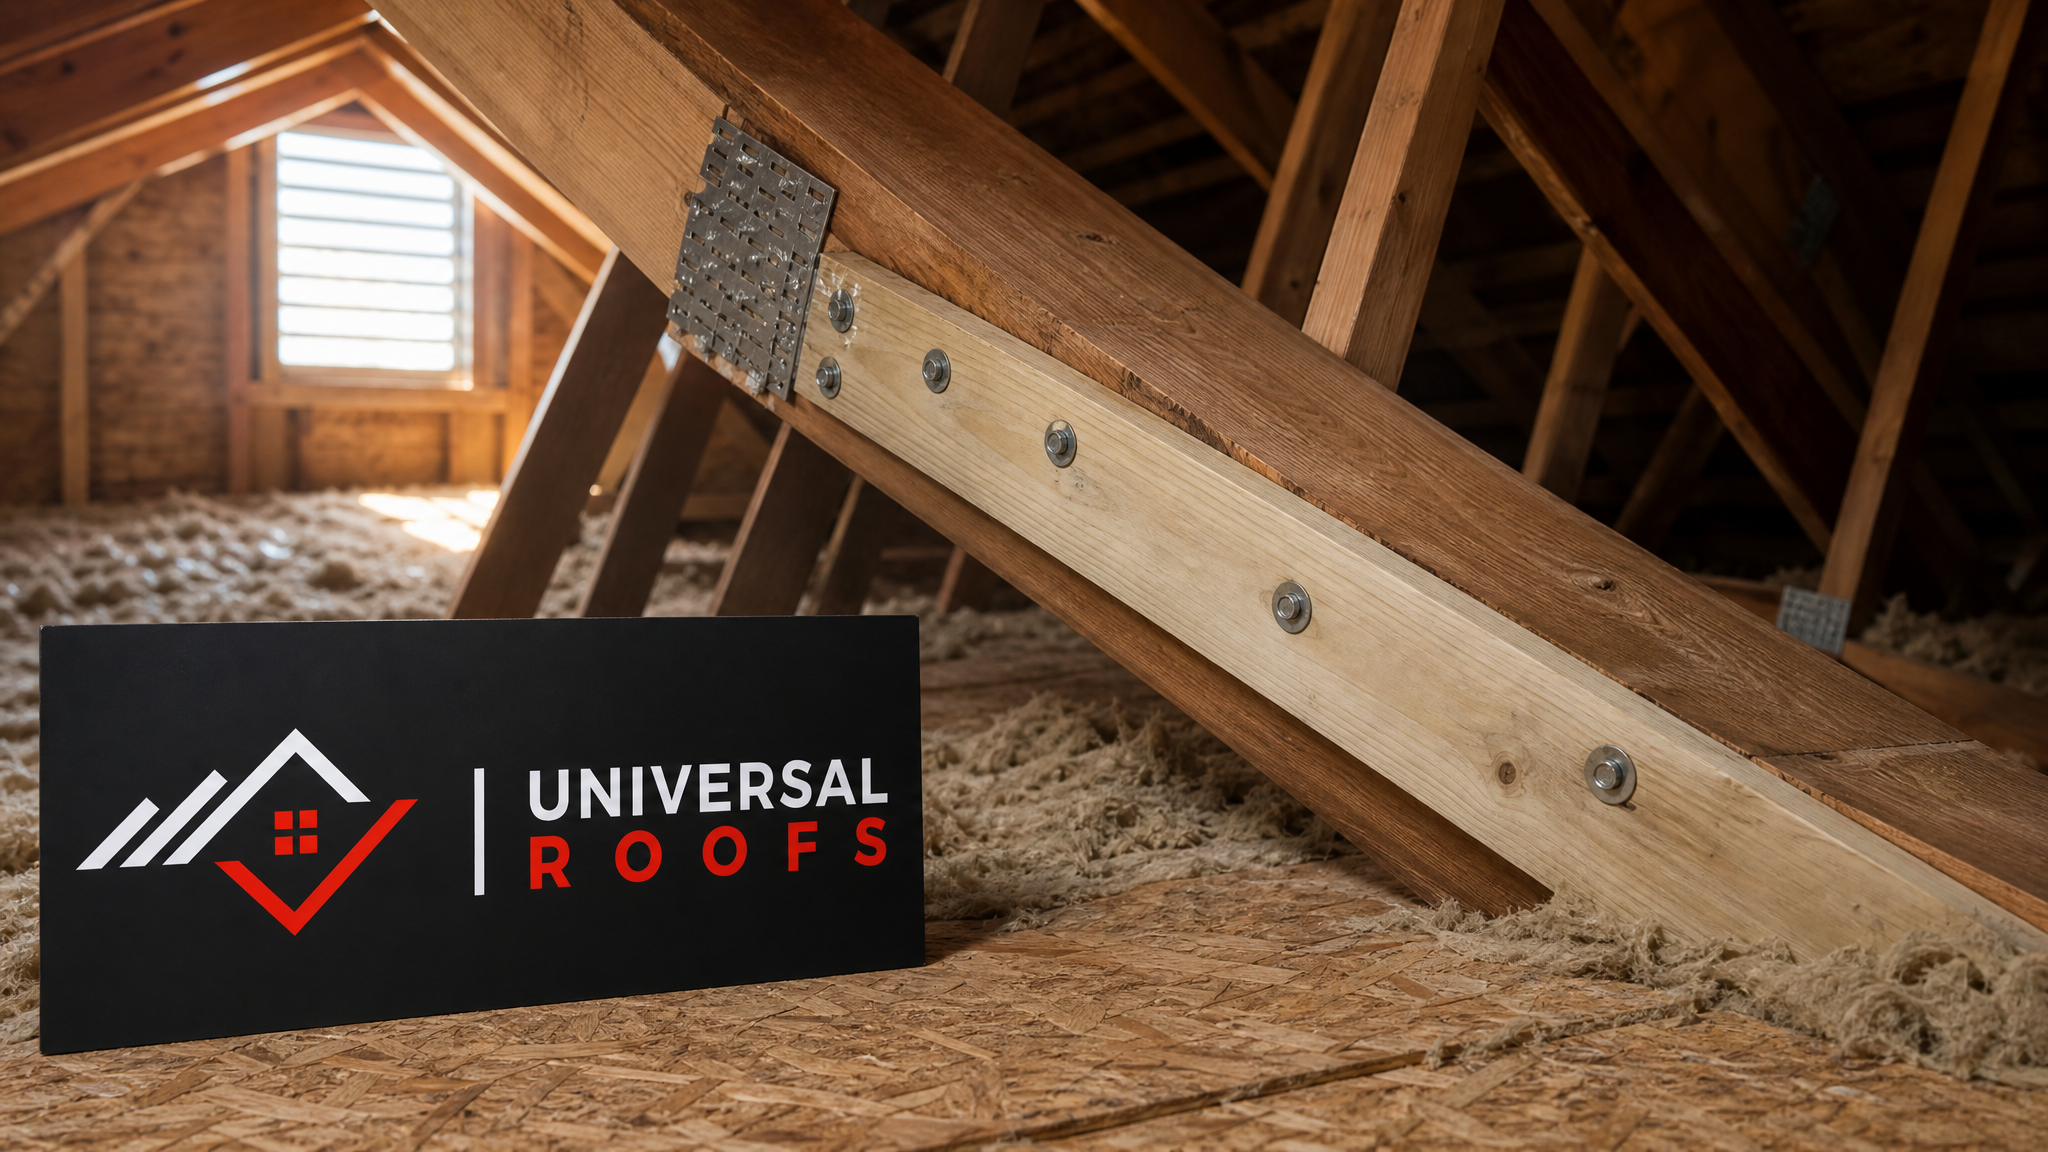
What Causes Roof Trusses to Crack or Split
Understanding the root cause matters because it tells you whether you are looking at a one-time repair or a recurring problem that will keep coming back until the underlying issue is fixed.
Natural wood drying and shrinkage. Most residential trusses are built from kiln-dried spruce-pine-fir (SPF) lumber, but wood continues to lose moisture for years after installation. As the fibres shrink unevenly along the grain, small surface checks and splits can appear, especially near knots or at the ends of members. These are usually cosmetic and don’t compromise strength, but they need to be distinguished from structural cracks.
Overloading. Trusses are engineered for a specific live load and dead load. Adding a second layer of shingles, storing heavy items in the attic, running unplanned mechanical equipment across the bottom chord, or letting ice and snow accumulate beyond typical GTA winter loads can all push a truss past its design capacity.
Improper field modifications. This is one of the most common causes we see. A homeowner or a previous contractor cuts a web member or chord to run ductwork, a chimney, or a skylight opening without engineering the load around the cut. Trusses are designed as a complete triangulated system; cutting even one member without reinforcement can cause a cascading failure.
Moisture intrusion and rot. A failed roof deck, ice damming, or a slow flashing leak lets water reach the truss chords. Wet wood loses a significant percentage of its strength, and repeated wet-dry cycles cause splitting along the grain. This is a common finding during a roof repair inspection when we open up a section that has been leaking for a while.
Wind uplift and racking. High wind events put lateral and uplift forces on a roof structure that trusses aren’t always braced against, particularly older homes with minimal or degraded truss bracing. Repeated racking movement fatigues the wood at connection points.
Manufacturing defects. Occasionally a truss arrives from the manufacturer with a weak knot, an off-grade board, or an under-driven connector plate. These tend to show problems early, often within the first five to ten years.
| Cause | Typical Location | Structural Risk | Common Fix |
|---|---|---|---|
| Natural drying/checking | Along the grain, mid-span | Low (cosmetic) | Monitor, epoxy fill if deep |
| Overloading | Bottom chord, web joints | Moderate to high | Sistering, load redistribution |
| Unengineered field cuts | Web members near ducts/skylights | High | Engineered reinforcement or replacement |
| Moisture/rot | Near eaves, valleys, chimneys | High | Remove rot, sister with treated lumber |
| Wind racking | Gusset plate connections | Moderate to high | Add bracing, replace plates |
| Manufacturing defect | Near knots, plate joints | Moderate to high | Sistering or engineered plate repair |
Reading the Crack: Cosmetic Checking vs. Structural Splits
Not every crack you find with a flashlight in your attic is an emergency, but you need a reliable way to tell the difference before deciding whether to grab a tube of epoxy or dial a contractor.
Cosmetic checking typically runs parallel to the wood grain, is shallow (you can’t see through it or fit more than a business card into it), doesn’t extend across a connection point or knot, and shows no associated movement, sagging, or gap opening at the metal connector plates. This is normal seasonal wood movement and is common in every truss roof, including new construction.
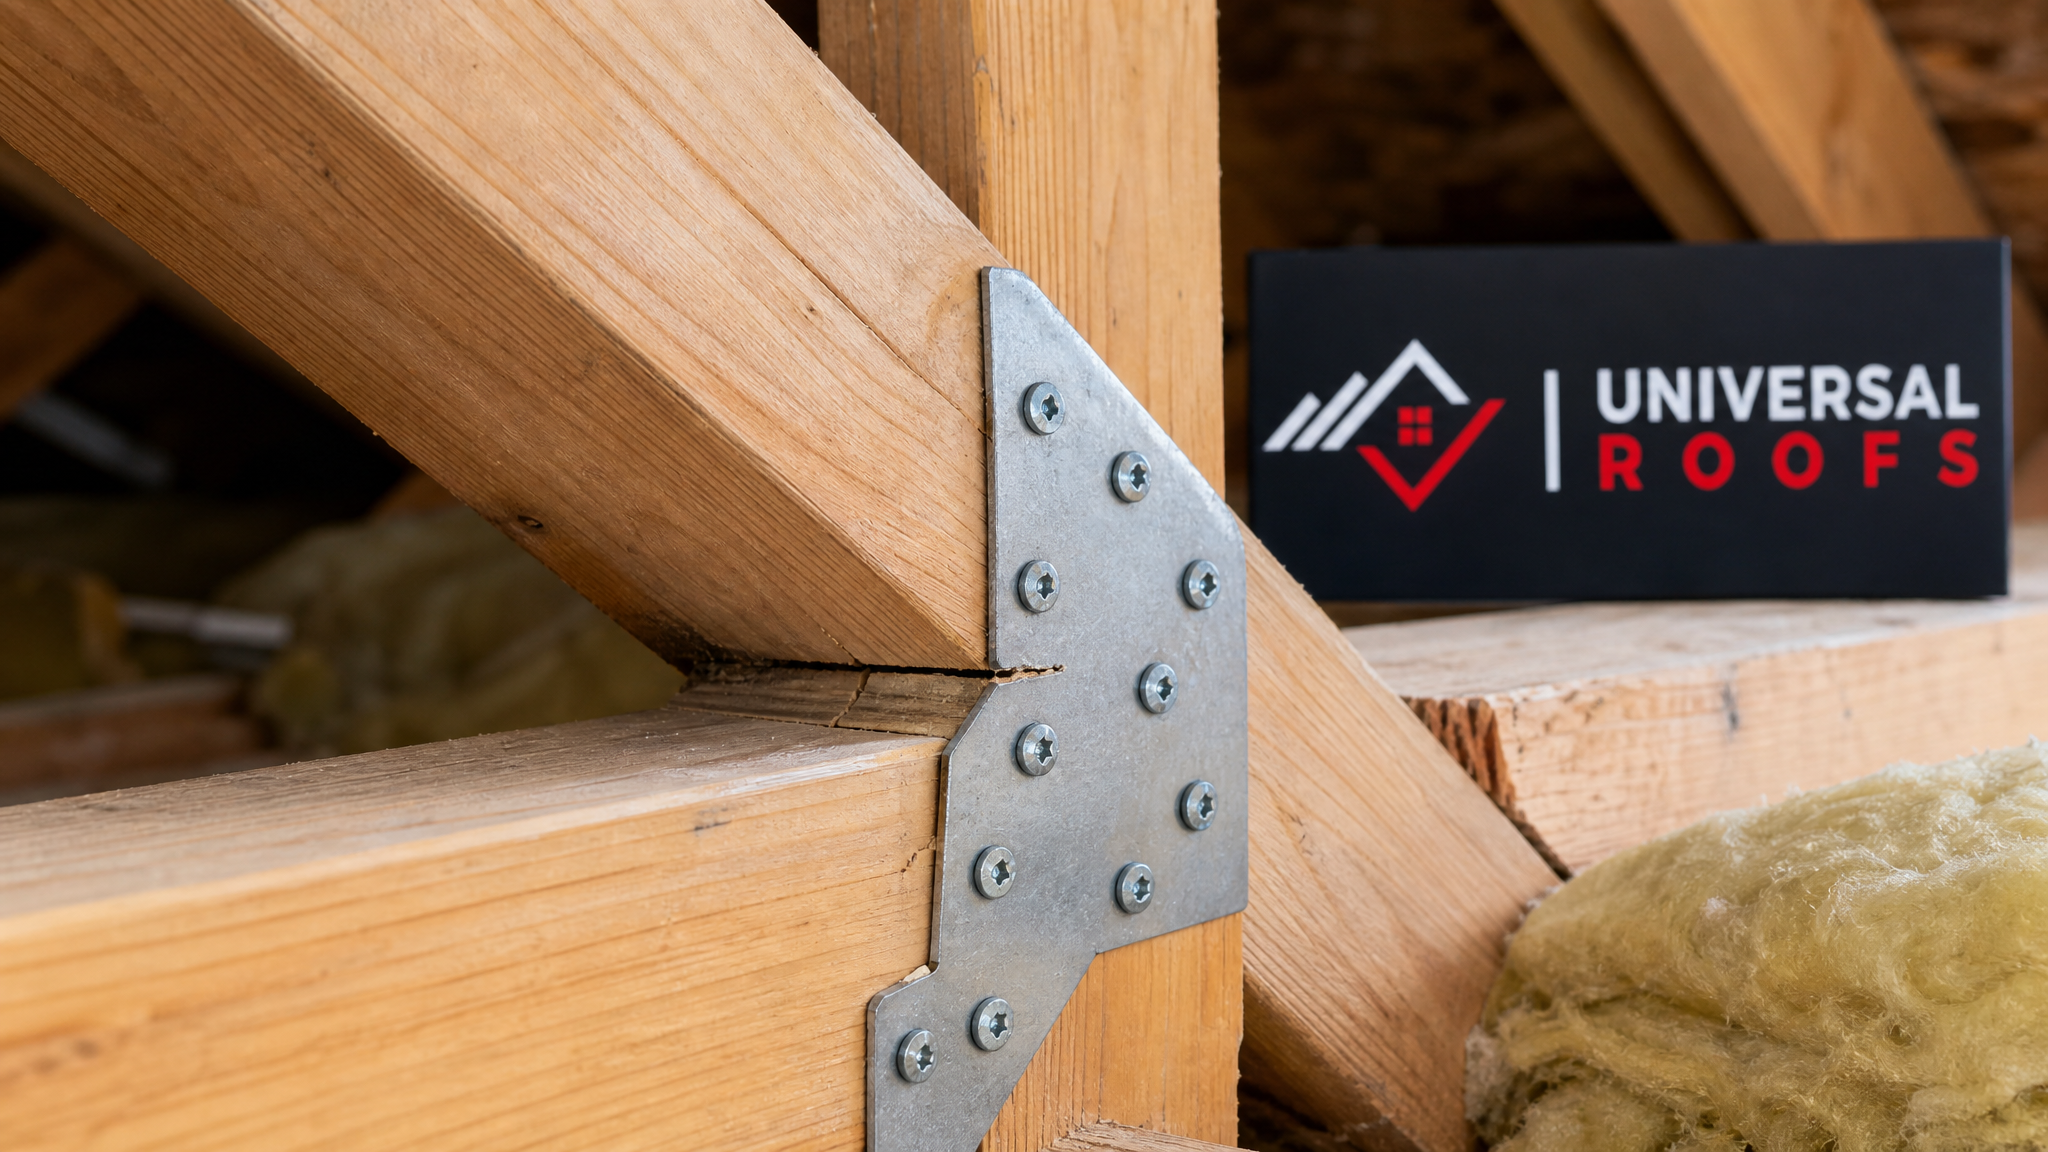
Structural splits are a different story. Warning signs include a crack that runs through more than a third of the member’s depth, a split that passes through or near a truss plate connection, any visible gap that opens and closes seasonally (meaning the member is actually flexing), sagging visible from below (wavy ceiling lines, doors that no longer close square), daylight visible through the crack when viewed from inside the attic during the day, or fresh splintering with sawdust-like debris on the insulation below, which indicates active, ongoing failure rather than an old, stable crack.
A simple field test many roofers use: press firmly on either side of the crack while a second person watches from a few feet away with a flashlight. If the crack visibly widens or you feel any give, treat it as structural until an engineer or experienced contractor says otherwise. If you’re at all unsure, our team can walk your attic during a roof repair visit and give you a straight answer rather than a guess.
DIY Repair vs. Calling a Professional
There is a genuine, defensible DIY zone here, but the line is narrower than most online guides suggest.
Reasonable for a confident, tool-comfortable homeowner: sealing a shallow, non-structural check with epoxy consolidant; adding a basic sistered 2×4 or 2×6 alongside a web member that shows minor checking, using construction adhesive and structural screws, provided the truss manufacturer’s or an engineer’s repair detail is followed; and general monitoring, photographing, and measuring cracks over time to track whether they’re stable or progressing.
Should go to a professional or licensed contractor, full stop: any split through a gusset plate connection; any crack in the bottom chord (which carries tension loads and is the least forgiving member to get wrong); any repair involving a truss that has already been field-modified for ducting, skylights, or a chimney chase; any sagging that is visible from inside the home; anything affecting more than one truss in a run, since that suggests a system-wide load or moisture issue rather than an isolated defect; and any repair on a truss over an occupied space, given the liability and safety stakes of getting it wrong.
The reason professional involvement matters so much for trusses specifically, compared to say a rafter in a simple stick-framed roof, is that trusses are an engineered system. Each member’s size and each connector plate is sized for a specific calculated load. A repair that looks solid but doesn’t restore the original load path can leave you with a roof that passes a visual check but fails under the next heavy snow load. Our crews carry out truss repairs as a standard part of roof repair work across the GTA and can coordinate directly with a structural engineer when a repair needs a stamped drawing, which is required by most municipalities for anything beyond a minor cosmetic fix.
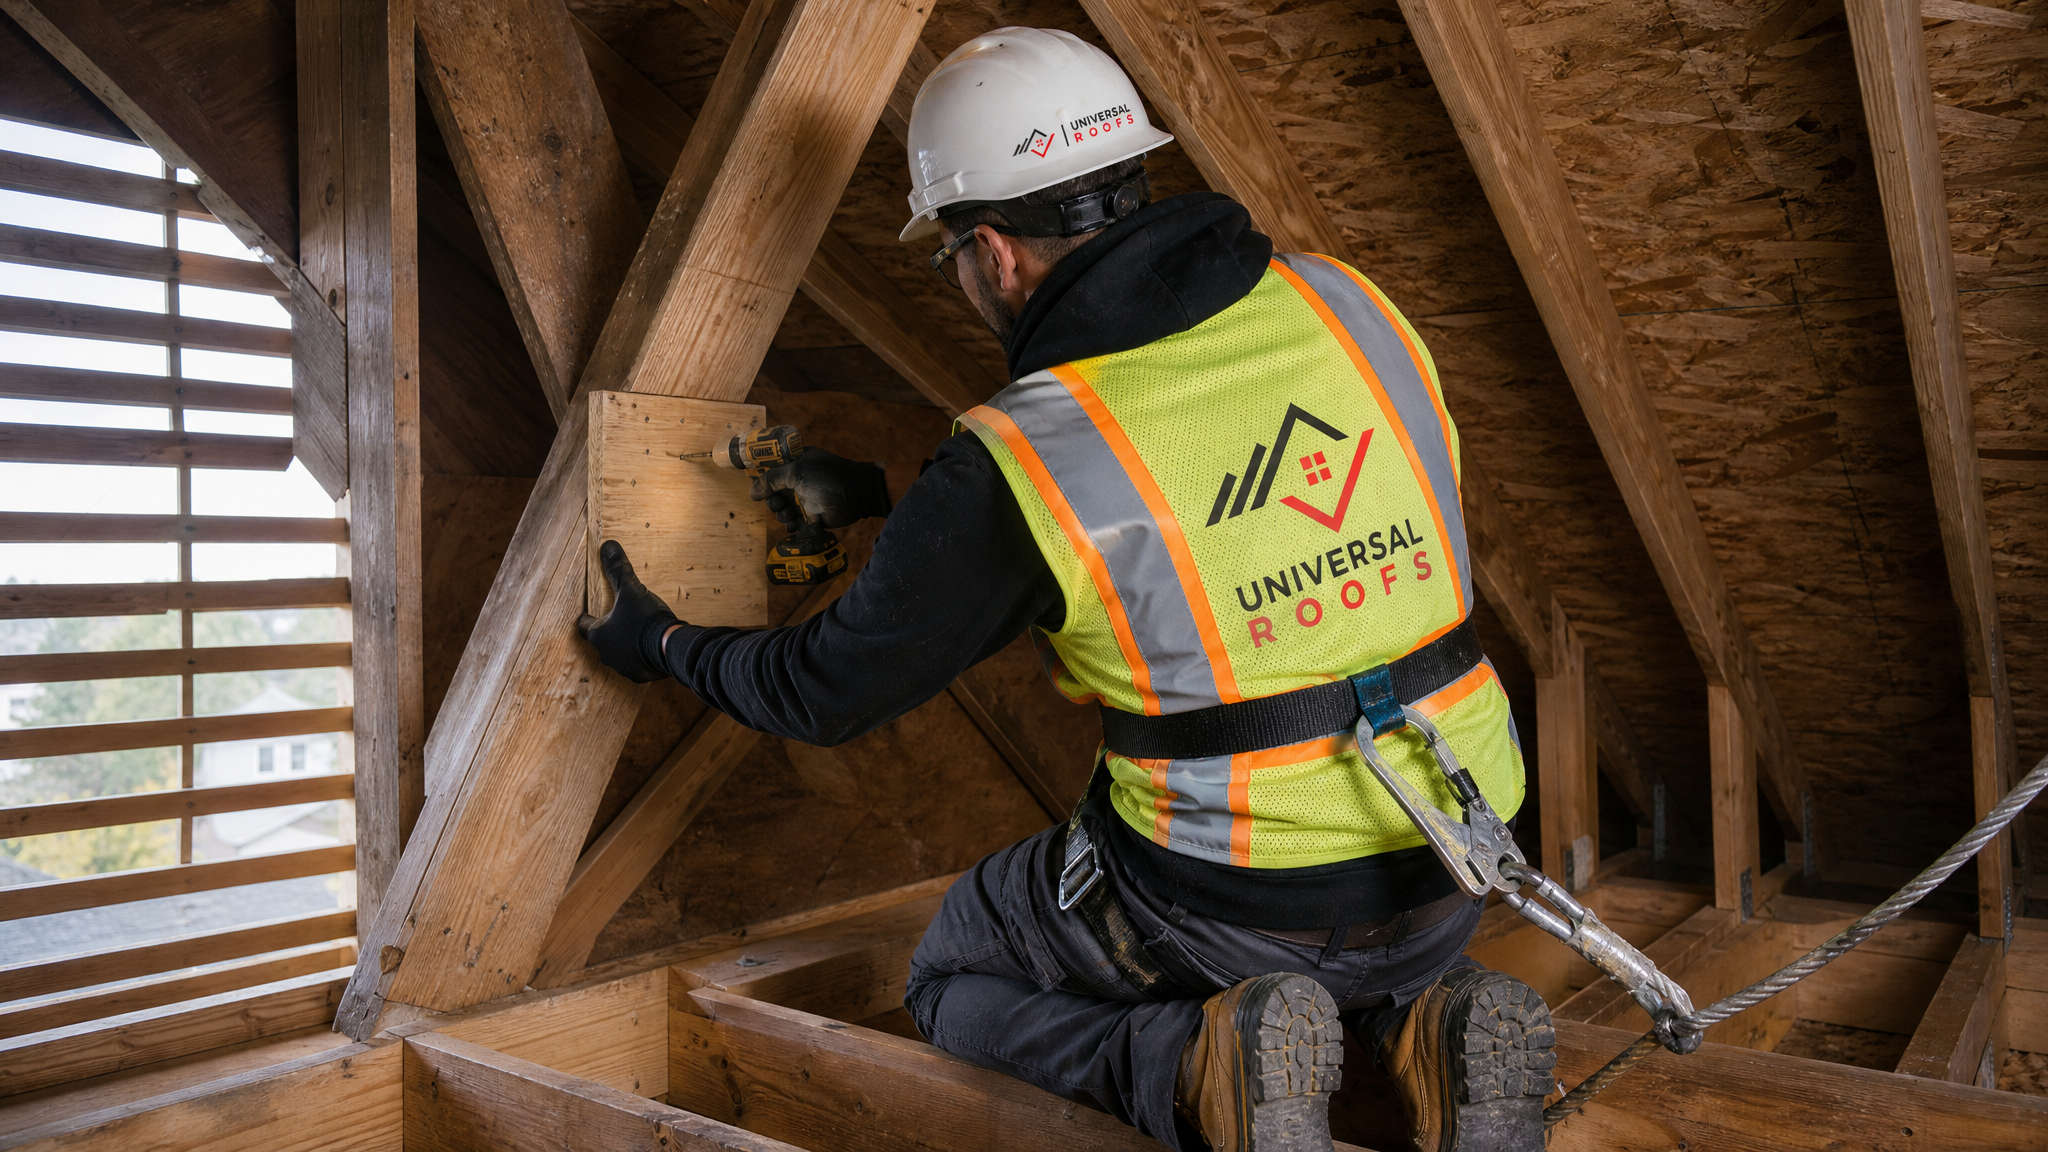
Step-by-Step: How Sistering and Plating Repairs Are Done
Sistering is the most common and most reliable repair method for a cracked or split truss member. The idea is simple: instead of trying to “fix” the damaged wood itself, you attach a new piece of lumber (or plywood gusset, or steel plate) alongside it that carries the load the damaged section can no longer be trusted to carry alone.
Step 1: Confirm the diagnosis. Before any repair begins, identify exactly which member is cracked, how deep the crack runs, whether it passes through a connector plate, and whether the crack is isolated or part of a wider pattern across multiple trusses. Take dated photos for your records.
Step 2: Relieve the load where possible. If the attic is storing heavy items, clear them. If there’s significant snow load on the roof at the time of repair, that’s a factor in scheduling. Temporary shoring (a vertical post and horizontal beam wedged under the damaged truss) is often used to take load off the member while the repair cures.
Step 3: Select the sister material. Match the species and grade of the original truss lumber as closely as possible, typically SPF #2 or better. The sister piece should be at least as long as the damaged section plus roughly 600mm (2 feet) of overlap on either side of the crack, and ideally the full length of the member between connection points.
Step 4: Fasten the sister. Apply structural, exterior-rated construction adhesive to the mating face, then fasten with structural wood screws or through-bolts at the spacing specified in the truss manufacturer’s repair detail or engineer’s drawing, commonly every 300mm (12 inches) staggered in two rows. Nails alone are not considered adequate for a structural sistering repair.
Step 5: Add gusset plates at connection points. Where the crack intersects a joint, a plywood or steel gusset plate is applied across both faces of the connection, sized and fastened per an engineered detail, to restore the shear and tension capacity the original metal connector plate provided.
Step 6: Remove shoring and verify. Once fasteners are set and adhesive has cured (typically 24 hours minimum), shoring is removed gradually while monitoring for any movement, and the repaired truss is compared against neighbouring, undamaged trusses to confirm it now behaves consistently.
Step 7: Document and monitor. Photograph the finished repair, note the date, and check it again at the next scheduled attic inspection, generally 6 to 12 months out.
| Repair Method | Best For | Typical Timeline | Relative Cost |
|---|---|---|---|
| Epoxy consolidation | Shallow, non-structural checking | 1-2 hours per crack, plus cure time | Low |
| Wood sistering | Cracked web members, minor chord splits | Half day per truss | Low to moderate |
| Plywood gusset plating | Splits through connector plates | Half to full day per truss | Moderate |
| Steel plate/strap reinforcement | Bottom chord tension splits, heavy loads | Full day per truss | Moderate to high |
| Full truss replacement | Multiple breaks, rot, unrepairable damage | 1-2 days plus engineering | High |
Materials and Methods Compared
Choosing the right method depends on where the crack is, how deep it runs, and whether it crosses a connection point. Here’s how the main options stack up against each other in practice.
Epoxy and resin consolidants work by soaking into the checked wood fibres and re-bonding them, then curing to a rigid, wood-compatible hardness. They’re excellent for surface checking and small splits that don’t cross a joint, but they should never be used as the sole repair for anything carrying significant load, since epoxy doesn’t add new cross-sectional capacity the way sistered lumber does.
Wood sistering is the workhorse repair for GTA attics because the material is affordable, easy to source, and forgiving to install correctly with basic carpentry skill. Its main limitation is space; in a tight attic with low truss heel heights, there may not be room to fit a full-length sister piece without notching insulation baffles or ductwork out of the way first.
Plywood gusset plates spread load over a wider surface area than a single sistered board and are the standard method when a crack runs directly through a metal connector plate joint, since you can’t simply screw a board over a plate connection and expect full strength restoration.
Steel plates and straps are used when the damaged member is a bottom chord under significant tension, when wood sistering isn’t practical due to space, or when an engineer specifies steel for a heavier load path. They’re stronger per unit of thickness but require more precise fastening and are typically specified on an engineered drawing rather than installed by feel.
Full replacement becomes the right call when a truss has multiple breaks, when rot has compromised more than roughly 30 to 40 percent of a member’s cross-section, or when the truss has already been repaired once before and shows new damage. In these cases, it’s often more cost-effective and safer to swap the entire truss than to keep layering repairs on a compromised structure. This is also the point where a broader look at your roof replacement options makes sense if the roof deck and shingles are also aging out.
What It Costs and How Long It Takes
Costs vary with attic accessibility, the number of trusses affected, whether engineering is required, and whether the damage was caused by an issue (like a leak) that also needs its own separate repair.
| Scope of Work | Typical Time on Site | Relative Cost Range | Engineering Required? |
|---|---|---|---|
| Single crack, epoxy or basic sistering | Half day | Low | Usually not |
| Single truss, gusset plating at joint | Half to full day | Moderate | Often recommended |
| Multiple trusses in one run | 1-2 days | Moderate to high | Yes, typically |
| Repair plus rot/leak remediation | 2-3 days | High | Yes |
| Full truss replacement | 2-4 days including permitting | Highest | Yes, always |
As a general rule, the cost of catching a crack early and sistering one member is a fraction of what it costs once a crack has been allowed to progress into visible sagging, drywall cracking, or a full truss failure that requires temporary shoring, engineering, permitting, and full replacement. If your attic hasn’t been inspected in the last few years, it’s worth pairing a truss check with a broader look at insulation and ventilation through our attic services, since poor ventilation is often a contributing factor to the moisture-related splitting we see most often.
When to Call a Professional Immediately
Some situations move past “schedule a repair” and into “treat this as an emergency” territory. Call a contractor or structural engineer right away if you notice any visible sagging in the roofline from the street or inside the home, cracking sounds coming from the attic or ceiling during wind or snow load, a ceiling crack that has appeared suddenly and is growing, a door or window that has started sticking or no longer closes square in a room directly below the attic, daylight visible through a truss crack, more than one truss showing the same type of crack in the same location (a sign of a systemic load or design issue rather than an isolated defect), or any truss damage discovered after a storm, heavy snowfall, or an event where something heavy impacted the roof.
In any of these cases, the safest first step is to stay out of the attic, avoid walking on the affected section of roof, and call a professional for an assessment rather than attempting a repair yourself. Temporary shoring can often be installed same-day to stabilize the structure while a permanent repair is planned. Our team also handles related issues that often surface alongside truss damage, including flashing failures around skylights and chimneys, and full skylight replacement when an old unit’s flashing has been the source of the moisture problem.
Preventing Future Truss Damage
Once a truss has been repaired, the goal shifts to making sure the same crack, or a new one, doesn’t show up again in a few years.
Inspect annually. A quick walk-through of the attic once a year, ideally in early spring after the freeze-thaw season has finished putting the most stress on the structure, catches most problems while they’re still cosmetic.
Control attic moisture. Proper ventilation (balanced intake and exhaust) and adequate insulation keep humidity and temperature swings from cycling the wood through repeated expansion and contraction. This is one of the most overlooked contributors to long-term truss health in older GTA homes.
Never cut a truss member without engineering. If you’re adding ductwork, a skylight, or any new attic penetration, get the modification engineered before cutting anything. A five-minute phone call to a structural engineer is dramatically cheaper than an emergency truss repair later.
Manage attic storage weight. Trusses are engineered for a specific dead load, and most residential trusses were never designed to be a general storage platform. Keep stored items light and spread out, and avoid concentrating weight on a single bottom chord.
Keep the roof deck watertight. Since moisture is one of the leading causes of splitting, staying ahead of shingle wear, flashing failures, and ice damming through regular roof repair maintenance protects the trusses underneath just as much as it protects your ceilings.
Watch for repeat patterns. If you find yourself sistering the same truss twice within a few years, that’s a sign of an underlying load, moisture, or design issue that needs a proper engineering assessment rather than another patch repair.
Frequently Asked Questions
How do I know if I need to repair cracked or split roof trusses myself or call a professional?
Is it dangerous to walk in an attic with a cracked truss?
Can a cracked or split roof truss be repaired without replacing the whole truss?
What does sistering a roof truss mean?
How much does it cost to repair a cracked or split roof truss in the GTA?
What causes roof trusses to crack or split in the first place?
Need Help With How to Repair Cracked?
A cracked or split truss is not a problem to guess your way through. Our team at Universal Roofs has been diagnosing and repairing roof structures across the GTA since 2005, and we bring the same care to what’s holding your roof up as we do to the shingles on top of it.
Call us today at (416) 732-2421 or request a free inspection to get started.
Universal Roofs proudly serves Toronto, Mississauga, Brampton, Vaughan, Markham, Oakville and the GTA since 2005.