
If you are trying to boost home value with roof truss repairs, you are looking in exactly the right place. The roof truss system is the skeleton that holds your entire roof shape, and it quietly does more for resale value than almost any other structural component in the house. Buyers and home inspectors both know that a sagging ridge line or a bouncy attic floor is a red flag, and a pre-listing truss repair can turn that red flag into a selling point.
Toronto and the wider GTA present a unique set of stresses on roof trusses. Heavy wet snow loads in January, rapid freeze-thaw cycling in March, and humid summer heat that dries out framing lumber all combine to put more strain on a truss system here than in milder climates. Add decades-old housing stock in neighbourhoods across Toronto, Mississauga, Brampton, Vaughan, Markham and Oakville, and it is easy to see why truss repair has become one of the most common structural requests we get at Universal Roofs.
This guide walks through how roof trusses fail, how professional repairs are performed, what they cost, and — most importantly for anyone reading this with a future sale in mind — how a documented truss repair translates into real, measurable home value. We will also cover the warning signs you can check yourself this weekend, the difference between a cosmetic fix and a structural one, and how truss repairs interact with insurance, financing, and appraisal.
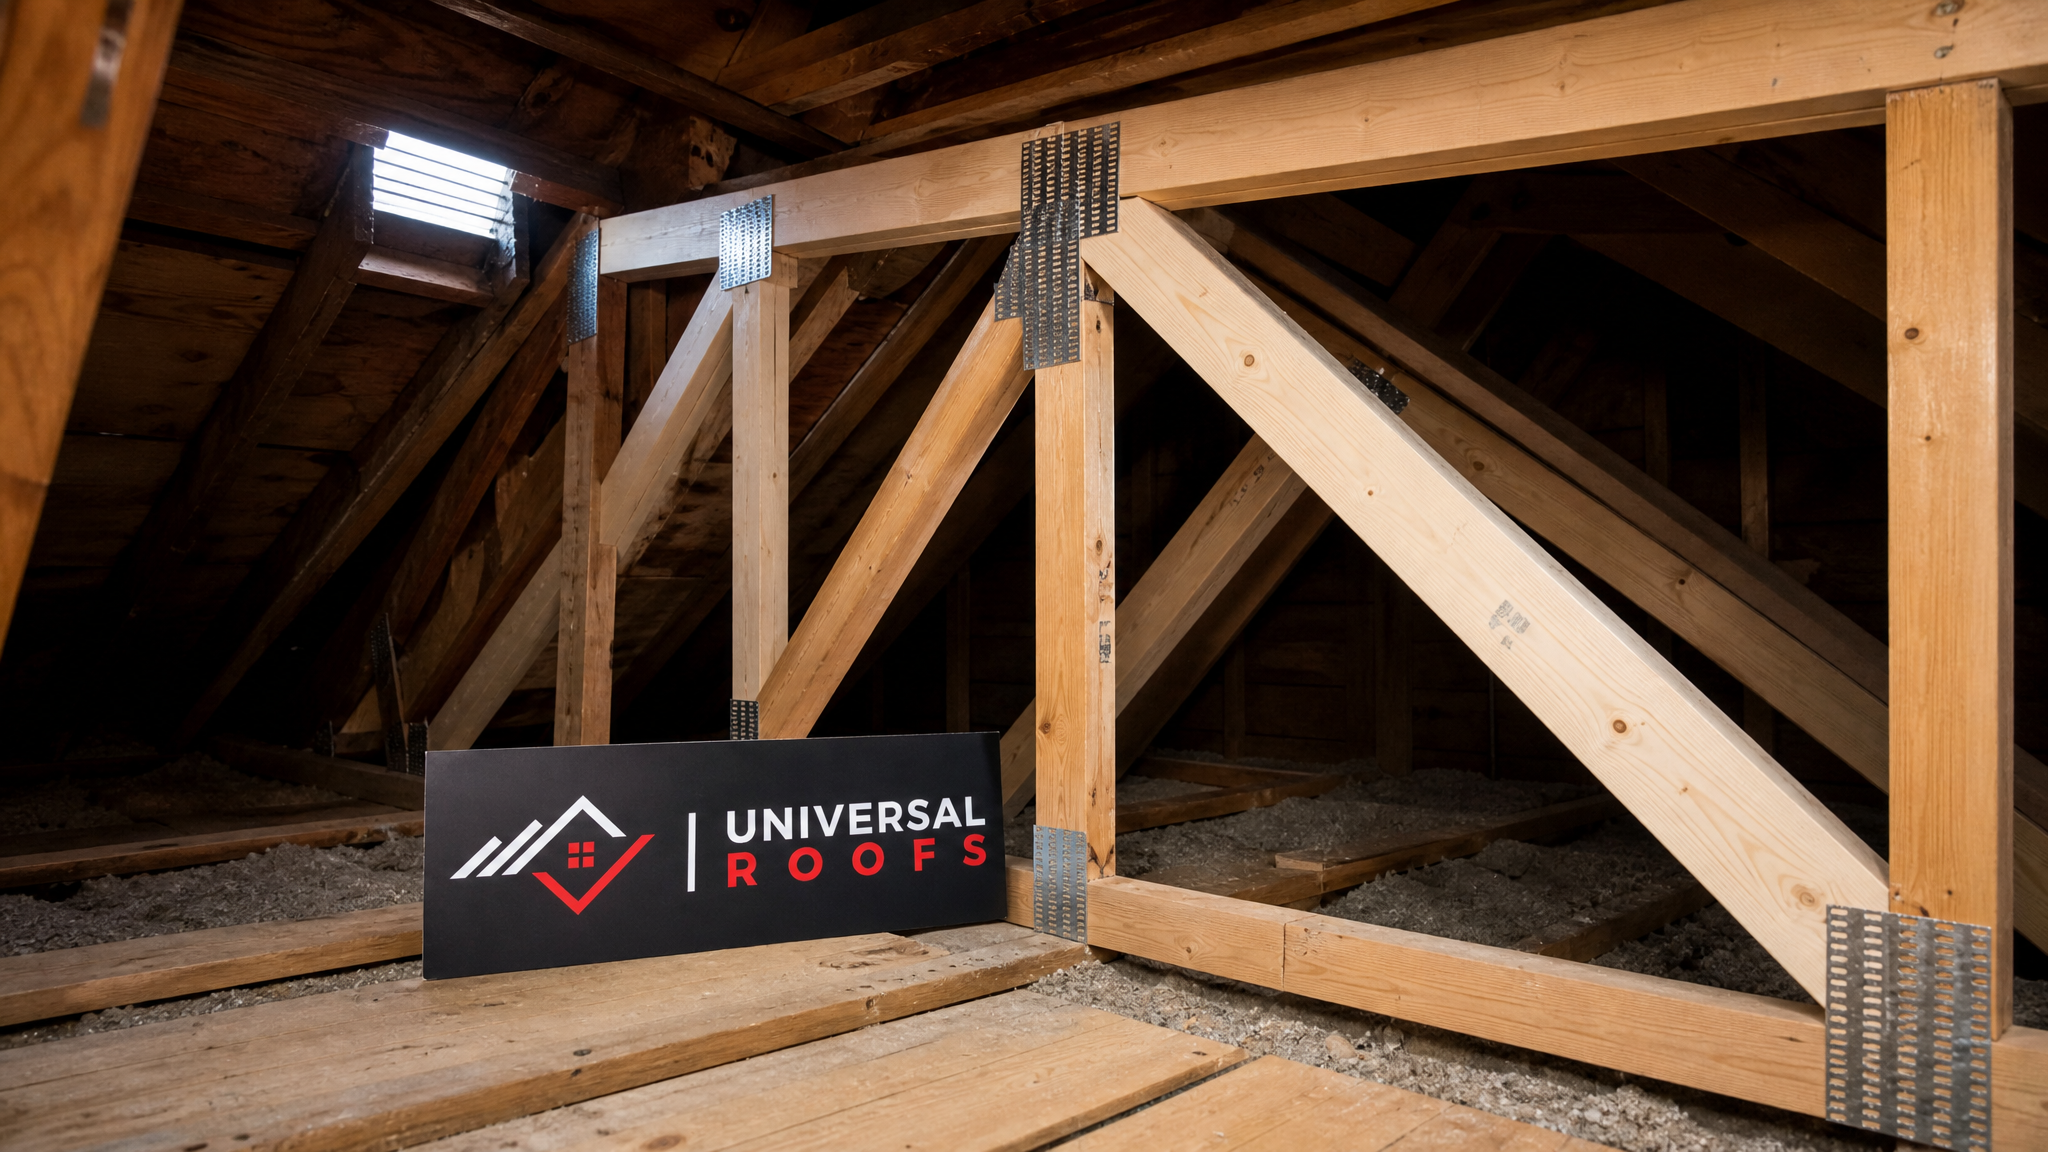
Why Roof Trusses Matter So Much to Home Value
A roof truss is a triangulated wood framework engineered to distribute the weight of the roof deck, shingles, snow load, and wind pressure evenly down into the exterior walls. Unlike a single rafter, a truss works as a system — every chord and web member shares load with its neighbours. When one truss is compromised, the trusses beside it have to pick up the slack, which is why a single cracked chord rarely stays a single problem for long.
Appraisers and home inspectors are trained to look at the roofline from the street and the attic from the inside. A visible sag, a wavy ridge, or cracked drywall at ceiling-wall joints are all classic signs of truss movement, and any of them can trigger a “structural concern” note on an inspection report. That single note can cost a seller thousands of dollars in negotiated repair credits — often far more than the original repair would have cost. This is the core reason homeowners boost home value with roof truss repairs rather than waiting for a buyer’s inspector to find the problem first.
Beyond resale, a sound truss system protects everything under it: insulation performance, attic ventilation, and the roof deck itself. A truss that has shifted even a few centimetres can pull shingles out of alignment, open flashing seams, and create the kind of hidden leak paths that lead to costly interior damage. If you already suspect deck or shingle issues alongside truss movement, it is worth reviewing our roof repair services alongside any truss work, since the two are frequently addressed in the same visit.
Common Signs Your Roof Trusses Need Repair
Most truss problems do not announce themselves with a dramatic collapse. They show up as small, easy-to-miss symptoms that get progressively louder over a few seasons. Homeowners across the GTA typically notice one or more of the following before calling a contractor:
- A visible dip or wave along the roof ridge when viewed from the street or a neighbour’s driveway
- Cracking or separation where interior ceilings meet exterior walls, especially upstairs
- Doors and windows on the top floor that have started sticking or no longer latch properly
- A “bouncy” or springy feeling when walking across the attic floor
- Daylight visible through gaps at the ridge board or gable ends when standing in the attic
- Water stains on the underside of the roof deck near a truss joint, suggesting flashing has been pulled out of position
- Nail pops or popped drywall screws in a straight line along a ceiling, tracing the path of a single truss
Any single item on this list is worth a professional look. Two or more together usually means the truss system has already moved and a structural assessment should happen before winter loading makes things worse. Homeowners in older neighbourhoods across Toronto and the Peel Region should pay particular attention to homes built before 1990, when truss engineering standards and lumber grading were less consistent than they are today.
| Warning Sign | Likely Cause | Urgency Level | Typical Fix |
|---|---|---|---|
| Sagging ridge line | Chord compression failure or undersized truss for snow load | High | Sister boards or steel reinforcement plates |
| Cracked interior ceiling-wall joints | Truss uplift or seasonal movement | Medium | Ceiling clip repair, truss stabilization |
| Sticking upstairs doors/windows | Wall plate shifting under uneven truss load | Medium | Load redistribution, gusset plate repair |
| Bouncy attic floor | Broken or split bottom chord | High | Full chord replacement with lumber splice |
| Daylight at gable ends | Truss separated from end wall | Medium | Re-fastening with structural screws and brackets |
| Water stains at joint | Flashing pulled by truss movement | High | Truss repair combined with flashing replacement |
How Professional Truss Repair Works
Every truss repair starts with an inspection, not a toolbox. A qualified roofing contractor will climb into the attic with a flashlight and a level, checking each truss for splits, rot, gaps at the joint plates, and any deviation from a straight line along the bottom chord. On steeper roofs or where the truss damage extends to the roof deck itself, we may also inspect from the exterior, which sometimes overlaps with work we would otherwise perform as part of a roof replacement if the deck has deteriorated alongside the framing.
Once the damaged truss members are identified, the repair method depends on the type and severity of the failure. Minor splits near a joint plate are often handled with sistering — bolting or screwing a new piece of lumber alongside the damaged chord to restore strength without removing anything. More serious breaks, especially in the bottom chord where tension loads are highest, may require a full chord splice using engineered lumber and structural screws rated for the load path. In cases where several trusses in a row have shifted together, we sometimes install temporary bracing to hold the roof in position while permanent repairs are made, so the structure never loses support during the work.
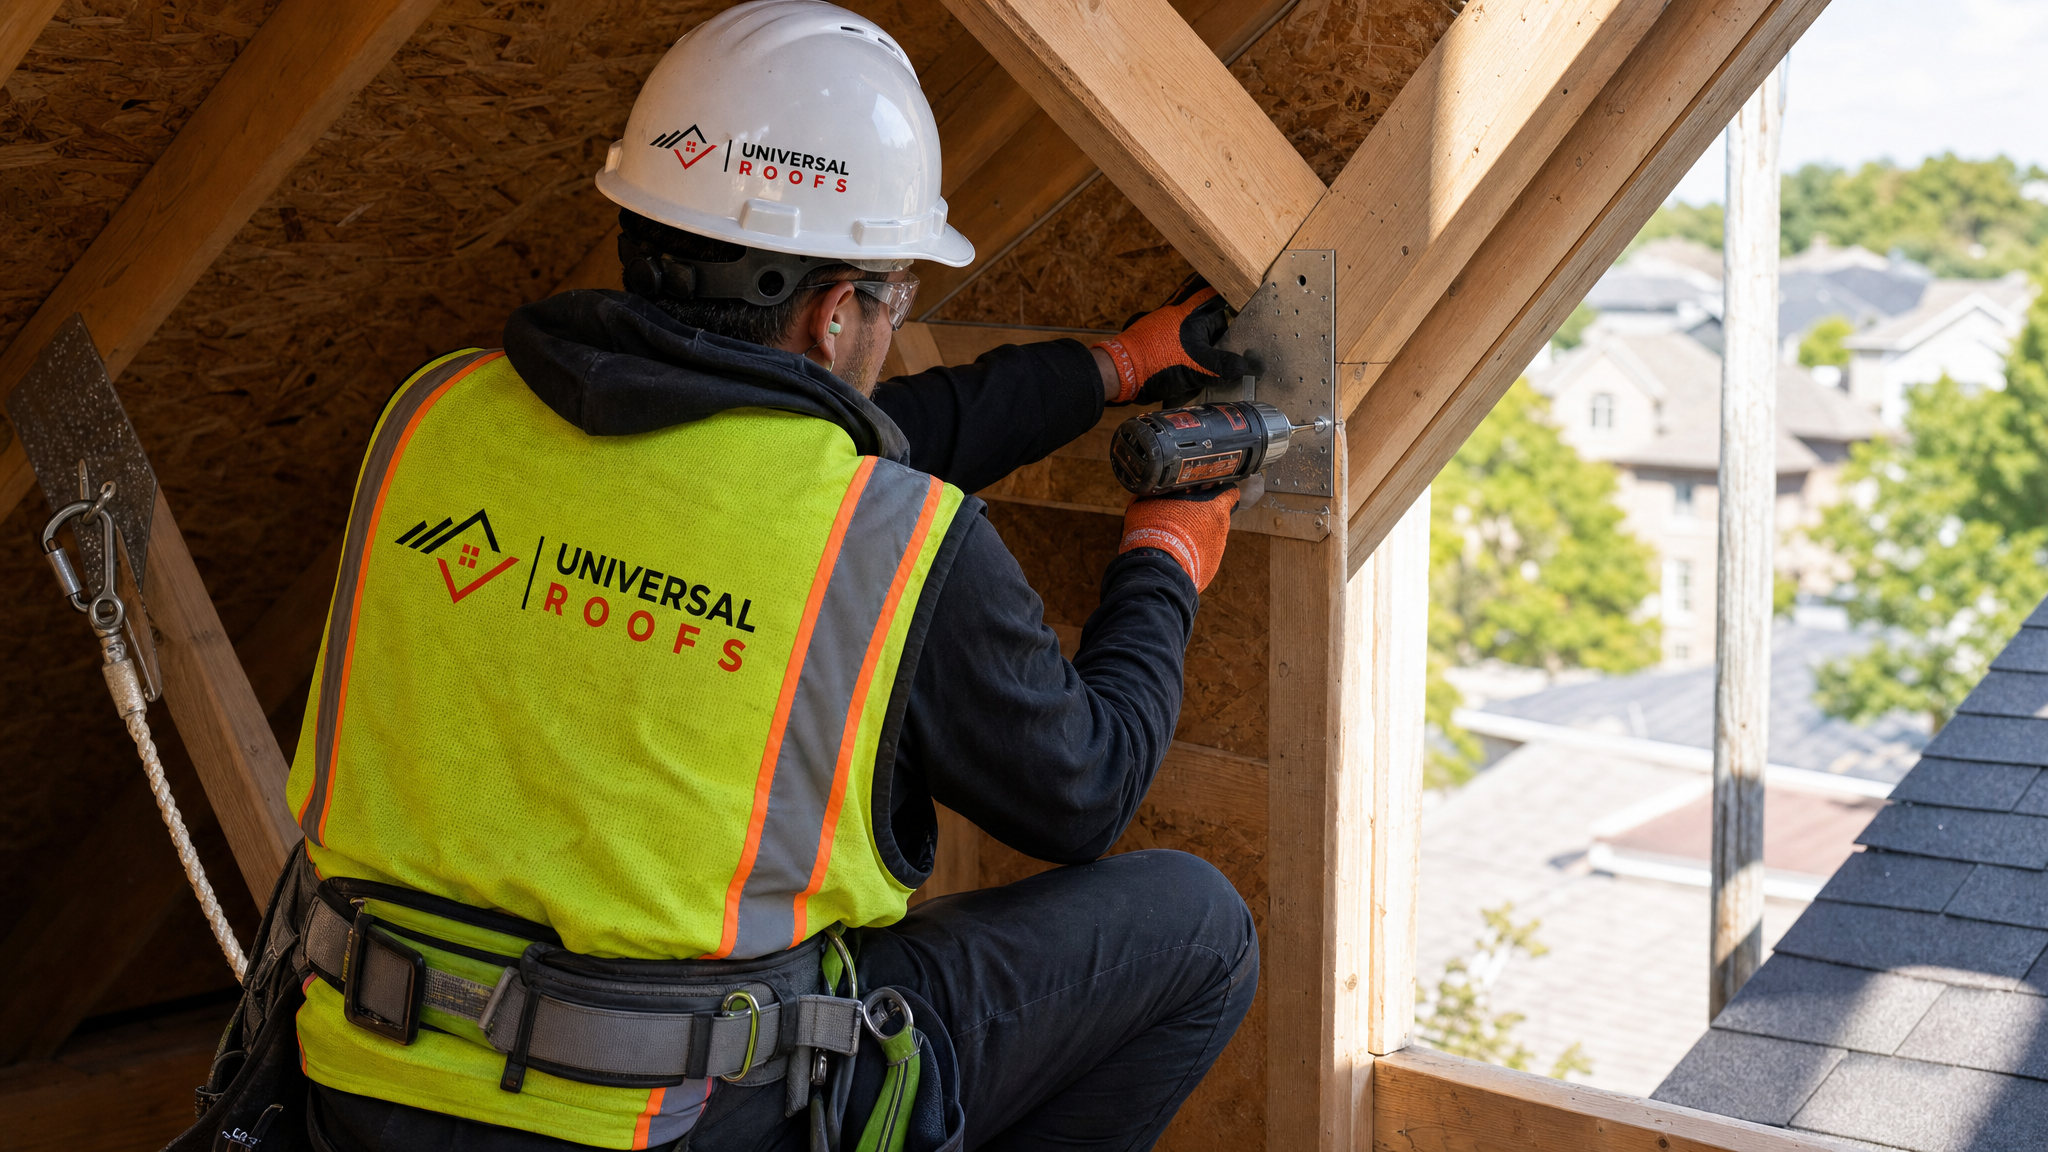
Metal gusset plates and structural connector brackets are used at every reinforced joint to spread the load evenly and prevent the same failure from recurring at a slightly different point on the same truss. For homes where truss movement has already disturbed the roof deck or shingles above, we coordinate the structural repair with any deck or shingle work in the same visit, since re-opening the roof twice adds unnecessary cost and risk of leaks.
Truss Repair Methods Compared
Not every truss problem calls for the same solution. Choosing the right method affects both the repair cost and how much value it adds when the home eventually goes to market. The table below compares the most common approaches used across GTA homes.
| Repair Method | Best For | Typical Cost Range (CAD) | Timeline |
|---|---|---|---|
| Sistering (adding a parallel board) | Minor splits, cracked chords, localized weakness | $400 – $900 per truss | Half a day to one day |
| Gusset plate reinforcement | Loose or failed joint connections | $250 – $600 per joint | A few hours per joint |
| Full chord splice | Broken bottom or top chord | $800 – $1,800 per truss | One to two days |
| Steel bracket bracing | Multiple trusses shifting together, wide-span roofs | $1,200 – $3,000 for the affected span | Two to three days |
| Full truss replacement | Severe rot, fire, or water damage beyond repair | $1,500 – $3,500 per truss, plus roof reopening cost | Three to five days |
Most homes we inspect need a combination of sistering and gusset plate reinforcement rather than full replacement. Full replacement is reserved for trusses with rot from long-term moisture exposure, which is more common on homes with a history of ice damming or a poorly ventilated attic. If you suspect moisture has been sitting in your attic for years, it is worth having ventilation assessed at the same time as the truss repair, since fixing the structure without fixing the airflow just invites the same rot to return.
How Truss Repairs Directly Boost Home Value
Structural integrity sits near the top of every home inspector’s checklist, and buyers increasingly ask to see inspection reports before making an offer in the GTA’s competitive market. A documented, professionally completed truss repair does three things for resale value that a cosmetic renovation cannot match.
First, it removes the single biggest objection a structural inspection can raise. A “sagging roofline” or “evidence of truss movement” note on a home inspection report gives buyers leverage to demand a price reduction that is almost always larger than the actual repair cost, because buyers price in uncertainty and risk, not just materials and labour. Fixing the issue before listing converts that leverage back in the seller’s favour.
Second, a repaired and reinforced truss system extends the usable life of the entire roof assembly. Shingles, flashing, and decking all depend on a stable frame underneath them. When an appraiser or buyer’s agent sees that the structural frame has been professionally addressed, they read the whole roof as lower-risk, which supports a stronger overall valuation, not just a stronger structural line item.
Third, documentation matters. Keep the invoice, any engineer’s letter, and before-and-after photos from your contractor. Sellers who can hand a buyer’s agent a clear paper trail on structural work tend to face fewer follow-up questions and faster closings, because the uncertainty that usually stalls a deal has already been answered in writing.
Truss Repair vs. Ignoring the Problem: Long-Term Cost Comparison
Homeowners sometimes ask whether a minor truss issue can simply be watched rather than repaired right away. The honest answer is that trusses degrade in a fairly predictable pattern, and the cost of intervention rises steeply the longer repair is delayed. The table below lays out what we typically see over a multi-year window when a known issue goes unaddressed.
| Timeline | If Repaired Promptly | If Left Unaddressed |
|---|---|---|
| Year 0 (issue identified) | Sistering or gusset repair, $400–$1,800 | No cost yet, but issue is noted if inspected |
| Year 1–2 | No further action needed | Cracking spreads to adjacent trusses; ceiling repairs needed |
| Year 3–5 | Roof performs normally through freeze-thaw cycles | Deck and shingle alignment affected; leaks may begin |
| Year 5+ | Full structural integrity maintained at resale | Full truss replacement often required, $1,500–$3,500 per truss |
| At time of sale | Clean inspection report, stronger negotiating position | Buyer’s inspector flags structural risk; price reduction likely |
The pattern is consistent across almost every case file we have: early sistering or bracket work costs a fraction of what a full truss replacement costs once rot or secondary damage sets in. This is the practical reason we always recommend addressing even minor symptoms in the same season they are noticed, particularly heading into a Toronto winter when snow load adds real weight to an already-stressed frame.
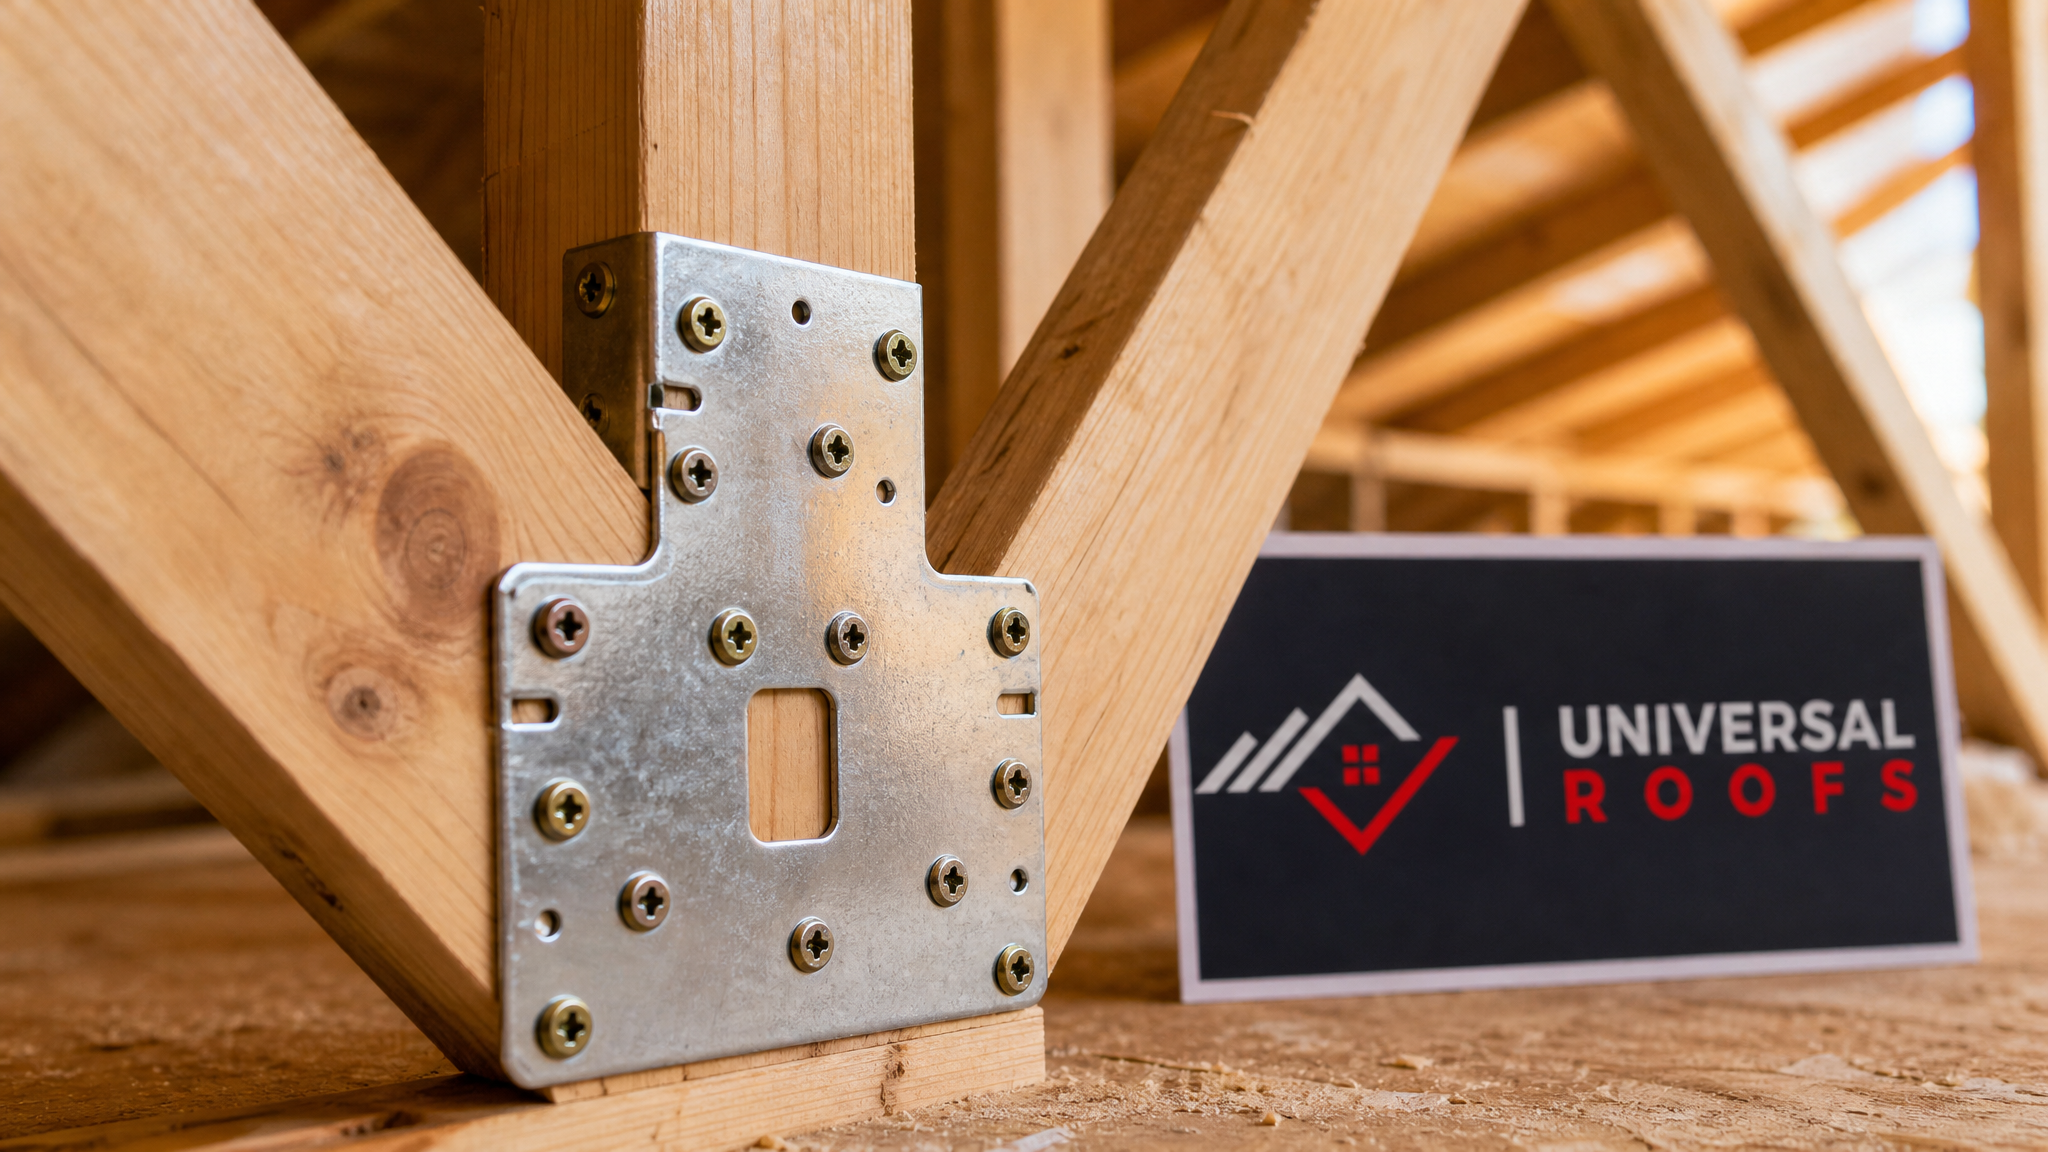
DIY Inspection: What You Can Check This Weekend
You do not need a professional to do a first-pass check of your own attic. Set aside twenty minutes, bring a flashlight, and look for the following before deciding whether to call in a contractor:
- Stand at one end of the attic and sight down the ridge board — any visible wave or dip is worth noting
- Check where the bottom chord of each truss meets the ceiling joists for splits or gaps
- Look for daylight coming through gable-end connections
- Press gently on the attic floor at a few points to feel for excessive bounce
- Photograph anything unusual with a date stamp so a contractor can see how quickly (or slowly) it is changing
If you spot anything concerning, avoid the temptation to add extra bracing or fasteners yourself. Trusses are engineered systems, and adding weight or altering a joint without understanding the load path can actually make a problem worse. A short professional visit is far cheaper than a mistake that has to be undone later.
Truss Repair, Insurance, and Regional Considerations
Homeowners across the GTA often ask whether truss repair is covered by home insurance. In most cases, gradual wear from age, undersized original engineering, or long-term moisture is considered a maintenance issue and is not covered. However, if truss damage results from a specific, sudden event — a wind storm, a fallen tree branch, or a burst pipe that soaked the attic — insurers will frequently cover the structural repair as part of that claim. It is worth documenting the timeline and photographing any storm damage immediately so your adjuster has a clear record.
Regional building patterns also matter. Homes in York Region and Halton Region built during the 1980s and 1990s housing booms often used trusses spaced and engineered for the snow load standards of that era, which are somewhat lighter than current Ontario Building Code requirements. If your home falls into that build period, a truss inspection is a smart addition to any pre-sale checklist, particularly for larger roof spans common in Durham Region subdivisions.
Combining Truss Repair With Other Roofing Upgrades
Because a truss repair often requires partial access to the roof deck or attic insulation, it is efficient to bundle it with other upgrades that share the same access point. Homeowners frequently pair truss work with:
- Attic ventilation improvements, since poor airflow is a leading contributor to the rot that eventually forces full truss replacement
- Flashing repair around chimneys or skylights, since truss movement often pulls flashing out of alignment first
- Full or partial roof replacement, when the shingles and deck are near the end of their service life anyway
- Skylight servicing, since our skylight replacement and skylight teams often work in the same attic space as truss repair crews
- Flat roof sections on additions or garages, which our flat roofing team can assess for related structural stress
Bundling these projects into a single contractor visit typically reduces total labour cost compared to scheduling each one separately, and it minimizes the number of times the roof assembly is opened up, which lowers the risk of a new leak point being introduced.
Choosing the Right Contractor for Truss Repair
Truss repair sits at the intersection of roofing and structural carpentry, so not every roofing company is equipped to handle it properly. When evaluating a contractor, ask whether they involve a structural engineer for anything beyond simple sistering, request to see photos of previous truss repair projects, and confirm they carry liability insurance specific to structural work, not just shingle replacement.
It is also reasonable to ask for a written scope of work that specifies exactly which trusses are being repaired, which method will be used, and what materials (lumber grade, gusset plate type, fastener specification) will be installed. This documentation becomes valuable later, both for your own records and for a future buyer’s inspection. Reading through recent reviews from homeowners who had similar structural work done is one of the fastest ways to gauge whether a contractor handles this kind of job well, and our FAQ page covers several other common questions about scheduling and scope. You can also learn more about our history and licensed team on our about page.
How much does it cost to boost home value with roof truss repairs?
Can a sagging roof truss really affect my home’s resale value?
Do I need a structural engineer to repair a roof truss?
Is truss repair covered by home insurance in Ontario?
How do I know if my roof truss actually needs repair?
Should I repair roof trusses before or after listing my home for sale?
Need Help With Boost Home Value with?
A stable, properly reinforced truss system is one of the smartest investments you can make before putting your home on the market, and it is one Universal Roofs has been helping GTA homeowners get right since 2005.
Call us today at (416) 732-2421 or request a free inspection to get started.
Universal Roofs proudly serves Toronto, Mississauga, Brampton, Vaughan, Markham, Oakville and the GTA since 2005.