
A sagging ridge line, a crack near a joint plate, or a soft spot in the attic floor can turn a routine home inspection into an urgent phone call. Roof trusses are the skeleton of your roof, and when one is compromised, the whole structure above your head is only as strong as its weakest connection. Homeowners across the GTA searching for quick roof truss repair services are usually dealing with one of three situations: storm damage, a botched attic renovation that cut into a truss member, or years of moisture damage finally showing on the surface.
This guide breaks down the five best approaches to fast, reliable truss repair, what each one actually costs, how long it takes, and how to tell the difference between a contractor doing a quick patch and one doing a quick, correct repair. We will also cover the warning signs that mean you should stop using the room below the truss until it is assessed, and the questions to ask before anyone climbs into your attic with a nail gun.
We have been repairing roofs and the framing beneath them across Toronto and the surrounding regions since 2005, and truss damage is one of the calls we take most seriously. A rushed fix on a structural member is worse than no fix at all, because it can mask a problem until it fails without warning. Everything below is written to help you make a fast decision without cutting corners on safety.
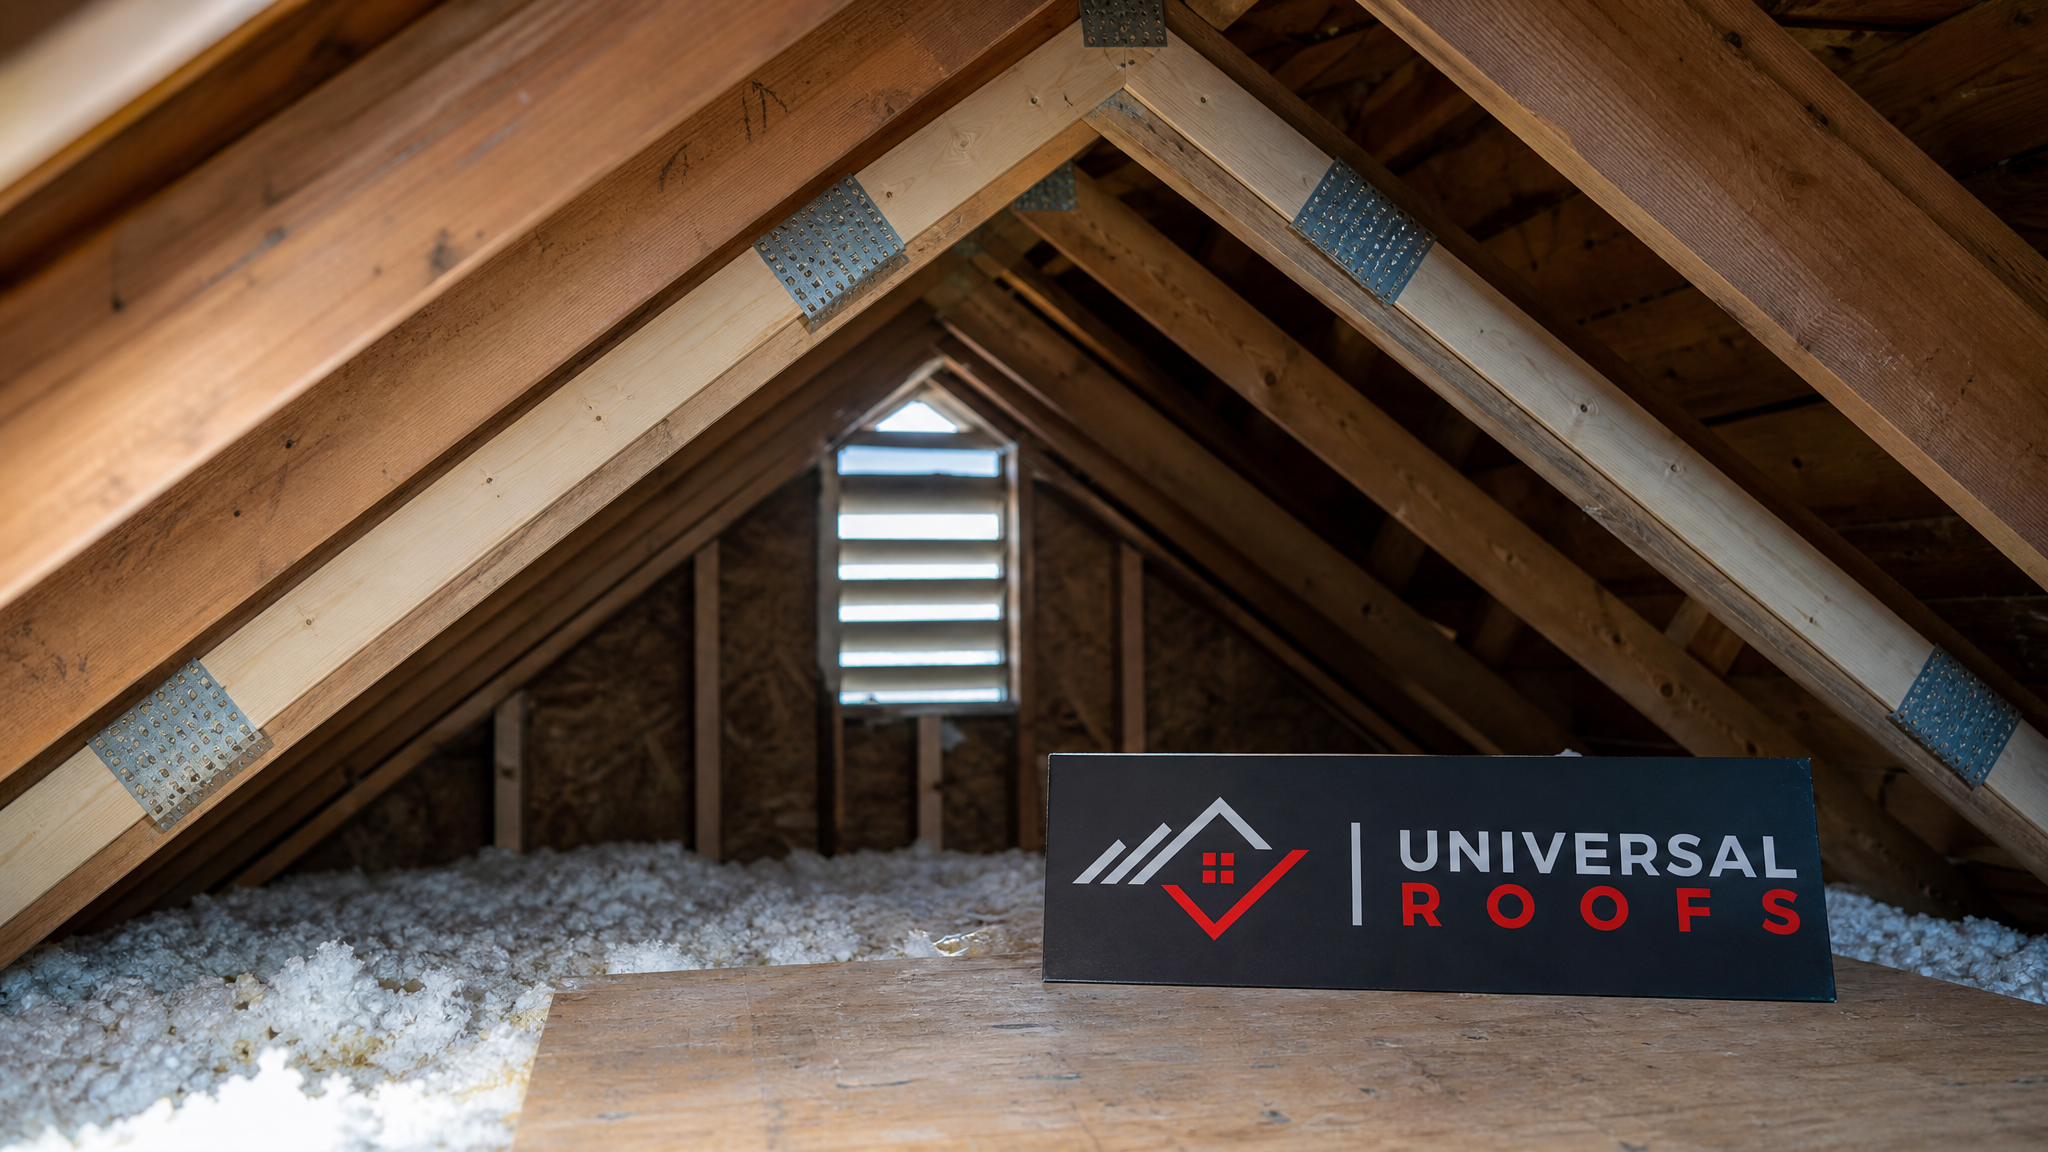
What Roof Truss Damage Actually Looks Like
Before comparing repair methods, it helps to know what you are looking at. Roof trusses are pre-engineered triangular frameworks, usually built from 2×4 or 2×6 lumber connected with metal gusset plates, that transfer the weight of the roof deck, shingles, snow load, and wind load down to your home’s exterior walls. Every truss in a standard GTA home is engineered as part of a system — remove or weaken one member, and the load has to go somewhere else.
The most common damage patterns we see on service calls are:
- Cracked or split chords — the top or bottom horizontal/sloped members, often cracked from age, moisture, or an impact during a renovation.
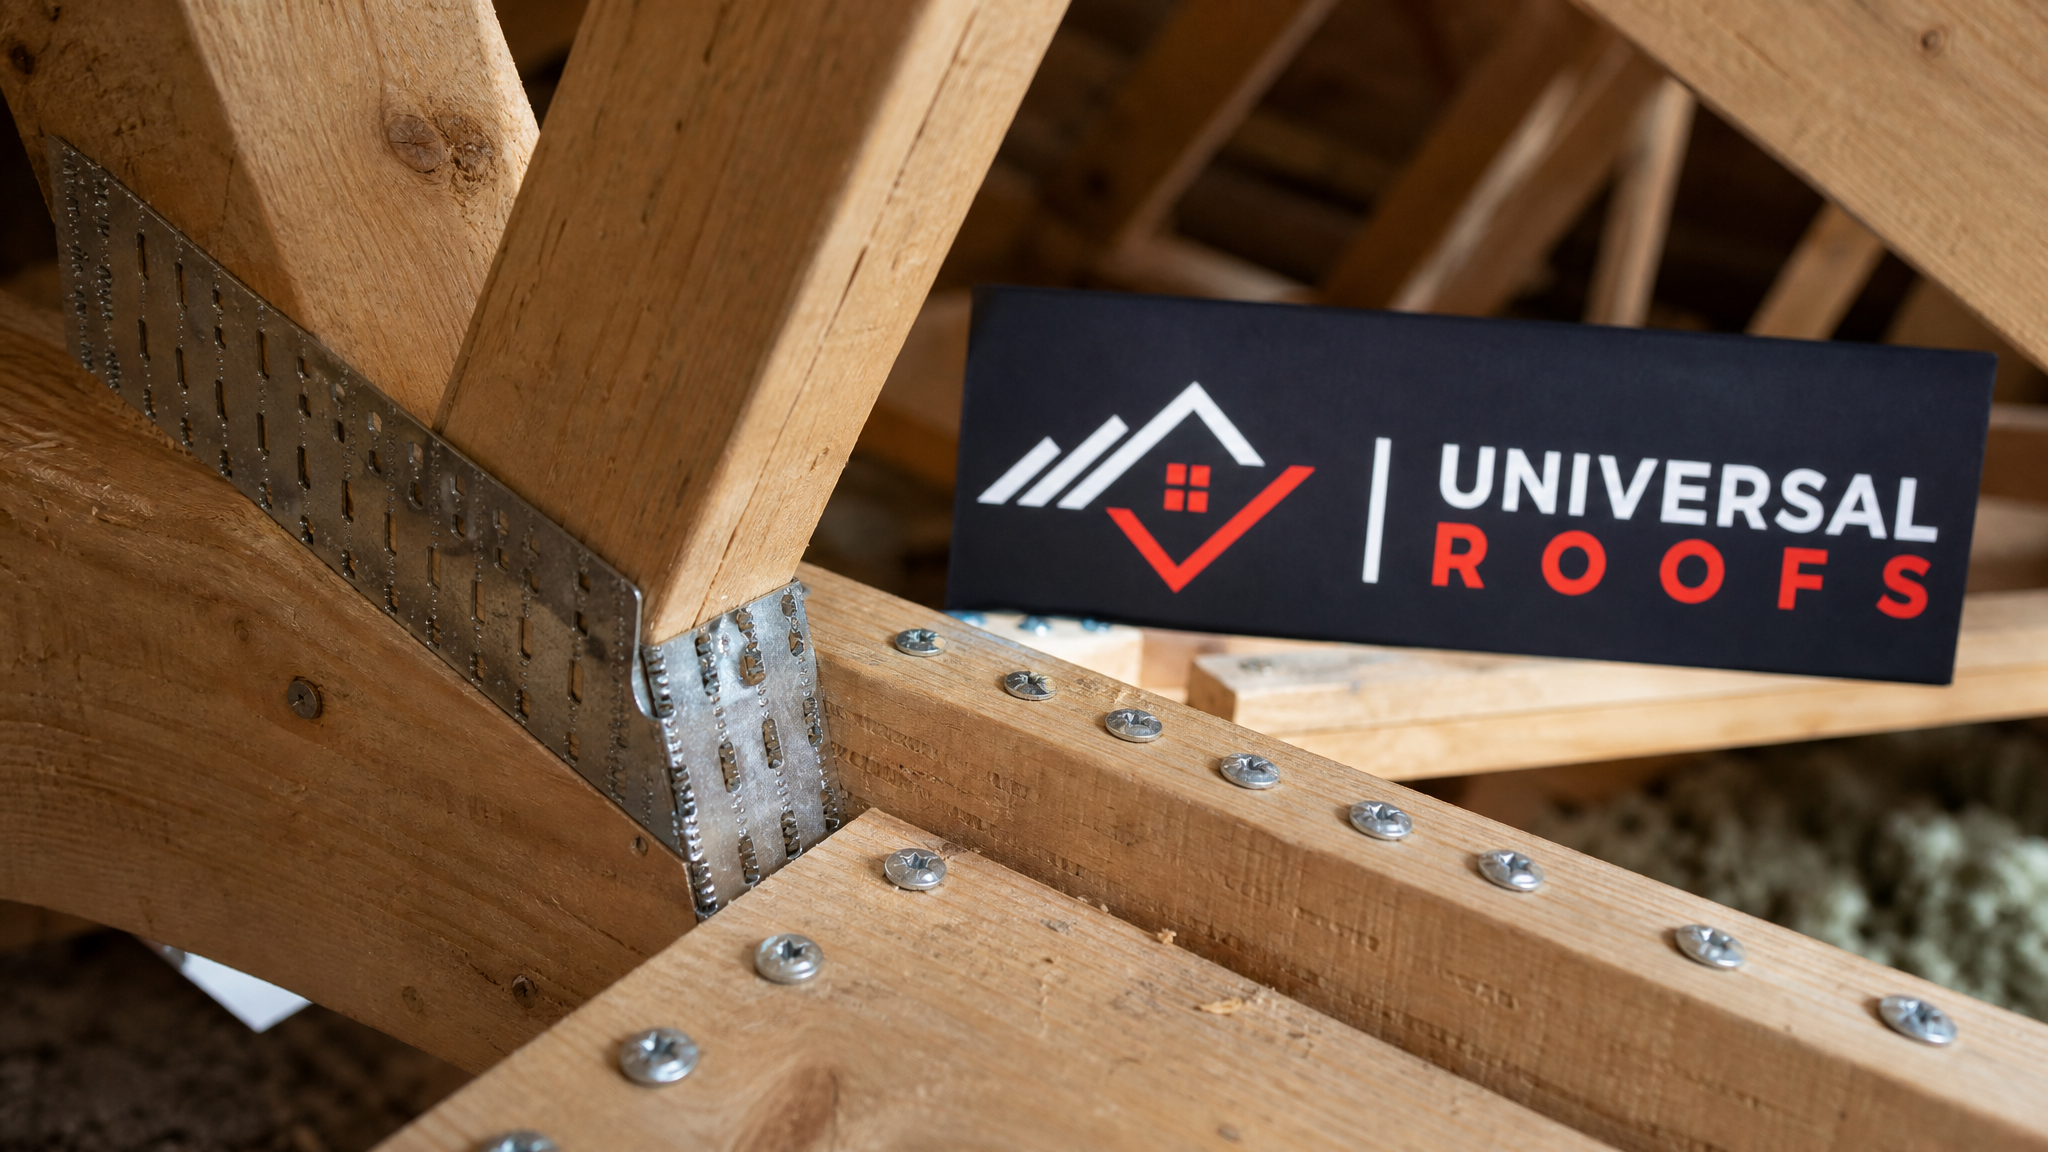
- Popped or rusted gusset plates — the metal connector plates at joints can pull loose from truss movement, humidity, or manufacturing defects.
- Cut or notched members — frequently caused by a previous owner or contractor running ductwork, plumbing, or electrical through a truss without engineering approval.
- Sagging ridge or bowed webs — a visible dip along the roofline or a bulge in a diagonal web member, usually a sign of long-term overloading.
- Water and rot damage — from a slow leak that went unnoticed, softening the wood at a joint or bearing point.
If you are seeing any of these from inside your attic, or noticing a visible dip when you look at your roofline from the street, it is worth booking a professional roof repair assessment before the next windstorm tests the structure further.
The 5 Best Quick Truss Repair Methods, Compared
“Quick” does not have to mean temporary. In truss repair, speed comes from choosing the right method for the specific type of damage, having materials on the truck, and having a crew that has done the repair dozens of times before. Here are the five approaches we rely on most often, ranked by how frequently each is the right call for GTA homes.
| Repair Method | Best For | Typical Timeline | Relative Cost |
|---|---|---|---|
| Sister board reinforcement | Cracked or split chords, cut members | Half day to 1 day | $ |
| Gusset plate replacement | Popped or rusted metal connector plates | Same day | $ |
| Steel truss repair plate retrofit | High-load joints, repeated failures | 1 day | $$ |
| Engineered scab and bolt repair | Rot, notching, moderate structural loss | 1-2 days | $$ |
| Full truss sistering or replacement | Severe sagging, snapped members, fire/water damage | 2-4 days | $$$ |
1. Sister Board Reinforcement
Sistering is the fastest and most common truss repair for a simple crack or split. A new piece of lumber, matched in dimension to the damaged member, is fastened alongside the existing truss chord using construction adhesive and through-bolts or structural screws, spanning well past the crack on both sides. Done correctly, a sistered member can restore, and sometimes exceed, the original load capacity. This is our go-to solution for storm-cracked chords and is often completed in a single visit.
2. Gusset Plate Replacement
When the metal connector plate at a joint has popped loose, rusted through, or was under-driven at the factory, the fix is to remove the damaged plate, clean the joint, and install a new plate of equal or greater size using a hydraulic press or plate nails. This repair is fast because it does not require cutting new lumber — it is purely a connector-level fix, and most jobs are wrapped up in a few hours.
3. Steel Truss Repair Plate Retrofit
For joints that have failed more than once, or that carry unusually high loads (such as at a valley or a truss supporting a mechanical unit), we sometimes retrofit a heavier-gauge steel repair plate or angle bracket instead of a standard wood gusset. This adds a bit more time for measuring and pre-drilling but produces a joint that is significantly less likely to fail again.
4. Engineered Scab and Bolt Repair
Where rot or a previous notch has actually removed material from the truss (not just cracked it), a scab repair uses a full-length reinforcing member bolted through the original chord, sized and positioned according to engineered span tables. This is the method we use when ductwork or electrical was run through a load-bearing member without approval — a mistake we still see in older GTA homes that have gone through a few rounds of renovation.
5. Full Truss Sistering or Replacement
When a truss has failed at multiple points, snapped completely, or suffered fire or extensive water damage, the fastest safe path is often a full parallel truss sistered alongside the original, or in severe cases, complete replacement of the damaged truss. This takes longer because it usually requires temporary shoring to support the roof load while work is underway, but it is the only correct option once damage has progressed this far.
How Much Does Quick Truss Repair Cost in the GTA?
Truss repair pricing depends heavily on accessibility (is it a simple attic crawl or a cramped cathedral ceiling?), the number of affected trusses, and whether an engineer’s stamp is required for the repair drawing. Ontario building code generally requires an engineer’s review for structural modifications, which some homeowners are surprised to learn, but it protects you and adds very little time when the contractor already has an engineering relationship in place.
| Repair Scope | Estimated Cost (CAD) | Engineer Review Needed? |
|---|---|---|
| Single gusset plate replacement | $350 – $700 | Rarely |
| Single sistered chord (1 truss) | $600 – $1,400 | Sometimes |
| Multiple trusses sistered (3-5) | $2,200 – $5,500 | Usually |
| Engineered scab repair with permit | $1,800 – $4,000 | Yes |
| Full truss replacement (per truss) | $1,500 – $3,800 | Yes |
These figures assume standard 2×4 or 2×6 residential truss members with reasonable attic access. Vaulted or cathedral ceiling trusses, or repairs that require removing drywall or insulation first, will add labour time. If the damage was caused by a roof leak, you may also be looking at deck and shingle repair on top of the framing work — our team typically assesses both in the same visit so you get one accurate quote rather than two separate ones.
Warning Signs You Should Not Ignore
Some truss problems can wait for a scheduled appointment. Others cannot. Here is how we triage calls when a homeowner describes symptoms over the phone.
| Symptom | Urgency | What It Usually Means |
|---|---|---|
| Hairline crack, no movement | Schedule within 2-4 weeks | Early-stage split, monitor and repair soon |
| Visible daylight through a gusset joint | Schedule within 1-2 weeks | Plate has partially pulled loose |
| New or worsening ceiling crack below attic | Same week | Possible truss deflection under load |
| Door or window suddenly sticking upstairs | Within days | Structural movement affecting the frame |
| Audible cracking or popping during wind/snow load | Same day / emergency | Active member failure in progress |
| Visible sag you can see from the street | Same day / emergency | Significant load transfer already occurring |
If you are in the “same day” category, avoid using the room directly beneath the affected truss, keep heavy attic storage off that section, and call a licenced contractor immediately. In a genuine emergency where the roof deck itself has been breached, our roof repair team can tarp and stabilize the area the same day while the structural fix is scheduled.
What Causes Truss Damage in Toronto and the GTA
Our climate plays a real role in why we see certain patterns of truss damage more than roofers in milder regions. A few of the most common causes:
- Freeze-thaw cycling — repeated freezing and thawing through a Toronto winter causes small amounts of moisture in a compromised joint to expand and contract, gradually working gusset plates loose.
- Snow load accumulation — heavy, wet spring snow combined with poor attic ventilation can overload trusses that were already marginal, especially on older homes built before current span tables.
- Attic renovations — converting attic space to living space, or running new HVAC ductwork, sometimes results in a truss member being cut without engineering sign-off. This is one of the most common issues we find during pre-listing inspections.
- Roof leaks — a slow leak around a skylight or flashing detail can rot a truss chord from the inside over several seasons before it becomes visible from below.
- Age — many GTA subdivisions built in the 1970s-90s used truss designs and lumber grades that were adequate at the time but are now reaching the end of their expected service life, particularly where ventilation was inadequate.
If your home has an older attic that has never been assessed, a summer inspection (when there is no snow load complicating access) is the ideal time to check for early warning signs before they become urgent.
DIY vs. Professional Truss Repair: Why This Isn’t a Weekend Project
We understand the instinct to grab a 2×4 and some screws when you spot a crack. Unfortunately, trusses are engineered systems, and an incorrectly sized or positioned sister board can create a false sense of security while doing very little structurally. A few reasons professional repair matters here:
| Factor | DIY Attempt | Professional Repair |
|---|---|---|
| Load calculation | Guesswork based on visual match | Sized to engineered span tables |
| Fastener spec | Whatever is in the toolbox | Structural screws/bolts to code |
| Permit and inspection | Usually skipped | Filed and inspected where required |
| Insurance/resale disclosure | Unrecorded, can complicate a sale | Documented repair, supports resale |
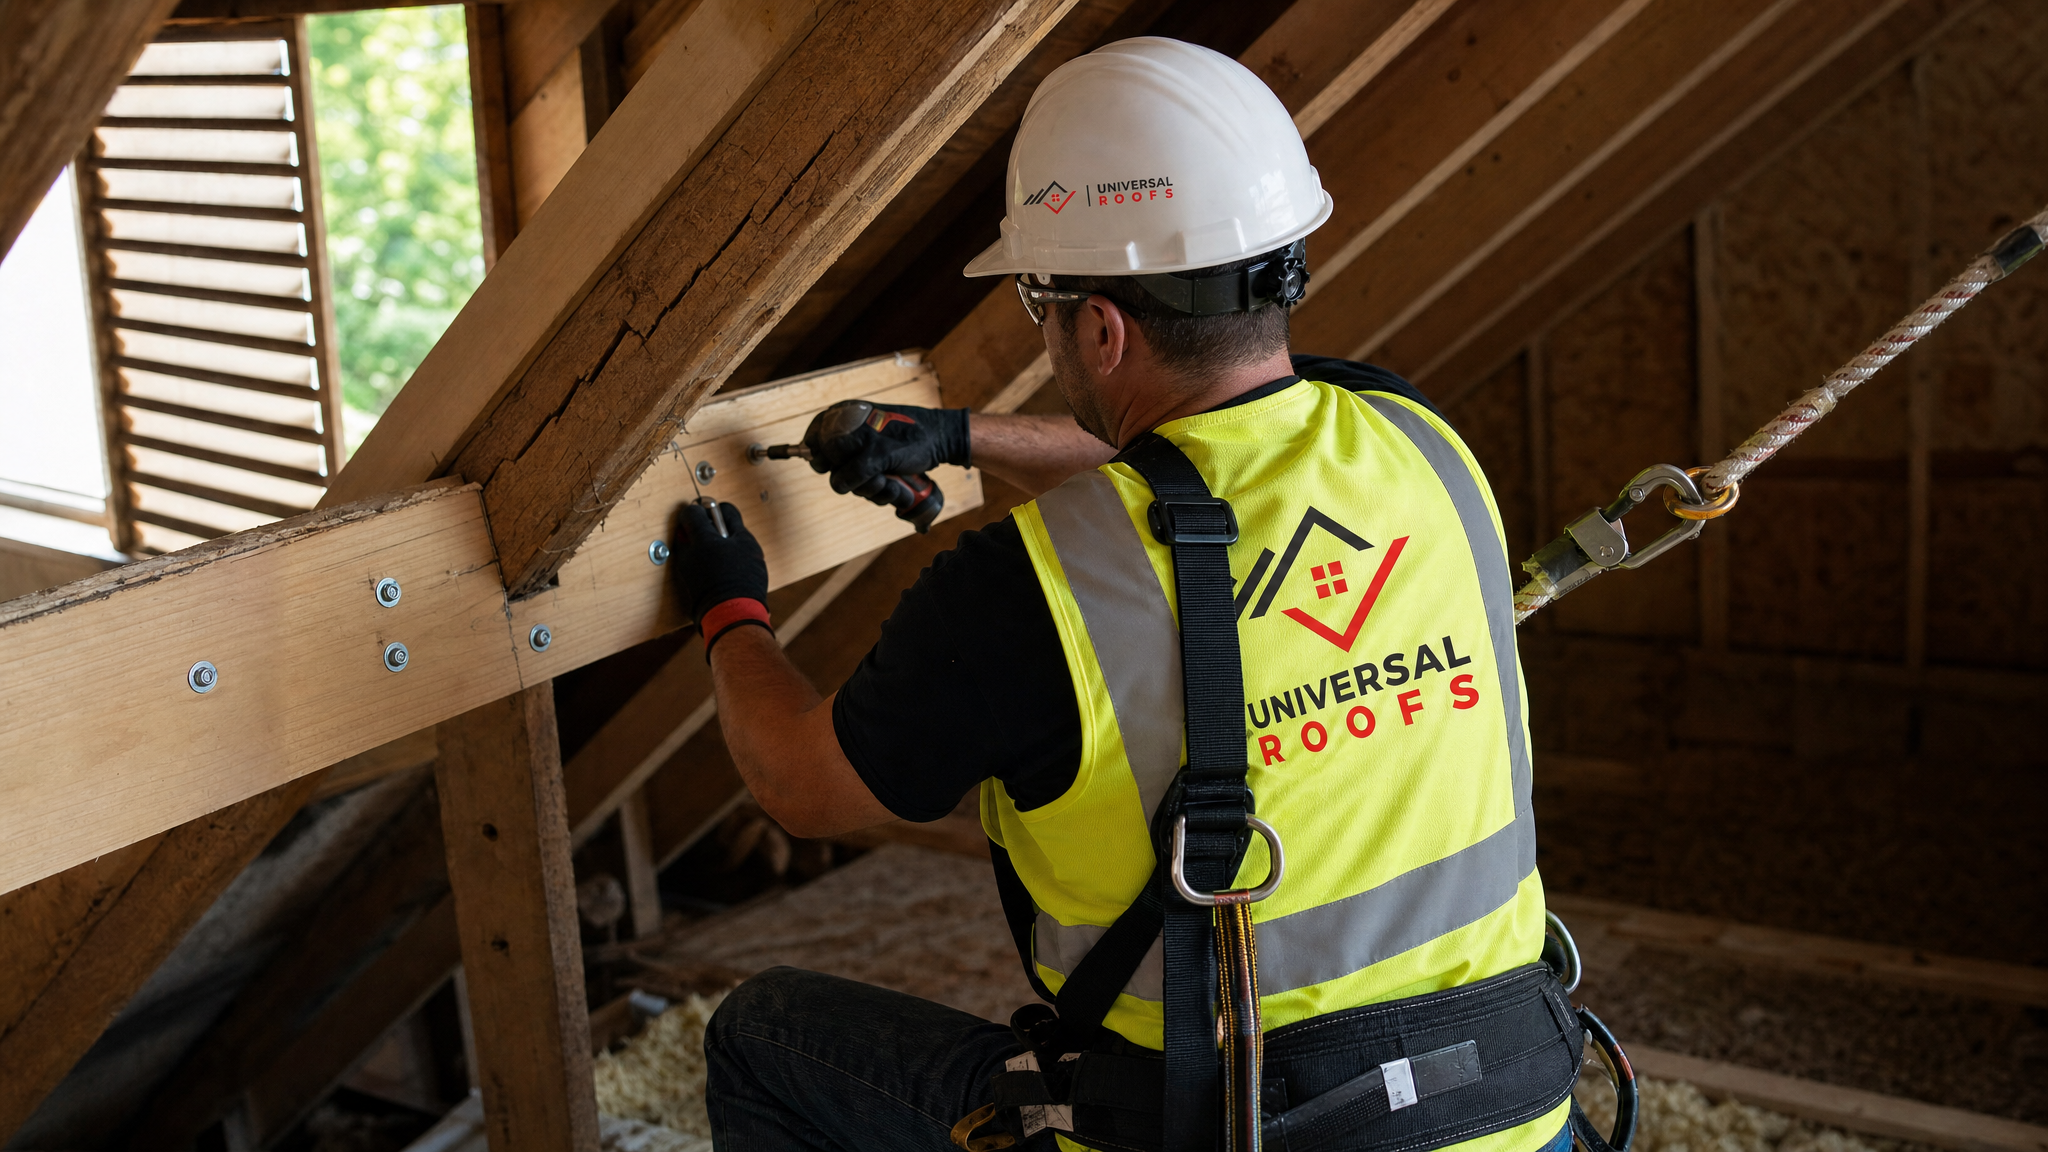
| Working at height/in attic | No fall protection | Harnessed crew, proper access equipment |
A documented, permitted, and properly engineered repair also matters if you sell your home. Buyers’ inspectors specifically look for evidence of unpermitted structural work in the attic, and an undocumented truss modification can delay or derail a sale. A quick professional repair now is almost always cheaper than a renegotiated sale price later.
What to Expect During a Quick Truss Repair Visit
Here is the general sequence our crews follow, which is worth knowing so you can evaluate any contractor’s process against it:
- Assessment — a technician inspects the truss from the attic and, if accessible, from the exterior roof surface, photographing the damage and measuring the affected span.
- Load check — for anything beyond a single hairline crack, we confirm whether an engineer’s letter is needed before proceeding, which is standard practice under Ontario Building Code for structural repairs.
- Temporary shoring (if needed) — on more serious damage, a temporary support post or brace is installed to hold the load safely while the permanent repair is completed.
- Repair execution — sistering, gusset replacement, or scab installation using construction adhesive, structural fasteners, and, where called for, steel reinforcement plates.
- Clean-up and photo documentation — the crew clears debris and provides before/after photos for your records, useful for insurance or future resale disclosure.
Most single-truss repairs are completed in one visit. If your damage also affected the roof deck or shingles above, we typically coordinate the structural fix with the exterior roof replacement or repair scope so you are not paying for two separate mobilizations.
Choosing the Right Contractor for Quick Roof Truss Repair Services
Speed matters, but not at the expense of the actual engineering behind the fix. When comparing contractors offering quick roof truss repair services, ask these questions:
- Do you work with a structural engineer for repairs that require a stamped drawing?
- Will the repair be permitted with the local municipality if required?
- What fastening method and lumber grade will you use, and why?
- Can you provide photo documentation of the completed repair for my records?
- Are your technicians insured and using proper fall protection in the attic and on the roof?
A contractor who answers these clearly and without hesitation is one who has done this repair many times before. You can read how past GTA homeowners rate our crews on our reviews page, or browse our FAQ for more on how we scope structural work before a technician ever steps on the roof.
Where We Provide Quick Truss Repair Across the GTA
Since 2005, our crews have repaired truss systems in homes across a wide range of ages and construction styles throughout the region. We regularly handle calls in Toronto, Peel Region (Mississauga and Brampton), York Region (Vaughan, Markham, and Richmond Hill), Halton Region (Oakville and Burlington), and Durham Region. Because we know the typical truss designs used across these municipalities’ housing stock from the 1960s through today, our assessments tend to move faster than a generalist contractor encountering a specific subdivision’s framing for the first time.
If you have moisture damage alongside your truss issue, it is also worth having us check attic ventilation and insulation while we are already on site, since poor airflow is one of the leading contributors to the rot and freeze-thaw damage that weakens trusses in the first place.
What are the best quick roof truss repair services for a cracked truss?
How much does quick roof truss repair cost in the GTA?
Can a roof truss be repaired without replacing the whole roof?
Do I need a permit for quick truss repair services in Ontario?
How do I know if my roof truss needs urgent repair?
How long does quick roof truss repair take?
Need Help With 5 Best Quick Roof?
A compromised truss will not fix itself, and the longer a crack or loose joint goes unaddressed, the more it can shift the load onto neighbouring framing. Our crews at Universal Roofs have been diagnosing and repairing GTA roof structures since 2005, and we can usually assess and repair straightforward truss damage in a single visit.
Call us today at (416) 732-2421 or request a free inspection to get started.
Universal Roofs proudly serves Toronto, Mississauga, Brampton, Vaughan, Markham, Oakville and the GTA since 2005.