
A sagging ridge line, a crack in a rafter, or a bounce in your attic floor when you walk across it are all signs that your roof truss system needs attention. For many Toronto-area homeowners, the instinct is to grab a sistering board and a box of screws and handle it over a weekend. And in some limited cases, careful DIY roof truss repair is a reasonable option — but only when you understand exactly what a truss does, how it fails, and where the line sits between a cosmetic fix and a structural gamble.
Roof trusses are engineered systems. Every 2×4 web member, every metal gusset plate, and every connection point is calculated to carry a specific load, and that load changes with snow accumulation, wind uplift, and the weight of anyone walking across the attic. Toronto’s freeze-thaw winters and heavy spring snow melt put real stress on ageing truss systems, especially in homes built before the 1990s that may have undersized members or outdated connector plates. Before you pick up a saw, it helps to know which repairs are genuinely within a competent homeowner’s skill set and which ones belong to a licenced contractor.
This guide walks through four practical, safety-conscious DIY tips for minor truss issues, explains the tools and materials involved, and — just as importantly — flags the warning signs that mean it’s time to stop and call in a professional. If you’re ever unsure, our team at Universal Roofs has been assessing and repairing GTA roof structures since 2005, and a quick phone call can save you from a very expensive mistake.
Understanding What a Roof Truss Actually Does
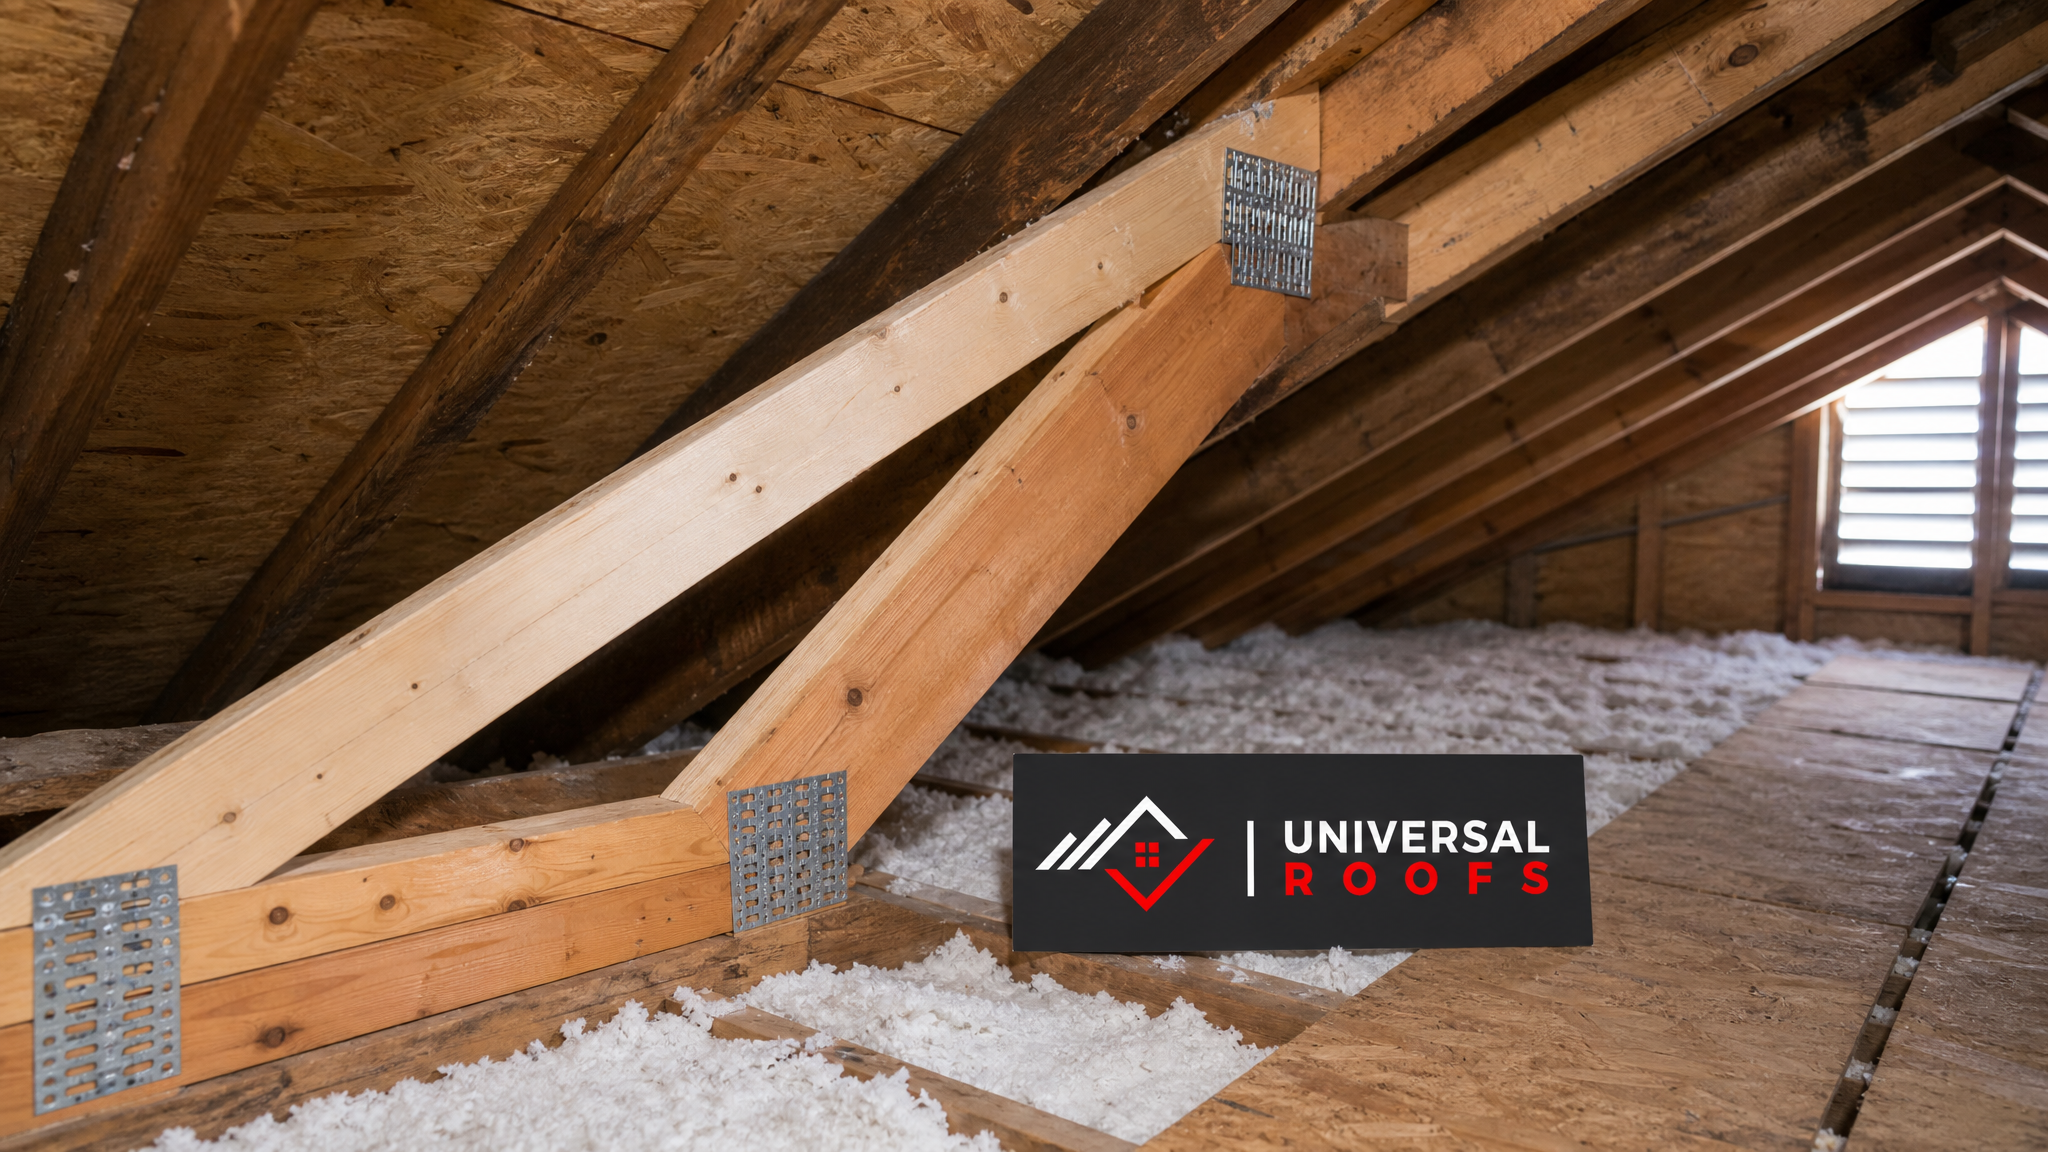
Before attempting any DIY roof truss repair, it’s worth understanding the anatomy of the system you’re working on. A truss is a triangulated wood framework — typically built from 2×4 or 2×6 lumber connected with galvanized steel gusset plates — designed to transfer roof loads down to the exterior walls. Each truss has a top chord (the sloped members that support the roof deck), a bottom chord (the horizontal member that often doubles as your attic floor joist), and web members (the diagonal and vertical pieces connecting the two chords in a triangular pattern).
The strength of a truss comes entirely from that triangulated geometry. Unlike a simple rafter-and-ceiling-joist system, a truss is only as strong as the sum of its connections. This is the single most important concept for any homeowner considering DIY work: cutting, notching, or removing even one web member — even temporarily — can compromise the entire truss and, in some cases, the trusses beside it that share load through the roof sheathing and bracing.
Common truss problems we see across Toronto, Peel Region, and York Region homes include:
- Cracked or split chords from age, moisture, or overloading
- Popped or rusted gusset plates that no longer bite fully into the wood
- Sagging bottom chords from decades of stored boxes and holiday decorations in the attic
- Truss uplift (a seasonal gap between the ceiling and interior partition walls, common in colder climates)
- Water-damaged members near a leaking roof deck or poorly ventilated attic space
Some of these — like popped gusset plates on a single, easily accessible truss — are realistic for a handy homeowner to address. Others, like a split bottom chord under load or widespread water damage, require an engineer’s sign-off and professional reinforcement. Knowing which is which is tip number one.
Tip 1: Diagnose Before You Touch Anything
The most valuable DIY skill in truss repair isn’t carpentry — it’s diagnosis. Before you buy a single piece of lumber, spend an hour in the attic with a flashlight, a notepad, and a level.
Start at the ridge and work outward, checking each truss for:
- Visible cracks or splits, especially at the base of web members or near gusset plate edges
- Gusset plates that have separated from the wood — look for a visible gap or rust staining around the teeth
- Sag in the bottom chord — lay a long level or a taut string line along the chord to measure deflection in millimetres over its length
- Water staining or soft, spongy wood, which indicates rot and changes the repair entirely (rotted wood needs to be replaced, not sistered)
- Truss uplift gaps at the ceiling-to-partition-wall junction, which are usually seasonal and cosmetic rather than structural
Photograph everything and note the truss location relative to the ridge and gable ends. If you find splitting or sagging on more than one adjacent truss, or any sign of rot, that’s your cue to bring in a professional for a full roof repair assessment rather than proceeding solo — clustered damage usually points to a systemic issue like inadequate ventilation, an undersized original design, or a slow roof leak rather than a one-off defect.
| Symptom Observed | Likely Cause | DIY-Appropriate? | Recommended Action |
|---|---|---|---|
| Single popped gusset plate, dry wood | Age, minor settling, nail withdrawal | Yes | Re-fasten or replace plate, reinforce with plywood gusset |
| Hairline crack in web member, no movement | Wood shrinkage, seasonal movement | Yes, with sistering | Sister with matching-dimension lumber |
| Sagging bottom chord across multiple trusses | Overloading, undersized original design | No | Engineer assessment, professional reinforcement |
| Soft, spongy, or discoloured wood | Moisture intrusion, rot, past leak | No | Replace member, address leak source first |
| Truss uplift gap (winter only, closes in summer) | Seasonal humidity/temperature cycling | Yes, cosmetic trim only | Trim moulding, do not caulk or nail rigidly |
| Split chord under visible load, deflecting when walked on | Structural overload or damage | No | Immediate professional inspection required |
Tip 2: Sistering a Cracked or Weak Truss Member
Sistering is the most common and most approachable DIY truss repair. It involves fastening a new piece of lumber alongside an existing cracked or undersized member, distributing load across both pieces rather than relying on the damaged one alone. This works well for hairline cracks, minor splits, and members that are structurally sound but slightly undersized for the current load.
To sister a truss member properly:
- Measure the damaged member’s exact dimensions (length, width, thickness) and select matching-grade lumber — do not downgrade to a smaller dimension to save cost.
- Cut the sister piece to fit snugly against the original member, spanning at least 600mm beyond the crack or damage point on each side.
- Apply construction adhesive rated for structural use along the contact face.
- Clamp the sister tightly against the original member before fastening.
- Fasten with structural wood screws or through-bolts in a staggered pattern — nails alone are not sufficient for a structural sister.
- Avoid drilling through existing gusset plates; work around them or add a supplementary plywood gusset if the original plate is compromised.
This approach works well on a single, isolated truss with a clean, dry crack and no sign of rot. It should never be attempted on a member that’s actively deflecting under load — sistering distributes stress, it doesn’t correct an already-failing structural condition. If the crack runs through a connection point where multiple members meet, that’s a job for a structural engineer and a licenced contractor, full stop.
Tip 3: Replacing or Reinforcing Gusset Plates
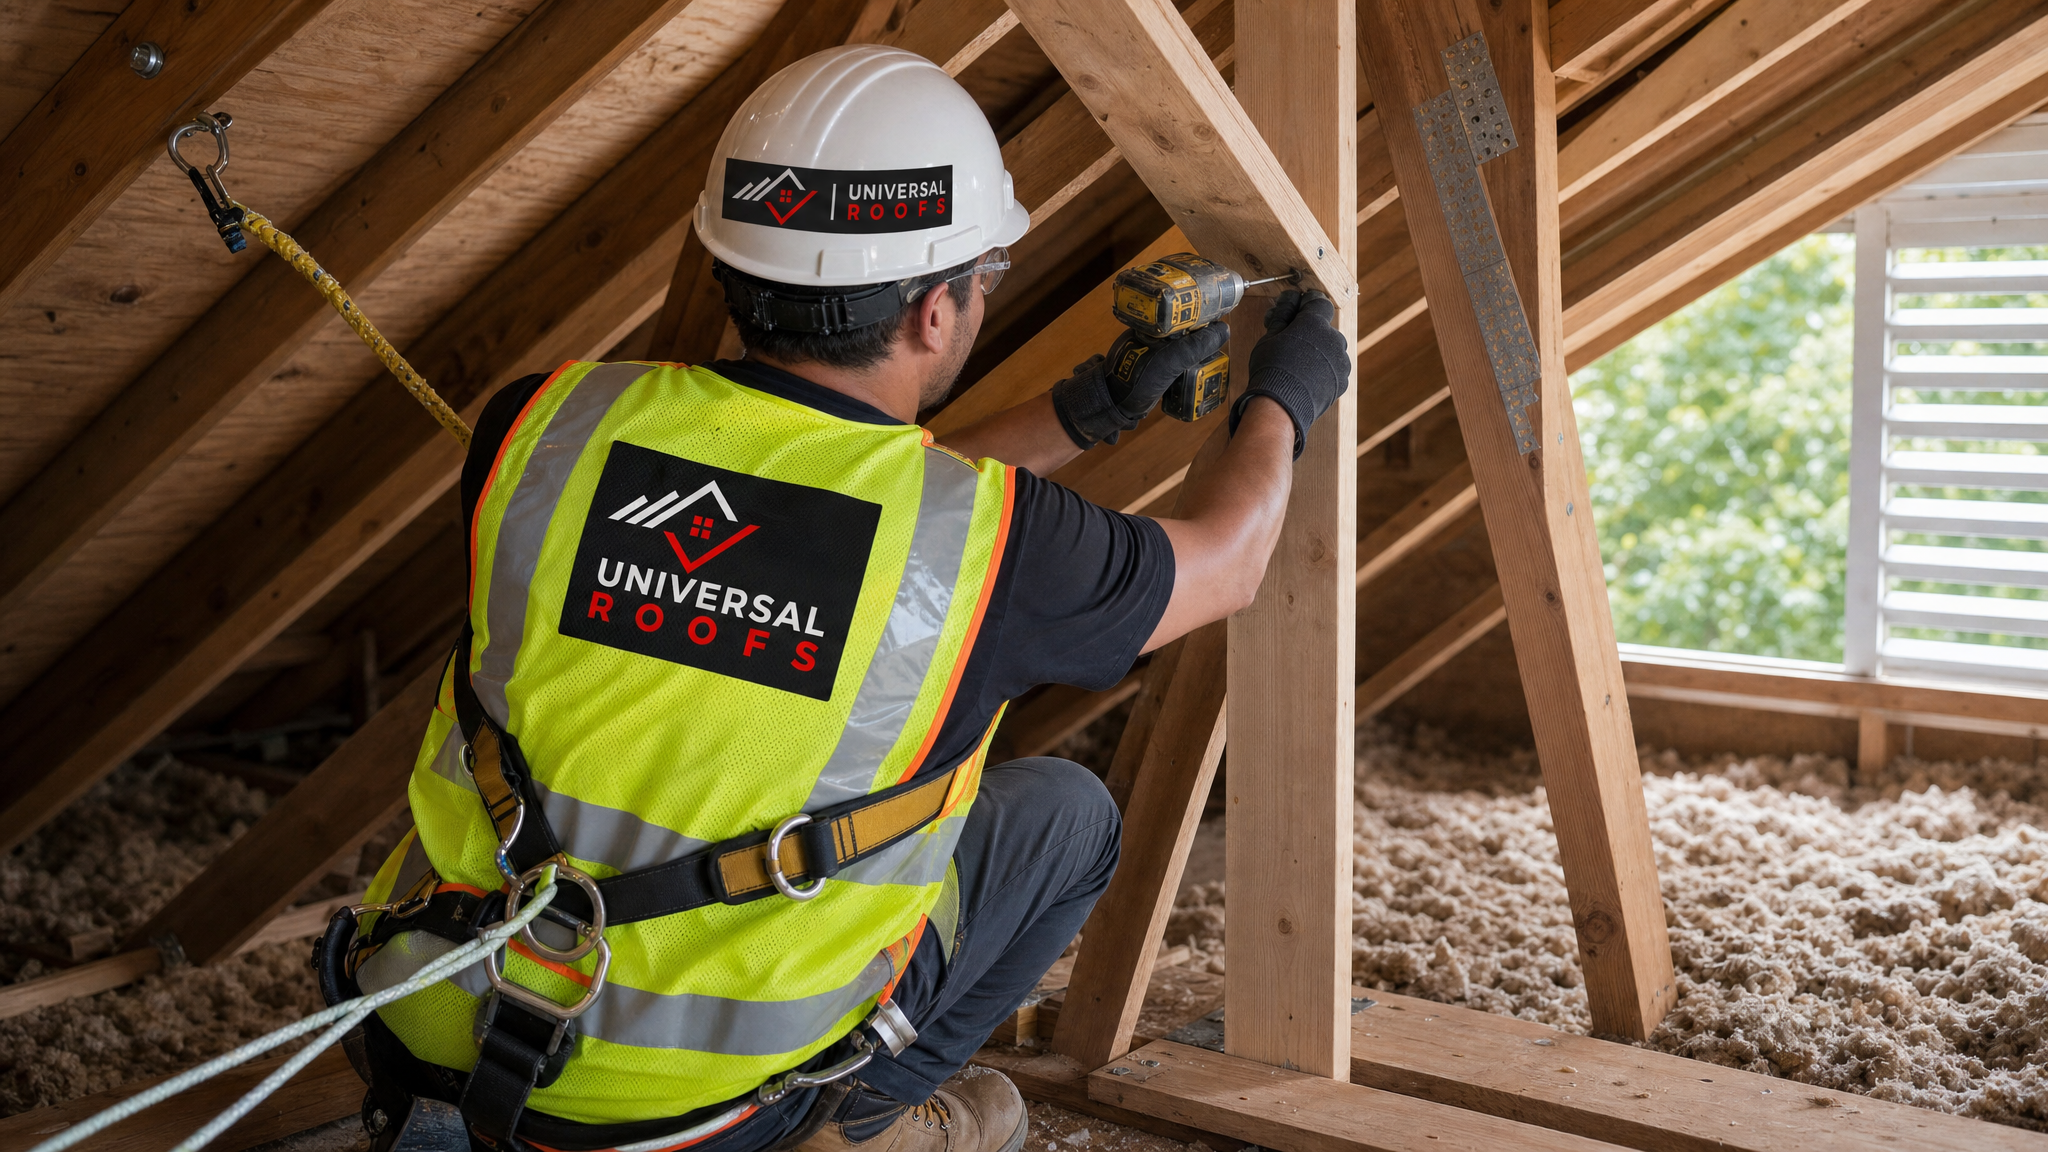
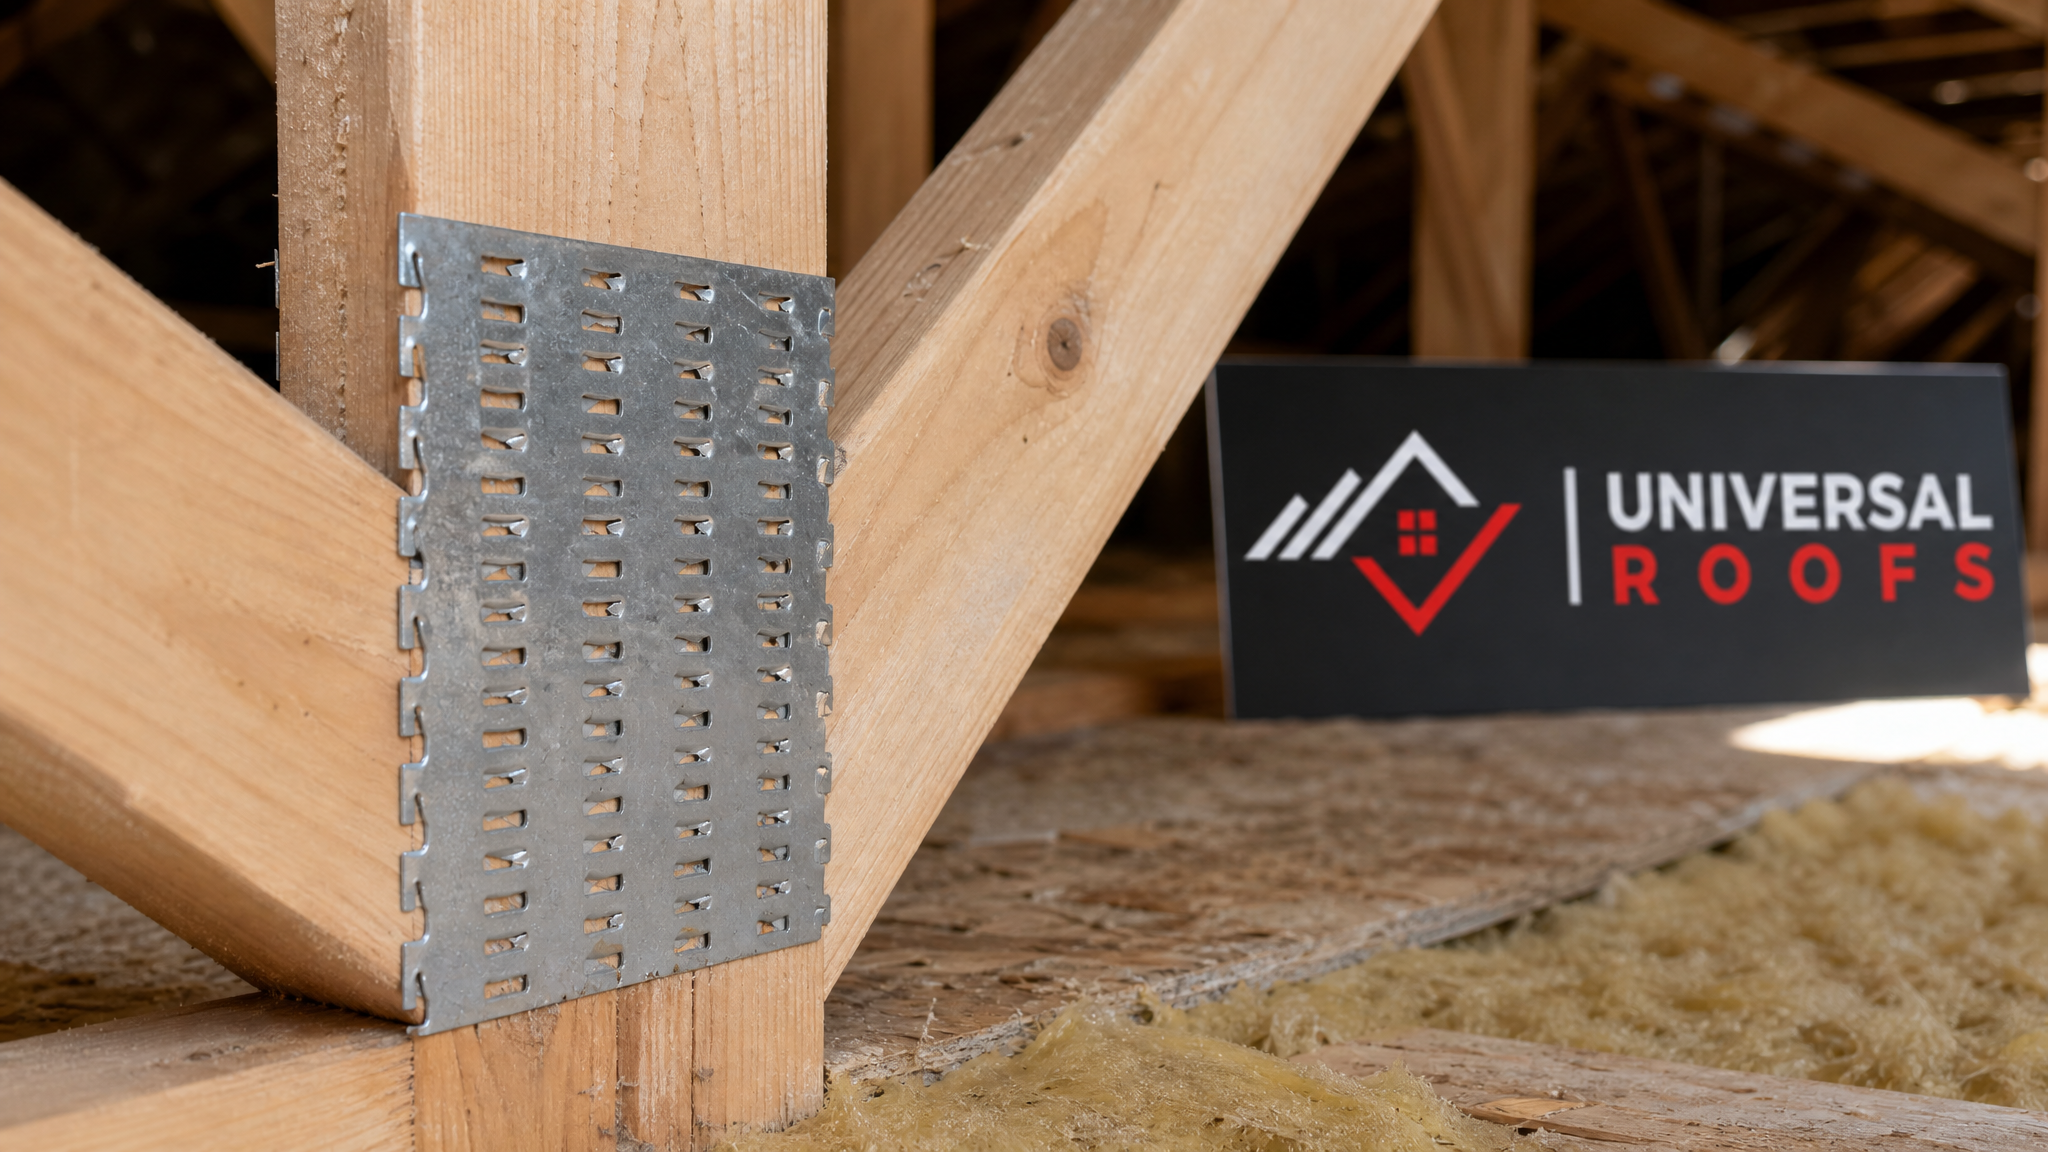
Metal gusset plates are the connective tissue of a truss, and a popped or rusted plate is one of the more common issues homeowners find during an attic inspection. If you catch a single loose plate early — before the connection has actually separated and shifted — reinforcement is a realistic DIY task.
The safest homeowner-level approach is not to remove the original metal plate (removing a load-bearing connector plate while the truss is under roof load is genuinely dangerous) but to reinforce the joint with a plywood gusset overlay:
- Cut a piece of 12mm (1/2 inch) or thicker exterior-grade plywood to overlap the joint by at least 300mm on each side of the connection.
- Pre-drill and fasten with construction adhesive plus structural screws in a grid pattern, keeping fasteners at least 20mm from the plywood edge to prevent splitting.
- Apply the reinforcement to both faces of the truss if access allows, for a properly sandwiched connection.
- Never attempt this reinforcement while there is active snow load on the roof — wait for a clear, dry period, ideally spring through early autumn when the attic is also easier to work in without extreme heat or cold.
Because July in the GTA typically brings dry, stable attic conditions (aside from summer heat, which mostly just means working early in the day and staying hydrated), this is actually a good season to get ahead of minor gusset plate issues before autumn storms and winter snow loads test the structure again. If you find rust bleeding from a plate or a plate that has visibly separated with a gap you can see daylight through, stop and call a professional — that indicates the connection has already failed under load, not just loosened cosmetically.
Tip 4: Managing Truss Uplift the Right Way
One of the most commonly misunderstood truss “problems” in our climate is truss uplift — a seasonal gap that opens between the ceiling drywall and the top of interior partition walls during cold weather, then closes again in the warmer months. It’s caused by moisture and temperature differentials between the top and bottom chords of the truss, and it is extremely common in Toronto and across the wider GTA because of our humid summers and dry, cold winters.
The critical DIY tip here is what NOT to do: do not caulk the gap shut, do not nail the drywall rigidly to the top plate, and do not treat it as a structural defect requiring sistering or reinforcement. Truss uplift is almost always cosmetic and self-correcting. The proper fix is to install a truss clip (a specialized L-shaped metal bracket) that allows the ceiling drywall to move independently of the truss bottom chord, then trim over the gap with a flexible moulding rather than a rigid, fully caulked joint.
If you attempt to permanently fasten the drywall to stop the movement, you’re fighting the truss’s natural seasonal expansion and contraction, and you’ll likely crack the drywall or damage the ceiling finish repeatedly every winter. This is a case where the “fix” that feels intuitive is actually the wrong one — sometimes the right DIY move is deliberately not reinforcing something.
| Repair Method | Typical Material Cost (CAD) | Skill Level | Time Required |
|---|---|---|---|
| Sistering a single web member | $40–$120 | Intermediate DIY | 2–4 hours |
| Plywood gusset reinforcement | $60–$150 | Intermediate DIY | 3–5 hours |
| Truss clip installation (uplift) | $15–$30 per clip | Beginner DIY | 30–60 minutes per location |
| Full chord replacement | $300–$800+ (professional) | Licenced contractor only | 1–2 days |
| Engineered structural reinforcement | $1,500–$5,000+ (professional) | Engineer + licenced contractor | Varies by scope |
Tools and Materials Every Homeowner Should Have on Hand
If you’re proceeding with any of the DIY repairs above, having the right equipment matters as much as technique. At minimum, gather:
- A 4-foot level or laser level to measure sag and confirm your repair sits flush
- Matching-dimension structural lumber (never substitute a smaller size to save money)
- Construction adhesive rated for structural framing applications
- Structural wood screws (not drywall screws, which shear under load) or galvanized through-bolts
- A cordless drill/driver with fresh batteries — attic work rarely has convenient power access
- Proper attic lighting (a headlamp plus a portable work light)
- Fall protection if working near an open attic hatch, gable vent, or roof edge
- A dust mask and eye protection — decades-old attic insulation is unpleasant to disturb
- A camera or phone to document before-and-after conditions
Attic work also comes with real physical hazards that are easy to underestimate: unsecured ceiling joists that aren’t meant to be walked on directly, exposed nails from roofing that has punched through the deck, poor ventilation, and extreme summer heat buildup. Always work with a partner nearby, use proper footing boards across joists, and never work in an attic during the hottest part of a July afternoon without breaks and water.
When DIY Roof Truss Repair Becomes a Job for Professionals
There is a firm line between reasonable DIY maintenance and structural work that requires licenced expertise, and it’s worth being explicit about where that line sits. Call a professional immediately if you observe:
- Sagging or deflection visible across two or more adjacent trusses
- Any split or crack at a load-bearing connection point (where multiple members converge)
- Soft, rotted, or water-damaged wood anywhere in the truss system
- Visible movement or bounce in the roof deck when walking in the attic
- Any modification history you can’t verify — such as a previous owner cutting a truss member to run ductwork or a chimney chase
- Damage following a significant snow load event, wind storm, or after ice damming
- Uncertainty about whether a member is structural at all — in a truss system, every member matters, unlike conventional framing where some pieces are purely cosmetic
A professional inspection typically starts with the same visual assessment described above, but goes further with load calculations, moisture readings, and — when needed — a referral to a structural engineer for a stamped repair drawing. This isn’t about upselling unnecessary work; it’s that Ontario building code requires engineered documentation for structural repairs affecting the load path of a roof system, and a reputable contractor will tell you plainly when a repair is beyond safe DIY scope. If your truss issue is tied to a leaking roof deck, it’s also worth having your roof replacement or repair needs assessed at the same time, since replacing damaged trusses without fixing the water source that damaged them in the first place just resets the clock on the same problem.
We also frequently get calls from homeowners who attempted a DIY truss fix, only to find the underlying cause was a ventilation or moisture issue in the attic, or a related problem with a skylight or skylight replacement that was letting moisture into the truss space around the rough opening. A full inspection catches these connected issues before you spend a weekend fixing the symptom rather than the cause.
Seasonal Timing for Truss Repairs in the GTA
Timing matters more than most homeowners realize. Attempting truss repairs during winter, when the roof carries active snow load and wood moisture content is at its lowest (making lumber more brittle), significantly increases risk. Late spring through early autumn — including right now, in the summer months — is the ideal window for attic work: snow load is gone, humidity has stabilized, and daylight hours give you more working time.
| Season | Conditions for Truss Work | Recommendation |
|---|---|---|
| Spring (Mar–May) | Melting snow load, high attic humidity | Inspect only; wait for drier conditions before repairs |
| Summer (Jun–Aug) | No snow load, stable humidity, extreme attic heat midday | Best window for DIY repairs; work early morning |
| Autumn (Sep–Nov) | Cooling temperatures, pre-winter prep season | Good for finishing repairs before snow returns |
| Winter (Dec–Feb) | Active snow load, brittle cold lumber, truss uplift visible | Avoid structural work; monitor only |
Since we’re squarely in that ideal summer window right now, this is a good time to get into the attic, do a thorough inspection using the checklist in Tip 1, and address any minor issues you find before autumn storms and winter snow loads put the system under stress again.
Documenting Your Repair for Future Reference and Insurance
Whatever DIY work you complete, document it thoroughly. Take dated photographs before, during, and after the repair, keep receipts for lumber and hardware, and note the exact truss location (measured from a reference point like the gable end or a specific roof plane). This record matters for three reasons: it helps a future professional understand what’s already been done if problems recur, it can support a home insurance claim if the original damage was storm-related, and it protects you if you sell the home and a buyer’s inspector flags the repaired area.
If you’ve had a professional assess the truss system at any point — even just for a second opinion — keep that report with your repair documentation. Our team can also provide a written condition summary after any inspection, which many homeowners find useful both for their own records and for real estate disclosure purposes down the road.
Is DIY roof truss repair safe to attempt on my own?
What is the best way to fix a cracked truss member myself?
How do I know if truss uplift needs repair or is just seasonal?
What tools do I need for basic truss repair work?
When should I call a professional instead of attempting DIY roof truss repair?
Is summer a good time to do truss repairs in Toronto?
Need Help With 4 DIY Roof Truss?
Minor truss maintenance is a reasonable weekend project for a careful homeowner, but knowing your limits is what keeps a small fix from becoming a structural liability. When you’re not sure whether what you’re looking at in your attic is cosmetic or serious, Universal Roofs can take a look and give you a straight answer.
Call us today at (416) 732-2421 or request a free inspection to get started. You can also read what other homeowners have said about our work on our reviews page or check our FAQ page for more answers about roof structure, repair scope, and pricing.
Universal Roofs proudly serves Toronto, Mississauga, Brampton, Vaughan, Markham, Oakville and the GTA since 2005.