
If you have heard scratching in the ceiling at dusk, found droppings scattered across the attic insulation, or noticed a sagging ridge line that just was not there last summer, the two problems are probably related. Damaged or weakened roof trusses do not just threaten the structural integrity of your home — they open the door, quite literally, to squirrels, raccoons, mice, and even bats looking for a dry, warm place to nest. A gap as small as a toonie is enough for a mouse, and a gap the size of a fist will let a squirrel right in.
At Universal Roofs, we have spent nearly two decades inspecting attics across the GTA, and we consistently see the same pattern: a small truss crack or a rotted gusset plate goes unnoticed for a season, water intrudes, wood softens further, and local wildlife exploit the opening long before the truss ever fails structurally. Repairing the truss and pest-proofing the attic really are the same job when you approach it correctly.
This guide walks through 10 essential roof truss repair tips that specifically address attic pest control, written for homeowners across Toronto, Mississauga, Vaughan, Markham, Oakville, and the rest of the Greater Toronto Area. We will cover how to identify truss damage caused by pests, the repair methods that actually hold up through our freeze-thaw winters, materials comparisons, realistic cost ranges, and when a problem has moved past a DIY fix and needs a licensed contractor.
Why Roof Truss Damage and Attic Pests Go Hand in Hand
Roof trusses are the triangular wood framework that holds up your roof deck and shingles, and they are engineered as a system — every chord, web member, and gusset plate shares the load with its neighbours. When one truss component is compromised, the load redistributes to adjacent members, which is exactly why a “small” truss problem rarely stays small for long.
Pests accelerate this cycle in three distinct ways. First, rodents and squirrels gnaw at wood, insulation, and even wiring to keep their teeth from overgrowing, and softened or water-damaged truss members are their preferred target because the wood is easier to chew. Second, nesting material (leaves, insulation, droppings) traps moisture against the wood, which invites rot and, eventually, carpenter ants that hollow out the truss chords from the inside. Third, the entry points pests use — gaps at the fascia, soffit, or ridge vent — are frequently the very same spots where water has already been getting in and softening the truss connections.
If you are seeing pest activity in the attic, do not treat it as a pest-only problem. Have the truss system checked at the same time, ideally by a roofer who understands both structural repair and how animals actually breach a roof assembly.
Tip 1: Identify the Warning Signs of Truss Damage Early
Most homeowners do not go into their attic often, so truss problems are usually discovered by accident or during an unrelated roof repair visit. Look for these signs on your next attic check, ideally each spring and fall:
- A visible sag or dip along the ridge line when viewed from the street
- Cracked, split, or delaminated gusset plates at truss joints
- Daylight visible through the roof deck at the eaves or ridge
- Water stains, dark streaking, or soft, spongy wood on truss chords
- Scattered insulation, chewed wood shavings, or rodent droppings near truss connections
- A musty, ammonia-like odour, which usually indicates an active rodent nest
Catching these signs early is the single biggest factor in keeping a repair affordable. A cracked gusset plate found in year one might cost a few hundred dollars to sister and reinforce; the same crack left for three winters of freeze-thaw cycling can spread into the adjacent chord and require a full truss replacement.
Tip 2: Seal Entry Points Before You Repair, Not After
It might seem logical to repair the truss first and seal gaps second, but that sequence almost always backfires. If pests still have an open route into the attic while repairs are underway, they will simply relocate to the freshly repaired section, or re-chew new entry points around your patch.
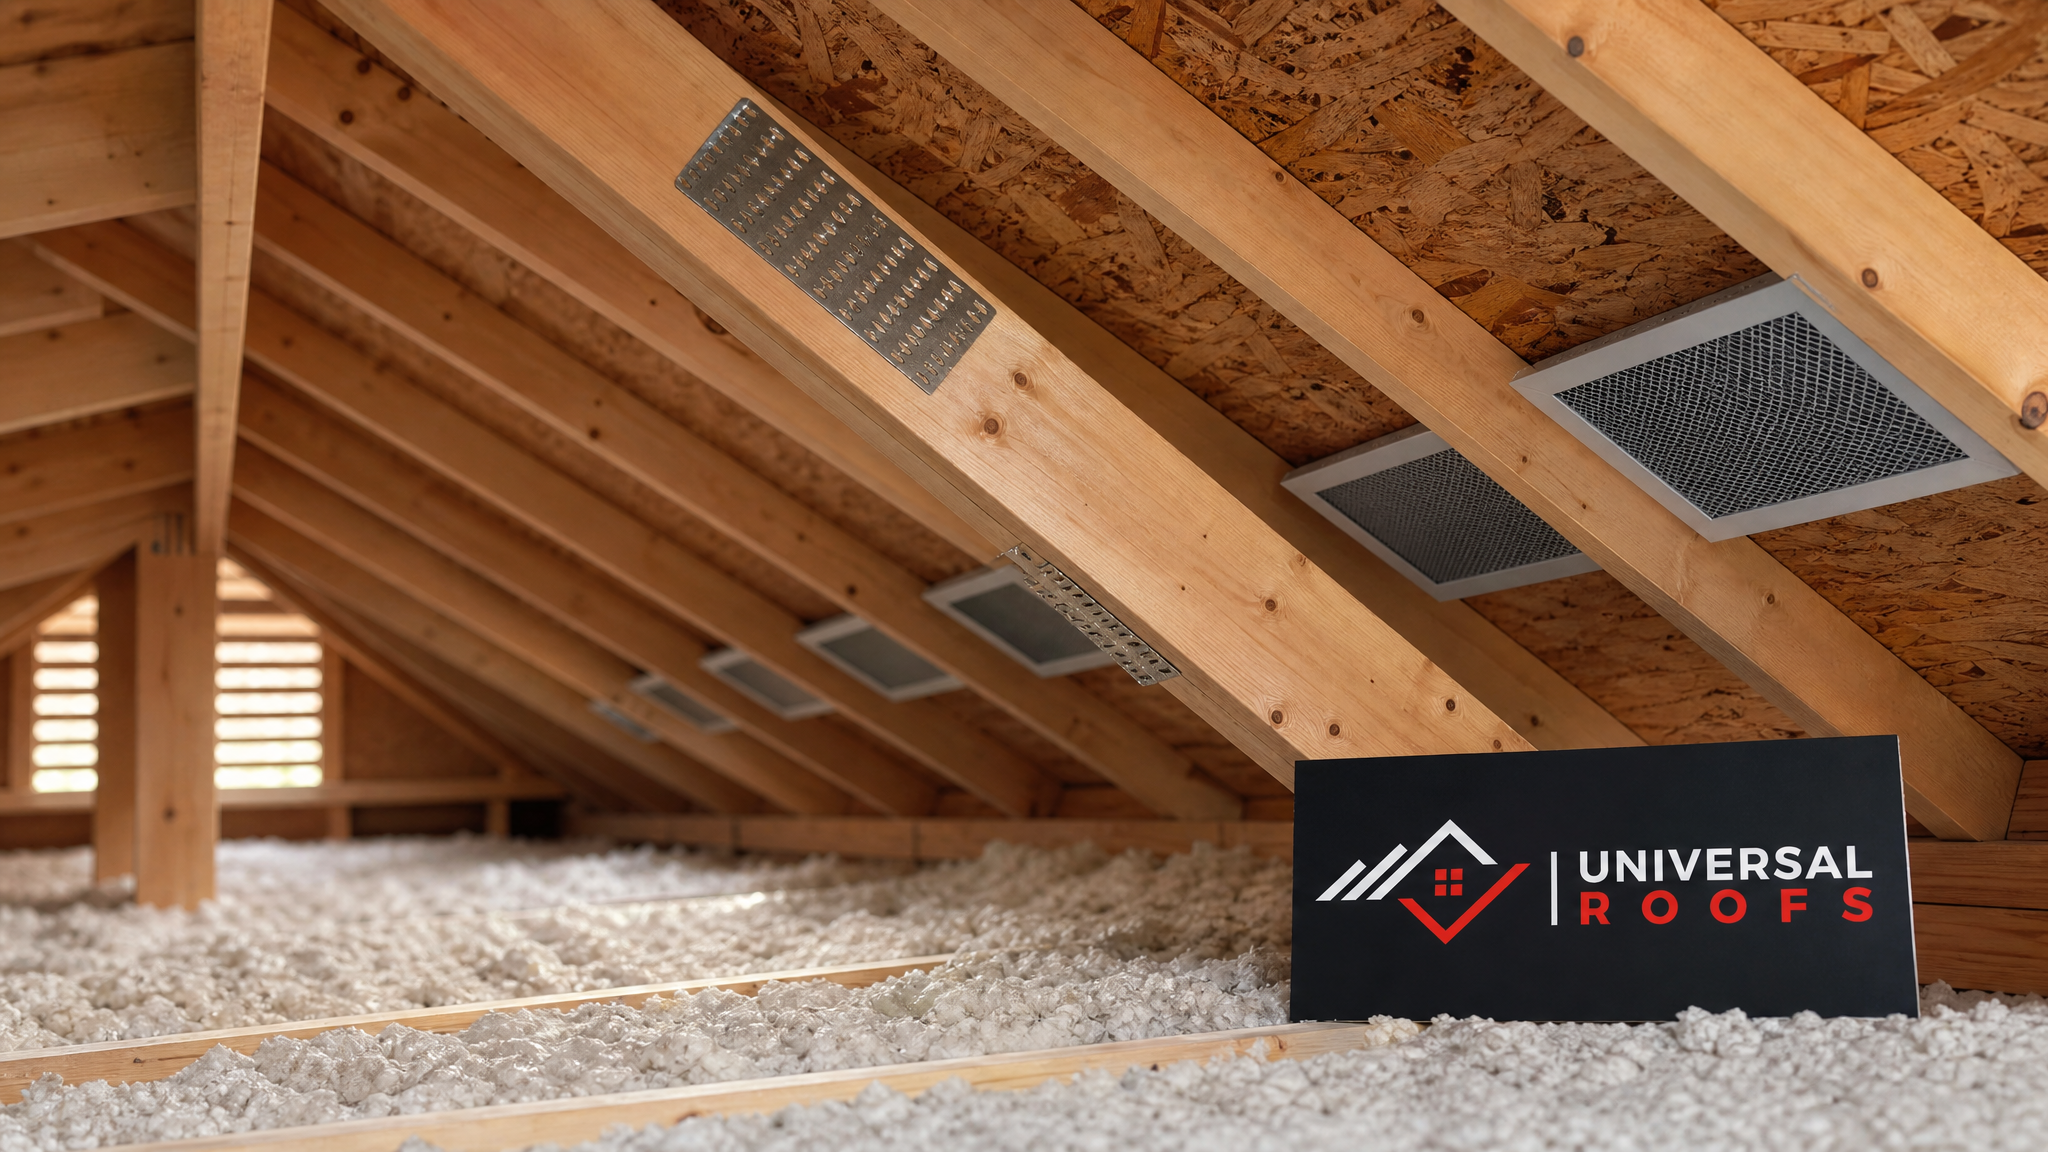
Common entry points we find during truss inspections across the GTA include gaps where the fascia board has pulled away from the truss tails, soffit vents with torn or missing screens, gaps around plumbing stacks and roof penetrations, and warped drip edge flashing at the eaves. Steel mesh (never plastic mesh, which squirrels chew through in minutes) should be installed at every soffit and ridge vent opening. Gaps larger than 6 mm around penetrations should be filled with copper mesh or expanding foam rated for exterior use, then capped with proper flashing.
Only once the attic is sealed against re-entry should you move on to the structural truss repair itself.
Tip 3: Choose the Right Repair Method for the Type of Damage
Not every damaged truss needs to be replaced, and not every crack can be safely sistered. The right method depends on where the damage sits on the truss and how much of the original wood section remains sound.
| Damage Type | Recommended Repair Method | Typical Materials | When It’s Appropriate |
|---|---|---|---|
| Chewed or gnawed surface damage | Surface patch and seal | Wood filler, epoxy consolidant | Damage under 20% of member width |
| Cracked chord or web member | Sistering (bolt a new member alongside) | Matching dimensional lumber, structural screws | Crack runs less than half the member length |
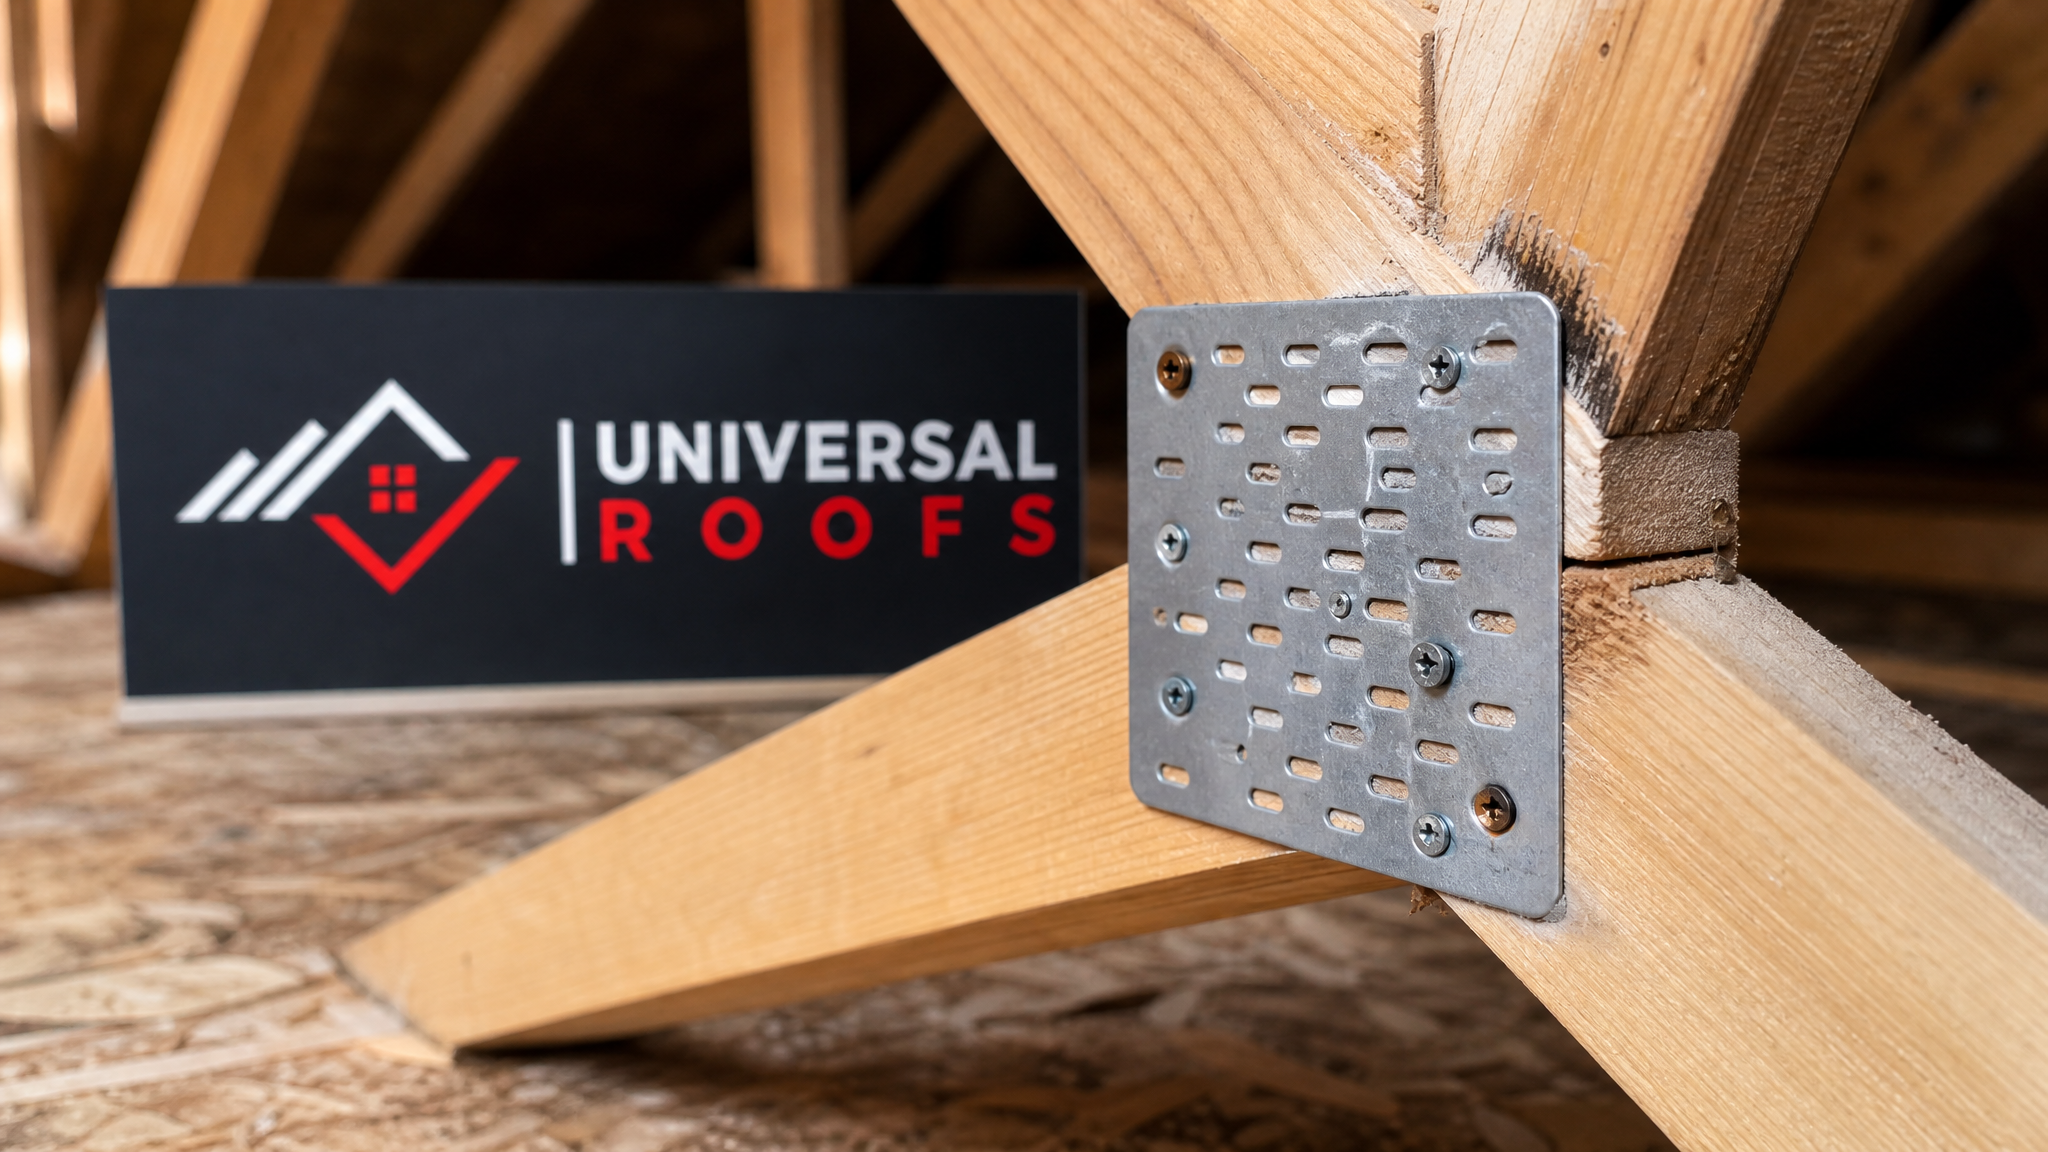
| Split or failed gusset plate | Gusset plate replacement | Plywood or metal gusset plates, construction adhesive | Joint connection has visibly separated |
| Rot from prolonged moisture exposure | Section removal and splice | Pressure-treated splice lumber, epoxy consolidant | Wood is soft, spongy, or crumbling |
| Full truss failure or multiple compromised members | Complete truss replacement | Engineered replacement truss | Structural sag or more than 40% section loss |
Sistering is the most common repair we perform on pest-damaged trusses because rodent gnawing tends to concentrate on one chord rather than destroying the whole assembly. A sistered member is bolted directly alongside the damaged one, spanning well past the damage on both sides, which restores the load path without needing to remove the original truss.
Tip 4: Use Pest-Resistant Materials Wherever the Truss Is Exposed
Standard dimensional lumber is fine for interior structural members that stay dry and out of reach, but any repair near a soffit, eave, or vent opening should use materials that discourage future gnawing and resist moisture, since that combination is what attracts pests in the first place.
| Material | Pest Resistance | Moisture Resistance | Best Use in a Truss Repair |
|---|---|---|---|
| Untreated spruce/pine/fir (SPF) lumber | Low | Low | Interior sistering away from moisture and vent openings |
| Pressure-treated lumber | Moderate | High | Splices near eaves, soffits, or areas with prior water intrusion |
| Steel gusset plates | Very high | High (if coated) | Reinforcing joints in high pest-activity attics |
| Galvanized steel mesh (entry points) | Very high | High | Sealing vent and soffit openings adjacent to repaired trusses |
| Epoxy wood consolidant | High once cured | High | Stabilizing soft or partially rotted wood before sistering |
Steel gusset plates are worth the modest upcharge over plywood gussets in any attic with a documented rodent or squirrel history, since animals cannot chew through them the way they can chew through plywood over time.
Tip 5: Never Cut Structural Members to “Make Room” for Repairs or Ductwork
One of the most common mistakes we see — sometimes from well-meaning DIYers, sometimes from previous pest control technicians running bait lines or vent fans — is notching or cutting into a truss chord to route wiring, ductwork, or a repair patch. Trusses are engineered as a complete triangulated system, and every chord and web member is sized for the exact load path the engineer calculated. A single unauthorized cut can drop the load-bearing capacity of that truss by a significant margin and force adjacent trusses to compensate, which is often how a “pest control fix” quietly turns into a structural emergency.
If ductwork, ventilation fans, or wiring genuinely need to pass through the truss space, route them through the open web triangles rather than through the chords, or consult an engineer about a properly designed reinforcement if a cut is unavoidable. This is one of the few rules in attic work that has zero exceptions.
Tip 6: Address the Insulation and Vapour Barrier at the Same Time
Pest damage to trusses rarely happens in isolation from insulation damage. Rodents tunnel through batts and loose-fill insulation to build nests, compressing it and destroying its R-value, while droppings and urine contaminate the material and create a genuine health hazard. Any truss repair project is the ideal time to also address the attic insulation, because you already have full access to the space.
Remove and safely dispose of any insulation with visible contamination, following standard biohazard handling practices for rodent droppings (spray with a disinfectant solution before disturbing, wear a properly rated respirator, and never dry-sweep or vacuum without a HEPA filter). Once the truss repair is complete and entry points are sealed, replace insulation to at least the current Ontario Building Code recommended level, and confirm the vapour barrier is continuous, since gaps in the vapour barrier are what allow warm, moist interior air to condense on the underside of the roof deck and soften truss connections from above.
Tip 7: Understand How the GTA Climate Accelerates Truss and Pest Problems
Toronto’s climate is uniquely hard on attic assemblies. We see roughly 60 to 70 freeze-thaw cycles per winter, and each cycle expands and contracts any moisture trapped in truss wood, gradually widening cracks that started as hairline splits. That same freeze-thaw cycling also creates ice damming at the eaves, which forces meltwater backward under the shingles and directly onto the truss tails and fascia — precisely the zone where squirrels and raccoons already look for entry.
Summer brings its own pressure. High humidity combined with poor attic ventilation raises the moisture content of truss wood even without an active leak, and warm attic temperatures are exactly when raccoons look for a denning site to raise young. If you are reading this in July, now is actually the ideal window to complete truss repairs and pest-proofing before the fall migration of rodents seeking winter shelter begins in earnest.
Homeowners across Toronto, the Peel Region, York Region, Halton Region, and Durham Region all deal with this same freeze-thaw and humidity cycle, so the timing advice holds across the whole GTA.
Tip 8: Know the Realistic Cost Ranges Before You Budget
Cost is one of the first questions every homeowner asks, and it varies significantly with the extent of damage and how many trusses are affected. These figures reflect typical GTA pricing for 2026 and assume the attic is accessible without major demolition.
| Repair Scope | Typical Cost Range (CAD) | Typical Timeline |
|---|---|---|
| Single gusset plate replacement | $250 – $600 | Half day |
| Sistering one or two damaged chords | $600 – $1,800 | 1 day |
| Entry point sealing (soffit, ridge, penetrations) | $400 – $1,200 | 1 day |
| Multi-truss sistering with insulation replacement | $2,500 – $6,000 | 2 – 4 days |
| Full truss replacement (per truss) | $1,200 – $3,000+ | 1 – 2 days per truss |
These ranges assume straightforward attic access. Steep roof pitches, limited attic clearance, or extensive contamination that requires professional biohazard remediation before repair work can begin will push costs toward the higher end of each range. Getting a written, itemized quote after an in-person inspection is the only reliable way to budget accurately — ballpark phone estimates for truss work are rarely accurate because so much depends on what is actually found once the insulation is pulled back.
Tip 9: Do Not Overlook the Roof Deck and Shingles Above the Repair
A truss repair addresses the framework, but if the original cause of the damage was a leak, the roof deck and shingle assembly above that truss need attention too, or you will simply repeat the same failure. Inspect the roof deck from inside the attic for daylight, staining, or soft plywood directly above any repaired truss section. If the deck itself is compromised, it typically needs a localized deck replacement before new shingles go down.
This is also a sensible time to evaluate whether your broader roof replacement timeline needs adjusting. A roof nearing the end of its service life that is already causing truss damage from leaks is usually more cost-effective to replace than to keep patching piecemeal. If your home has a flat roofing section over an addition or garage, check that assembly separately, since flat roof drainage issues create a very different (and often faster) path to truss and deck damage than a sloped asphalt shingle roof.
Skylights are another common leak source that leads to truss damage nearby, since the framing around a skylight curb concentrates water flow. If you have an older skylight near the affected truss, have it inspected, and consider skylight replacement if the curb flashing has failed.
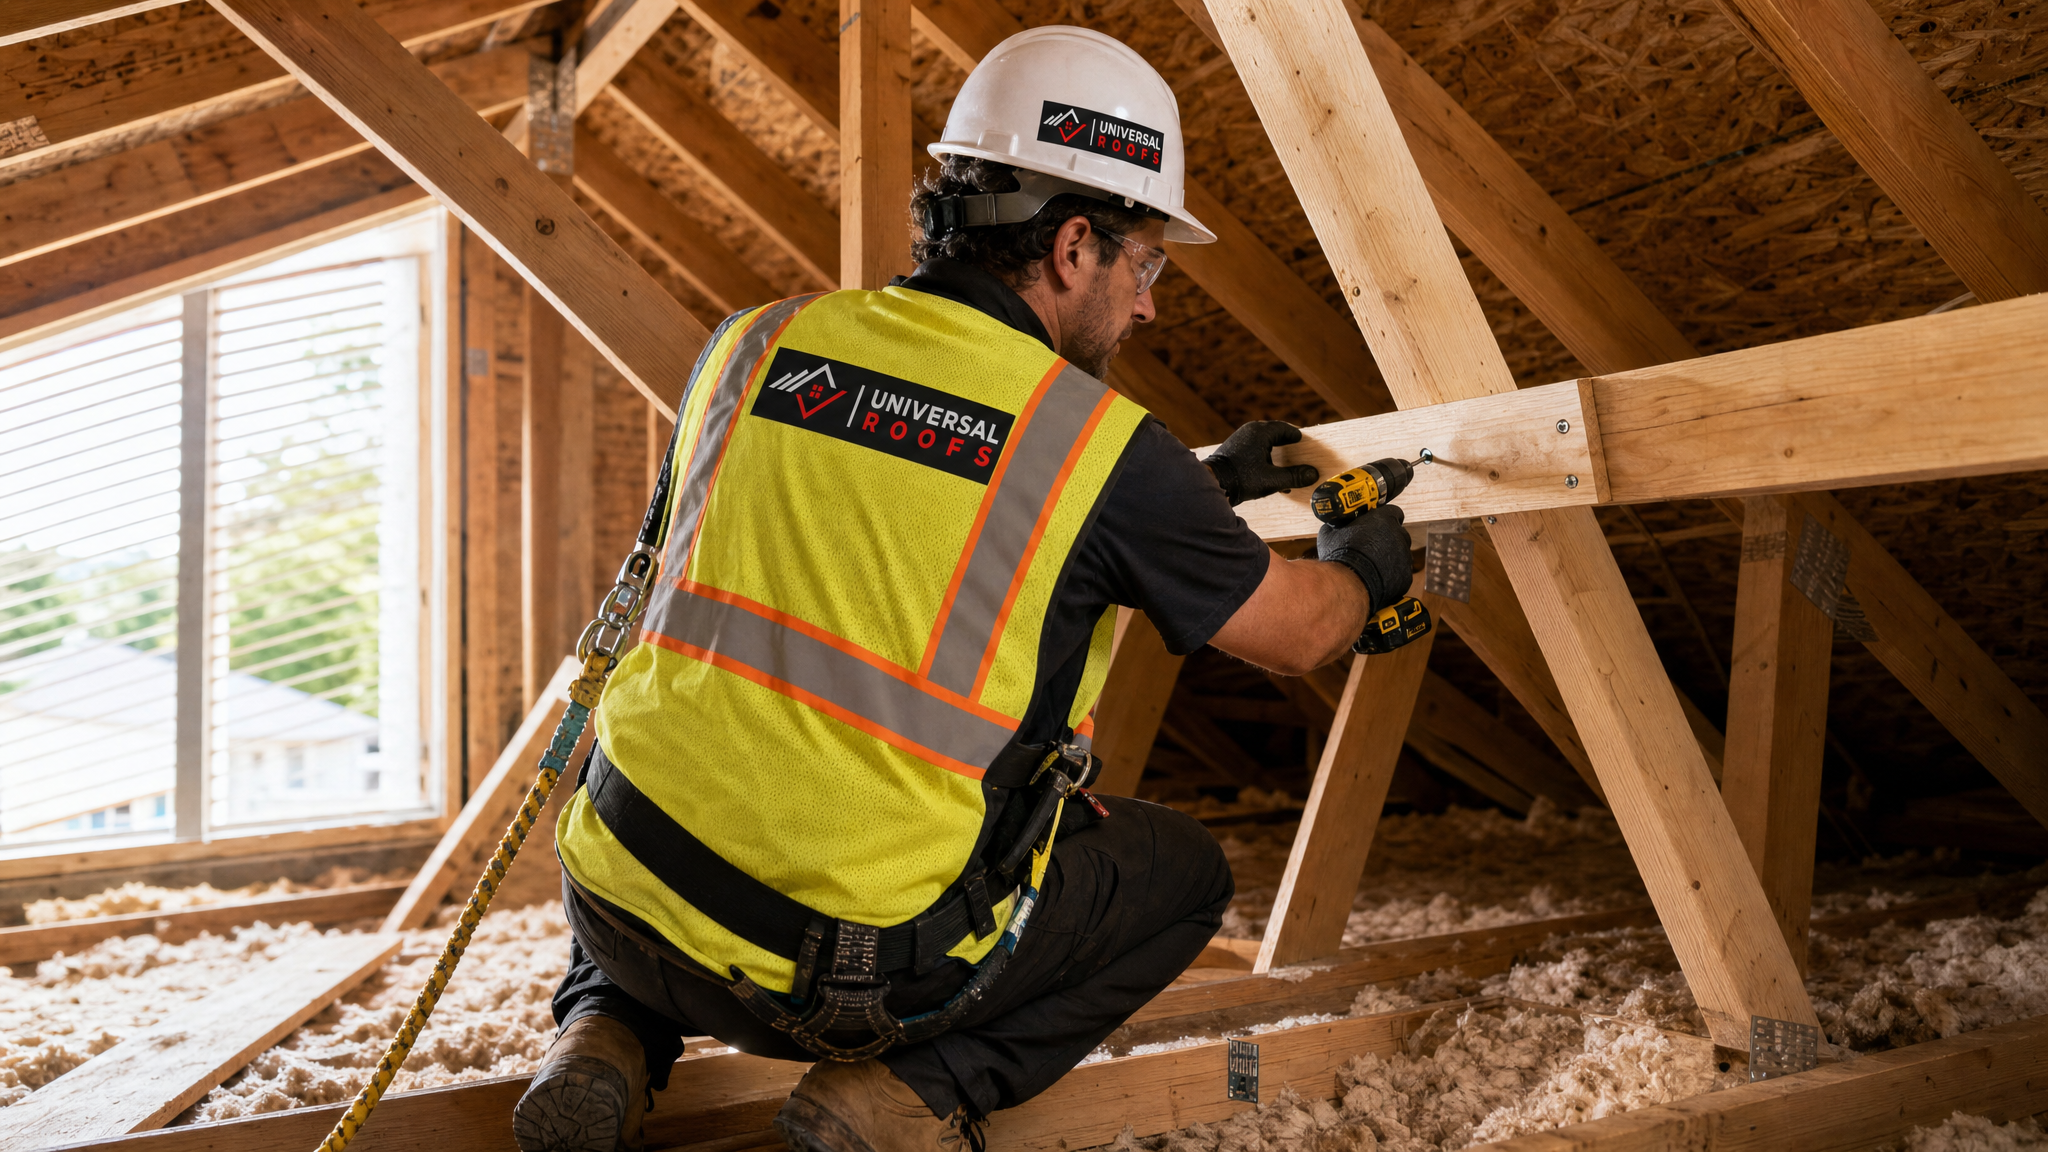
Tip 10: Know When to Call a Licensed Contractor Instead of DIYing It
Sealing a small gap with steel mesh or patching minor surface gnawing on an accessible chord is reasonable for a handy homeowner. Structural truss work is not, for a few concrete reasons: working safely at height on a truss system requires fall protection and an understanding of load paths that most homeowners simply do not have, incorrect sistering can leave a truss looking repaired while still failing under snow load, and disturbing rodent droppings without proper protective equipment carries a genuine health risk (including hantavirus in rare cases).
| Situation | DIY Appropriate? | Why |
|---|---|---|
| Sealing a small soffit gap with steel mesh | Yes | Low risk, no structural load involved |
| Removing light, uncontaminated dust in attic | Yes, with a mask | Minimal exposure risk |
| Sistering a cracked truss chord | No | Requires correct fastener spacing and load calculation |
| Replacing a gusset plate | No | Improper plate sizing can leave the joint under-supported |
| Cleaning contaminated insulation with droppings | No | Requires respirator and biohazard protocol |
| Any visible structural sag along the ridge | No | Indicates advanced, systemic truss failure |
If you see any of the “No” situations above in your attic, it is time to bring in a roofer who can evaluate the truss system, coordinate with a licensed pest control operator if an active infestation is present, and repair both problems in the same visit rather than treating them separately.
Putting It All Together: A Simple Attic Maintenance Routine
Most of the truss and pest problems described above are preventable with a short seasonal routine. Twice a year, ideally in spring and again in fall before the weather turns, walk your attic with a flashlight and check the ridge line, the truss chords near the eaves, and the condition of your vent screens. Look outside at the same time for sagging rooflines, missing or lifted shingles, and any gaps at the fascia. If you spot anything from the warning signs list in Tip 1, do not wait for the next scheduled inspection — a quick call now is almost always cheaper than a repair delayed by another season of freeze-thaw cycling and pest activity.
Our team has been doing exactly this kind of combined structural and access-point work across the GTA since 2005, and the pattern holds true on nearly every service call: the homes with the fewest problems are the ones where small truss and entry-point issues get addressed the first time they are noticed, not the third.
What are the most essential roof truss repair tips for attic pest control?
Can a damaged roof truss actually let pests into the attic?
How much does roof truss repair for attic pest control typically cost in the GTA?
Should I seal pest entry points or repair the truss first?
Can I sister a damaged truss myself instead of hiring a contractor?
Does Toronto’s climate make truss repair and pest control more urgent?
Need Help With 10 Essential Roof Truss?
Whether you are dealing with a single cracked gusset plate or a full attic infestation tied to truss damage, Universal Roofs can inspect the structure, repair the trusses correctly, and seal off the entry points so the problem does not come back.
Call us today at (416) 732-2421 or request a free inspection to get started.
Universal Roofs proudly serves Toronto, Mississauga, Brampton, Vaughan, Markham, Oakville and the GTA since 2005.