
A skylight leak rarely stays a small problem for long. What starts as a faint water stain on the drywall around the shaft can, within a season or two, spread into rot on the wood framing and, in the worst Toronto-area cases, actual damage to the roof truss itself — the structural member holding up that section of your roof. If you searched for solutions for skylight leak roof truss repair, you already know the stakes are higher than a simple caulk job. This guide walks through the ten most effective, contractor-tested solutions, ranked from quick fixes to full structural repairs, so you can figure out exactly what your home needs before the next heavy rain or spring melt finds its way in again.
We have been repairing skylights, flashing failures, and the truss damage they cause across the Greater Toronto Area since 2005, and the pattern is always the same: homeowners notice the stain long after the water has already been working on the wood underneath. Toronto’s freeze-thaw winters and heavy spring rains are particularly hard on skylight seals, which is why this topic gets so many searches every year from people trying to understand whether they are looking at a $200 fix or a $5,000 one.
Below, we break down each solution, when it applies, what it costs, and how to tell which one your home actually needs.
How a Skylight Leak Turns Into a Truss Problem
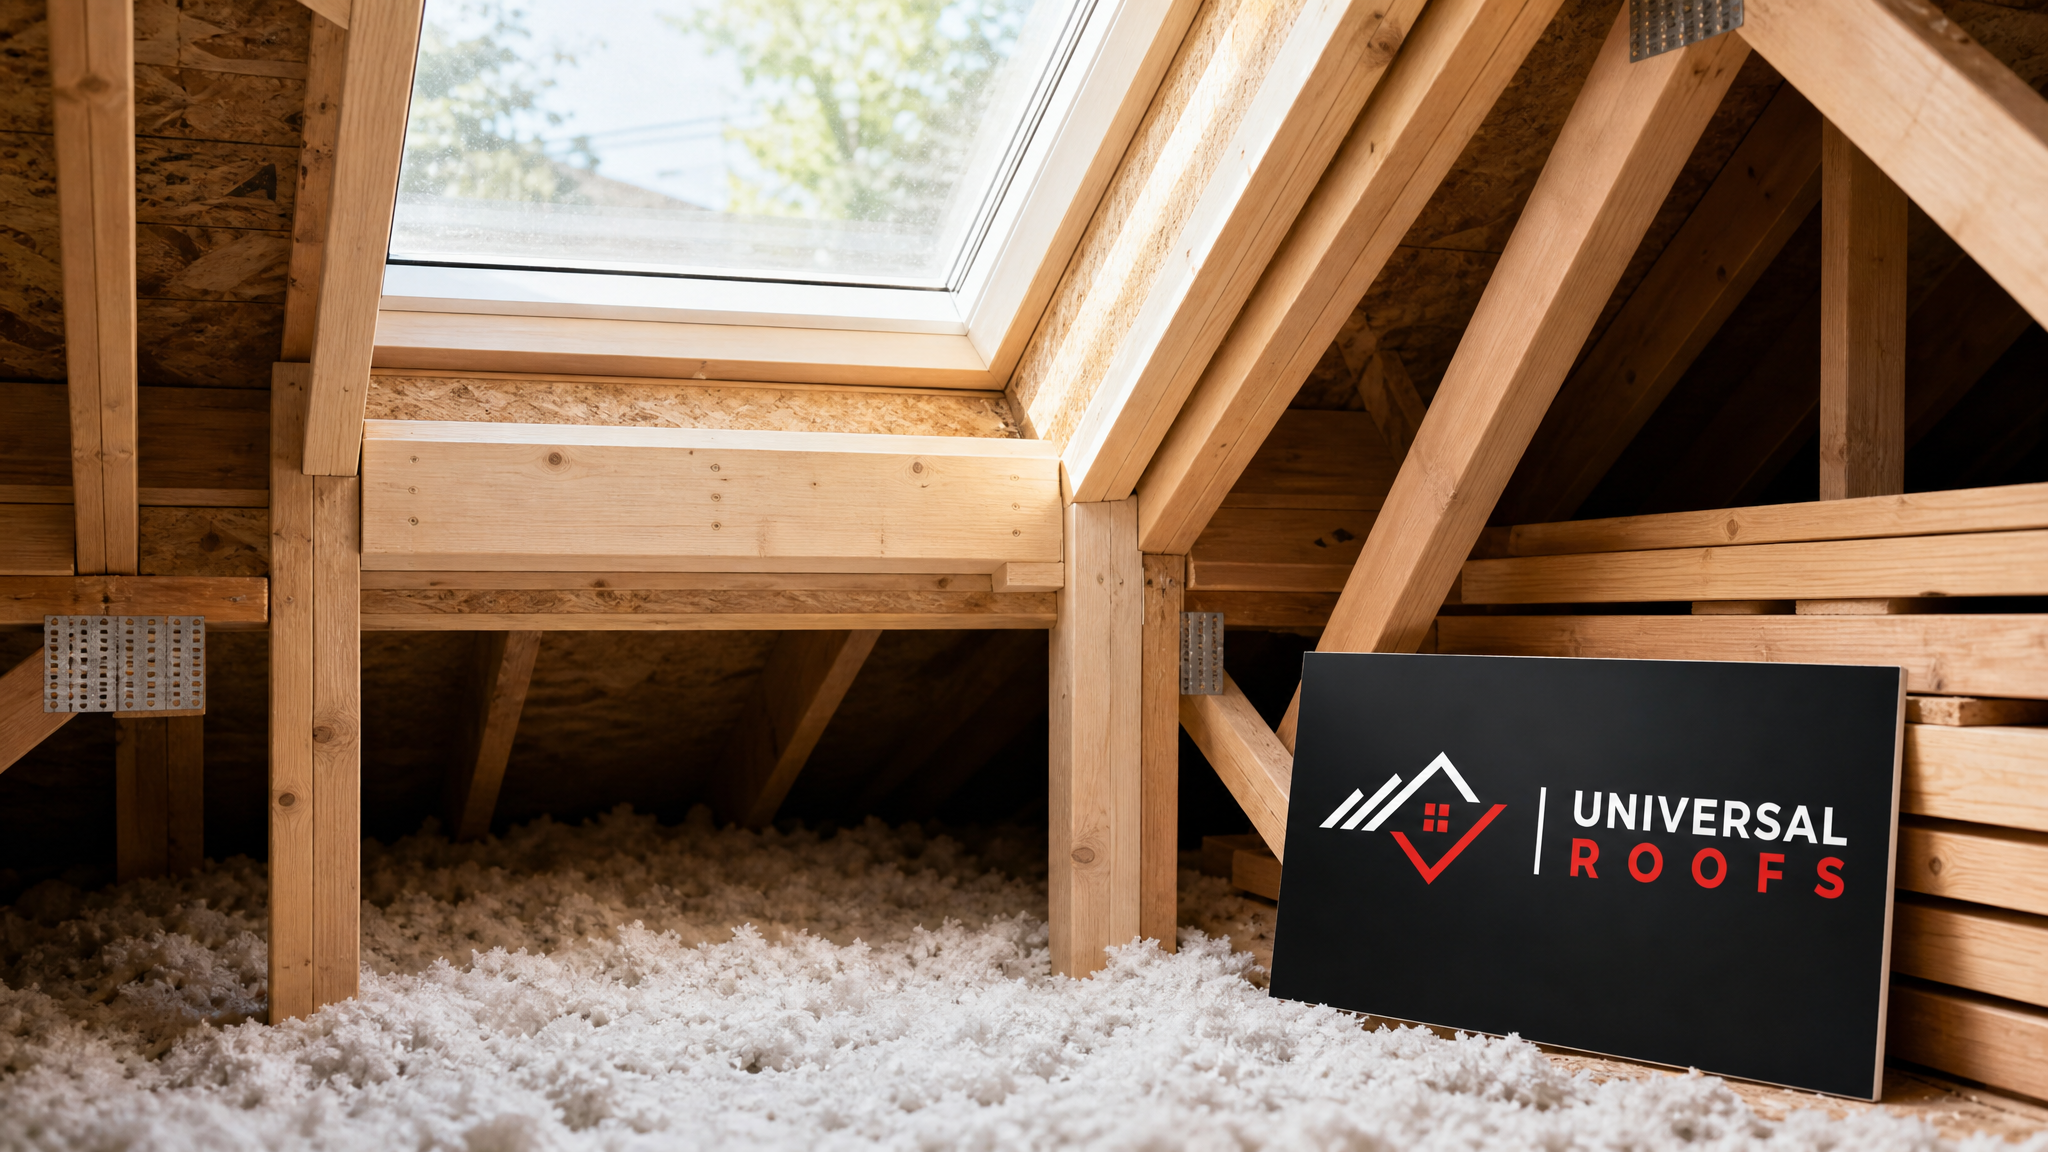
It helps to understand the mechanism before jumping into solutions. A skylight is essentially a hole cut into your roof deck and truss system, then framed and sealed with flashing. When that seal fails — usually at the flashing, the curb, or the glazing gasket — water finds the path of least resistance downward. In most homes, that path runs along the inside of the skylight shaft, across the drywall, and eventually onto the framing members that support the opening.
The truss members closest to a skylight (sometimes called jack trusses, headers, or trimmers depending on the framing style) are especially vulnerable because they sit directly against the cut in the roof deck. Chronic moisture exposure softens the wood fibres, invites rot fungi, and over years can reduce the load-bearing capacity of that member. This is why so many “just reseal it” jobs fail — they treat the water intrusion but ignore the structural damage already done underneath.
Our roof repair and skylights teams typically diagnose this in three steps: identify the water entry point at the roof surface, assess how far moisture has travelled into the framing, and determine whether the truss itself needs reinforcement or full replacement.
Solution 1: Re-Flash the Skylight Curb and Step Flashing
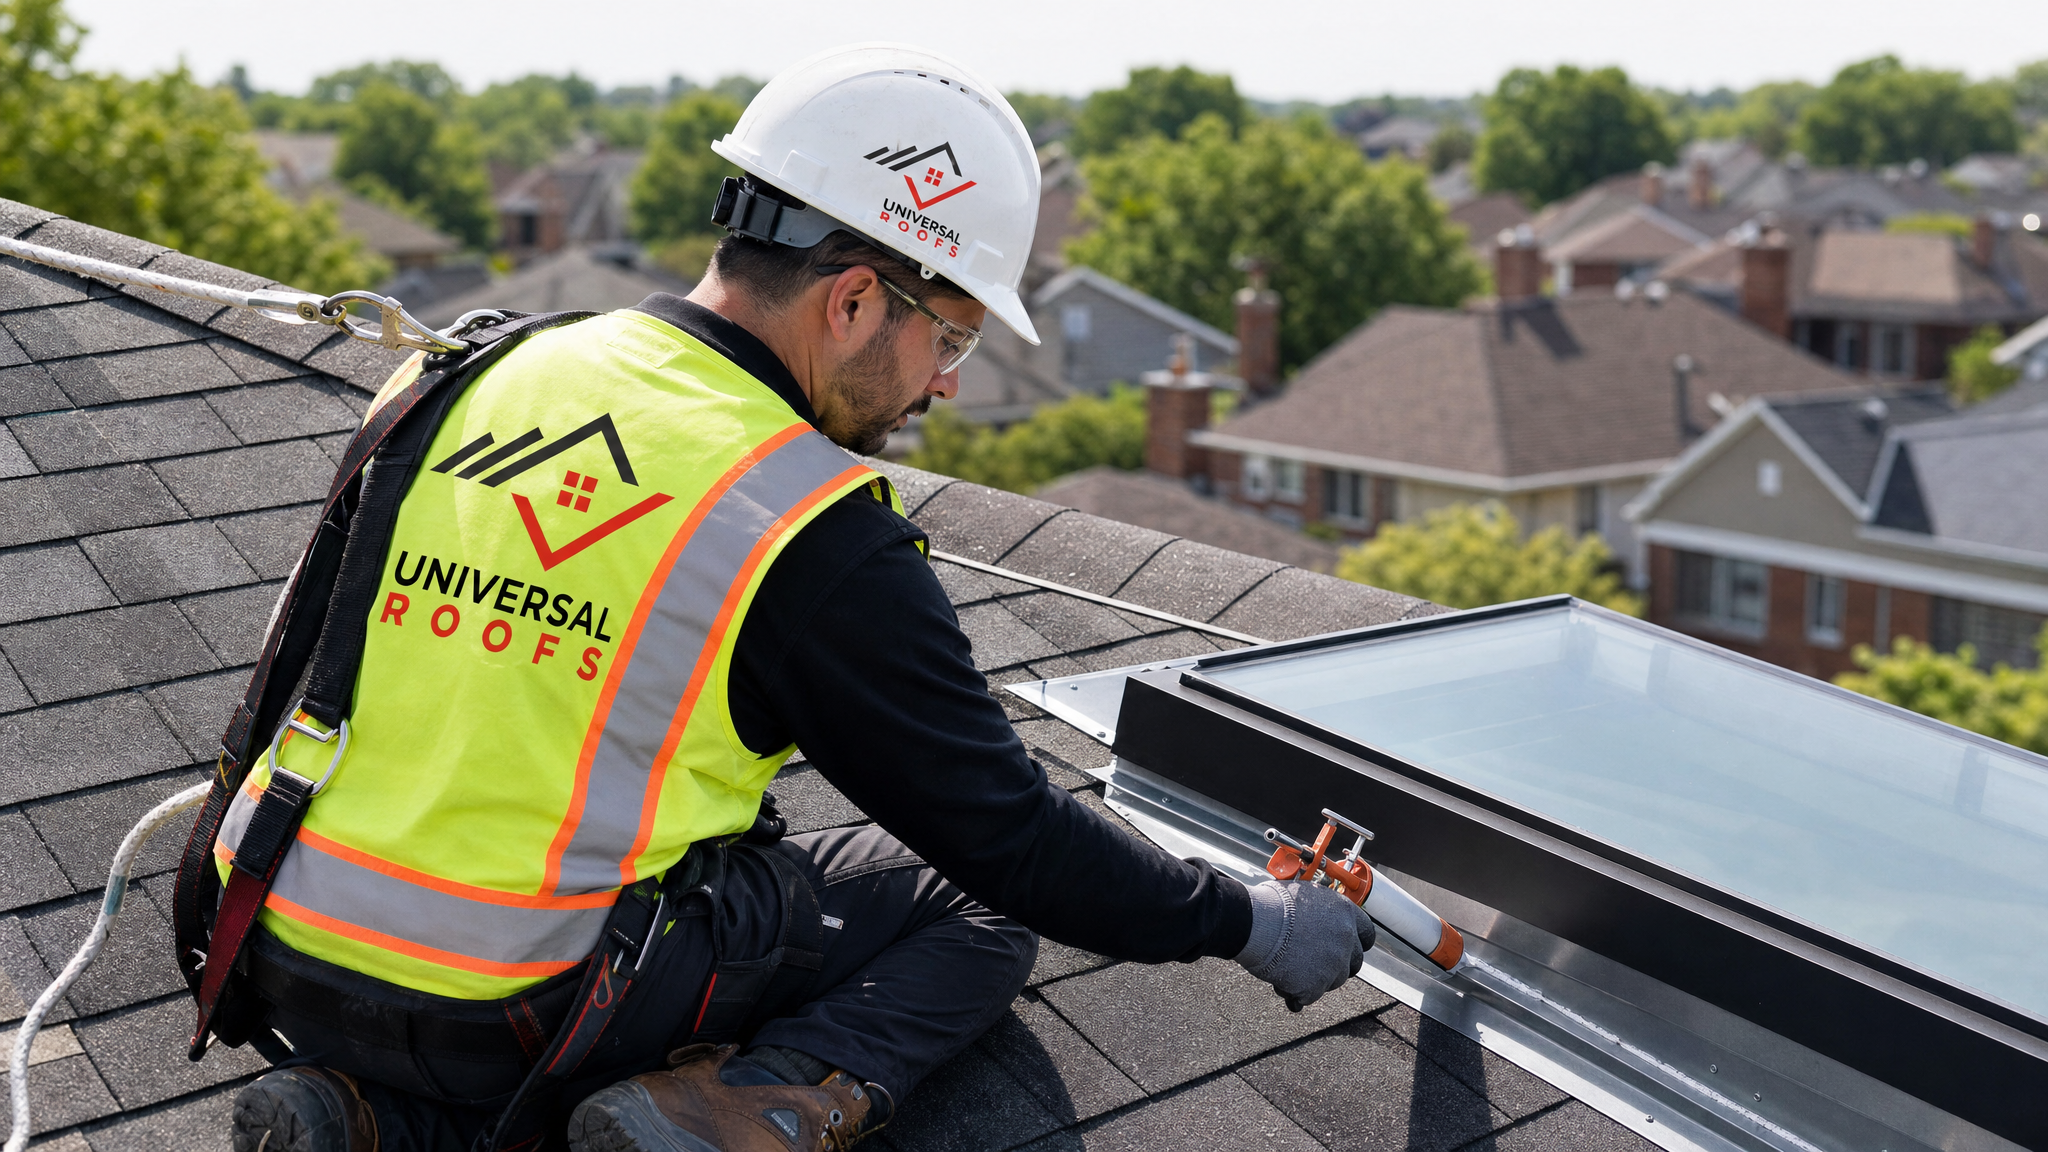
The single most common source of skylight leaks in the GTA is failed flashing, not the skylight unit itself. Aluminum step flashing and the counter-flashing around a curb-mounted skylight can pull away, corrode, or be improperly overlapped by whoever installed the roofing shingles. Over a Toronto winter, ice damming can lift flashing edges just enough to let meltwater seep behind them each spring.
Re-flashing involves removing the surrounding shingles, replacing the step flashing pieces in a proper shingle-over-flashing sequence, and installing new counter-flashing or a continuous head flashing above the skylight. This is a surface-level fix and, on its own, does nothing for a truss that has already been compromised — but it is the essential first step before any structural work, because there is no point repairing wood that will simply get wet again next season.
Solution 2: Replace Deteriorated Skylight Glazing Seals
On older skylight units, the rubber or silicone gasket around the glass panes hardens and cracks after 10 to 15 years of UV exposure and temperature swings. This lets water seep in around the glazing itself rather than at the roof flashing, which can fool homeowners into blaming the roof when the skylight unit is the actual culprit.
Replacing the gasket seal is a relatively affordable fix when caught early, and it is worth doing at the same time as any flashing work since both jobs require similar access. If your skylight is original to a home built before roughly 2010, our skylight replacement team generally recommends comparing the seal-replacement cost against a full unit swap, since a new skylight often carries a better warranty and improved energy performance.
Solution 3: Sister the Damaged Truss Member
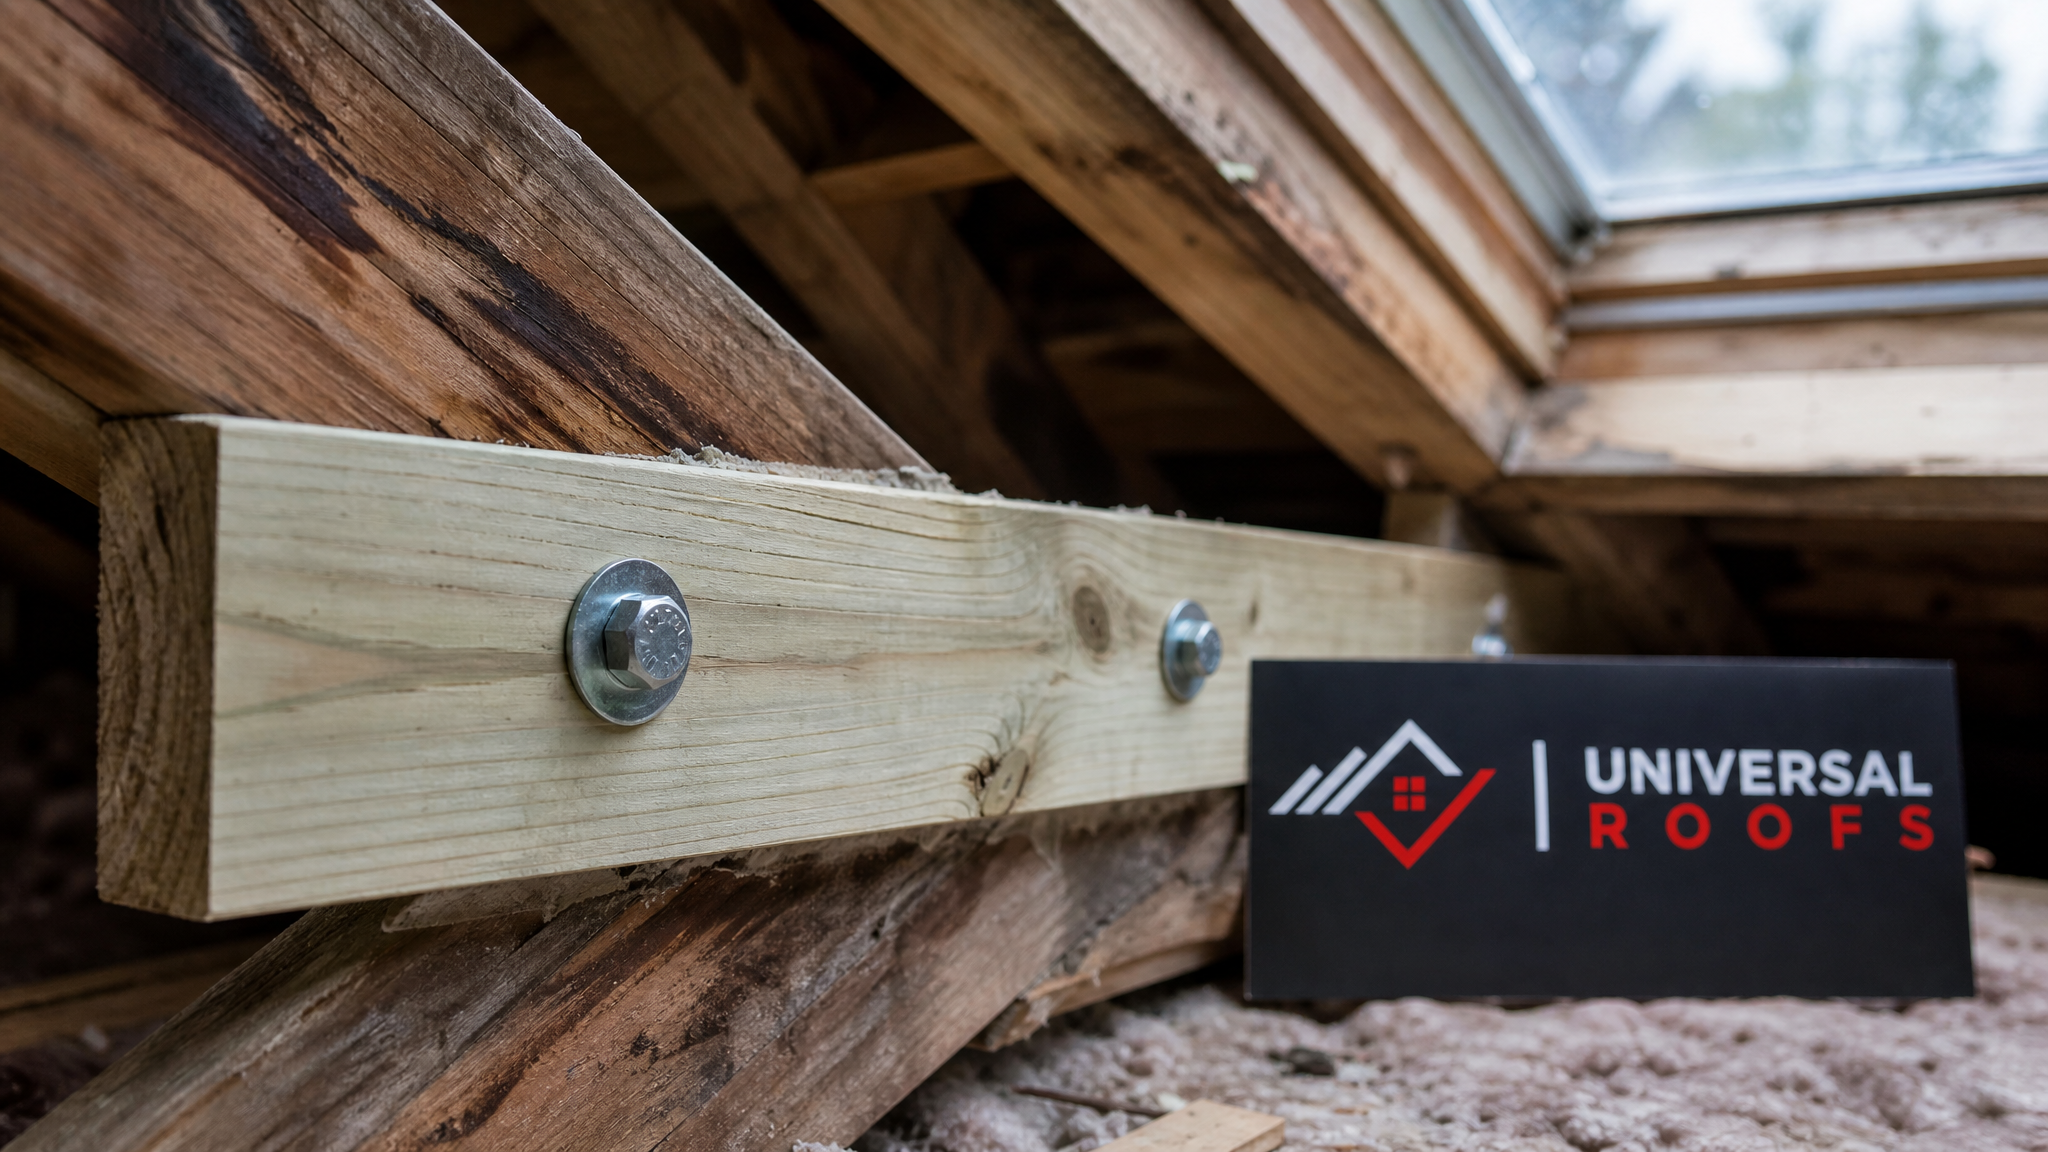
This is the core structural solution when the roof truss itself has soaked up moisture and softened, but has not failed outright. “Sistering” means bolting a new piece of lumber — matched in dimension and species — directly alongside the damaged truss chord, spanning well past the rotted section on both ends. The new member takes over the load-bearing job while the original stays in place as a nailing surface and partial support.
Sistering is favoured by structural engineers and roofing contractors alike because it is less invasive than removing and replacing an entire truss, and it can typically be completed from inside the attic without disturbing the exterior roofing beyond the immediate skylight opening. Bolt spacing, sister-board length, and lumber grade all need to follow local building code requirements, which is why this step should always be assessed by an experienced crew rather than attempted as a DIY weekend project.
Solution 4: Full Truss Section Replacement
When rot has progressed too far for sistering to safely restore structural capacity — usually when more than a third of the member’s cross-section is soft or crumbling — the damaged section needs to be cut out and replaced entirely. This typically requires temporary shoring to support the roof load while the old truss segment is removed, a new matching segment is fabricated and installed, and load paths are re-established with proper connector hardware.
Full truss replacement is the most invasive and costly item on this list, but it is also the only correct solution once wood damage passes a certain threshold. Attempting to sister a truss that is too far gone simply delays a more expensive failure later, and most home insurance policies will scrutinize whether repairs met code if a claim is ever filed down the road.
Solution 5: Address Attic Ventilation and Moisture Balance
Skylight leaks are sometimes made worse — or even partly caused — by poor attic ventilation rather than a pure roofing defect. Warm, moist household air that gets trapped in an attic condenses on the cold underside of the roof deck and skylight shaft during Toronto winters, adding a second moisture source that has nothing to do with rain or snowmelt. This condensation can soak into the same truss members already stressed by an exterior leak, compounding the damage.
Balancing intake and exhaust ventilation, checking that the skylight shaft is properly insulated and air-sealed where it meets the ceiling drywall, and confirming bathroom or kitchen exhaust fans are not venting into the attic are all steps worth taking alongside any truss repair. Our attic assessments frequently uncover this as a contributing factor that homeowners had never considered.
Solution 6: Install a Properly Sized Skylight Curb and Cricket
On skylights installed on lower-slope sections of roof, or ones positioned where snow and water naturally pool during Toronto winters, an undersized curb or the absence of a diverting cricket (a small peaked structure built behind the skylight to shed water and snow around it rather than against it) is a design flaw that will keep causing leaks no matter how many times the flashing is redone.
Rebuilding the curb to current code height and adding a cricket where drainage patterns call for one is a permanent fix for skylights that were undersized or poorly positioned during original construction. This solution pairs naturally with truss repair work since the curb sits directly on the truss framing being reinforced.
Solution 7: Replace Water-Damaged Roof Sheathing Around the Opening
Beyond the truss members themselves, the plywood or OSB sheathing immediately surrounding a leaking skylight often delaminates or softens from prolonged moisture exposure. Sheathing repair is a smaller-scale job than truss sistering but is frequently needed in the same repair scope, since compromised sheathing will not hold fasteners securely for new flashing or roofing material.
Cutting back sheathing to solid, dry wood and replacing it with matching-thickness panel, properly nailed to the truss framing, restores a solid base for the roofing assembly above. Skipping this step and simply reflashing over soft sheathing is one of the most common shortcuts that leads to a repeat leak within a year or two.
Solution 8: Upgrade to a Self-Flashing or Deck-Mounted Skylight Unit
Older curb-mounted skylights rely entirely on field-applied flashing craftsmanship, which introduces more opportunity for error than modern deck-mounted, self-flashing skylight units with integrated flashing kits engineered specifically for that model. If your home’s skylight leak has recurred more than once despite reflashing, upgrading to a self-flashing unit during the same repair visit often solves the recurring failure permanently.
This is also a natural point to evaluate glazing performance upgrades, such as double or triple-pane low-E glass, which reduce the condensation risk discussed in Solution 5 and improve year-round comfort in the room below.
Solution 9: Add Truss Reinforcement Hardware and Metal Connectors
In cases where the wood itself is sound but the original construction lacked adequate metal connectors at truss-to-header or truss-to-plate joints near the skylight opening, adding code-compliant hurricane ties, joist hangers, or gusset plates strengthens the connection without needing to replace or sister any lumber. This is a lower-cost structural solution that applies specifically when the failure mode is a weak connection rather than rotted wood.
An experienced contractor will check both possibilities during a single attic inspection, since connector reinforcement and wood sistering are sometimes needed together on the same truss.
Solution 10: Schedule Annual Preventive Skylight and Attic Inspections
The tenth and most cost-effective “solution” on this list is the one most homeowners skip: catching the problem before it reaches the truss at all. An annual inspection of skylight flashing, curb condition, glazing seals, and attic moisture levels — ideally done in late spring after winter freeze-thaw cycles have had their chance to loosen anything — catches minor flashing failures while they are still a $300 to $600 repair instead of a multi-thousand-dollar structural job.
We recommend homeowners in Toronto and the surrounding regions treat this the same way they treat furnace maintenance: a small, regular cost that prevents the expensive emergency.
Comparing the 10 Solutions by Cost and Scope
The table below gives a general sense of scope, typical cost range, and how invasive each solution is, based on jobs we have completed across the GTA. Actual pricing always depends on roof pitch, accessibility, and the extent of hidden damage found once the area is opened up.
| Solution | Typical Cost Range (CAD) | Invasiveness | Addresses Structural Damage? |
|---|---|---|---|
| 1. Re-flash curb and step flashing | $400 – $1,200 | Low (exterior only) | No |
| 2. Replace glazing seals | $250 – $700 | Low | No |
| 3. Sister damaged truss member | $800 – $2,500 | Moderate (attic access) | Yes |
| 4. Full truss section replacement | $2,500 – $6,500+ | High (shoring required) | Yes |
| 5. Attic ventilation correction | $500 – $1,800 | Moderate | Indirectly |
| 6. Rebuild curb / add cricket | $900 – $2,800 | Moderate to high | Partially |
| 7. Replace damaged sheathing | $400 – $1,500 | Moderate | Yes |
| 8. Upgrade to self-flashing unit | $1,200 – $3,500 | Moderate to high | No (prevents recurrence) |
| 9. Add connector hardware | $300 – $900 | Low to moderate | Yes |
| 10. Annual preventive inspection | $150 – $350 per visit | None | Prevention only |
Warning Signs That Point to Truss Involvement, Not Just a Surface Leak
Not every skylight leak has reached the truss. The table below helps distinguish a surface-level flashing problem from one that likely involves structural framing, so you know which solutions from the list above are realistic for your situation.
| Observation | Likely Surface Issue Only | Likely Truss Involvement |
|---|---|---|
| Staining pattern | Faint ring directly at skylight edge | Streaking extending along the shaft or ceiling |
| Drywall texture | Slight discolouration, firm to touch | Soft, spongy, or bulging drywall |
| Odour | None or faint | Persistent musty smell, especially after rain |
| Visible wood (if accessible) | Dry, original colour | Dark staining, softness, or visible fungal growth |
| Leak history | First occurrence, recent storm | Recurring leak over multiple seasons |
| Sagging or deflection | None | Slight dip or bounce in roofline near skylight |
Typical Repair Timeline by Solution Type
Homeowners often ask how long they will be without full use of the affected room. Timelines below assume typical GTA weather windows and standard attic access, and can extend if hidden damage is more extensive than expected.
| Repair Type | On-Site Time | Weather Dependency | Interior Disruption |
|---|---|---|---|
| Reflashing only | Half day to 1 day | Needs dry conditions | Minimal |
| Glazing seal replacement | Half day | Low | None |
| Truss sistering | 1 to 2 days | Low (mostly interior) | Moderate (attic access, some drywall) |
| Full truss replacement | 2 to 4 days | Moderate (shoring, exterior work) | Significant |
| Curb rebuild with cricket | 1 to 3 days | Needs dry conditions | Moderate |
How Universal Roofs Approaches a Combined Leak-and-Truss Repair
When a homeowner calls us about a skylight that has been leaking for a while, we do not treat it as a single job — we treat it as a diagnostic process. Our crews start on the exterior, checking flashing, curb height, shingle integration, and glazing condition around the skylight. From there, we move into the attic to physically inspect the truss members, sheathing, and insulation for signs of moisture damage, using moisture meters where needed to confirm how far water has actually travelled beyond what is visible.
Only once we understand the full scope do we recommend a specific combination of the solutions above. Sometimes that means a straightforward reflash and seal replacement. Other times it means sistering a truss member while also correcting the ventilation issue that made the wood vulnerable in the first place. We would rather walk a homeowner through an honest, sometimes larger estimate up front than have them pay for a patch job that fails again next spring.
For homes where the leak has been left unaddressed for multiple seasons, we also cross-check the rest of the roofing assembly, including any adjacent flat roofing sections that sometimes tie into the same truss system, since water can travel further through framing than it appears from inside a single room.
Preventing Recurrence After Repair
Once a truss repair and reflash are complete, a few habits go a long way toward making sure it stays fixed. Clear debris from around the skylight curb each fall before leaves and needles can dam meltwater against the flashing. Keep an eye on attic humidity levels, particularly in winter, since condensation is just as damaging as an external leak over time. And have the skylight and surrounding flashing checked during your regular roof replacement or maintenance visits rather than waiting for another visible stain to appear.
Homeowners across our service regions, including Toronto, Peel Region, York Region, Halton Region, and Durham Region, tend to see the best long-term results when they pair a structural truss repair with at least one preventive step from this list, whether that is improved ventilation, a curb rebuild, or a unit upgrade.
When to Call a Professional Instead of DIY-ing It
Sealant tubes and roofing cement can mask a leak for a season, but they cannot restore structural integrity to a softened truss, and working on a sloped roof around a skylight opening carries real fall risk without proper harness equipment and anchoring. If you have already noticed sagging, persistent odour, or recurring stains despite a previous repair attempt, it is time to bring in a crew that can assess the framing directly rather than continuing to treat symptoms at the surface.
You can also read what past clients have said about our truss and skylight repair work on our reviews page, or browse common questions on our FAQ page before booking an assessment. To learn more about our history and licensed crews, visit our about page.
What are the best solutions for skylight leak roof truss repair?
Can a rotted roof truss near a skylight be repaired without full replacement?
How do I know if my skylight leak has reached the roof truss?
Does attic ventilation affect skylight leaks and truss damage?
How much does skylight leak and roof truss repair cost in Toronto?
How can I prevent future skylight leaks after a truss repair?
Need Help With 10 Best Solutions for?
If you are seeing water stains, soft drywall, or a recurring leak around a skylight anywhere in your home, do not wait for it to reach the framing further. Universal Roofs has been diagnosing and repairing skylight leaks and the truss damage they cause across the GTA since 2005, and we will always tell you honestly whether you need a simple reflash or a full structural fix.
Call us today at (416) 732-2421 or request a free inspection to get started.
Universal Roofs proudly serves Toronto, Mississauga, Brampton, Vaughan, Markham, Oakville and the GTA since 2005.