
If you have ever stood in your attic after a spring downpour and spotted a damp ring spreading across the plywood, you already understand why roof sealing matters. A properly sealed roof is the difference between a system that shrugs off decades of Toronto weather and one that quietly lets water creep in through hairline gaps until the damage is too expensive to ignore. Roof sealing is not a single product or a single afternoon’s work; it is a category of repair and maintenance techniques that close off the vulnerable points where water, wind, and ice can find their way into a home.
Homeowners across the Greater Toronto Area ask us the same question every summer: what actually works? Between silicone coatings, elastomeric membranes, butyl tape, roofing cement, and full flashing replacement, the roofing aisle at any hardware store can feel overwhelming. Some of these methods are excellent long-term solutions. Others are short-term patches that buy you a season at best. This guide breaks down every major roof sealing method used on residential roofs in the GTA, explains where each one belongs, and gives you the information you need to decide whether a DIY tube of sealant will do the job or whether it is time to call in a professional.
At Universal Roofs, we have been sealing, repairing, and replacing roofs across Toronto since 2005, and freeze-thaw cycles here are uniquely hard on sealant joints. What holds up in a milder climate often fails within two winters in Toronto because our temperature swings from minus 20 to plus 30 degrees Celsius stress every seam on a roof. That local experience shapes everything in this article.
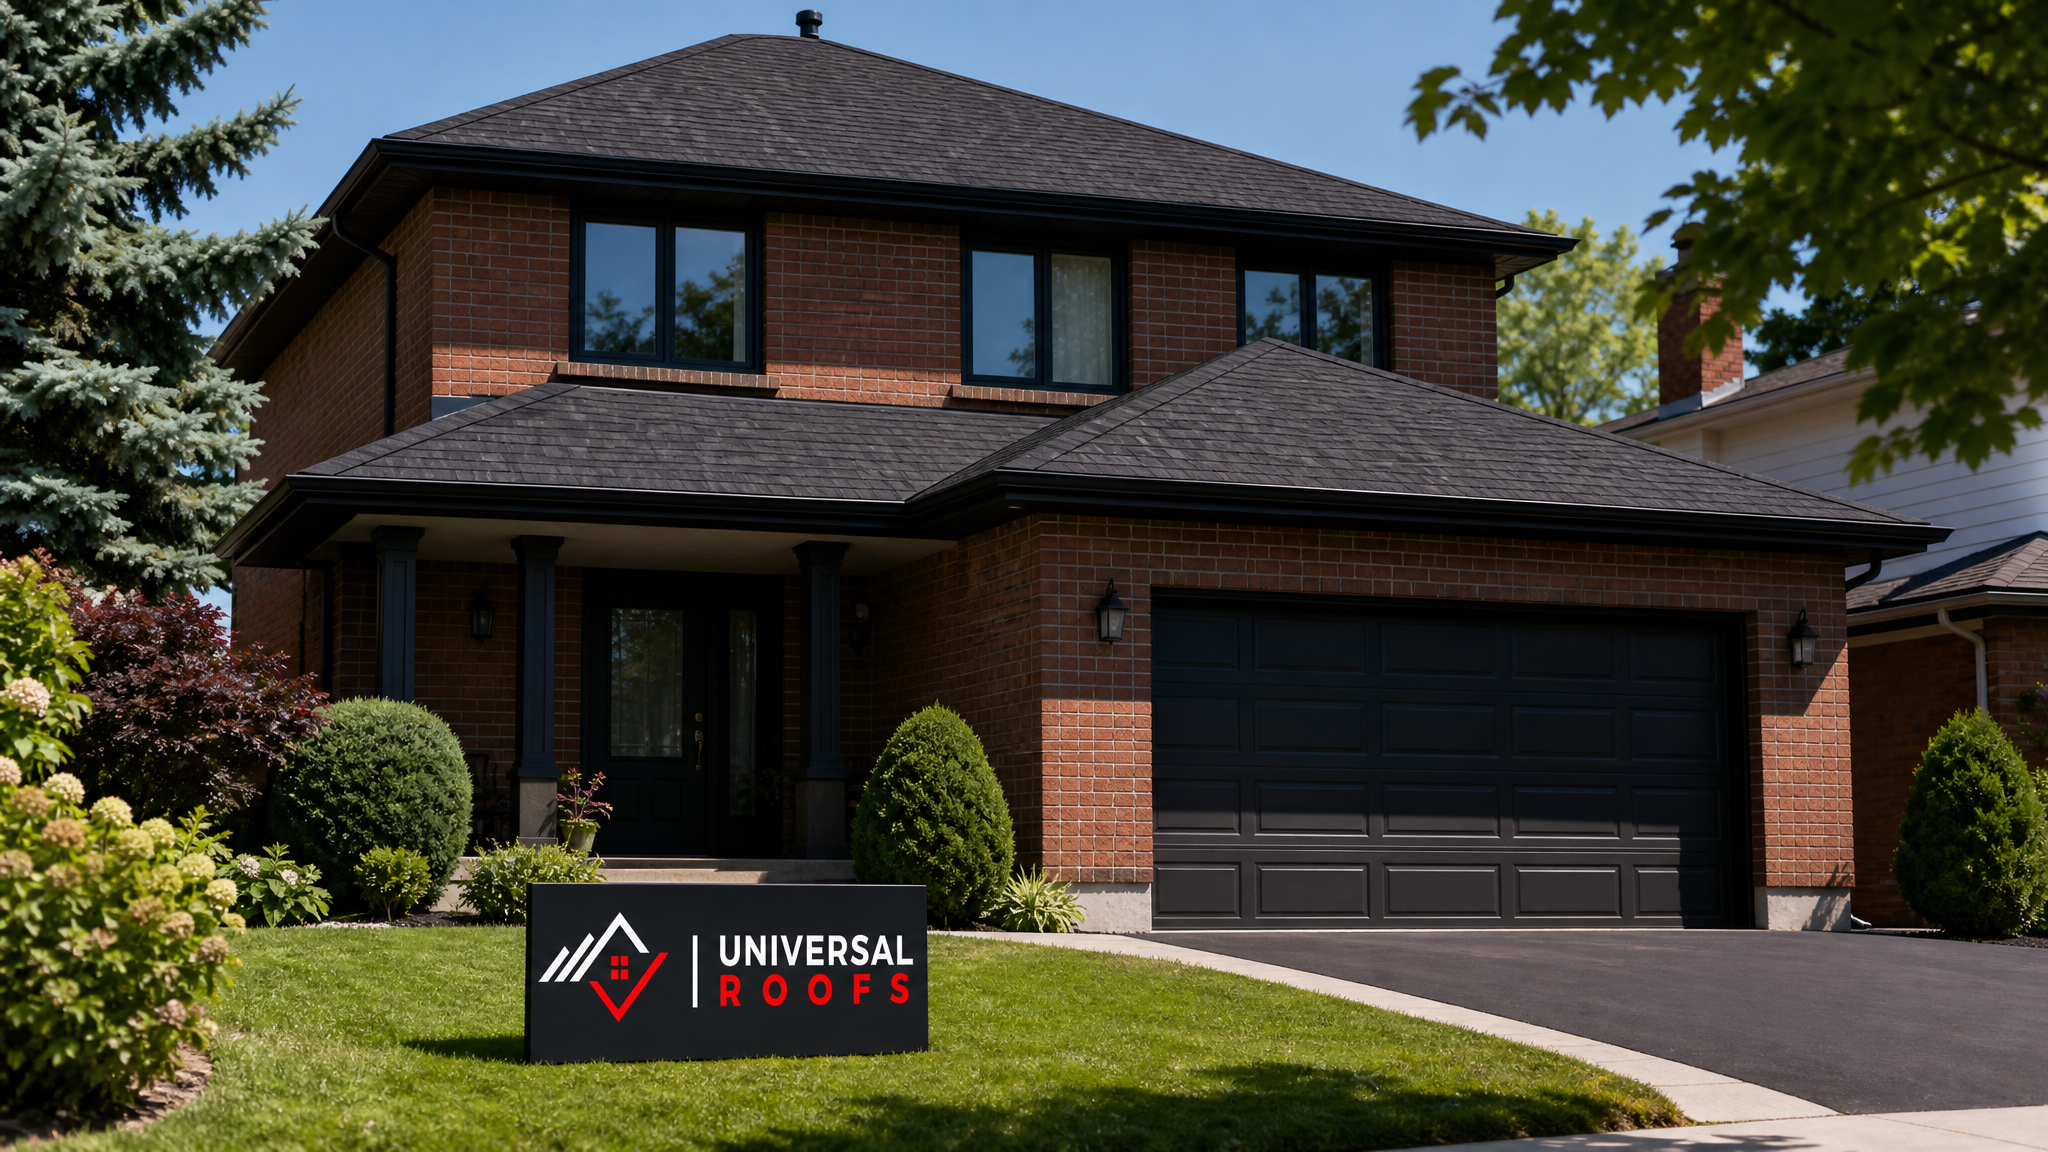
What Roof Sealing Actually Means
Roof sealing refers to any process that closes gaps, seams, or porous areas on a roofing system to prevent water intrusion. It is different from a full roof replacement because it targets specific weak points rather than the entire roof surface. Sealing is typically applied to:
- Flashing joints around chimneys, vents, and skylights
- Seams where two roofing sections meet
- Nail heads and fastener penetrations
- Valleys where water volume is highest
- The entire roof surface, in the case of elastomeric or silicone roof coatings
- Edges and eavestrough transitions where ice damming is common
Effective roof sealing does two things at once: it stops active leaks, and it extends the usable life of materials that are otherwise structurally sound but showing wear. A roof that is 12 to 15 years old, with granule loss but no widespread rot, is often an excellent candidate for a sealing-based approach rather than a premature full roof replacement. On the other hand, a roof with soft decking, extensive shingle curling, or structural sag needs repair or replacement first; sealing over a compromised substrate only traps moisture and accelerates rot.
The Main Roof Sealing Methods Compared
Not every sealing method suits every roof type. Below is a comparison of the methods most commonly used on residential roofs in Toronto and the surrounding GTA, covering sloped asphalt shingle roofs as well as low-slope and flat roofs.
| Sealing Method | Best For | Expected Lifespan | Typical Cost Range (CAD) |
|---|---|---|---|
| Silicone roof coating | Flat and low-slope roofs, ponding-prone areas | 15-20 years | $4-$8 per sq. ft. |
| Acrylic elastomeric coating | Sloped asphalt shingle roofs, sun-exposed surfaces | 10-15 years | $2-$4 per sq. ft. |
| Butyl rubber tape/flashing | Skylight curbs, vent pipe collars, small penetrations | 10-20 years | $8-$15 per linear ft. installed |
| Polyurethane roof sealant/caulk | Flashing joints, seams, fastener heads | 5-10 years | $6-$12 per tube (DIY) / $150-$400 per job |
| Modified bitumen torch-down seams | Flat roofs with membrane systems | 15-25 years | $5-$9 per sq. ft. |
| Roofing cement (trowel-grade) | Emergency patches, minor blisters | 1-3 years | $15-$30 per tub |
Silicone coatings stand out for flat and low-slope roofing because they resist standing water, which is common on Toronto flat roofs after heavy summer thunderstorms. If your home has a flat roof section over a garage, sunroom, or addition, our flat roofing team can assess whether a silicone coating system makes sense before you invest in a full membrane replacement.
Silicone Roof Coatings: The Gold Standard for Flat Roofs
Silicone roof coatings have become the preferred sealing method for flat and low-slope roofs across the GTA over the past decade, and for good reason. Unlike acrylic coatings, silicone does not soften or degrade when exposed to standing water, which makes it ideal for Toronto’s flat-roofed additions, garages, and older bungalows where drainage is imperfect.
A silicone coating is applied in a liquid form directly over an existing membrane, whether that is modified bitumen, EPDM rubber, or an aging built-up roof. It cures into a seamless, monolithic waterproof layer with no seams for water to exploit. Because it reflects UV radiation, it also reduces the surface temperature of the roof, which can lower cooling costs during Toronto’s increasingly hot summers.
The main limitation is surface preparation. Silicone will not properly adhere to a dirty, oily, or heavily ponding roof unless it is pressure washed and, in some cases, primed first. This is not a job to rush, and it is one of the more common places we see failed DIY coating attempts: skipped prep work leads to peeling within a single season.
Sealing Methods for Sloped Shingle Roofs
Most homes in Toronto, Mississauga, Brampton, Vaughan, Markham, and Oakville have sloped asphalt shingle roofs, where sealing works differently than on flat roofs. On a shingle roof, you are rarely coating the entire surface. Instead, sealing focuses on specific vulnerable zones:
Flashing Seals
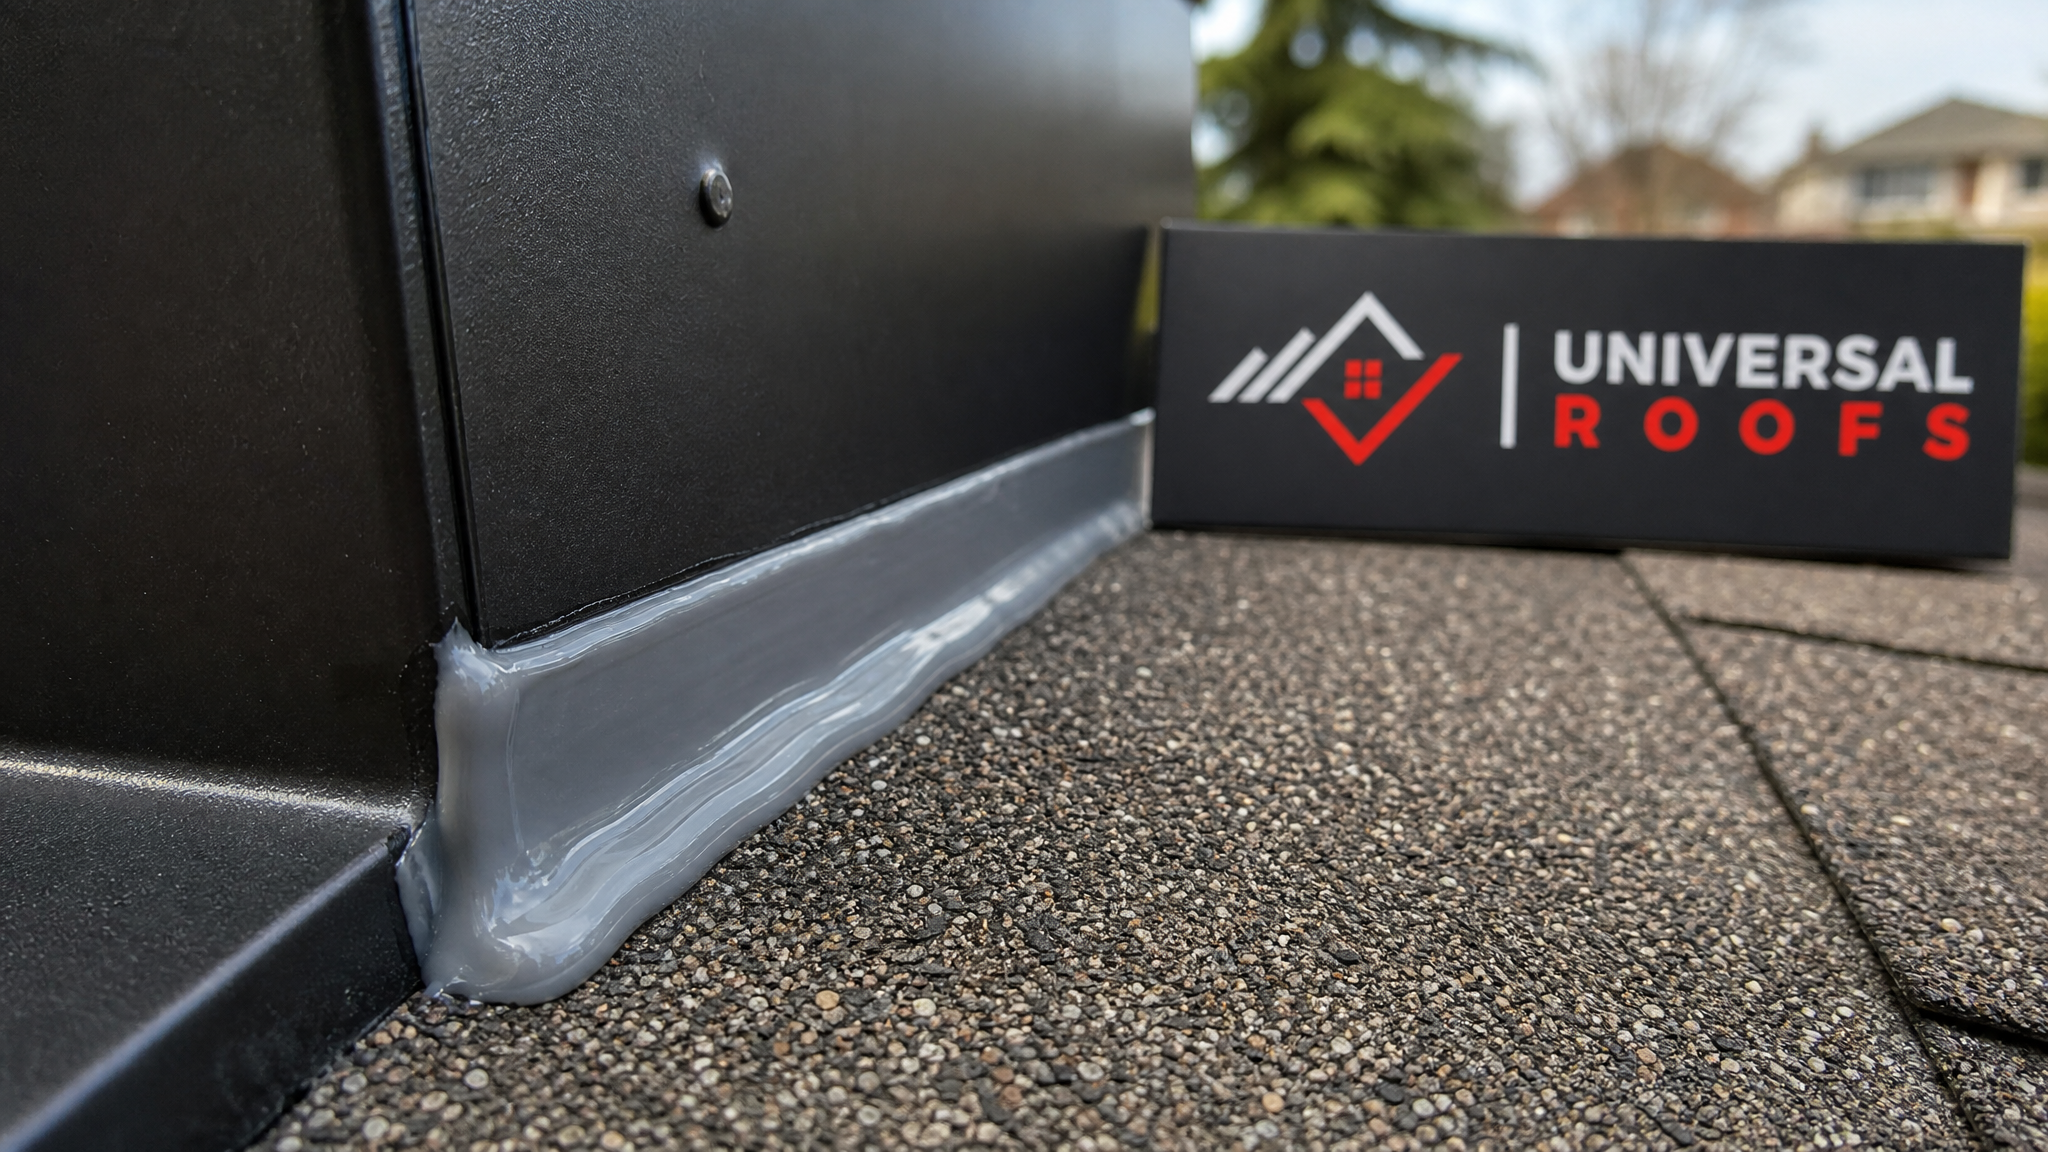
Flashing is the metal or rubber material installed at roof transitions, chimneys, skylights, and where a roof meets a wall. Flashing itself rarely fails, but the sealant bonding it to the surrounding shingles does, typically within 8 to 12 years. Reseating and resealing flashing is one of the highest-value repairs a homeowner can make because a $300 flashing reseal can prevent thousands of dollars in water damage.
Ridge and Hip Sealing
The ridge cap, the row of shingles running along the peak of the roof, takes the brunt of wind uplift. Sealant applied under and along ridge cap shingles keeps them from lifting during Toronto’s spring windstorms.
Vent Pipe and Penetration Boots
Rubber boots around plumbing vents dry out and crack faster than any other roofing component, usually within 8 to 10 years. Resealing or replacing these boots is a routine part of roof maintenance and one of the most common leak sources we find during inspections.
Valley Sealing
Valleys carry the highest water volume on a sloped roof. Whether your roof uses an open metal valley or a closed shingle-woven valley, the seams here need periodic inspection and resealing, particularly after ice dam season.
DIY Roof Sealant vs. Professional Roof Sealing
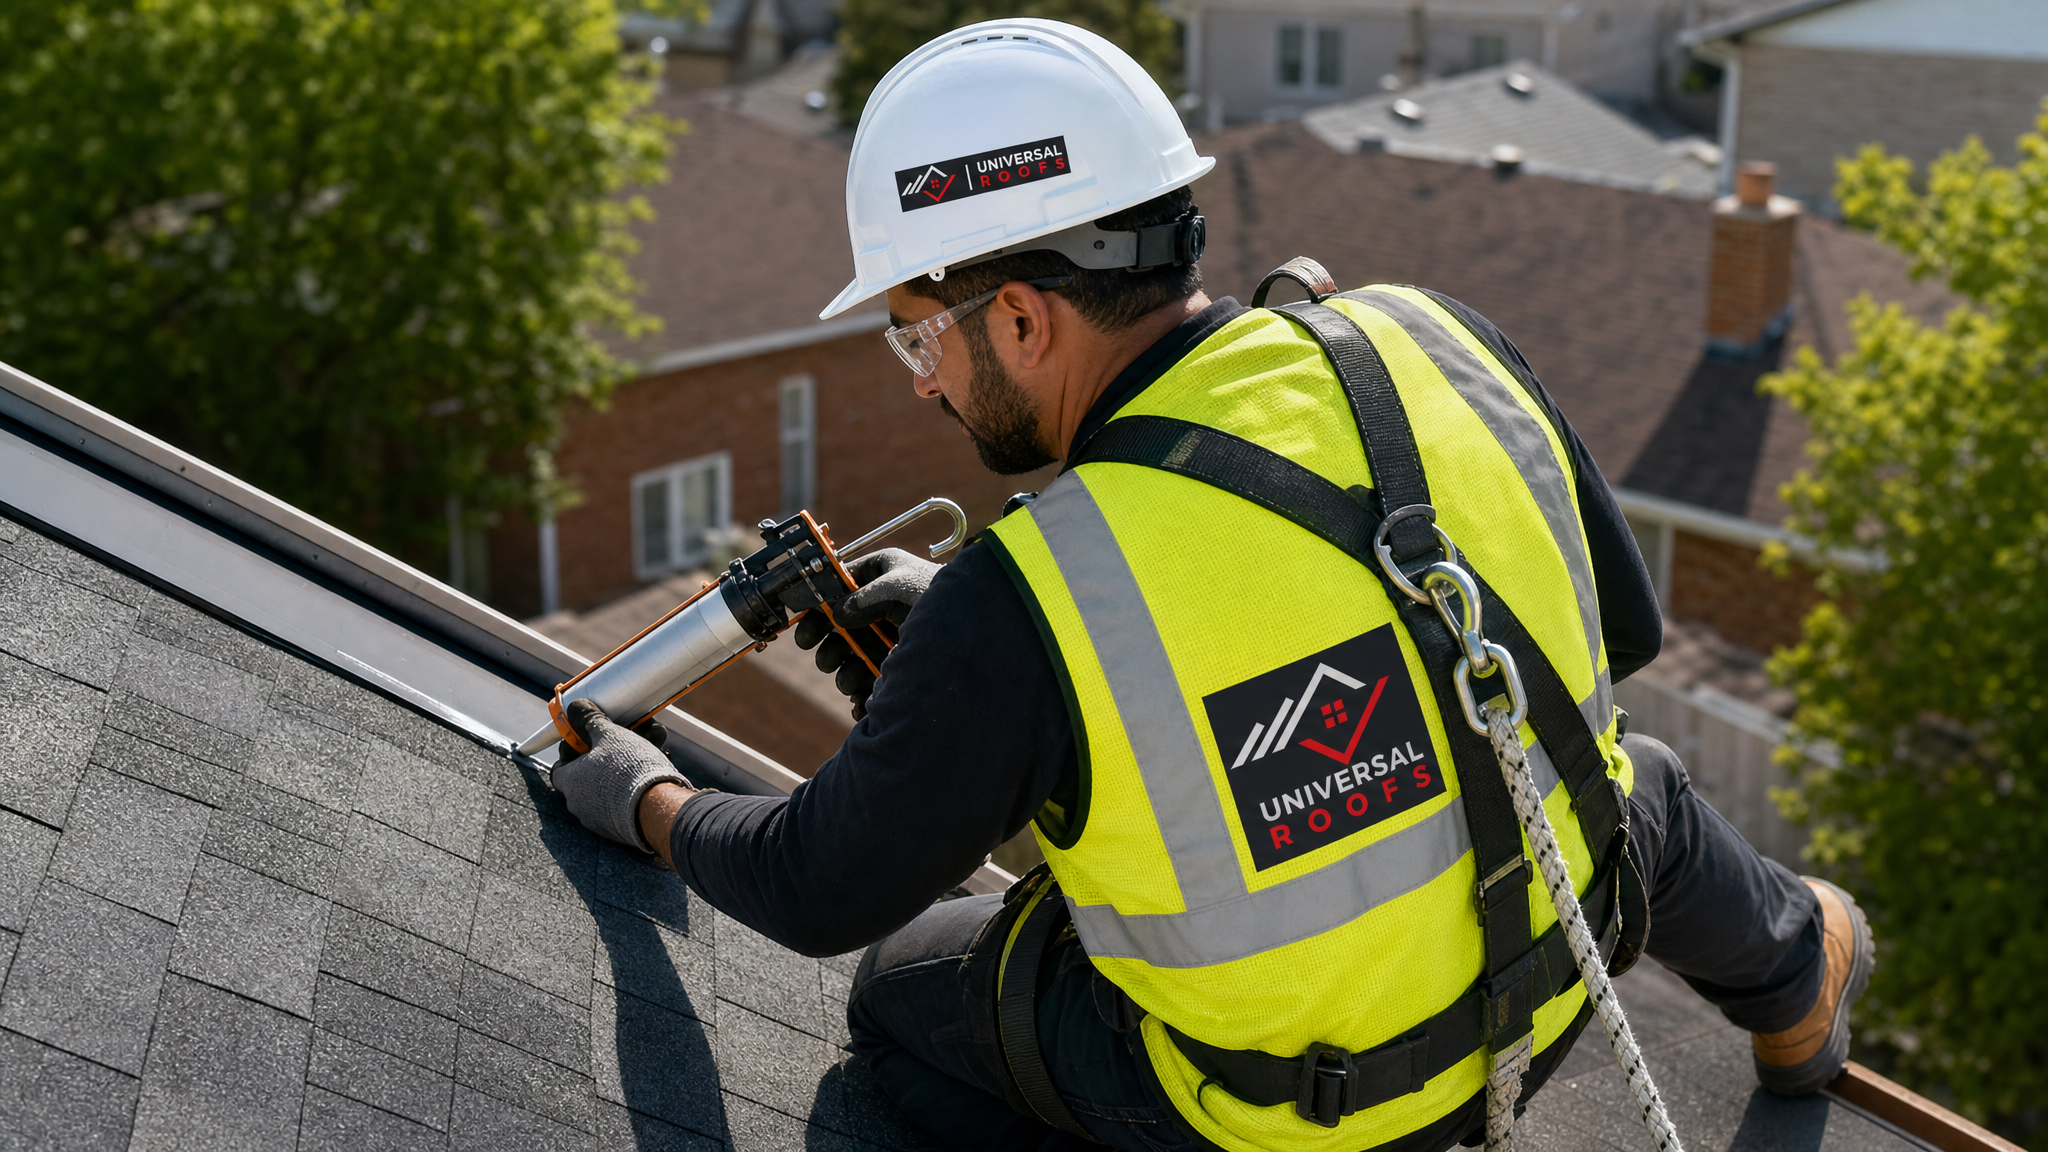
A tube of roofing caulk from the hardware store looks like a quick fix, and for a very small, temporary patch, it can buy you time. But there is a meaningful gap between a DIY sealant job and a professionally applied sealing system, and that gap shows up within a year or two on most Toronto roofs.
| Factor | DIY Sealant | Professional Roof Sealing |
|---|---|---|
| Material grade | Consumer-grade caulk or roofing cement | Commercial-grade silicone, polyurethane, or elastomeric systems |
| Surface prep | Often skipped or incomplete | Pressure washing, priming, moisture testing |
| Application method | Caulking gun, uneven bead | Sprayed or roller-applied for even coverage and thickness |
| Warranty | None | Typically 5-15 years depending on product and installer |
| Safety | Homeowner on ladder/roof, high fall risk | Trained technicians with harnesses and fall protection |
| Longevity in GTA freeze-thaw | 1-3 years before cracking | 10-20 years depending on method |
The safety factor alone should give most homeowners pause. Roof work involves working at height on a sloped, sometimes wet or dew-covered surface, and falls are among the most common causes of serious home DIY injuries. Our crews always work with fall-protection harnesses and anchored safety ropes, not because it is optional, but because it is standard practice for anyone working on a pitched roof.
Why Toronto’s Climate Makes Sealing Method Selection Critical
Toronto sits in a climate zone that punishes cheap or improperly applied sealants faster than almost anywhere else in Canada. We see three distinct stress cycles every year that a good sealing method has to survive:
- Winter freeze-thaw cycling — Water that gets into a hairline crack expands by roughly 9% when it freezes, widening the crack. This can happen dozens of times each winter as temperatures fluctuate around freezing.
- Ice damming — Snow melts near the warmer upper roof, refreezes at the colder eaves, and forms an ice dam that pushes water backward under shingles. This is why eave and valley sealing is non-negotiable on Toronto homes.
- Summer UV and thermal expansion — Roof surfaces can reach 60-70°C on a sunny July afternoon, then cool by 30 degrees or more overnight. This constant expansion and contraction is exactly what degrades lower-quality caulk and roofing cement fastest.
A sealing product that was formulated for a milder, drier climate often underperforms here. This is one reason we favour silicone and high-grade polyurethane sealants over standard asphalt-based roofing cement for anything beyond a temporary patch. If you are unsure how your attic ventilation is affecting ice dam formation, that is worth a look too, since poor attic airflow is often the hidden root cause behind recurring ice dams, no matter how well the roof is sealed.
Sealing Around Skylights: A Special Case
Skylight curbs are one of the most leak-prone areas on any roof because they combine multiple seams, flashing transitions, and often an aging rubber gasket in one small footprint. If your skylight is more than 15 years old, resealing alone may only be a temporary fix; the glazing seals and frame can degrade even when the roof flashing around it is intact.
We generally recommend a full inspection before committing to a reseal-only approach on skylights. Sometimes what looks like a flashing leak is actually condensation from a failed thermal seal inside the skylight unit itself, which sealant on the roof will not fix. Our skylights team can diagnose the difference, and if the unit itself needs attention rather than just the roof seal, our skylight replacement page outlines what that process looks like.
Step-by-Step: How Professional Roof Sealing Is Done
Whether the job is a targeted flashing reseal or a full silicone coating on a flat roof, the process generally follows the same core sequence:
| Step | What Happens | Why It Matters |
|---|---|---|
| 1. Inspection | Full roof walk, moisture meter checks, photo documentation | Identifies every weak point, not just the visible leak |
| 2. Surface cleaning | Pressure washing, debris removal, moss/algae treatment | Sealant will not bond to dirt, oil, or organic growth |
| 3. Repair before sealing | Replace damaged shingles, rotted decking, or failed flashing | Sealing over damage traps moisture and hides bigger problems |
| 4. Priming (if required) | Bonding primer applied to porous or aged surfaces | Improves adhesion and extends coating lifespan |
| 5. Sealant/coating application | Applied by brush, roller, spray, or caulking gun depending on the area | Even, correctly-thick application prevents premature cracking |
| 6. Cure and inspection | Sealant is left to cure per manufacturer specs, then rechecked | Confirms full coverage and catches missed spots before rain |
Signs Your Roof Needs Resealing Now
You do not need to wait for an active leak to justify a sealing inspection. Watch for these warning signs:
- Visible cracking or shrinking in caulk around flashing, vents, or chimneys
- Granule accumulation in eavestroughs, suggesting shingle surface breakdown
- Discoloured ceiling patches, even faint ones, after heavy rain
- Daylight visible through the attic roof deck
- Rust streaks running down from metal flashing
- Ponding water that lingers more than 48 hours on a flat roof section
- Curling, cupping, or lifted shingle edges near seams
If you notice any of these, a professional inspection is worth scheduling before the next major storm. Our roof repair team handles everything from a single flashing reseal to more involved leak diagnosis, and catching these signs early is almost always cheaper than waiting for interior damage to appear.
How Long Should a Roof Seal Last?
Longevity depends heavily on the method used and the quality of application, but here is what homeowners in the GTA can reasonably expect from each approach when installed correctly by a qualified crew:
- Silicone flat roof coatings: 15-20 years, with a recoat sometimes extending this further
- Elastomeric acrylic coatings: 10-15 years, shorter in south-facing, high-UV exposure areas
- Professional flashing and seam sealant (polyurethane-based): 8-12 years
- Butyl tape flashing at skylights and penetrations: 15-20 years
- Consumer-grade caulk tubes (DIY): 1-3 years before visible cracking
- Roofing cement patches: 1-2 years, intended as a temporary measure only
These numbers assume proper surface prep and application. Skipping cleaning or priming can cut any of these lifespans roughly in half, which is the single biggest reason DIY sealing jobs fail early.
Regional Considerations Across the GTA
While the core sealing methods are the same everywhere, local conditions shift what we prioritize by region. In central Toronto, older housing stock often means original flashing that has never been replaced, making flashing resealing a frequent first step. In Peel Region communities like Mississauga and Brampton, newer builds tend to have more flat-roofed additions and garages, which shifts the conversation toward silicone coatings. Homes in York Region and Halton Region often see more tree cover and correspondingly more debris-related sealant wear in valleys, while Durham Region properties closer to the lake can experience more wind-driven rain that tests flashing seals along exposed elevations.
Wherever you are in the GTA, the underlying principle is the same: match the sealing method to the roof type, the specific failure point, and the realistic stresses that Toronto’s climate will put on that seal over the coming decade.
What is the best roof sealing method for a flat roof in Toronto?
How often should roof sealing be redone?
Can I seal my roof myself with caulking?
Does roof sealing stop all leaks?
How much does professional roof sealing cost in the GTA?
Is roof sealing better than a full roof replacement?
Need Help With What Are the Best Roof Sealing Methods for Your Home?
Choosing the right roof sealing method depends on your roof type, its age, and how it has held up against Toronto’s freeze-thaw winters and hot, storm-prone summers. The team at Universal Roofs has spent two decades matching the right sealing method to the right roof across the GTA, and we would rather tell you honestly that a $300 flashing reseal will solve your problem than sell you a coating system you do not need.
Call us today at (416) 732-2421 or request a free inspection to get started.
Universal Roofs proudly serves Toronto, Mississauga, Brampton, Vaughan, Markham, Oakville and the GTA since 2005.