
Clay and concrete tile roofs are prized across the Greater Toronto Area for their durability and curb appeal, but the tiles themselves are only half the story. What actually keeps water out over the long haul is the sealing system underneath and around them — the underlayment, the flashing, the mortar, and any protective coating applied to the tile surface. When that sealing layer breaks down, homeowners see staining on ceilings, damp attic insulation, and eventually structural rot, even though the tiles above look perfectly intact.
Toronto’s climate makes this especially unforgiving. Our winters put tile roofs through dozens of freeze-thaw cycles each season, and the spring melt sends meltwater probing for any gap in the sealing system. A tile roof that isn’t properly sealed at the flashing, valleys, and overlaps will fail years before its tiles ever need replacing.
This guide walks through the 10 best roof sealing options for tile roofs, how each one performs in a GTA climate, what they cost, and how to decide which combination is right for your home. If you’re planning maintenance or troubleshooting a leak, our team at Universal Roofs has been sealing and repairing tile roofs across the region since 2005, and the methods below reflect what actually holds up here.
Why Sealing Matters More Than the Tiles Themselves
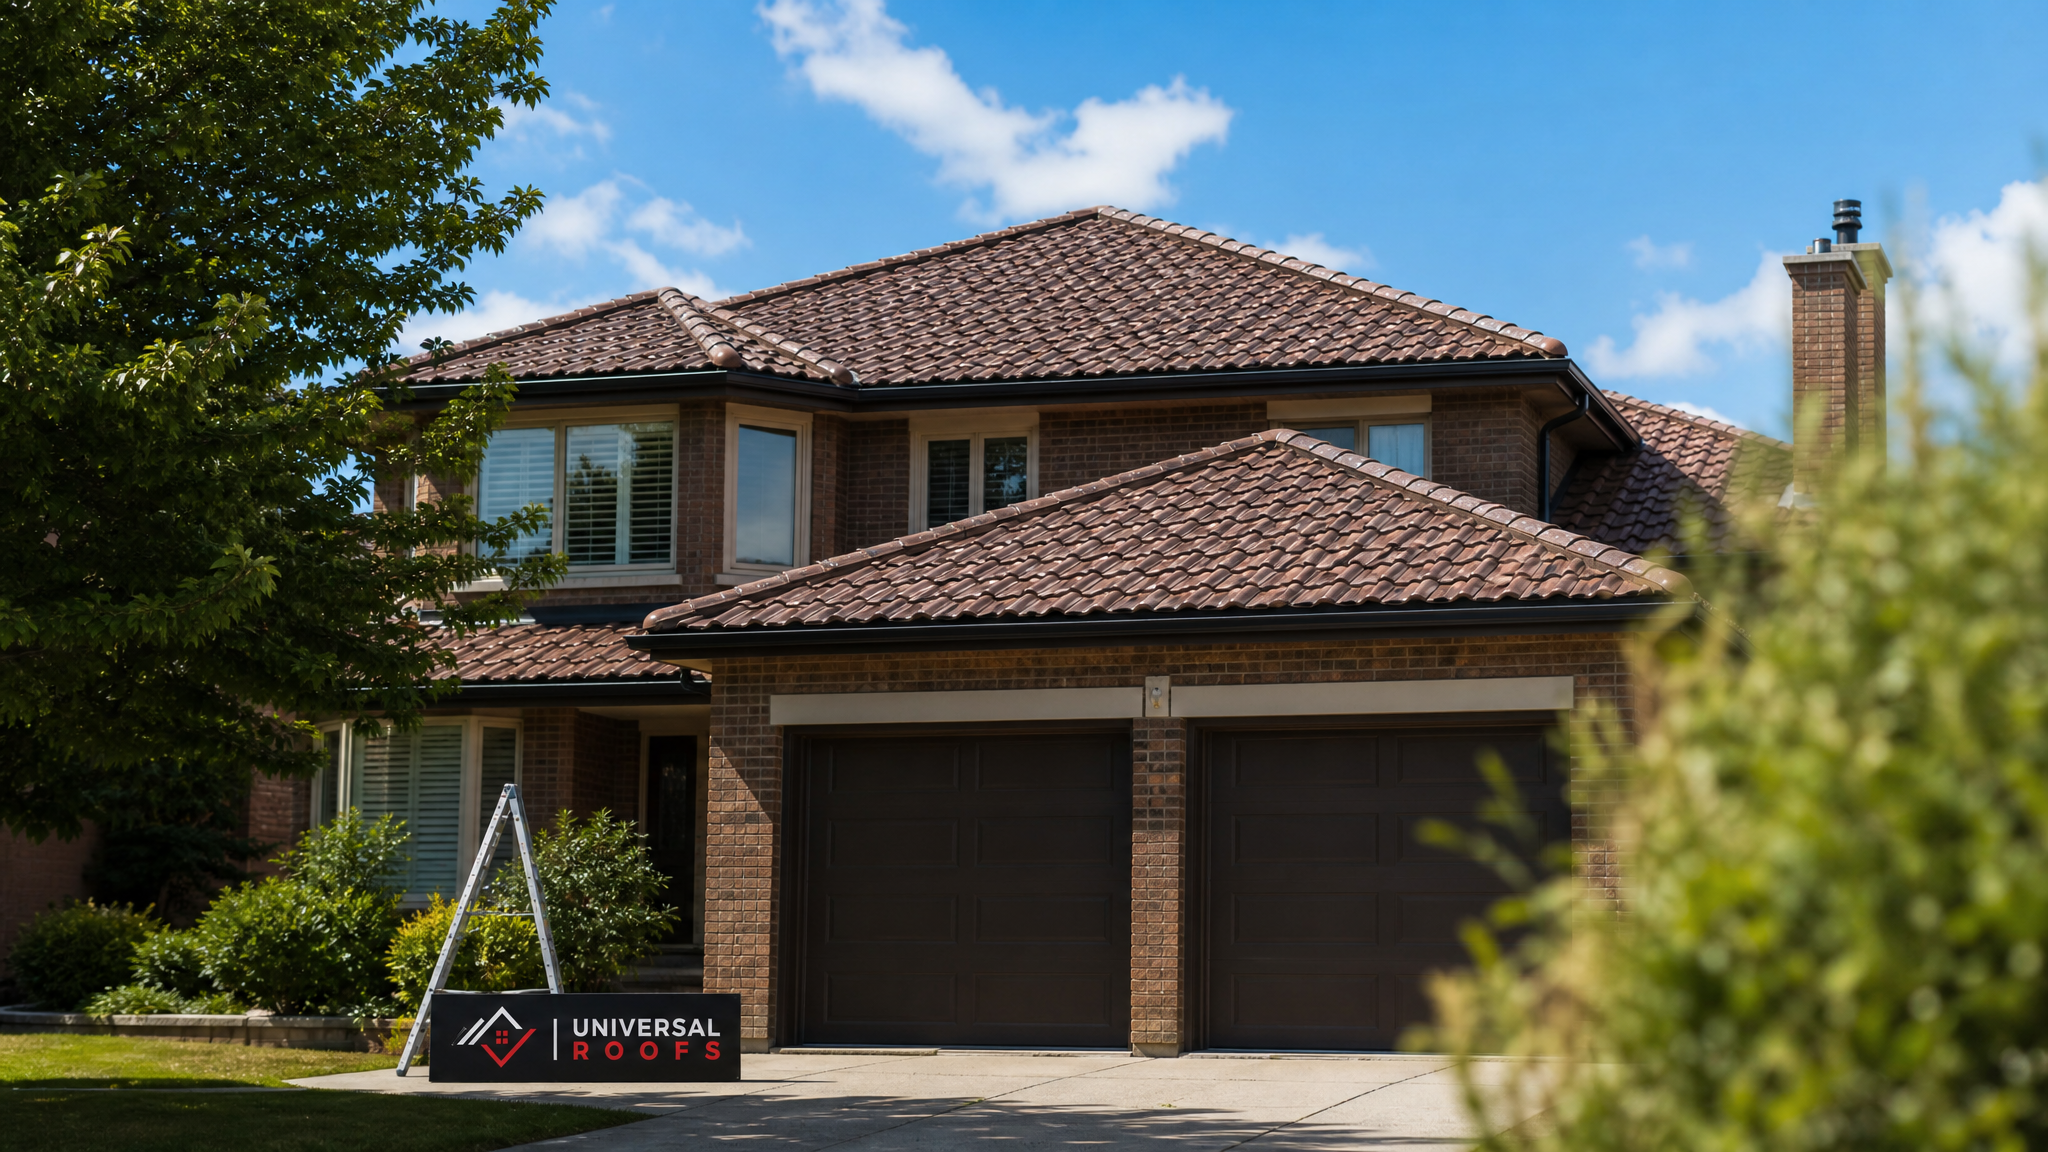
Clay and concrete tiles are essentially a rain screen. They shed the bulk of the water, but wind-driven rain, snowmelt, and ice can still work underneath them at the edges, valleys, and penetrations. The underlayment beneath the tiles, along with sealant at flashing joints and tile overlaps, is what actually stops that moisture from reaching your roof deck. A tile roof with cracked mortar bedding, dried-out underlayment, or unsealed flashing can leak just as badly as a roof with missing shingles — it just takes longer to notice because the tiles hide the damage.
Choosing the right roof sealing options for tile roofs depends on the tile material (clay versus concrete), the roof’s age, the pitch, and how the roof was originally installed. Some sealants bond beautifully to clay but perform poorly on porous concrete tile, and vice versa. Below we break down each option along with where it fits.
1. Silicone Roof Coatings
Silicone coatings are one of the most popular roof sealing options for tile roofs because they cure into a flexible, UV-stable membrane that stretches with thermal movement instead of cracking. Applied by roller or spray over clean, dry tile, silicone forms a continuous waterproof skin that bridges hairline cracks in concrete tile and seals porous surfaces against capillary water absorption.
The tradeoff is cost and surface prep — silicone needs a properly cleaned, primed substrate to bond well, and it can slightly alter the tile’s appearance with a low sheen. On steep GTA roofs, silicone’s flexibility through winter freeze-thaw cycles is a real advantage over more rigid coatings.
2. Acrylic Elastomeric Coatings
Acrylic elastomeric coatings are a water-based alternative that’s easier to apply and more budget-friendly than silicone. They form a flexible, breathable film that allows trapped moisture vapour to escape while still repelling rain. This breathability matters on older tile roofs where trapped moisture under a non-breathable coating can accelerate deterioration of the underlayment.
Acrylics generally need reapplication more often than silicone (every 5-8 years versus 10-15), and they perform best on roofs with moderate pitch where standing water isn’t a concern. They’re a solid mid-range choice for homeowners who want protection without the premium price of silicone.
3. Penetrating Sealers (Clear Silane/Siloxane)
Unlike coatings that sit on top of the tile, penetrating sealers soak into the pores of clay and concrete tile and bond chemically below the surface. This preserves the natural look of the tile completely — there’s no sheen or colour change — while dramatically reducing water absorption. Penetrating sealers are the preferred choice for heritage homes and anywhere the original tile appearance needs to be preserved.
Because they don’t form a surface film, penetrating sealers don’t bridge existing cracks the way a coating would. They’re best used as preventive maintenance on tile that’s still structurally sound, not as a repair for already-damaged tiles.
4. Modified Bitumen Flashing Sealant
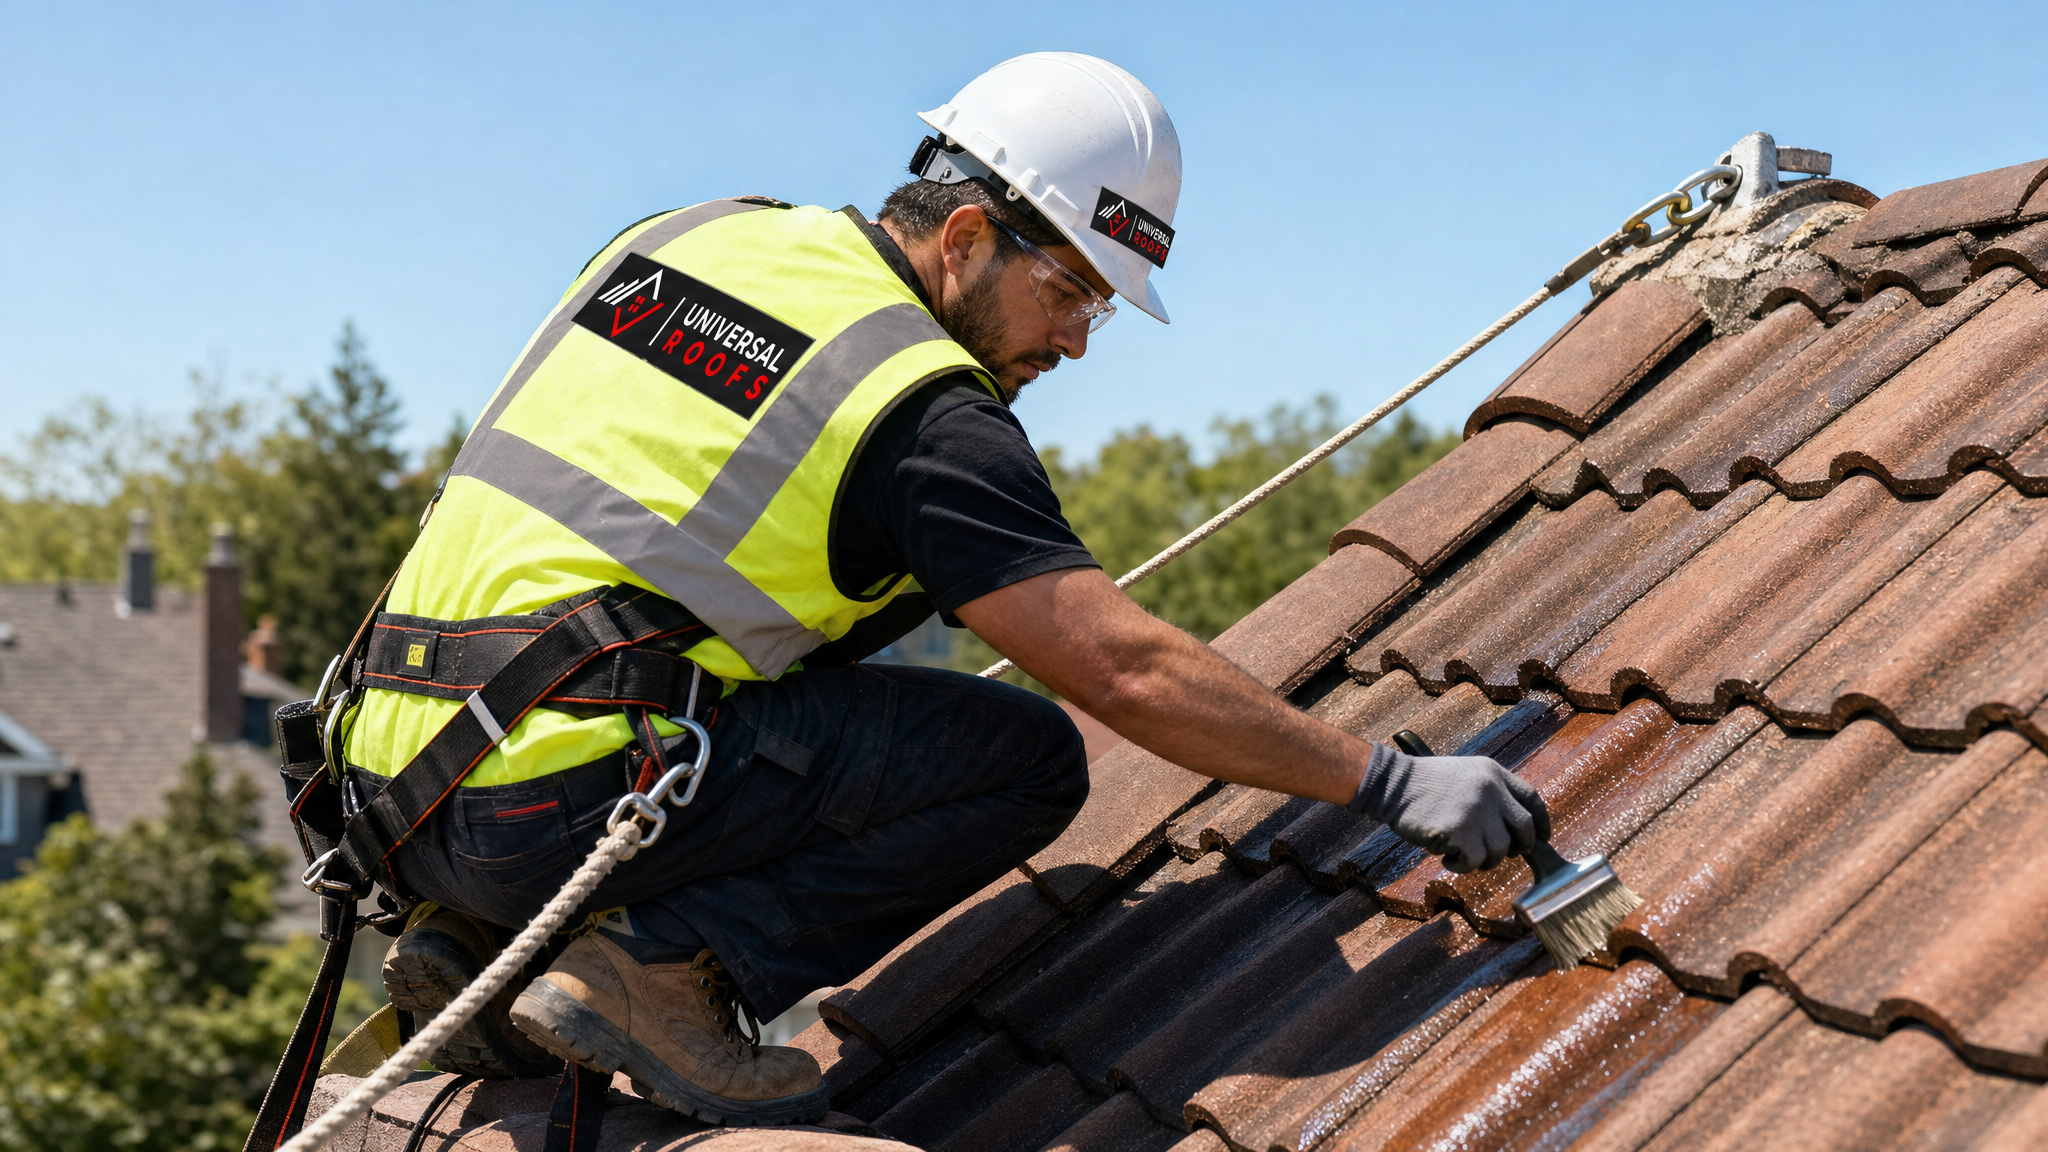
Most tile roof leaks don’t actually start in the field of the tiles — they start at flashing: valleys, chimneys, skylight curbs, and wall-to-roof transitions. Modified bitumen sealant, applied as a liquid-applied membrane or self-adhered strip, is one of the most effective roof sealing options for tile roofs specifically at these vulnerable junctions.
This sealant stays flexible in cold weather (critical during a Toronto January) and bonds tenaciously to metal flashing, underlayment, and tile edges alike. If you’re dealing with a leak near a skylight or chimney on a tile roof, this is usually the first place to look before assuming the whole roof needs attention.
5. Butyl Rubber Sealant for Flashing Joints
Butyl rubber sealant is a thick, tacky compound used for smaller, targeted repairs — sealing nail heads, small flashing gaps, and vent boot collars. It has excellent long-term flexibility and adhesion, and unlike some caulks, it doesn’t shrink or crack as it ages. Butyl is typically applied with a caulking gun and tooled into place, making it practical for a homeowner-accessible repair or a contractor doing spot maintenance during an inspection.
It’s not a whole-roof solution, but for the small penetrations and fasteners that silicone coatings don’t fully address, butyl rubber fills the gap.
6. Polyurethane Roof Sealant
Polyurethane sealants offer some of the strongest adhesion and abrasion resistance of any liquid-applied product, which makes them well suited to high-traffic areas like roof-to-wall transitions and areas near chimneys where foot traffic during maintenance is more likely. Polyurethane cures into a tough, slightly rigid membrane that resists tearing and punctures better than acrylic.
The downside is reduced flexibility compared to silicone, which matters on a tile roof that experiences significant thermal expansion and contraction. Polyurethane is best reserved for flashing details and edges rather than large expanses of tile field.
7. Mortar and Tile Bedding Repair
On many older clay tile roofs, especially barrel and Spanish-style tile, the tiles are set and pointed with mortar rather than sealed with a modern coating. Over decades, GTA freeze-thaw cycles cause this mortar to crack and crumble, opening gaps at the ridge, hips, and eaves. Repointing with a flexible, weather-resistant mortar mix (often modified with acrylic additives for extra elasticity) restores the original sealing method rather than layering a modern product over it.
This approach respects the roof’s original construction and is often the right call on heritage properties where a uniform modern coating would look out of place.
| Sealing Option | Best For | Typical Lifespan | Relative Cost |
|---|---|---|---|
| Silicone coating | Full roof waterproofing, concrete tile | 10-15 years | High |
| Acrylic elastomeric coating | Budget-conscious full coverage | 5-8 years | Moderate |
| Penetrating sealer | Preserving natural tile appearance | 7-10 years | Moderate |
| Modified bitumen flashing sealant | Valleys, chimneys, skylight curbs | 10-20 years | Moderate |
| Butyl rubber sealant | Spot repairs, fasteners, vent boots | 8-12 years | Low |
| Polyurethane sealant | High-traffic flashing details | 10-15 years | Moderate-High |
| Mortar bedding repair | Heritage clay tile ridges and hips | 15-25 years | Moderate |
8. Underlayment Replacement (Ice and Water Membrane)
Sometimes the surface tile is fine but the self-adhered ice-and-water membrane beneath it — the true waterproofing layer on most GTA tile roofs — has aged past its useful life. Underlayment typically lasts 20-30 years depending on the product, but it can fail earlier if it was installed under tiles that trap heat or if ice damming has repeatedly stressed the membrane at the eaves.
Replacing underlayment means carefully lifting and resetting tiles section by section, which is labour-intensive but often the only real fix when leaks persist despite surface sealing. This is skilled work best left to a roofer experienced specifically with tile systems, since broken tiles during removal add unplanned cost. If your roof needs work at this level, it’s worth having it assessed alongside a broader roof repair evaluation to catch any related deck damage.
9. Ridge and Hip Cap Sealing
Ridge and hip caps see the most direct sun and wind exposure on the entire roof, and their sealant joints fail faster than the flat field tiles as a result. A dedicated ridge sealant — typically a flexible acrylic or polyurethane bead applied under and along the cap tiles — keeps wind-driven rain from getting pushed up and under the ridge line, which is one of the most common leak points on tile roofs we inspect across Toronto, Mississauga, and Vaughan.
This is inexpensive relative to full-roof coatings and should be part of any routine tile roof maintenance visit, ideally checked every 3-5 years.
10. Professional Elastomeric Roof Membrane Overlay
For tile roofs nearing the end of their sealing life where individual repairs are becoming frequent, a full elastomeric membrane overlay applied by a professional crew offers the most comprehensive protection. This combines a reinforced fabric or mesh layer with a heavy-bodied elastomeric coating, essentially creating a monolithic waterproof layer across the entire roof surface, including all flashing transitions in one continuous application.
It’s the highest-cost option on this list, but for a roof with widespread minor cracking or aging mortar joints across many tiles, it can be more cost-effective than replacing tiles individually, and it buys 10-15 years before major work is needed again.
DIY Sealing vs. Calling a Professional
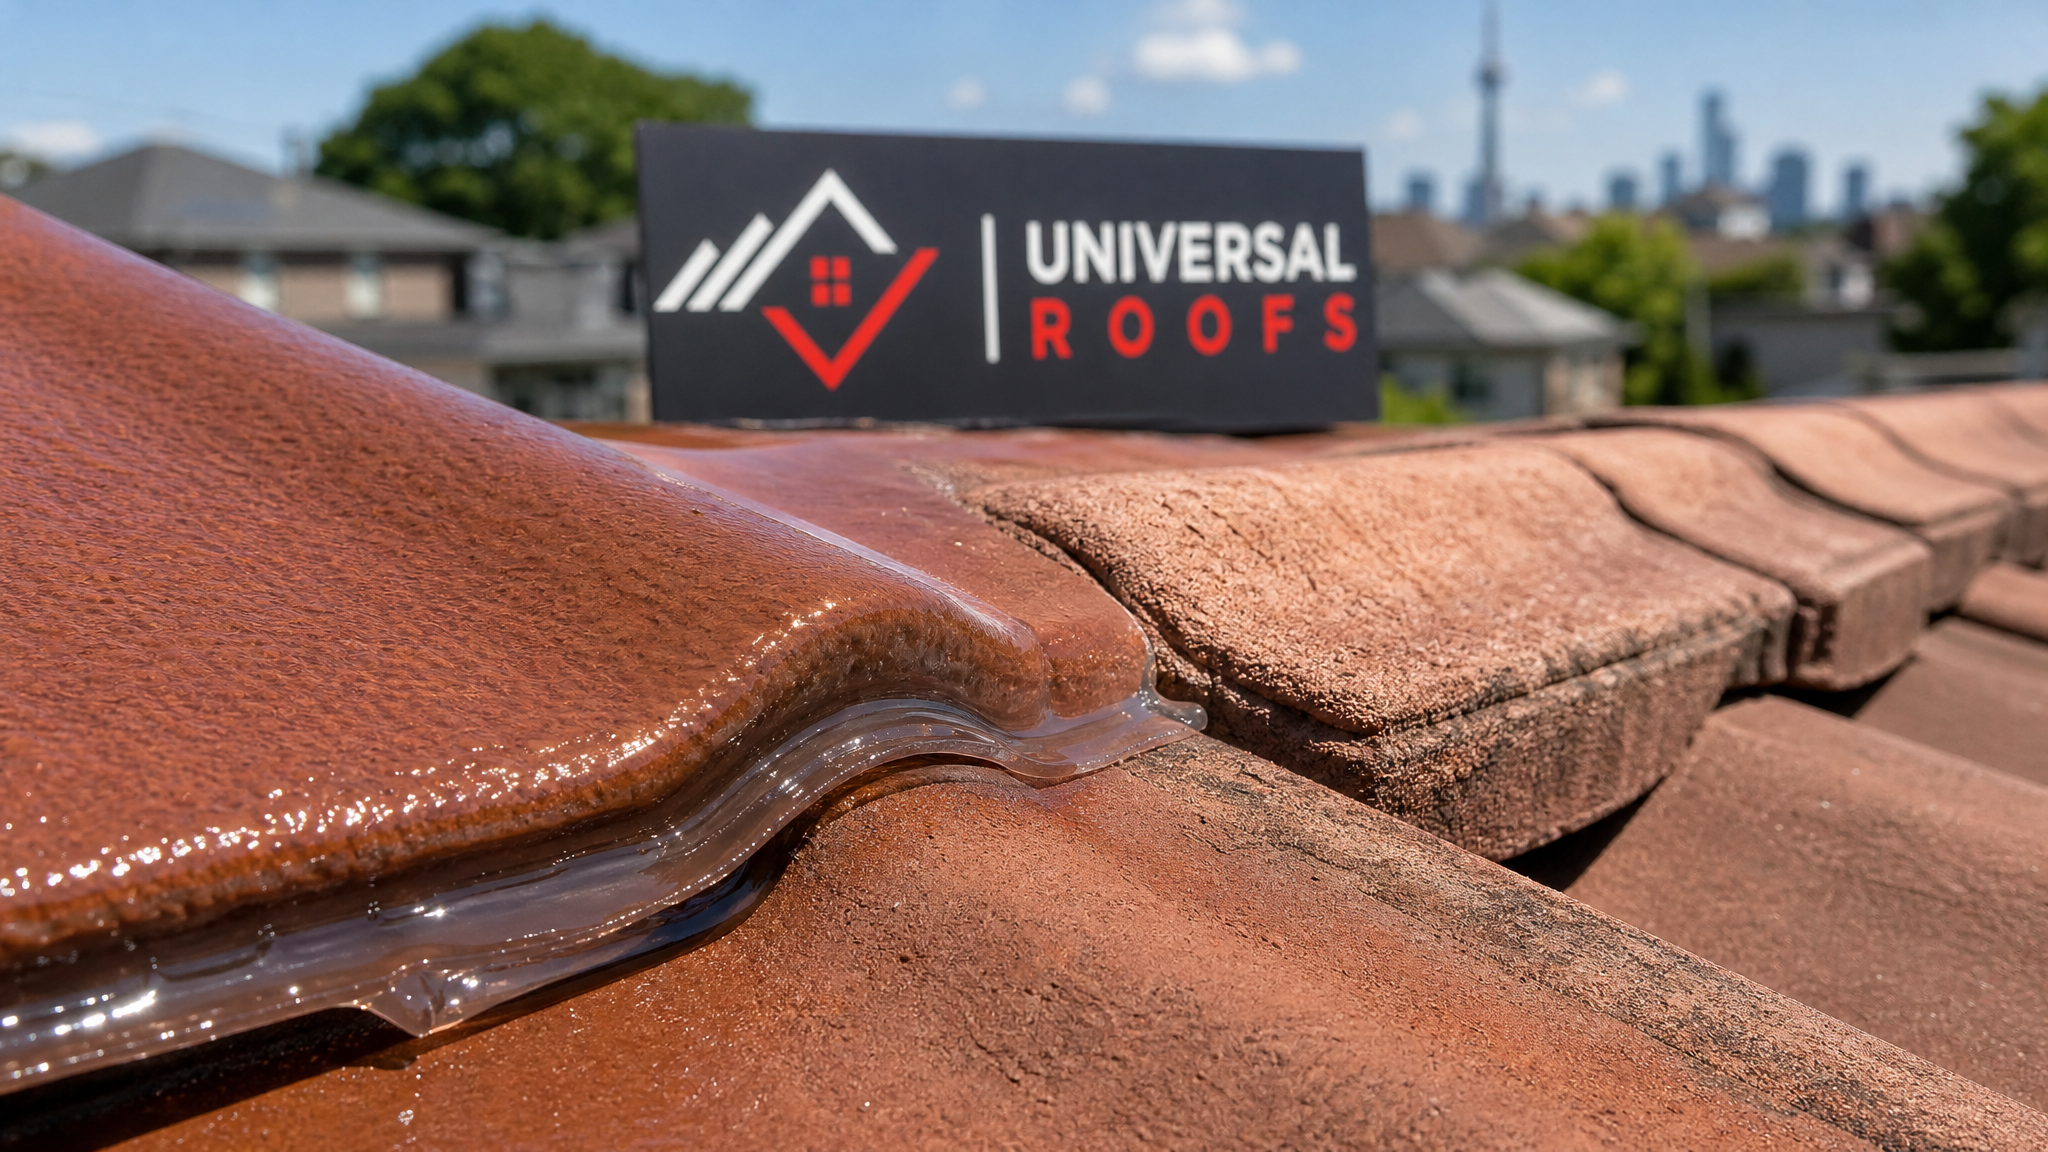
Small, accessible repairs — touching up a cracked tile with clear penetrating sealer or dabbing butyl rubber on a loose vent boot — are within reach for a comfortable, careful homeowner working from a stable ladder at the eaves. Anything beyond that carries real risk, both to your safety and to the tiles themselves. Clay and concrete tile is brittle underfoot; stepping in the wrong spot can crack tiles that were otherwise fine, turning a sealing job into a tile replacement job.
Whole-roof coatings, flashing work at valleys and chimneys, underlayment replacement, and anything requiring walking the tile field should go to a professional roofing crew with tile-specific experience and proper fall protection. A poorly matched sealant — say, a coating that doesn’t bond to your specific tile’s glaze — can peel within a season and actually trap moisture against the tile, making things worse than doing nothing.
| Task | DIY-Suitable? | Why |
|---|---|---|
| Clear sealer on individual accessible tiles | Yes, with caution | Low risk if reachable from ladder at eaves |
| Butyl sealant on a loose vent boot | Yes, with caution | Small, targeted, low material cost |
| Full roof silicone or acrylic coating | No | Requires spray equipment, walking tile field safely |
| Valley and chimney flashing sealing | No | High leak consequence if done incorrectly |
| Underlayment replacement | No | Requires lifting tiles without breakage |
| Ridge and hip cap resealing | Not recommended | Steep, exposed roof section |
Step-by-Step: How Professional Tile Roof Sealing Works
Understanding the process helps you evaluate whether a contractor is doing the job properly. A thorough tile roof sealing project generally follows these steps:
Inspection and diagnosis. A technician walks or photographs the entire roof (using tile-safe walking techniques or drone imagery on steep sections) to map cracked tiles, failed mortar, and compromised flashing before any sealant is chosen.
Surface cleaning. Moss, lichen, and dirt are removed with low-pressure washing appropriate for tile — high-pressure washing can strip glaze or force water under tiles, so this step matters more than it sounds.
Repair before sealing. Cracked tiles are replaced, loose tiles reset, and deteriorated mortar repointed. Sealing over damage doesn’t fix it; it just delays discovery.
Flashing sealant application. Valleys, chimneys, skylight curbs, and wall transitions are sealed first with the appropriate flashing-grade sealant, since these are the highest-risk leak points.
Coating or penetrating sealer application. If a full-roof product is being used, it’s applied in even coats by roller, brush, or low-pressure spray, allowing proper cure time between coats.
Final inspection and documentation. A completed job should include photos of the work and, ideally, a written warranty on the sealant application.
Preventive Maintenance to Extend Sealing Life
Sealing a tile roof isn’t a one-time event. Toronto’s climate is hard on any roofing system, and a few habits go a long way toward protecting your investment:
Inspect the roof visually from the ground each spring after the freeze-thaw season, looking for slipped, cracked, or discoloured tiles. Keep gutters and valleys clear of leaves and debris, since trapped organic matter holds moisture against sealed surfaces and accelerates breakdown. Trim overhanging branches that drop debris or scrape the tile surface during wind. Schedule a professional inspection every 2-3 years, particularly checking the attic for water staining, which often shows up long before a leak is visible from outside. If your home has a poorly ventilated attic, trapped heat and moisture can also shorten the life of tile underlayment from underneath, so ventilation is worth checking at the same time as the roof sealing itself.
When to Call a Professional Immediately
Some signs warrant a same-week inspection rather than waiting for routine maintenance: active water stains on ceilings or walls, visible daylight through the attic near the roof deck, multiple cracked or slipped tiles after a storm, or sealant that’s visibly peeling and cracking on more than a few tiles. Ice damming along the eaves each winter is also a strong signal that sealing and ventilation both need attention before the next season. Catching these early is almost always cheaper than waiting until the underlayment or deck is compromised, which can turn a sealing job into a full roof replacement.
| Warning Sign | Likely Cause | Recommended Action |
|---|---|---|
| Ceiling stains after rain | Failed flashing or underlayment | Schedule inspection within 1 week |
| Visible daylight in attic | Gap in tile or underlayment | Schedule inspection immediately |
| Multiple cracked tiles post-storm | Wind or hail impact | Inspection within days |
| Peeling coating on several tiles | Poor sealant adhesion or age | Plan recoating this season |
| Recurring winter ice damming | Ventilation and sealing gaps | Combined roof and attic assessment |
Choosing the Right Combination for Your Roof
Most tile roofs don’t need just one of these 10 options — they need a combination tailored to the roof’s age, tile material, and condition. A newer concrete tile roof with sound mortar might only need a penetrating sealer and periodic flashing checks. An older clay tile roof with visible mortar erosion likely needs repointing plus modified bitumen at the valleys. A roof approaching 25-30 years old with widespread minor cracking may be a candidate for a full elastomeric overlay rather than years of piecemeal repairs.
The right call depends on an honest inspection, not a one-size-fits-all sales pitch. Homeowners across Toronto, the Peel Region, York Region, Halton Region, and Durham Region deal with slightly different exposure depending on wind patterns and tree cover, so a locally experienced eye matters more than it might seem. You can read how past clients have found our assessments on our reviews page, and general sealing and maintenance questions are also covered on our FAQ page.
What are the best roof sealing options for tile roofs on an older home?
How often should a tile roof be resealed?
Can I seal my own tile roof to save money?
Does sealing a tile roof stop existing leaks?
What’s the difference between a coating and a penetrating sealer for tile roofs?
Why do tile roofs leak at the flashing more than at the tiles themselves?
Need Help With 10 Best Roof Sealing?
Getting the sealing system right on a tile roof takes more than picking a product off a shelf — it takes an honest inspection and the right combination of repairs for your specific roof. Universal Roofs has been assessing and sealing tile, shingle, and flat roofs across the GTA since 2005, and we’re happy to walk you through exactly what your roof needs before recommending any work.
Call us today at (416) 732-2421 or request a free inspection to get started.
Universal Roofs proudly serves Toronto, Mississauga, Brampton, Vaughan, Markham, Oakville and the GTA since 2005.