
If you have ever watched water stain a ceiling after a heavy rainstorm, chances are the shingles were not the problem at all. The real culprit is almost always the flashing — the metal pieces tucked into every valley, chimney, wall junction, and roof penetration that are supposed to redirect water away from vulnerable seams. Choosing the best roof flashing for shingle roofs is one of the most important decisions a Toronto homeowner will make during a re-roof, because flashing failures cause a disproportionate share of the leaks we get called out to repair.
Shingles are designed to shed water down a slope, but they cannot bend around corners, seal against brick, or wrap a pipe. That is flashing’s job. Get the material and installation wrong, and even a brand-new roof with premium shingles will leak within a few seasons. Get it right, and the flashing will quietly outlast two or three sets of shingles.
In this guide we break down every common flashing material, where each type belongs on a shingle roof, how much it costs installed in the GTA, and the mistakes that lead to callbacks. We will also cover how our freeze-thaw winters and humid summers change the calculus compared to warmer climates.
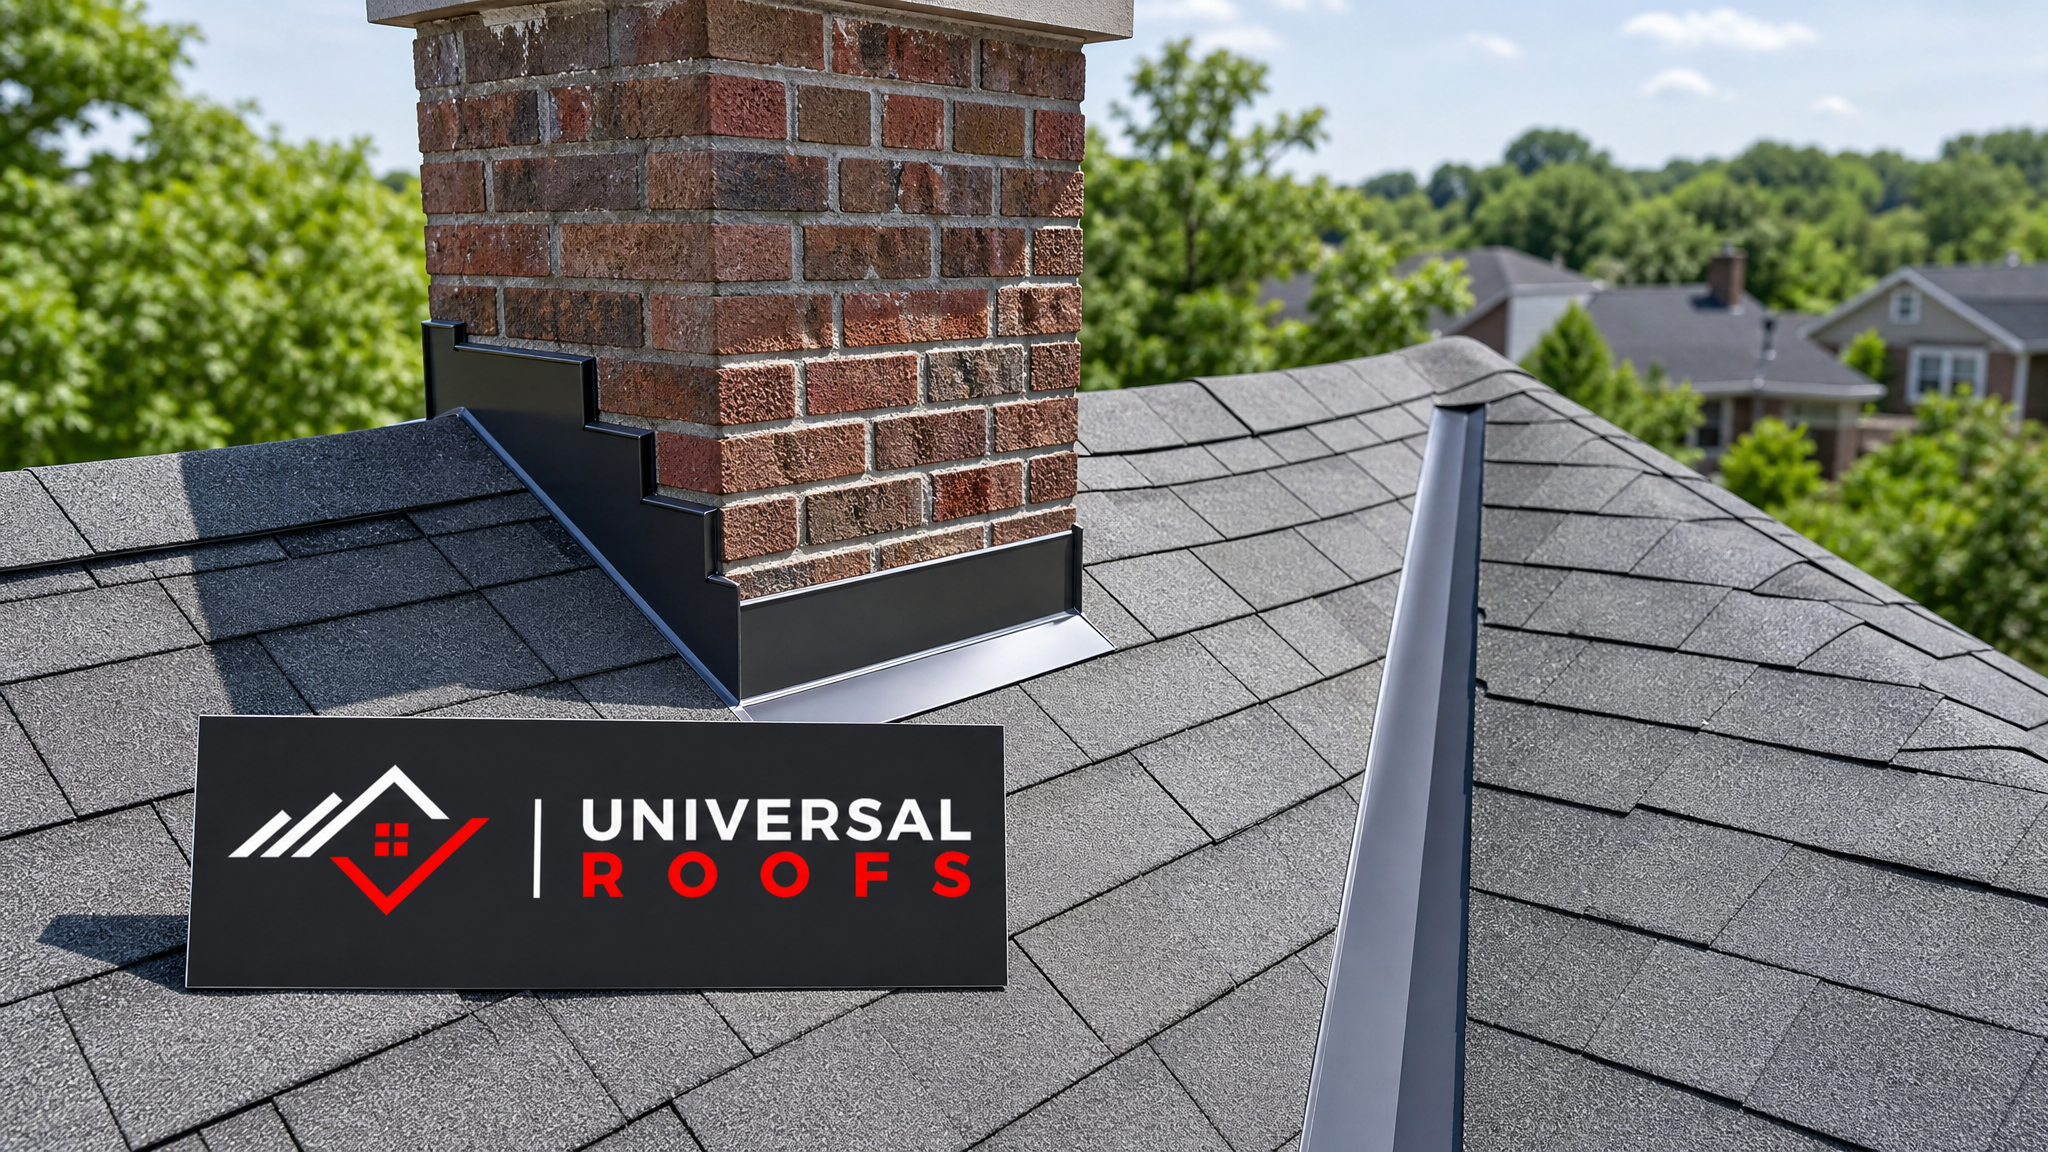
What Roof Flashing Actually Does on a Shingle Roof
Flashing is any material — almost always metal — installed at the transition points on a roof where water is most likely to find a way in. Shingles alone cannot manage these transitions because they rely on overlapping courses running downhill. Wherever that downhill pattern is interrupted (a wall, a chimney, a skylight curb, a roof-to-roof valley, or a vent pipe), flashing bridges the gap and gives water a continuous metal channel to follow off the roof.
On a typical GTA home, you will find several distinct types of flashing working together:
- Step flashing — individual L-shaped pieces woven between shingle courses where a roof slope meets a vertical wall or chimney
- Counter-flashing — a second layer set into a mortar joint or siding that overlaps step flashing to shed water over top of it
- Valley flashing — a continuous metal channel (or, in modern installs, a heavy-duty membrane) running down the “V” where two roof planes meet
- Drip edge — flashing along the eaves and rakes that directs water into the gutters and protects the fascia
- Pipe and vent flashing — boots or collars sealing around roof penetrations
- Skylight flashing kits — purpose-built flashing systems supplied with most skylight units
Each of these has a “best” material depending on location, budget, and how long you want it to last. If your inspection turns up rot, rust, or gaps at any of these locations, it is worth having a professional look at the full scope before it becomes a bigger roof repair project.
Comparing Flashing Materials for Shingle Roofs
Metal flashing dominates on shingle roofs because it is rigid, durable, and easy to form into the shapes needed at valleys, walls, and penetrations. The four materials you will encounter most often in the GTA are aluminum, galvanized steel, copper, and rubber/plastic (used mainly for pipe boots). Here is how they stack up.
| Material | Typical Lifespan | Corrosion Resistance | Relative Cost | Best Use on Shingle Roofs |
|---|---|---|---|---|
| Aluminum | 25-35 years | Good (can corrode near masonry/salt) | Low-Moderate | Drip edge, valleys, step flashing on most homes |
| Galvanized steel | 20-30 years | Moderate (zinc coating wears over time) | Low | Budget step flashing, vent flashing bases |
| Copper | 50-100+ years | Excellent | High | Valleys, chimneys, heritage and high-end homes |
| Painted/coated steel | 25-40 years | Good with intact coating | Moderate | Colour-matched valleys and step flashing |
| Rubber/thermoplastic boots | 10-20 years | Degrades with UV exposure | Low | Pipe penetrations and vent collars |
| Peel-and-stick membrane | 20-30+ years (under metal) | Excellent as underlayment | Low-Moderate | Valley underlayment beneath metal flashing, walls |
For most GTA homes, aluminum step flashing paired with a self-adhered membrane underlayment gives the best combination of durability, cost, and ease of colour-matching to modern shingles. Copper is genuinely the best-performing material in absolute terms, but it is usually reserved for heritage homes, custom builds, or specific high-visibility areas like a front dormer, because of the price premium.
Step Flashing: The Detail That Fails Most Often
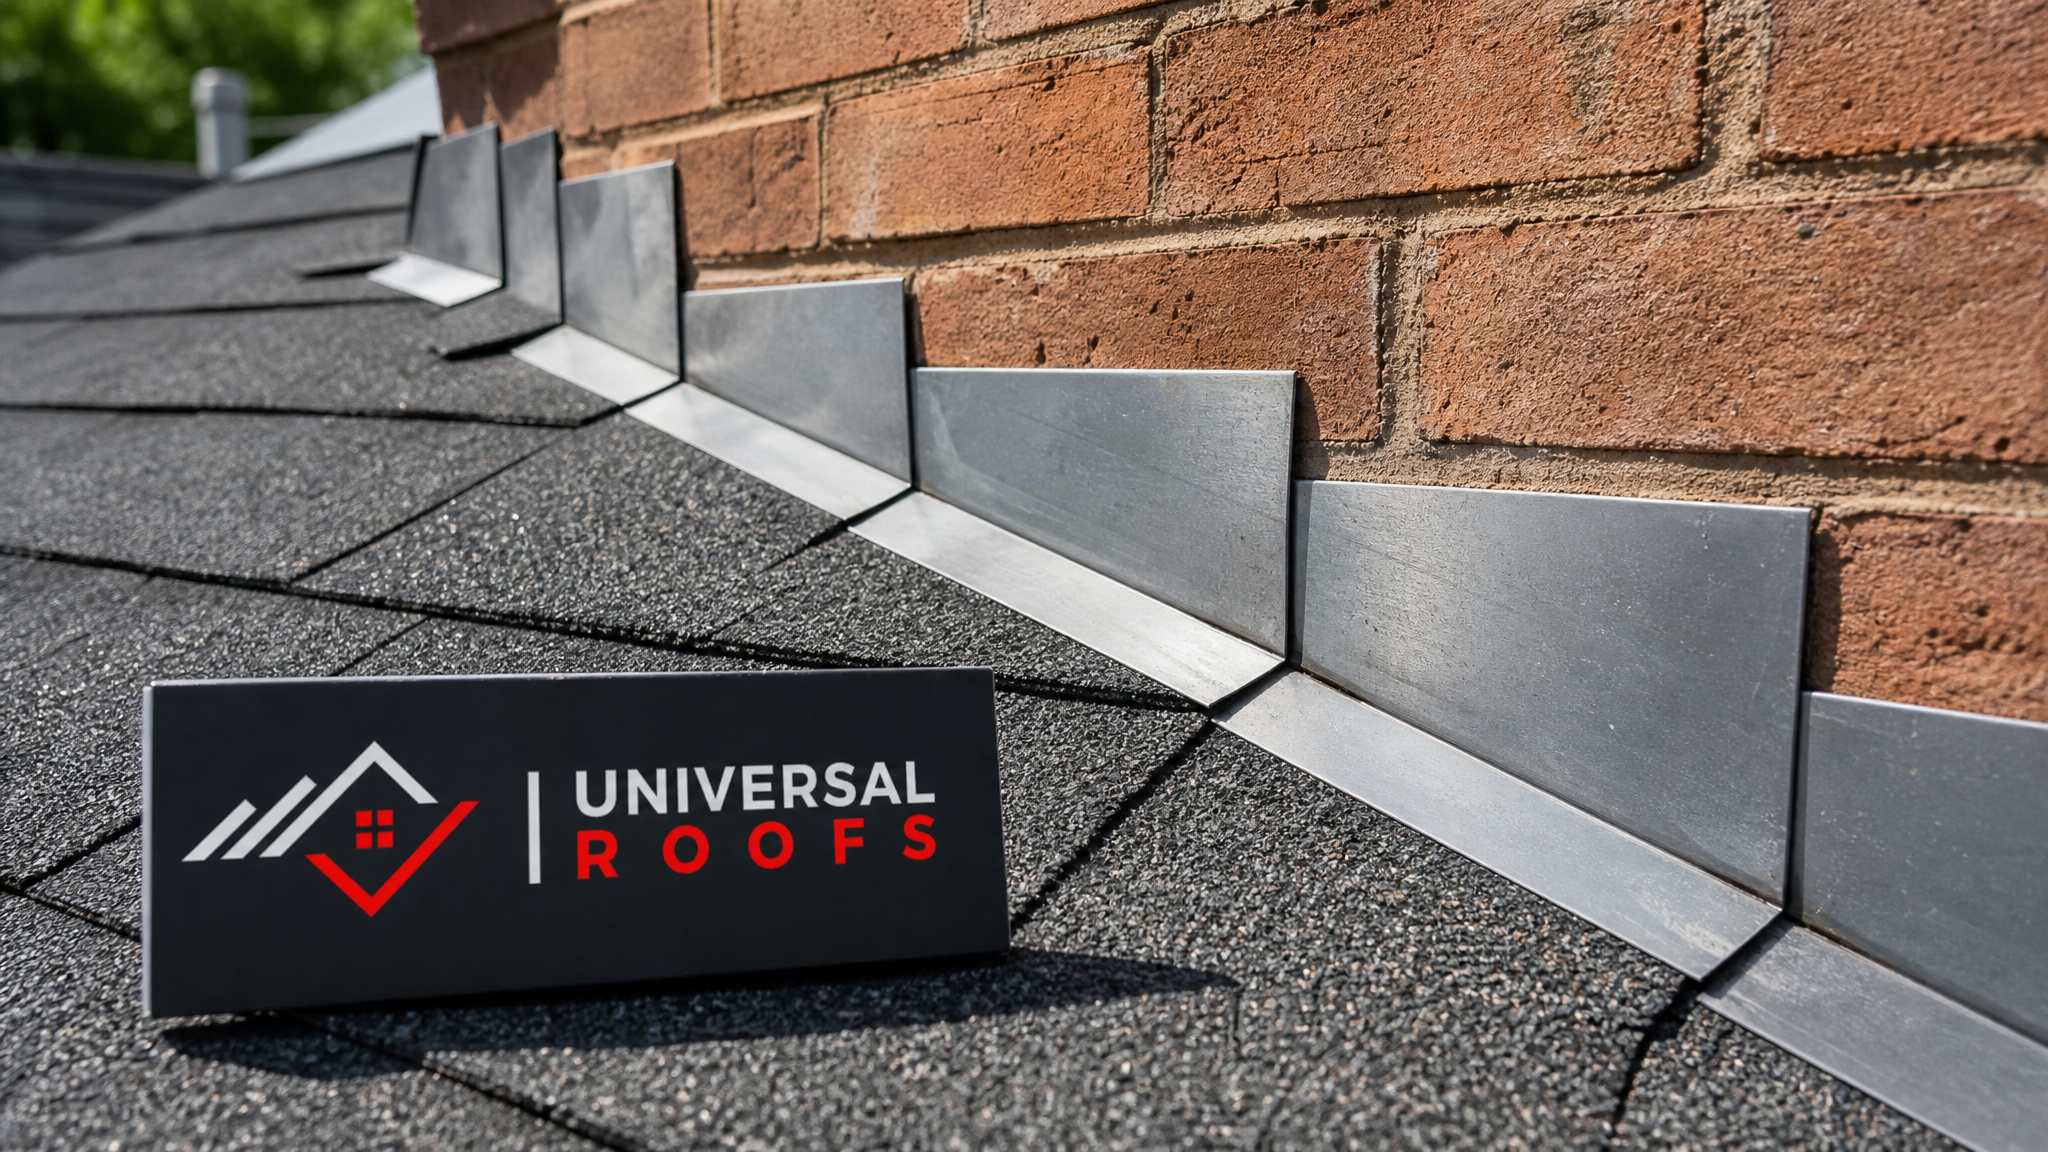
Step flashing is where a roof meets a vertical surface — a sidewall, a chimney, or a dormer. Each piece is a small L-shaped bracket, typically 5 inches by 7 inches, installed one at a time and woven between each course of shingles as the roof is built. Done correctly, water running down the wall lands on top of a flashing piece and is redirected onto the shingle below it, course after course, all the way down the slope.
The most common failure we see on service calls is continuous “step flashing” — a single long strip of bent metal used instead of individual interwoven pieces. It looks similar from the ground, it is faster to install, and it is a shortcut some crews take to save labour. The problem is that a continuous piece cannot flex with seasonal expansion and contraction, and any nail driven through it to secure it creates a direct penetration point for water. Proper step flashing is never face-nailed through the exposed metal; each piece is nailed only at the top corner, under the shingle above, where it stays dry.
Where a wall is brick or stucco, step flashing must be paired with counter-flashing cut into a mortar joint or reglet, overlapping the step flashing by at least 50mm. Skipping counter-flashing and simply caulking the top edge of step flashing against the wall is a common corner-cutting move that fails within a few years as caulking dries out and cracks in our freeze-thaw climate.
Valley Flashing: Open, Closed, or Woven
Valleys carry more water per square metre than any other part of the roof, which makes valley flashing arguably the single highest-stakes decision in the whole flashing plan. There are three main approaches used on shingle roofs.
| Valley Method | How It Works | Durability in GTA Climate | Recommended? |
|---|---|---|---|
| Open metal valley | Exposed metal channel, shingles cut back on both sides | Excellent — handles heavy runoff and ice best | Yes, especially on steeper or high-flow valleys |
| Closed-cut valley | Shingles from one side run through, other side trimmed over top | Good if underlayment is solid; hides metal entirely | Yes, on lower-flow valleys with proper membrane |
| Woven valley | Shingles from both sides interlaced across the valley | Weakest option; prone to wear at the weave and less repairable | Not recommended for GTA winters |
| Membrane-only (no metal) | Self-adhered membrane with shingles laid directly over | Adequate on low-slope, low-flow valleys only | Situational — best combined with metal underneath |
We generally recommend an open metal valley with a full-width ice-and-water membrane underneath on any roof steeper than a gentle slope, or anywhere leaves and debris tend to collect. The metal gives you a smooth, self-cleaning channel, and the membrane underneath is cheap insurance against nail penetrations and wind-driven rain finding a way under the edges. Woven valleys have fallen out of favour with most reputable roofers because the constant flex at the interlaced seam accelerates shingle wear exactly where you need durability most.
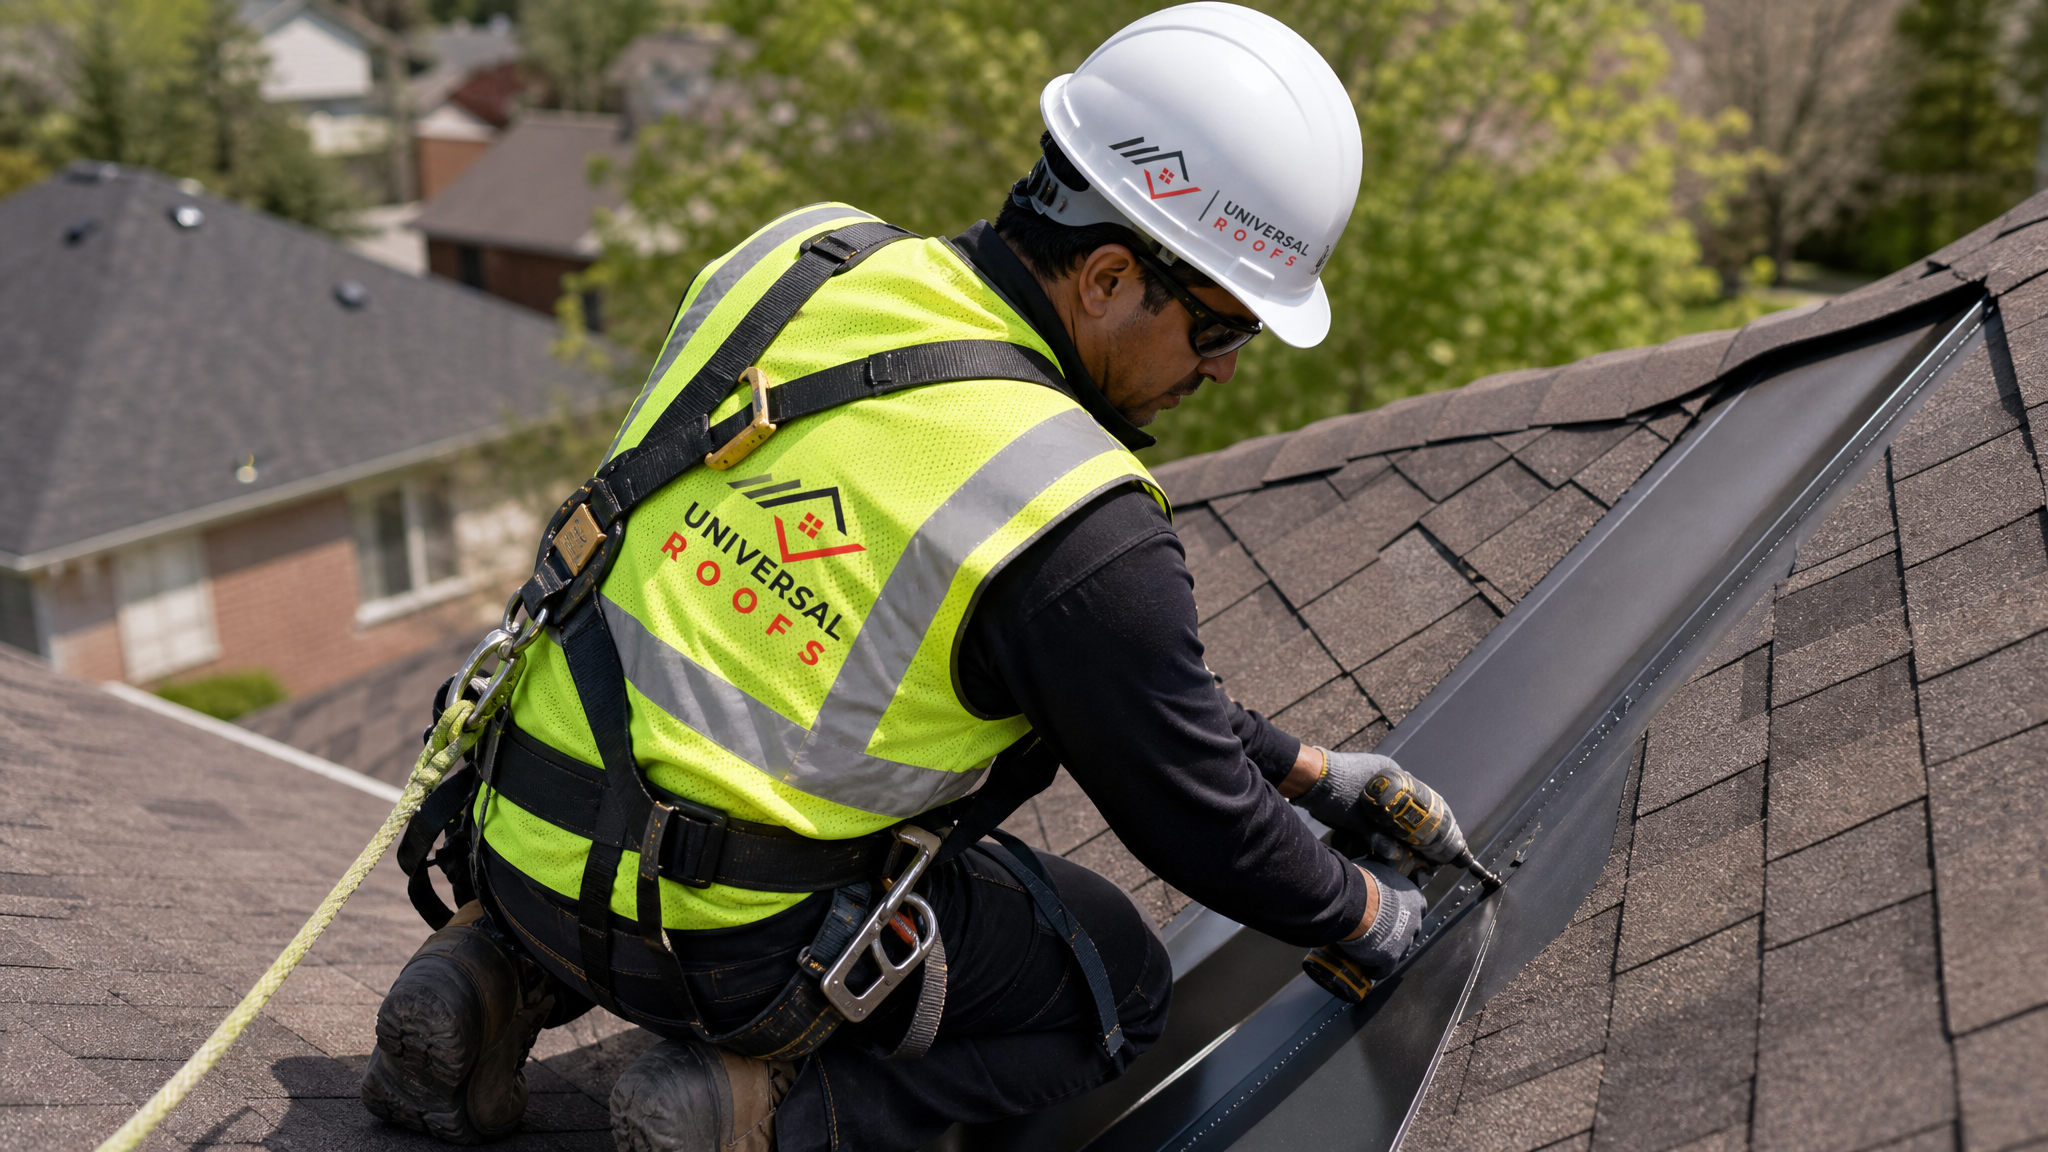
Chimney and Wall Flashing: Where Leaks Concentrate
Chimneys deserve special mention because they combine several flashing types at once: step flashing up each side, a saddle (or “cricket”) behind the chimney to divert water around it, and counter-flashing set into the masonry all the way around. A cricket is essentially a small mini-roof built behind any chimney wider than about 600mm, and its absence is one of the most overlooked causes of chronic leaks and ice damming behind chimneys on older GTA homes.
Common wall flashing problems we find during inspections include:
- Counter-flashing that was caulked to the surface instead of embedded into a cut mortar joint
- Missing crickets behind wide chimneys, allowing snow and ice to pile up and back water uphill
- Step flashing reused from a previous roof rather than replaced during a re-roof
- Sealant used as a substitute for proper flashing geometry, which fails long before the shingles do
If your home has a masonry chimney and you are noticing a stain on the ceiling near the fireplace, this is almost always a flashing issue rather than a shingle issue, and it is worth a proper inspection before anyone reaches for a tube of caulking as a “fix.” A full roof replacement is the ideal time to correct chimney flashing that was installed incorrectly the first time, since retrofitting counter-flashing into masonry is much more disruptive as an isolated repair.
Flashing Around Penetrations, Skylights, and Low-Slope Sections
Every pipe, vent stack, and skylight that passes through a shingle roof needs its own flashing detail. Plumbing vent stacks typically use a rubber or thermoplastic boot fitted over a metal base flange, and this is one of the shorter-lived components on the roof — the rubber collar degrades with UV exposure well before the surrounding shingles wear out, so it is worth budgeting for boot replacement roughly every 10 to 15 years even between full re-roofs.
Skylights bring their own dedicated flashing kit, usually supplied by the skylight manufacturer and matched to the specific unit and roof pitch. These kits use a similar step-and-counter-flashing logic to a chimney, but with a pre-formed head flashing above the unit and a sill flashing below. Because skylight leaks are so often flashing-related rather than glazing-related, we strongly recommend having skylight replacement or new skylight installation done by a crew experienced with the specific flashing kit for that model, rather than treating it as a generic carpentry task.
Where a shingle roof transitions into a low-slope or flat section — over a garage, a bay window, or a rear addition — flashing needs shift again. These transitions typically call for wider step flashing, a taller counter-flashing reveal, and sometimes a change in underlayment strategy where the pitch drops below what asphalt shingles are rated for. If your home has one of these mixed-pitch roofs, it is worth having a specialist review both sections together, since problems at the transition often show up as damage on the flat roofing section even when the cause originates on the shingled slope above it.
Installed Cost of Flashing Work in the GTA
Flashing is rarely priced as a standalone line item unless it is a targeted repair — most new flashing is included in the cost of a full re-roof. That said, homeowners frequently ask what individual components cost when replaced on their own, whether as a repair or an upgrade during a partial re-roof.
| Flashing Type | Typical Installed Cost (CAD) | Notes |
|---|---|---|
| Step flashing (per linear metre, wall/chimney) | $25 – $45 | Aluminum; higher for copper or complex tie-ins |
| Open metal valley (per valley) | $300 – $700 | Depends on valley length and membrane included |
| Chimney flashing with cricket | $800 – $2,200 | Price rises significantly with chimney width and masonry work |
| Pipe/vent boot replacement (each) | $150 – $300 | Often bundled 3-4 at a time on one service call |
| Drip edge (per linear metre) | $8 – $15 | Aluminum standard; steel slightly less |
| Skylight flashing kit installation | $400 – $900 | Usually bundled with skylight unit installation |
These figures assume the roof is otherwise accessible and in reasonable condition. Rotted decking behind a chimney, hidden water damage in a wall cavity, or an unusually steep pitch will all add to the price. This is one of the reasons a written, itemized quote after an in-person inspection is worth far more than a phone estimate.
Signs Your Existing Flashing Needs Attention
Flashing failures rarely show up as an obvious hole. Instead, they present as subtle symptoms that homeowners often attribute to something else. Watch for:
- Rust streaks running down siding or brick below a flashing line
- Ceiling stains that appear only after wind-driven rain, not calm rainfall
- Granules or metal shavings collecting in the gutter below a valley
- Visible gaps or lifted edges where step flashing meets a wall
- Ice buildup concentrated behind a chimney every winter
- Caulking that has been reapplied multiple times at the same spot
Any of these is a reasonable trigger to book an inspection. Toronto’s freeze-thaw cycles are particularly hard on flashing because metal and the surrounding materials expand and contract at different rates through repeated freezing overnight and thawing during the day, gradually working fasteners loose and opening hairline gaps that widen every season. A summer inspection, when the roof is dry and safe to walk, is the ideal time to catch these issues before the next winter’s freeze-thaw cycle finds them for you.
Flashing Maintenance and Longevity Tips
Good flashing installed with the right material will still benefit from a bit of ongoing attention. A few habits go a long way toward getting the full lifespan out of every flashing detail on your roof:
- Keep valleys and behind-chimney areas clear of leaves and debris, especially heading into fall
- Have gutters cleaned regularly so water is not backing up against the drip edge
- Ask for photos of flashing details during any roof inspection, since most of it is not visible from the ground
- Avoid pressure washing a roof, which can lift shingle tabs and disturb flashing seals
- Address small rust spots on steel flashing early with a rust-inhibiting primer before they perforate
- Have skylight and chimney flashing checked specifically any time nearby roofing work is done, even if the flashing itself was not part of that job
Homeowners in different parts of the GTA sometimes find that microclimates matter too — homes near the lake in Toronto can see more wind-driven rain, while properties across Peel Region, York Region, Halton Region, and Durham Region tend to see more open exposure to snow load and drifting. None of these differences change which flashing material is “best” in an absolute sense, but they do affect how often you should schedule an inspection.
Choosing the Right Flashing Strategy for Your Roof
Putting it all together, here is the practical recommendation we give most GTA homeowners planning a re-roof or a flashing-specific repair:
- Step and wall flashing: Prefabricated aluminum step flashing, individually woven and nailed at the top corner only, with proper counter-flashing embedded into masonry joints where applicable
- Valleys: Open metal valley in aluminum or coated steel over a full ice-and-water membrane, avoiding woven valleys in our climate
- Chimneys: Full step-and-counter-flashing system with a cricket behind any chimney over roughly 600mm wide
- Penetrations: Metal-base rubber boots, replaced proactively on a 10-15 year cycle rather than waiting for a visible leak
- Skylights: Manufacturer-matched flashing kit installed by a crew experienced with that specific product line
- Budget upgrade: Copper flashing at high-visibility, high-value locations such as a front dormer or heritage chimney
None of these materials are exotic or hard to source, which is good news — the “best” flashing for a shingle roof usually is not about finding a rare product, it is about insisting on correct installation technique and refusing to let sealant substitute for proper metal geometry. A roofer who gets this right the first time saves a homeowner years of chasing intermittent leaks. If you want a second opinion on flashing work another contractor has already done, or you are simply planning ahead for a future re-roof, browse our reviews or check our FAQ page for more detail on how we approach these details, or read more about our team and how long we have been doing this work.
What is the best roof flashing for shingle roofs overall?
Is copper really better than aluminum for shingle roof flashing?
How often should shingle roof flashing be replaced?
Can I just caulk my flashing instead of replacing it?
Why is my valley flashing leaking even though the shingles look fine?
Do I need a professional to install roof flashing correctly?
Need Help With What Is the Best?
Choosing and installing the right flashing is one of the details that separates a roof that lasts decades from one that generates repeat service calls. Universal Roofs has been getting this detail right on shingle roofs across the GTA since 2005.
Call us today at (416) 732-2421 or request a free inspection to get started.
Universal Roofs proudly serves Toronto, Mississauga, Brampton, Vaughan, Markham, Oakville and the GTA since 2005.