
A roof leak rarely waits for a convenient moment. It shows up during a July thunderstorm, drips through a pot light at midnight, or blooms into a brown stain on the ceiling right after you have guests over. Before you can get a professional out to your Toronto-area home, you need a plan to stop the water from spreading and causing more damage.
This quick DIY guide for emergency roof leak repair walks you through exactly what to do in the first hours after you spot a leak: how to find the source, how to protect your interior, which temporary fixes actually hold up, and when a patch job is enough to get you through until a licenced contractor can make a permanent repair. None of these steps replace a proper roof repair, but they can mean the difference between a small water stain and a ceiling collapse.
We put this guide together from years of emergency calls across the GTA, so it reflects what actually happens on Toronto roofs, not generic advice written for a different climate. Freeze-thaw cycles, humid summer storms, and older housing stock all shape how leaks develop here, and your response should account for that.
Step One: Confirm the Leak and Find the Source
Before climbing a ladder or grabbing a tarp, take a few minutes to actually confirm what you are dealing with. Water stains, drips, or a musty smell can come from a roof leak, but they can also come from condensation, a failed bathroom fan vent, or a plumbing line running through the attic. Misdiagnosing the source wastes precious time during an emergency.
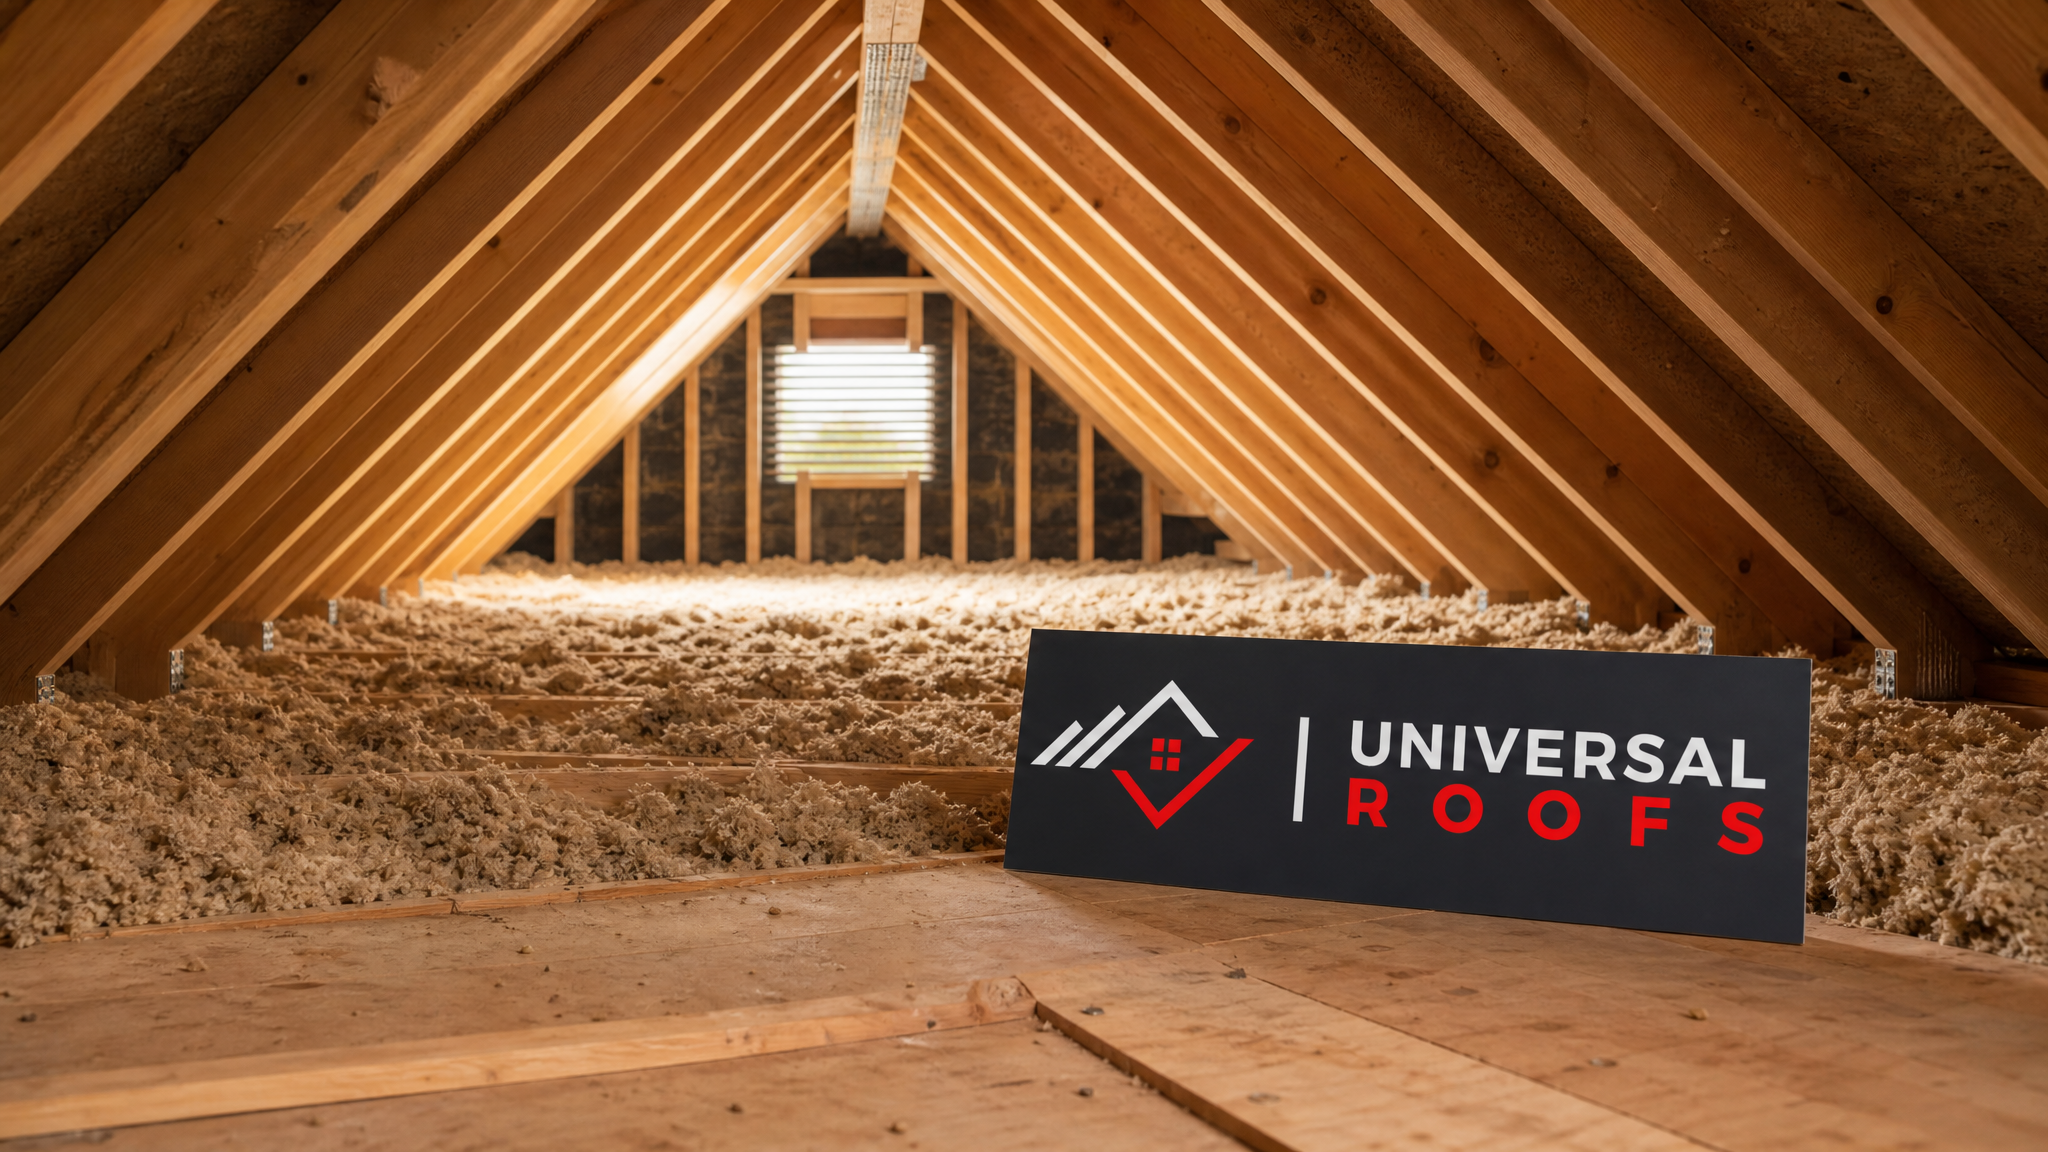
Start inside. Go into the attic with a flashlight, if it is safe to do so, and look for wet insulation, dark streaks along rafters, or active dripping. Water often travels along a rafter or truss before dripping, so the wet spot on your ceiling is frequently several feet away from the actual entry point on the roof. Trace the trail upward and mark the highest point of visible moisture; that is your best guide to where the leak originates outside.
From the ground, use binoculars to scan the roof for obvious red flags: missing or lifted shingles, damaged flashing around a chimney or vent pipe, cracked pipe boots, or debris that has built up in a valley. If you have a skylight or roof vent near the leak, check the flashing and seals around it first, since these penetrations are the most common failure points on any roof.
Only get onto the roof itself if it is dry, the pitch is low, and you have proper fall protection. A wet or steep roof during an active leak is exactly when most fall injuries happen, and no temporary patch is worth that risk. If you cannot safely inspect the roof yourself, it is best to protect the interior and wait for a professional rather than climb up during a storm.
Step Two: Protect Your Home’s Interior Immediately
While the roof itself needs attention, the water actively coming through your ceiling right now is doing the most damage. Interior protection should happen in the first few minutes, even before you touch the roof.
Move furniture, electronics, and anything valuable away from the drip zone. Place a bucket or large container directly under the leak, and set a towel or old sheet around the base to catch splashes. If the ceiling has developed a bulge or bubble from trapped water, do not ignore it. A pooling ceiling can hold a surprising amount of weight, and a controlled release is far better than a sudden collapse.
To relieve a bulging ceiling safely, push a small screwdriver or the tip of an awl gently through the centre of the bulge from below, standing to the side rather than directly underneath, and let the water drain into a bucket. This looks counterintuitive, but a small controlled hole is much easier and cheaper to repair than a large section of collapsed drywall and soaked insulation.
If water is running down an interior wall, switch off any nearby electrical outlets or light fixtures at the breaker panel until the area is fully dry, and never touch a wet switch or fixture with wet hands. Water and electricity are a genuinely dangerous combination, and this step is not optional.
| Interior Symptom | Likely Cause | Immediate Action | Urgency Level |
|---|---|---|---|
| Dark ceiling stain, no active drip | Slow, intermittent leak or past moisture event | Monitor and photograph; schedule an assessment | Moderate |
| Active dripping from a fixture or seam | Active leak from roof penetration or flashing failure | Bucket, protect belongings, locate source | High |
| Bulging or sagging ceiling | Trapped water pooling above drywall | Controlled drain hole, evacuate area below | Urgent |
| Musty smell with no visible stain | Hidden moisture in attic or wall cavity | Inspect attic, check for mould growth | Moderate |
| Water tracking down interior wall | Leak entering near a wall-roof junction or chimney | Shut off nearby power, contain at baseboard | High |
Step Three: Temporary Exterior Patch Options
Once the interior is protected and you have a reasonable idea of where the water is entering, you can consider a temporary exterior patch to slow or stop the leak until a permanent repair happens. The right method depends on the type of roof, the location of the damage, and the weather at the time.
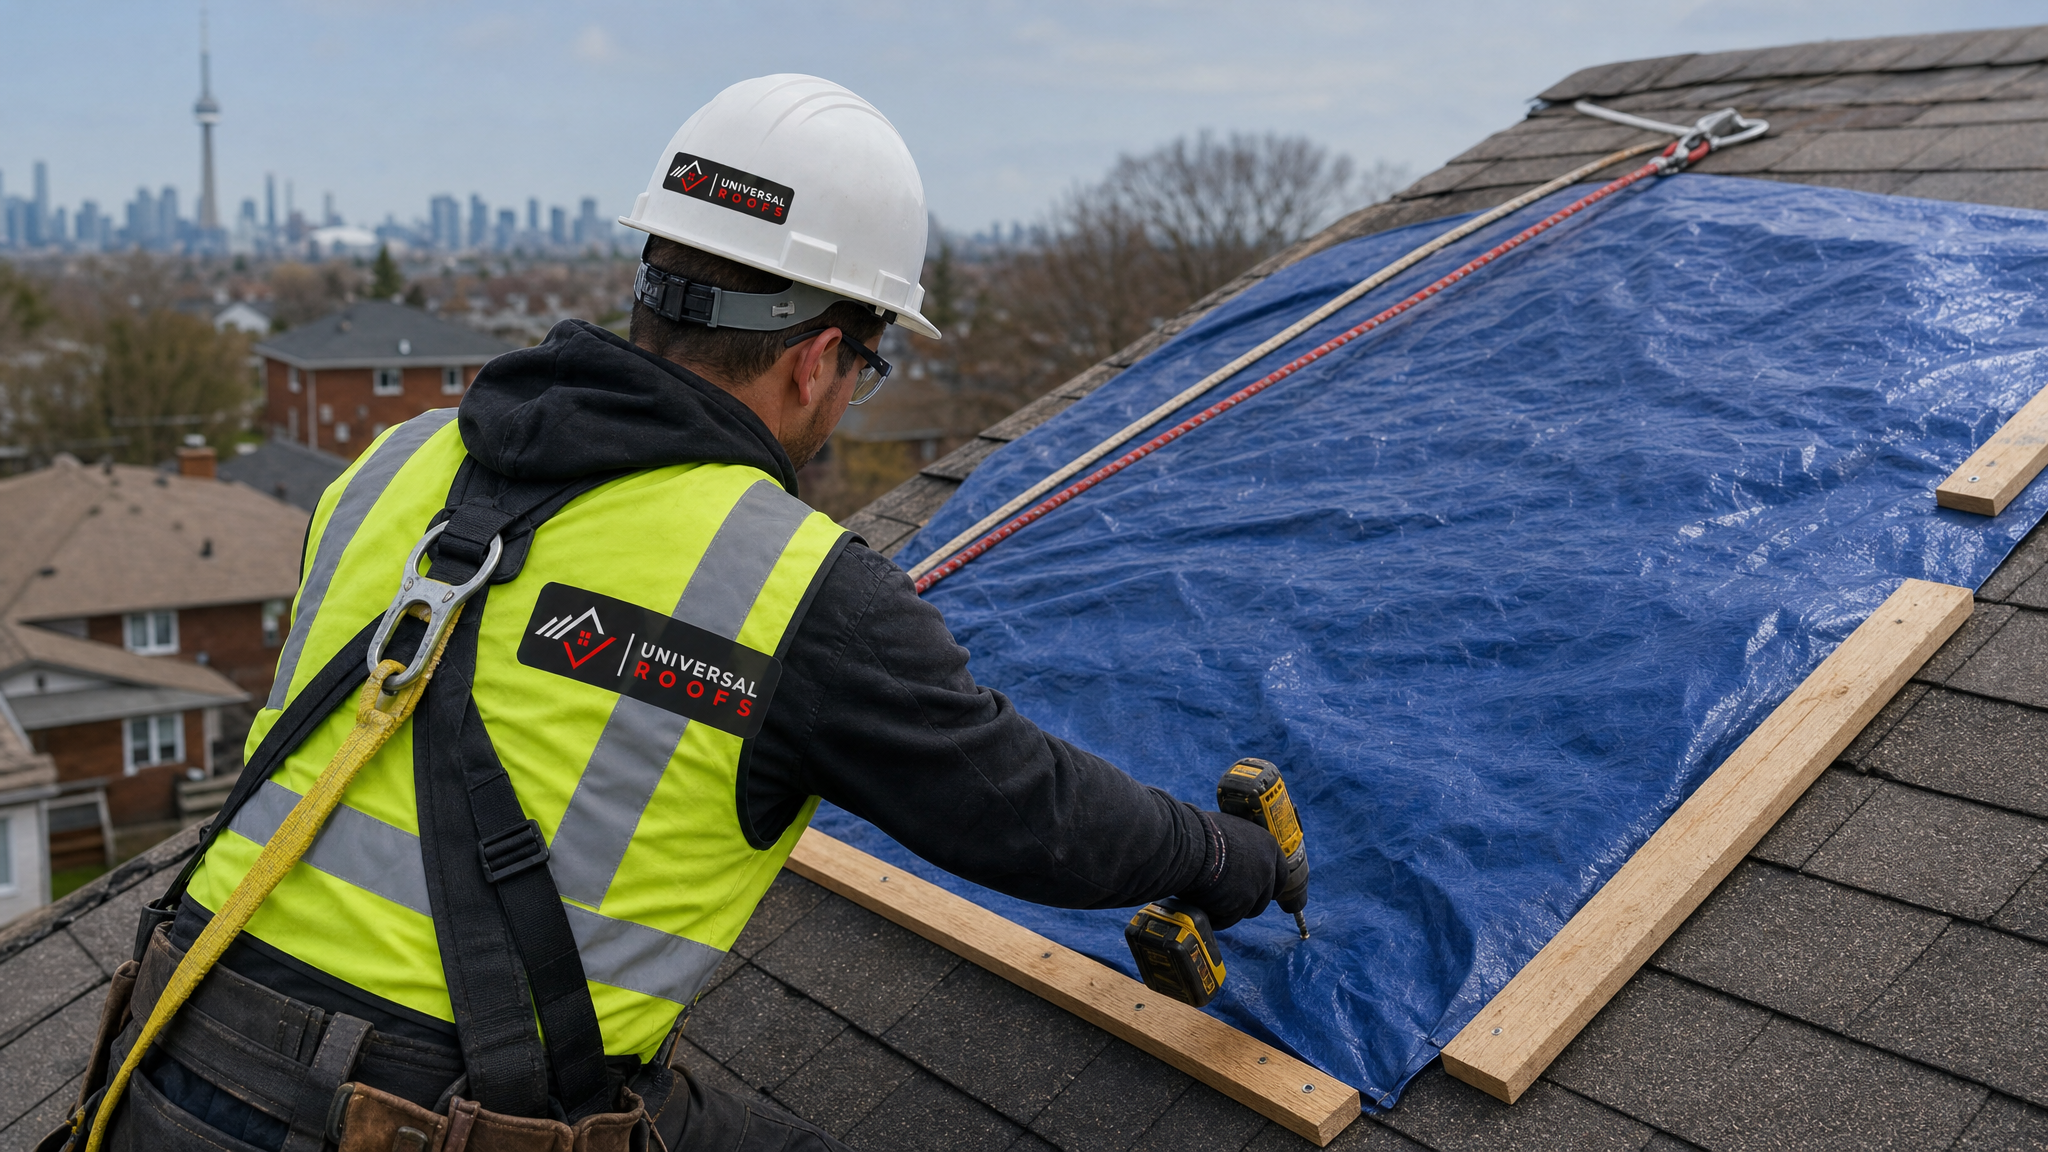
Roof tarping is the most common emergency measure, and it works well for larger areas of damage such as missing shingle sections or storm-torn material. Extend a heavy-duty tarp at least four feet past the damaged area in every direction, running it over the ridge line rather than stopping at it, and secure it with wood strips screwed into the roof deck along the edges rather than relying on tarp grommets and rope alone, which tend to fail in wind.
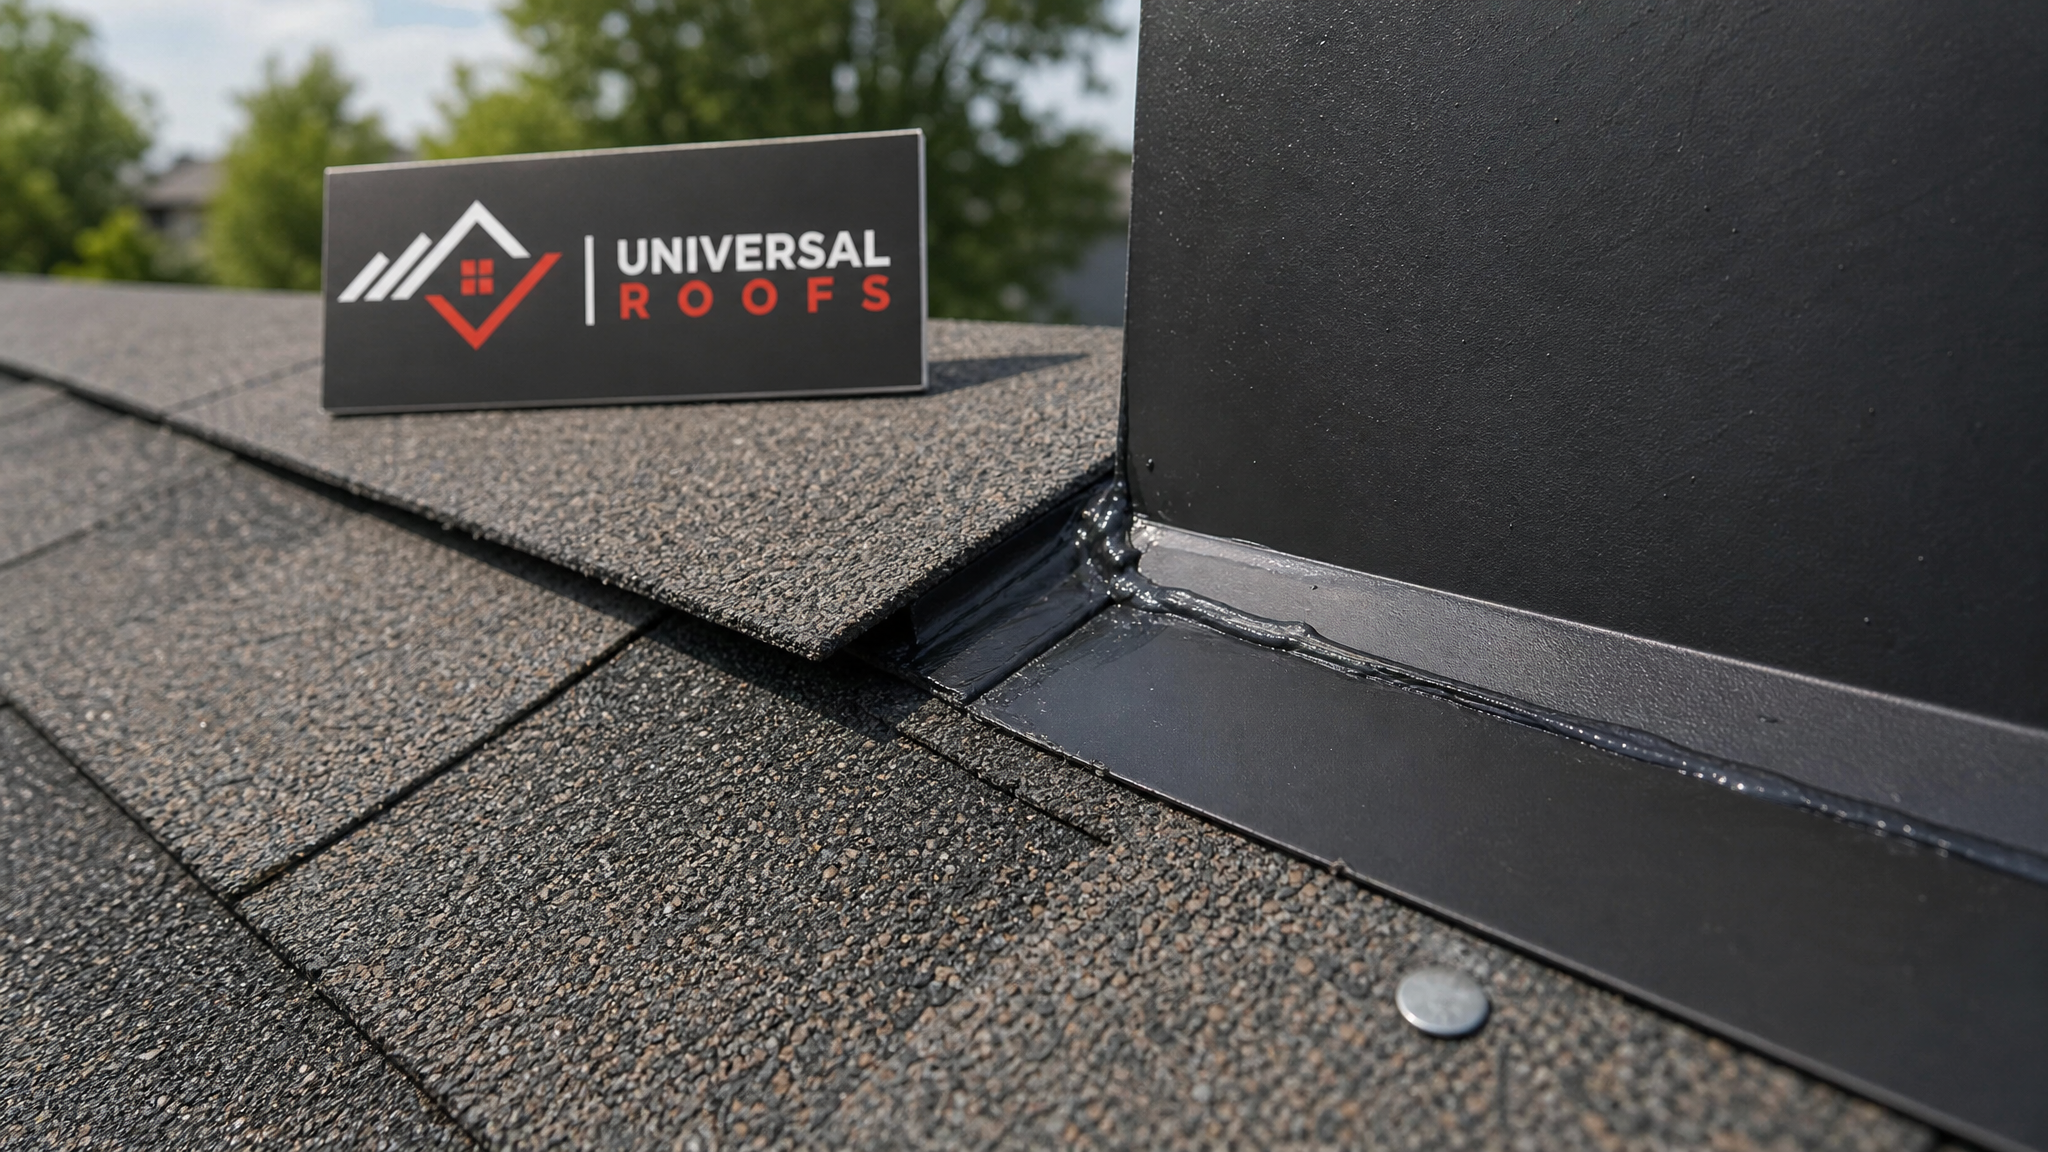
Roofing cement or flashing sealant works for small, isolated problems: a lifted shingle tab, a hairline crack in flashing, or a gap around a pipe boot. Apply a generous, even layer with a putty knife, pressing the material firmly into the gap and feathering the edges so water sheds over the patch rather than pooling against it. This is not a permanent fix, but a quality butyl or asphalt-based sealant can hold for weeks in the right conditions.
Peel-and-stick roofing patches are a good middle-ground option for flat or low-slope sections, including many flat roofing systems, since they bond directly to a clean, dry surface without needing a torch or extensive prep. Clean the area, let it dry completely, and press the patch down firmly from the centre outward to avoid trapping air bubbles.
Materials and Tools to Keep on Hand
Homeowners who keep a small emergency kit on hand can respond faster and more safely when a leak happens. None of these items are expensive, and most are available at any hardware store.
| Item | Purpose | Approx. Cost (CAD) | Where to Keep It |
|---|---|---|---|
| Heavy-duty poly tarp (6 mil or thicker) | Cover large damaged areas quickly | $25 – $60 | Garage or shed |
| Roofing cement / flashing sealant | Seal small cracks, gaps, lifted shingles | $12 – $25 per tube | Basement or garage shelf |
| Peel-and-stick flashing tape | Patch flat roof seams and pipe boots | $20 – $45 per roll | Dry storage area |
| Wood furring strips and screws | Anchor tarps securely to the roof deck | $15 – $30 | Garage |
| Buckets and old towels | Contain interior drips and splashes | Already on hand | Utility closet |
| Flashlight and moisture meter | Locate leak source in attic | $20 – $70 | Kitchen drawer or toolbox |
Safety Rules Before You Go on the Roof
Every year, well-meaning homeowners are injured trying to fix a roof leak themselves, and most of those injuries happen because someone climbed onto a wet, steep, or poorly lit roof under time pressure. A few non-negotiable rules keep a bad situation from becoming worse.
- Never get on the roof during active rain, high wind, lightning, or after dark.
- Avoid roofs with a pitch steeper than about 6-in-12 unless you have proper fall protection and roofing experience.
- Always use a stable, properly footed extension ladder that extends at least three feet above the roofline.
- Wear rubber-soled shoes with good tread, and never work on a roof alone if it can be avoided.
- If frost, ice, or algae growth makes the surface slippery, wait for it to dry rather than risk a fall.
If any of these conditions apply, the safest and most cost-effective choice is to protect the interior as described above and call for professional roof repair rather than attempting an exterior fix yourself. A same-day emergency response from a licenced crew with the right harness and ladder equipment is far safer than a rushed DIY attempt in poor conditions.
Common Leak Sources in GTA Homes
Understanding where leaks typically originate helps you check the right spots first, saving valuable time during an emergency. Toronto’s freeze-thaw winters and humid summer storms create specific failure patterns that differ from milder climates.
Flashing failures around chimneys, skylights, and roof-to-wall junctions are the single most common source of leaks on GTA homes. Metal flashing expands and contracts with temperature swings, and the sealant around it eventually cracks, especially after a few winters of freeze-thaw cycling. Damaged or missing shingles from wind events are the second most common cause, particularly after the strong summer storms that roll through the region. Ice dam damage, while more of a winter issue, often shows up as a leak that only becomes visible weeks later once the affected shingles or underlayment fully fail. Clogged gutters and downspouts can force water to back up under the shingle edge, and failed pipe boot seals around plumbing vents dry out and crack over five to ten years, a detail many homeowners never think to check.
If your leak keeps recurring in the same spot even after a temporary patch, that is usually a sign that the underlying flashing, decking, or shingle layer needs a proper roof repair rather than another round of sealant. Recurring leaks are also worth an attic inspection, since prolonged moisture exposure can lead to mould growth and insulation damage that are not visible from your ceiling.
DIY Patch vs. Professional Repair: Knowing the Difference
Not every leak needs an emergency contractor call, but many homeowners underestimate how quickly a small leak becomes a major structural issue. The table below breaks down which situations are reasonable to handle temporarily yourself, and which call for a professional immediately.
| Situation | DIY Temporary Fix Appropriate? | Recommended Timeline for Professional Repair |
|---|---|---|
| Single lifted shingle, small sealant gap | Yes, with roofing cement | Within 2-4 weeks |
| Torn section after a wind or hailstorm | Yes, tarp only, as a stopgap | Within 48-72 hours |
| Active leak near electrical wiring or fixtures | Interior protection only, no roof climbing | Same day / emergency response |
| Ceiling bulge or visible sagging | Controlled drain only, no exterior patch | Same day / emergency response |
| Recurring leak in the same spot | No, underlying cause must be diagnosed | Within 1 week |
| Leak around a chimney or skylight | Limited; flashing repair needs proper tools | Within 1 week |
After the Storm: What to Do Once the Leak Is Stabilized
Once you have stopped the immediate water intrusion, resist the urge to consider the job finished. A temporary patch is exactly that: temporary. Document the damage thoroughly with photos and video, both inside and outside, for insurance purposes, and note the date and approximate time the leak started if you can.
Run a fan or dehumidifier in the affected room to speed up drying and reduce the risk of mould developing in wet drywall or insulation. If more than about 400 square centimetres of drywall was soaked, or if insulation in the attic got wet, it likely needs to be cut out and replaced rather than simply dried, since wet cellulose and fibreglass lose much of their insulating value and can harbour mould even after they appear dry on the surface.
Schedule a full roof inspection as soon as possible. A temporary patch that held through one storm may not survive the next, and the underlying cause of the leak, whether it is aging flashing, worn shingles, or a failing skylight seal, still needs a permanent fix. Homeowners across Toronto, Peel Region, York Region, Halton Region, and Durham Region often wait too long after a successful temporary patch, only to face a repeat leak during the next heavy rain.
Insurance and Documentation Tips
Most home insurance policies in Ontario cover sudden, accidental water damage from a storm, but they typically exclude damage caused by long-term neglect or a known, unaddressed problem. This makes documentation important from the very first minute you notice a leak.
Photograph the damage before you start any cleanup or repair work, including wide shots of the room and close-ups of the specific damage. Keep receipts for any emergency materials you purchase, such as tarps or sealant, since many policies reimburse reasonable costs incurred to prevent further damage. If the leak resulted from a specific storm event, note the date, since insurers may cross-reference weather data for the claim.
When in doubt about whether damage is covered, it is worth getting a written assessment from a licenced roofing contractor. A professional inspection report carries far more weight with an insurance adjuster than a homeowner’s own description of the damage, and it also gives you an accurate scope of work for a permanent repair.
When to Call a Professional Immediately
Some situations move past the DIY stage entirely, and recognizing them quickly protects both your home and your safety. Call a professional roofing contractor right away if you notice any structural sagging in the roof deck itself, if water is pooling near electrical panels or fixtures, if the damaged area is large or on a steep or high section of roof, or if you simply are not confident diagnosing or reaching the source of the leak safely.
Universal Roofs has served homeowners across the Greater Toronto Area since 2005, and emergency leak calls are one of the most common reasons homeowners reach out to us. A fast, correctly diagnosed repair almost always costs less than the water, drywall, insulation, and mould remediation that follow a leak left too long. If you are ever unsure whether your situation calls for a temporary fix or a same-day professional visit, it is always safer to ask.
What is the fastest way to stop a roof leak in an emergency?
Can I use roofing cement as a permanent fix?
Is it safe to go on my roof during a storm to fix a leak?
How do I find where a roof leak is actually coming from?
What household items can I use for an emergency roof leak repair?
How long can a tarp stay on my roof before I need a real repair?
Need Help With Quick DIY Guide for?
Emergency leaks do not wait for business hours, and neither should your response. While the steps above can help you protect your home in the short term, a lasting fix requires an experienced eye and the right materials. Universal Roofs has been helping GTA homeowners handle exactly these situations for two decades, from a single lifted shingle to a full flashing failure.
Call us today at (416) 732-2421 or request a free inspection to get started.
Universal Roofs proudly serves Toronto, Mississauga, Brampton, Vaughan, Markham, Oakville and the GTA since 2005.