
A single missed shingle or a few square centimetres of blocked ventilation is all it takes to turn a dry Toronto attic into a damp, mould-prone problem. Preventing roof leaks and mould comes down to a handful of habits that most GTA homeowners never learn until they are already mopping up a stained ceiling. The good news is that roof leaks and the mould growth that follows are almost always preventable with routine inspection, timely repairs, and a properly ventilated attic.
This guide walks through the six essential tips our crews rely on when we inspect roofs across Toronto, Mississauga, Brampton, Vaughan and the wider GTA. Whether your home has asphalt shingles, a flat membrane roof, or a skylight cut into the deck, the same underlying principles apply: keep water moving off the roof, keep the attic dry and ventilated, and catch small problems before a July thunderstorm or a January freeze-thaw cycle turns them into big ones.
We will cover practical inspection routines, the materials and repairs that actually stop leaks, how to tell the difference between a roof leak and a condensation problem, and when it makes more sense to call a professional than to climb a ladder yourself. By the end, you will have a clear, actionable checklist for roof repair and long-term maintenance that protects both your shingles and your indoor air quality.

Why Preventing Roof Leaks and Mould Starts on the Roof, Not in the Attic
Homeowners often notice mould first as a musty smell in a closet or dark spots on drywall, and their instinct is to treat the symptom with bleach or a dehumidifier. That approach almost never works for long, because the moisture source is usually sitting two storeys above, on the roof deck itself. Mould needs three things to grow: a food source (wood, drywall paper, dust), a temperature between roughly 4 and 35 degrees Celsius, and moisture above about 60 percent relative humidity. Toronto attics hit all three conditions easily if water is getting in, so the only durable fix is stopping the water at its source.
Roof leaks develop in predictable places: around flashing at chimneys and walls, at valleys where two roof slopes meet, around skylight curbs, at nail penetrations that have backed out, and along roof edges where ice damming occurs in winter. Each of these failure points has a specific inspection method and a specific repair, which is why a generalized “patch it with sealant” approach so often fails within a season. A proper roof repair targets the actual failure mode, not just the visible symptom.
Climate plays a large role here too. The GTA sees roughly 35 to 45 freeze-thaw cycles each winter, which stresses shingles, flashing, and sealants far more than a static cold climate would. Add in humid summer thunderstorms and high air-conditioning loads that create temperature differentials in the attic, and you have a roof assembly that is under constant thermal and moisture stress. Preventing leaks in this environment means building in margin: slightly better flashing details, slightly more ventilation, and slightly more frequent inspection than a generic manual might suggest.
Tip 1: Inspect Your Roof Twice a Year, Ideally Spring and Fall
The single most effective habit for preventing roof leaks and mould is a scheduled visual inspection twice a year. Spring inspections catch winter damage from ice and snow load before summer storms exploit it, and fall inspections catch summer heat damage and clear debris before winter arrives. Waiting for a leak to appear indoors means the water has already been penetrating the roof assembly for weeks or months, since ceiling stains and musty odours are a lagging indicator, not an early warning.
From the ground, use binoculars to look for: missing, curling, or cracked shingles, granules collecting in gutters or at the base of downspouts, moss or algae streaking (a sign of trapped moisture), flashing that has pulled away from chimneys or walls, and a sagging ridge line, which can indicate structural moisture damage. From inside the attic, check for daylight coming through the roof deck, dark or wet insulation, rusted nail tips (a classic sign of condensation, discussed further below), and any staining on the underside of the sheathing.
| Inspection Area | What to Look For | Frequency | Action if Found |
|---|---|---|---|
| Shingle surface | Curling, cracking, missing granules | Twice yearly | Schedule roof repair or replacement quote |
| Flashing (chimney, walls, valleys) | Gaps, rust, lifted edges | Twice yearly | Re-seal or replace flashing promptly |
| Gutters and downspouts | Granule buildup, standing water, sagging | Spring and fall, plus after major storms | Clean and re-secure to fascia |
| Attic interior | Daylight gaps, wet insulation, musty odour | Twice yearly | Trace source, improve ventilation, dry insulation |
| Skylight curbs and seals | Cracked sealant, condensation trails | Twice yearly | Inspect via skylight services |
| Roof valleys | Debris buildup, granule loss, exposed underlayment | Fall (before leaves) and spring | Clear debris, inspect underlayment condition |
If you are not comfortable on a ladder or walking a roof slope, a professional inspection takes less than an hour and gives you photographic documentation you can reference year over year. This is especially worthwhile before listing a home for sale or after a particularly severe storm.
Tip 2: Keep Your Attic Properly Ventilated to Control Moisture and Condensation
Not every wet attic problem is a roof leak. A huge share of the “leak” calls we receive in the GTA turn out to be condensation, caused by warm, moist household air escaping into a poorly ventilated attic and condensing on the cold underside of the roof deck in winter, or on ductwork and insulation in summer when air conditioning creates a temperature differential. The fix for condensation is completely different from the fix for a leak, so telling them apart matters.
Balanced attic ventilation relies on intake at the soffits (the underside of the roof overhang) and exhaust at or near the ridge. Air should flow continuously along the underside of the roof deck, carrying moisture out before it can condense. Common failures include blocked soffit vents (often clogged with insulation or paint), insufficient ridge or roof vent area for the attic’s square footage, and bathroom or kitchen exhaust fans that vent into the attic instead of outside through the roof or a gable wall — a code violation that is unfortunately common in older GTA homes.
| Ventilation Component | Function | Common Problem | Fix |
|---|---|---|---|
| Soffit vents | Draw fresh air into attic | Blocked by insulation or paint | Clear obstructions, add baffles |
| Ridge vent | Exhaust warm, moist air at roof peak | Undersized or missing | Install continuous ridge vent during roof replacement |
| Bathroom/kitchen exhaust fans | Remove humid indoor air | Vented into attic instead of outside | Re-route ducting through roof or gable cap |
| Attic insulation | Reduce heat transfer, control deck temperature | Compressed or blocking soffit airflow | Rebaffle and top up to recommended R-value |
| Vapour barrier | Stop indoor humidity from entering attic | Torn, taped incorrectly, or missing | Repair or install continuous barrier |
As a rule of thumb, Canadian building code guidance calls for roughly 1 square metre of net free ventilation area for every 300 square metres of attic floor space, split evenly between intake and exhaust. A qualified assessment of your attic ventilation and insulation is one of the best investments a homeowner can make, since it addresses both energy efficiency and moisture control at the same time.
Tip 3: Address Flashing and Sealant Failures Before They Become Structural Problems
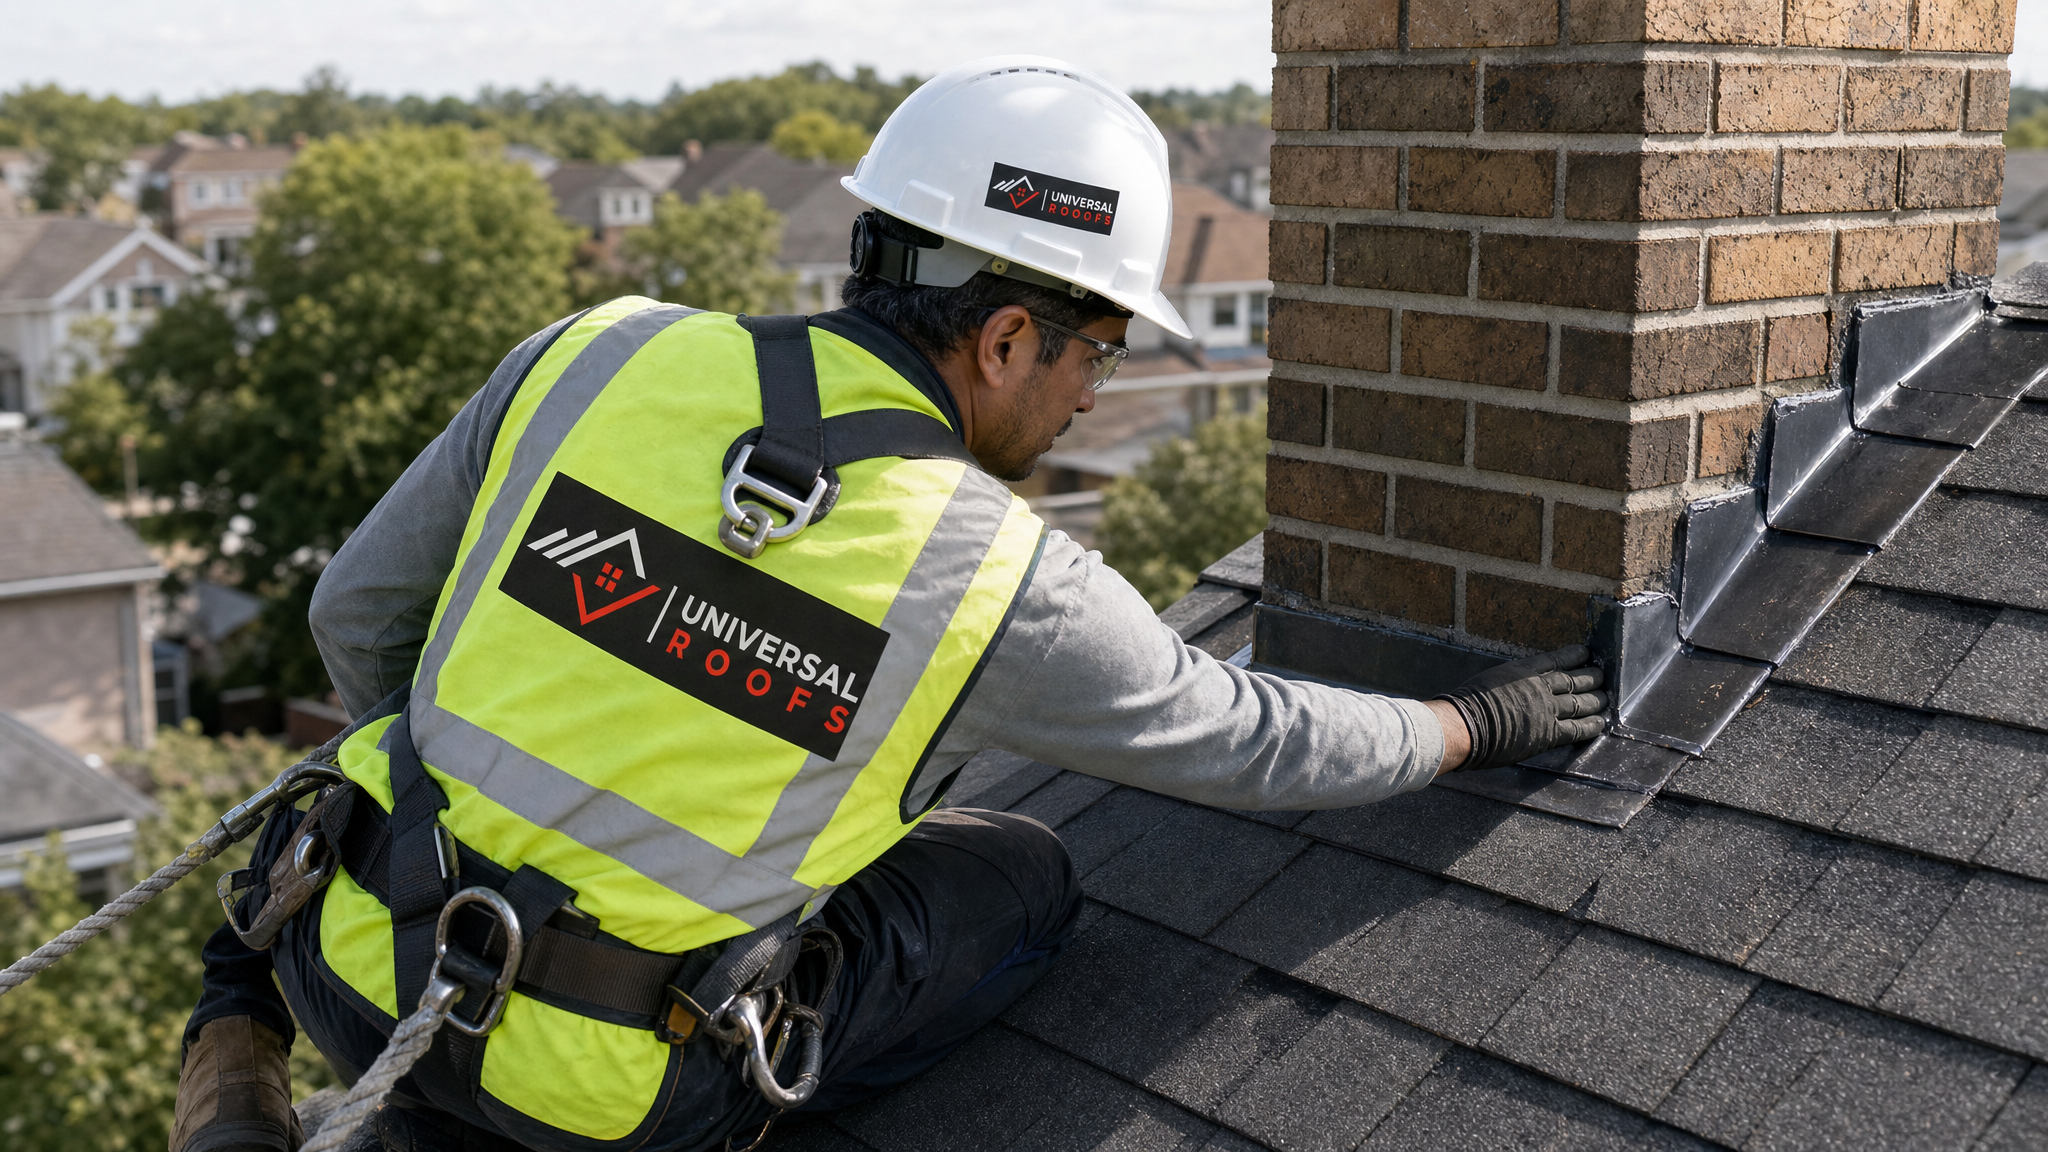
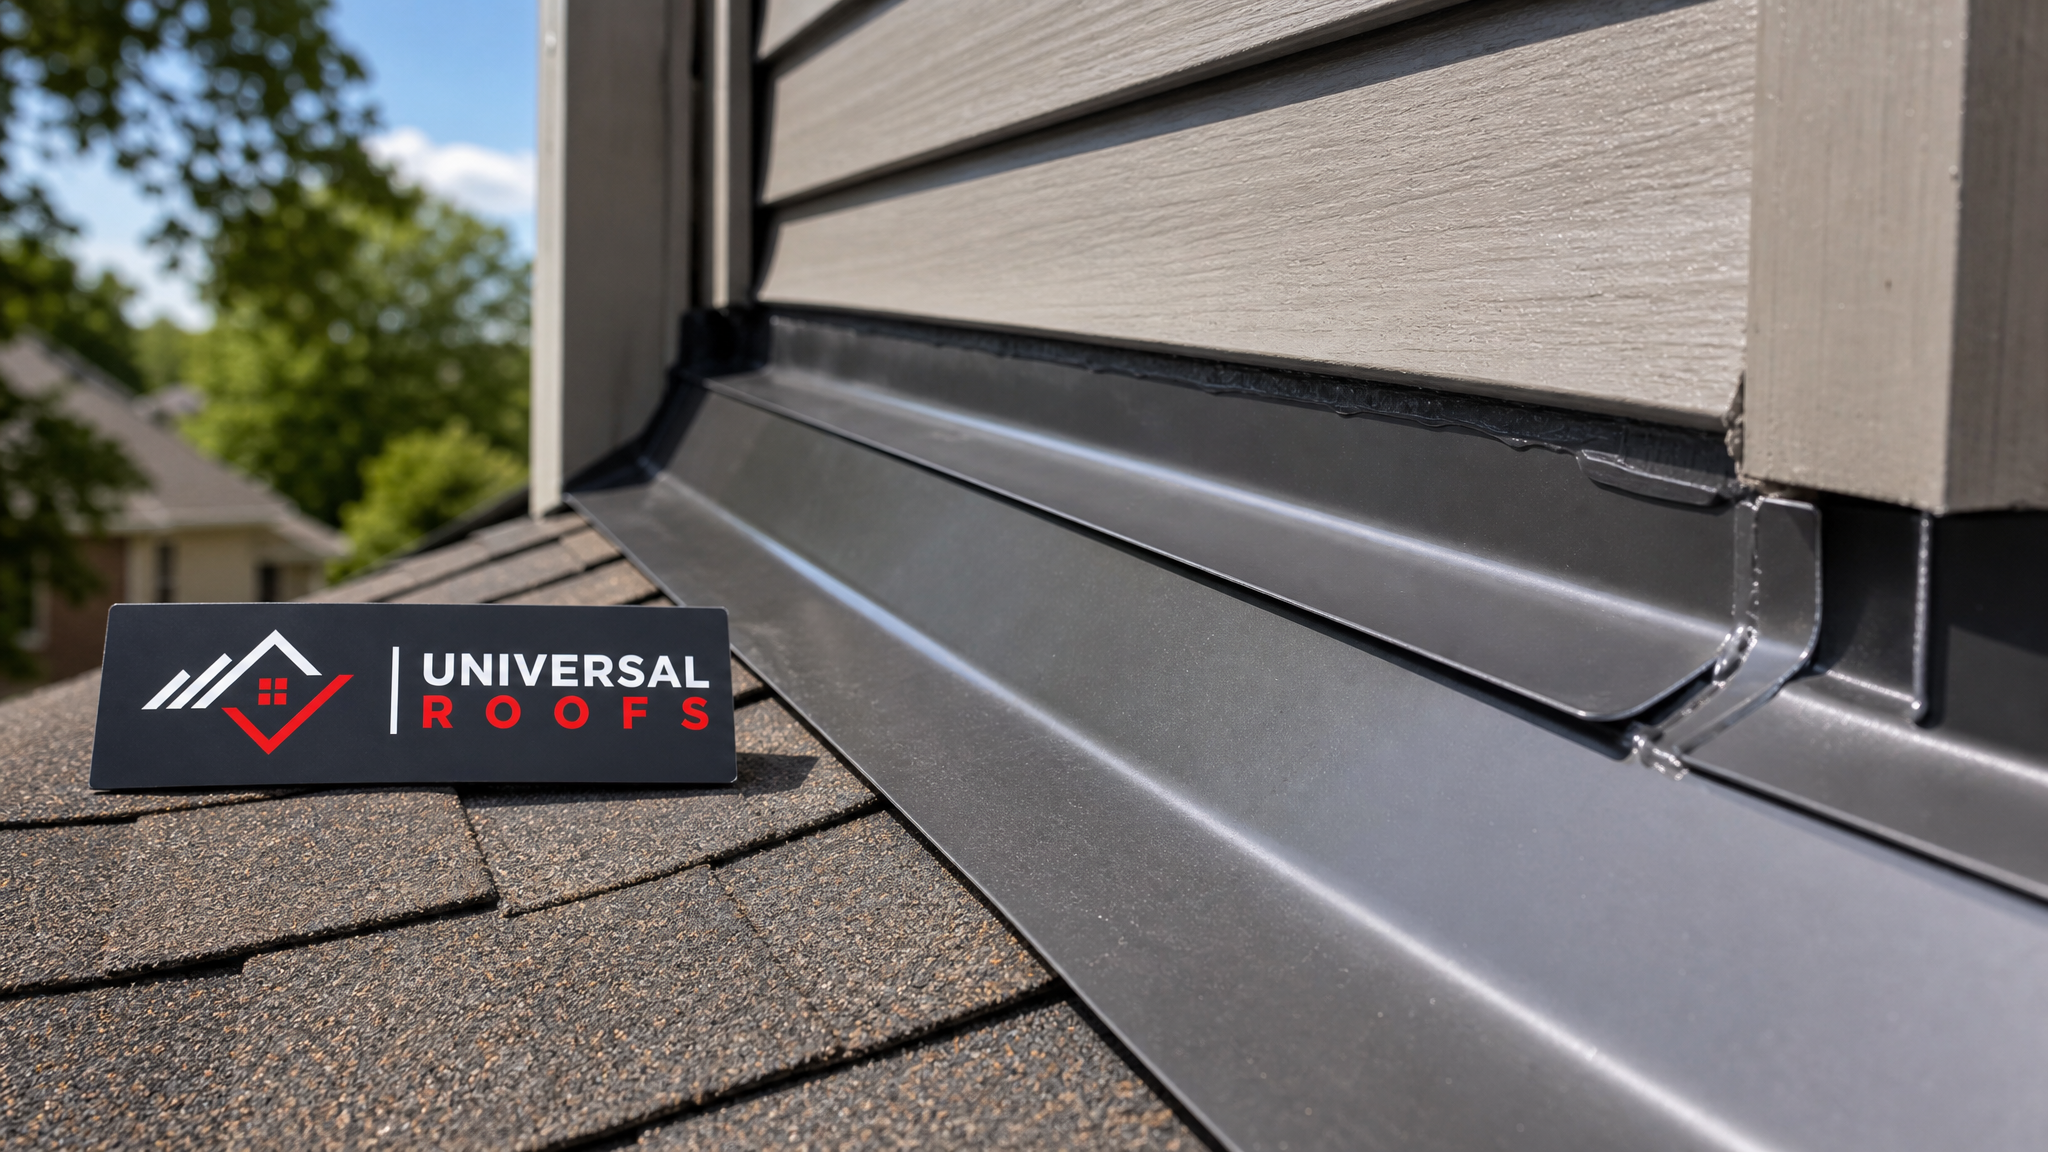
Flashing, the metal (or in some cases rubberized) material installed at roof intersections, is responsible for far more leaks than the shingle field itself. Chimneys, dormers, skylights, plumbing vent stacks, and roof-to-wall junctions all rely on flashing to shed water around a penetration rather than through it. When flashing corrodes, is improperly lapped, or has sealant that has dried and cracked from UV exposure, water finds its way behind it almost immediately during the next rainfall.
Sealant should never be treated as a permanent fix. Even high-quality roofing sealants are designed as a secondary defence, not the primary waterproofing layer, and typically need reapplication every 3 to 5 years depending on sun exposure. If a contractor’s repair relies entirely on a bead of sealant with no underlying flashing correction, expect the leak to return. Proper step flashing, counter-flashing, and continuous drip edge at the roof perimeter are what actually stop water long-term.
| Flashing Type | Typical Location | Average Lifespan | Failure Sign |
|---|---|---|---|
| Step flashing | Roof-to-wall junctions, dormers | 20-25 years (metal) | Visible gaps between shingle courses |
| Chimney counter-flashing | Chimney base and sides | 20-30 years | Mortar joint cracking, rust streaks |
| Valley flashing | Roof valleys | 20-25 years | Granule loss, visible metal corrosion |
| Skylight curb flashing | Around skylight frame | 15-20 years | Condensation trails, interior staining |
| Vent stack flashing (boots) | Plumbing and exhaust vents | 10-15 years (rubber collar) | Cracked rubber collar around pipe |
Because flashing failures are often hidden under shingle courses, they are one of the more common reasons a homeowner’s own visual inspection misses a developing leak. This is where a trained eye and the right tools make a meaningful difference, and it is one of the most frequent repairs our teams perform across Toronto and the surrounding regions.
Tip 4: Keep Gutters, Valleys, and Roof Edges Clear of Debris
Water needs a clear path off the roof. When leaves, granules, or branches accumulate in gutters, valleys, or along the roof edge, water backs up under the shingles instead of running into the downspout. In winter, this same blockage contributes to ice damming: melted snow refreezes at the cold eave, builds into a dam, and forces water backward under the shingles and into the attic or exterior walls.
Clean gutters at minimum in late spring (after seed and blossom debris) and late fall (after leaf drop), and check again after any major windstorm. Pay particular attention to roof valleys, where two slopes meet and debris naturally collects, and to any area below overhanging trees. Downspouts should discharge water at least 1.8 metres from the foundation to prevent basement moisture problems, which is a separate but related concern many homeowners overlook while focused on the roof itself.
If ice damming has been a recurring issue on your home, the long-term solution usually combines three things: improved attic insulation and ventilation (see Tip 2), a properly installed ice-and-water shield membrane at the eaves during your next roof replacement, and diligent snow and ice removal in the first metre or two above the eave during heavy winters.
Tip 5: Don’t Ignore Interior Warning Signs — Catch Mould Before It Spreads
Because roof leaks are often intermittent, appearing only during heavy rain or rapid snowmelt, interior warning signs are frequently your first real clue. Watch for yellow-brown ceiling stains that grow slightly larger after each rainfall, peeling paint or bubbling drywall near the roofline, a persistent musty odour in upper-floor closets or bedrooms, visible mould spotting on attic sheathing or insulation, and unexplained increases in indoor humidity or condensation on windows.
If you find active mould growth, the source of moisture must be corrected first, or any cleanup will simply recur. Small surface mould on non-porous materials can sometimes be addressed with a stiff brush and a mild detergent solution, but mould that has penetrated drywall, insulation, or wood sheathing typically requires professional remediation and replacement of the affected material. Health Canada guidance recommends that mould patches larger than roughly one square metre be handled by a qualified remediation contractor, particularly in homes with young children, seniors, or anyone with respiratory sensitivities.
| Warning Sign | Likely Cause | Urgency | Recommended Response |
|---|---|---|---|
| Ceiling stain that grows after rain | Active roof leak | High — schedule inspection within days | Book roof repair assessment |
| Musty odour, no visible stain | Hidden attic moisture or condensation | Medium — investigate within weeks | Attic ventilation inspection |
| Window condensation in winter | High indoor humidity, ventilation imbalance | Medium | Check bathroom/kitchen fan venting |
| Visible black or green spotting in attic | Established mould colony | High — address promptly | Source correction plus remediation |
| Sagging ceiling drywall | Saturated insulation or structural moisture | Urgent — same week | Emergency roof assessment |
Tip 6: Match Repairs and Materials to Your Roof Type — Shingle, Flat, and Skylight Considerations
Preventing leaks looks a little different depending on your roof system. Standard sloped asphalt shingle roofs rely primarily on overlapping courses, underlayment, and flashing to shed water, and most leaks trace back to the flashing and edge details already discussed above. Flat and low-slope roofs, common on additions, garages, and many commercial buildings in the GTA, rely on a continuous waterproof membrane rather than shingles, so even a small puncture or seam separation can allow standing water to penetrate immediately. Regular inspection of a flat roofing membrane for blisters, seam lifting, and ponding water is essential, since these roofs do not shed water as quickly as a pitched roof and are more sensitive to minor damage.
Skylights introduce their own set of considerations because they create a large penetration through the roof deck, with multiple seals and a curb assembly that must remain watertight for the life of the unit. Older skylights, particularly units installed before modern curb-mounted flashing kits became standard, are a disproportionately common source of both leaks and condensation-driven mould around the frame. If your skylight is more than 15 years old, showing condensation trails, or was installed without a proper flashing kit, it is often more cost-effective to pursue a skylight replacement than to keep patching an ageing unit.
| Roof Type | Primary Leak Risk | Inspection Focus | Typical Service Life |
|---|---|---|---|
| Asphalt shingle (sloped) | Flashing, valleys, ice damming | Shingle condition, flashing, edges | 20-25 years |
| Flat / low-slope membrane | Seam separation, punctures, ponding | Membrane surface, drains, seams | 15-25 years (material-dependent) |
| Skylight assembly | Curb flashing failure, condensation | Seal integrity, frame condensation | 10-20 years |
| Metal roofing | Fastener backout, seam sealant failure | Fastener heads, panel seams | 40-60 years |
Whatever your roof type, the underlying prevention strategy is the same: routine inspection, prompt correction of small failures, and adequate attic ventilation. Homeowners in Peel Region, York Region, Halton Region, and Durham Region all face the same freeze-thaw and humidity cycles, so the same six-tip framework applies across the GTA regardless of municipality.
When to Call a Professional Instead of a DIY Fix
Some maintenance, like clearing debris from gutters or doing a visual inspection with binoculars from the ground, is reasonable for most homeowners to handle. But once a repair involves walking a roof slope, removing shingles to inspect flashing, or addressing attic ventilation and insulation, professional help pays for itself by preventing repeat callbacks and by correctly diagnosing whether you are dealing with a true leak or a condensation issue.
A professional assessment typically includes a full exterior roof walk, an attic inspection with a moisture meter, thermal imaging in some cases to trace hidden moisture paths, and a written report identifying every failure point rather than just the one that happens to be dripping today. This matters because roofs rarely fail in only one place; if flashing has degraded at the chimney, it is often nearing the end of its service life at the valleys and vent stacks too.
Before hiring anyone, check recent customer reviews and ask specifically how the contractor diagnoses the difference between condensation and a true roof leak, since this distinction changes the entire scope and cost of the repair. You can also review our frequently asked questions for straightforward answers about inspection frequency, warranty coverage, and typical repair timelines before you book an appointment.
Building a Year-Round Roof Maintenance Routine
The six tips above work best as an ongoing routine rather than a one-time fix. Spring is the time to check for winter damage and clear valleys before summer storms; summer is the season to confirm attic ventilation is keeping up with air conditioning-driven humidity swings and to plan any larger repairs while weather is favourable; fall is for clearing debris ahead of leaf drop and confirming flashing is intact before winter; and winter is mainly about watching for ice damming and interior warning signs, since major exterior repairs are harder to perform safely in freezing conditions.
Keeping a simple log of your inspections, with dates and photos, makes it far easier to spot a developing problem early and gives any contractor you eventually call a clear history to work from. Combined with prompt attention to the interior warning signs covered in Tip 5, this routine is genuinely the most effective and least expensive way to keep your roof, attic, and indoor air free of leaks and mould for the long term. To learn more about our team’s approach and history serving the GTA since 2005, visit our about page.
What are the most important tips for preventing roof leaks and mould in a Toronto home?
How can I tell if my attic moisture is a roof leak or condensation?
How often should I inspect my roof to prevent leaks and mould?
Can poor attic ventilation really cause mould even without a roof leak?
Is a bead of roofing sealant enough to stop a leak permanently?
Do flat roofs and skylights need different leak-prevention steps than shingle roofs?
Need Help With Preventing Roof Leaks and?
If your roof is showing any of the warning signs covered above, don’t wait for a small issue to become a bigger repair. The team at Universal Roofs has been diagnosing and fixing leaks, ventilation problems, and mould-prone attics across the GTA since 2005, and we bring the same inspection discipline to every roof we assess.
Call us today at (416) 732-2421 or request a free inspection to get started.
Universal Roofs proudly serves Toronto, Mississauga, Brampton, Vaughan, Markham, Oakville and the GTA since 2005.