
Historic buildings carry a character that modern construction simply cannot replicate, but that same character often comes with roofing systems that are decades — sometimes over a century — old. When a leak develops in a heritage property, the stakes are higher than in a typical home renovation. Original slate, cedar shakes, standing-seam copper, or even century-old clay tile must be repaired in a way that respects the building’s fabric while stopping water intrusion before it damages irreplaceable plaster, millwork, and structural timber underneath.
At Universal Roofs, we have spent nearly two decades working on roofs across the Greater Toronto Area, including a number of heritage-designated homes and buildings in older neighbourhoods where matching materials, respecting municipal heritage guidelines, and avoiding invasive repairs are just as important as fixing the leak itself. This guide walks through how to diagnose a leak in a historic roof, what repair methods preserve the building’s heritage value, and when a full roof repair is enough versus when more extensive work is warranted.
Toronto’s older neighbourhoods — Cabbagetown, Rosedale, The Beaches, Wychwood, and pockets of Etobicoke and Scarborough — are home to thousands of pre-1950 buildings, many with original roofing assemblies still partially intact. Add in our brutal freeze-thaw winters and increasingly heavy summer downpours, and it is no surprise that heritage roofs develop leaks that require a different repair philosophy than a standard asphalt shingle roof.
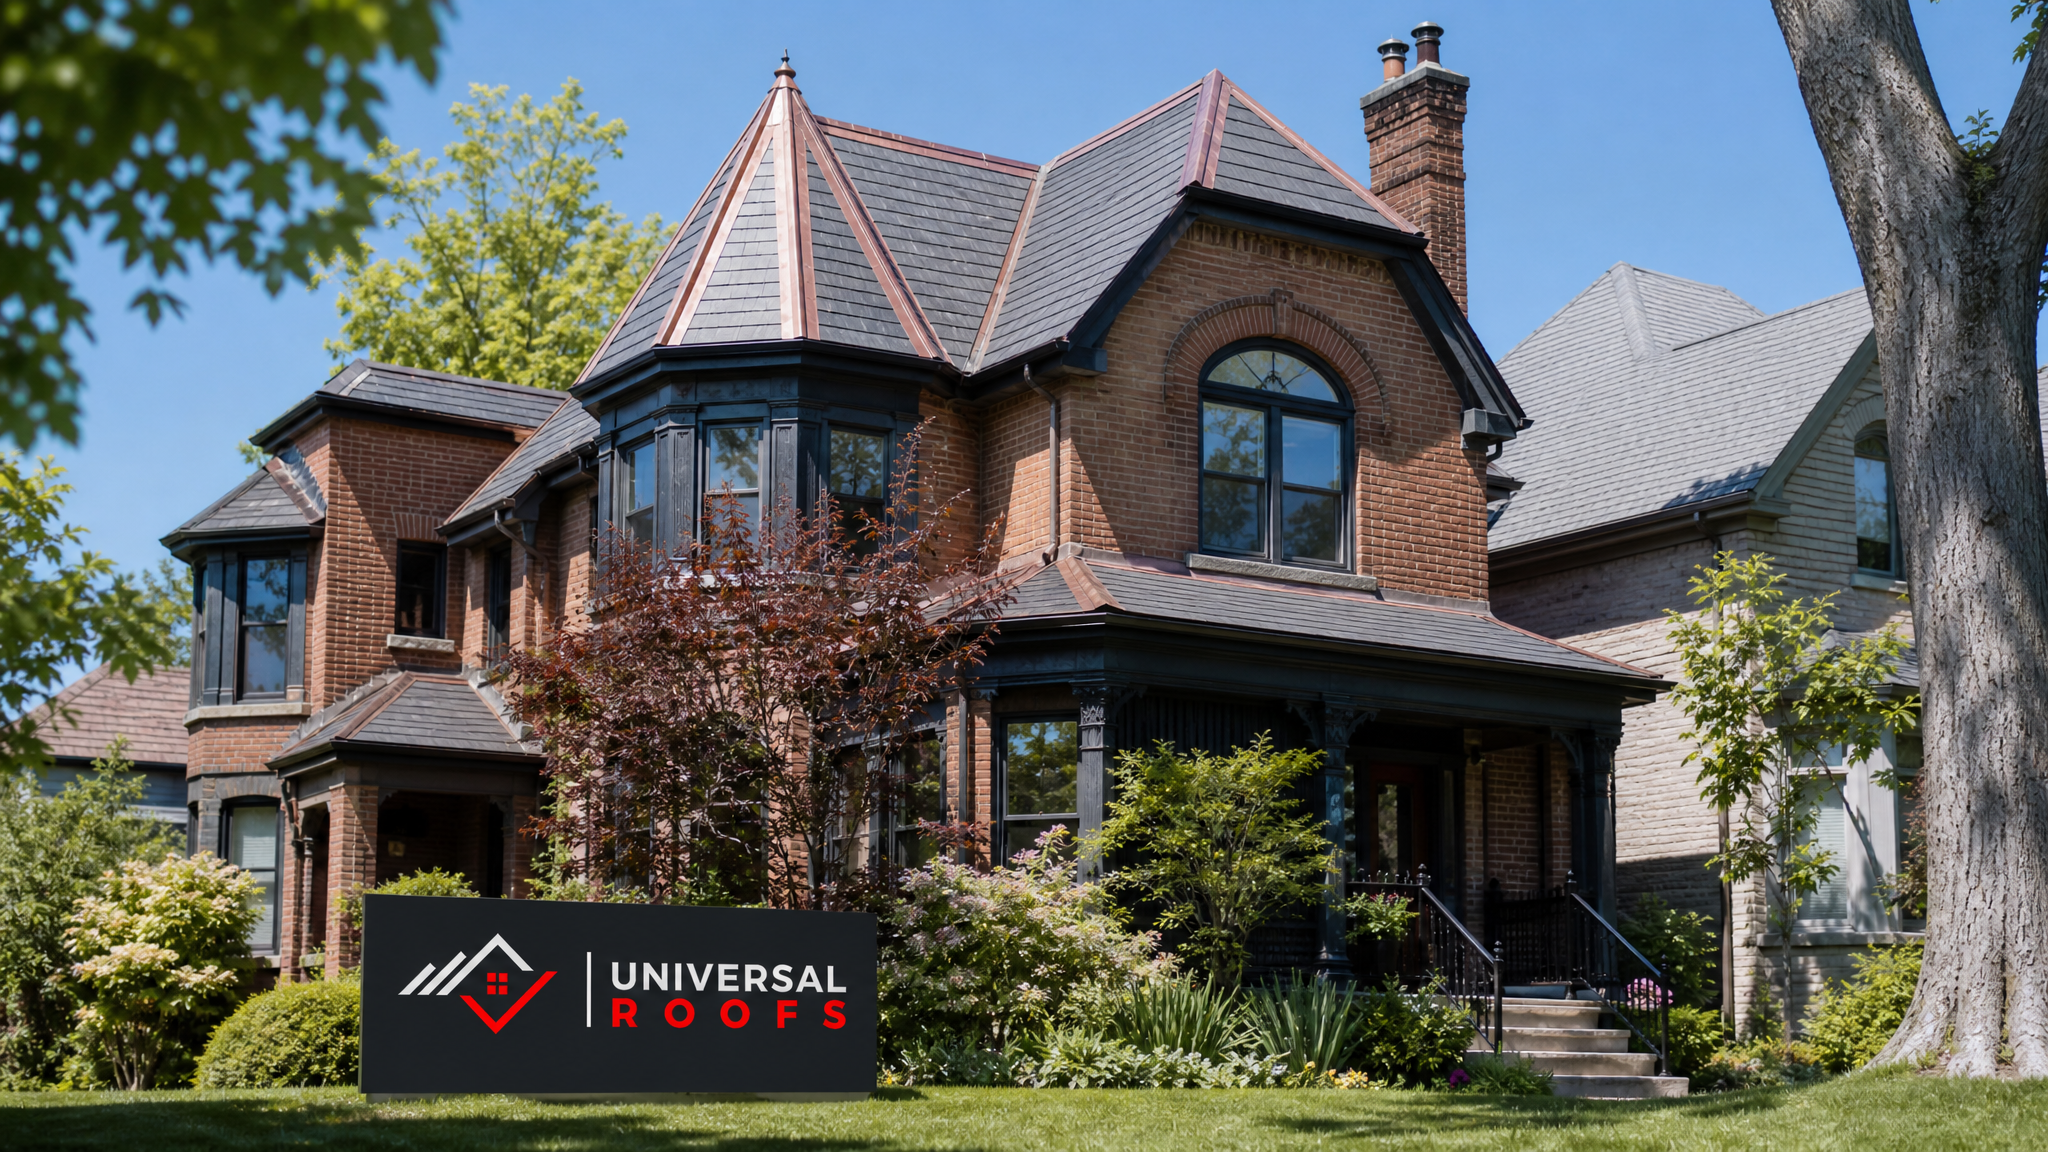
Why Historic Roofs Leak Differently Than Modern Ones
Modern roofing systems rely on continuous underlayment, engineered flashing, and manufactured shingles designed for a 20-30 year service life. Historic roofs were built with entirely different assumptions. Many pre-war Toronto homes were roofed with slate, wood shake, or standing-seam metal, materials that can genuinely last 75-100+ years when maintained, but that fail in very specific, localized ways rather than failing all at once.
The most common sources of leaks in preserving historic buildings roof leak repair situations are not the roofing material itself, but the transitions and penetrations around it: chimney flashing, valleys, dormers, parapet walls, and where the roof meets a masonry wall. Original mortar and flashing details were never designed to handle a century of thermal movement, and lead or tin flashing that was standard practice in 1910 has often corroded through by 2026.
Another factor unique to older buildings is that many have been re-roofed at least once with mismatched materials — asphalt shingles laid directly over old cedar shake, for example — which creates hidden moisture traps and uneven drainage patterns that accelerate rot in the original roof deck. Diagnosing a leak on a historic roof means understanding not just the current surface material, but the layers of repair history underneath it.
| Historic Roof Material | Typical Lifespan | Common Failure Point | Repair Approach |
|---|---|---|---|
| Natural slate | 75-150 years | Cracked or slipped tiles, nail failure | Individual tile replacement, re-hook with slate hooks |
| Cedar shake/shingle | 25-40 years (heritage grade) | Curling, splitting, moss retention | Selective shake replacement, improved ventilation |
| Standing-seam metal (copper/tin) | 50-100+ years | Seam separation, corrosion at fasteners | Re-solder seams, patch with matching metal |
| Clay or terracotta tile | 75-100 years | Cracking from freeze-thaw, mortar failure | Tile replacement, re-bedding in compatible mortar |
| Built-up flat/low-slope | 15-25 years per layer | Ponding water, membrane blistering | Localized membrane patch or targeted overlay |
Step One: Locate the Leak Before You Touch Anything
The single biggest mistake homeowners make with a heritage roof leak is assuming the water is entering directly above the ceiling stain. On steep, older roofs, water frequently travels along a rafter or sheathing board for several metres before it drips into the living space, meaning the actual entry point can be nowhere near where the damage shows up.
Start by inspecting the attic during or immediately after a rainstorm with a flashlight, looking for active drips, damp sheathing, or water staining that radiates outward from a single point. Trace any staining uphill along the rafters. In most heritage homes we assess, the true entry point is one of the following:
- Chimney flashing where the mortar has cracked or the flashing has pulled away from the masonry
- A valley where two roof planes meet, especially if it was patched with incompatible material in a prior repair
- A parapet wall cap on a flat-roofed heritage commercial building or rowhouse
- Dormer cheeks and headwalls, where flashing is small and easily damaged
- Deteriorated mortar or counterflashing at any point the roof meets brick or stone
If the attic inspection is inconclusive, a controlled water test — running a hose section by section over a suspected area while someone watches from inside — is far more reliable than guessing, and far less invasive than removing historic roofing material speculatively. For buildings with limited attic access, such as some flat-roofed heritage commercial properties, a professional roof repair assessment using moisture meters and infrared scanning can pinpoint saturated insulation without opening up finished ceilings.
Repair Philosophy: Match, Don’t Replace
The core principle behind any preserving historic buildings roof leak repair project is minimal intervention. Heritage roofing consultants and most municipal heritage committees favour “like-for-like” repair — replacing only the damaged material with a matching product, rather than tearing off an entire roof section and replacing it with modern shingles. This approach protects the building’s heritage designation status, preserves resale value, and is almost always less expensive than a full replacement.
For slate roofs, this means sourcing reclaimed or new slate that matches the colour, thickness, and texture of the original, and using traditional slate hooks or copper nails rather than modern fasteners that can crack the stone. For cedar shake, it means blending new shakes into the existing pattern with staggered joints so the repair is nearly invisible from the ground. For standing-seam metal, it means soldering new metal into the existing seams rather than caulking over a gap, since caulk on a heritage metal roof is a temporary fix that typically fails within two to three years.
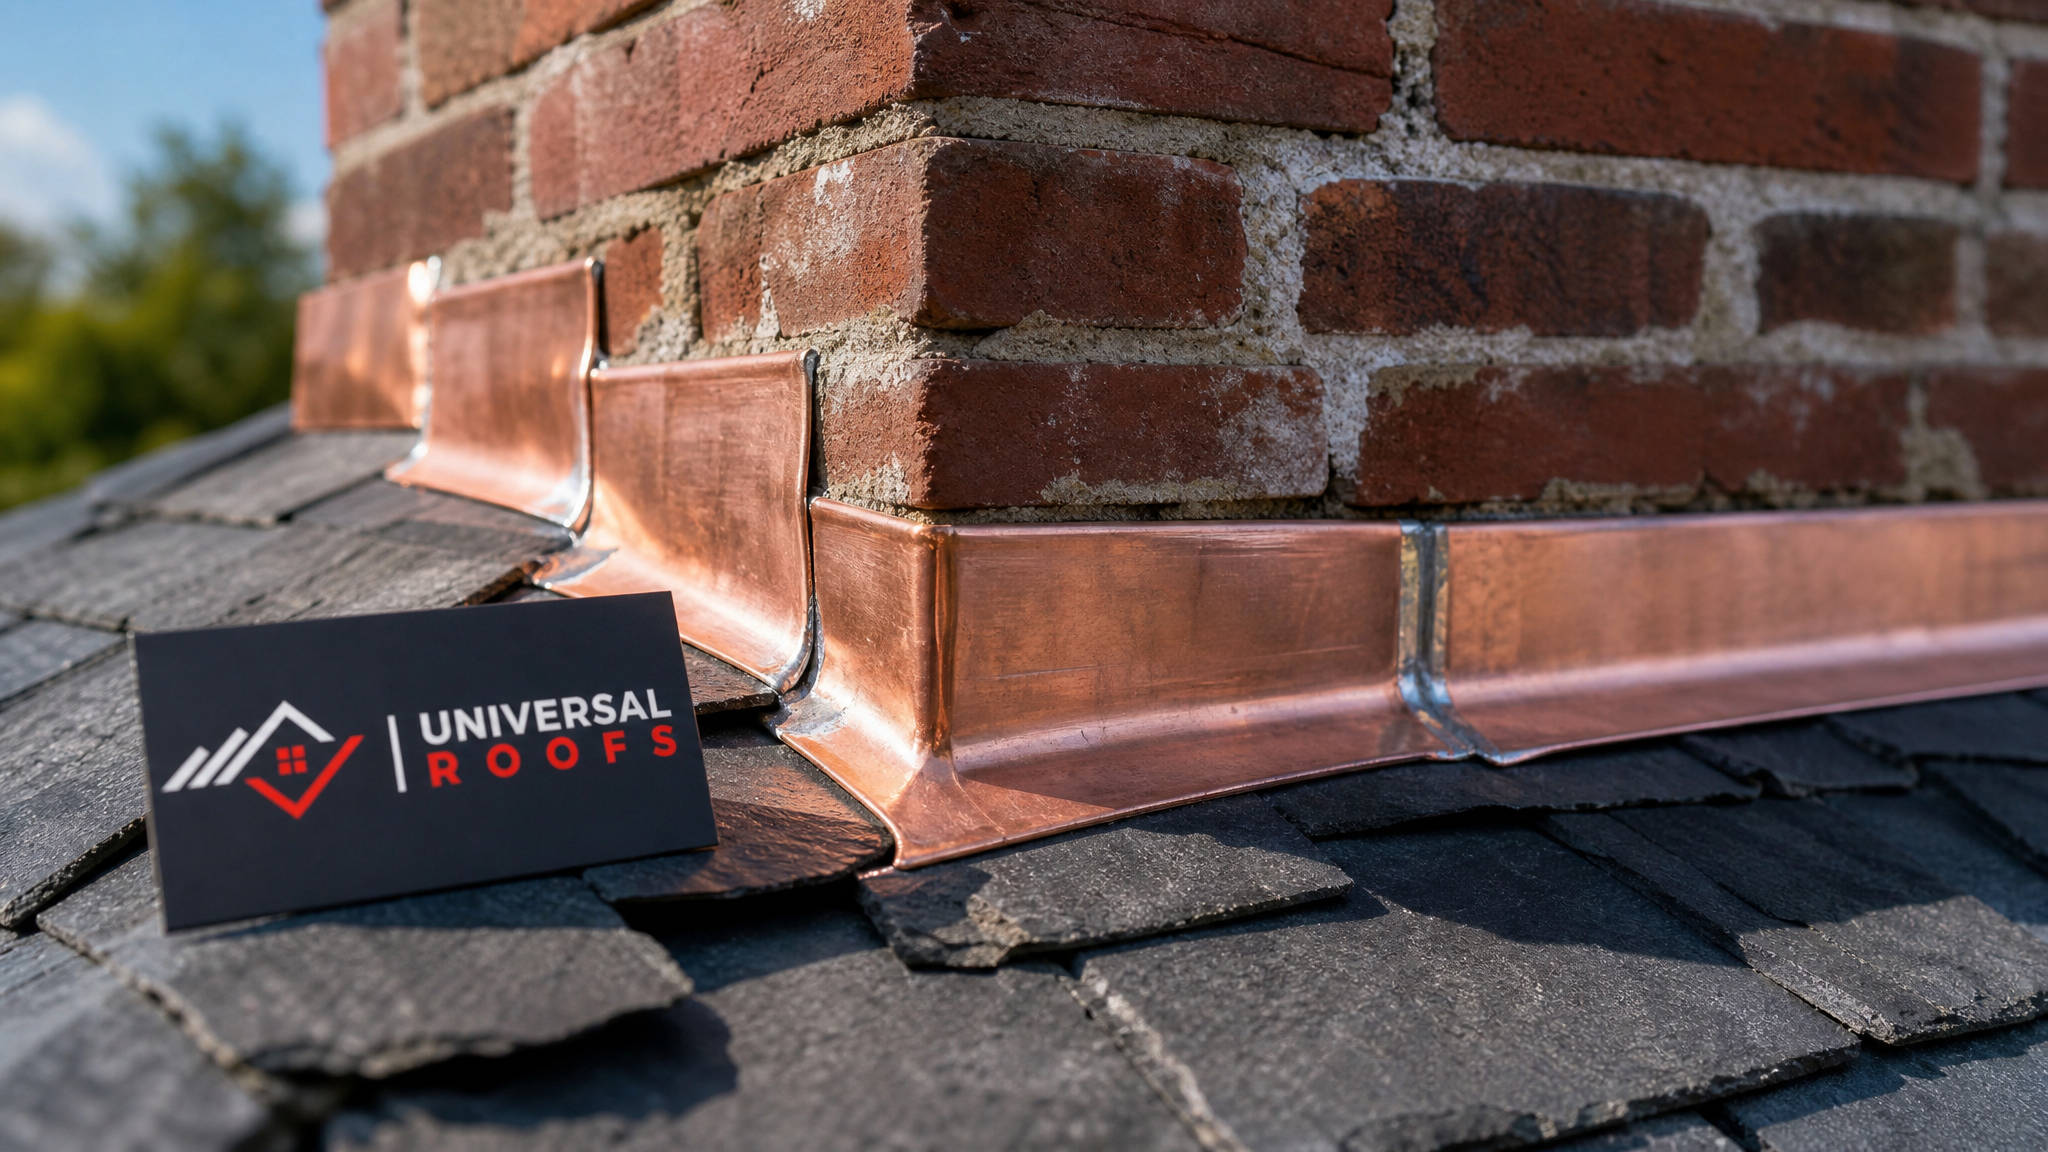
Flashing is where most preserving historic buildings roof leak repair budgets should be spent, because flashing failure — not material failure — causes the overwhelming majority of leaks on older roofs. Replacing corroded lead or tin flashing with new copper or lead-coated copper, properly stepped and counter-flashed into the mortar joints, will often solve a leak that has plagued a building for years, without touching a single original slate or shingle.
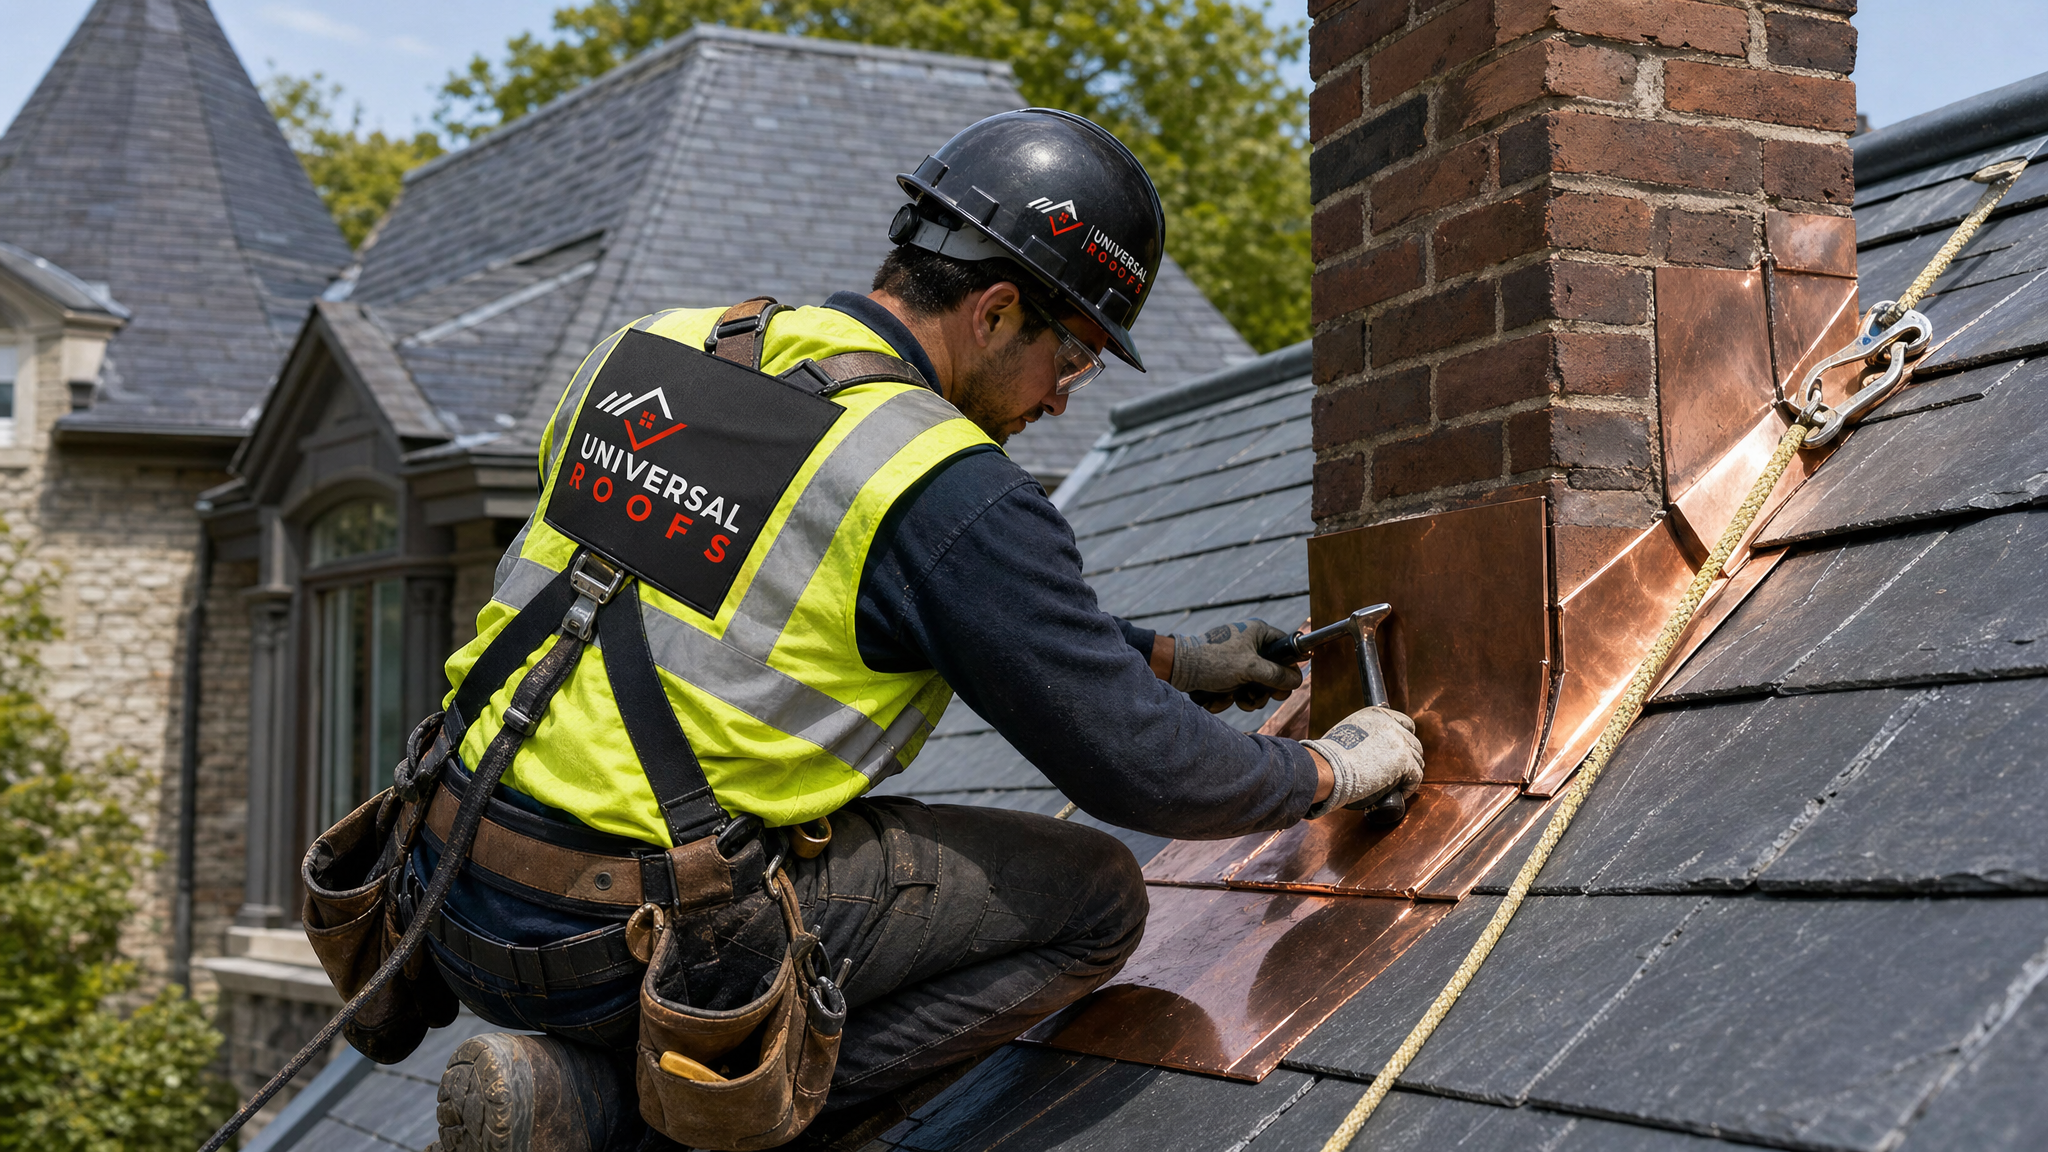
Working With Heritage Designation Rules in Toronto
Many older homes and buildings across Toronto, Mississauga, and surrounding municipalities carry a heritage designation under the Ontario Heritage Act, or sit within a Heritage Conservation District. Before any exterior roof work begins on a designated property, it is worth checking with the municipal heritage planning department, since some repairs — particularly full material replacement or changes to roof profile — may require a heritage permit even if the work is essentially a repair rather than a renovation.
In practice, straightforward leak repairs that use matching materials and do not alter the roof’s appearance rarely require a full heritage permit application, but it is always worth a phone call to confirm before work starts, especially for prominent street-facing elevations. Municipalities are generally supportive of repairs that extend the life of original materials, since this aligns directly with heritage conservation goals; the friction usually only arises when a homeowner wants to switch materials entirely, for example replacing slate with asphalt shingles for cost reasons.
| Scenario | Heritage Permit Likely Required? | Notes |
|---|---|---|
| Like-for-like slate or tile replacement (small area) | Usually not | Confirm with local heritage planner first |
| Flashing replacement, no visible change | Rarely | Considered routine maintenance in most districts |
| Full roof material change (e.g., slate to asphalt) | Almost always | Typically discouraged or denied on designated properties |
| Adding skylights or roof penetrations | Often yes | Requires design review in most Heritage Conservation Districts |
| Emergency tarping to stop active leak | No | Emergency measures are generally exempt from permitting |
Interior Damage Control While the Roof Is Being Repaired
Because heritage buildings often have plaster ceilings, original wood trim, and sometimes hand-painted finishes, protecting the interior during a roof repair is just as important as the exterior work. A wet plaster ceiling can hold moisture for weeks and will eventually sag or fall if not dried properly, so addressing the interior alongside the roof repair matters.
Once the leak source is sealed, ventilate the affected attic and ceiling cavity to accelerate drying — a dehumidifier and small fans directed at the wet area for several days will typically resolve minor dampness. For plaster that has already bulged or cracked, avoid immediately patching over it; wait until the area has fully dried and stabilized, since patching over trapped moisture invites mould growth behind the repair. If water has been sitting in the attic insulation for an extended period, it is worth having the attic insulation inspected, since saturated insulation loses its R-value and can contribute to ice damming the following winter even after the roof leak itself is fixed.
For any heritage property where finishes like plaster crown moulding, wainscoting, or original wood ceilings are at risk, it is worth bringing in a restoration specialist alongside the roofing contractor so that both the water source and the resulting interior damage are addressed by people who understand the value of the original materials.
When a Historic Roof Needs More Than a Patch
Not every heritage roof leak can or should be solved with a small, targeted repair. If an inspection reveals widespread deck rot, extensive slate delamination, or a roof deck that has been compromised by decades of trapped moisture, a localized patch will only delay a much larger failure. This is a difficult but important conversation to have honestly with heritage homeowners, because the instinct is often to preserve as much original material as possible, even when the underlying structure can no longer support it safely.
The good news is that a full roof replacement on a heritage property does not have to mean losing the building’s character. Reclaimed slate, custom-milled cedar shake, and heritage-profile standing-seam metal are all available for full replacements that preserve the original appearance while giving the building a fully sound structure and modern waterproofing underneath. This is typically warranted when:
- More than 20-25% of the roofing material shows failure (cracking, delamination, or missing pieces)
- The roof deck itself has soft spots, rot, or sagging visible from the attic
- Multiple past patch repairs have failed and leaks are recurring in new locations each year
- Insurance or a home inspection has flagged the roof as a liability for the property
For heritage buildings with flat or low-slope sections — common on rowhouses, older commercial buildings, and additions built onto Victorian homes — a modern flat roofing membrane can be installed on the low-slope section while the visible, street-facing pitched roof retains its original material, giving the best of both durability and heritage preservation.
Skylights and Roof Penetrations on Heritage Buildings
Many owners of historic homes want to add natural light without compromising the building’s exterior character, and skylights are one of the most common roof penetrations added to older buildings — and also one of the most common sources of new leaks if installed incorrectly. On a heritage roof, skylight flashing must be custom-fitted to the specific material (slate, tile, or metal) rather than using a generic flashing kit designed for asphalt shingles, since the step-flashing details differ significantly by material.
If an existing skylight on a heritage roof has started leaking, in many cases the glazing unit itself is fine and the problem is failed flashing or a deteriorated seal around the curb — a much simpler and less expensive fix than full skylight replacement. However, if the skylight is older than 15-20 years, has fogged or delaminated glazing, or the frame itself has deteriorated, replacement with a heritage-appropriate profile is usually the more cost-effective long-term solution.
Seasonal Timing for Heritage Roof Repairs in the GTA
Timing matters more on a heritage roof than a standard asphalt roof, because many of the specialty materials and techniques used in like-for-like repairs — soldering metal, setting mortar, and handling brittle slate — perform best within specific temperature ranges. Late spring through early autumn is generally the ideal window for major heritage roof work across Toronto and the surrounding regions.
| Season | Suitability for Heritage Roof Repair | Key Consideration |
|---|---|---|
| Spring (Apr-Jun) | Good | Ideal for post-winter damage assessment and mortar work once frost is out |
| Summer (Jul-Aug) | Best | Stable temperatures for soldering, mortar curing, and slate handling |
| Autumn (Sep-Oct) | Good | Good working conditions; prioritize before first frost for mortar-based repairs |
| Winter (Nov-Mar) | Emergency only | Slate becomes brittle in cold; mortar and sealants cure poorly below 5°C |
Since it is currently summer, this is genuinely one of the best windows of the year to address a heritage roof leak with a permanent, properly executed repair rather than a temporary patch. Waiting until autumn rains or winter freeze-thaw cycles arrive often turns a manageable flashing repair into emergency water damage mitigation.
Choosing a Contractor Who Understands Heritage Roofing
Not every roofing company has experience with historic materials, and hiring a crew accustomed only to modern asphalt shingle installation onto a slate or cedar shake heritage roof can cause more damage than it fixes. When vetting a contractor for a preserving historic buildings roof leak repair project, ask specifically about their experience with the material on your roof, whether they can source matching slate, tile, or metal, and whether they understand local heritage permitting requirements.
It is also worth asking to see examples of previous heritage repair work and, where possible, speaking with past clients. Our reviews page includes feedback from homeowners across the GTA, including several heritage and older-home projects, and our FAQ page covers common questions about repair scope, materials, and pricing. You can also learn more about our approach and experience on our about page.
Universal Roofs has served the region since 2005, working on properties throughout Toronto, the Peel Region, York Region, Halton Region, and the Durham Region, including a number of older neighbourhoods where heritage-sensitive repair experience genuinely matters.
A Practical Maintenance Schedule for Heritage Roofs
Preventing leaks before they start is always less costly and less invasive than repairing damage after the fact, which is especially true for heritage buildings where any material replacement should be minimized. A consistent inspection schedule catches small issues — a lifted slate, a hairline crack in flashing solder, a bit of moss retaining moisture on cedar shake — before they become active leaks.
- Twice yearly (spring and autumn): Visual inspection from the ground with binoculars, checking for lifted, cracked, or missing roofing material and obvious flashing gaps
- Annually: Attic inspection for staining, dampness, or daylight visible through the roof deck
- Annually: Clear debris and moss from valleys, gutters, and any flat or low-slope sections, since organic buildup retains moisture against the roofing material
- Every 3-5 years: Professional inspection of flashing, mortar joints at chimneys and parapets, and overall material condition
- After major storms: Check for displaced tiles, shakes, or slate, since wind-lifted material is a leading cause of sudden leaks
Keeping a simple written or photographic record of each inspection helps track the gradual deterioration of specific areas over time, which is invaluable both for planning future repairs and for demonstrating ongoing maintenance if the property’s heritage status is ever reviewed.
What is the best approach to preserving historic buildings roof leak repair without losing heritage value?
How do I find where a leak is entering on an old, steep roof?
Do I need a heritage permit to repair a leaking historic roof in Toronto?
Can original slate or cedar shake roofing actually be repaired, or does it need full replacement?
What time of year is best for preserving historic buildings roof leak repair work in the GTA?
Will a leaking skylight on a heritage roof always need full replacement?
Need Help With Preserving Historic Buildings Roof?
If your heritage home or older building in the GTA has a persistent roof leak, getting it right the first time protects both the structure and the character that makes the property valuable. Universal Roofs has spent nearly two decades repairing roofs of every type across the region, including heritage slate, cedar shake, and standing-seam metal, always with an eye toward preserving original materials wherever possible.
Call us today at (416) 732-2421 or request a free inspection to get started.
Universal Roofs proudly serves Toronto, Mississauga, Brampton, Vaughan, Markham, Oakville and the GTA since 2005.