
When a roof leaks, homeowners almost always blame the shingles first. In reality, the culprit is often the flashing — the thin metal strips installed at every joint, valley, and penetration on your roof. Exploring various roof flashing options for repairs is one of the most valuable things a GTA homeowner can do before hiring a contractor, because the wrong flashing material or a poor installation is the single biggest cause of repeat leaks in this region.
Toronto’s climate is uniquely hard on flashing. We get deep winter freeze-thaw cycles, heavy spring rain, summer thunderstorms, and ice damming along eaves every year. Flashing has to seal against all of it while expanding and contracting with temperature swings that can exceed 50 degrees Celsius between January and July. Choosing the right flashing material, understanding where each type belongs, and knowing when a repair is enough versus when a full replacement is warranted can save thousands of dollars and years of aggravation.
This guide walks through every major flashing option available for roof repairs in the Greater Toronto Area, compares materials and costs, explains common failure points, and gives you the knowledge to have an informed conversation with your contractor. If you notice a leak near a chimney, skylight, or wall, our roof repair team can diagnose the exact flashing issue and recommend the right fix.
What Roof Flashing Does and Why It Fails
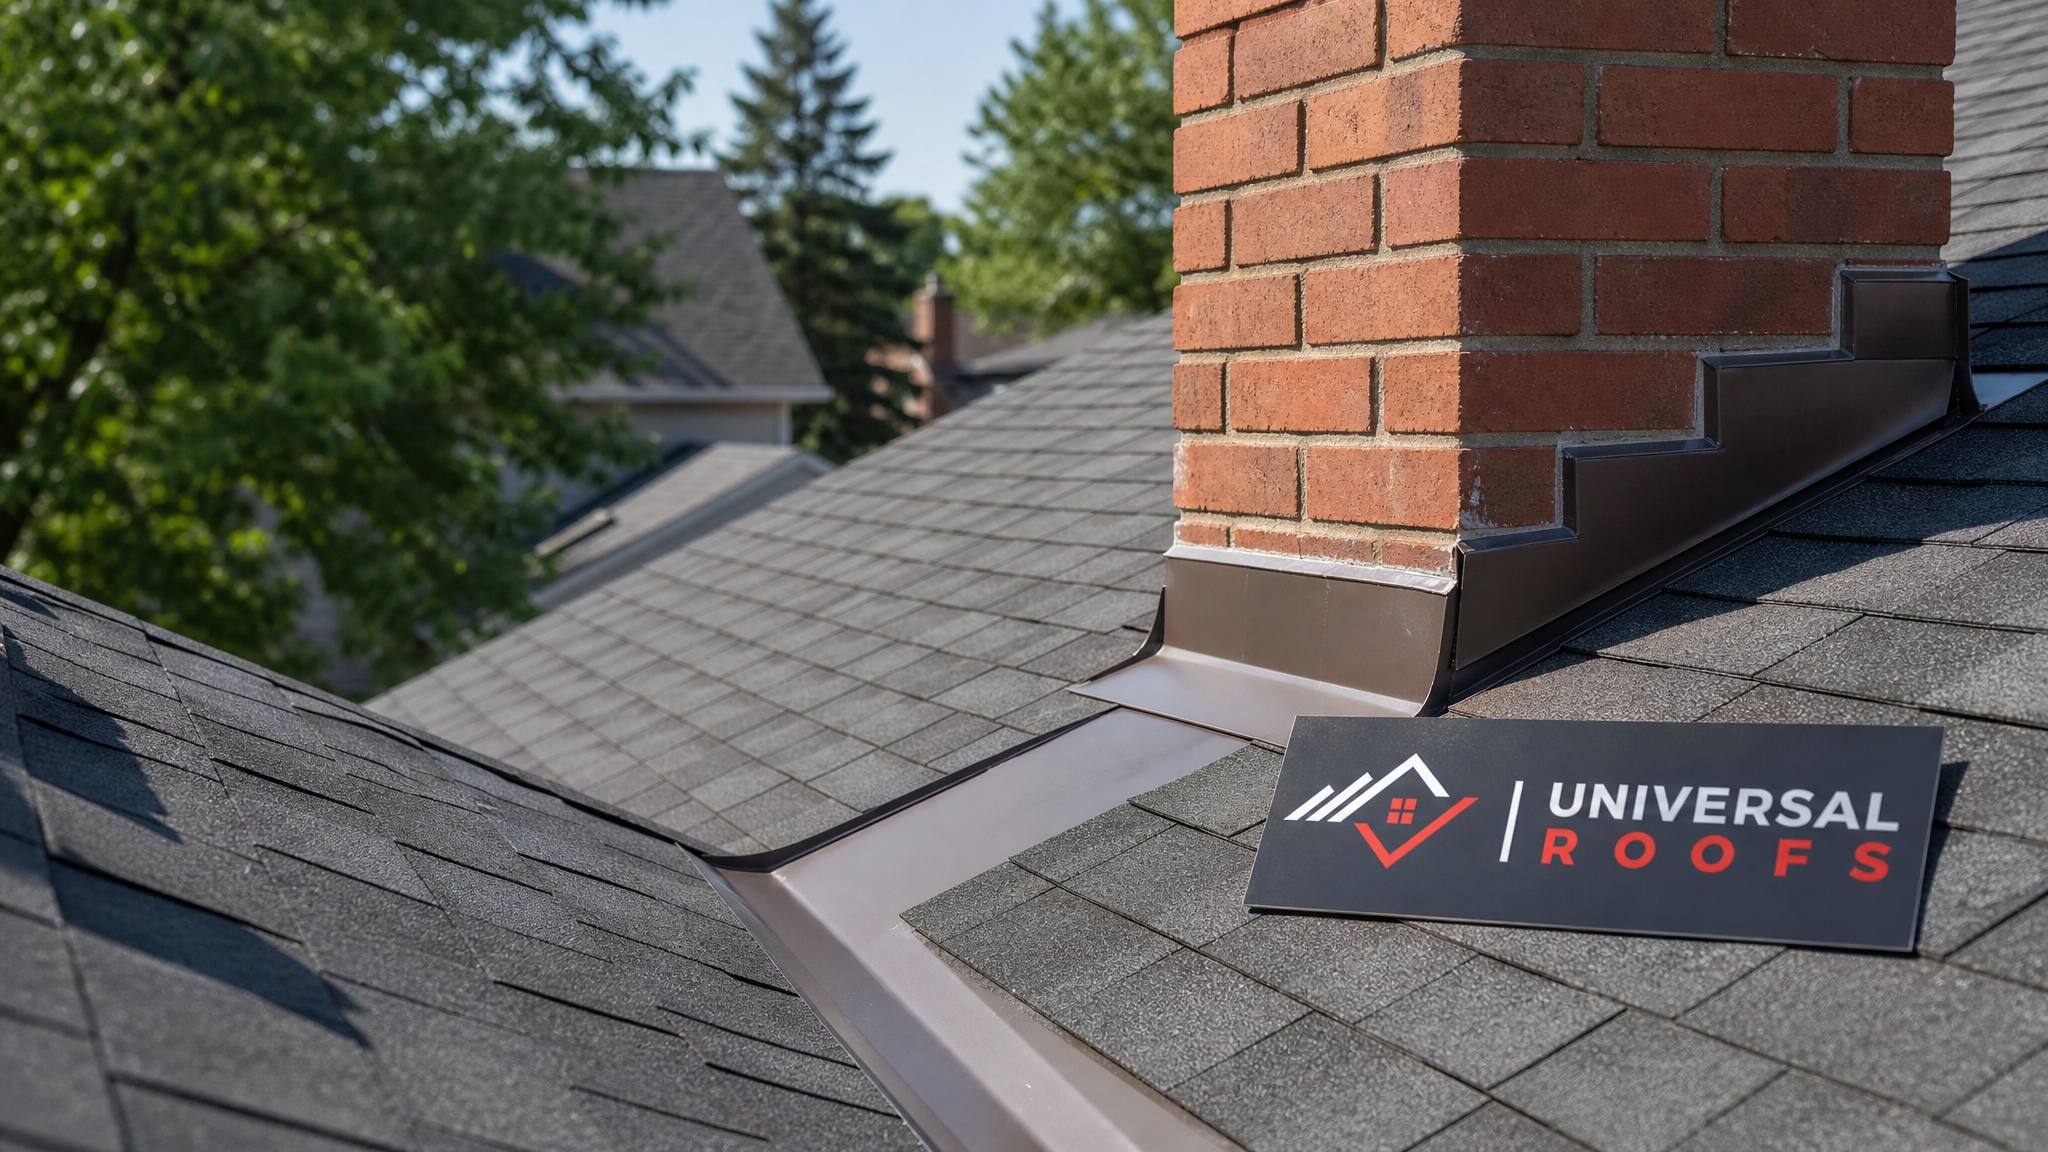
Flashing is the metal (or occasionally rubber or plastic composite) barrier installed anywhere two roof surfaces meet, or anywhere something penetrates the roof deck: chimneys, skylights, vent pipes, dormers, sidewalls, and valleys. Shingles shed the bulk of the rain, but flashing handles the seams where shingles alone cannot create a watertight seal.
Flashing fails for a handful of predictable reasons, and understanding which one applies to your roof is the first step in exploring various roof flashing options for repairs:
- Corrosion — galvanized steel flashing rusts through after 15 to 20 years, especially where salt-laden winter runoff collects near eaves.
- Sealant failure — the caulking or roofing cement at flashing edges dries out, cracks, and shrinks under UV exposure long before the metal itself fails.
- Fastener backout — nails and screws work loose as the roof deck expands and contracts, lifting flashing edges and creating gaps.
- Poor original installation — step flashing installed as one continuous piece instead of individual shingled pieces, or counter-flashing that was never properly embedded into a chimney reglet.
- Ice damming — meltwater backing up under shingles and flashing at the eaves during Toronto’s freeze-thaw winters, forcing water past even sound flashing.
- Physical damage — falling branches, wind uplift, or foot traffic during unrelated repairs bending or tearing flashing out of position.
Because every one of these failure modes looks similar from the ground (a water stain on the ceiling), a proper roof inspection is essential before any flashing repair begins. Our roof replacement and repair crews always trace a leak back to its true source rather than patching the symptom.
Comparing Roof Flashing Materials
Not all flashing is created equal, and the material you choose has a direct impact on lifespan, cost, and how well it will hold up against Toronto winters. Below is a comparison of the flashing materials most commonly used on residential roofs in the GTA.
| Material | Typical Lifespan | Relative Cost | Best Use Case |
|---|---|---|---|
| Aluminum | 20–25 years | Low–Medium | General residential flashing, valleys, step flashing |
| Galvanized steel | 15–20 years | Low | Budget repairs, drip edge, vent flashing |
| Copper | 50+ years | High | Chimneys, heritage homes, premium valleys |
| Lead-coated copper | 50+ years | High | Skylight aprons, complex penetrations |
| PVC-coated / rubberized membrane | 15–20 years | Medium | Flat roof transitions, low-slope junctions |
| Stainless steel | 30–40 years | High | Coastal-style exposure, high-corrosion zones |
Aluminum remains the most common choice for GTA repairs because it resists corrosion, is lightweight to work with on steep pitches, and costs less than copper while still lasting two decades or more. Galvanized steel is still used on many older homes and budget repairs, but once the zinc coating wears through, rust spreads quickly — particularly on roofs that hold snow against the flashing for months at a time. Copper is the premium option, prized for both its longevity and its appearance on heritage properties in older Toronto neighbourhoods, but the material cost alone can be three to four times that of aluminum.
Step Flashing, Counter-Flashing, and Continuous Flashing
Beyond material, flashing is also categorized by how it is installed and shaped. This matters enormously for repair quality because swapping the wrong style into the wrong location is one of the most common mistakes we see on second-opinion inspections.
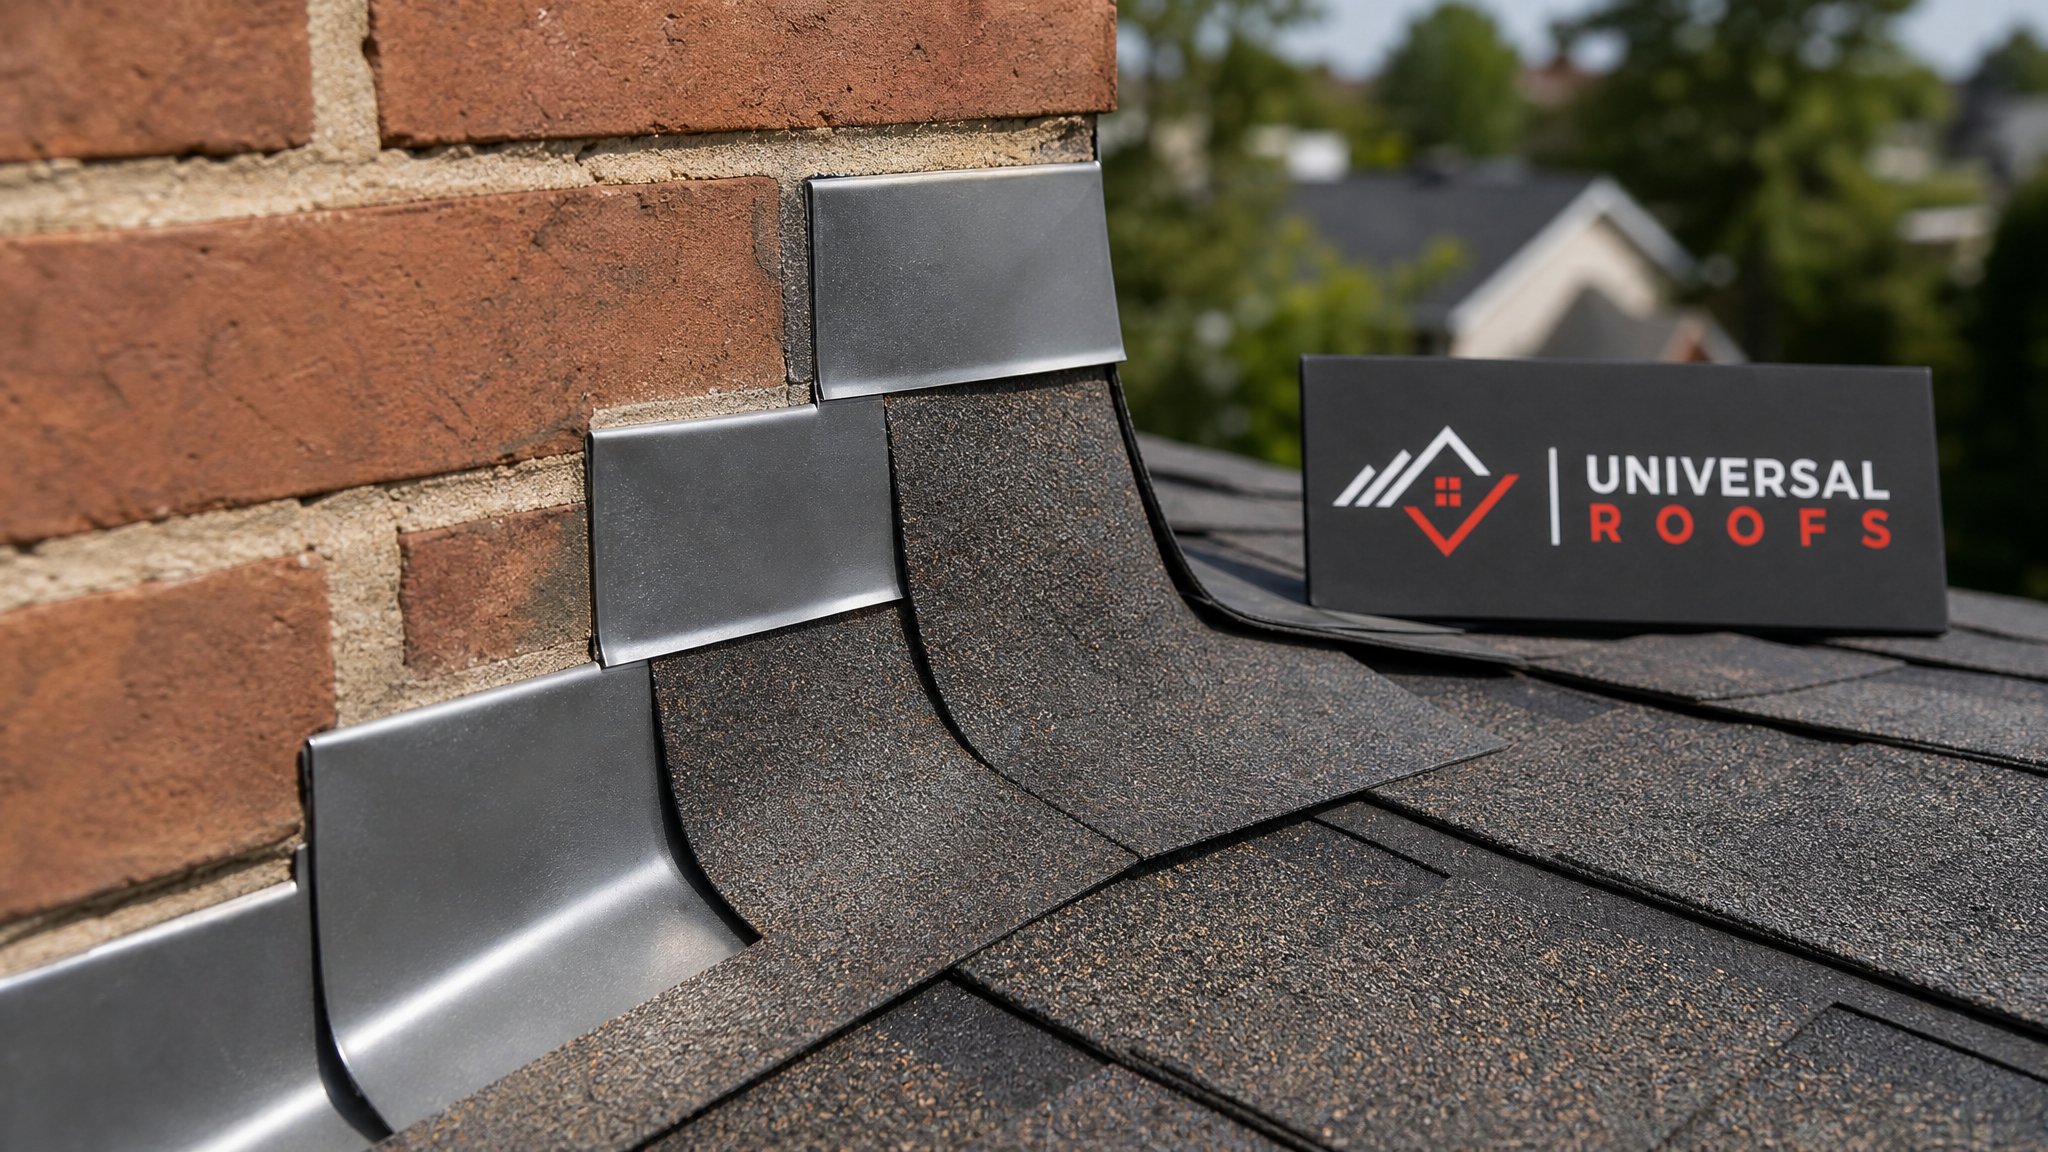
Step flashing is used where a sloped roof plane meets a vertical wall or chimney. Individual L-shaped pieces of metal are woven in with each course of shingles, so water is shed step by step down the roof rather than channelled sideways behind the siding. Step flashing must never be replaced with one long continuous strip — that shortcut traps water against the wall and is one of the fastest ways to cause hidden rot.
Counter-flashing works with step flashing at masonry chimneys and walls. It is embedded into a cut reglet (a groove) in the mortar joint and folds down over the step flashing, creating a two-part system that allows for movement without opening a gap. When counter-flashing pulls away from the masonry — often because the original mortar reglet was caulked rather than properly cut — it is one of the most frequent causes of chimney leaks we repair.
Continuous flashing (sometimes called apron flashing) is a single long piece used along straight runs, such as where a roof meets a dormer wall or where an addition’s roofline meets the main house. It works well in these straight-run applications but is the wrong choice anywhere shingles need to be woven in course by course.
Valley flashing lines the V-shaped channel where two roof slopes meet, carrying the largest volume of water on the entire roof. Open valleys use exposed metal; closed valleys weave shingles over the metal. Open metal valleys are generally more durable and easier to inspect, which is why most GTA re-roofing jobs default to them.
Flashing Repairs by Roof Location
Different parts of the roof call for different flashing approaches, and diagnosing the right one is central to exploring various roof flashing options for repairs effectively. Here is how the most common trouble spots break down.
Chimney Flashing
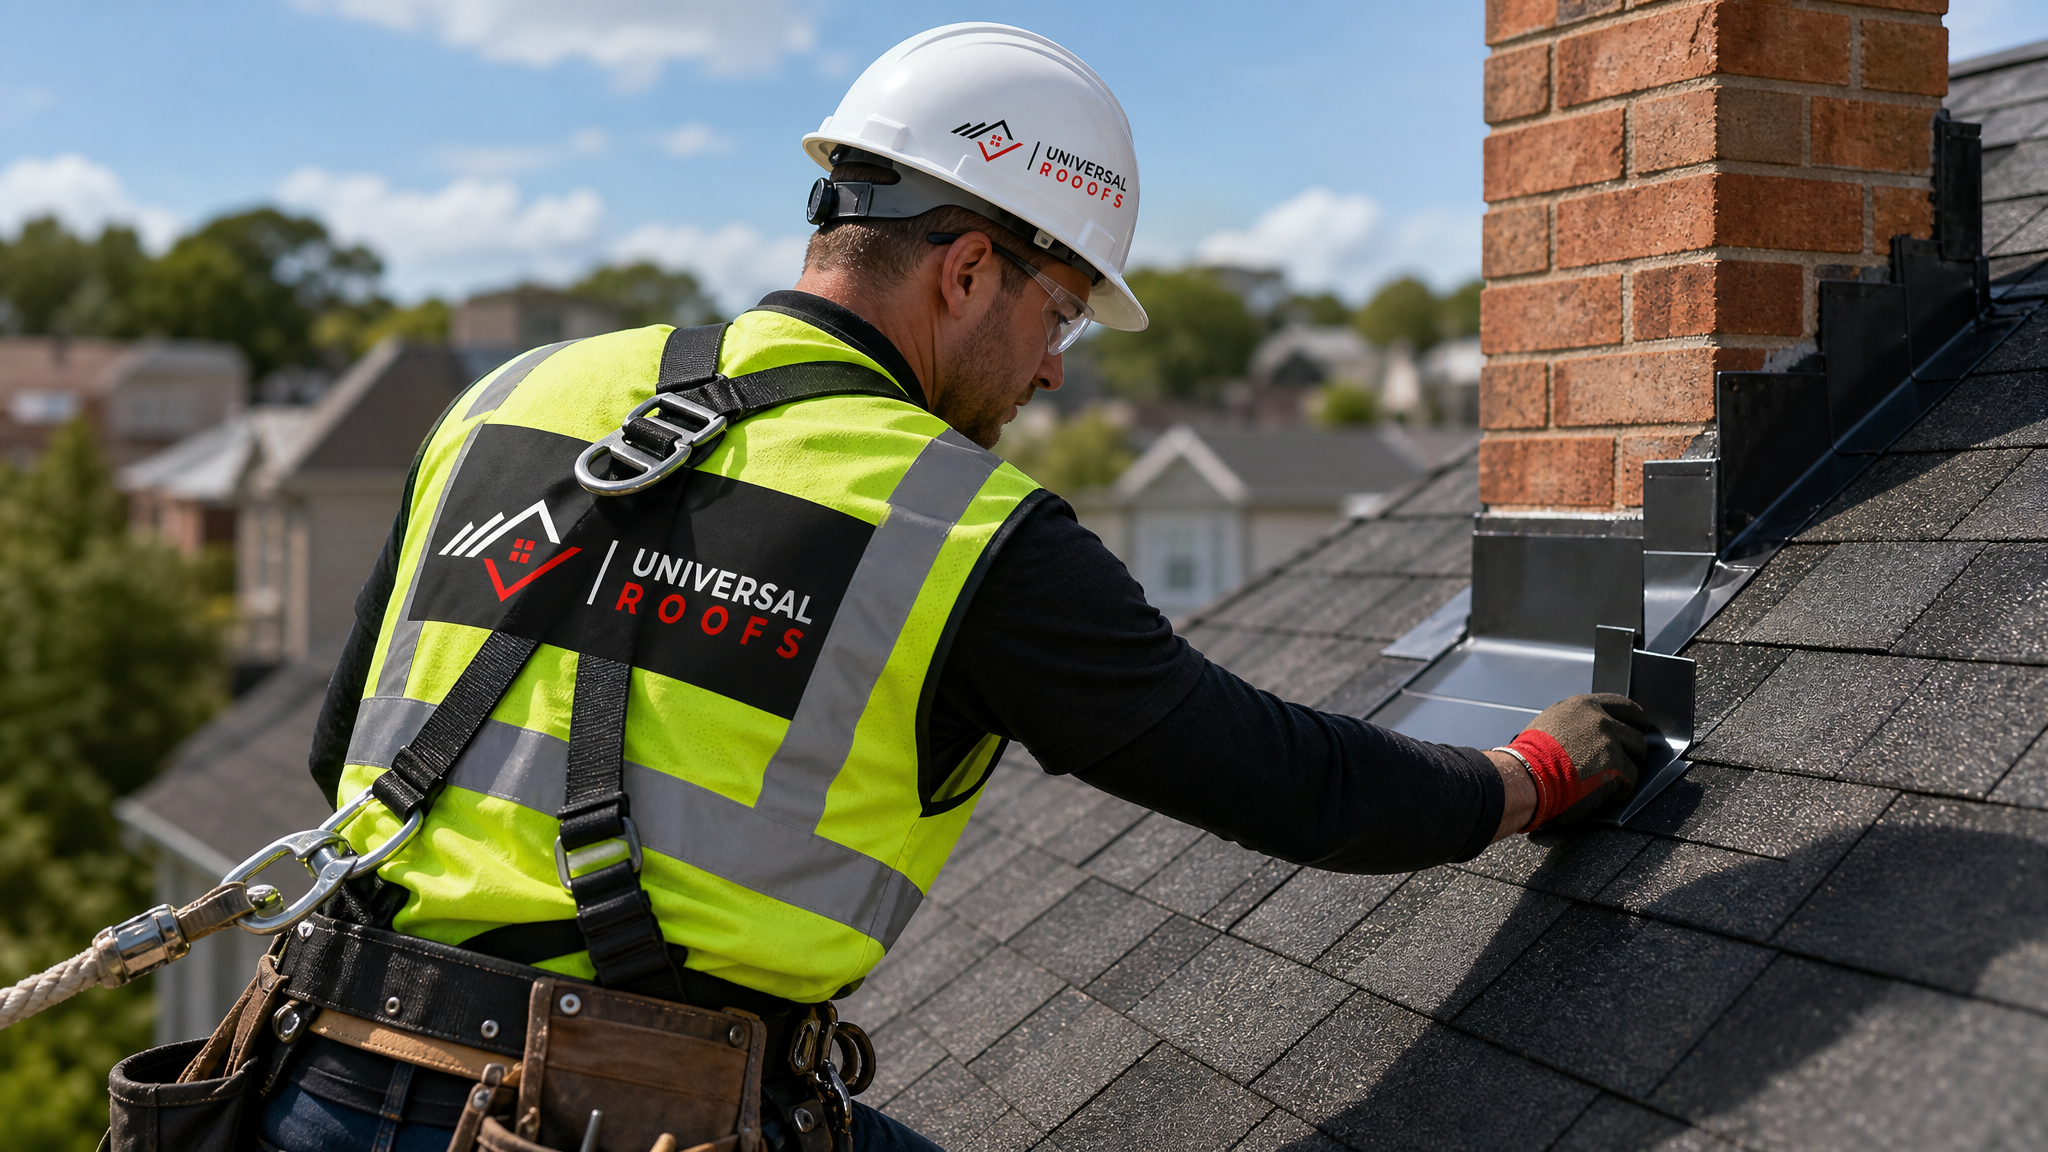
Chimneys are the single most common source of flashing leaks we see across Toronto, Mississauga, and Vaughan. The combination of step flashing, counter-flashing, and a cricket (a small peaked structure behind wide chimneys that diverts water) all have to work together. A cricket that was never installed, or was undersized, will cause snow and ice to pile up against the chimney’s uphill side every winter.
Skylight Flashing
Skylights use a factory-engineered flashing kit designed specifically for the unit’s make and model. Using a generic or improvised flashing kit — or reusing an old kit on a replacement skylight — is one of the most preventable causes of skylight leaks. If your skylight is leaking, it is worth having our skylights team evaluate whether the flashing kit matches the unit, or whether a full skylight replacement with a properly matched kit is the more cost-effective long-term fix.
Vent Pipe and Stack Flashing
Plumbing vents and exhaust stacks use a boot-style flashing with a rubber collar that seals around the pipe. These rubber collars degrade faster than the metal base — typically within 10 to 15 years — from UV exposure, making them one of the most common small repairs on roofs that are otherwise in good shape.
Wall and Dormer Flashing
Where a roof meets a sidewall, siding should overlap the step flashing, never the reverse. When siding contractors reinstall siding without lifting it over the flashing correctly, water gets directed behind the flashing instead of over it.
Low-Slope and Flat Roof Transitions
Where a sloped roof transitions into a flat or low-slope section — common on additions, garages, and porch roofs — standard shingle flashing is not adequate. These junctions need membrane-compatible flashing that ties properly into the flat roofing system. Our flat roofing specialists handle these transition details as a matter of course, since they are one of the leading causes of leaks on hybrid roof designs.
Repair Costs and Timelines
Flashing repair costs in the GTA vary widely depending on material, location on the roof, and accessibility. The table below gives realistic ranges homeowners can expect, though every quote should follow an in-person inspection.
| Repair Type | Typical Cost Range (CAD) | Typical Timeline |
|---|---|---|
| Vent pipe boot replacement | $150 – $350 | Under 1 hour |
| Step flashing resealing (localized) | $250 – $600 | 1–2 hours |
| Full chimney flashing rebuild | $600 – $1,800 | Half day |
| Skylight flashing kit replacement | $500 – $1,500 per unit | Half day |
| Valley flashing replacement (per valley) | $400 – $1,200 | Half day to 1 day |
| Copper flashing upgrade (chimney) | $900 – $2,500 | Half day to 1 day |
Costs climb on steep-slope roofs, multi-storey homes, or where staging and fall protection equipment are required — a necessary safety step our crews follow on every job, especially above two storeys. Emergency repairs during or immediately after a storm may carry a modest premium given the urgency, but a properly sealed patch is almost always cheaper than the drywall, insulation, and mould remediation that follow a prolonged leak.
Repair Versus Replacement: Making the Right Call
One of the most common questions homeowners ask when exploring various roof flashing options for repairs is whether a targeted repair is enough, or whether the whole flashing system needs to be redone. A few signs point toward full replacement rather than a patch:
- The flashing is original to a roof more than 15 to 20 years old and shows rust-through in multiple spots.
- Water stains appear in more than one location along the same wall or chimney, suggesting the entire run has failed, not just one seam.
- The shingles surrounding the flashing are also nearing the end of their service life, since re-flashing alone rarely makes sense on a roof that needs replacing within a year or two anyway.
- Previous “repairs” consist mainly of caulking or roofing cement smeared over gaps rather than properly formed and fastened metal.
If your roof is approaching 20 years old, it is often more economical to combine flashing work with a broader roof replacement rather than repeatedly patching failure points as they appear. On the other hand, an isolated leak on an otherwise healthy roof — say, a single degraded vent boot — is exactly the kind of targeted repair that should not require touching the rest of the roof.
Troubleshooting Common Flashing Problems
If you suspect a flashing issue but are not sure of the exact cause, this troubleshooting reference covers the symptoms we are asked about most often across Toronto, Peel, York, Halton, and Durham Region homes.
| Symptom | Likely Flashing Cause | Recommended Action |
|---|---|---|
| Ceiling stain near a chimney | Failed counter-flashing or missing cricket | Inspect chimney flashing and reglet seal |
| Leak appears only during heavy wind-driven rain | Lifted or under-fastened flashing edge | Refasten and reseal exposed edges |
| Leak appears only in winter thaw | Ice damming forcing water past eave flashing | Add ice-and-water membrane, check attic insulation |
| Water stain around a plumbing vent pipe | Cracked rubber boot collar | Replace vent flashing boot |
| Staining along a dormer or sidewall | Siding overlapping the wrong way over step flashing | Re-flash and correct siding overlap |
| Leak near a skylight after rain | Mismatched or aged flashing kit | Assess for flashing kit replacement or unit upgrade |
Ice damming deserves special attention in our climate. When heat escapes from a poorly insulated attic, it melts snow on the upper roof, which then refreezes at the colder eaves and forms a dam. Water backs up under the shingles and flashing, defeating even a well-installed system. Checking your attic insulation and ventilation is often just as important as the flashing repair itself when ice damming is the root cause.
DIY Flashing Repairs Versus Hiring a Professional
Sealing a small gap with roofing cement as a temporary stopgap is within reach for a handy homeowner, provided the roof pitch and height are safe to access. However, most flashing work is not a good DIY candidate, for a few reasons:
- Correctly weaving step flashing into existing shingle courses without damaging the shingles requires practice and the right tools.
- Cutting a clean reglet into masonry for counter-flashing is easy to get wrong, and a bad cut can crack surrounding brick or stone.
- Working at height on a steep or multi-storey roof without proper fall protection is genuinely dangerous — this is the leading cause of injury in residential roofing work.
- A flashing repair that looks fine on the surface but was not properly integrated with the roofing underlayment can hide a leak for months before it resurfaces as rot or mould.
For anything beyond a temporary patch, having a licensed, insured roofing contractor complete the repair protects both the workmanship and your home’s structure. You can read what other GTA homeowners experienced with our crews on our reviews page, and browse common questions on our FAQ page before booking an assessment.
Seasonal Timing for Flashing Repairs
Summer is genuinely one of the best times of year to address flashing issues in the GTA. Warm, dry conditions allow sealants and roofing cement to cure properly, shingles are pliable enough to lift and reinstall without cracking, and crews can work efficiently without snow or ice on the roof deck. If you noticed a leak during spring storms, addressing the flashing now — rather than waiting until autumn or the next freeze-thaw cycle — gives the repair the best chance of holding through the coming winter.
That said, flashing failures do not wait for convenient weather, and emergency repairs are sometimes necessary regardless of season. A tarped, temporary fix during a storm is far better than an unaddressed leak, but it should always be followed up with a permanent repair as soon as conditions allow.
Working With a Trusted Local Roofer
Founded in 2005, Universal Roofs has spent two decades diagnosing and repairing flashing failures across the GTA, from century homes in old Toronto neighbourhoods with copper chimney flashing to new-build subdivisions in Vaughan and Markham. We know which flashing details tend to fail first on which home styles, and we carry the material stock to match repairs to the existing flashing on your roof rather than mismatching metals that can accelerate corrosion.
Our crews serve Toronto, Peel Region, York Region, Halton Region, and Durham Region, and every flashing repair starts with an honest inspection — not a sales pitch for work you do not need. Learn more about our team and history on our about page.
What is the best flashing material when exploring various roof flashing options for repairs?
How do I know if my roof leak is caused by flashing rather than the shingles?
Can flashing be repaired without replacing the whole roof?
Why does my chimney flashing keep failing?
Is summer a good time to repair roof flashing in the GTA?
Should I hire a professional for flashing repairs instead of doing it myself?
Need Help With Exploring Various Roof Flashing?
Whatever stage of exploring various roof flashing options for repairs you are at — comparing materials, diagnosing a leak, or deciding between a patch and a full rebuild — Universal Roofs can help you make the right call for your home and budget.
Call us today at (416) 732-2421 or request a free inspection to get started.
Universal Roofs proudly serves Toronto, Mississauga, Brampton, Vaughan, Markham, Oakville and the GTA since 2005.