
A sagging roofline is one of those problems that homeowners notice long before they understand. Maybe it is a dip along the ridge that catches your eye from the driveway, or a wave in the shingles that was not there last summer. Whatever tipped you off, a step by step guide to assessing roof sagging before repair is exactly what you need before you call a contractor or climb a ladder yourself, because not every sag means the same thing and not every fix costs the same amount.
At Universal Roofs, we have inspected thousands of roofs across the Greater Toronto Area since 2005, and sagging is one of the most common reasons homeowners reach out. Some cases are cosmetic and low-risk. Others point to structural failure that needs immediate attention. The difference matters enormously for your budget, your timeline, and in some cases your family’s safety.
This guide walks through exactly how a professional assesses a sagging roof, what tools and vantage points to use, which measurements actually matter, and how to tell a minor deflection from a genuine structural emergency. By the end, you will know what to look for, what questions to ask a contractor, and when to stop inspecting and start calling for professional roof repair.
Why Roofs Sag in the First Place
Before you can assess roof sagging properly, it helps to understand what actually causes it. A roof is a system of trusses or rafters, sheathing, and framing that is designed to carry a specific load. When any part of that system weakens or the load exceeds what it was built for, the roof deflects downward. In the GTA, we typically see four root causes.
The first is water damage. Toronto’s freeze-thaw cycle is brutal on roofing materials. Water gets under shingles or flashing, soaks into the sheathing and rafters, and slowly rots the wood from the inside out. By the time you can see a sag, the wood has often been softening for years.
The second is snow load. Southern Ontario winters can dump heavy, wet snow that sits on a roof for weeks. Older roofs, or roofs that were undersized for current building code snow-load requirements, can develop a permanent dip after a particularly hard winter.
The third is age and material fatigue. Wood framing naturally loses some stiffness over decades, especially in homes built before 1980 that used smaller dimensional lumber than is standard today. Combine that with 30 or 40 years of thermal cycling and the wood simply is not as strong as it once was.
The fourth is poor original construction or undersized framing. We still find homes in older Toronto neighbourhoods, and even some newer builds, where rafters were spaced too far apart or sized too small for the span and load they needed to carry. These roofs were essentially born with a structural deficiency that eventually shows up as a sag.
Step One: Assess From the Ground and the Street
The first step in any professional roof sagging assessment does not involve a ladder at all. Walk around your property and view the roof from multiple angles, ideally at different times of day when raking sunlight makes shadows more visible along the roof plane. A healthy roof should show a perfectly straight ridge line and consistent, even slopes on every side.
Stand back at least 15 to 20 metres from the house if your lot allows it. Sight down the ridge line from one end to the other, the same way a carpenter sights down a board to check for a bow. Any dip, wave, or valley that was not part of the original architectural design is worth noting. Take photos from the same vantage points every few months if you are monitoring a suspected sag rather than repairing it immediately, since sagging that worsens over time is a much more urgent signal than sagging that has been stable for years.
Pay particular attention to these ground-level indicators:
- A visible dip between two trusses or rafters, often described as looking like a wave or a saddle
- Sagging along the ridge itself rather than just between the ridge and the eaves
- Uneven or wavy shingle courses that were installed in straight rows
- Gutters pulling away from the fascia on one section of the roof but not others
- Soffits or fascia boards that appear to droop or separate from the wall
Step Two: Inspect the Attic for Structural Clues
The attic tells you far more than the exterior ever will, because this is where you can see the actual framing members that are failing. This step requires a flashlight, a tape measure, a 1.2 metre or longer level, and, ideally, a second person to help hold equipment steady.
Start by checking the ridge board for a bow. Run your level along its length. Any measurable dip toward the centre of the span, rather than a straight line end to end, indicates the ridge itself is deflecting under load. Next, examine each rafter or truss individually. Look for cracks, splits, or checking in the wood, particularly near the mid-span where bending stress is highest. Water stains, dark discoloration, or a spongy texture when you press a screwdriver into the wood are all signs of rot that has compromised the member’s strength.
Check the connections too. Trusses rely on metal gusset plates and proper nailing to transfer load between members. If you see gusset plates that are rusted through, pulling away from the wood, or missing teeth where they should be embedded, that connection has likely already failed or is close to it. Also inspect where rafters meet the ridge board and where they meet the top plate of the exterior walls, since these connection points are common failure locations in older homes.
Finally, look at insulation for compression or displacement patterns that hint at movement, and check for daylight coming through gaps that should not exist. If your attic ventilation and insulation system has been compromised by moisture for an extended period, that is often the underlying reason the framing weakened enough to sag in the first place.
Attic Inspection Checklist
| Attic Element | What to Check | Warning Sign | Urgency Level |
|---|---|---|---|
| Ridge board | Straightness along full length using a level | Visible bow or dip at centre span | High |
| Rafters/trusses | Cracks, splits, sponginess | Screwdriver sinks into wood easily | High |
| Gusset plates | Rust, separation from wood, missing teeth | Plate lifting away or crumbling | High |
| Rafter-to-plate connections | Nailing integrity, gaps, movement | Visible daylight or shifting joints | Medium-High |
| Insulation | Even distribution, moisture staining | Compressed or wet patches near sag | Medium |
| Sheathing (underside) | Discoloration, delamination, soft spots | Dark staining or crumbling plywood | High |
Step Three: Measure the Sag Precisely
Once you have identified where the sagging occurs, the next step is quantifying it. Professional roofers use a string line or laser level stretched from one end of the ridge or rafter run to the other, then measure the vertical gap between the string and the framing member at several points along its length. This tells you not just that a sag exists, but how severe it is and whether it is localized to one truss or spread across the whole roof plane.
As a general guideline, a deflection of less than 6 millimetres per metre of span is often considered within normal tolerance for older wood-frame construction, particularly on homes over 40 years old where some settling is expected. A deflection between 6 and 12 millimetres per metre usually warrants a closer structural look and possibly reinforcement. Anything beyond that, or any sag that is visibly worsening month over month, should be treated as a priority structural concern rather than a cosmetic one.
It is worth noting that these are general field guidelines, not a substitute for an engineer’s assessment on a home with significant or rapidly changing deflection. If your measurements come in at the higher end of this range, or if you are at all uncertain, it is far better to have Universal Roofs or a structural engineer confirm the reading than to guess.
Step Four: Identify the Likely Cause Before You Estimate Repair Scope
A sag caused by a single rotted rafter is a very different repair than a sag caused by widespread truss failure across an entire section of roof. This is why diagnosis has to come before any repair estimate. Trace the sag back to its source using the clues from your attic inspection.
If the sagging lines up with a plumbing stack, chimney chase, or bathroom exhaust vent, moisture intrusion around that penetration is a likely culprit, and you may be dealing with localized rot rather than a widespread framing problem. If the sag is spread evenly across the entire roof plane and the home is older, general truss fatigue or an undersized original design is more likely. If the sag appeared suddenly after a heavy snowfall, snow load exceeding the roof’s design capacity is the probable cause, and you will want to discuss both repair and potential reinforcement to prevent a repeat.
If you also notice sagging or soft spots specifically around a skylight opening, moisture is very often getting in around the flashing rather than the skylight unit itself failing outright. In these cases pairing a structural repair with a proper skylight replacement or updated skylight installation addresses both the leak source and the sag it caused.
Step Five: Rule Out Related Issues That Mimic or Worsen Sagging
Not every dip in a roofline is caused by failing rafters. Before committing to a structural repair plan, it is worth ruling out a few related issues that can either mimic sagging or make an existing sag worse.
Flat and low-slope sections are especially prone to ponding water, which adds substantial weight and accelerates membrane failure, often creating a soft, spongy dip that looks structural but is actually a drainage problem. If your home has a flat-roofed addition, garage, or porch, have it checked as part of your flat roofing inspection alongside the main structure.
Also check whether previous roofing layers were left in place during a past reroof. Multiple layers of shingles add significant dead weight that the original framing may not have accounted for, and this cumulative load is a surprisingly common contributor to gradual sagging in homes that have been reroofed two or three times without ever stripping old layers.
Finally, confirm the sag is not simply an intentional architectural feature. Some older Toronto homes, particularly character homes in neighbourhoods like Cabbagetown or the Beaches, were built with slightly curved or “catslide” rooflines on purpose. An experienced eye can tell the difference between original design intent and genuine structural failure, which is one more reason a professional walk-through is worth the call before you assume the worst.
Step Six: Decide Between Repair, Reinforcement, and Replacement
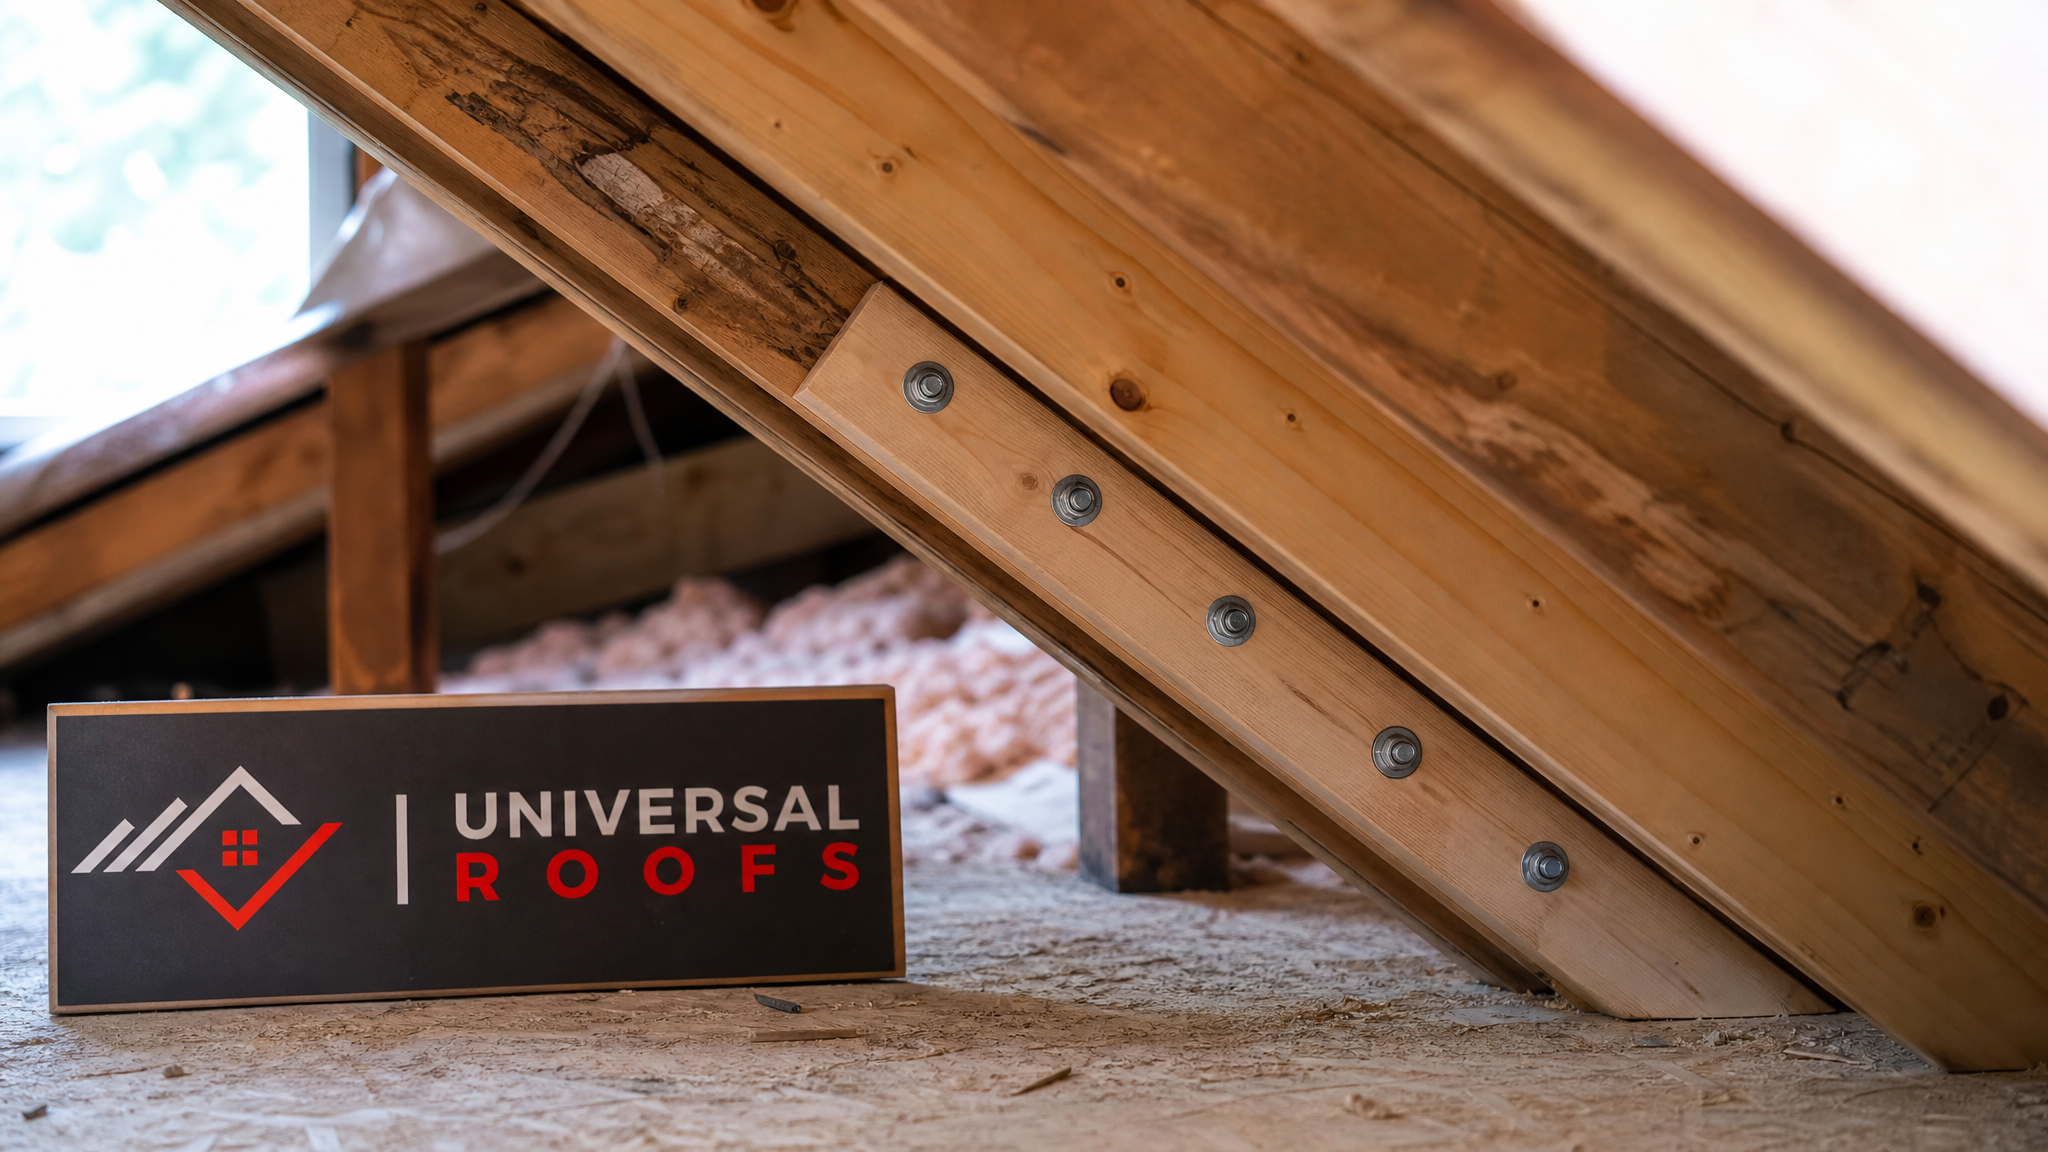
Once you understand the cause, location, and severity of the sag, you can make an informed decision about scope. Minor, localized sagging from a single damaged rafter or small area of rot is typically addressed with sistering, where a new piece of lumber is fastened alongside the damaged member to restore strength, combined with replacing any compromised sheathing and shingles above it.
Moderate, widespread sagging across an older roof, especially one nearing or past the end of its shingle’s service life, often makes more sense to address as part of a full roof replacement, since the framing repair and new roofing system can be handled in the same project rather than paying for access and labour twice.
Severe structural sagging, particularly anything involving multiple failed trusses, spread beyond 12 millimetres per metre of deflection, or any sign of active, worsening movement, should involve both a structural engineer and Universal Roofs working together, since building permits and engineered drawings are typically required for this level of framing work under Ontario building code.
Repair Scope by Sagging Severity
| Severity | Typical Cause | Recommended Approach | Approximate Timeline |
|---|---|---|---|
| Minor (localized, under 6mm/m) | Single rotted rafter, isolated leak | Sistering plus targeted sheathing/shingle repair | 1-2 days |
| Moderate (6-12mm/m, several members) | Age-related fatigue, aging shingle layers | Reinforcement combined with roof replacement | 3-5 days |
| Severe (over 12mm/m or spreading) | Widespread truss failure, chronic snow load | Engineer-designed reinforcement, permitted framing repair | 1-3 weeks |
| Localized flat-roof dip | Ponding water, membrane failure | Drainage correction and membrane replacement | 2-4 days |
| Skylight-adjacent sag | Flashing leak, curb rot | Flashing repair or skylight replacement plus framing fix | 1-2 days |
What a Professional Inspection Adds That a DIY Check Cannot
Homeowners can absolutely complete steps one through three on their own, and doing so before you call a contractor means you arrive at the conversation with useful information rather than a vague worry. That said, there are a few things a professional inspection adds that are difficult to replicate without training and equipment.
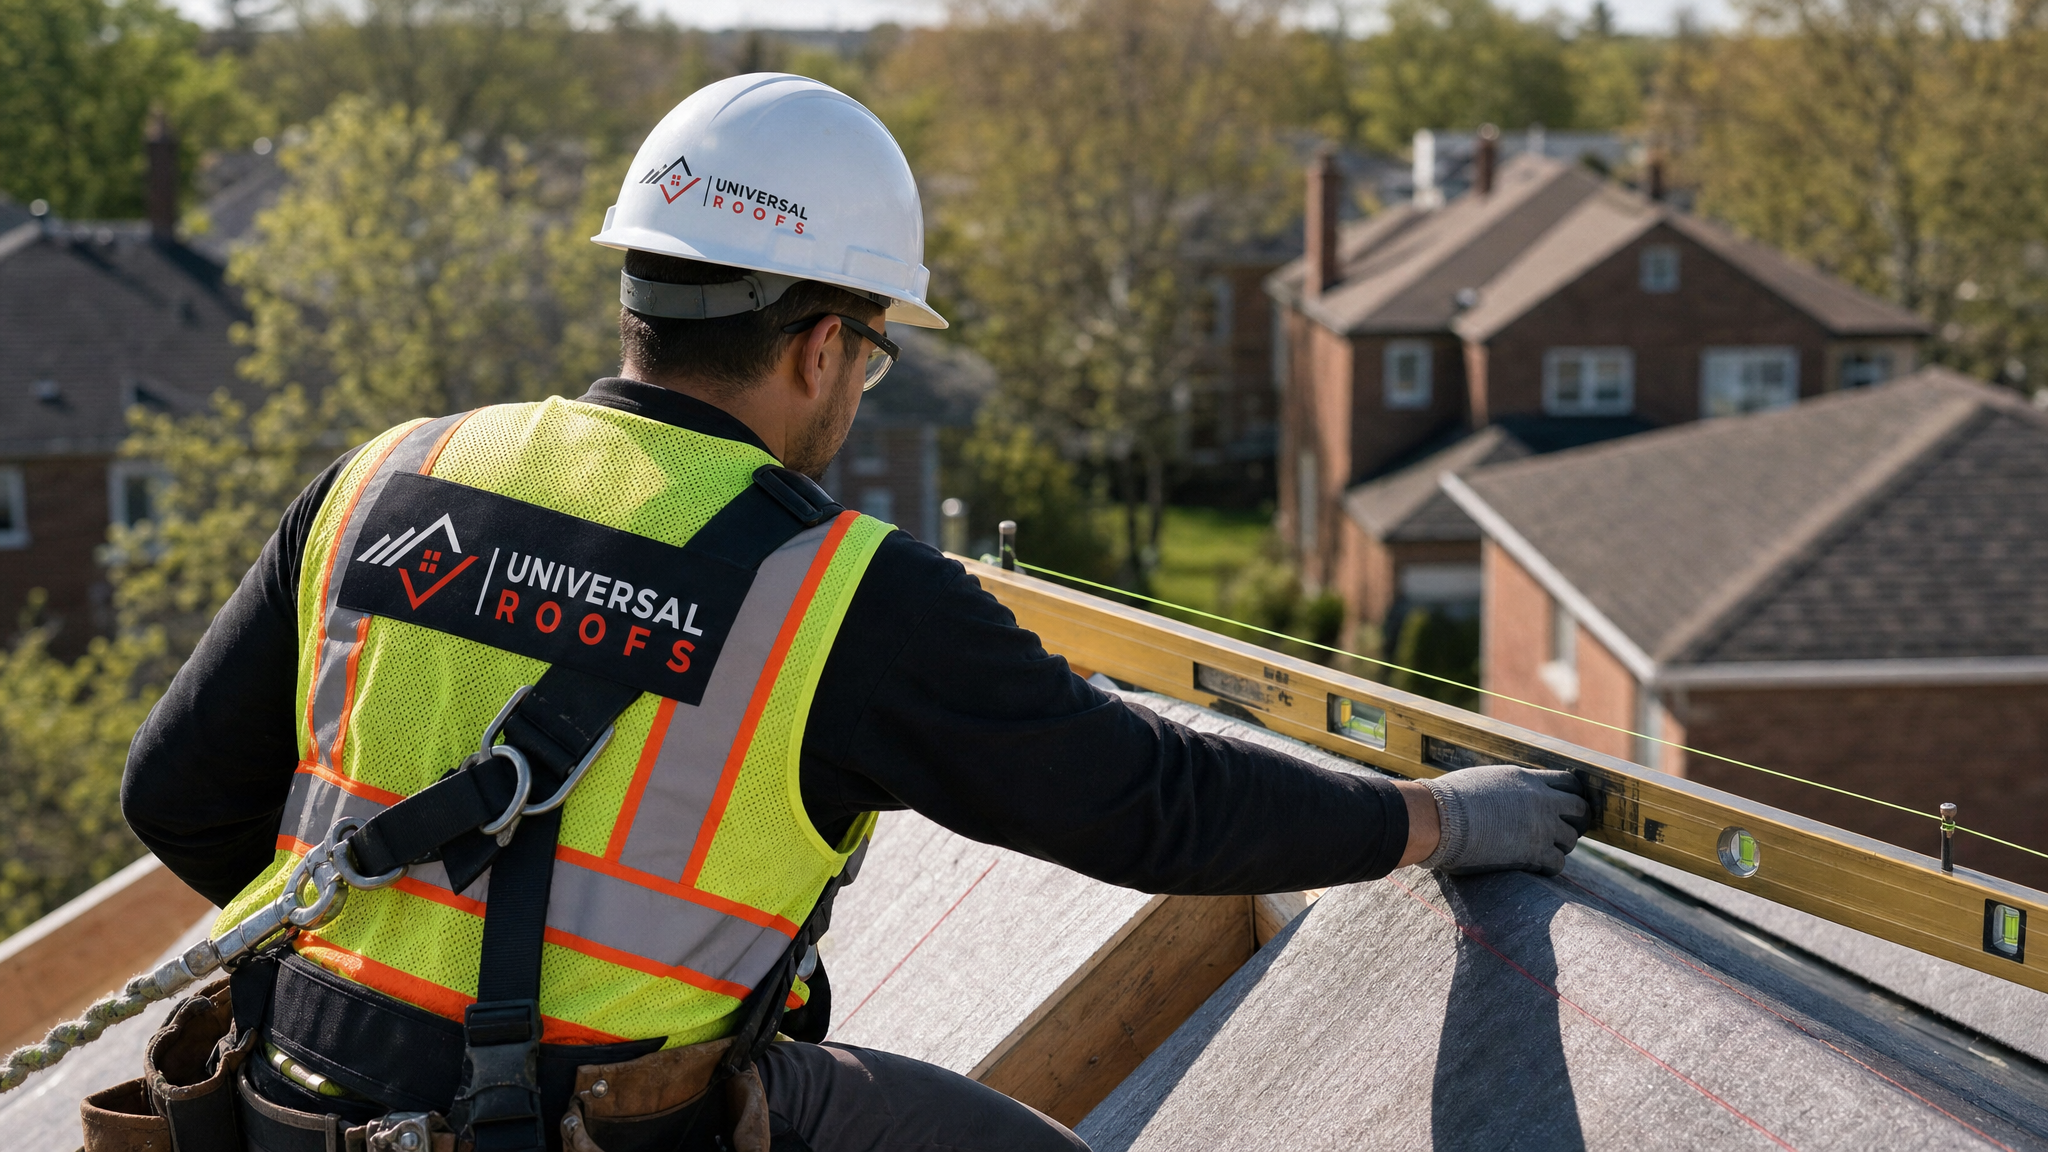
A trained roofer can distinguish between structural sagging and cosmetic irregularities from decades-old lumber that never fails a load test. We use moisture meters to find hidden rot that is not yet visible to the eye, since wood can be compromised well before it shows obvious discoloration. We also carry the safety equipment, including harnesses and anchor points, needed to safely inspect steep-slope roofs and roof edges that are not safe to approach without fall protection.
Perhaps most importantly, a professional assessment comes with a written scope and a fair price, so you are not guessing at whether a quote reflects the actual extent of the damage found in your attic. If you want to see how our process has worked for other GTA homeowners facing similar concerns, our customer reviews reflect two decades of these exact conversations.
Cost Considerations for Toronto and the GTA
Repair costs for a sagging roof vary enormously depending on cause and scope, which is exactly why the assessment steps above matter so much before you request pricing. A single sistered rafter with a patch of new shingles is a modest repair. A full truss replacement across a garage or addition, involving temporary shoring, engineered drawings, and a building permit, is a far larger project. Regional factors also matter: homes in older parts of Toronto and York Region often have older framing dimensions than newer builds in Halton or Durham Region, which can affect material availability and labour time.
Factors That Influence Sagging Repair Cost in the GTA
| Cost Factor | Lower-Cost Scenario | Higher-Cost Scenario |
|---|---|---|
| Number of affected framing members | One or two rafters | Multiple trusses across a full section |
| Access and roof pitch | Low-slope, easy ground access | Steep slope, multi-storey, limited access |
| Permit requirements | Simple sistering, no permit needed | Engineered structural repair requiring permit |
| Underlying moisture damage | Localized, sheathing intact | Widespread rot into sheathing and decking |
| Roofing system age | Newer shingles, repair only | End-of-life shingles requiring full replacement |
When to Stop Inspecting and Call for Help Immediately
While most of this guide focuses on methodical assessment, there are situations where you should skip straight to calling a professional rather than continuing to inspect on your own. Stop and call immediately if you notice new cracking sounds from the attic or ceiling, a sag that has visibly worsened within days or weeks, interior ceiling cracks that are widening, doors or windows on the top floor suddenly sticking, or any sagging following a significant snow event or storm.
These are signs of active structural movement rather than a stable, long-standing condition, and climbing into an attic or onto a roof to investigate further is not worth the risk. In these cases, call Universal Roofs directly rather than completing the remaining assessment steps yourself, and avoid using the affected room or storing anything heavy in the attic space above the sag until it has been evaluated.
Frequently Asked Questions
What is the first step in a step by step guide to assessing roof sagging before repair?
How much roof sag is considered normal versus a structural concern?
Can I assess roof sagging myself before calling a professional?
What usually causes a sagging roof on Toronto and GTA homes?
Does a sagging roof always mean I need a full roof replacement?
When should I stop inspecting and call a roofer immediately?
Need Help With A Step by Step?
A sagging roof is not something to guess about, and the right assessment now can save you from a far more expensive repair later. Universal Roofs has been helping GTA homeowners diagnose and fix structural roofing issues since 2005, with the experience to tell a cosmetic irregularity apart from a genuine structural concern.
Call us today at (416) 732-2421 or request a free inspection to get started.
Universal Roofs proudly serves Toronto, Mississauga, Brampton, Vaughan, Markham, Oakville and the GTA since 2005.