
If your bathroom fan, kitchen range hood, or dryer vent exits through the roof, the small metal collar wrapped around that pipe is doing more work than almost anything else up there. Roof flashing for vent fans is the single detail most likely to cause a ceiling stain, and it is also one of the cheapest problems to prevent if you choose the right flashing style and install it correctly the first time.
Homeowners across the GTA often assume a leak around a bathroom fan vent means a hole in the shingles somewhere nearby. In our experience inspecting roofs from Etobicoke to Ajax, the real culprit is almost always the flashing boot itself: a cracked rubber collar, a flashing plate that was never properly woven into the shingle courses, or a design that was never rated for Toronto’s freeze-thaw winters in the first place. Choosing between the three most common types of vent flashing, and understanding how each one ages in our climate, is the difference between a roof penetration that lasts 20 years and one that leaks by year five.
This guide breaks down the three best roof flashing options for vent fans, how they compare on cost and lifespan, what installation mistakes cause premature failure, and when it makes more sense to call in a professional rather than tackle the repair yourself.
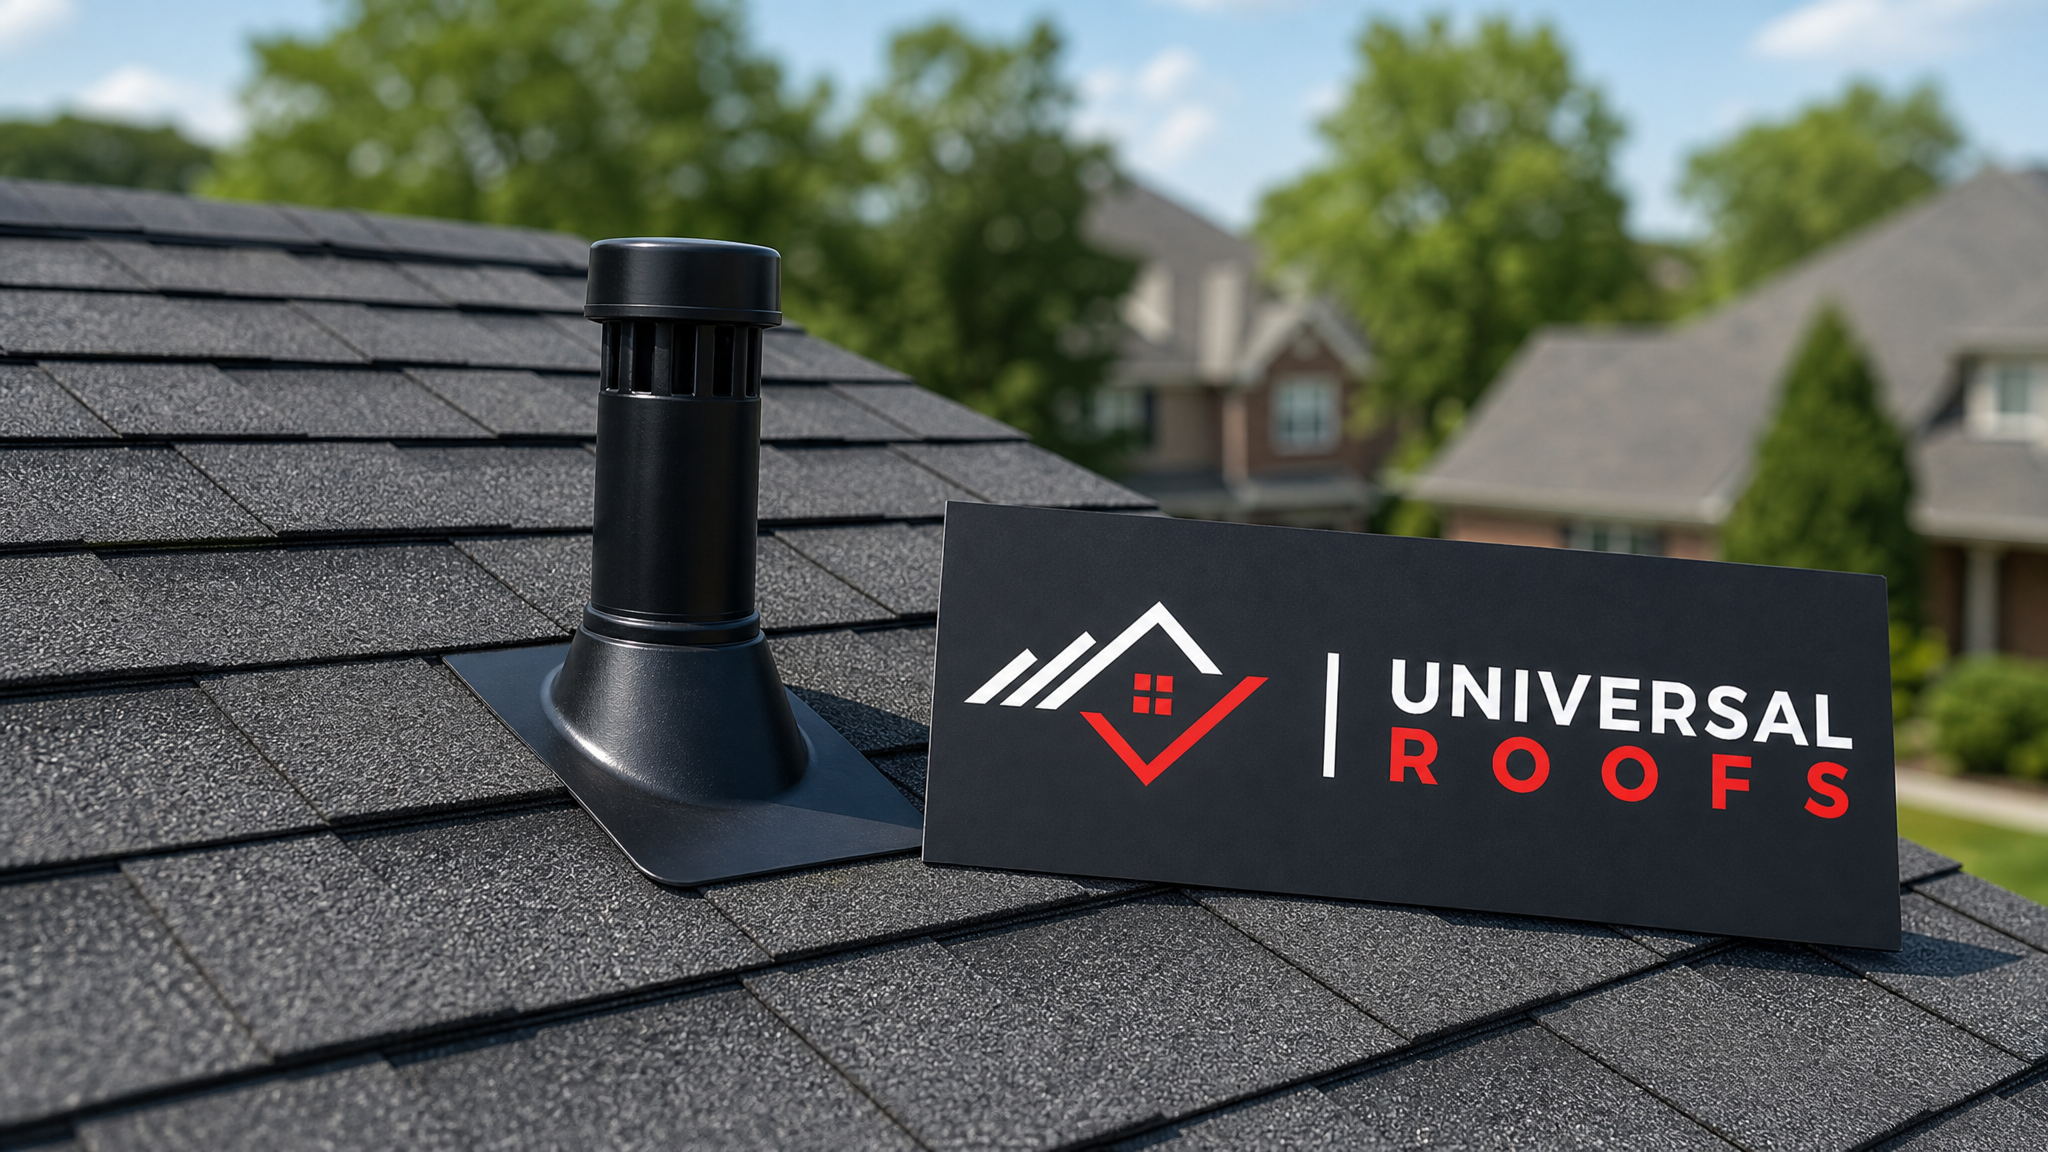
Why Roof Flashing for Vent Fans Matters So Much in the GTA
Every pipe, stack, and vent fan duct that passes through your roof deck creates a penetration, and every penetration needs a weatherproof collar around it. Unlike a skylight or a chimney, which are large, obvious features that get inspected regularly, a small vent fan flashing sits low to the roofline and is easy to miss during a casual walk-around. That is exactly why so many slow leaks trace back to this one component.
Toronto’s climate is particularly hard on rooftop flashing. We get deep winter cold snaps, repeated freeze-thaw cycles through March and April, intense summer UV exposure, and heavy spring rain. A flashing material that performs fine in a milder climate can crack, shrink, or delaminate here within a few seasons. The rubber gasket on a standard flashing boot, for example, is rated by most manufacturers for roughly 10 to 15 years in a moderate climate, but GTA roofers routinely see that same rubber crack and split in 7 to 10 years because of how often it cycles between -20°C and +30°C annually.
Getting the flashing choice right up front also protects the rest of your roof system. Water that gets past a failed vent flashing does not just drip into your bathroom ceiling. It tracks along roof deck, soaks into insulation, and can sit against your attic framing for months before you ever see a stain, encouraging mould growth and wood rot long before the visible damage appears.
The 3 Best Roof Flashing Types for Vent Fans, Compared
There are really three flashing approaches worth considering for a bathroom fan, dryer vent, or range hood penetration: the neoprene rubber boot, the all-metal storm collar and base flashing, and the newer silicone or EPDM composite boot. Each has a place, and the right choice depends on your roof pitch, your budget, and how long you want the repair to last before it needs attention again.
| Flashing Type | Typical Lifespan (GTA Climate) | Average Material Cost | Best For |
|---|---|---|---|
| Neoprene rubber boot flashing | 7-10 years | $25-$45 | Budget repairs, standard asphalt shingle roofs |
| All-metal storm collar with soldered base | 25-40+ years | $70-$150 | Long-term roofs, steep pitches, metal roofing |
| Silicone or EPDM composite boot | 20-25 years | $50-$90 | Balance of cost and durability, most GTA homes |
| No-collar caulk-only seal (not recommended) | 1-3 years | $10-$15 | Should not be used as a long-term solution |
1. Neoprene Rubber Boot Flashing
This is the flashing style most builders use by default because it is inexpensive and fast to install. A neoprene rubber boot flashing consists of a metal base plate with a moulded rubber collar that stretches snugly around the vent pipe. It works well when new, but the rubber is the weak point. UV exposure and our wide temperature swings dry out and crack the neoprene over time, usually starting on the south or west-facing slope of the roof where sun exposure is strongest.
If your home is under 10 years old and still has its original vent boots, it is worth having them checked during your next roof repair visit, even if you have not noticed a leak yet. Catching a cracked boot before it fails completely is far cheaper than repairing interior water damage afterward.
2. All-Metal Storm Collar and Base Flashing
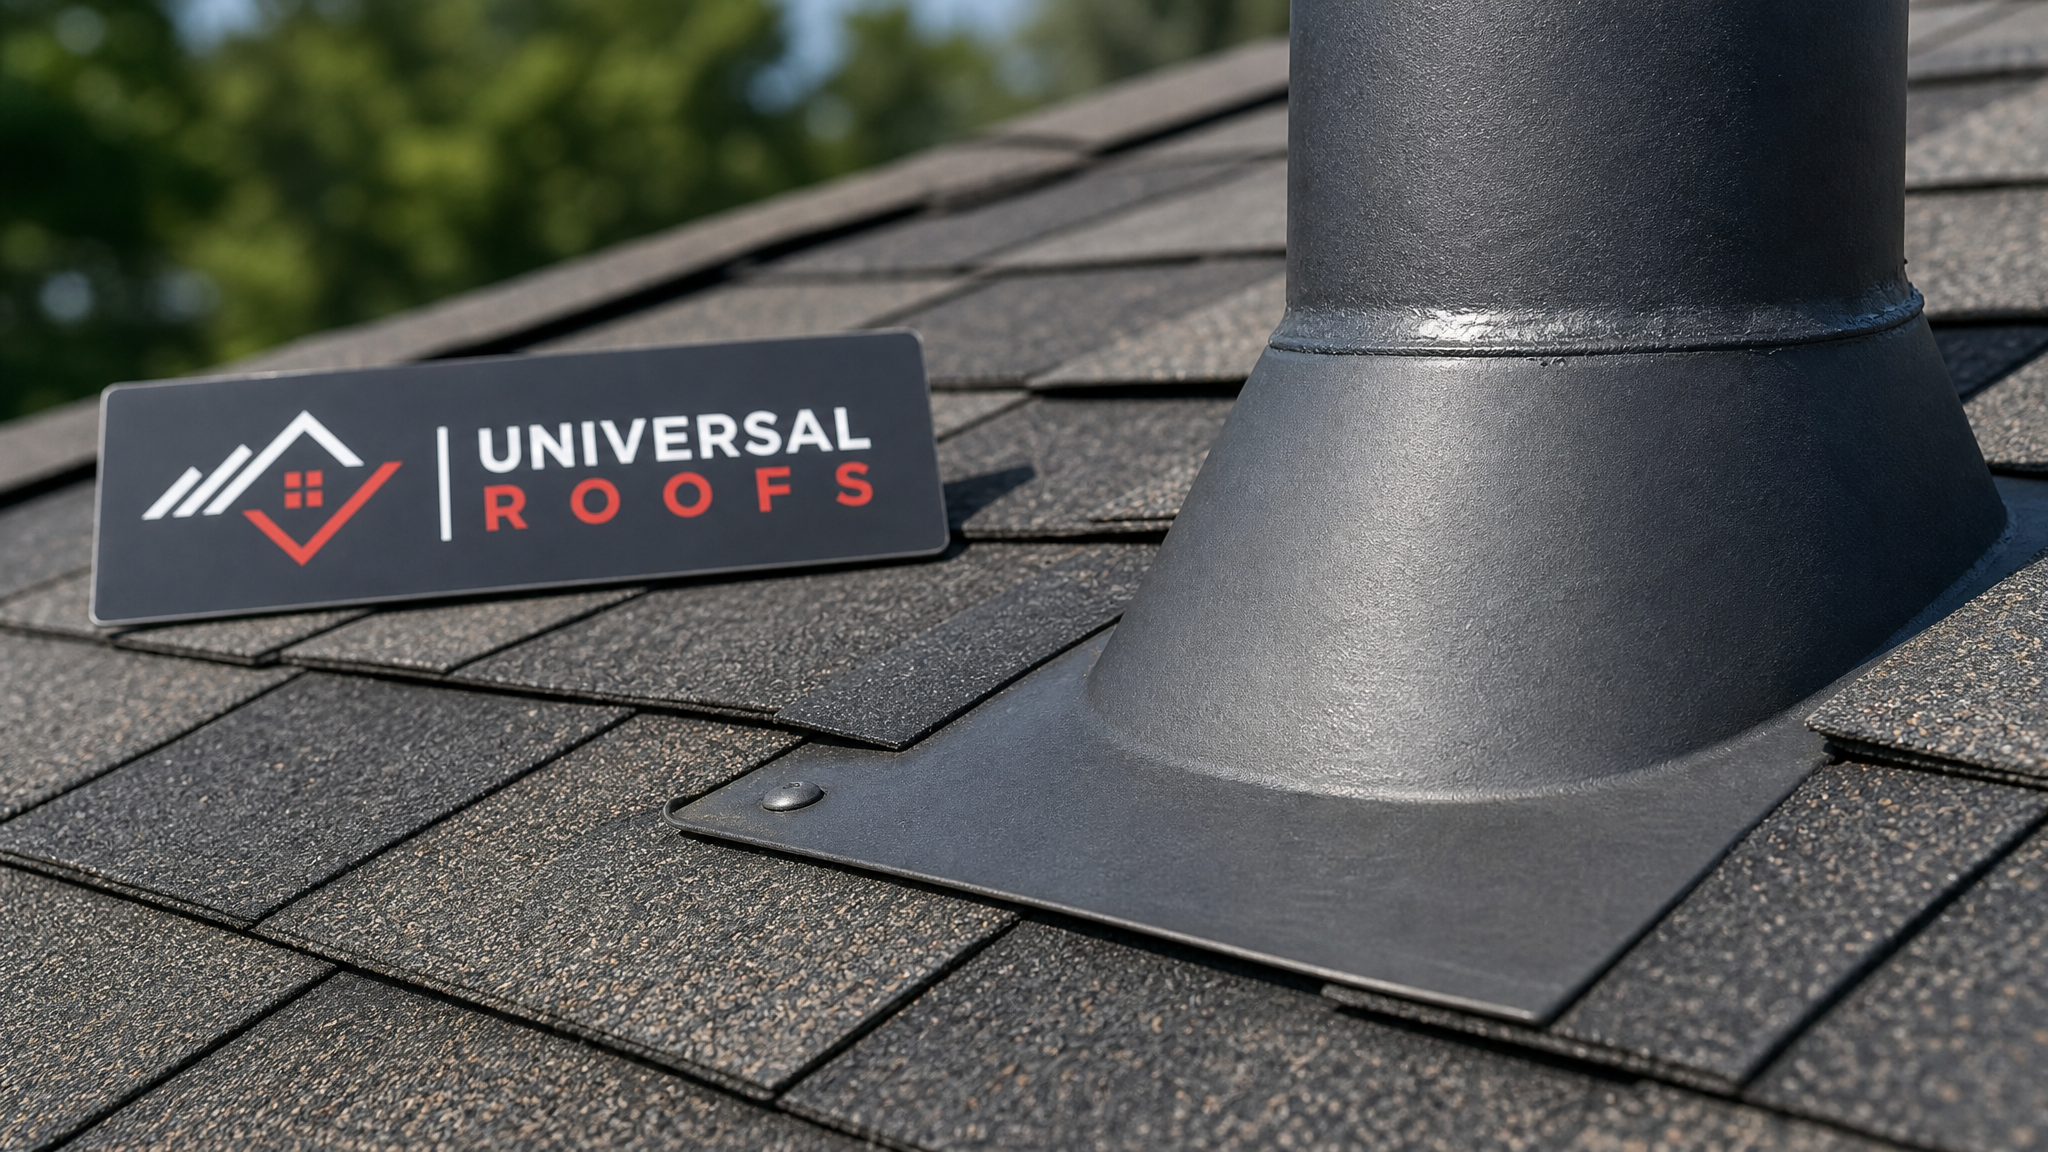
For homeowners who want to install flashing once and not think about it again, an all-metal system is the strongest option. These use a formed metal base flashing, typically galvanized steel, aluminum, or copper, combined with a storm collar that clamps and is soldered or sealed around the pipe itself, eliminating the rubber gasket entirely. Because there is no rubber to crack or shrink, metal flashing routinely outlasts the shingles around it.
The tradeoff is upfront cost and installation skill. Metal flashing needs to be custom-fitted to the pipe diameter and properly soldered or sealed at the collar, which takes more time on the roof than snapping a pre-moulded rubber boot into place. This is where hiring an experienced crew pays off, since a poorly soldered seam can be just as prone to leaking as a cracked rubber boot.
3. Silicone or EPDM Composite Boot Flashing
This newer generation of flashing splits the difference. The base is still metal, but the collar is made from silicone or EPDM rubber compounds engineered specifically to resist UV breakdown and temperature cycling far better than standard neoprene. Silicone boots in particular can flex through a much wider temperature range without cracking, which makes them a strong fit for Toronto winters.
For most GTA homeowners replacing an aging vent flashing today, this is often the sweet spot: meaningfully better lifespan than standard neoprene, without the labour cost of a fully custom metal storm collar system.
Installation: How Vent Fan Flashing Should Be Woven Into Your Roof
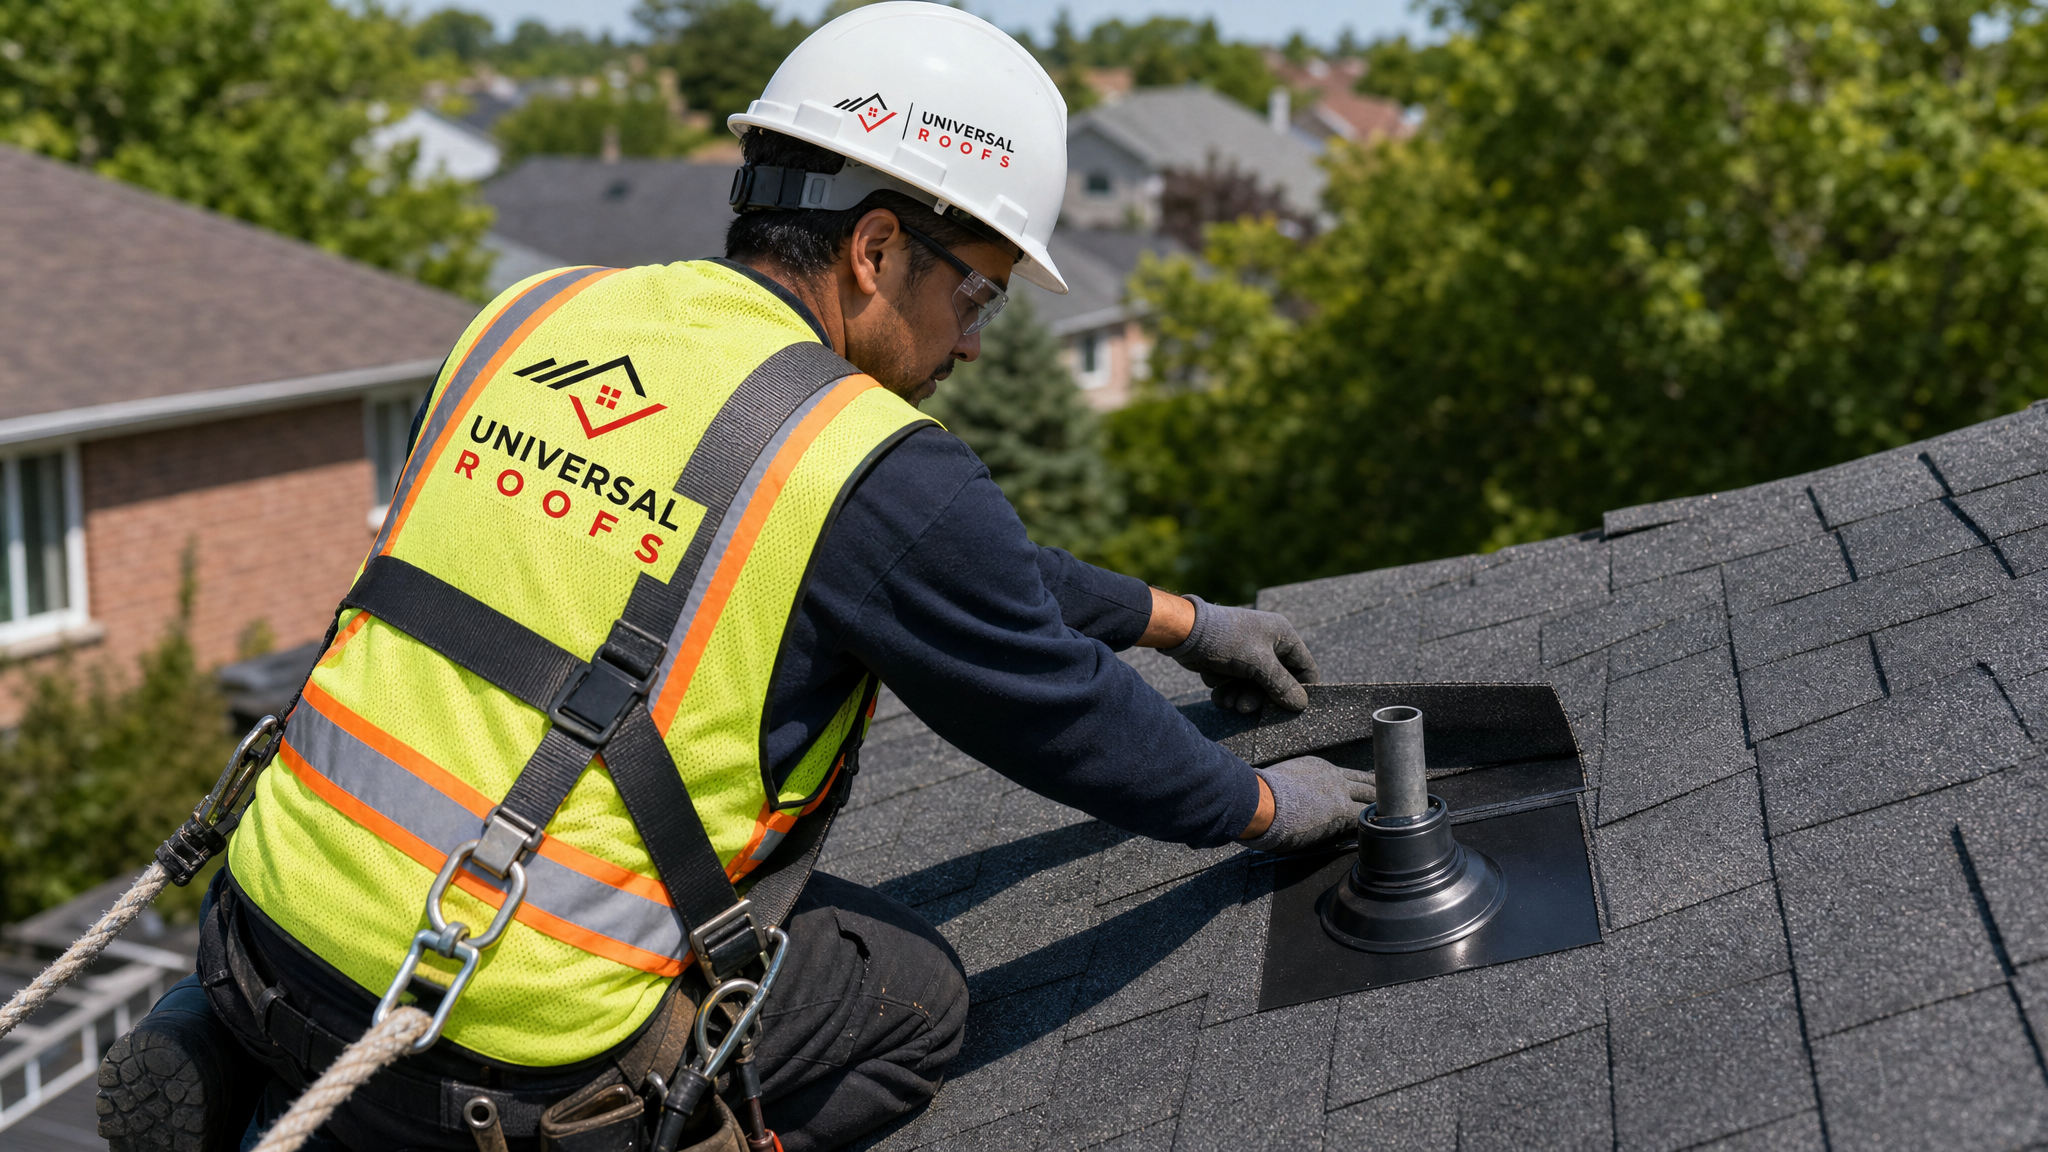
The flashing material only matters if it is installed correctly, and this is where we see the most costly mistakes. Flashing is not simply placed on top of the shingles and caulked around the edges. It needs to be woven into the shingle courses in layers, so that water naturally sheds over each layer the way it flows over roof shingles generally.
The correct sequence starts with shingles below the pipe penetration installed as normal. The flashing base plate then sits directly on the roof deck or underlayment, with its lower edge overlapping the top of the shingle course below. The shingle courses above the flashing are then installed so their lower edges overlap the top of the flashing plate, essentially sandwiching the top of the flashing under the shingles above it while leaving the bottom of the flashing exposed over the shingles below.
Fasteners should only ever go through the flashing in areas that will be covered by the shingles above, never through the exposed face where they would create a direct path for water. Caulking or roofing cement should be used sparingly as a supplemental seal, not as the primary waterproofing method. A flashing repair that relies mostly on caulk is a sign of a rushed or improper installation, and it will fail faster than a properly woven flashing that uses little to no sealant at all.
Signs Your Existing Vent Flashing Has Failed
Because vent fan flashing sits low on the roof and is often partially hidden by the vent cap or nearby shingles, most homeowners do not spot a failing flashing boot from the ground. Watch for these warning signs instead, both on the roof and inside the home.
- A brown or yellow ring-shaped stain on the ceiling directly below where the vent fan pipe passes through the attic
- Visible cracking, splitting, or a chalky texture on the rubber collar around the vent pipe when viewed from the roof or from inside the attic
- Daylight visible around the pipe when looking up at the underside of the roof deck from inside the attic
- Soft or discoloured plywood roof decking around the penetration
- A musty smell in the bathroom or upper floor that persists even after running the fan
- Granule loss or lifted shingles in the immediate area surrounding the flashing
If you notice any of these signs, it is worth having a professional inspect the area promptly. A vent flashing repair caught early is a straightforward, affordable fix. Left alone through another winter, it can turn into roof repair work involving rotted decking, damaged insulation, and interior drywall repairs that cost far more than the original flashing ever would have.
Cost Breakdown: What to Expect for a Vent Flashing Repair or Replacement
Pricing for vent flashing work in the GTA depends on roof pitch, accessibility, the flashing material chosen, and whether any shingle or decking damage needs to be addressed at the same time. The table below reflects typical ranges we see across Toronto and the surrounding regions for a single vent fan penetration.
| Service | Typical Price Range | Time on Site | Notes |
|---|---|---|---|
| Rubber boot flashing replacement (like-for-like) | $175-$300 | 1-2 hours | Fastest option if decking is sound |
| Upgrade to silicone/EPDM composite boot | $250-$400 | 1-2 hours | Recommended upgrade at time of replacement |
| Custom metal storm collar installation | $400-$650 | 2-4 hours | Best long-term option, especially on steep or metal roofs |
| Flashing replacement with minor deck repair | $600-$1,200 | Half day | Required when water has softened surrounding plywood |
| Flashing replacement with interior ceiling repair | $1,200-$2,500+ | 1-2 days total | Includes drywall, insulation, and paint restoration |
These figures are general guidance rather than a fixed quote, since every roof is a little different. The best way to get an accurate number for your specific situation is to request a free inspection, particularly if you are not sure whether the issue is limited to the flashing or has already reached the decking underneath.
DIY Vent Flashing Repair vs. Calling a Professional
A straightforward rubber boot swap on a low-pitch, easily accessible roof is technically within reach for a confident, safety-conscious homeowner with the right tools. That said, there are several reasons most people are better served hiring a roofer for this job, even though it looks simple from the ground.
| Factor | DIY Approach | Professional Approach |
|---|---|---|
| Shingle removal and re-weaving | Often skipped or done incorrectly, leaving gaps | Properly lifts and re-weaves shingle courses around new flashing |
| Matching flashing size to pipe diameter | Frequently mismatched, leading to gaps or over-tight seals that crack rubber early | Correct sizing selected from a range of stocked flashing types |
| Fall protection and roof access | Rarely used; significant injury risk on sloped or wet roofs | Harness, rope, and proper roof access equipment used on every job |
| Warranty on materials and labour | None | Workmanship backed by warranty |
| Detection of hidden decking damage | Easy to miss without pulling back surrounding shingles | Decking inspected and addressed as part of the same visit |
If you do decide to attempt a rubber boot swap yourself, only do so on a dry day, use proper roof anchors, and never work alone. But for anything beyond a simple like-for-like rubber boot swap, especially upgrading to a metal or composite flashing system or dealing with any sign of decking damage, it is worth having a professional handle the roof repair so the work is done to code and backed by a warranty.
Choosing the Right Flashing Based on Your Roof Type
Not every GTA roof calls for the same flashing solution. The right pick depends heavily on your roofing material, pitch, and how the vent fan duct itself is routed through the attic.
Standard asphalt shingle roofs, which make up the large majority of homes across Toronto, Peel Region, and York Region, work well with either a quality neoprene boot or, ideally, a silicone/EPDM composite boot given our climate. The shingle-weaving method described earlier applies directly to this roof type.
Flat roofing systems require a different flashing approach entirely. Because there are no overlapping shingle courses to weave the flashing into, flat roof vent penetrations rely on a properly sealed pipe boot set into the membrane itself, often with a mechanically fastened clamping ring and compatible sealant designed for that specific membrane type, whether it is modified bitumen, TPO, or EPDM.
Metal roofing calls for all-metal storm collar flashing almost exclusively, since a rubber boot flashing against a standing seam or metal panel roof creates a mismatch in expansion and contraction rates that leads to premature seal failure. Homes in Halton Region and Durham Region with metal roofing should have vent penetrations flashed with the same metal, or a compatible metal, to avoid galvanic corrosion between dissimilar metals over time.
Vent Fan Flashing and Your Attic Ventilation System
It is worth mentioning that a leaking vent flashing is sometimes mistaken for a ventilation problem, and the reverse is also true. Poor attic ventilation can cause condensation to form on the underside of roof decking near a vent duct, and that moisture can mimic the appearance of a flashing leak even when the flashing itself is intact.
Before assuming a stain means the flashing has failed, it is worth having both the flashing and the surrounding attic ventilation checked together. A duct that terminates too close to a ridge vent, or a bathroom fan that is not properly insulated where it passes through cold attic space, can create its own condensation issues that look identical to a roof leak from the outside. Addressing both the flashing and the ventilation at the same time avoids a callback for what looks like the same problem recurring.
How Often Should Vent Flashing Be Inspected?
We recommend having all roof penetrations, including vent fan flashing, chimney flashing, and any skylights, inspected at least once a year, ideally in late spring after the winter freeze-thaw cycle has finished but before the intense summer sun has had a chance to further degrade any already-weakened rubber components. A second check in the fall, before winter sets in, is a good habit for homes with older flashing or a history of leaks.
Annual inspections are inexpensive relative to the cost of interior water damage, and they let a roofer catch a cracking rubber boot or a lifting shingle edge months or years before it actually starts leaking. This is especially worthwhile heading into another Toronto winter, when repairs become slower, more expensive, and sometimes impossible until the roof is clear of snow and ice.
What is the best roof flashing for vent fans in Toronto’s climate?
How long does roof flashing for vent fans typically last?
Can I replace vent fan flashing myself without hiring a roofer?
How do I know if my roof flashing for vent fans has failed?
Does the type of roof affect which vent fan flashing I need?
How much does it cost to repair or replace roof flashing for vent fans?
Need Help With 3 Best Roof Flashing?
Getting roof flashing for vent fans right the first time protects everything below it, from your attic insulation to your ceiling drywall, and it is one of the most cost-effective repairs a GTA homeowner can make. The team at Universal Roofs has been diagnosing and fixing flashing failures across the region since 2005, and we can help you choose the right flashing type for your specific roof and budget.
Call us today at (416) 732-2421 or request a free inspection to get started.
Universal Roofs proudly serves Toronto, Mississauga, Brampton, Vaughan, Markham, Oakville and the GTA since 2005.