
Summer storms roll through the Greater Toronto Area fast, and hail is one of the most underestimated threats to a residential roof. A ten-minute hailstorm can bruise shingles, dent flashing, and crack skylight glazing without leaving an obvious hole, which is exactly why so many homeowners miss the warning signs until a leak shows up months later. If you are searching for the best tips for roof hail damage repair, the goal is simple: catch the damage early, document it properly, and repair it with materials suited to Toronto’s freeze-thaw climate.
At Universal Roofs, we have been repairing hail-damaged roofs across the GTA since 2005, and we see the same pattern every storm season. Homeowners either wait too long to inspect their roof (letting minor bruising turn into leaks) or they rush a claim without proper documentation and get under-compensated by their insurer. This guide walks through exactly what to look for, how to prioritize repairs, what it costs, and how to work with your insurance company so you get a roof that actually holds up through the next winter.
Whether your roof is asphalt shingle, metal, or flat membrane, the fundamentals of assessing and repairing hail damage are similar: inspect systematically, photograph everything, understand the difference between cosmetic and functional damage, and choose a contractor who repairs to code rather than just patching the visible marks.
How to Spot Roof Hail Damage Before It Becomes a Leak
The single most important of all the tips for roof hail damage repair is simply knowing where to look. Hail damage rarely announces itself with a dramatic hole. Instead, it shows up as small, easy-to-miss signs that compound over time as rain and freeze-thaw cycles work their way into the weakened spots.
Start at ground level with binoculars before climbing anywhere. Look for:
- Dark blotches or bruises on asphalt shingles where granules have been knocked loose
- Circular or random dents on metal flashing, vents, and eavestroughs
- Cracked or chipped skylight glazing and frames
- Granules collecting in downspouts or at the base of downpipes after a storm
- Dented or split roof vents, especially plastic turbine and pipe vents
- Soft spots when walking the roof (a sign the underlying decking has absorbed moisture)
If you can safely access your attic, check for new water stains on the underside of the roof deck or on insulation, particularly around chimneys, skylights, and vent penetrations. A well-maintained attic is one of the best early-warning systems for a compromised roof, since leaks often show up there before they are visible from inside the living space.
Because bruised shingles can look almost normal from the ground, we recommend a professional roof repair inspection within a week or two of any significant hailstorm, even if nothing looks obviously wrong. Catching bruising before it turns into a granule-loss crack saves thousands of dollars down the road.
Cosmetic vs. Functional Hail Damage: Why the Distinction Matters
Not all hail damage requires the same response, and understanding the difference between cosmetic and functional damage is critical for both your wallet and your insurance claim.
Cosmetic damage affects the appearance of the roofing material without compromising its ability to shed water. A dented metal vent cap or a slightly scuffed shingle that hasn’t lost its protective granules typically falls into this category. Some insurers will not cover purely cosmetic damage on certain policies, particularly on metal roofing, so it is worth reading your policy’s wording carefully.
Functional damage compromises the roofing system’s performance. This includes granule loss exposing the asphalt mat, fractured fibreglass matting, cracked shingle tabs, split flashing seals, or punctures. Functional damage will lead to leaks and accelerated aging even if it isn’t visibly dramatic, and it should always be repaired regardless of insurance coverage.
| Damage Type | Typical Appearance | Functional Risk | Repair Priority |
|---|---|---|---|
| Granule loss / bruising | Dark, soft-feeling blotches on shingles | High over time | Repair within weeks |
| Cracked shingle tabs | Visible splits or torn edges | High | Repair immediately |
| Dented flashing / vents | Circular dents, no cracking | Low-to-moderate | Monitor, repair at next service |
| Skylight glazing cracks | Spiderweb cracks in glass or acrylic | High | Repair immediately |
| Eavestrough dents | Dimples along gutter run | Low | Cosmetic, repair as budget allows |
| Membrane punctures (flat roofs) | Small tears or perforations | Very high | Repair immediately |
Step-by-Step: What to Do Immediately After a Hailstorm
The hours and days right after a hailstorm matter. Here is the sequence we recommend to every homeowner who calls us after a summer storm:
- Document from the ground first. Take photos and video of the roof, siding, eavestroughs, and any outdoor air conditioning units or fencing that show hail impact marks. Impact marks on soft metal surfaces like AC fins are a good proxy for hail size even if roof damage isn’t visible yet.
- Check for interior leaks. Inspect ceilings, attic spaces, and around skylights and chimneys for fresh water stains.
- Call your insurance provider to open a claim file, even if you are not yet sure of the extent of damage. Most policies have a window (often one year) to file a hail claim, but starting the paper trail early strengthens your position.
- Book a professional inspection rather than climbing up yourself. Hail-softened decking and wet shingles are slippery and can hide the very damage you’re trying to find.
- Get a written inspection report with photos, ideally timestamped and geotagged, from your roofing contractor to support the insurance claim.
- Avoid temporary DIY patches with tarps or sealant unless a leak is actively occurring. Anything more than emergency water intrusion prevention can complicate the insurance assessment.
Repair Methods by Roofing Material
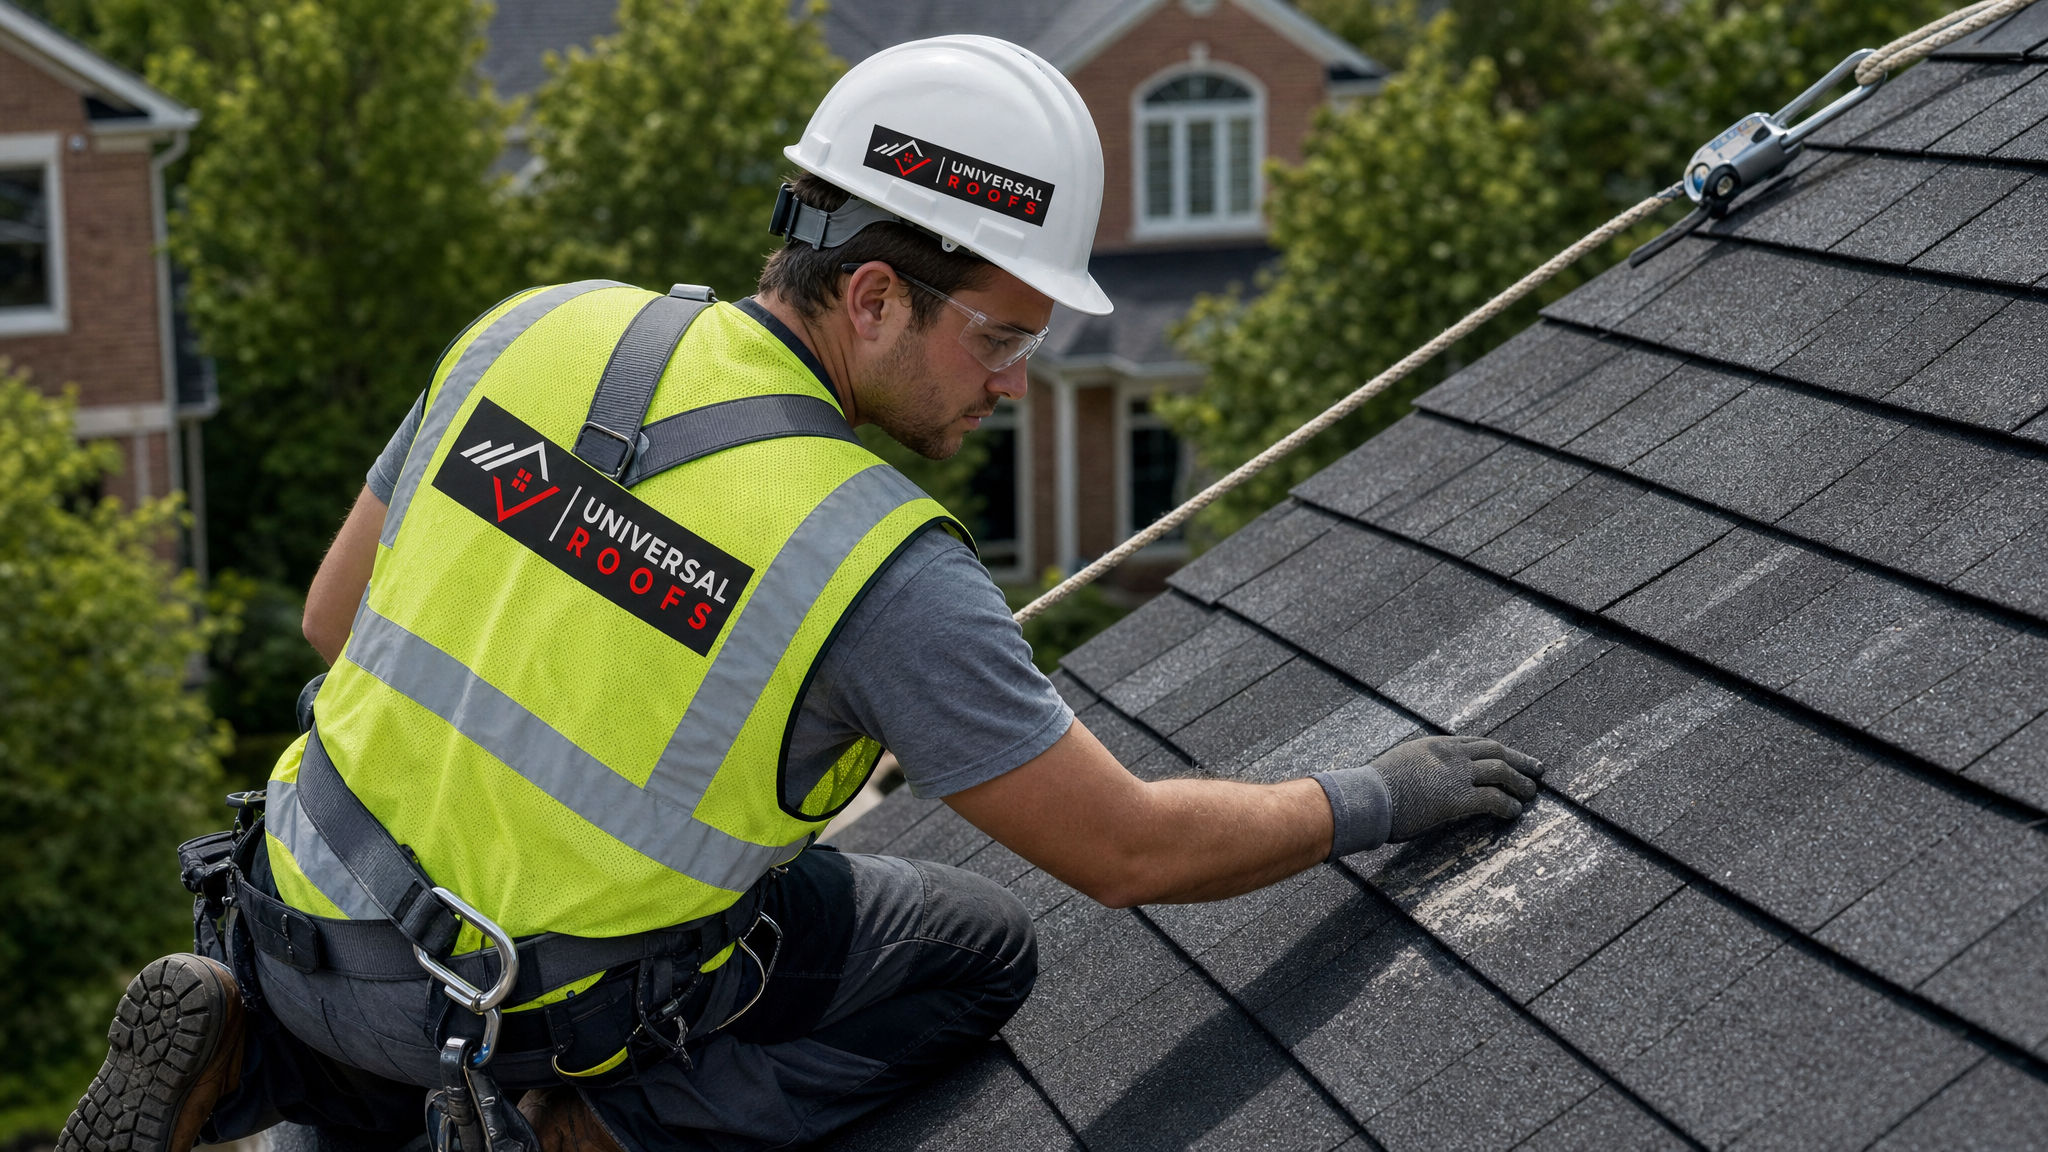
The right repair approach depends heavily on what your roof is made of. Toronto homes span everything from classic asphalt shingle to standing-seam metal, flat membrane, and increasingly, skylight-heavy designs that add their own vulnerable points.
Asphalt shingles are the most common material in the GTA and also the most forgiving to repair. Individual damaged shingles can usually be replaced without re-roofing the whole slope, provided the surrounding shingles are still sound and a colour-matched product is available. If damage is spread across more than 20-30% of a slope, a full roof replacement of that section is usually more cost-effective than patch after patch.
Metal roofing handles hail well structurally but can show cosmetic dents that some homeowners find unacceptable, especially on standing-seam panels. Dent repair ranges from panel-by-panel replacement to accepting minor dents that pose no functional risk.
Flat and low-slope membrane roofs (TPO, EPDM, modified bitumen) are vulnerable to punctures rather than bruising. A membrane puncture from hail is a functional problem from day one and should be patched or the affected membrane section replaced quickly. Our flat roofing team handles this differently than sloped-roof repairs, using heat-welded or adhesive patches rated for the specific membrane type.
Skylights are often the most expensive single hail casualty because cracked glazing usually means full unit replacement rather than a patch. If you have skylights and just went through a hailstorm, it’s worth a dedicated check via our skylight replacement service, since even hairline cracks in tempered glass or acrylic domes will worsen with Toronto’s freeze-thaw cycles.
| Roofing Material | Common Hail Damage | Typical Repair Method | Repair Timeline |
|---|---|---|---|
| Asphalt shingle | Granule loss, cracked tabs | Spot shingle replacement | 1 day |
| Standing-seam metal | Panel dents | Panel replacement or accept cosmetic dents | 1-2 days |
| Flat membrane (TPO/EPDM) | Punctures, seam separation | Heat-weld or adhesive patch | 1 day |
| Skylight glazing | Cracked glass/acrylic dome | Full unit replacement | 1 day |
| Wood shake | Splitting, splintering | Shake replacement | 1-2 days |
Understanding Roof Hail Damage Repair Costs in the GTA
Costs vary widely depending on the extent of the damage, the roofing material, and whether the work is a spot repair or a partial re-roof. As a general guide for the Toronto area in 2026:
| Repair Scope | Estimated Cost Range (CAD) | Notes |
|---|---|---|
| Minor spot shingle repair (under 10 shingles) | $350 – $800 | Includes colour-matching and disposal |
| Flashing and vent repair | $250 – $650 | Per penetration point |
| Flat roof membrane patch | $400 – $1,200 | Depends on membrane type and puncture size |
| Skylight replacement (single unit) | $1,200 – $3,500 | Varies by size and glazing type |
| Partial slope re-shingle | $1,800 – $4,500 | When damage exceeds 20-30% of a slope |
| Full roof replacement | $9,000 – $22,000+ | When damage is widespread across the whole roof |
Most homeowner insurance policies in Ontario will cover hail damage repair minus your deductible, provided the claim is filed within the policy’s timeframe and the damage is documented as storm-related rather than gradual wear. This is why a professional inspection report matters so much — insurers routinely deny or reduce claims when the only evidence is a homeowner’s own photos without an expert assessment attached.
Working With Your Insurance Adjuster: Practical Tips
Insurance claims are often where good roof hail damage repair projects go sideways. A few practices consistently lead to better outcomes:
- Have your contractor meet the adjuster on-site. Adjusters see hundreds of roofs and can miss subtle bruising that a specialist catches immediately.
- Get a detailed written scope of work before repairs begin, itemizing materials, labour, and code-required upgrades (like updated flashing or ventilation) separately from the base repair.
- Ask about matching requirements. Ontario building and insurance practice generally requires reasonably matching materials on a repaired slope — if your shingle line is discontinued, this can support a claim for a full slope replacement rather than a visibly mismatched patch.
- Keep all receipts and reports in one folder, including the original storm date, inspection date, and any temporary repair costs.
- Don’t sign a contractor’s assignment of benefits without reading it carefully — you want to retain the ability to review and approve the final invoice against what your insurer actually pays.
A reputable contractor won’t pressure you into anything before the adjuster has reviewed the damage. If a company shows up unsolicited after a storm and pushes same-day contracts, treat that as a red flag — it’s a well-known pattern in post-storm markets across Ontario.
Preventing Future Hail Damage: Upgrades Worth Considering
While no roofing material is fully hail-proof, some choices perform meaningfully better than others, and if you’re already replacing storm-damaged sections, it’s worth evaluating upgrades at the same time.
Impact-resistant shingles (rated Class 4 under UL 2218) use reinforced asphalt mats that resist cracking and granule loss far better than standard three-tab or architectural shingles. Some Ontario insurers offer a modest premium discount for Class 4 shingle installations, which can offset the incremental material cost over a few years.
Metal roofing with a factory-baked finish holds up structurally against hail even when it shows cosmetic dents, and is a strong long-term option for homeowners tired of repeated shingle repairs.
Impact-rated skylight glazing is worth specifying if you’re replacing a cracked unit — laminated glass and polycarbonate options resist cracking far better than standard tempered glass domes. Our skylights team can walk through the glazing options available for your specific opening size.
Regular gutter and flashing maintenance also plays a role indirectly — a roof already compromised by clogged eavestroughs or failing flashing seals is more vulnerable to hail finishing off a weak point that would otherwise have held.
DIY vs. Professional Repair: What Homeowners Should Not Attempt Themselves
It’s tempting to save money by climbing up and swapping a few shingles yourself, but hail damage repair has a few traps that make professional inspection worth the cost even for otherwise handy homeowners.
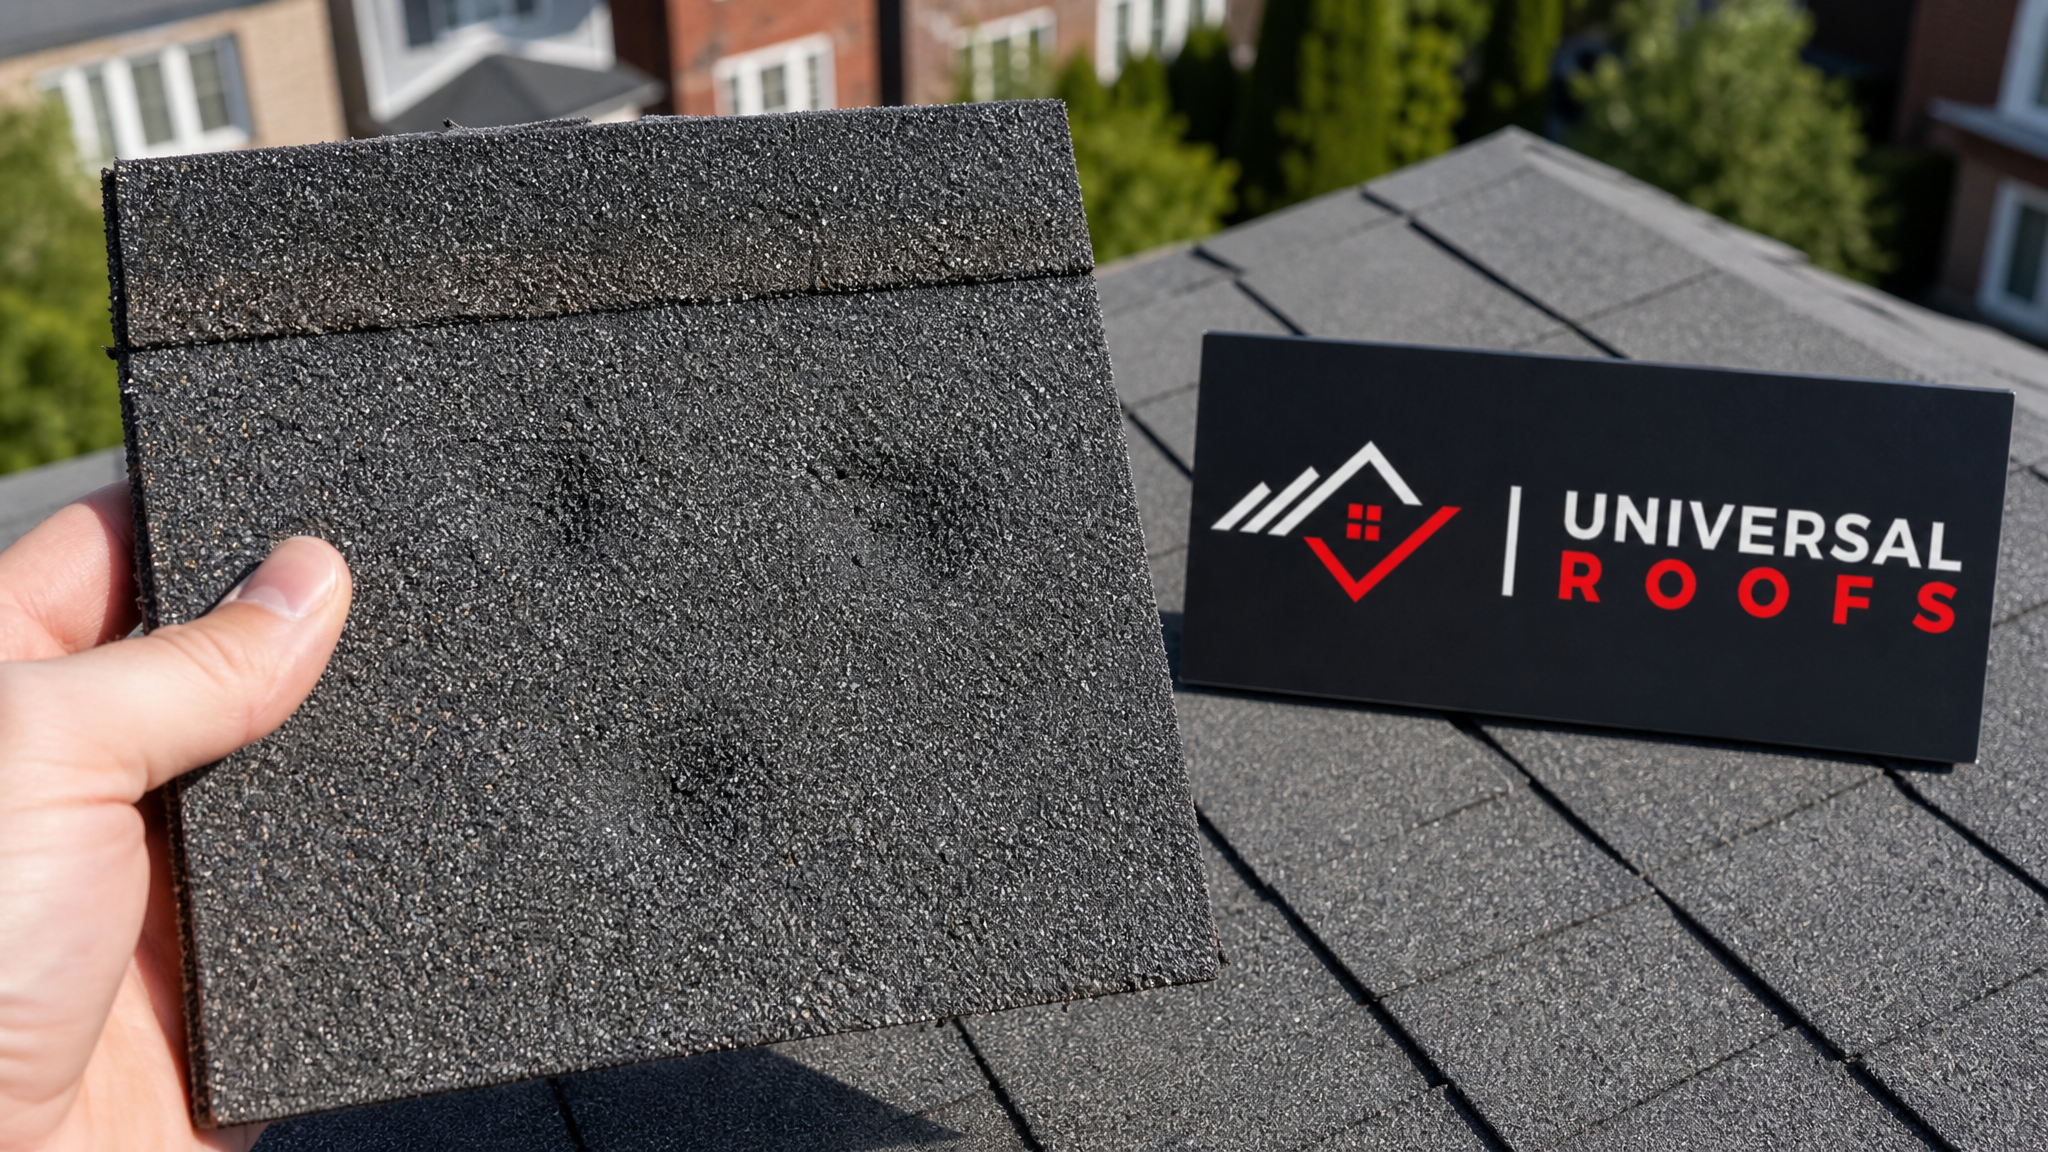
First, hail-bruised shingles are structurally weakened even when they look intact, and walking on them can cause additional cracking that wasn’t there before. Second, matching granule colour and shingle profile to an existing roof that has weathered for several years is harder than it looks — a mismatched patch can actually reduce resale value more than the original hail damage did. Third, and most importantly, a DIY repair without a professional inspection report gives your insurer no independent documentation to approve a claim, which can leave you paying out of pocket for damage that should have been covered.
Where DIY is appropriate: clearing granules from gutters and downspouts, photographing visible damage from the ground, and covering an active interior leak with a bucket or tarp until a professional arrives. Anything involving walking the roof deck, replacing shingles, or assessing flashing should go to a licensed contractor.
Regional Considerations Across the GTA
Hail patterns and storm severity vary somewhat across the Greater Toronto Area, and we tailor our inspection approach by region. In Toronto proper, older housing stock often means older shingle profiles that are harder to colour-match, which pushes more repairs toward partial re-roofing. In Peel Region and York Region, newer subdivisions tend to have more uniform, currently-available shingle lines, making spot repairs more straightforward. Halton Region and Durham Region homes closer to the lake can see slightly different storm exposure, and we factor that into how aggressively we recommend impact-resistant upgrades.
Regardless of which part of the GTA you’re in, the underlying advice holds: inspect promptly, document thoroughly, repair functional damage without delay, and use a contractor who understands both the technical repair and the insurance process. You can read about how past clients experienced this process on our reviews page, and check our FAQ page for answers to more general roofing questions.
Choosing the Right Contractor for Hail Damage Repair
Not every roofing company is equally equipped to handle hail damage repair well. Look for a contractor who:
- Provides a written, photographed inspection report — not just a verbal estimate
- Is willing to meet your insurance adjuster on-site
- Can source colour-matched materials or clearly explain when matching isn’t possible
- Carries proper licence and insurance, and can provide proof on request
- Has a physical, verifiable local presence rather than an out-of-town storm-chasing crew
- Offers a workmanship warranty separate from the manufacturer’s material warranty
Universal Roofs has served the GTA since 2005, and our crews are trained specifically on the type-based matching problem that hail repair creates: getting new shingles, flashing, or skylight units to blend seamlessly into an existing roof rather than leaving an obvious patch. You can read more about our background and licensing on our about page.
What are the best tips for roof hail damage repair after a storm?
How can I tell if my roof has hail damage?
Does home insurance cover roof hail damage repair in Ontario?
Can I repair a few hail-damaged shingles myself?
How much does roof hail damage repair cost in the GTA?
What roofing upgrades help prevent future hail damage?
Need Help With What Are the Best?
If a recent hailstorm has left you unsure whether your roof needs attention, don’t wait for a leak to confirm it. Universal Roofs has been inspecting and repairing hail-damaged roofs across the GTA since 2005, with the documentation and insurance experience to help your claim go smoothly from start to finish.
Call us today at (416) 732-2421 or request a free inspection to get started.
Universal Roofs proudly serves Toronto, Mississauga, Brampton, Vaughan, Markham, Oakville and the GTA since 2005.