
Every winter, GTA homeowners watch their roofs disappear under a metre or more of accumulated snow, and every winter a predictable number of them end up on a ladder with the wrong equipment, learning the hard way why roof snow removal tools for safety matter as much as the removal itself. Toronto’s freeze-thaw cycles, lake-effect squalls, and sudden January thaws create a uniquely punishing combination for roofs: heavy, wet snow loads followed by rapid refreezing that forms ice dams along the eaves. Left unaddressed, that trapped water backs up under shingles and finds its way into attics, insulation, and ceilings.
The good news is that most snow-related roof damage is preventable with the right approach and the right gear. You do not need to climb onto a snow-covered roof to protect your home — in fact, doing so is one of the most common ways homeowners get hurt or fall through weakened decking. What you need is a properly assembled toolkit that lets you clear snow load and break up ice dams from the ground or from a secure ladder position, combined with the judgment to know when a job has moved beyond DIY territory.
This guide walks through the nine tools our crews consider essential for safe winter roof maintenance, how each one is used correctly, what typically goes wrong when homeowners skip them, and the warning signs that mean it is time to call in a licensed roofing contractor instead of reaching for another tool. Whether you are outfitting a toolshed for the first time or reviewing your approach after a rough winter, this is the reference to bookmark before the first snowfall.
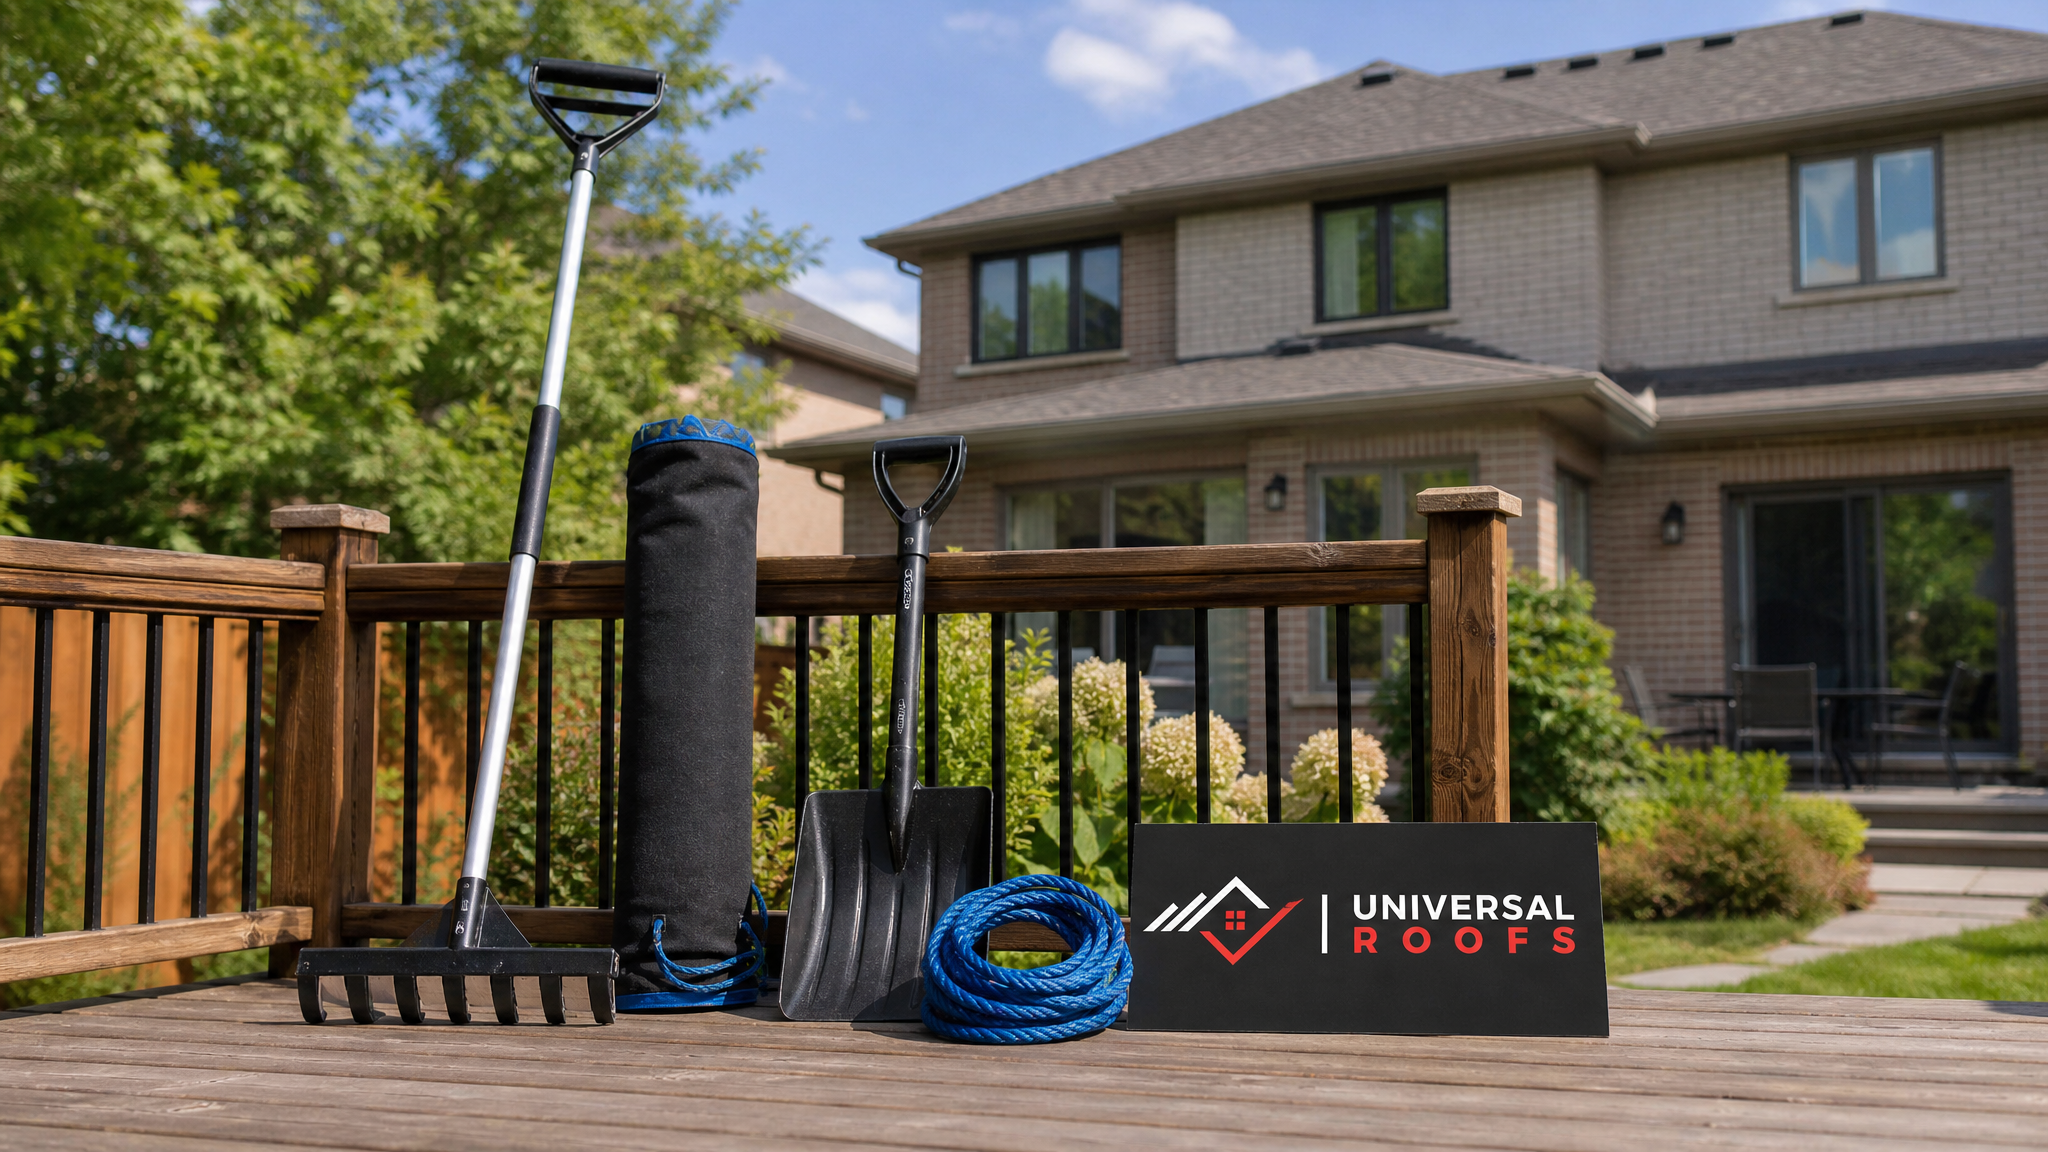
Why Roof Snow Removal Tools for Safety Matter in the GTA
Toronto and the surrounding GTA sit in a climate zone that regularly delivers 100 to 150 centimetres of snowfall per season, punctuated by mid-winter thaws that can push temperatures above freezing for a day or two before plunging back down. That freeze-thaw rhythm is exactly what creates ice dams: snow near the ridge melts slightly from attic heat loss, runs down the roof deck, and refreezes solid the moment it reaches the colder overhang above the eavestrough. Over successive cycles, that ice dam grows thick enough to back water up under the shingle courses.
A typical asphalt shingle roof is engineered to shed water flowing downhill, not to hold standing water against an ice barrier. Once water is forced backward under the shingles, it finds nail holes, seams, and flashing edges, and it does not stop until it hits something absorbent — usually attic insulation or a ceiling. By the time a homeowner notices a water stain indoors, the damage has often been progressing for weeks.
Weight is the second major concern. Fresh, dry snow weighs relatively little, but wet, compacted, or rain-soaked snow can weigh three to five times as much per cubic metre. Most residential roof trusses in Ontario are built to handle typical snow loads under the Ontario Building Code, but older homes, additions, and roofs with existing structural wear can be pushed closer to their limits after back-to-back storms. Combine excess weight with an existing roof repair need — a soft spot, a compromised truss, or aging decking — and the risk compounds quickly.
Using the correct roof snow removal tools for safety is not about convenience. It is about clearing snow load and ice buildup without ever standing on the roof itself, without damaging shingles with metal edges or excessive force, and without becoming a fall risk on an icy ladder. The nine tools below cover the full range of what a GTA homeowner needs for routine winter maintenance, plus the point at which the job should be handed to a professional.
1. The Roof Rake: Your First and Most Important Tool
A roof rake is a flat, wide blade — usually plastic or lightweight aluminum — mounted on a long, often telescoping pole. It is designed to be used entirely from the ground, pulling snow down off the lower few metres of a sloped roof without the user ever leaving solid footing. For most bungalows, one-and-a-half storey homes, and the lower roof planes of two-storey houses, a roof rake with a 6 to 8 metre telescoping handle can reach the eave line and several metres upslope.
Technique matters here. The blade should be angled to slide along the shingle surface, not dug in, and snow should be pulled straight down rather than dragged sideways, which can lift shingle tabs or scuff granules loose. Homeowners should always stand well clear of the drop zone — falling snow from a second-storey roof carries real force — and never rake directly above a doorway, walkway, or parked vehicle.
A roof rake will not remove every centimetre of snow, and it is not meant to. The goal is to relieve weight along the eaves and reduce the insulating snow layer that feeds ice dam formation, not to strip the roof bare. Roofs with a steep pitch, multiple storeys, or complex rooflines with valleys and dormers are often beyond safe rake range, which is where the remaining tools and professional judgment come in.
| Roof Type | Roof Rake Effectiveness | Typical Reach Needed | Homeowner Suitability |
|---|---|---|---|
| Single-storey bungalow | Excellent — full roof reachable | 4-6 metres | Ideal for DIY |
| 1.5 storey with low eaves | Very good on lower slopes | 5-7 metres | Good for DIY |
| Two-storey standard roof | Good on eaves only, upper roof unreachable | 7-9 metres | DIY for eaves, professional for peak |
| Steep pitch (8/12 or greater) | Limited — snow is dense and hard to pull | Varies | Caution advised, consider professional |
| Complex roofline with valleys/dormers | Poor — rake cannot navigate angles | Not reliably reachable | Professional recommended |
2. Ice Melt Socks (Calcium Chloride) for Ice Dam Prevention
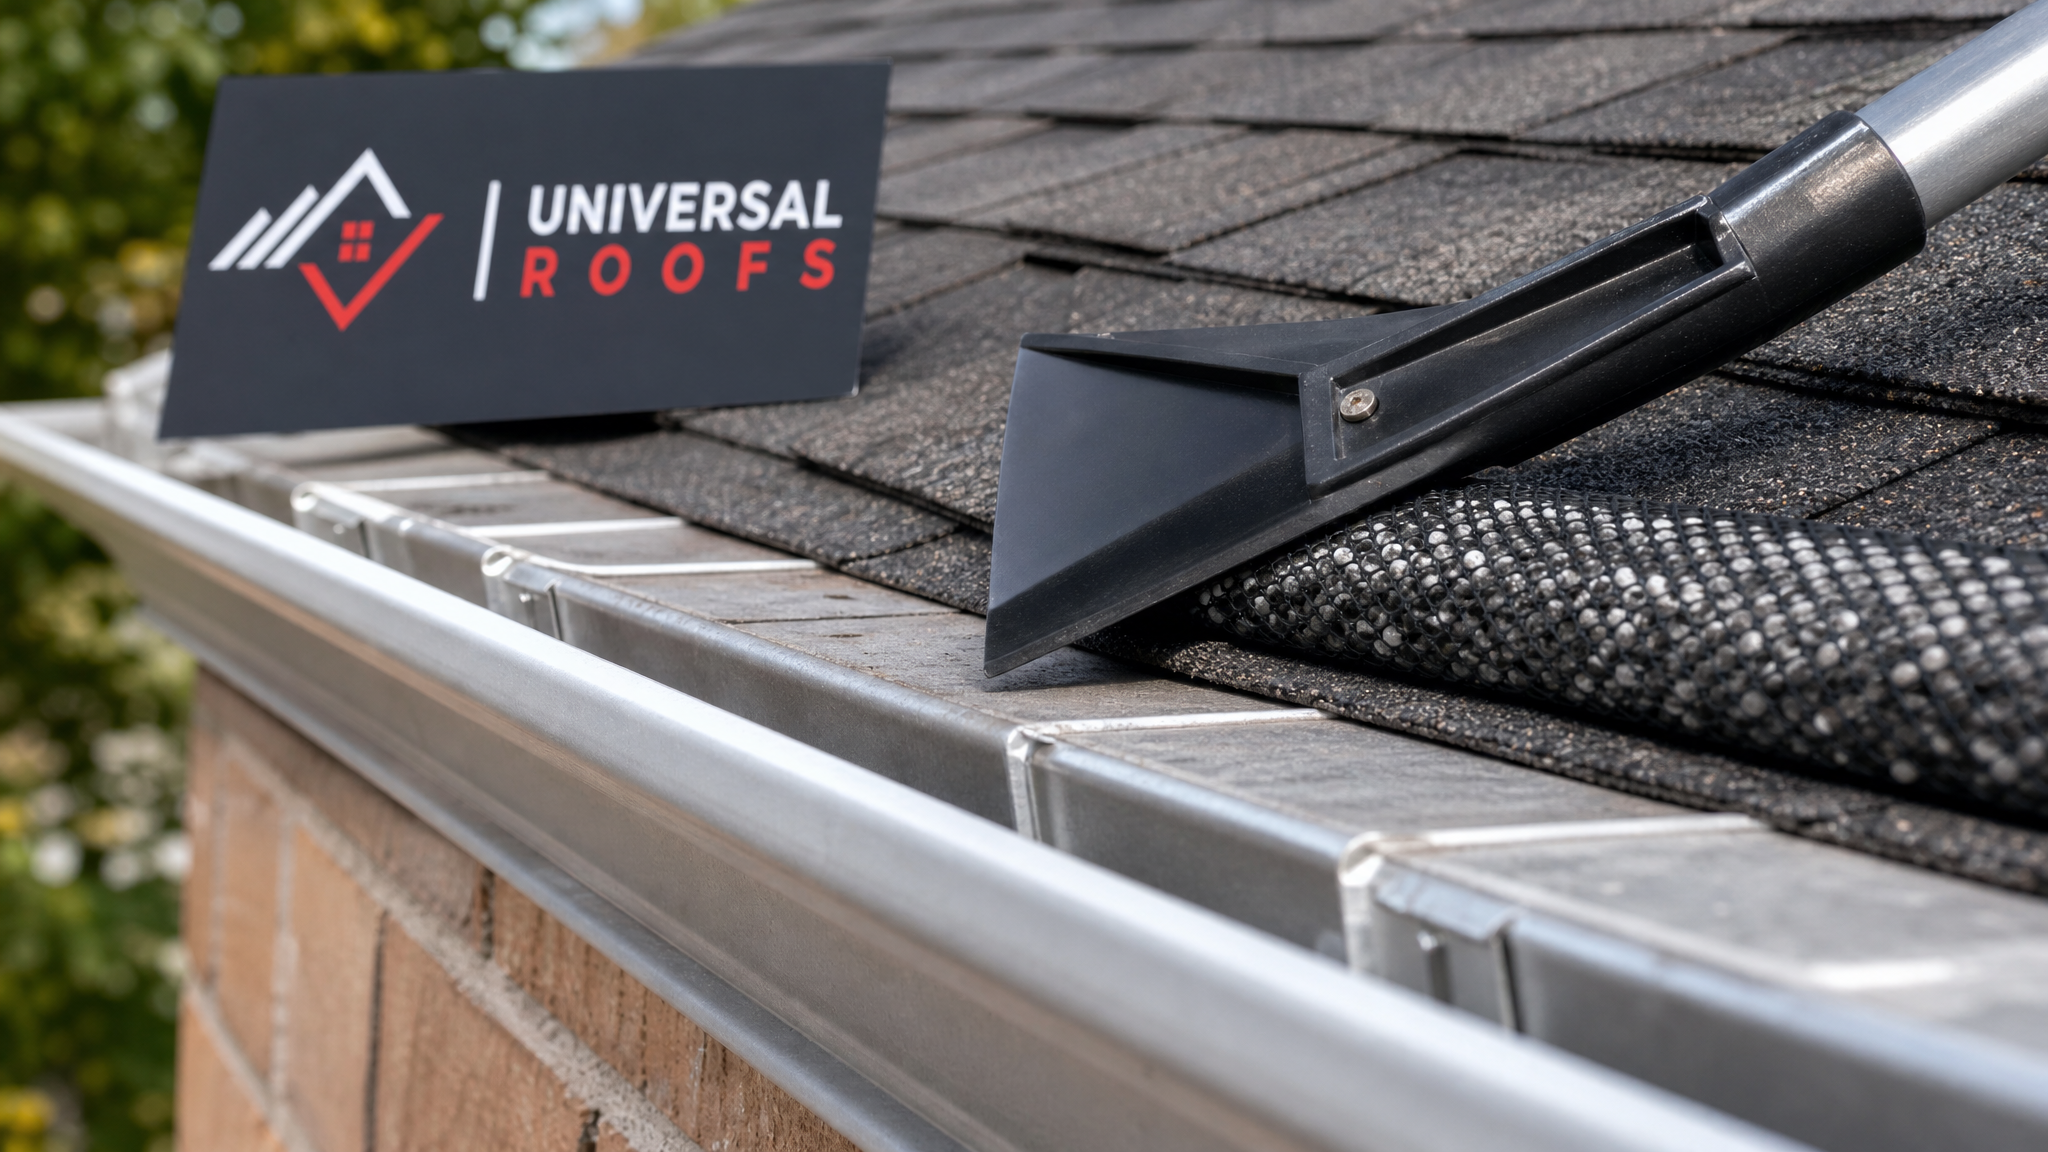
An ice melt sock is a long, mesh or nylon tube filled with calcium chloride pellets — never rock salt, which corrodes metal flashing, eavestroughs, and damages shingle granules over time. The sock is laid vertically across an existing ice dam, perpendicular to the eave, creating a melted channel that lets trapped water drain out from behind the ice rather than backing up under the shingles.
This is a targeted fix, not a whole-roof solution. It is most effective when applied early, as soon as an ice dam starts to form, rather than after weeks of buildup. Homeowners typically toss the sock into place using a roof rake handle or a stable ladder position, laying two or three socks spaced along a problem eave. Calcium chloride works down to much lower temperatures than rock salt, which makes it suitable for Ontario’s deep winter cold snaps, and it is significantly gentler on asphalt shingles, aluminum flashing, and painted fascia.
Ice melt socks buy time and reduce active leaking, but they do not address the root cause of ice dams, which is almost always heat loss from an under-insulated or poorly ventilated attic. Homeowners who find themselves refilling ice melt socks every season should have their attic insulation and ventilation assessed, since fixing the heat loss problem is the only permanent solution.
3. Roof Snow Removal Shovels (Rubber-Edged, Ground-Use Only)
Roof snow shovels look similar to standard driveway shovels but are built with rubber or plastic blade edges specifically to avoid gouging shingles. Critically, the roof snow removal tools for safety in this category are meant to be used while standing on the ground or on a very low, stable single-storey roof edge — never while standing on a sloped or elevated surface. Metal-edged snow shovels should never be used on a roof under any circumstance, since even a light metal edge can tear shingle granules or puncture membrane roofing in a single pass.
For homeowners with a walk-out basement or a low, nearly flat porch roof section, a rubber-edged shovel used carefully from a secure stepladder can clear light accumulation. For anything beyond that reach, this tool should be paired with a roof rake rather than used as a climbing tool. If a section of roof genuinely requires foot traffic to clear — which is rare for a well-designed residential roof — that is a signal to call a professional rather than improvise.
4. Roof Snow Removal Tools for Safety: Telescoping Ice Picks and Chippers
Ice picks and chippers designed for roof use have long fibreglass or aluminum handles paired with a narrow, blunt-edged chipping head, allowing a homeowner to break up thin ice buildup along an eave from the ground. These tools require restraint. Aggressive chipping directly against shingles or flashing can crack shingle tabs, dent aluminum eavestroughs, or drive the tool through a membrane roof section.
The safest use case for an ice pick is breaking up loose, already-cracking ice that has separated slightly from the roof surface, not attacking a solid, adhered ice dam. Solid ice dams respond far better to calcium chloride socks working gradually than to physical force. Chippers are best reserved for clearing ice that has built up on eavestroughs and downspouts themselves — areas built from more durable materials than a shingle roof surface — rather than the shingle field.
5. Roof Rake with Wheels or Rollers to Protect Shingles
A meaningful upgrade over a basic flat-blade rake is a model fitted with small rollers or a wheeled runner along the leading edge. These reduce direct blade-to-shingle contact and let the tool glide rather than scrape, which matters most on older roofs where shingle granules have already started to loosen from age and UV exposure. On a newer roof, a standard rake blade poses little risk when used correctly; on a roof approaching the end of its service life, a roller-equipped rake significantly reduces the chance of accelerating wear.
This is a good moment to note that roof age changes the calculus for every tool on this list. A 20-year-old shingle roof nearing replacement can tolerate far less abrasion and impact than a roof installed five years ago. Homeowners unsure of their roof’s remaining service life should have it inspected before winter — Universal Roofs offers assessments that flag whether a roof is a strong candidate for continued snow-season maintenance or whether roof replacement should be planned before the wear gets worse.
6. Fall Protection: Harnesses, Ropes, and Stabilizers for Ladder Work
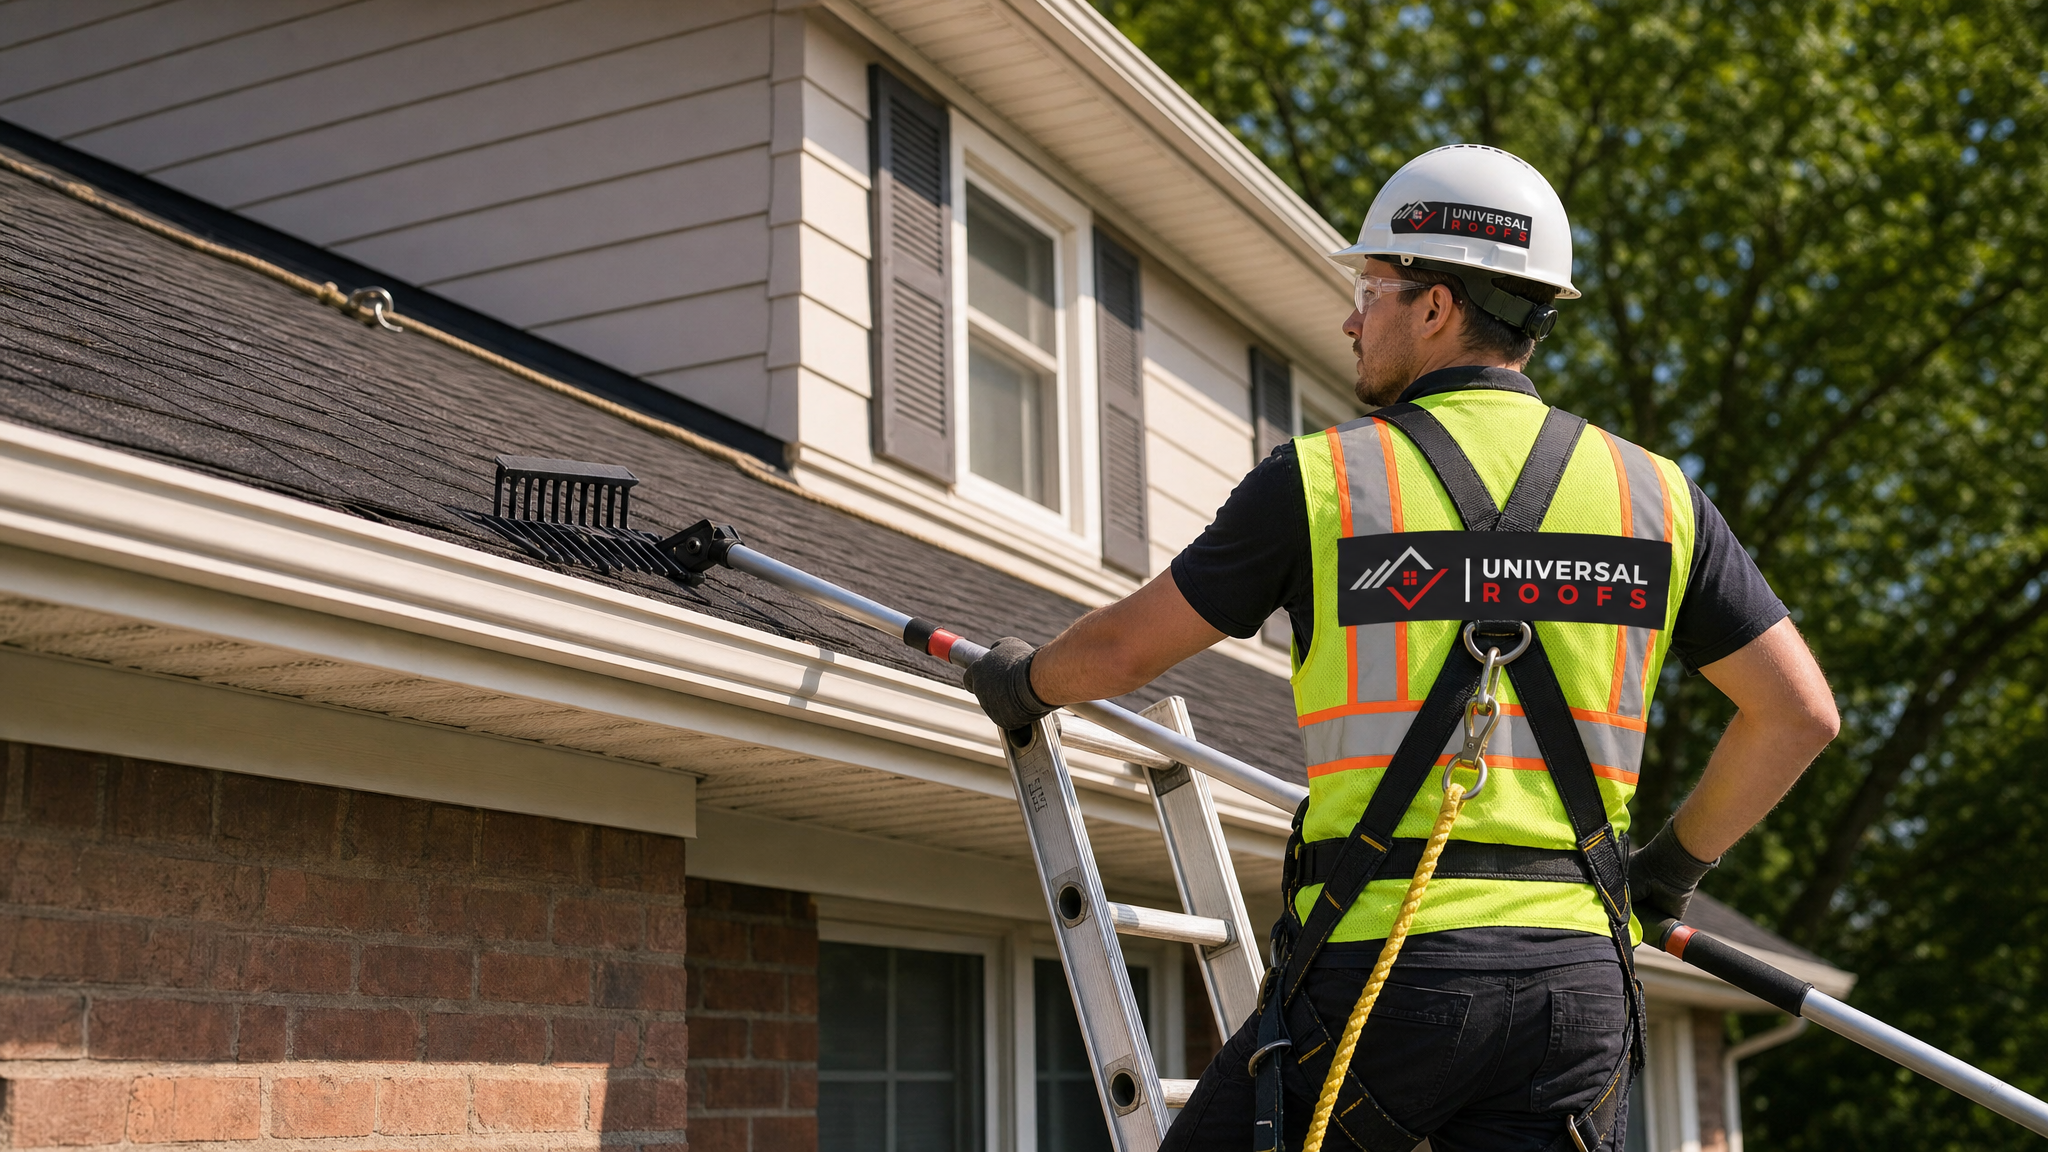
Even when a homeowner never sets foot on the roof itself, ladder work to reach a roof rake’s full extension or to place an ice melt sock still carries fall risk, especially on icy ground and against a snow-dusted eave. A proper ladder stabilizer bar spreads the ladder’s top contact points across the wall rather than resting against a single narrow section of eavestrough, preventing the common failure where a ladder slips sideways off a curved gutter edge.
For any homeowner who does need to access a lower roof section directly — for instance a single-storey garage or porch roof — a basic roof anchor and harness setup is non-negotiable, exactly as our own crews use full fall-protection harnesses and anchored safety ropes on every job, regardless of how routine the task looks. Ice, wind, and steep pitches turn a five-minute task into a serious fall hazard extremely quickly, and this is the single category where cutting corners causes the most severe injuries every winter across the GTA.
7. Heated Cable Systems for Long-Term Ice Dam Prevention
Heat cable, sometimes called roof de-icing cable, is a semi-permanent installation rather than a hand tool, but it belongs on any complete list of roof snow removal tools for safety because it prevents the problem before it forms. The cable is installed in a zig-zag pattern along the eave and up through the eavestrough and downspout, and it activates automatically or via a plug-in timer during freeze-thaw conditions, keeping a clear meltwater channel open so water never has the chance to dam and back up.
Heat cable is particularly well suited to homes with a documented history of recurring ice dams, north-facing roof sections that stay colder and icier longer than sun-exposed slopes, and roofs with complex valleys where snow naturally pools. It is not a substitute for proper attic insulation and ventilation, and in fact works best as a companion measure alongside those upgrades rather than a stand-alone fix.
| Method | Upfront Cost Range | Ongoing Effort | Best For |
|---|---|---|---|
| Roof rake (manual) | $60 – $150 | High — needed after every major snowfall | Single/1.5 storey homes, active homeowners |
| Calcium chloride ice melt socks | $15 – $40 per season | Medium — reapplied as ice forms | Targeted eave problem spots |
| Heat cable system | $400 – $1,200 installed | Low — automatic once installed | Recurring ice dam locations, complex rooflines |
| Attic insulation/ventilation upgrade | $1,500 – $4,000 | Very low — addresses root cause | Homes with chronic ice damming |
| Professional snow removal service | $250 – $600 per visit | None — fully outsourced | Steep, multi-storey, or complex roofs |
8. Snow Load Gauges and Visual Inspection Tools
A snow load gauge is a simple measuring tool, sometimes as basic as a marked pole, used to estimate accumulated snow depth and density on a roof from a safe ground-level vantage point rather than guessing by eye. Combined with binoculars for a closer visual inspection of the roofline, this lets a homeowner spot early warning signs — sagging along a ridge line, pooling water on a flat or low-slope section, or an unusually thick ice buildup at one corner — without ever needing to climb up.
The Ontario Building Code establishes ground and roof snow load design values by municipality, and while most homes are built with margin above the minimum requirement, older homes, additions built to a different code cycle, or roofs with existing structural issues can be more sensitive to heavy accumulation. Any visible sagging, cracking sounds from the attic, or interior door and window frames that suddenly stick after a heavy snowfall are signs that professional evaluation should happen immediately rather than being addressed with more raking.
9. Professional Snow Removal Service for High-Risk Roofs
The ninth and final entry on this list is not a physical tool at all — it is the decision to bring in a professional crew equipped with commercial-grade snow removal equipment, proper harnessing, and roof-specific training. For steep-pitch roofs, multi-storey homes where ground-based rakes cannot reach the upper roof planes, flat or low-slope roofs where standing water and ice pose structural concerns, or any roof already showing signs of stress, this is not an upsell — it is the safe option.
Flat roofing in particular deserves special mention. Flat and low-slope membrane roofs handle snow load very differently than pitched shingle roofs, since there is no gravity assist pulling snow and meltwater away from the surface. Ponding water on a flat roof after a thaw is a common and serious issue, and clearing snow from these roof types requires membrane-safe tools and techniques that go beyond what a homeowner’s rake and shovel can safely accomplish.
Universal Roofs has served the Toronto, Peel Region, York Region, Halton Region, and Durham Region since 2005, and our crews see the same pattern every winter: homeowners who reach out at the first sign of an ice dam or heavy accumulation avoid damage, while those who wait often end up needing both snow removal and emergency repair work in the same visit.
Building a Complete Winter Roof Safety Toolkit
No single tool on this list solves every winter roofing challenge on its own. The most effective approach layers several together: a roof rake for routine snow load relief after storms, calcium chloride socks pre-positioned at known problem eaves before ice dams fully form, a ladder stabilizer and basic fall protection for any elevated work, and a standing relationship with a professional roofing contractor for the roof sections and situations that fall outside safe DIY range.
| Warning Sign | Likely Cause | Recommended Action | Urgency |
|---|---|---|---|
| Water stains on interior ceiling | Ice dam backing water under shingles | Book a roof repair inspection | High — within days |
| Thick icicles along eaves | Active ice dam formation | Apply calcium chloride socks, monitor attic heat loss | Medium — address this week |
| Visible roof sagging | Excess snow load or structural stress | Call a professional immediately, avoid roof access | Critical — same day |
| Cracking or popping sounds from attic | Truss stress under heavy load | Evacuate attic area, call a professional | Critical — same day |
| Ponding water on flat roof after thaw | Drainage blockage or membrane wear | Schedule flat roof assessment | Medium — address this week |
Investing in the right roof snow removal tools for safety before the first snowfall — rather than scrambling to buy a rake during a storm — is one of the simplest ways GTA homeowners protect their roof investment every winter. Pair good tools with realistic limits on what a homeowner should attempt alone, and most roofs sail through the season without incident.
When Ice Dams Point to a Bigger Roofing Problem
Recurring ice dams in the same location year after year are rarely a coincidence. They usually point to a specific, fixable issue: a thin or gapped section of attic insulation letting heat escape directly above that spot, a blocked soffit vent starving that section of the roof deck of the cold airflow it needs to stay uniformly cold, or in some cases a skylight or roof penetration creating a thermal bridge. Chasing the symptom every winter with more ice melt socks costs more in the long run than fixing the underlying cause once.
A proper attic assessment checks insulation depth and even distribution, confirms soffit and ridge ventilation are both present and unobstructed, and looks for any air leaks from the living space below — pot lights, bathroom fans, or attic hatches — that dump warm, moist air upward. Homes with older or poorly performing skylights can also contribute to localized heat loss around the skylight curb, which is worth checking if ice consistently forms near a skylight installation; in some cases a skylight replacement with better-insulated flashing resolves a stubborn ice dam that tools alone never fully fixed.
Frequently Asked Questions
What are the most important roof snow removal tools for safety that every GTA homeowner should own?
Is it safe to walk on my roof to remove snow myself?
Why do ice dams keep forming in the same spot on my roof every winter?
Can rock salt be used instead of calcium chloride for roof ice dams?
How much snow accumulation is too much for a residential roof in Toronto?
When should I stop using roof snow removal tools for safety and call a professional instead?
Need Help With Top 9 Roof Snow?
Winter roof maintenance is easiest with a trusted partner on call before the first storm hits, and Universal Roofs has helped GTA homeowners stay ahead of ice dams, snow load, and winter roof damage for two decades. Whether you need a one-time assessment before the season starts or a fast response after a heavy storm, our licensed crews bring the right roof snow removal tools for safety to every job.
Call us today at (416) 732-2421 or request a free inspection to get started.
Universal Roofs proudly serves Toronto, Mississauga, Brampton, Vaughan, Markham, Oakville and the GTA since 2005.