
Summer storms roll through the Greater Toronto Area fast, and few things rattle a homeowner quite like the sound of hail hammering the roof. Once the storm passes, the real question begins: how bad is it, and what do you actually do next? This guide on repairing roof hail damage a comprehensive walkthrough is built for GTA homeowners who want to understand what hail actually does to a roof, how to inspect it safely, what repair options exist, and how to work with insurance without losing money or time.
Hail damage is sneaky. Unlike a missing shingle after a windstorm, hail bruising can sit quietly for months before it turns into a leak. Toronto’s climate makes this worse: freeze-thaw cycles each winter work their way into every crack a summer hailstorm left behind, turning a cosmetic dent into a structural problem by spring. Understanding the difference between damage that needs immediate attention and damage that can wait is the first step toward protecting your home and your budget.
At Universal Roofs, we have inspected thousands of GTA roofs after hailstorms since 2005, and the patterns are remarkably consistent. This article walks through everything from identifying hail bruising on asphalt shingles to understanding when a full roof replacement makes more financial sense than a patch repair.
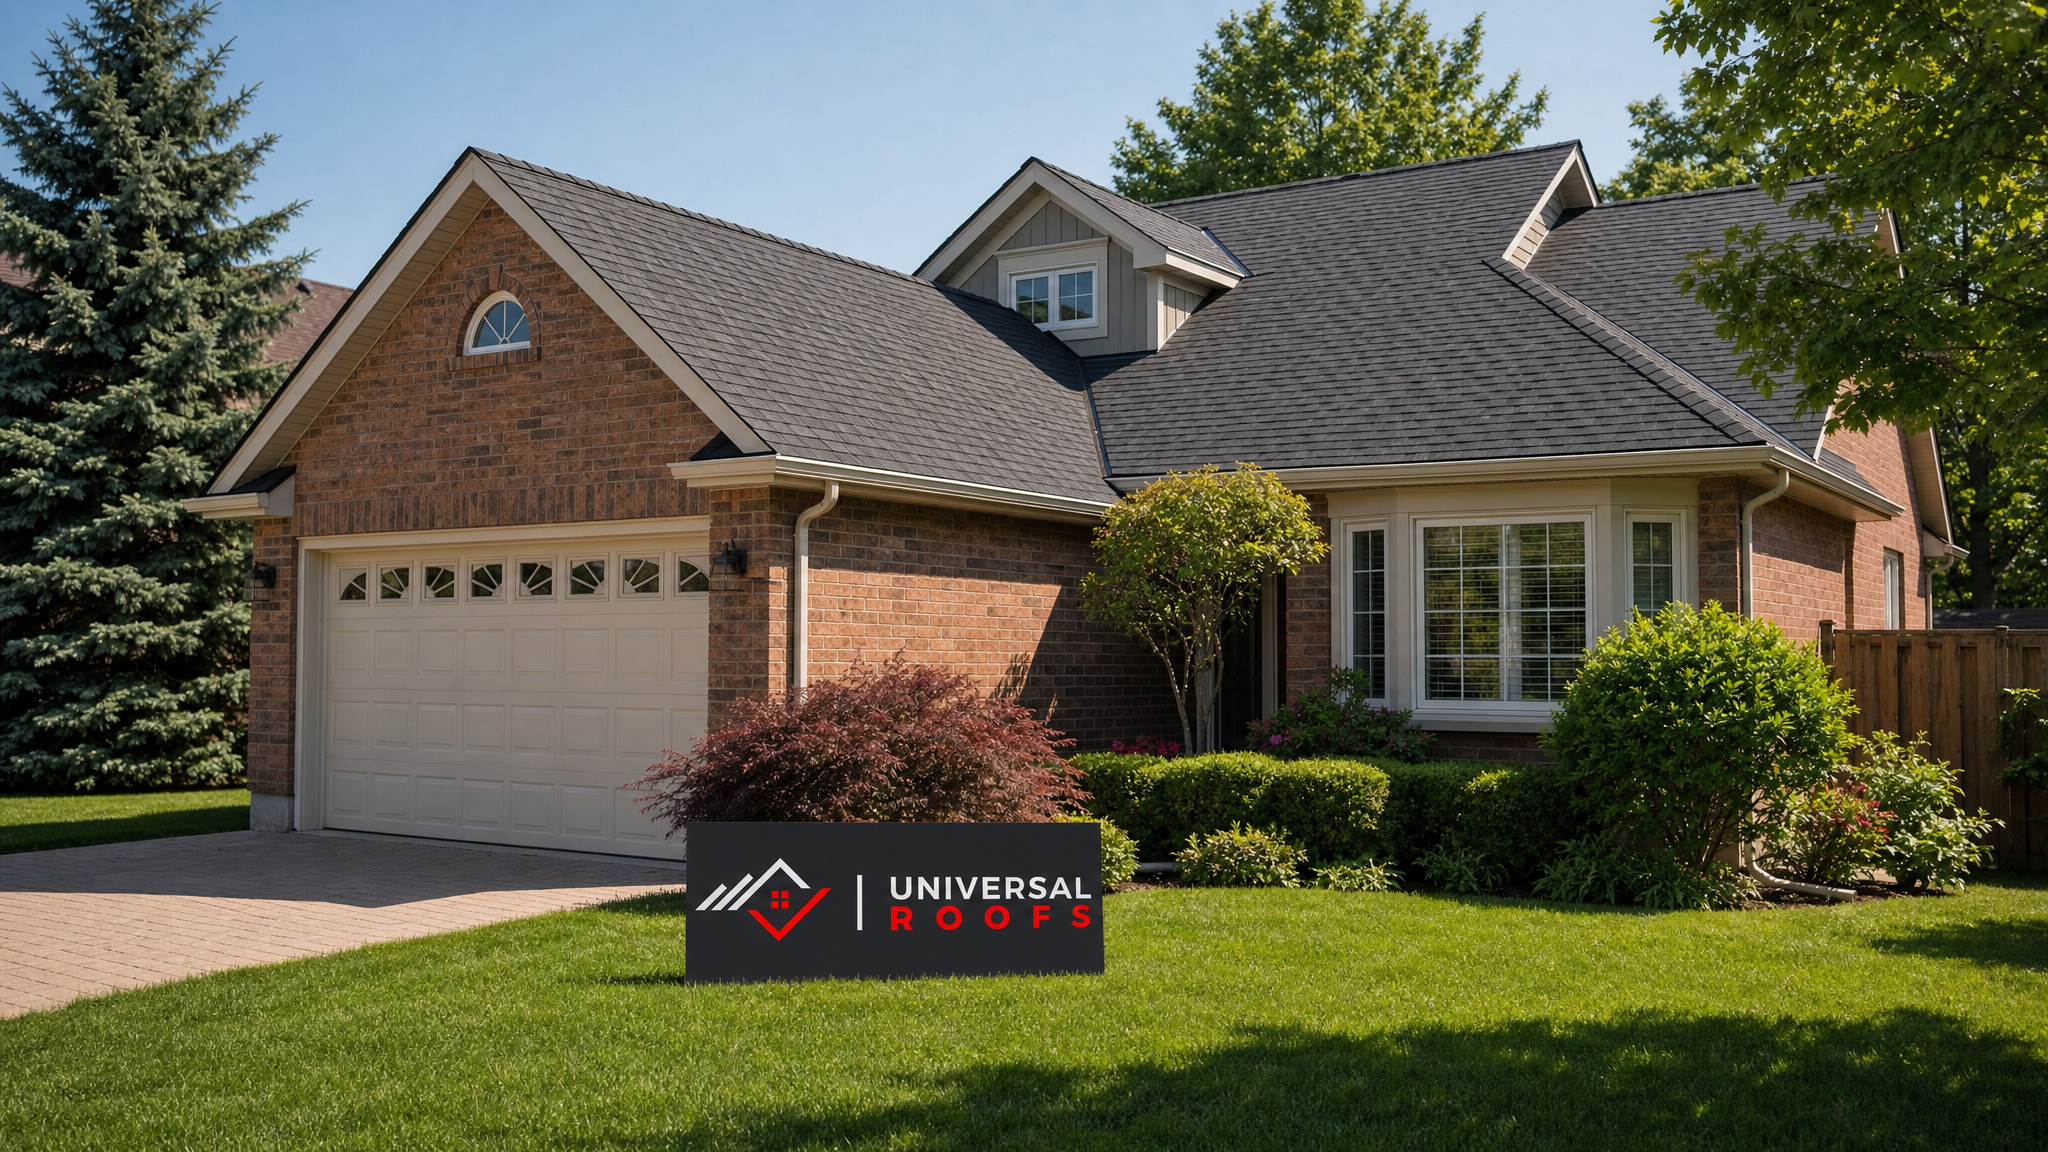
How Hail Actually Damages a Roof
Hailstones form when updrafts inside a thunderstorm carry water droplets high enough to freeze, and they grow in layers as they cycle through the storm cloud before falling. In the GTA, hail size typically ranges from pea-sized to golf ball-sized, though larger stones do occur during severe summer storms. The damage a hailstone causes depends on several factors working together, not just its size.
Impact velocity matters as much as diameter. A golf ball-sized stone falling at terminal velocity in high wind can cause far more damage than a larger, slower-falling stone. Roof pitch also plays a role — steeper roofs deflect hail at an angle, reducing direct impact force, while low-slope and flat roof sections take the full brunt of a vertical strike. This is one reason flat roofing systems need a different hail inspection approach than pitched asphalt shingle roofs.
Material age and condition are the final variable. A roof nearing the end of its lifespan has already lost granule coverage and flexibility, so hail that would barely mark a five-year-old roof can crack or puncture a roof that’s fifteen to twenty years old. This is why two houses on the same street can experience the same storm with completely different outcomes.
Identifying Hail Damage: What to Look For
Most homeowners cannot safely or accurately assess hail damage from the ground, and climbing onto a wet or storm-damaged roof is genuinely dangerous. That said, knowing what damage looks like helps you communicate clearly with a roofing contractor and understand what they find during an inspection.
On asphalt shingles, hail damage typically shows up as random, scattered marks rather than a uniform pattern (a helpful way to distinguish it from manufacturing defects or mechanical damage). Look for:
- Dark, soft spots where granules have been knocked loose, exposing the black asphalt mat underneath
- Circular bruises that feel spongy when pressed gently
- Cracked or split shingles, especially near the edges
- Granules collecting in gutters and at downspout outlets after a storm
- Dented or dinged metal flashing, vents, and gutters — these often show hail impact more clearly than shingles do
- Cracked skylight domes or dented skylight flashing (see our skylights page for how these components typically fail)
Metal components are often the best early indicator. Aluminum gutters, vent caps, and flashing dent easily and permanently, giving you a visible record of impact severity even if the shingles look intact from a distance. If your gutters, downspouts, or window screens took a beating, assume the roof did too.
Why DIY Roof Inspections Are Risky After a Storm
We understand the instinct to grab a ladder and check things yourself, but post-storm roofs present real hazards: wet, granule-covered shingles are extremely slippery, weakened decking may not hold weight safely, and downed branches or damaged electrical service masts can be present. Professional inspectors also know what subtle bruising looks like and use tools like chalk testing and moisture meters that most homeowners don’t have access to. A professional roof repair assessment protects both your safety and your insurance claim.
Hail Damage Severity Levels and Repair Approaches
Not all hail damage requires the same response. Contractors typically categorize damage into tiers based on severity, and the appropriate repair strategy changes at each level. The table below breaks down what we typically find during GTA hail inspections and the corresponding repair approach.
| Severity Level | Typical Signs | Recommended Repair | Urgency |
|---|---|---|---|
| Cosmetic only | Minor granule loss, small surface marks, no mat exposure | Monitor; document for records | Low — reassess next season |
| Minor functional | Scattered bruising, a few cracked shingles, dented vents | Spot repair of affected shingles and flashing | Moderate — within 4-6 weeks |
| Moderate functional | Widespread bruising across multiple slopes, granule loss over 15%+ of surface | Section replacement or full re-shingle depending on age | High — within 2 weeks, sooner if leaking |
| Severe/structural | Punctures, torn underlayment, decking exposure, active leaks | Emergency tarping, then full roof replacement | Immediate — same day if leaking |
One nuance we stress to every homeowner: cosmetic damage today can become functional damage after a Toronto winter. Bruised shingle mats lose flexibility and granule adhesion, and freeze-thaw cycling accelerates cracking in spots that were only bruised the previous summer. This is why we recommend a follow-up inspection the following spring for any roof that sustained even “minor” hail impact.
Repair Methods Compared: Patch, Section Replacement, or Full Re-Roof
Once damage is confirmed, the next decision is scope. Homeowners often assume a few damaged shingles simply get swapped out, but the right approach depends on roof age, shingle availability, and how widespread the impact pattern is.
| Repair Method | Best For | Typical Cost Range (CAD) | Timeline |
|---|---|---|---|
| Spot shingle replacement | Isolated damage, roof under 10 years old | $400 – $1,200 | Half day to 1 day |
| Slope/section re-shingle | Damage concentrated on one or two slopes | $2,000 – $6,500 | 1 – 2 days |
| Full roof replacement | Widespread damage, roof over 15 years old, or matching shingles discontinued | $9,000 – $22,000+ | 2 – 4 days |
| Flashing, vent, and gutter repair | Dented or cracked metal components regardless of shingle condition | $300 – $1,800 | Half day |
Pricing varies with roof size, pitch, material grade, and accessibility, so these figures are a general planning reference rather than a quote. A detailed, written estimate after an on-site inspection is always the right next step — you can request a free inspection to get an accurate number for your specific property.
A frequent question we hear is why a roofer sometimes recommends full replacement even when only 20-30% of the roof shows visible damage. The answer comes down to shingle matching and manufacturer warranty terms. Asphalt shingle colours and product lines change over time, and blending a repaired section with existing shingles from a different production batch often creates a visible patchwork. In cases where the roof is already past the midpoint of its expected lifespan, most manufacturers won’t warranty a partial repair the same way they would a full system replacement.
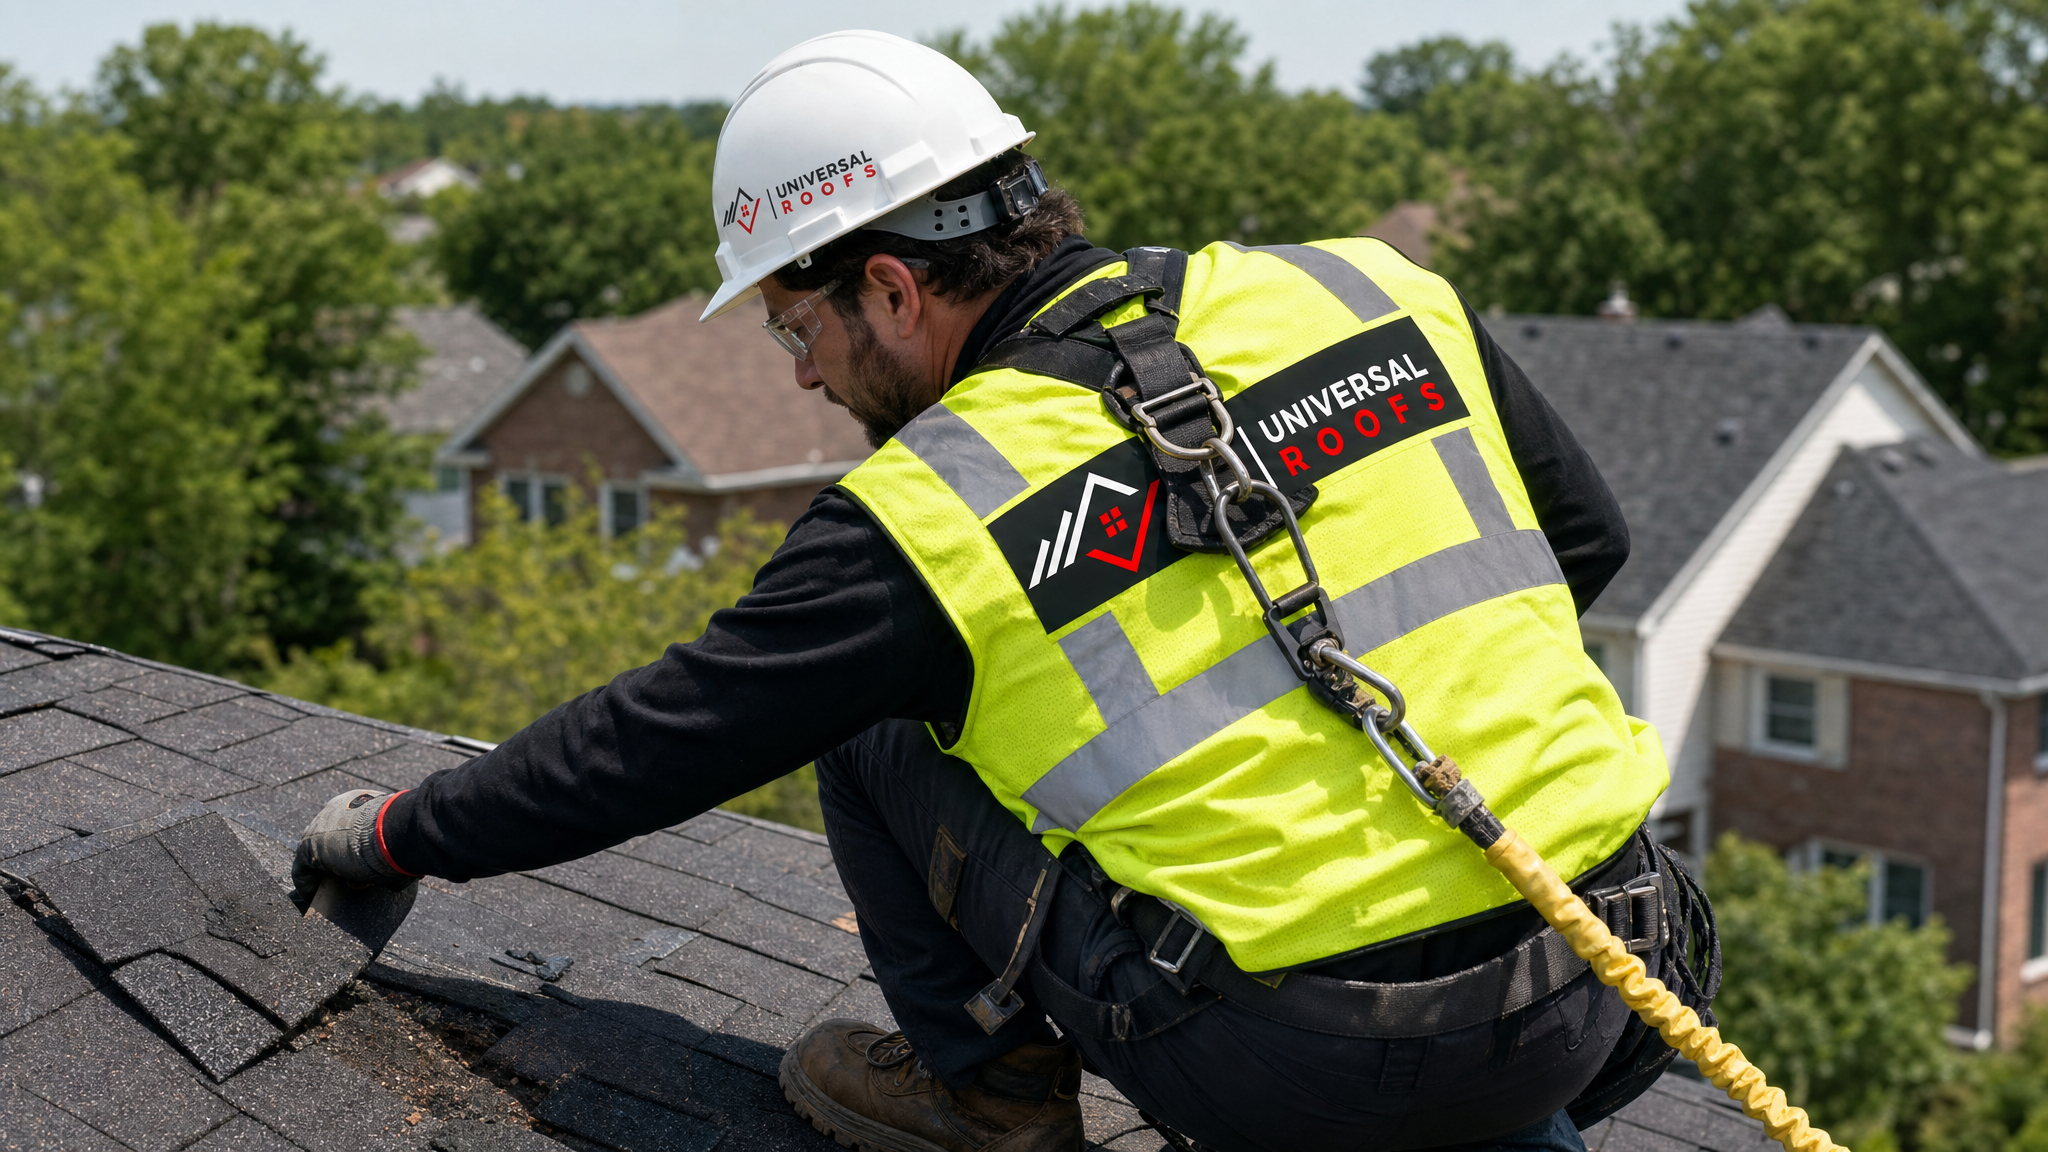
Step-by-Step: What Happens During a Professional Hail Damage Repair
Understanding the repair process helps set expectations and makes it easier to spot a contractor who’s cutting corners. Here’s what a proper hail damage repair typically involves from start to finish.
1. Documented Roof Inspection
A qualified inspector walks the entire roof surface (not just a visual scan from a ladder), checking each slope, all flashing points, vents, and skylights. Photos are taken of every damage point, often with a piece of chalk circling each mark for clarity, and measurements are recorded for the insurance report.
2. Interior Attic Check
Hail-related punctures sometimes show up first as water staining on attic sheathing or insulation before any interior ceiling stain appears. A thorough attic inspection catches early leaks that haven’t yet reached living space, which can save significant drywall and insulation repair costs down the line.
3. Damage Scope and Estimate
Based on the inspection, the contractor prepares a written scope of work: number of shingles needing replacement, flashing and vent components affected, underlayment condition, and whether decking repair is needed. This document becomes the basis for both the homeowner estimate and the insurance claim, if one is being filed.
4. Material Matching
The contractor sources shingles that match the existing roof as closely as possible in colour, style, and manufacturer. If the original product is discontinued, this is flagged early so the homeowner can decide between a visible patch or a broader replacement.
5. Removal and Replacement
Damaged shingles are removed carefully to avoid tearing surrounding underlayment. New shingles are installed following manufacturer nailing patterns and sealed at the edges. Damaged flashing around chimneys, vents, and skylights is replaced rather than just re-caulked, since caulk alone is a temporary fix, not a repair.
6. Cleanup and Final Walkthrough
A magnetic sweep of the property collects stray nails, debris is cleared from gutters, and the contractor walks the homeowner through the completed work with final photos for their records.
Working With Home Insurance on Hail Claims
Hail damage claims are common enough in Ontario that most insurers have a fairly standard process, but a few practical tips make a real difference in how smoothly a claim goes.
File promptly, but don’t rush the inspection. Most policies have a window for reporting storm damage, often 12 to 24 months, but the sooner you report and get an inspection scheduled, the stronger your claim. Insurers are also more likely to dispute damage that’s reported long after a storm event, since it becomes harder to confirm the cause.
Get an independent contractor inspection before or alongside the insurance adjuster’s visit. Adjusters work for the insurance company, and while most are fair, having your own contractor’s documentation (photos, measurements, a written scope) gives you leverage if the adjuster’s assessment seems low. A second set of professional eyes rarely hurts.
Understand the difference between “cosmetic damage” exclusions and functional damage. Some Ontario policies exclude coverage for purely cosmetic hail damage on metal roofing or siding while still covering functional damage. Read your policy’s storm damage section carefully, or ask your contractor to help translate the technical language.
Keep every piece of documentation. Photos from before the storm (if you have them), the contractor’s inspection report, the adjuster’s report, and all correspondence should be kept together. If a dispute arises over scope or cost, this paper trail is what resolves it.
| Insurance Claim Step | What Happens | Homeowner Action | Typical Timeframe |
|---|---|---|---|
| Report the claim | Insurer opens a file and assigns a claim number | Call insurer, note claim number and adjuster contact | Same day to 48 hours |
| Contractor inspection | Independent inspection documents damage | Schedule promptly; be present if possible | 1 – 5 days |
| Adjuster inspection | Insurer’s adjuster assesses damage and scope | Share contractor’s report; ask questions on the spot | 1 – 2 weeks after filing |
| Settlement offer | Insurer issues a scope and payment amount | Compare against contractor estimate; dispute if low | 2 – 4 weeks after adjuster visit |
| Repair work begins | Contractor schedules and completes the approved repair | Confirm timeline and any homeowner deductible | Varies by contractor availability |
Preventing Future Hail Damage and Minimizing Risk
While you can’t stop hail from falling, a few proactive steps reduce both the likelihood and the severity of damage on future storms.
Choose impact-resistant shingles on your next roof replacement. Class 4 impact-rated asphalt shingles are engineered with a reinforced mat and modified asphalt that resists cracking under impact far better than standard shingles. Many Ontario insurers offer a premium discount for Class 4 shingles, which can offset the modest upfront cost difference over a few years.
Maintain your roof year-round. A roof already weakened by UV exposure, poor ventilation, or age-related brittleness sustains worse hail damage than a well-maintained one. Regular inspections, especially after any significant storm, catch small issues before a future hailstorm turns them into major ones.
Protect skylights and flat sections separately. Skylight domes and low-slope roof membranes are more vulnerable to hail than pitched asphalt shingle fields. If your roof includes either, ask about skylight replacement options with impact-rated glazing, and have flat sections inspected specifically for membrane punctures after any hail event.
Trim overhanging branches. Hail combined with wind often brings down branches that compound roof damage. Keeping trees trimmed back from the roofline reduces this secondary risk during severe summer storms.
Serving Homeowners Across the GTA
Hailstorms don’t respect municipal boundaries, and our crews respond to storm damage calls across the whole region. Whether you’re in Toronto proper, the Peel Region (Mississauga and Brampton), the York Region (Markham, Vaughan, Richmond Hill), Halton Region (Oakville, Burlington), or the Durham Region (Ajax, Pickering, Whitby), our inspection teams are familiar with the local building code requirements and typical roofing materials used in each municipality.
This regional experience matters after a hailstorm because storm cells often hit some neighbourhoods harder than others. Knowing which streets and subdivisions took the worst of a given storm helps us anticipate common damage patterns and respond efficiently when multiple homeowners in the same area are calling at once.
Choosing a Contractor for Hail Damage Repair
Storm season understandably brings a wave of traveling contractors going door-to-door offering “storm chasing” repair deals. A few questions help you separate a reputable local roofer from a fly-by-night operation:
- Do they have a permanent local address and a licence to operate in Ontario?
- Will they provide a written estimate with itemized scope before starting work?
- Do they carry liability insurance and WSIB coverage for their crews?
- Can they provide references or reviews from recent local jobs?
- Do they offer a workmanship warranty separate from the manufacturer’s material warranty?
We’d encourage any homeowner comparing quotes to check our FAQ page and about page for more detail on our licensing, warranty terms, and history serving the GTA since 2005. A legitimate contractor will never pressure you to sign a contract on the spot.
What is the process for repairing roof hail damage a comprehensive homeowner should expect?
How can I tell if my roof has hail damage after a storm?
Will my insurance cover roof hail damage repair?
Is it better to repair or fully replace a hail-damaged roof?
Can hail damage a flat roof or skylights?
How much does repairing roof hail damage typically cost in the GTA?
Need Help With Repairing Roof Hail Damage?
If a recent storm has you wondering about the condition of your roof, don’t wait for a small bruise to become a big leak. The team at Universal Roofs has spent two decades inspecting and repairing storm damage across the GTA, and we know exactly what to look for after a hailstorm.
Call us today at (416) 732-2421 or request a free inspection to get started.
Universal Roofs proudly serves Toronto, Mississauga, Brampton, Vaughan, Markham, Oakville and the GTA since 2005.