
A sudden summer hailstorm can leave a Toronto roof looking like it went a few rounds with a hammer. Bruised shingles, dented flashing, and cracked vent boots are common after even a short burst of GTA hail, and the damage is not always obvious from the ground. This DIY guide for repairing roof hail damage walks homeowners through safe inspection steps, the repairs you can reasonably tackle yourself, and the point at which calling a professional protects both your roof and your insurance claim.
Hail is one of the most under-reported causes of roof failure in Ontario because the damage is often cosmetic at first glance but structural underneath. A shingle can look fine from the driveway while its granule layer is stripped bare and its waterproofing mat is cracked, quietly setting up a leak that will not show itself until the next freeze-thaw cycle or heavy rain. Knowing what to look for, and what to do about it, is the difference between a fifty-dollar fix and a five-thousand-dollar ceiling repair.
Before you climb a ladder, it is worth understanding that this guide is meant for minor, cosmetic hail damage repair and temporary protective measures. Any repair involving structural decking, widespread shingle loss, or work more than a storey off the ground should go to a licensed contractor. If your roof is more than 15 years old or already had pre-existing wear, a full roof replacement may be more cost-effective than patch after patch.
How to Spot Hail Damage Before It Becomes a Leak
The first step in any DIY guide for repairing roof hail damage is learning to recognize what hail actually does to different roofing materials. Hail damage rarely announces itself as an obvious hole. Instead, it shows up as bruising, granule loss, and small stress fractures that weaken a shingle’s ability to shed water.
Start with a pair of binoculars from the ground before you ever touch a ladder. Look for these signs:
- Dark, soft-looking splotches on asphalt shingles where granules have been knocked loose
- Random, scattered damage patterns rather than a straight line (straight lines usually mean mechanical damage, not hail)
- Dents in aluminum flashing, gutters, downspouts, and vent caps
- Cracked or split rubber vent boots and pipe collars
- Granules collecting in gutters or at downspout outlets after a storm
- Bruised or dented skylight frames and flashing — check our skylights page if your home has a light well
If you do go up for a closer look, only do so on a dry day, with a stable extension ladder secured at the correct angle, and never during or immediately after a storm when shingles are still wet and slippery. A soft-soled shoe and a spotter holding the ladder base are non-negotiable basics.
Hail bruises on asphalt shingles often feel slightly spongy when you press on them with your palm, unlike the surrounding firm shingle surface. On metal roofing, dents are usually visible as shallow, rounded depressions with the paint finish sometimes cracked at the centre. On wood shake or cedar, look for splits along the grain and displaced or missing shakes.
| Roofing Material | Typical Hail Damage Signs | DIY Repairable? | Urgency |
|---|---|---|---|
| Asphalt shingles | Granule loss, bruising, cracking | Yes, for isolated shingles | Moderate — repair within 2-4 weeks |
| Metal roofing/flashing | Dents, cracked seams, chipped paint | Limited — cosmetic only | Low unless seams are compromised |
| Wood shake/cedar | Splits, cracked shakes, displacement | Yes, for individual shakes | High — exposed decking risk |
| Vent boots and pipe collars | Cracked rubber, torn seals | Yes, straightforward swap | High — common leak point |
| Skylight flashing | Dented frame, lifted flashing edges | No — professional only | High — see skylight replacement |
Safety Preparation Before Any Hail Damage Repair
No repair is worth a fall injury. Ontario roofers are legally required to use fall protection above three metres, and the same logic should guide any homeowner attempting DIY work. Before starting:
- Check the weather forecast — avoid wind gusts over 20 km/h and any chance of rain
- Use an extension ladder rated for your weight plus tools, extended at least one metre above the roofline
- Wear a properly fitted safety harness anchored to a permanent roof anchor point if your roof pitch exceeds 4:12
- Wear soft-soled, slip-resistant footwear — never work a roof in running shoes with worn treads
- Keep a helper on the ground at all times, and carry a phone in a secure pocket
- Never work on a roof with standing water, frost, moss, or algae growth underfoot
If your roof pitch is steeper than about 6:12, or if you are not confident on a ladder, this is the point where DIY should stop and a professional roof repair visit makes more sense. Falls are the leading cause of injury in residential roofing work, and the cost of a professional inspection is trivial compared to a trip to the emergency room.
Assessing the Severity: Cosmetic vs. Functional Damage
Not all hail damage needs the same response. Insurance adjusters and roofing contractors generally sort hail damage into two categories, and understanding the difference helps you decide whether to patch it yourself or call in help.
Cosmetic damage affects appearance but not the shingle’s ability to keep water out — think minor granule loss on a small area, or light denting on a gutter that does not affect drainage. Functional damage compromises the waterproofing layer or structural integrity — cracked shingle mats, torn vent boots, exposed felt or decking, and bent flashing that no longer laps correctly.
| Damage Severity | Description | Recommended Action | Typical Timeline |
|---|---|---|---|
| Minor cosmetic | Light granule loss, small dents in gutters | Monitor; repair at next maintenance visit | Within 1-2 months |
| Moderate functional | Bruised or cracked individual shingles, damaged vent boots | Repair promptly with matching materials | Within 2-4 weeks |
| Severe functional | Multiple cracked shingles, exposed felt, torn flashing | Temporary tarp, then professional repair | Within 3-7 days |
| Structural | Punctured decking, sagging sections, visible daylight from attic | Emergency professional call-out | Immediate — 24-48 hours |
An easy way to check for functional damage from inside your home is to head into the attic on a bright day and look for pinpricks of daylight through the roof deck, or check insulation for damp spots after a storm. This is also a good moment to check your attic ventilation, since trapped moisture behind hail-cracked shingles accelerates rot.
Step-by-Step: Repairing Individual Hail-Damaged Shingles
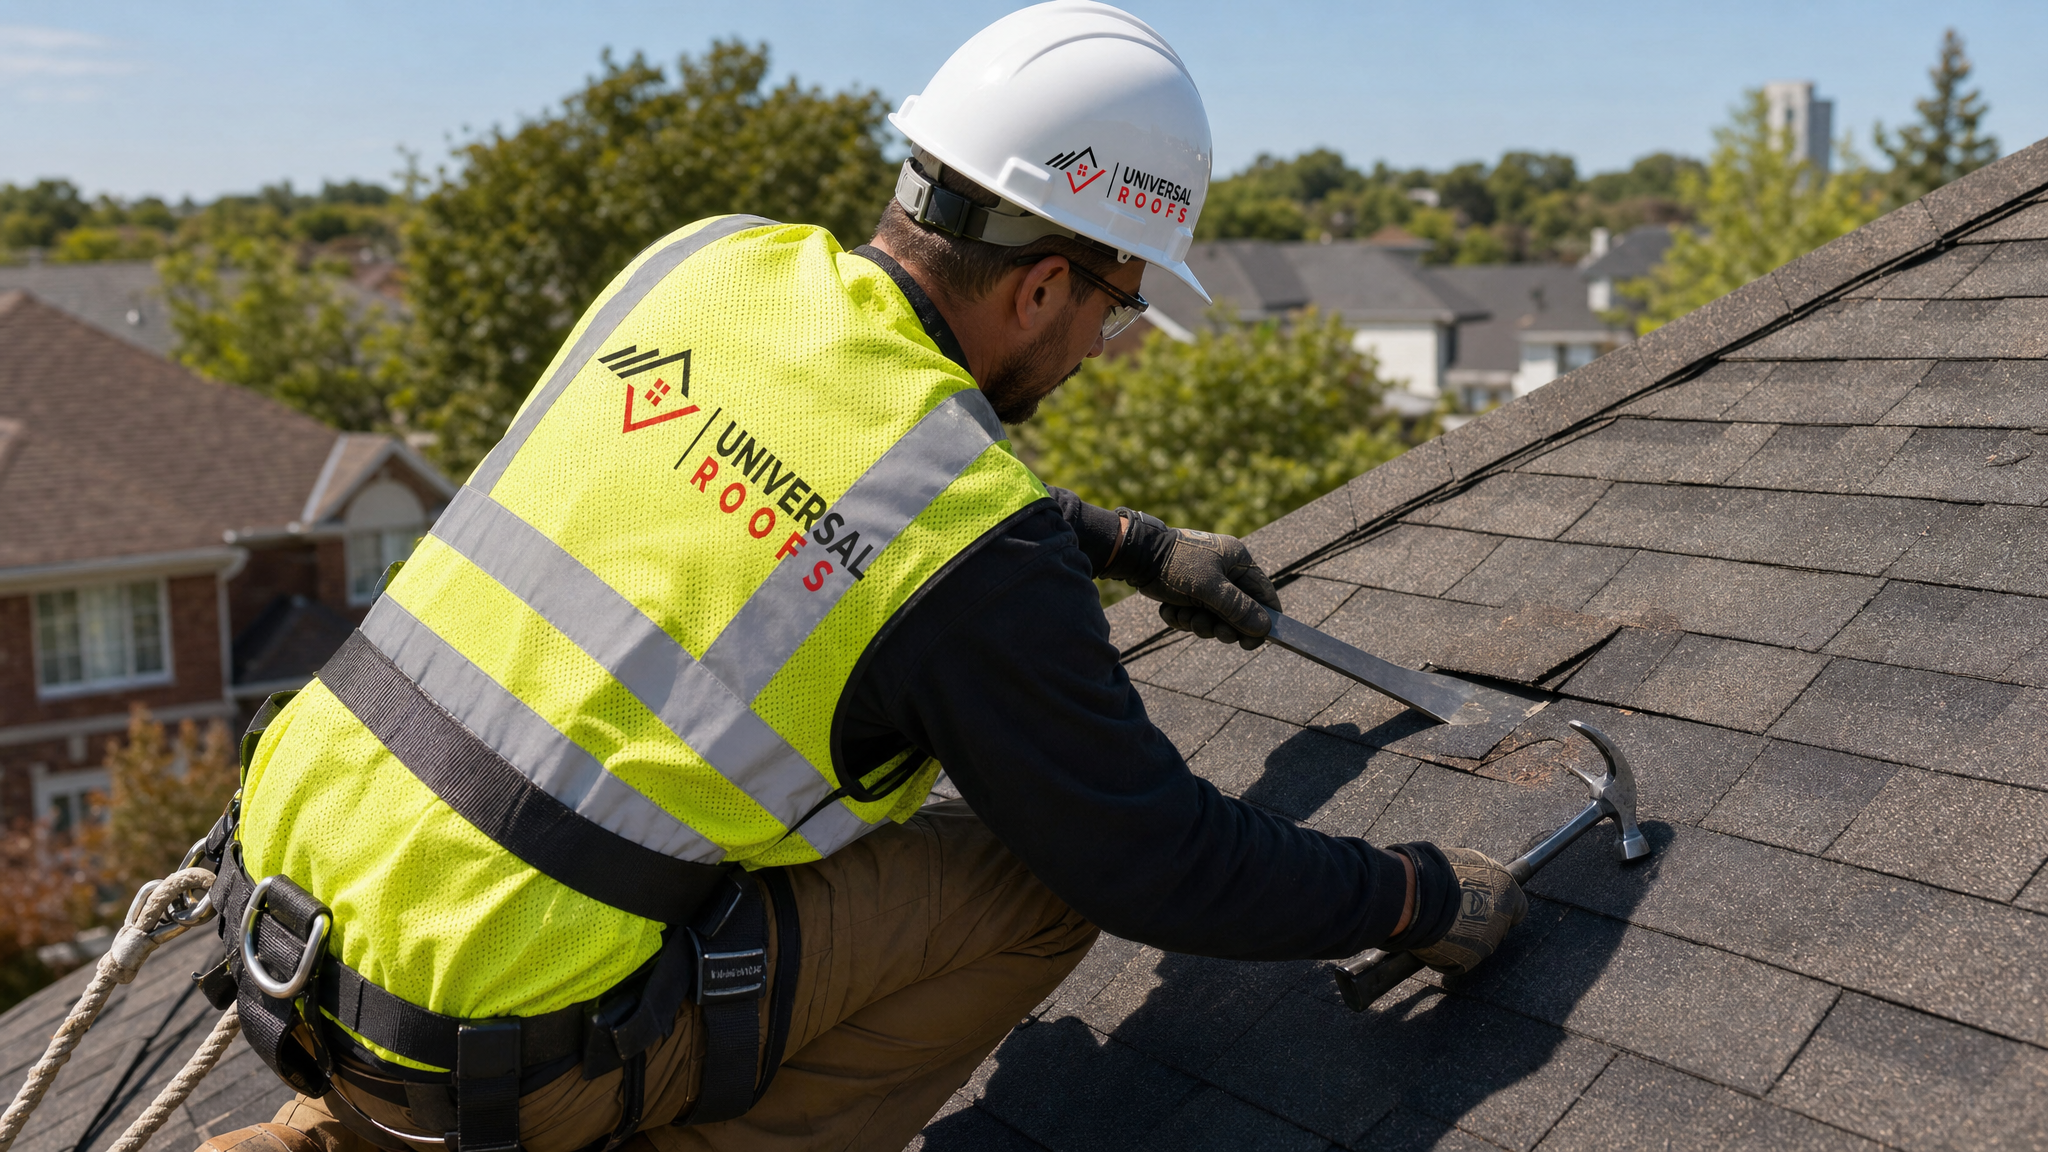
For isolated cosmetic-to-moderate hail damage on asphalt shingles, this is one of the more approachable DIY roofing tasks. Here is the process professionals use, scaled down for homeowner-safe execution:
- Identify the damaged shingle and gently lift the shingle tab above it using a flat pry bar, being careful not to crack the adhesive seal on surrounding shingles.
- Remove the nails holding the damaged shingle in place — typically four nails per shingle — using the flat end of a roofing hammer or a pry bar.
- Slide the damaged shingle out carefully, checking the felt underlayment beneath it for tears or moisture staining.
- Cut a replacement shingle to match the exposed course, using matching colour and style from spare shingles (most homes have leftover bundles from the original install, or your contractor can source a close match).
- Slide the new shingle into place, aligning it with the surrounding courses, and secure it with four roofing nails placed just below the adhesive strip of the shingle above.
- Seal the nail heads and shingle edges with a small dab of roofing cement to prevent water infiltration.
- Press the upper shingle back down firmly so the factory adhesive strip re-bonds; on cool days you may need to apply a bead of roofing cement under the tab manually since the adhesive will not activate without sun-warmed heat.
Work in dry, mild weather — asphalt shingles become brittle and prone to cracking in cold temperatures and dangerously soft and slippery in direct summer heat above roughly 27°C. Early morning in summer is usually the ideal window in the GTA.
Repairing Vent Boots, Flashing, and Other Common Weak Points
Hail rarely damages shingles alone. Vent boots, step flashing, and gutter systems are softer materials and take the brunt of impact differently than shingles do.
Vent boot replacement is one of the most valuable DIY skills for hail recovery, since a cracked rubber collar around a plumbing vent pipe is a near-guaranteed leak source. Remove the surrounding shingle nails, lift the old boot free of the pipe, slide a new boot down over the vent pipe, tuck it under the upper shingle course, and re-nail with sealant at every fastener.
Dented aluminum flashing along valleys, chimneys, or dormers is mostly cosmetic if the metal has not cracked or separated at the seams, but any flashing that has pulled away from its lap joint needs to be re-secured and re-sealed immediately, since flashing failures are the single most common cause of roof leaks after storm events.
Gutters and downspouts with hail dents are almost always a cosmetic issue rather than a functional one, unless the dent is severe enough to create a low spot that traps water and debris. Minor dents can often be gently pushed out from behind with a rubber mallet and a block of wood as a backstop.
| Component | DIY Repair Method | Estimated Materials Cost (CAD) | Time Required |
|---|---|---|---|
| Single shingle replacement | Pry, swap, nail, seal | $5-$15 per shingle | 20-30 minutes |
| Vent boot replacement | Remove old boot, install new, reseal | $15-$35 per boot | 30-45 minutes |
| Flashing re-sealing | Clean, re-lap, apply roofing cement | $10-$25 per tube of sealant | 15-30 minutes per section |
| Gutter dent removal | Mallet and block, or section replacement | $0-$40 depending on severity | 15-45 minutes |
| Emergency tarp installation | Temporary waterproof covering | $40-$100 for tarp and battens | 30-60 minutes |
Temporary Fixes While You Wait for a Permanent Repair
Sometimes the honest answer is that a full repair needs to wait — for a contractor’s schedule, for an insurance adjuster’s visit, or for materials to arrive that match your existing roof. In the meantime, a few temporary measures protect your home from further water intrusion:
- Tarp the affected area using a heavy-duty polyethylene tarp, secured with wood battens screwed through the tarp into the roof deck at the edges only — never through the middle of the tarp where water pools.
- Extend the tarp well beyond the damage — at least 1.2 metres past the visible damage in every direction, since water travels sideways under shingles before it drips through.
- Use roofing cement generously on any exposed nail heads or small cracks as a stop-gap seal.
- Clear gutters and downspouts of hail-stripped granules so water continues to drain properly and does not back up under the eaves.
- Photograph everything before you touch anything — this documentation is critical if you plan to file an insurance claim.
A tarp is a stop-gap, not a solution. Left in place through multiple rain events or a freeze-thaw cycle, tarps can trap moisture, promote mould growth in the attic, and void portions of a manufacturer’s shingle warranty if the underlying damage is not properly repaired within a reasonable window.
When Hail Damage Needs a Professional, Not a DIY Fix
This DIY guide for repairing roof hail damage is genuinely useful for small, isolated repairs — but there is a clear line where professional help becomes the smarter, safer, and often cheaper option.
Call a licensed roofing contractor if you notice any of the following:
- Damage spread across more than roughly 10% of the roof’s total surface area
- Cracked or punctured roof decking, or visible daylight from inside the attic
- Damage near skylights, chimneys, or complex flashing details
- A roof pitch steep enough that you cannot safely stand without a harness system
- Any damage on a roof older than 15-18 years, where patching may not be cost-effective versus replacement
- Uncertainty about whether damage is purely cosmetic or functional
A professional inspection typically costs far less than the risk of a missed leak turning into rotted decking or damaged insulation. If the damage is extensive, a full roof replacement assessment may actually save money over multiple rounds of patching, especially on a roof already near the end of its service life. For homes with a flat or low-slope section, hail can behave differently on membrane roofing — our flat roofing team can assess membrane punctures that are easy to miss from a shingled section.
Working With Your Home Insurance After Hail Damage
Most Ontario home insurance policies cover hail damage under standard “wind and hail” provisions, but the claims process rewards preparation. Document damage immediately with dated photographs from the ground and, if safe, from the roof itself. Keep a written log of the storm date, which is easy to verify against Environment Canada weather records for your postal code.
Insurance adjusters distinguish between cosmetic and functional damage using the same framework outlined earlier in this guide, so understanding that distinction before the adjuster arrives helps you advocate for a fair assessment. A written repair estimate from a licensed contractor carries far more weight with an insurer than a homeowner’s own assessment, even if you have already made temporary repairs yourself.
| Insurance Step | What to Do | Why It Matters | Timing |
|---|---|---|---|
| Document damage | Dated photos, ground and roof level | Establishes proof of loss and storm date | Immediately after storm |
| Temporary repairs | Tarp, seal, clear gutters | Insurers expect “reasonable steps” to prevent further loss | Within 24-48 hours |
| Professional estimate | Written quote from licensed contractor | Carries more weight than self-assessment | Within 1-2 weeks |
| File claim | Submit photos, estimate, and storm records | Starts the adjuster review process | As soon as possible |
| Adjuster visit | Walk the roof together if possible | Ensures all damage is captured, not just visible spots | Scheduled by insurer |
Preventing Future Hail Damage and Extending Roof Life
While no roof is entirely hail-proof, some choices meaningfully reduce future damage. Impact-resistant shingles, rated Class 3 or Class 4 under UL 2218 testing standards, hold up significantly better against GTA-sized hail than standard three-tab shingles, and many insurers offer premium discounts for installing them. Metal roofing with a heavier gauge and standing-seam profile also resists denting better than lighter panel systems.
Regular maintenance matters just as much as material choice. A roof already weakened by age, poor ventilation, or prior storm damage sustains worse hail damage than a well-maintained one. Scheduling an annual inspection — ideally in spring before storm season and again in fall — catches small issues before a hailstorm turns them into major repairs. Homeowners across our service areas in Toronto, Peel Region, York Region, Halton Region, and Durham Region see a fairly consistent pattern of summer hail events, making proactive inspection a smart annual habit rather than a one-time task.
You can read how other GTA homeowners have handled storm repairs and full roof replacements on our reviews page, and our FAQ page covers additional questions about warranty coverage, insurance coordination, and material options.
Tools and Materials Checklist for DIY Hail Damage Repair
Before starting any of the repairs described in this guide, gather the right tools. Working with the wrong equipment is one of the most common reasons DIY roof repairs fail or cause secondary damage.
- Flat pry bar and roofing hammer
- Replacement shingles matching your existing colour and style
- Roofing nails (galvanized, 1-1/4 inch minimum)
- Roofing cement or high-grade sealant
- Replacement rubber vent boots sized to your pipe diameter
- Heavy-duty tarp and wood battens for temporary coverage
- Rubber mallet and wood block for gutter dent removal
- Extension ladder with stabilizer, rated for your weight plus tools
- Safety harness with roof anchor (mandatory for steep pitches)
- Soft-soled work boots and work gloves
- Camera or smartphone for insurance documentation
If you find yourself missing more than two or three items on this list, or if the scope of damage looks larger once you are actually up on the roof, it is a reasonable and cost-effective decision to stop and call a professional rather than improvise with the wrong tools.
Can I really follow a DIY guide for repairing roof hail damage without professional help?
How do I tell if hail damage on my roof is cosmetic or functional?
What is the average cost of DIY hail damage repair materials in Toronto?
How soon after a hailstorm should I inspect my roof?
Will my home insurance cover hail damage repairs?
What roofing materials hold up best against future hailstorms?
Need Help With DIY Guide for Repairing?
Whether you have already made temporary repairs or you are staring up at storm damage wondering where to start, Universal Roofs has handled hail damage assessments and repairs across the GTA since 2005, and we are happy to walk you through what your specific roof needs.
Call us today at (416) 732-2421 or request a free inspection to get started.
Universal Roofs proudly serves Toronto, Mississauga, Brampton, Vaughan, Markham, Oakville and the GTA since 2005.