
Every winter, Toronto homeowners watch icicles form along their eaves and wonder if that glittering fringe is a problem or just a pretty side effect of the season. Unfortunately, those icicles are usually a warning sign of an ice dam forming underneath the shingles, and the freeze-thaw cycles common across the GTA make ice dams one of the most frequent causes of winter roof and ceiling damage we see on service calls. Learning proper tips for roof snow removal and ice dam prevention before the first major snowfall can save you thousands of dollars in water damage, insulation replacement, and drywall repair.
This guide walks through eight practical, field-tested strategies that our crews at Universal Roofs use and recommend to homeowners across Toronto, Mississauga, Brampton, Vaughan, Markham, Oakville and the surrounding areas. We will cover safe snow removal techniques, the science behind ice dams, ventilation and insulation fixes, and when it makes more sense to call a professional than to grab a rake and a ladder yourself.
Whether you are dealing with a heavy snow load right now or planning ahead for next winter, these tips for roof snow removal and ice dam prevention apply to asphalt shingle roofs, flat roofs, and everything in between.
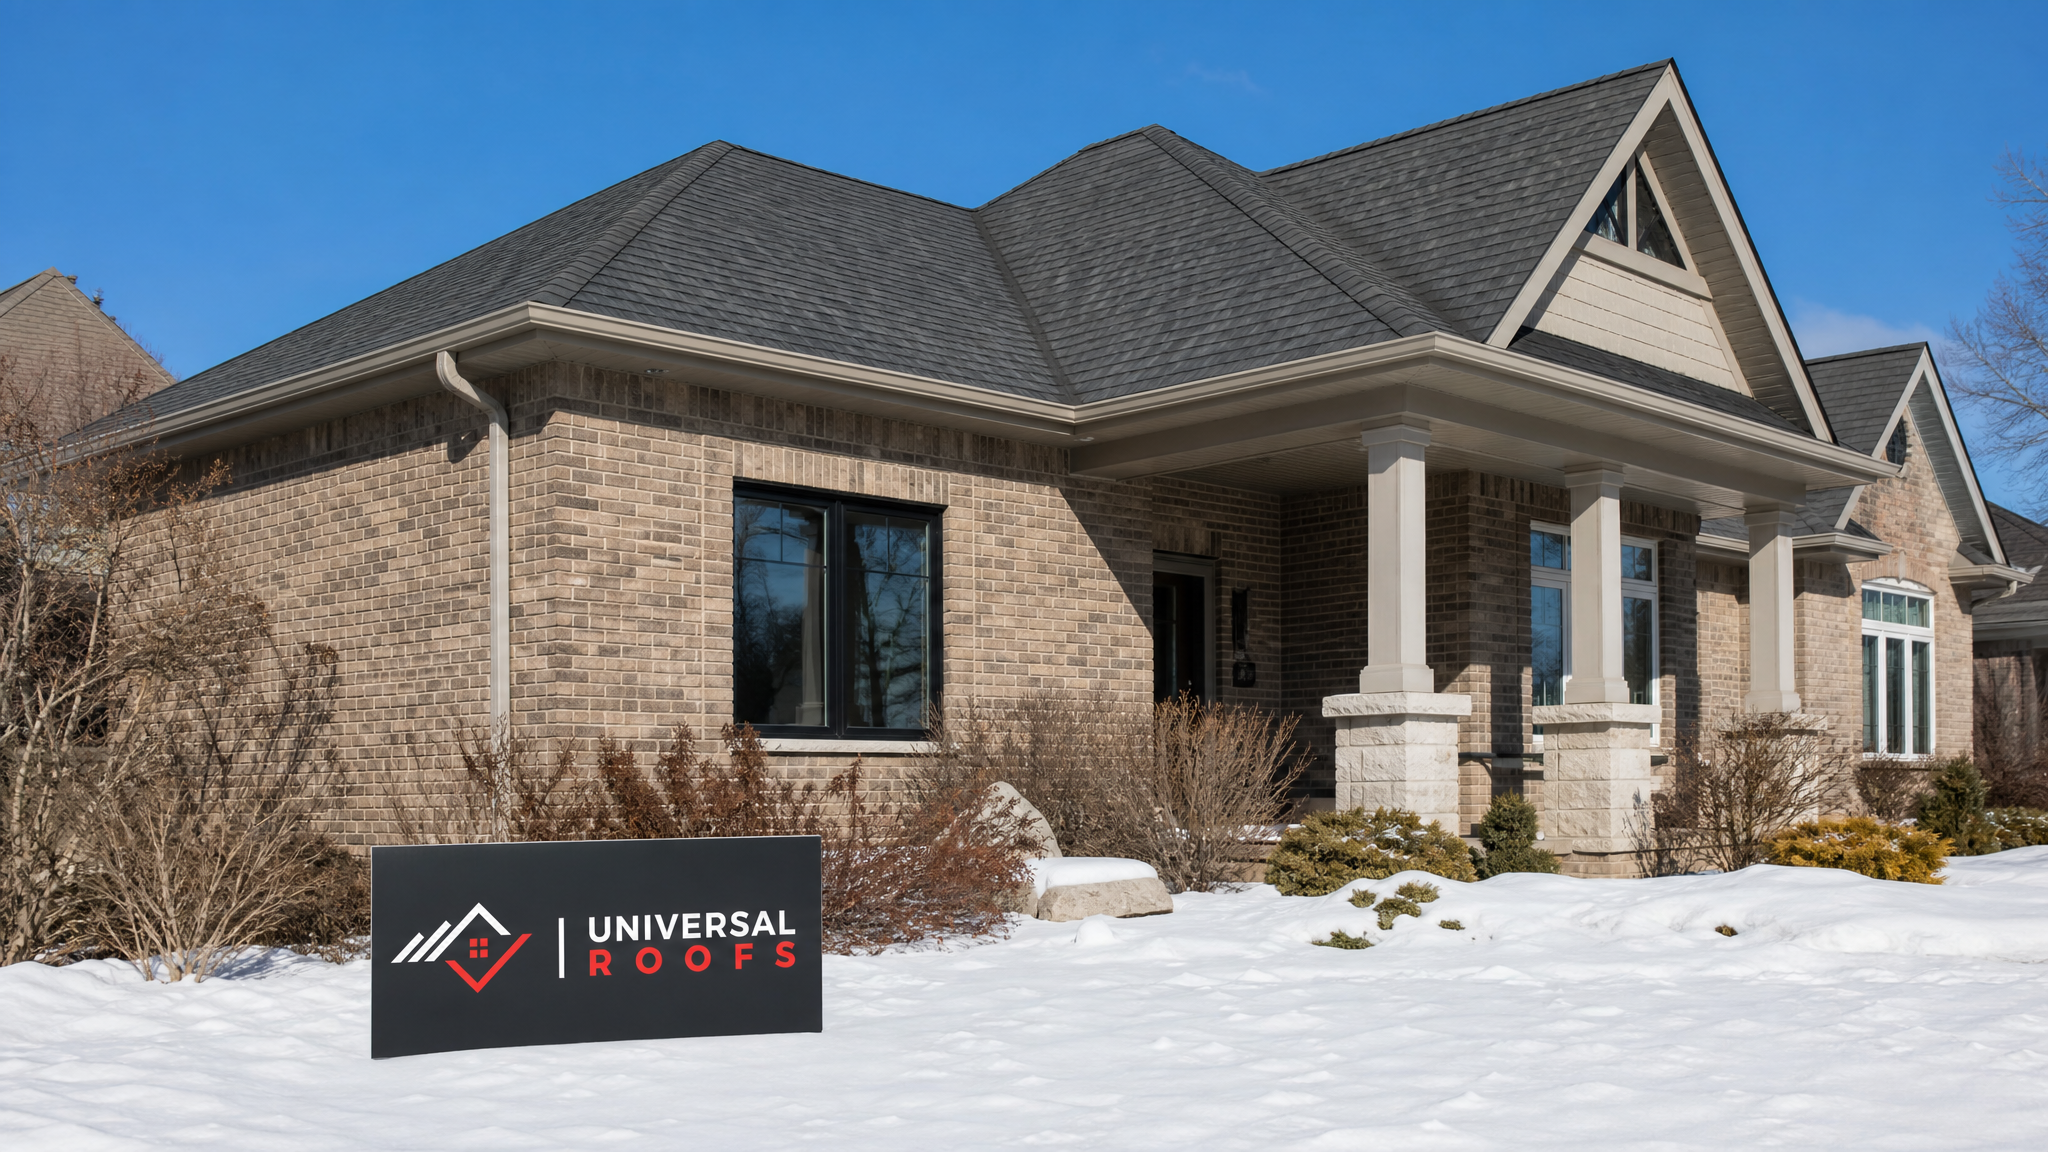
Why Ice Dams Form on GTA Roofs
Before getting into the tips for roof snow removal and ice dam prevention, it helps to understand exactly what causes an ice dam in the first place. An ice dam forms when heat escaping from the attic warms the upper section of the roof deck enough to melt the underside of the snow sitting on it. That meltwater trickles down the roof slope until it reaches the colder overhang above the eaves, where it refreezes into a ridge of ice. As the cycle repeats over days or weeks, the ridge grows thicker, eventually damming water behind it. That trapped water has nowhere to go but backward and upward, under the shingles, where it can seep into the roof deck, soffits, and ceiling insulation.
Toronto’s climate is almost purpose-built for this problem. Our winters swing repeatedly between deep freezes and brief thaws, sometimes within the same 48 hours, which means the freeze-thaw cycle that creates ice dams can happen several times in a single week. Homes with older attic insulation, poor ventilation, or recessed pot lights that leak warm air into the attic space are especially vulnerable. If you have ever noticed brown ceiling stains appearing every February near an exterior wall, there is a good chance an ice dam was the culprit.
Understanding this heat-loss mechanism is the key to effective prevention. Snow removal treats the symptom; proper attic insulation and attic ventilation treat the cause. The most effective approach combines both.
Tip 1: Know When Snow Load Actually Becomes a Structural Risk
Not every snowfall requires immediate roof clearing. Most residential roofs in Ontario are engineered to handle a significant snow load, and building codes in the GTA account for our regional snowfall averages. As a general guideline, fresh, dry powder snow is not usually a concern until it accumulates beyond roughly 60 centimetres in depth. The bigger danger comes from wet, heavy snow, or from repeated snowfalls that compact into a dense, ice-like layer, since a cubic metre of wet snow can weigh several times more than the same volume of dry powder.
Warning signs that a roof is under genuine structural stress include interior doors that suddenly stick or won’t close properly, new cracks appearing in drywall or plaster near the ceiling, popping or cracking sounds from the attic, and visible sagging in the roofline when viewed from the street. If you notice any of these signs, do not attempt DIY snow removal — contact a professional immediately for an emergency roof repair assessment.
| Snow Condition | Approximate Weight per m² | Risk Level for Typical GTA Roof | Recommended Action |
|---|---|---|---|
| Fresh dry powder | 50-100 kg | Low | Monitor; clearing usually not urgent |
| Settled/packed snow | 150-250 kg | Moderate | Consider partial removal, especially near valleys |
| Wet, heavy snow | 250-350 kg | High | Remove promptly, especially after multiple storms |
| Ice layer beneath snow | 350+ kg | Very High | Call a professional for assessment and removal |
| Snow plus standing meltwater (flat roofs) | Varies, adds significant load | Very High | Immediate drainage check and removal |
Tip 2: Use a Roof Rake From the Ground Rather Than Climbing Up
The single safest snow removal tool for most homeowners is a roof rake, a long-handled tool with a flat blade designed to pull snow off the lower few metres of a sloped roof while you stand safely on the ground. A roof rake with an extendable telescoping handle can typically reach 3 to 6 metres, enough to clear the eave area where ice dams start.
Work in the direction of the roof slope, starting near the edge and pulling snow toward you and off the roof — never push upward into the roof, as this can lift and damage shingles. Focus on removing just the first metre or two of snow along the eaves, which is the section most responsible for ice dam formation. There is no need, and real risk, in trying to clear an entire steep roof surface with a rake from the ground. Leave a thin layer of snow rather than scraping down to bare shingle, since dragging a metal or hard plastic edge directly against granules can strip them and shorten the life of the roofing material.
Never use a roof rake near overhead power lines, and always be aware of where the falling snow will land — clear the area below of people, pets, vehicles, and fragile plantings before you start.
Tip 3: Understand Why Climbing Onto the Roof Yourself Is a Bad Idea
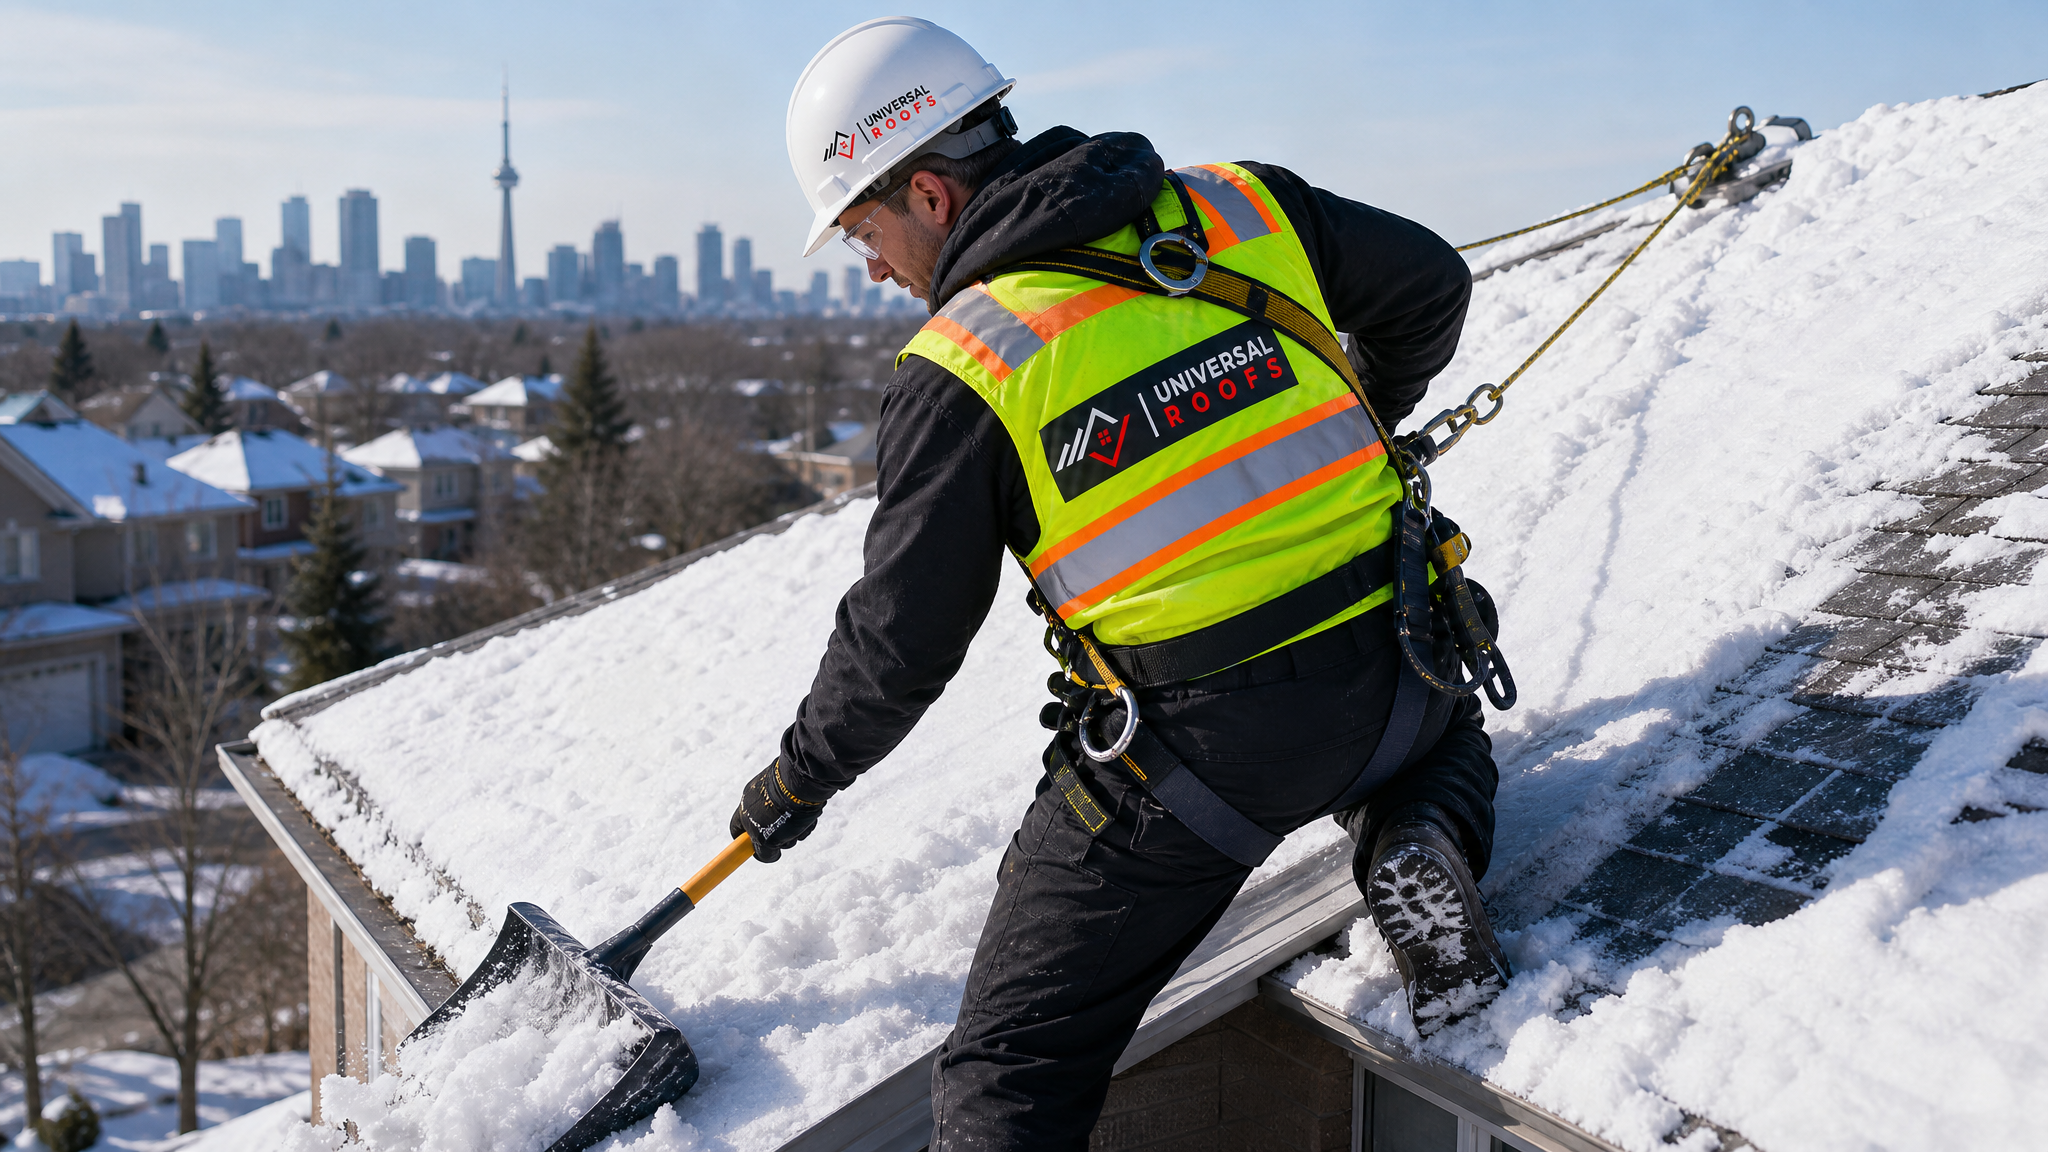
It is tempting to think that climbing onto the roof with a shovel will clear snow faster and more thoroughly than raking from below, but this is where most winter roofing injuries happen. Snow-covered and ice-covered shingles are extremely slippery, ladders become unstable in snow and slush at the base, and a fall from roof height during winter often means landing on a hard, frozen surface rather than a soft lawn.
Beyond the personal safety risk, an untrained person walking on a snow-covered roof cannot see what is underneath their feet. Vents, skylights, and roof penetrations are easy to miss under a blanket of snow, and stepping on one can crack a skylight or damage flashing that was otherwise in good condition. A metal shovel dragged across shingles can also gouge the surface, tear off granules, or puncture the underlying membrane on a low-slope section, turning a snow problem into a leak problem.
If a roof genuinely needs full clearing rather than just eave raking, this is the point where it makes sense to bring in a professional crew with proper harnesses, roof anchors, and non-metal tools rather than attempting it yourself.
Tip 4: Break Up Ice Dams Carefully — or Don’t Break Them at All
Once an ice dam has already formed, the instinct is to chip it away with a hammer, axe, or ice pick. This is one of the most damaging things a homeowner can do to a roof. Aggressively chipping at an ice dam almost always damages the shingles underneath, and it is easy to misjudge how deep the ice extends and accidentally puncture the roof deck itself.
A safer approach for a homeowner is to fill a long knee-high stocking or fabric tube with calcium chloride ice melt (never rock salt, which can damage shingles, gutters, and surrounding landscaping) and lay it vertically across the dam so it melts a channel through the ice, allowing trapped water to drain off the roof. This is a temporary fix, not a repair, and it should be treated as damage control while you arrange for a proper inspection.
For dams that are large, hardened, or located above a section of roof you cannot safely reach, the better move is to call in a professional who can use low-pressure steam equipment to melt the ice without harming the shingles. Steam melting is currently considered the gold standard for ice dam removal because it clears the ice without any physical abrasion to the roofing material.
| Ice Dam Removal Method | Effectiveness | Risk to Roofing Material | Best Used By |
|---|---|---|---|
| Hammer or axe chipping | Fast but crude | High — commonly punctures shingles/deck | Not recommended for anyone |
| Calcium chloride sock/channel | Moderate, creates drainage path | Low | Homeowners, as a temporary measure |
| Rock salt application | Moderate | High — corrodes metal, harms plants | Not recommended |
| Low-pressure steam melting | Very high, full removal | Minimal | Professional roofing crews |
| Roof rake on adjacent snow | Preventive, reduces future dam size | Low if used properly | Homeowners |
Tip 5: Improve Attic Insulation to Stop Ice Dams at the Source
Because ice dams are fundamentally a heat-loss problem, the most permanent fix is reducing how much warm air escapes into the attic in the first place. Common culprits include under-insulated attic floors, gaps around recessed lighting fixtures, unsealed bathroom exhaust fan ducts, and attic hatches without proper weatherstripping. Warm air rising from living spaces through any of these gaps heats the roof deck unevenly and accelerates the melt-refreeze cycle at the eaves.
A well-insulated attic in the GTA climate typically calls for an insulation value in the R-50 to R-60 range on the attic floor, along with careful air-sealing of every penetration before new insulation is added. Adding insulation on top of existing air leaks without sealing them first is a common mistake — it traps warm, moist air against the underside of the roof deck rather than stopping it from entering the attic. A thorough attic assessment can identify exactly where heat is escaping and recommend a targeted air-sealing and insulation plan rather than a generic top-up.
Tip 6: Confirm Your Attic Ventilation Is Balanced
Insulation keeps heat from entering the attic, but ventilation is what removes the small amount of heat and moisture that inevitably gets through, keeping the attic close to the outdoor temperature so snow melts evenly across the whole roof rather than concentrating at warm spots. Balanced ventilation relies on a continuous intake at the soffits and a corresponding exhaust at or near the ridge, allowing a steady flow of cold air to sweep through the attic space.
Problems arise when soffit vents are blocked by insulation that was pushed too far into the eaves, when there are too few roof vents for the attic’s square footage, or when bathroom fans are vented directly into the attic instead of outside through the roof or a gable wall. Any of these issues creates warm pockets that melt snow unevenly, feeding ice dam formation right above the problem area. A quick way to spot an imbalance is to look at your roof after a snowfall from the street — if some sections of snow are melting noticeably faster than others while the outdoor temperature stays below freezing, that pattern usually points to an attic heat or ventilation issue rather than sun exposure.
| Ventilation Symptom | Likely Cause | Recommended Fix | Urgency |
|---|---|---|---|
| Uneven snow melt pattern on roof | Localized heat loss or blocked vents | Attic inspection and vent clearing | Moderate |
| Frost or moisture on attic underside of roof deck | Insufficient ventilation, trapped humidity | Add/clear soffit and ridge vents | High |
| Ice dams recurring at the same spot yearly | Consistent local heat source (e.g., bath fan, pot light) | Seal and reroute exhaust ducting | High |
| Icicles forming evenly across entire eave line | General under-insulation | Full attic insulation upgrade | Moderate |
| Musty attic smell in winter | Trapped moisture, poor airflow | Ventilation balancing assessment | High |
Tip 7: Install Ice and Water Shield Protection During Your Next Roof Replacement
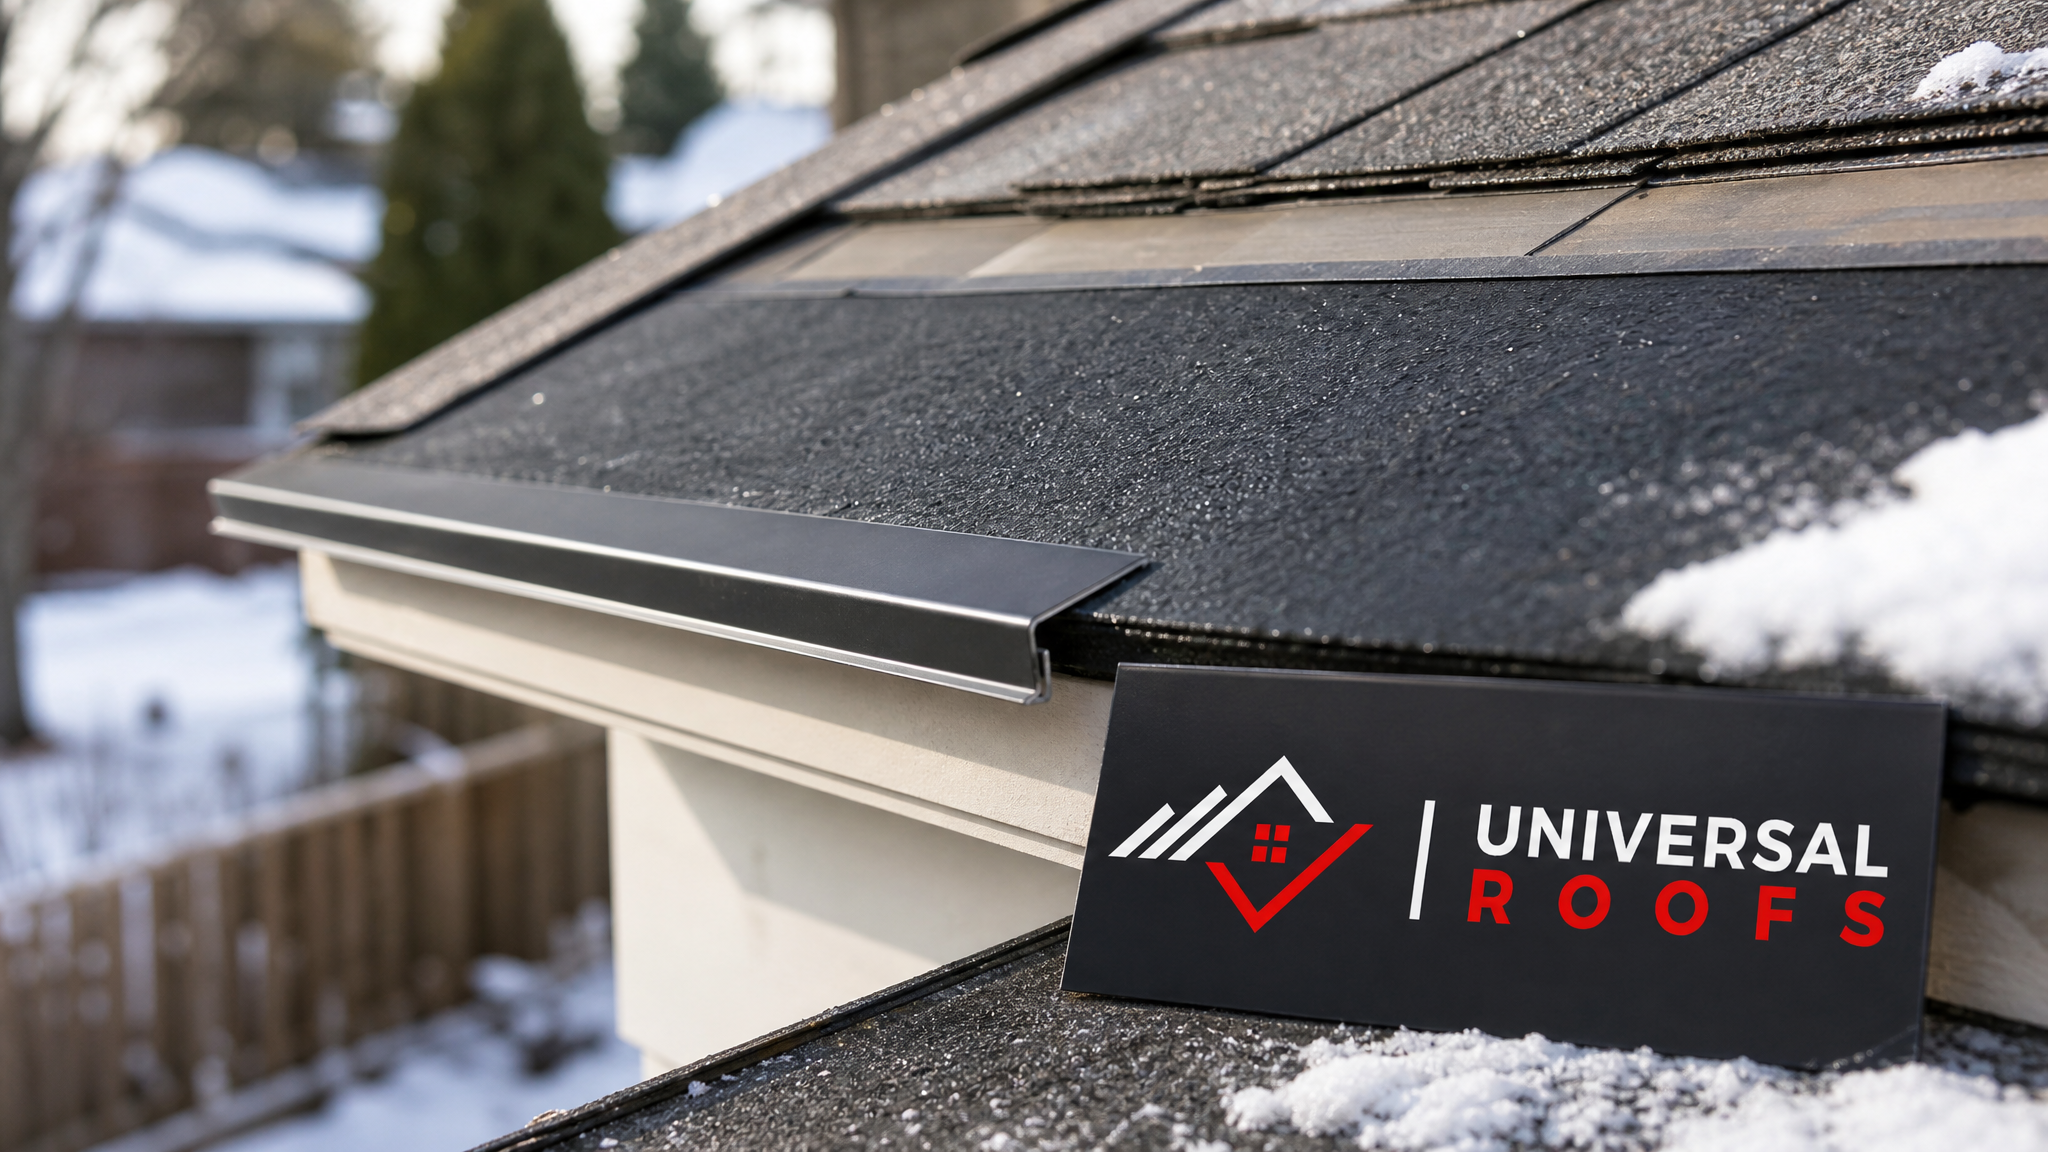
If your roof is due for renewal, one of the most effective long-term defences against ice dams is a self-adhering ice and water shield membrane installed along the eaves, in valleys, and around penetrations like skylights and chimneys before the shingles go on. This membrane seals tightly around roofing nails and creates a waterproof barrier, so even if an ice dam does form and water backs up under the shingles, it cannot reach the wood roof deck or the ceiling below.
Ontario building code has required ice and water shield along the eaves of sloped roofs for years precisely because of how common this problem is in our climate, but the extent and quality of the membrane used can vary a lot between installers. When planning a roof replacement, ask specifically how far up the roof slope the membrane will extend — code minimums cover the basics, but extending coverage further into valleys and low-slope transitions provides meaningfully better protection for homes that have had ice dam problems in the past.
For homes with flat or low-slope sections, the water management challenge is different but related — proper slope-to-drain design and a well-installed flat roofing membrane prevent meltwater from pooling in the first place, which sidesteps the ice dam problem entirely on those sections.
Tip 8: Schedule a Professional Pre-Winter Roof Inspection
The single most reliable of all the tips for roof snow removal and ice dam prevention is simply having your roof inspected before winter arrives. A pre-season inspection catches the small issues that turn into big problems once snow and ice are involved: lifted or missing shingles, deteriorated flashing around chimneys and skylights, clogged gutters that prevent proper drainage, and attic ventilation gaps that are far easier to fix in October than in the middle of a January cold snap.
During an inspection, a professional roofer will check the condition of the ice and water shield membrane, confirm that soffit and ridge vents are clear and functioning, look for any signs of previous water intrusion around the eaves, and assess whether the gutters and downspouts can handle meltwater flow. Catching a small flashing gap or a partially blocked vent in the fall is a minor fix; discovering the same issue in February after it has already caused a ceiling leak is a much larger and more expensive repair.
Homeowners across Toronto, the Peel Region, York Region, Halton Region, and Durham Region can book a fall assessment well before the first snowfall, giving enough time to complete any recommended repairs while the weather still cooperates.
| Inspection Item | Why It Matters for Ice Dams | Best Time to Check | Typical Fix Timeline |
|---|---|---|---|
| Shingle condition near eaves | Lifted/cracked shingles let meltwater in | Early fall | 1 day |
| Ice and water shield membrane | Primary barrier against dam backup | During any re-roof or major repair | Included with roofing project |
| Gutters and downspouts | Clogged gutters worsen eave icing | Late fall, after leaves drop | Half day |
| Attic insulation depth | Directly controls heat loss to roof deck | Early fall | 1-2 days |
| Soffit and ridge vent function | Keeps attic temperature even | Early fall | Half day to 1 day |
Putting It All Together for a Safer Winter
None of these eight tips work in isolation. Raking snow off the eaves helps in the moment, but it will not stop ice dams from reforming if the attic below is still leaking heat. Improving insulation and ventilation addresses the root cause but does nothing for the snow load already sitting on the roof during a given storm. The homeowners who have the fewest winter roofing problems are the ones who combine safe, ground-level snow management during the season with a proper insulation, ventilation, and membrane strategy addressed well before winter starts.
If you are unsure where your own roof stands, the most efficient starting point is a professional assessment rather than guesswork. An experienced roofer can look at your attic, your ventilation, your shingle condition, and your ice and water shield coverage in a single visit and tell you exactly which of these eight areas need attention before the next snowfall arrives.
What are the best tips for roof snow removal and ice dam prevention?
Is it safe to remove snow from my roof myself?
How do I know if an ice dam is causing damage to my roof?
Should I use rock salt to melt an ice dam?
How much attic insulation do I need to prevent ice dams in Toronto?
When is the best time to schedule a roof inspection for winter readiness?
Need Help With 8 Best Tips for?
Winter roof problems are almost always easier and cheaper to prevent than to repair after the fact. Universal Roofs has been helping GTA homeowners get their roofs ready for winter, and repairing the damage when ice dams slip through, for two decades.
Call us today at (416) 732-2421 or request a free inspection to get started.
Universal Roofs proudly serves Toronto, Mississauga, Brampton, Vaughan, Markham, Oakville and the GTA since 2005.