
A summer hailstorm can move through the Greater Toronto Area in fifteen minutes and leave behind a roof that looks fine from the driveway but is quietly failing underneath. Hailstones bruise shingle mat, crack sealant strips, and knock granules loose in patterns that are almost invisible from ground level, which is exactly why so many GTA homeowners miss the window to file a claim before damage turns into a leak. Knowing what to look for, and when to repair versus replace, saves thousands of dollars and a lot of stress.
This guide walks through seven practical tips for assessing roof hail damage repair or replace decisions, based on what our crews see on Toronto-area roofs after every major storm. Whether your roof took a direct hit this season or you are still dealing with bruising from a storm months ago, these steps will help you document the damage, work with your insurer, and choose the right repair path for your home.
Universal Roofs has been inspecting, repairing, and replacing hail-damaged roofs across the GTA since 2005, so we have seen the full range of outcomes — from a simple shingle patch to a full roof replacement after a severe hail event. The tips below reflect what actually works, not generic advice copied from a national blog.
Tip 1: Know What Hail Damage Actually Looks Like on a Roof
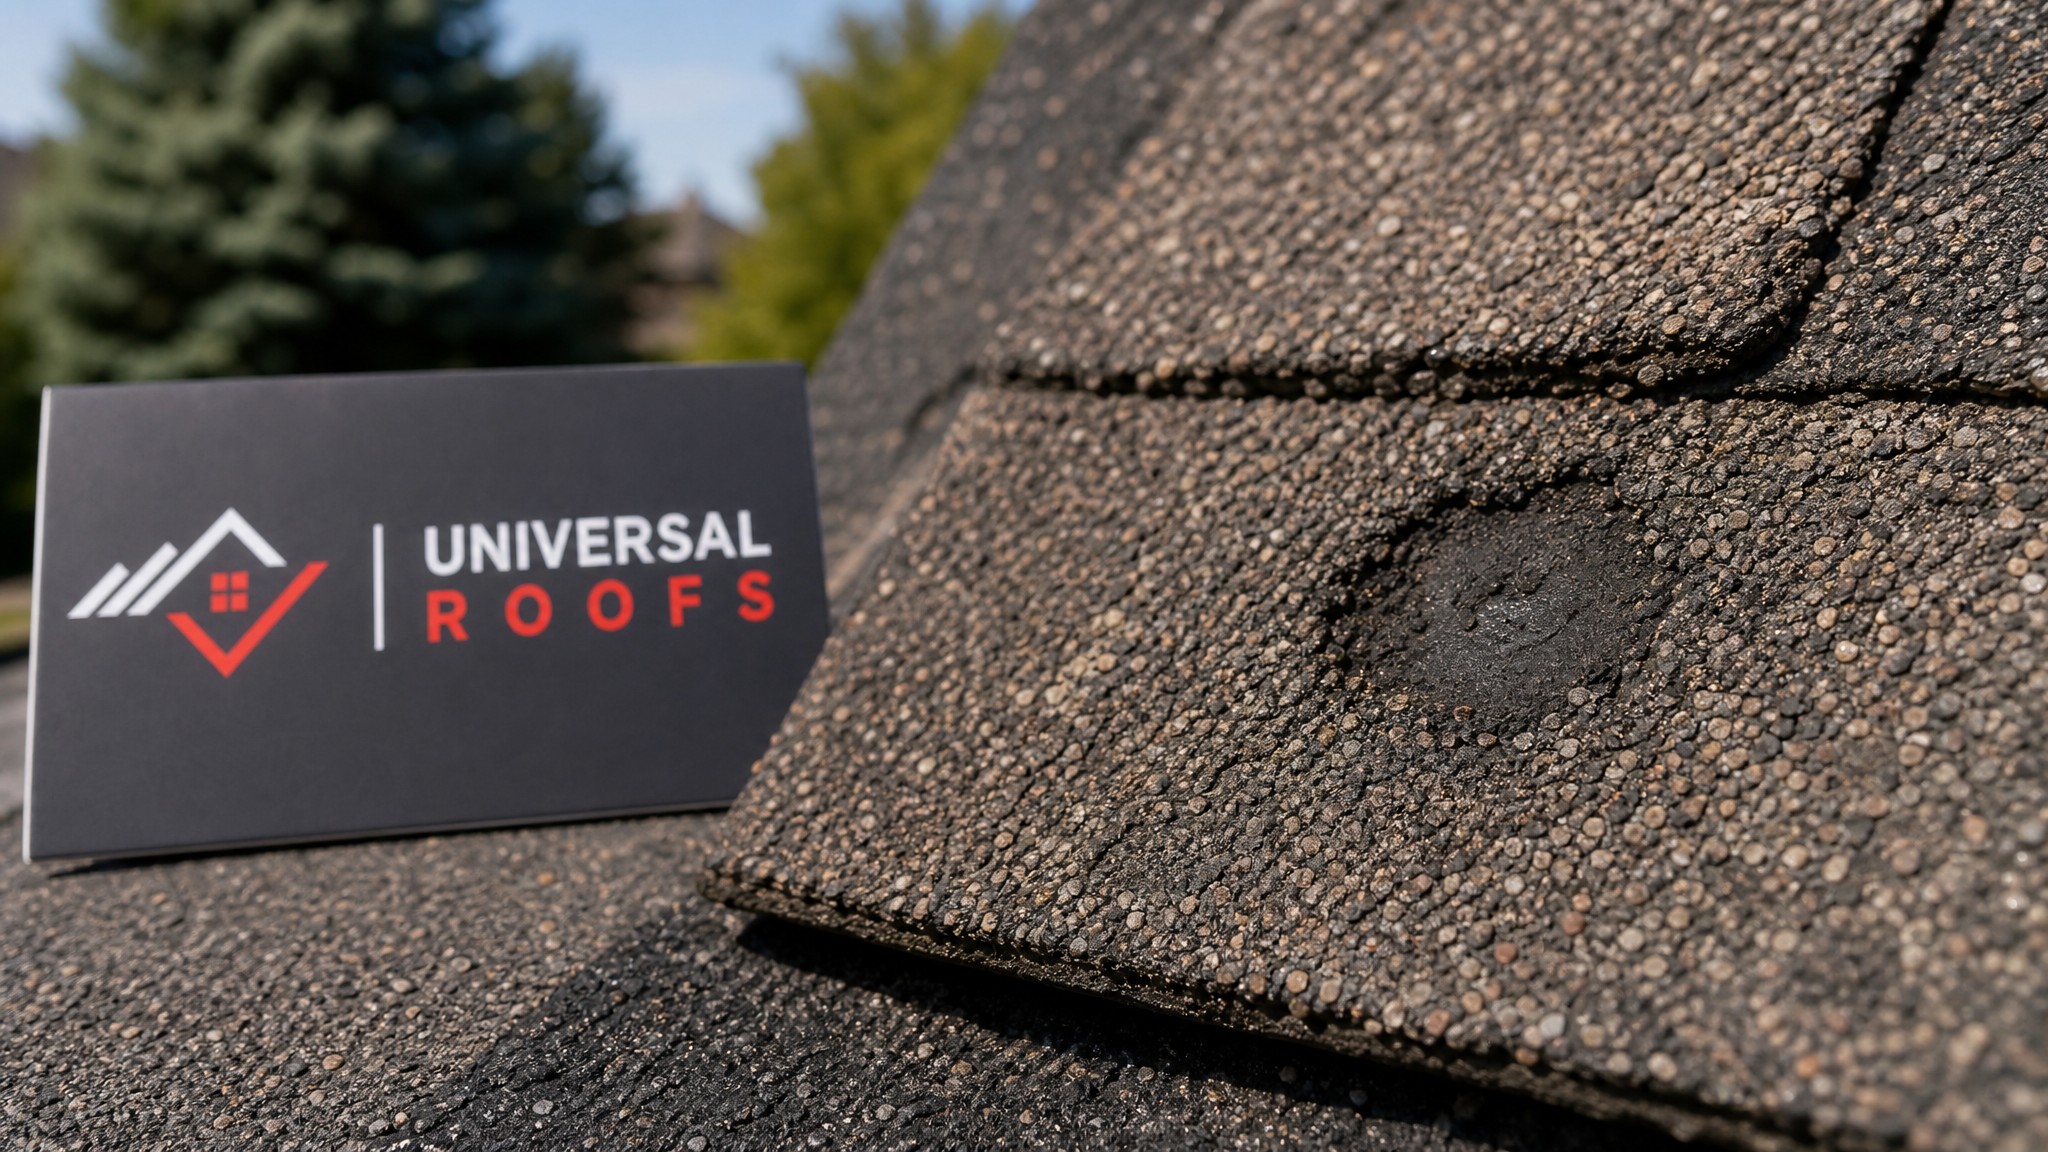
Most homeowners picture hail damage as obvious dents or holes, but on an asphalt shingle roof it rarely looks that dramatic. Hail impact typically shows up as circular bruising where the mat under the granules has been crushed, random granule loss that exposes the black asphalt underneath, and soft spots you can feel more than see. On metal roofing, hail leaves visible dimples or dents, which are easier to spot but not always a sign of a functional problem. On flat roofing membranes, hail can crack or split the surface, especially at seams and around penetrations — something our flat roofing crews check closely after every storm.
The tricky part is that fresh hail bruising often does not leak right away. A bruised shingle can hold for a full season before the compromised mat finally cracks and lets water through, which is why so many hail damage claims get denied when homeowners wait too long. If you noticed hail during a storm, even a moderate one, it is worth scheduling an inspection within a few weeks rather than waiting for a leak to appear.
Age matters too. A roof that is 3 years old will show damage differently than one nearing the end of its service life. Granule loss on a newer roof exposes fresh, still-flexible asphalt, while the same impact on an aging roof can crack shingles that have already become brittle from years of UV exposure and freeze-thaw cycling — a pattern we see constantly on Toronto roofs that have survived a decade or more of Ontario winters.
Tip 2: Document Everything Before You Touch the Roof
Insurance adjusters rely heavily on documentation, and the homeowners who get the smoothest claims are the ones who photograph damage methodically before any repairs begin. Start with wide shots of each roof slope from the ground, then move to close-ups of any visible bruising, cracked shingles, dented flashing, or damaged gutters and downspouts. Photograph the date on a phone or newspaper alongside the damage if possible, and keep a written log of the storm date, approximate hail size, and wind direction if you remember it.
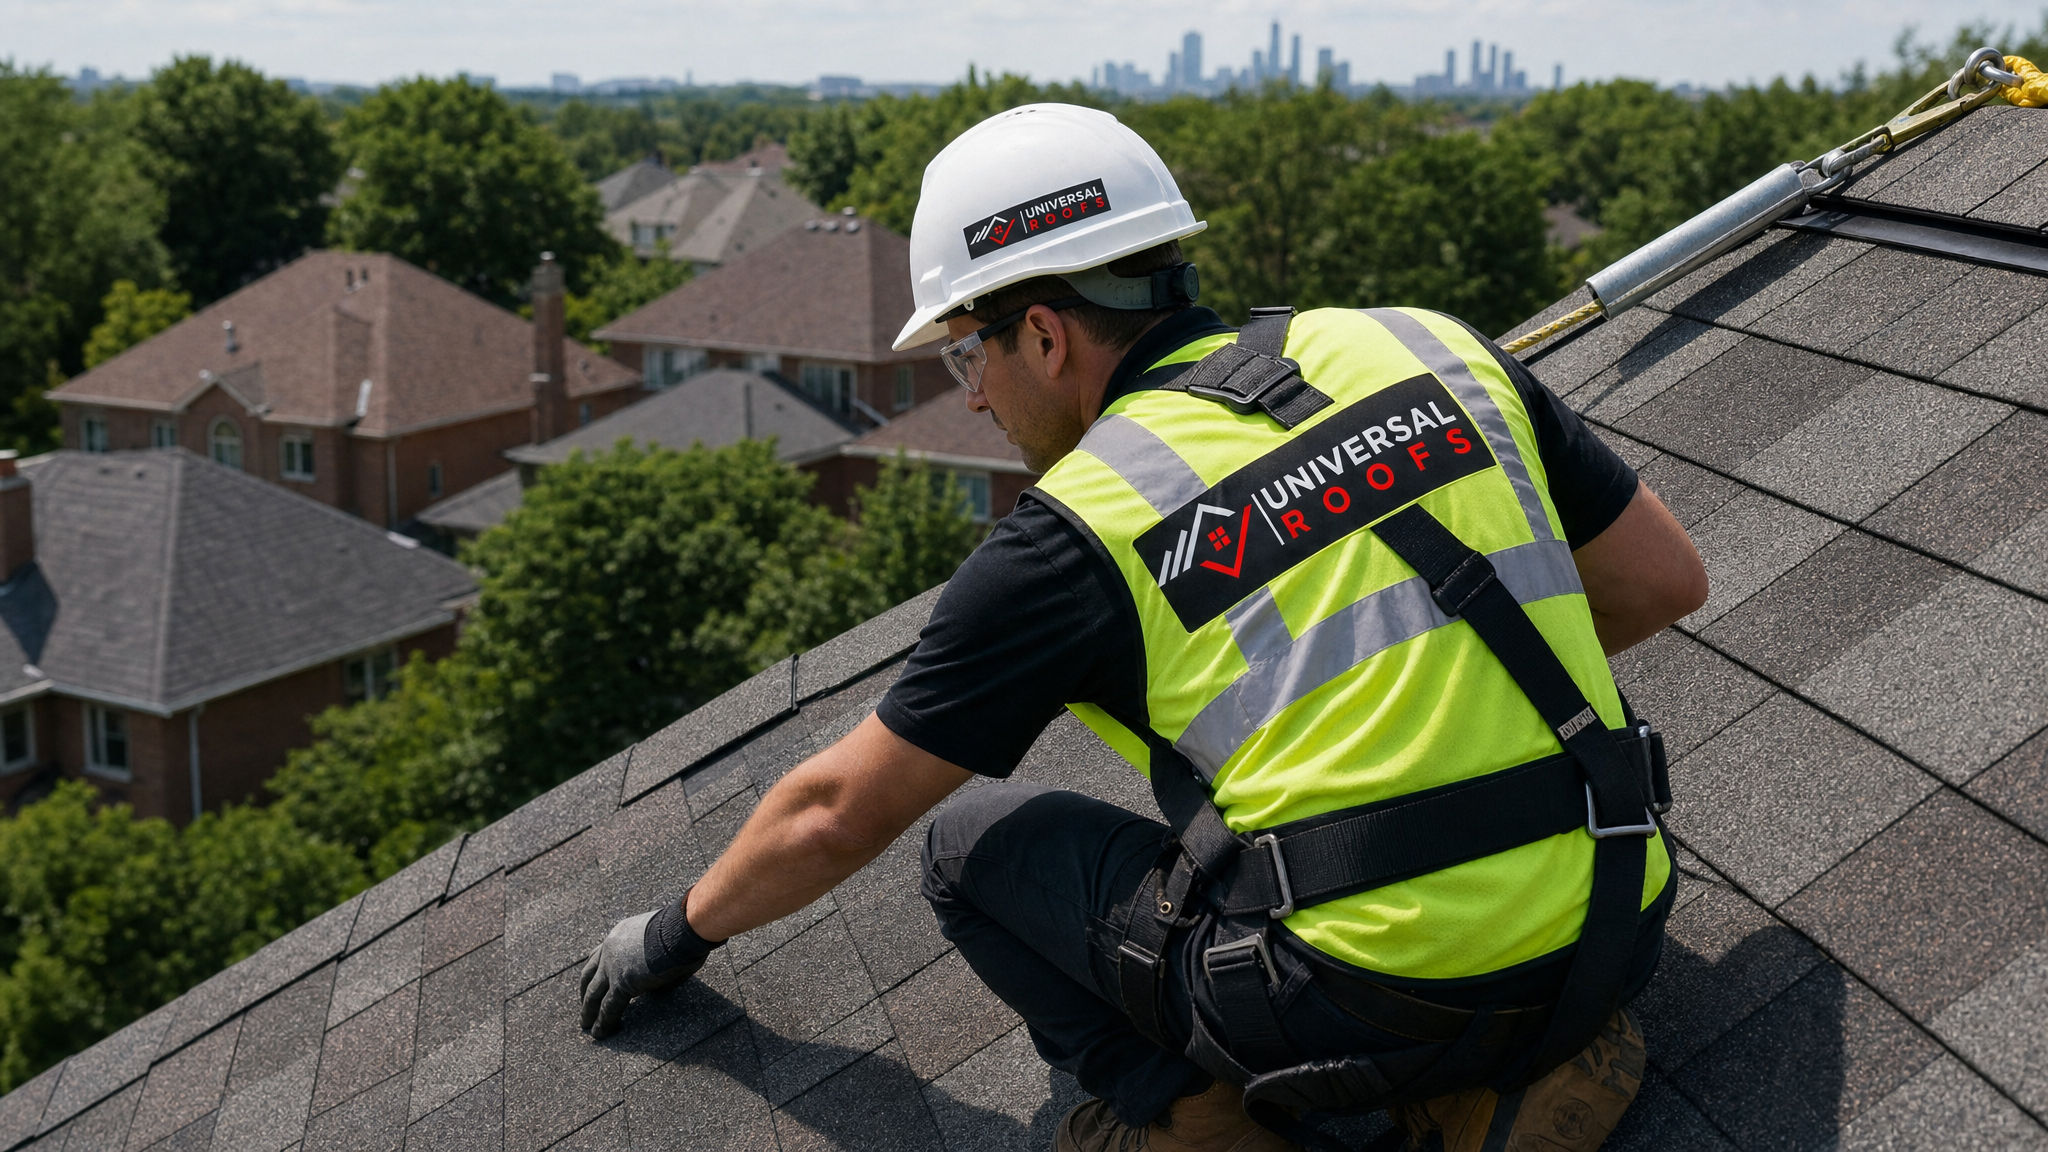
Do not climb onto the roof yourself to get better photos. Roof surfaces are far more slippery and unstable than they look, especially right after a storm when shingles may already be loosened, and a fall is a much more expensive problem than any roof. A licensed contractor has the harness, rope, and training to walk the roof safely and will document the damage more thoroughly than most homeowners can from a ladder.
It also helps to check neighbouring homes and local news reports. If several homes on your street report hail damage from the same storm, that corroborating evidence makes a claim much easier to support, since insurers sometimes push back on isolated claims that cannot be tied to a documented weather event.
| Documentation Item | Why It Matters | Best Practice | Common Mistake |
|---|---|---|---|
| Wide roof photos | Shows overall pattern and slope-by-slope damage | Photograph all slopes from ground level, multiple angles | Only photographing the most visible slope |
| Close-up bruising shots | Proves granule loss and mat damage to adjuster | Use zoom or a contractor’s roof-level photos | Blurry or overly distant images |
| Storm date and details | Ties damage to a specific, insurable weather event | Log the date, time, and approximate hail size immediately | Relying on memory weeks later |
| Gutter and downspout condition | Dents confirm hail size and impact force | Photograph dents alongside a tape measure | Ignoring gutters since they seem minor |
| Interior ceiling checks | Reveals leaks before they spread | Inspect attic and ceilings within days of the storm | Waiting for visible staining to appear |
Tip 3: Get a Professional Inspection Before You File a Claim
Filing a claim without a professional inspection first is one of the most common mistakes we see. Insurance companies send their own adjuster, and if that adjuster is not a roofing specialist, minor damage can be under-assessed or missed entirely, especially bruising that has not yet cracked the shingle surface. A contractor inspection gives you an independent, detailed report to compare against the adjuster’s findings, and in our experience it is the single biggest factor in whether a claim gets approved for a full roof replacement versus a partial patch.
During an inspection, a qualified roofer checks every slope, all flashing points, the ridge cap, vents, skylight curbs, and the gutters. Skylights deserve particular attention after hail, since impact damage around the frame or glazing can cause leaks long after the storm even if the shingles nearby look fine. If your home has skylights, ask your inspector to check them specifically — our skylights team frequently finds hail-related seal damage that a general roof inspection overlooks.
A thorough inspection typically takes 30 to 60 minutes for an average GTA home and should end with a written report, photos, and a clear recommendation. Be wary of any inspector who tries to rush you into signing a contract on the spot, or who cannot explain, slope by slope, exactly what damage they found and why it matters.
Tip 4: Understand How Insurers Decide Between Repair and Replacement
Insurance adjusters generally use a few consistent criteria to decide whether hail damage warrants a repair or a full replacement. The first is density of impacts per test square, usually measured as hits per 10-foot by 10-foot section of roof — most policies use a threshold of 8 to 12 functional hits per test square before they approve full replacement. The second is whether damage is spread across multiple slopes or concentrated on just one, since concentrated damage is more often approved for a partial repair. The third is the age and remaining life of the existing shingles, since a roof already near the end of its lifespan is more likely to qualify for full replacement even with moderate hail damage.
Matching also plays a role. Many provinces, including Ontario in most policy wordings, have some form of matching coverage that requires an insurer to replace an entire slope, or sometimes the entire roof, if the original shingle colour or profile is no longer manufactured and a patch would create a visibly mismatched section. This is worth raising directly with your adjuster if your shingles are more than a few years old, since manufacturers regularly discontinue colours and profiles.
Keep in mind that insurers and contractors sometimes disagree on borderline cases, which is normal. A second, independent inspection from a roofer with no stake in your claim amount is a reasonable step if you feel the initial assessment undervalued the damage.
| Damage Scenario | Typical Insurer Response | Recommended Path | Approx. Timeline |
|---|---|---|---|
| Isolated bruising, 1 slope, roof under 8 years old | Partial repair approved | Targeted shingle repair | 1-2 days |
| Widespread bruising, multiple slopes | Full replacement often approved | Full roof replacement | 2-4 days |
| Discontinued shingle colour/profile | Matching clause may trigger full slope or roof | Replacement of affected slope(s) | 2-3 days |
| Roof already 18+ years old | Replacement typically recommended regardless of hit density | Full roof replacement | 2-4 days |
| Minor cosmetic granule loss only | Often denied or repaired at homeowner cost | Monitor, repair if leaks develop | Ongoing monitoring |
Tip 5: Weigh the Real Cost Difference Between Repair and Replacement
Cost is usually the deciding factor once insurance coverage is settled, and it is worth understanding both the short-term and long-term math. A targeted roof repair addressing a handful of damaged shingles and some flashing might cost a fraction of a full replacement, but if the roof is already older, a repair only delays the inevitable and you may end up paying for both the patch and, a few years later, the replacement.
Full replacement makes more financial sense when damage is widespread, the existing shingles are past 15 to 20 years old, or when a partial repair would leave a visibly mismatched roof that could affect resale value. On the other hand, a repair is the right call when damage is localized, the roof is relatively young, and the existing shingles are still readily available for a clean match.
It is also worth factoring in what is under the shingles. Hail-related leaks that go unnoticed for a season can damage roof decking, insulation, and attic ventilation components, turning what should have been a $600 shingle repair into a $4,000 deck replacement. If you suspect any water intrusion, have your attic checked at the same time as the roof — catching decking damage early keeps the whole project in the repair category rather than pushing it into replacement territory.
| Repair Type | Typical GTA Cost Range | Best For | Expected Lifespan Added |
|---|---|---|---|
| Spot shingle replacement (under 10 shingles) | $400 – $900 | Isolated hail hits on a younger roof | Matches remaining roof life |
| Flashing and sealant repair | $300 – $700 | Damaged valleys, vents, or skylight curbs | 5-10 years |
| Single slope reshingling | $2,500 – $5,500 | Concentrated hail damage on one slope | 15-25 years on that slope |
| Full roof replacement (avg. GTA detached home) | $9,000 – $18,000+ | Widespread damage or aging roof | 20-30 years |
| Emergency tarping and temporary repair | $250 – $600 | Active leaks pending full assessment | Days to weeks, stopgap only |
Tip 6: Choose Impact-Resistant Materials if You Are Replacing
If your inspection and insurance review point toward a full roof replacement, this is the moment to consider upgrading to impact-resistant shingles rather than simply replacing like-for-like. Class 4 impact-rated shingles use a reinforced mat and modified asphalt formulation that resists cracking under hail impact far better than standard three-tab or architectural shingles, and many Canadian insurers offer a premium discount, often in the 10 to 30 percent range, for homes with Class 4 rated roofing.
Metal roofing is another option worth discussing, particularly for homeowners planning to stay in their home long term, since quality metal roofing can outlast two or three cycles of asphalt shingles and shrugs off all but the most severe hail events with only cosmetic dimpling. It costs more upfront but the total cost of ownership over 30 to 40 years often favours metal once you account for avoided repair and replacement cycles.
Whatever material you choose, make sure ventilation is addressed at the same time. Poor attic ventilation accelerates shingle aging from the underside, making the next hailstorm more damaging than it needed to be. A full replacement is the ideal time to correct any airflow issues, since the roof deck is already exposed and ventilation upgrades are far cheaper to install now than after the fact.
Tip 7: Time Your Repair or Replacement Around GTA Weather Patterns
Timing matters more than most homeowners realize. Summer, including right now in July, is peak hail season across the GTA, which makes it also the busiest season for roofing contractors doing storm-related repairs. If your roof has confirmed hail damage, getting on a contractor’s schedule promptly reduces the risk of a second storm compounding the damage before repairs begin, and it also avoids the scheduling backlog that tends to build through August and September after a busy storm season.
If your damage is more cosmetic and a full replacement is not urgent, early autumn is often the ideal window for a planned reshingling project in this region — temperatures are moderate for proper shingle sealing, and contractors typically have more availability than during peak summer storm response. Avoid scheduling any major roofing work deep into a Toronto winter if it can be helped, since cold-weather shingle installation requires special handling and sealant strips do not bond properly below certain temperatures.
Regardless of season, do not leave confirmed hail damage unaddressed through a full winter. Freeze-thaw cycling on already-compromised shingles accelerates cracking dramatically, and a roof that could have been patched in October sometimes needs full replacement by March simply because the damage was left exposed to winter conditions.
When to Call a Professional vs. Monitor the Roof Yourself
Not every hailstorm requires an immediate professional inspection, but there are clear signals that should prompt a call rather than a wait-and-see approach. Visible granule accumulation in gutters and downspouts after a storm, dented gutters or downspouts, cracked or missing shingles visible from the ground, and any sign of water staining on interior ceilings are all reasons to schedule an inspection within days, not months.
If the storm was minor and none of those signs are present, it is still reasonable to do a basic visual check from the ground and keep an eye on the roof over the following weeks, since slow leaks sometimes take time to show up. Homeowners across our service areas in Peel Region, York Region, Halton Region, and Durham Region all deal with slightly different storm patterns depending on local geography, so if you are ever unsure whether a storm was severe enough to warrant a look, it costs nothing to ask a contractor for a quick assessment.
For homeowners who have been through this process before, our reviews reflect the range of situations we handle, from small flashing repairs after a minor storm to full replacements following major hail events. We also maintain a detailed FAQ page covering common questions about insurance claims, timelines, and warranty coverage if you want more background before your inspection.
What are the best tips for roof hail damage repair or replace decisions?
How do I know if hail damage requires a full roof replacement instead of a repair?
Can hail damage be repaired without filing an insurance claim?
How long does a hail damage roof inspection take?
What is the best time of year to repair or replace a hail-damaged roof in the GTA?
Do impact-resistant shingles help prevent future hail damage?
Need Help With 7 Tips for Roof?
Deciding between a repair and a full replacement after a hailstorm is easier with an experienced eye on your roof. Universal Roofs has guided GTA homeowners through hail damage assessments, insurance claims, and repairs for two decades, and we can walk your roof, document the damage properly, and give you a straight answer on the right path forward.
Call us today at (416) 732-2421 or request a free inspection to get started.
Universal Roofs proudly serves Toronto, Mississauga, Brampton, Vaughan, Markham, Oakville and the GTA since 2005.