
Severe summer thunderstorms across the Greater Toronto Area frequently bring hail, and flat roofs take the brunt of the impact because their horizontal surface has nowhere for hailstones to deflect. Unlike a sloped shingle roof, a flat roof’s membrane absorbs a direct hit every time, which means even a brief hailstorm can leave behind punctures, bruising, and granule loss that quietly lead to leaks weeks or months later. Knowing the correct steps for repairing hail damage on flat roofs is essential for any GTA homeowner or property manager who wants to avoid a small membrane problem turning into a costly interior water event.
This guide walks through the seven practical steps we use at Universal Roofs when a client calls in after a hailstorm, from the first visual inspection to final documentation for an insurance claim. Whether you have a modified bitumen roof, an EPDM rubber membrane, or a TPO system, the underlying process is the same: assess, document, protect, repair, and verify. We will also cover realistic costs, timelines, and the warning signs that tell you it is time to call a professional rather than attempt a DIY patch.
Hail damage is deceptive. A membrane can look intact from the ground while hiding dozens of pinhole punctures and stress fractures that only become obvious once water starts tracking through the insulation layer. That is why a structured, methodical approach matters more on a flat roof than almost any other type of repair.
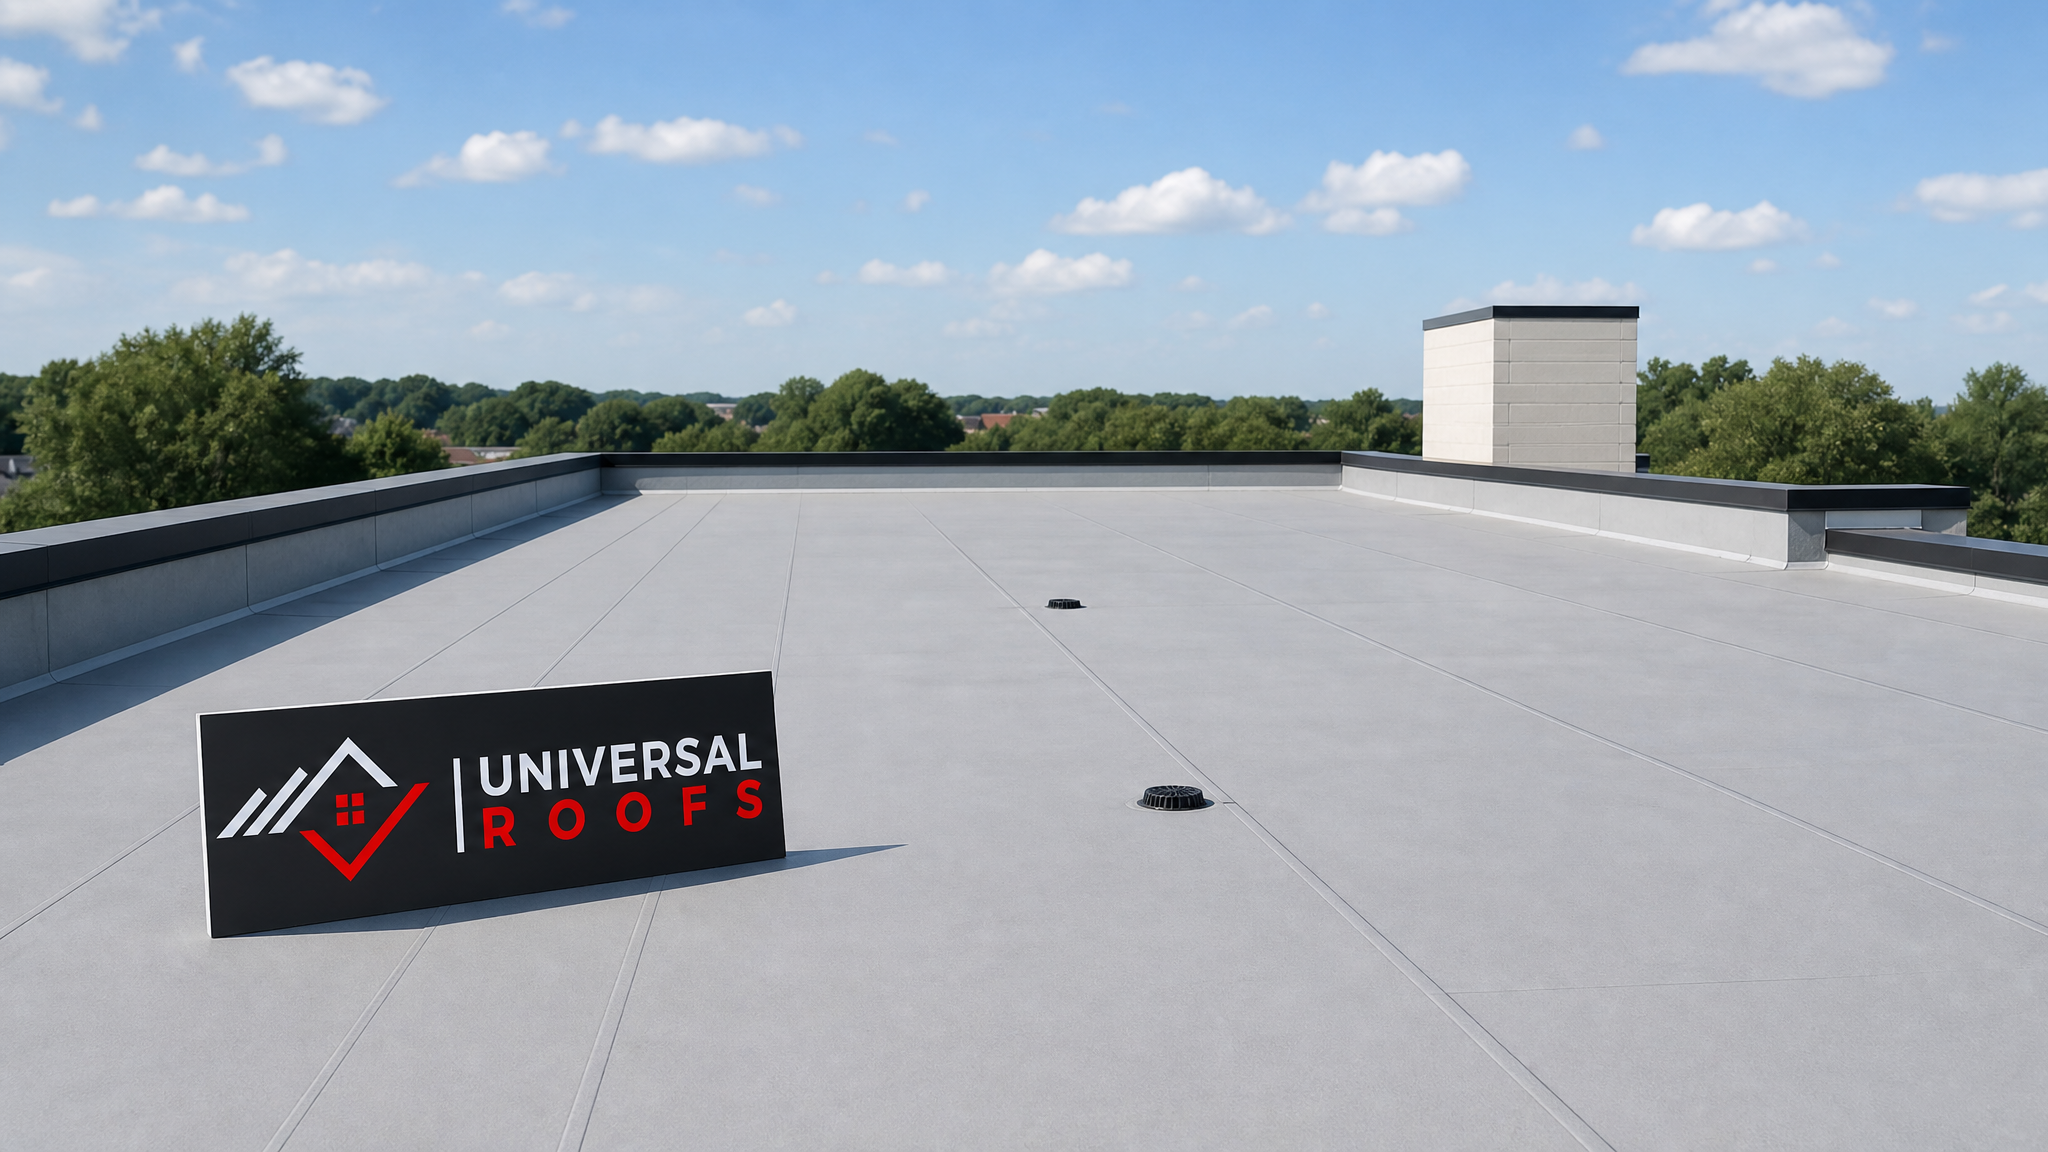
Step 1: Confirm the Storm Actually Caused Hail Damage
Before any repair work begins, it is important to confirm that the damage you are seeing was actually caused by hail rather than foot traffic, age-related cracking, or ponding water. Environment Canada storm reports and local news coverage can confirm hailstorm dates and approximate stone sizes in your neighbourhood, which helps establish a timeline for insurance purposes. Hail damage on a flat roof typically presents as small, roughly circular indentations or bruises in the membrane, often clustered on the side of the roof that faced the prevailing wind during the storm.
On flat roofing systems, the telltale signs include soft, spongy spots where the membrane has been compressed, exposed scrim or fibreglass reinforcement where the surface coating has been knocked loose, and small circular divots in gravel-ballasted systems where stones have been driven into the underlying membrane. On modified bitumen roofs, hail often knocks granules loose, leaving shiny bald patches. On EPDM rubber membranes, look for small crescent-shaped cuts or bruised, discoloured circles. TPO and PVC membranes may show cracking at the seams if the hail was large enough to flex the material sharply.
If you are unsure whether what you are seeing is storm damage or ordinary wear, this is the point to book a professional assessment rather than guess. A misdiagnosed roof can void an insurance claim or lead to a repair that does not actually address the underlying problem.
Step 2: Conduct a Full Roof Inspection and Document Everything
Once hail damage is suspected, the next of the critical steps for repairing hail damage on flat roofs is a comprehensive inspection, not just a quick look at the most obvious damage. Hail rarely strikes evenly. A roof can have heavy bruising near one parapet wall and comparatively minor damage 6 metres away, so the entire surface needs to be walked and mapped, including drains, flashing, pipe boots, HVAC curbs, and skylight perimeters.
Skylights and their flashing are especially vulnerable during hailstorms because the transition between the glazing unit and the roof membrane is a natural weak point; if you notice fogging, cracking, or a soft perimeter around a skylight after a storm, it is worth having it checked alongside the main roof, and in some cases a skylight replacement is more cost-effective than a repeated patch-and-repair cycle.
Document every finding with dated, timestamped photos, ideally with a tape measure or coin in frame for scale on close-up shots. Note the location of each damaged area relative to a fixed reference point, such as “3 metres north of the east parapet.” This level of detail matters enormously if you plan to file an insurance claim, since adjusters rely heavily on photographic evidence to approve a claim without requiring multiple site visits.
A drone or elevated photo of the full roof plane is also useful for showing the overall pattern of damage, which helps demonstrate that the issue is storm-related rather than isolated wear. Many Toronto-area insurers now accept drone documentation as part of a claim package, which can speed up approval considerably.
What to Check During a Post-Hail Inspection
| Roof Component | What to Look For | Risk Level | Typical Result if Ignored |
|---|---|---|---|
| Membrane field | Bruising, punctures, granule loss | High | Slow leak, insulation saturation |
| Seams and laps | Separation, cracking at edges | High | Water intrusion at weakest point |
| Flashing and parapets | Dents, loosened fasteners | Medium | Wind uplift, water bypass |
| Drains and scuppers | Debris blockage, cracked collars | High | Ponding water, overflow |
| Skylight perimeters | Cracked glazing, loose flashing | Medium | Interior water staining |
| Rooftop equipment curbs | Dented sheet metal, gasket damage | Medium | Localized leak near HVAC units |
Step 3: Assess Interior Ceilings and Attic Spaces for Early Warning Signs
Hail damage on a flat roof does not always announce itself immediately from outside. Often the first real evidence a homeowner sees is a faint yellow-brown ring on a ceiling tile or drywall, sometimes weeks after the actual storm. Checking the attic or the space directly beneath the flat roof deck for damp insulation, discoloured sheathing, or a musty smell is a critical part of the diagnostic process, because it tells you whether water has already begun to migrate through a compromised membrane.
If moisture is found in the attic or ceiling before any exterior repair has been made, it is important to address ventilation and drying alongside the membrane repair itself. Trapped moisture in insulation can lead to mould growth within 48 to 72 hours in warm, humid summer conditions, so this step should never be delayed simply because the exterior repair is scheduled for later in the week.
In older GTA homes with limited attic ventilation, hail-related leaks can be particularly slow to reveal themselves because airflow is poor and moisture lingers rather than evaporating. A thermal or moisture-meter scan during the interior inspection can catch dampness that is not yet visible to the naked eye, giving you a head start on repairs before staining or structural damage sets in.
Step 4: Apply Temporary Protection to Prevent Further Water Intrusion
If the inspection reveals active leaks or if rain is forecast before permanent repairs can begin, the next step is temporary protection. This typically means installing a reinforced tarp or emergency membrane patch over the damaged section, sealed at the edges with roofing-grade tape or mechanical fasteners rather than household duct tape, which fails quickly in UV exposure and humidity.
Temporary protection should never be treated as a substitute for permanent repair, but it buys time, particularly during peak summer storm season when a second or third hailstorm can strike the same neighbourhood within days of the first. On commercial flat roofs, temporary protection often includes clearing and covering drains to prevent ponding water from building up over compromised areas while the permanent fix is scheduled.
For homeowners uncomfortable getting on a ladder or roof themselves, this is a reasonable point at which to call in a roof repair team for an emergency callout rather than risk a fall or an improperly sealed tarp that lets in more water than it keeps out.
Step 5: Repair or Replace the Damaged Membrane Sections
This is the core repair step, and the exact method depends on the membrane type and the severity of the hail damage. Minor bruising with no puncture may only require a reinforced patch and a fresh coat of protective coating. Punctures through the membrane require the damaged section to be cut out entirely and replaced with a new patch that is properly welded, torched, or adhered depending on the system, then covered with a compatible cap sheet or liquid-applied flashing to restore a watertight seal.
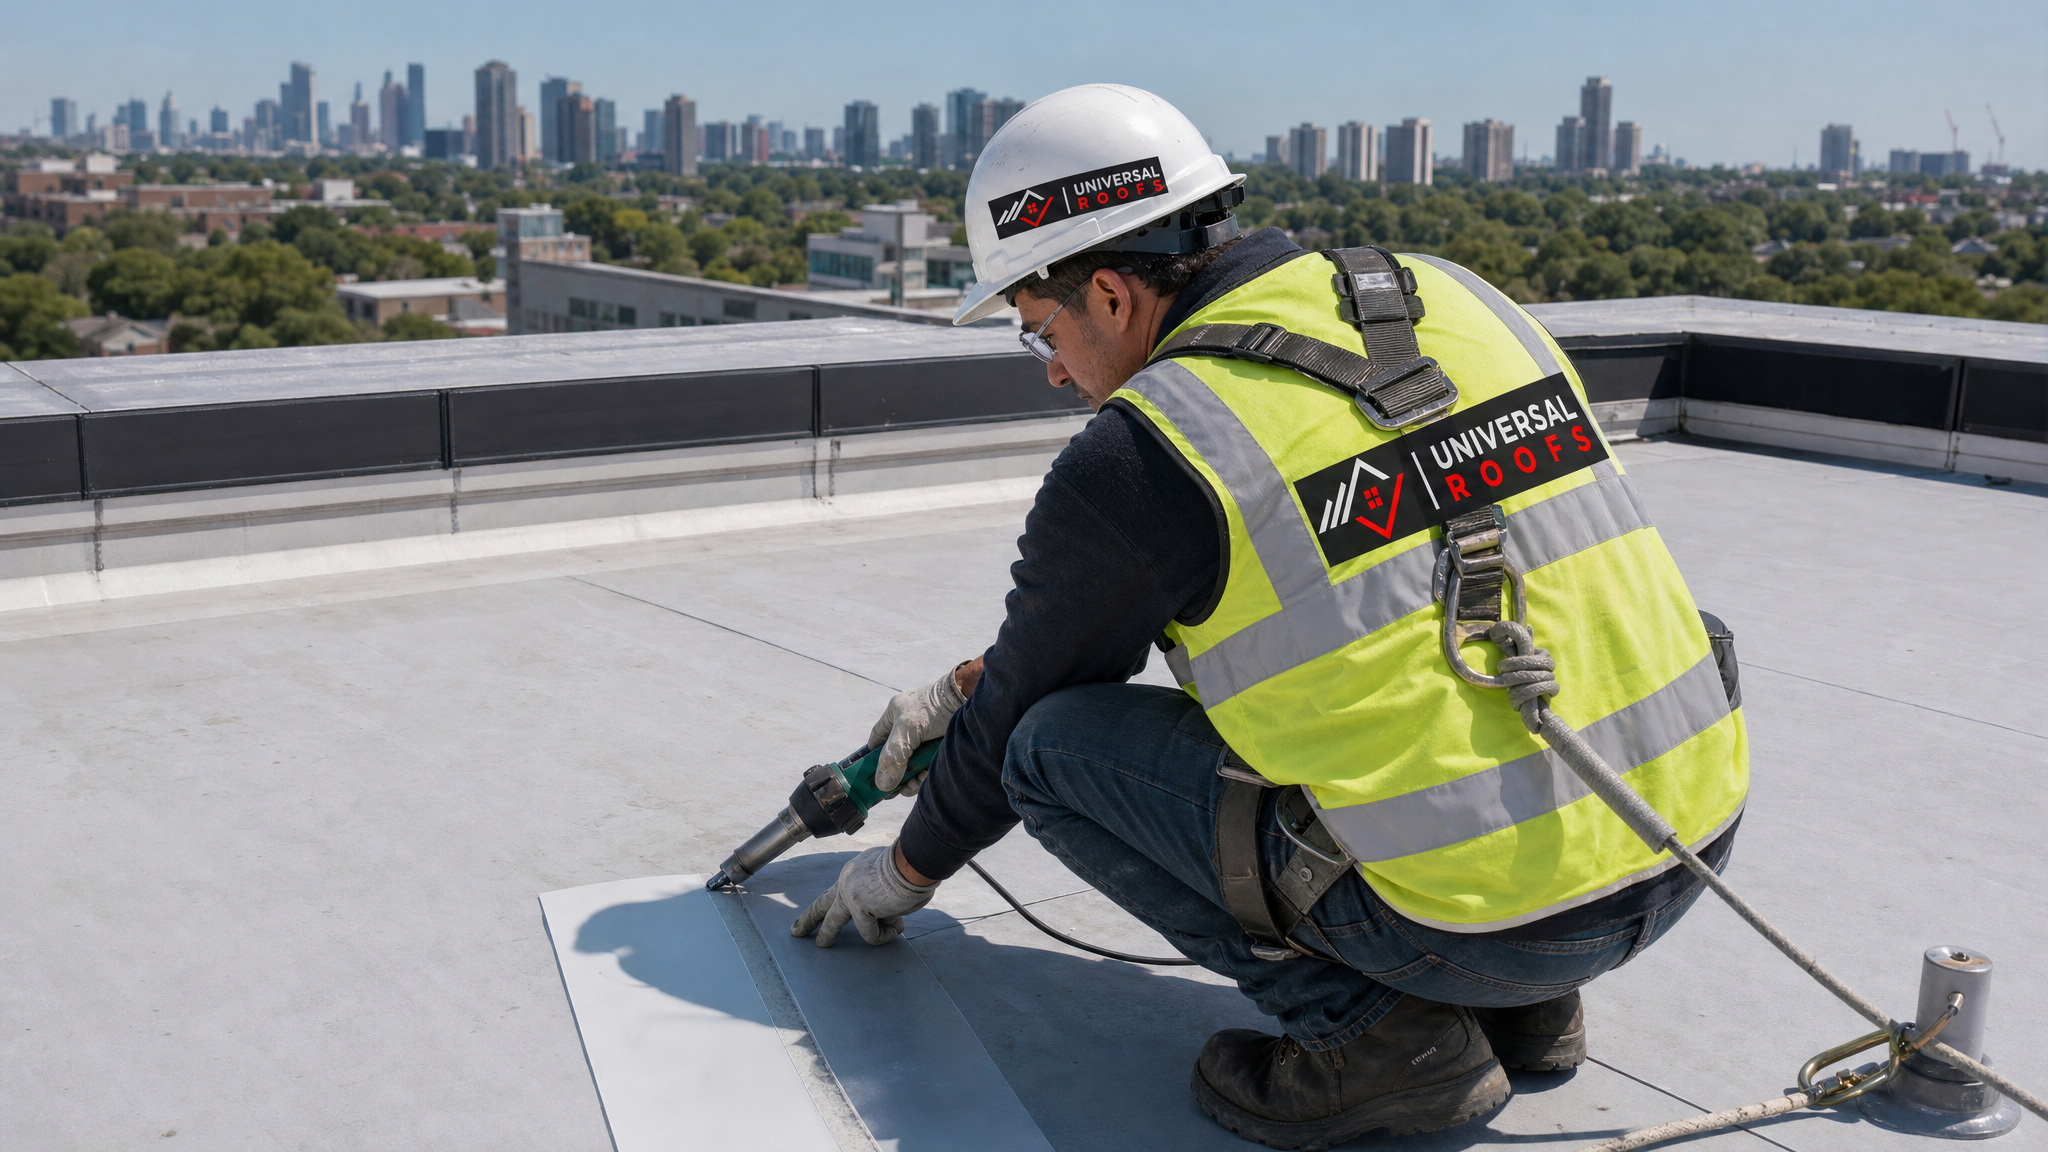
On EPDM systems, repairs typically use a seam primer and uncured or cured EPDM patch material with a lap sealant over the edges. TPO and PVC membranes require hot-air welding to fuse the patch to the existing membrane, which demands specialized equipment and experience to get a consistent, leak-proof bond. Modified bitumen repairs generally involve torch-applying a new cap sheet section over the damaged area after cleaning and priming the surrounding membrane.
When hail damage is extensive across the roof rather than confined to a few isolated spots, patch repairs stop making financial sense. At that point, a full or partial roof replacement is usually the more cost-effective long-term solution, since repeated patching on a heavily bruised membrane tends to produce recurring leaks at new locations every storm season.
Membrane Type vs. Typical Hail Repair Method
| Membrane Type | Common Hail Damage | Repair Method | Typical Cost per Repair Area (CAD) |
|---|---|---|---|
| EPDM (rubber) | Bruising, small punctures | Primer + cured patch + lap sealant | $350 – $900 |
| TPO | Cracked seams, punctures | Hot-air welded patch | $400 – $1,100 |
| PVC | Seam separation, punctures | Hot-air welded patch | $400 – $1,100 |
| Modified bitumen | Granule loss, blistering, tears | Torch-applied cap sheet patch | $500 – $1,300 |
| Built-up roof (BUR) | Gravel displacement, membrane bruising | Gravel removal, patch, re-ballast | $600 – $1,500 |
Step 6: Check and Repair Flashing, Drains, and Rooftop Penetrations
Hail rarely damages only the flat field of the membrane. Flashing around parapet walls, HVAC curbs, vent stacks, and skylights is often bent, loosened, or cracked during the same storm, and these penetrations are already the most common source of roof leaks even without hail involved. Every repair job should include a full check of fastener tightness, sealant condition, and the integrity of metal flashing profiles.
Drains and scuppers deserve particular attention because a flat roof depends entirely on unobstructed drainage to avoid ponding water, and hailstones combined with storm debris frequently clog drain strainers. A blocked drain during the next heavy rainfall can turn a minor membrane repair into a full-blown ponding problem that stresses the whole roof system, not just the originally damaged area.
If your flat roof has skylights and the storm was severe enough to crack glazing or bend flashing, it is worth having that assessed at the same time as the membrane repair rather than as a separate callout later. Bundling flashing, drain, and skylight repairs into one visit reduces both cost and the number of separate points where water could re-enter the building envelope.
Step 7: Final Inspection, Water Testing, and Insurance Documentation
The final step in the process is verification. A reputable contractor will perform a water test on repaired sections, either with a controlled hose test or by monitoring the repair through the next natural rainfall, to confirm the seal is genuinely watertight before calling the job complete. Skipping this step is one of the most common reasons homeowners end up with a “repaired” roof that still leaks during the next storm.
This is also the point to finalize your insurance paperwork. Most GTA insurers require a contractor’s written assessment, before-and-after photos, and an itemized invoice to process a hail damage claim. Keep copies of everything, including the original storm date documentation from Step 1, since insurers sometimes request additional evidence weeks after the initial claim is filed. A well-documented file also protects you if a related issue surfaces later and needs to be tied back to the same storm event.
Once the repair is verified and documented, ask your contractor for a written workmanship warranty. Reputable roofers back membrane patch work with a warranty period, typically one to five years depending on the scope of repair, which gives you recourse if a patch fails prematurely.
DIY vs. Professional Repair: What Homeowners Should Weigh
Some homeowners are tempted to patch small hail damage themselves with roofing cement from a hardware store. For a truly minor cosmetic scuff on an accessible, low-slope garage roof, this might hold for a season. But for anything beyond superficial surface wear, DIY patching on a flat roof carries real risk, both from a safety standpoint and from a workmanship standpoint, since improperly bonded patches often trap moisture underneath rather than sealing it out.
| Factor | DIY Patch | Professional Repair |
|---|---|---|
| Membrane compatibility | Often mismatched, prone to premature failure | Matched material and proper bonding method |
| Safety equipment | Rarely used correctly | Harness, fall protection, trained crew |
| Warranty | None | Typically 1–5 years |
| Insurance documentation | Inconsistent or missing | Professional report accepted by insurers |
| Long-term cost | Frequent re-patching | Durable, verified watertight repair |
How Long Does Hail Damage Repair Take?
For an isolated area of hail damage, most flat roof repairs can be completed in a single day, including inspection, patching, and water testing. Larger or more widespread damage, particularly if it involves multiple flashing points, drains, and a skylight, can take two to three days. If the roof requires a partial or full membrane replacement due to extensive bruising across the field, the timeline extends to several days depending on roof size and weather conditions, since membrane work cannot proceed safely during active rain.
Summer is generally the best season for this kind of repair work in the GTA, since warm, dry conditions allow adhesives and torch-applied materials to cure properly and give crews the longest possible daylight windows to complete multi-day jobs without weather delays.
Preventing Future Hail Damage on Your Flat Roof
While you cannot control the weather, you can reduce the impact of future hailstorms. Impact-resistant membrane upgrades, additional cap sheet layers, and protective gravel ballast all add a measure of resilience. Routine seasonal inspections, particularly in spring before storm season and again in fall, help catch small issues before they become emergencies. Keeping drains clear year-round also reduces the compounding risk that ponding water adds on top of any hail-related punctures.
If your roof is more than 15 to 20 years old and has already sustained multiple hail events, it may be more economical over the long run to plan for a full roof replacement with a more impact-resistant membrane system rather than continuing to fund incremental repairs after every storm.
Serving Homeowners Across the GTA
Hailstorms do not respect municipal boundaries, and neither does our service area. We regularly respond to flat roof hail damage calls throughout Toronto, Peel Region, York Region, Halton Region, and Durham Region. Local storm patterns can vary significantly street to street, which is part of why an in-person inspection is always more reliable than assuming your roof escaped damage just because a neighbour’s did not report any issues.
You can read about past customer experiences on our reviews page, browse common questions on our FAQ page, or learn more about our history on the about page.
What are the steps for repairing hail damage on flat roofs?
How can I tell if my flat roof has hail damage?
Is hail damage on a flat roof covered by insurance?
Can I repair hail damage on a flat roof myself?
How much does flat roof hail damage repair cost in the GTA?
How long does a flat roof hail repair take to complete?
Need Help With 7 Steps for Repairing?
If a recent hailstorm has left your flat roof with bruising, punctures, or early signs of a leak, do not wait for a small problem to become a major one. Universal Roofs has the experience and equipment to properly diagnose and repair hail damage on every major flat roof membrane type.
Call us today at (416) 732-2421 or request a free inspection to get started.
Universal Roofs proudly serves Toronto, Mississauga, Brampton, Vaughan, Markham, Oakville and the GTA since 2005.