
Every roof sends warning signs long before it fails outright, and learning to read those signs is the single most cost-effective skill a homeowner can develop. The key indicators for roof patching and repair range from obvious problems like missing shingles to subtle clues such as a musty smell in a spare bedroom or a slightly sagging ceiling line. In the Greater Toronto Area, where roofs endure deep winter freezes, spring meltwater, summer UV exposure, and sudden autumn windstorms, these indicators tend to show up faster than in milder climates, which makes early detection even more important.
This guide walks through the visible, structural, interior, and seasonal indicators that tell you a roof needs a patch rather than a full replacement, how professionals evaluate those signs during an inspection, and when a repair genuinely is enough versus when it is only delaying the inevitable. We will also cover typical costs, timelines, and the materials used for different types of repairs, so you know what to expect before a contractor ever steps on your roof.
Whether you are dealing with a sudden leak after a summer thunderstorm or you simply want to be proactive with a roof that is approaching the back half of its service life, understanding these indicators helps you make an informed decision rather than a panicked one. A qualified roof repair assessment can confirm what you find, but knowing what to look for first puts you in a much stronger position.
Visible Exterior Warning Signs You Can Spot From the Ground
Most homeowners first notice a roofing problem from the ground, often while doing yard work or washing windows. You do not need to climb onto the roof to catch the earliest indicators. Binoculars, a smartphone camera zoomed in, or even just stepping back across the street on a sunny day can reveal a surprising amount.
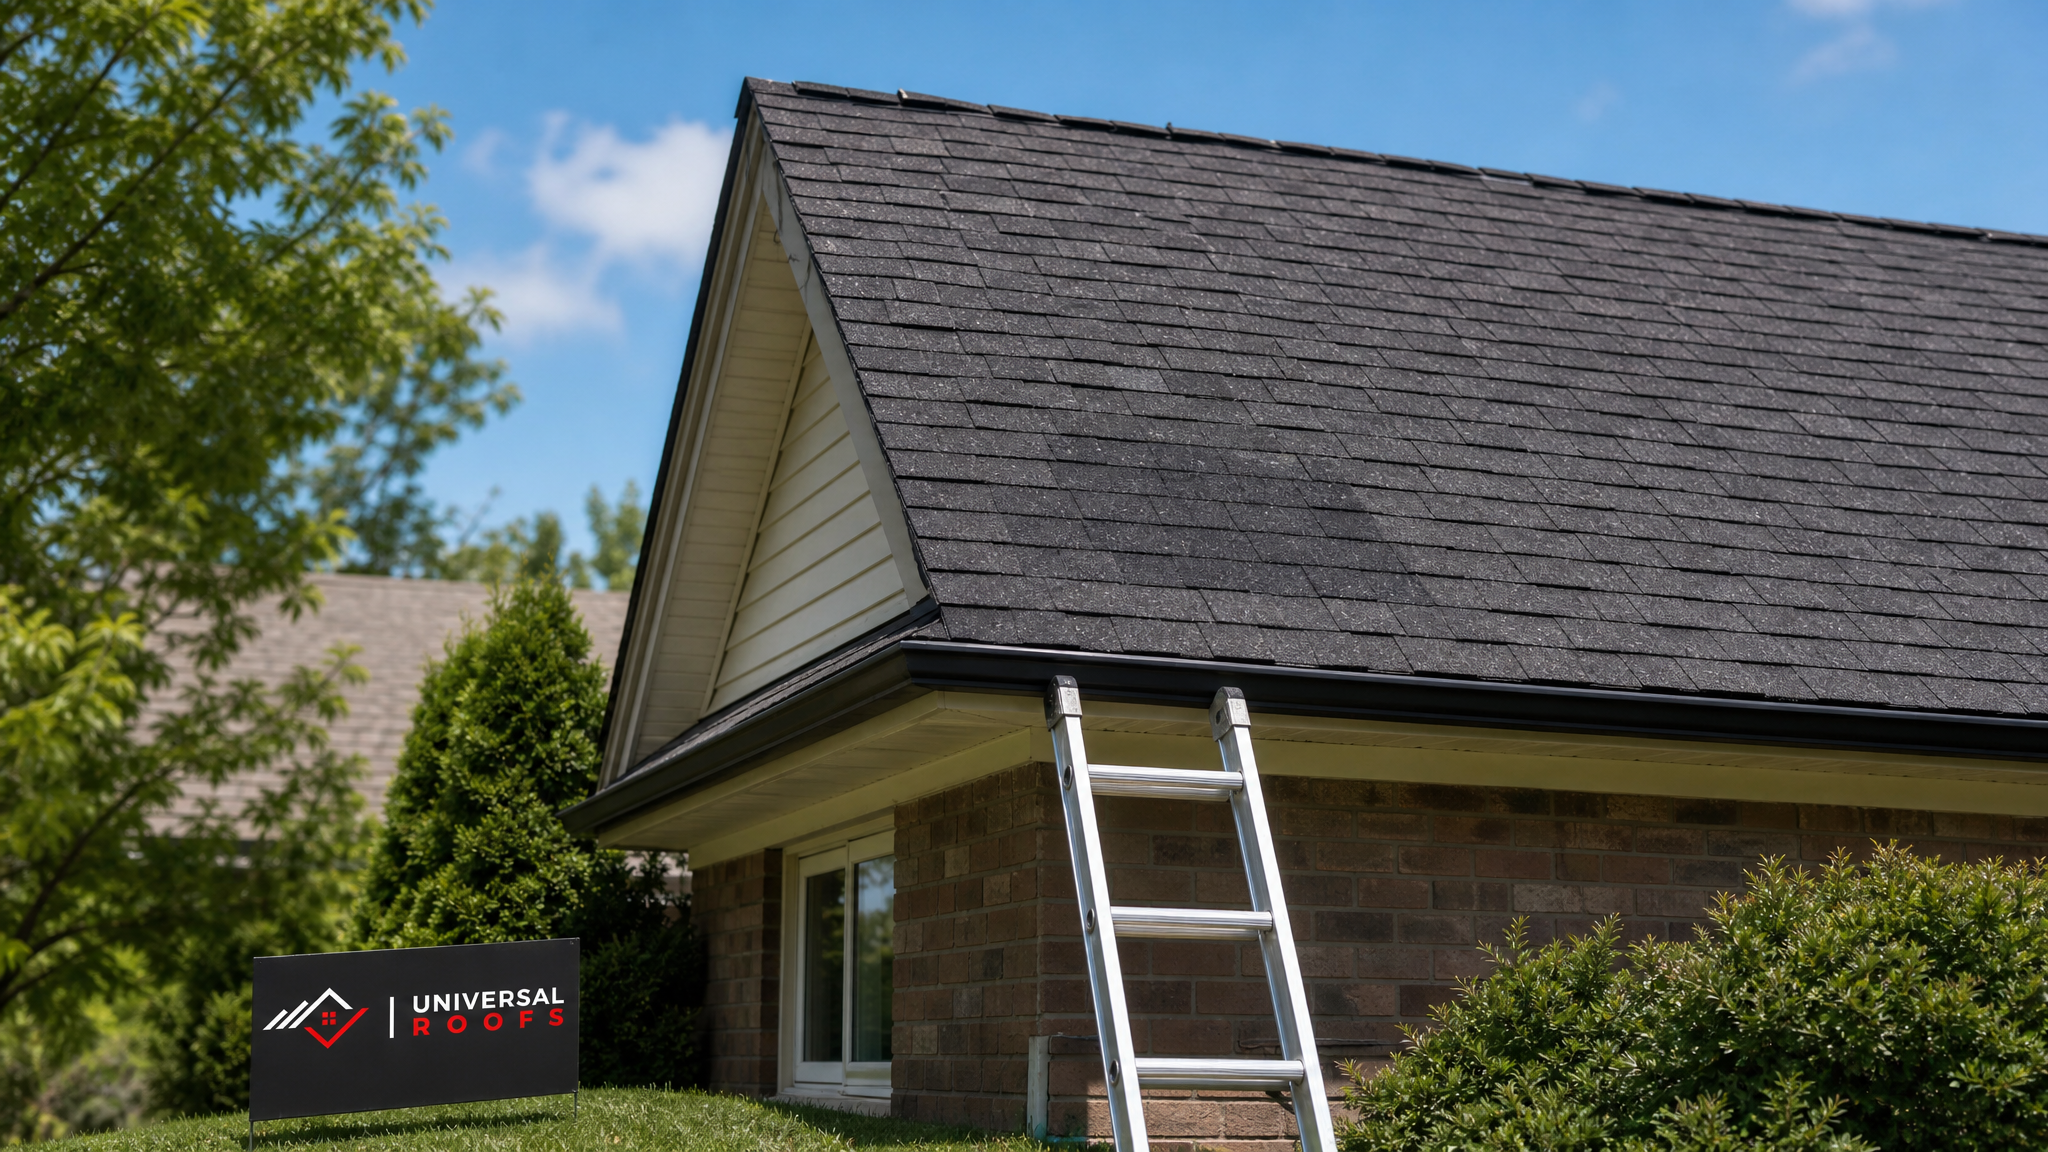
Look for shingles that are curling at the edges, cupping in the centre, or missing altogether. Curling and cupping are classic signs of asphalt shingles reaching the end of their functional lifespan, usually after 15 to 20 years depending on the product and installation quality. Granule loss is another major clue: if your gutters or the ground below downspouts are collecting what looks like coarse black or grey sand, that is the protective granule layer washing off your shingles. Bald patches on shingles accelerate UV damage and shorten the roof’s remaining life considerably.
Dark streaking across a roof surface usually indicates algae or moss growth, which is a cosmetic and moisture-retention issue rather than an immediate structural threat, but it should still be monitored. Visible sagging along a roofline, particularly a dip between rafters or along a ridge, is a much more serious indicator and often points to underlying decking or structural issues that go beyond a simple patch.
Flashing is another area worth a careful look. The metal flashing around chimneys, skylights, plumbing vents, and where roof planes meet a wall is one of the most common failure points on any roof. Rusted, lifted, or visibly cracked flashing is a near-certain source of leaks, even if the shingles around it look fine.
Interior Clues That Point to a Roofing Problem
Some of the clearest indicators for roof patching and repair actually show up inside the house rather than on the roof itself. Water does not always travel straight down from where it enters; it can run along rafters or sheathing before dripping somewhere else entirely, which is why interior symptoms sometimes seem disconnected from the roof.
Ceiling stains are the most obvious sign. A yellowish-brown ring, especially one that grows larger after a rainstorm, almost always indicates active water intrusion. Peeling paint or bubbling drywall near the ceiling-wall junction is a similar red flag. In an attic, look for dark staining on the underside of the roof deck, damp or matted insulation, and any daylight visible through the roof boards, all of which suggest a breach somewhere above.
A persistent musty smell, particularly in an upstairs closet or spare room, often means moisture has been present long enough to encourage mould growth inside wall cavities or insulation. This is one of the indicators homeowners tend to dismiss the longest, but it should prompt an inspection sooner rather than later, since hidden moisture problems compound quickly.
Finally, pay attention to your energy bills. A sudden, unexplained increase in heating or cooling costs can indicate that compromised roofing or ventilation is letting conditioned air escape or outside air infiltrate. This is frequently tied to attic ventilation issues, and reviewing your attic ventilation setup alongside any roofing repair can prevent the same problem from recurring.
How Professionals Assess Severity During a Roof Inspection
When a roofing professional evaluates a property, they are not just confirming what you already suspect. They are systematically working through a checklist that assesses the extent, cause, and urgency of the damage, and separating cosmetic wear from problems that threaten the building envelope.
The inspection typically starts on the roof surface itself, checking shingle condition, granule loss, nail pops, and flashing integrity at every penetration point. The inspector then moves to the attic, checking the underside of the deck for staining, rot, or daylight, and confirming that insulation and ventilation are performing correctly. Finally, they cross-reference interior symptoms, such as stains or musty odours, against what they found above, to pinpoint the exact source rather than guessing.
A good inspector will also assess the roof’s overall age and material condition even in areas without active leaks, because that context determines whether a patch is a sound long-term investment or a short-term stopgap before a full roof replacement becomes necessary anyway.
| Indicator | Where It’s Found | Likely Cause | Urgency Level |
|---|---|---|---|
| Curling or cupping shingles | Roof surface | Age, heat cycling, poor ventilation | Moderate — plan repair within weeks |
| Missing shingles after a storm | Roof surface | Wind uplift, storm damage | High — patch within days |
| Ceiling stains or bubbling paint | Interior ceiling | Active water intrusion | High — inspect immediately |
| Rusted or lifted flashing | Chimneys, vents, skylights | Sealant failure, corrosion | Moderate to high |
| Visible roof deck sagging | Rooflines, ridges | Structural or long-term water damage | Critical — professional assessment needed |
| Musty odour indoors | Closets, attic spaces | Hidden moisture, mould | Moderate — schedule inspection soon |
When a Patch Repair Makes Sense Versus When It Doesn’t
Not every roofing problem calls for the same solution, and understanding this distinction saves homeowners both money and frustration. A patch repair is ideal when the damage is localized, the surrounding roofing material is still in good condition, and the roof as a whole has meaningful service life remaining.
Good candidates for patching include a small area of storm damage on an otherwise healthy roof, a single section of failed flashing, isolated shingle loss from a fallen branch, or a leak traced to one specific penetration point like a plumbing vent boot. In these cases, a skilled repair can extend the roof’s functional life by years at a fraction of replacement cost.
A patch is the wrong call, however, when damage is widespread across multiple roof sections, when the shingles show consistent age-related deterioration throughout, or when repeated patches have already been applied to the same general area without resolving the underlying issue. If more than roughly 25 to 30 percent of the roof surface would need to be addressed, or if the roof is already past 20 years old with granule loss throughout, a full replacement is usually the more economical long-term choice, since continuing to patch an aging roof often means paying for the same repair twice.
Roof age matters enormously here. A five-year-old roof with isolated storm damage is an easy patch decision. A 22-year-old roof with the same damage pattern deserves a broader conversation about remaining lifespan before committing to a repair that might only last a season or two.
Seasonal Timing and Toronto’s Climate Factors
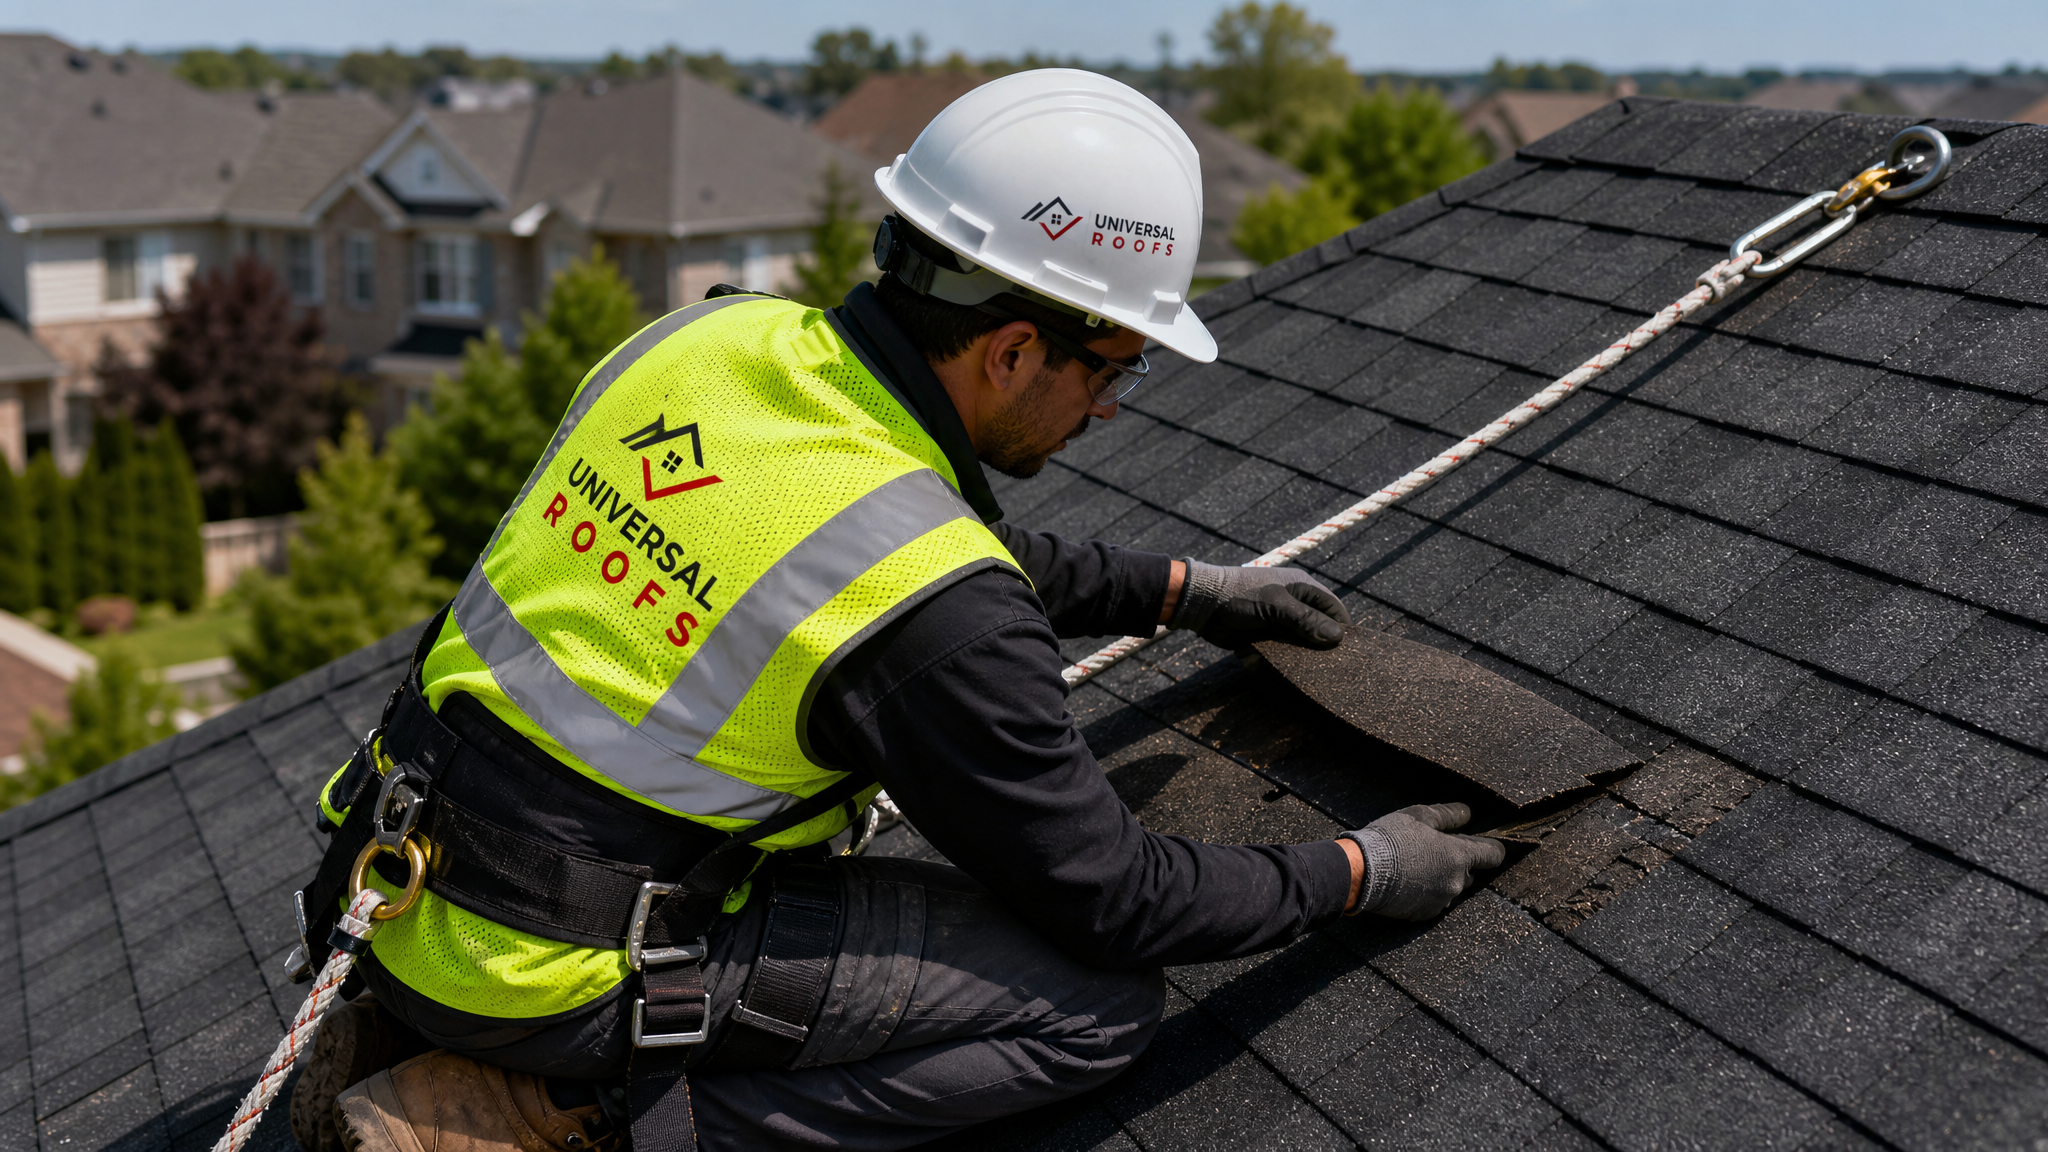
The GTA’s climate plays a direct role in how quickly roofing indicators appear and how urgently they should be addressed. Winter freeze-thaw cycles are particularly hard on roofing systems: meltwater seeps into small cracks during a mild afternoon, then refreezes and expands overnight, widening the damage with each cycle. This is why so many leaks are first discovered in early spring, even though the underlying damage may have started the previous autumn.
Summer, including the middle of July when many homeowners finally get around to that roof inspection they have been postponing, is actually one of the best windows for repair work. Warm temperatures allow shingle sealant strips to bond properly and asphalt to remain pliable during installation, both of which are compromised in cold weather. Sudden summer thunderstorms and hail events are also a common trigger for the type of localized damage that patch repairs are built for, so a proactive inspection after a severe storm is always worthwhile.
Ice damming, driven by poor attic insulation and ventilation, is a distinctly Toronto-area indicator worth flagging separately. If you noticed ice buildup along your eaves last winter, or icicles forming in unusual patterns, that is frequently a sign of heat escaping through the attic and melting snow unevenly, which later causes water to back up under shingles. Addressing attic ventilation alongside any shingle repair prevents the same ice dam pattern from recurring the following winter.
| Season | Common Indicator Triggers | Repair Feasibility | Recommended Action |
|---|---|---|---|
| Spring | Meltwater leaks, freeze-thaw cracking | Good once temperatures stabilize | Inspect immediately after thaw |
| Summer | Storm and hail damage, UV wear | Excellent — ideal sealant bonding | Best window for full repairs |
| Autumn | Wind uplift, debris damage | Good, but shortening daylight limits scheduling | Book repairs before first frost |
| Winter | Ice damming, snow load stress | Limited — temporary measures only | Emergency tarping until spring/summer repair |
Materials and Techniques Used in Professional Roof Patching
The right patching technique depends heavily on the roofing material involved and the nature of the damage. For asphalt shingle roofs, the most common repair, damaged shingles are carefully lifted, the underlying felt or synthetic underlayment is checked for damage, and new matching shingles are woven into the existing courses so the repair blends visually and functionally with the surrounding roof.
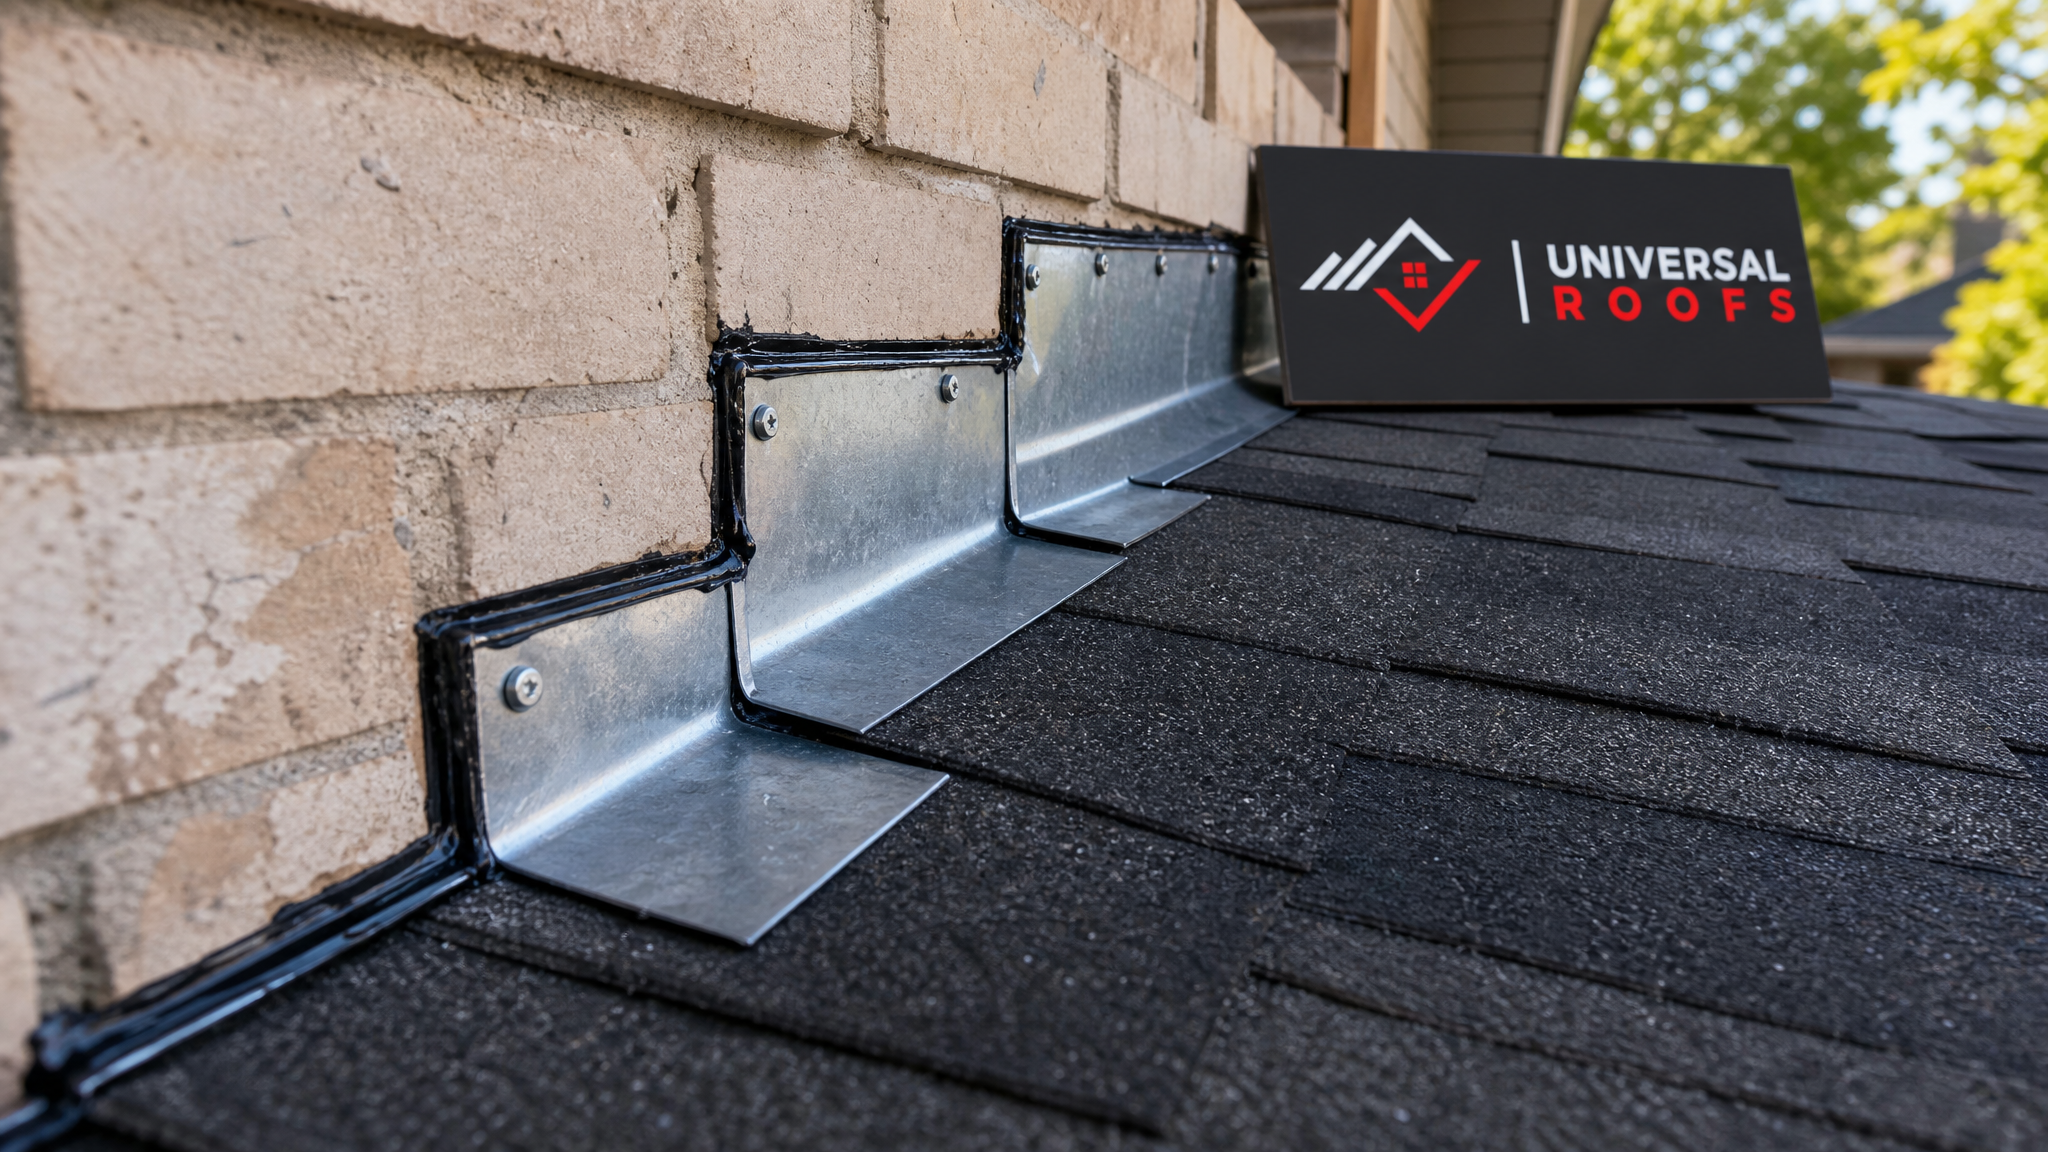
Flashing repairs typically involve removing the corroded or lifted metal, replacing it with new step flashing or counter-flashing, and resealing with a compatible high-grade sealant rather than relying on caulk alone, which tends to fail within a season or two in our climate. For homes with flat or low-slope sections, which are common on additions, garages, and some bungalow styles across the GTA, repair techniques differ substantially from sloped-roof patching. If your property includes any flat roofing sections, membrane seams and drainage points need a different inspection approach entirely, since ponding water and membrane punctures behave differently than shingle damage.
Skylight curbs and surrounding flashing deserve special mention, as they are one of the highest-risk leak points on any roof. If you notice staining specifically radiating from around a skylight, the issue is often the flashing seal rather than the unit itself, though older or failing skylights sometimes need attention through skylight replacement rather than repair once the seals and glazing have deteriorated beyond a reasonable repair scope. A dedicated look at your skylights is worthwhile any time roof repair work is being scheduled nearby.
| Repair Type | Typical Material Used | Average Timeline | Typical Cost Range (CAD) |
|---|---|---|---|
| Shingle patch (small area) | Matching asphalt shingles | Half day | $350 – $800 |
| Flashing replacement | Galvanized steel or aluminum step flashing | Half to full day | $400 – $1,200 |
| Vent boot or penetration seal | Rubber boot, sealant | 1 – 2 hours | $200 – $450 |
| Flat roof membrane patch | EPDM or modified bitumen patch | Half day | $500 – $1,500 |
| Skylight flashing repair | Custom flashing kit, sealant | Half day | $450 – $1,000 |
Preventing Recurring Damage After a Repair
A quality patch repair should be treated as an opportunity to address the root cause, not just the symptom. If a leak was caused by clogged gutters backing water up under the shingle edge, clearing and maintaining the gutters is just as important as the patch itself. If poor attic ventilation contributed to ice damming or accelerated shingle aging from trapped heat, that ventilation issue will keep producing the same indicators year after year until it’s corrected.
Routine maintenance extends the value of any repair considerably. A twice-yearly visual check, ideally in spring after the snow has cleared and again in autumn before leaves clog the gutters, catches most new indicators while they are still small and inexpensive to address. Keeping tree branches trimmed back from the roofline reduces both physical abrasion damage and the amount of debris that accumulates in valleys and gutters.
It’s also worth keeping a simple record of any repair work done, including dates, locations on the roof, and photos. This history helps a future inspector quickly distinguish a new problem from a recurrence of an old one, and it is useful information to have on hand if you ever sell the property.
Choosing a Qualified Contractor for Roof Patching and Repair
Because patch repairs are smaller in scope than full replacements, it can be tempting to hire based on price alone, but the quality of a small repair matters just as much as a large one, since a poorly executed patch can actually create new leak points. Look for a contractor who inspects the full roof rather than just the reported problem area, provides a written scope of work, and stands behind the repair with a workmanship warranty.
Ask specifically how the contractor will match shingle colour and profile, how they will handle flashing at any penetration involved, and what steps they take to protect the surrounding landscaping and interior of the home during the work. A contractor who answers these questions clearly and specifically, rather than vaguely, is generally one who has done this work many times before.
Local experience matters too. A contractor familiar with the freeze-thaw patterns, ice damming tendencies, and typical construction styles across the Toronto, Mississauga, Vaughan, and Markham areas will recognize regional indicator patterns faster than a generalist. You can review examples of completed repair work and read what past clients have said on our reviews page, and check our FAQ page for answers to other common roofing questions before booking an assessment.
What are the most reliable key indicators for roof patching and repair?
How do I know if I need a patch repair or a full roof replacement?
Can interior signs really indicate a roofing problem before any exterior damage is visible?
Is summer a good time to schedule roof patching and repair in Toronto?
What role does flashing play in identifying roof repair needs?
How much does a typical roof patch repair cost in the GTA?
Need Help With Key Indicators for Roof?
Spotting the early indicators is only half the equation — acting on them with a properly executed repair is what actually protects your home. Universal Roofs has been assessing and repairing roofs across the GTA since 2005, and our team can quickly tell you whether a targeted patch or a broader repair plan makes the most sense for your specific roof.
Call us today at (416) 732-2421 or request a free inspection to get started.
Universal Roofs proudly serves Toronto, Mississauga, Brampton, Vaughan, Markham, Oakville and the GTA since 2005.