
A summer thunderstorm can strip shingles, dent flashing, and pepper a roof with hail in a matter of minutes. Once the wind dies down and the sky clears, most Toronto homeowners are left standing in the driveway wondering the same thing: how do I patch my roof after a storm or hail damage before the next downpour finds its way into the attic? The good news is that a methodical, safety-first approach can stop most leaks from becoming structural problems, even if you are only buying time until a professional crew arrives.
This guide walks through exactly how to patch your roof after a storm or hail damage, covering what to check first, which temporary repairs actually work, which materials hold up in the GTA’s freeze-thaw climate, and when a quick patch is not enough. Whether you have a asphalt shingle roof in Scarborough or a flat membrane roof downtown, the sequence of steps below will help you protect the interior of your home while you arrange a permanent fix.
We also cover insurance documentation, the tools you will need, and the specific warning signs that mean it is time to stop climbing the ladder and call in a licenced contractor. Storm damage is one of the most common reasons homeowners contact us, and this article distills what our crews do on every emergency call across the region.

Assess the Damage Safely Before You Patch Your Roof After a Storm or Hail Damage
Before you touch a single shingle, resist the urge to climb onto a wet or storm-battered roof. Slopes are slippery after rain, hail can crack decking in ways that are not visible from above, and downed power lines or loose branches may still be a hazard in the yard. Start your assessment from the ground and from inside the house.
Walk the perimeter of your home with binoculars and look for missing or curling shingles, granules collecting in the eavestroughs, dented or dislodged flashing around chimneys and vents, and any visible daylight through soffits. Inside, check the attic for damp insulation, water stains on the underside of the roof deck, or daylight coming through nail holes. A flashlight scan of the attic takes ten minutes and tells you far more than a rushed walk on the roof itself.
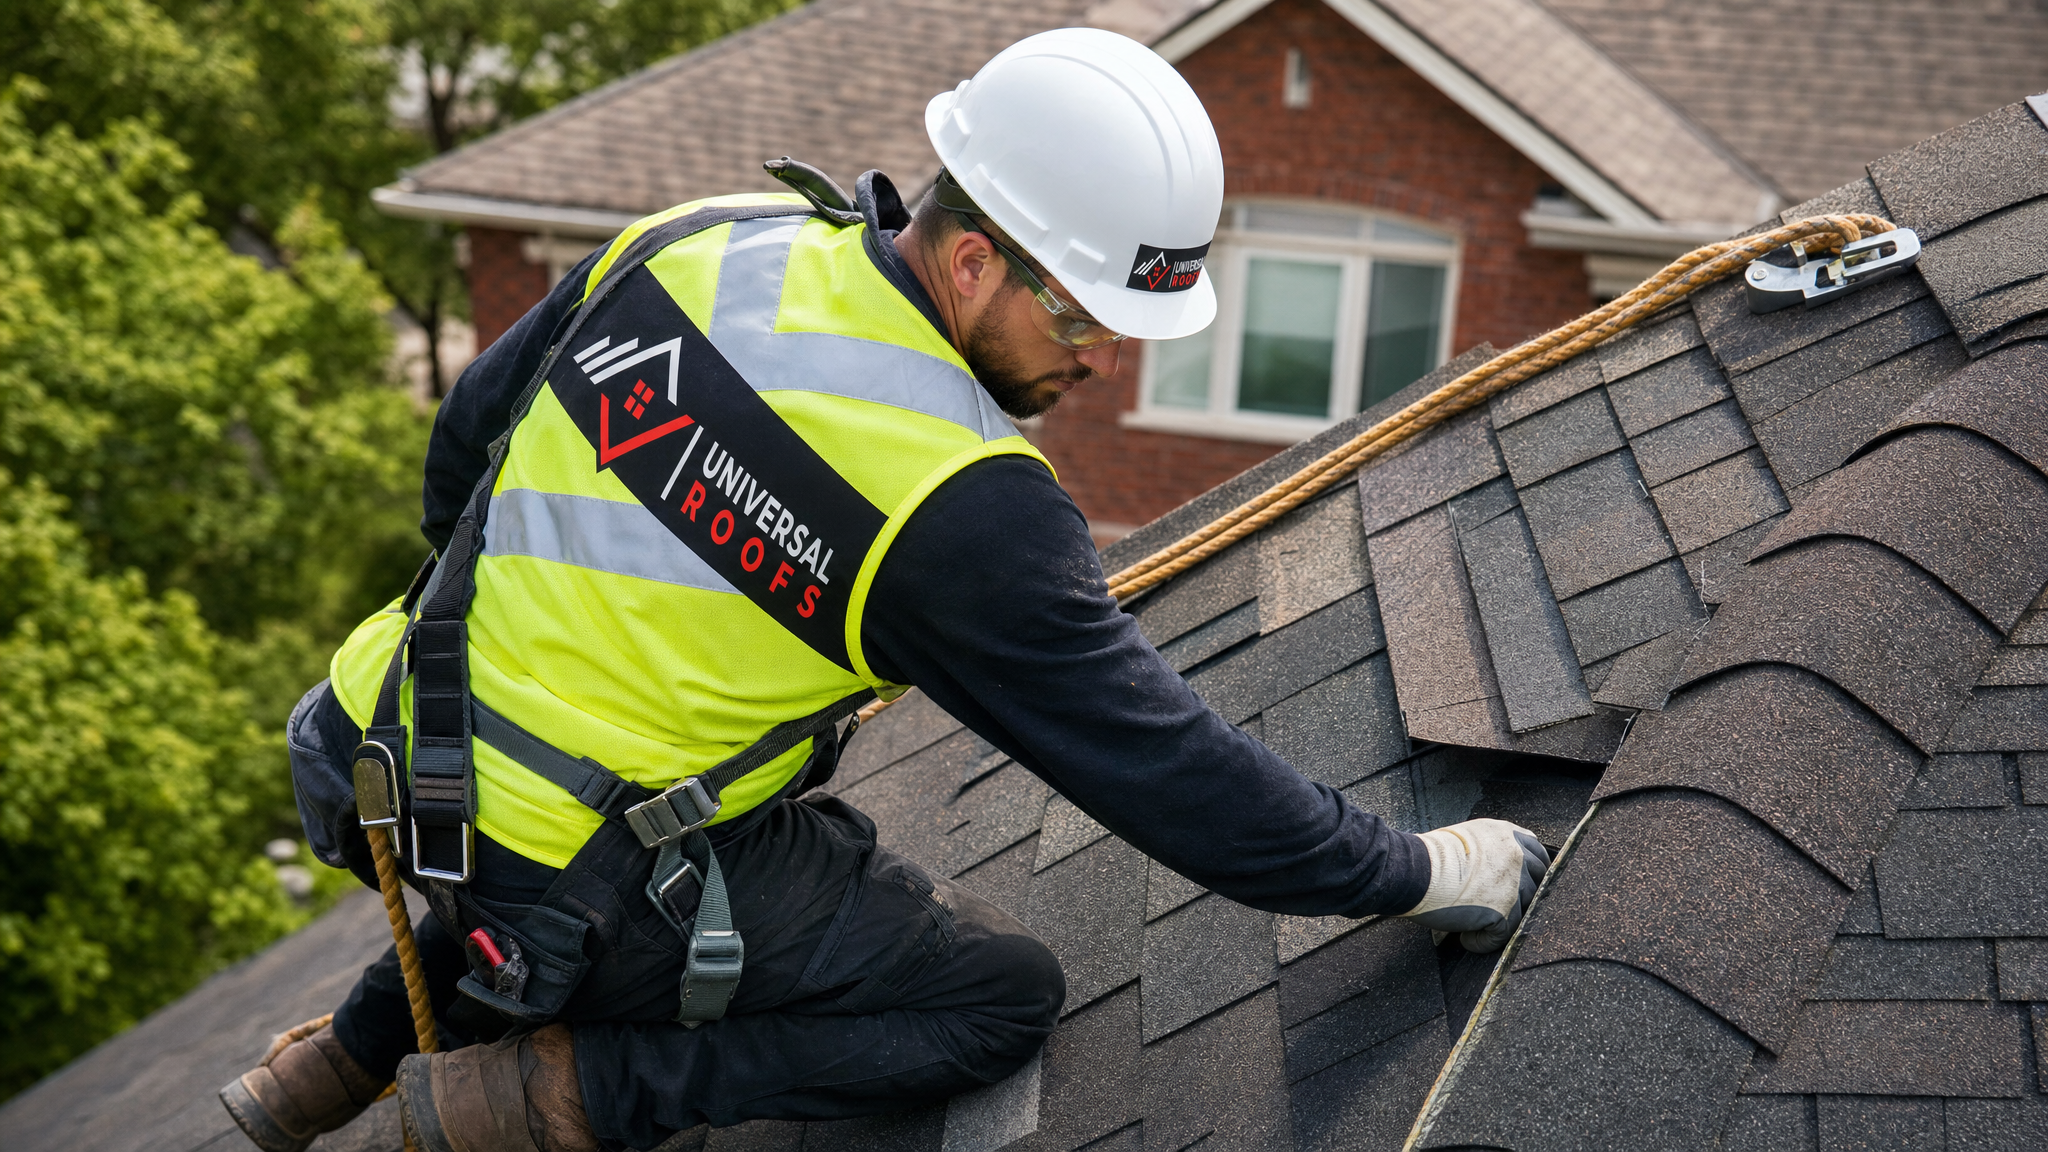
If you must go up to place a temporary patch, wait until shingles have dried, wear rubber-soled shoes, use a stabilized extension ladder with someone spotting from below, and never work alone or in high wind. If your roof pitch is steep, has more than minor damage, or you are not fully confident on a ladder, skip the DIY inspection entirely and book a professional roof repair assessment instead. No patch is worth a fall.
Tools and Materials You Need to Patch Your Roof After a Storm or Hail Damage
A temporary storm patch does not require a full toolbox, but having the right materials on hand makes the difference between a repair that survives the next rainfall and one that fails within days. Most of these items are available at any GTA hardware store and are worth keeping in the garage during storm season.
| Tool or Material | Purpose | Typical Cost (CAD) | Notes |
|---|---|---|---|
| Roofing tarp (6 mil poly or reinforced) | Emergency cover over exposed decking | $40 – $120 | Buy oversized; it must extend past the ridge and drain away from the house |
| Roofing cement / plastic roof cement | Sealing small cracks, nail holes, flashing edges | $12 – $25 per tub | Trowel-grade cement holds up better than caulking tube versions |
| Replacement shingles (matching colour/style) | Swapping out cracked or missing shingles | $35 – $55 per bundle | Keep a spare bundle from your original roof install if possible |
| Galvanized roofing nails | Securing shingles and tarp furring strips | $8 – $15 per box | Never use ordinary nails; they rust and fail within a season |
| Flashing sealant / butyl tape | Re-sealing flashing around vents, skylights, chimneys | $10 – $20 | Butyl tape performs better than caulk in cold weather repairs |
| Pry bar and utility knife | Lifting damaged shingles, trimming tarps and patches | $15 – $30 | A flat pry bar reduces the chance of tearing the surrounding shingles |
| Safety harness and rope | Fall protection on steep or high roofs | $80 – $150 | Mandatory for any pitch over 6:12 or roofs above one storey |
Step-by-Step: How to Patch Your Roof After a Storm or Hail Damage
Once you have identified the damage and gathered materials, the actual patching process follows a consistent order. Skipping steps, especially drying and cleaning the surface, is the most common reason a DIY patch fails within a week.
- Clear debris. Remove branches, hail, and loose granules from the damaged area so you can see the extent of the problem.
- Dry the surface. Roofing cement and sealants do not bond to wet shingles or decking. Allow at least a few hours of dry weather before applying any product.
- Remove damaged shingles. Use a flat pry bar to lift the shingle above the damaged one, pull the nails, and slide out the broken piece without disturbing surrounding courses.
- Install the replacement shingle. Slide the new shingle into place, aligning it with the existing coursing, and secure it with four galvanized nails just above the self-seal strip.
- Seal the edges and nail heads. Apply a dab of roofing cement under the shingle tabs and over each exposed nail head to prevent wind lift and water entry.
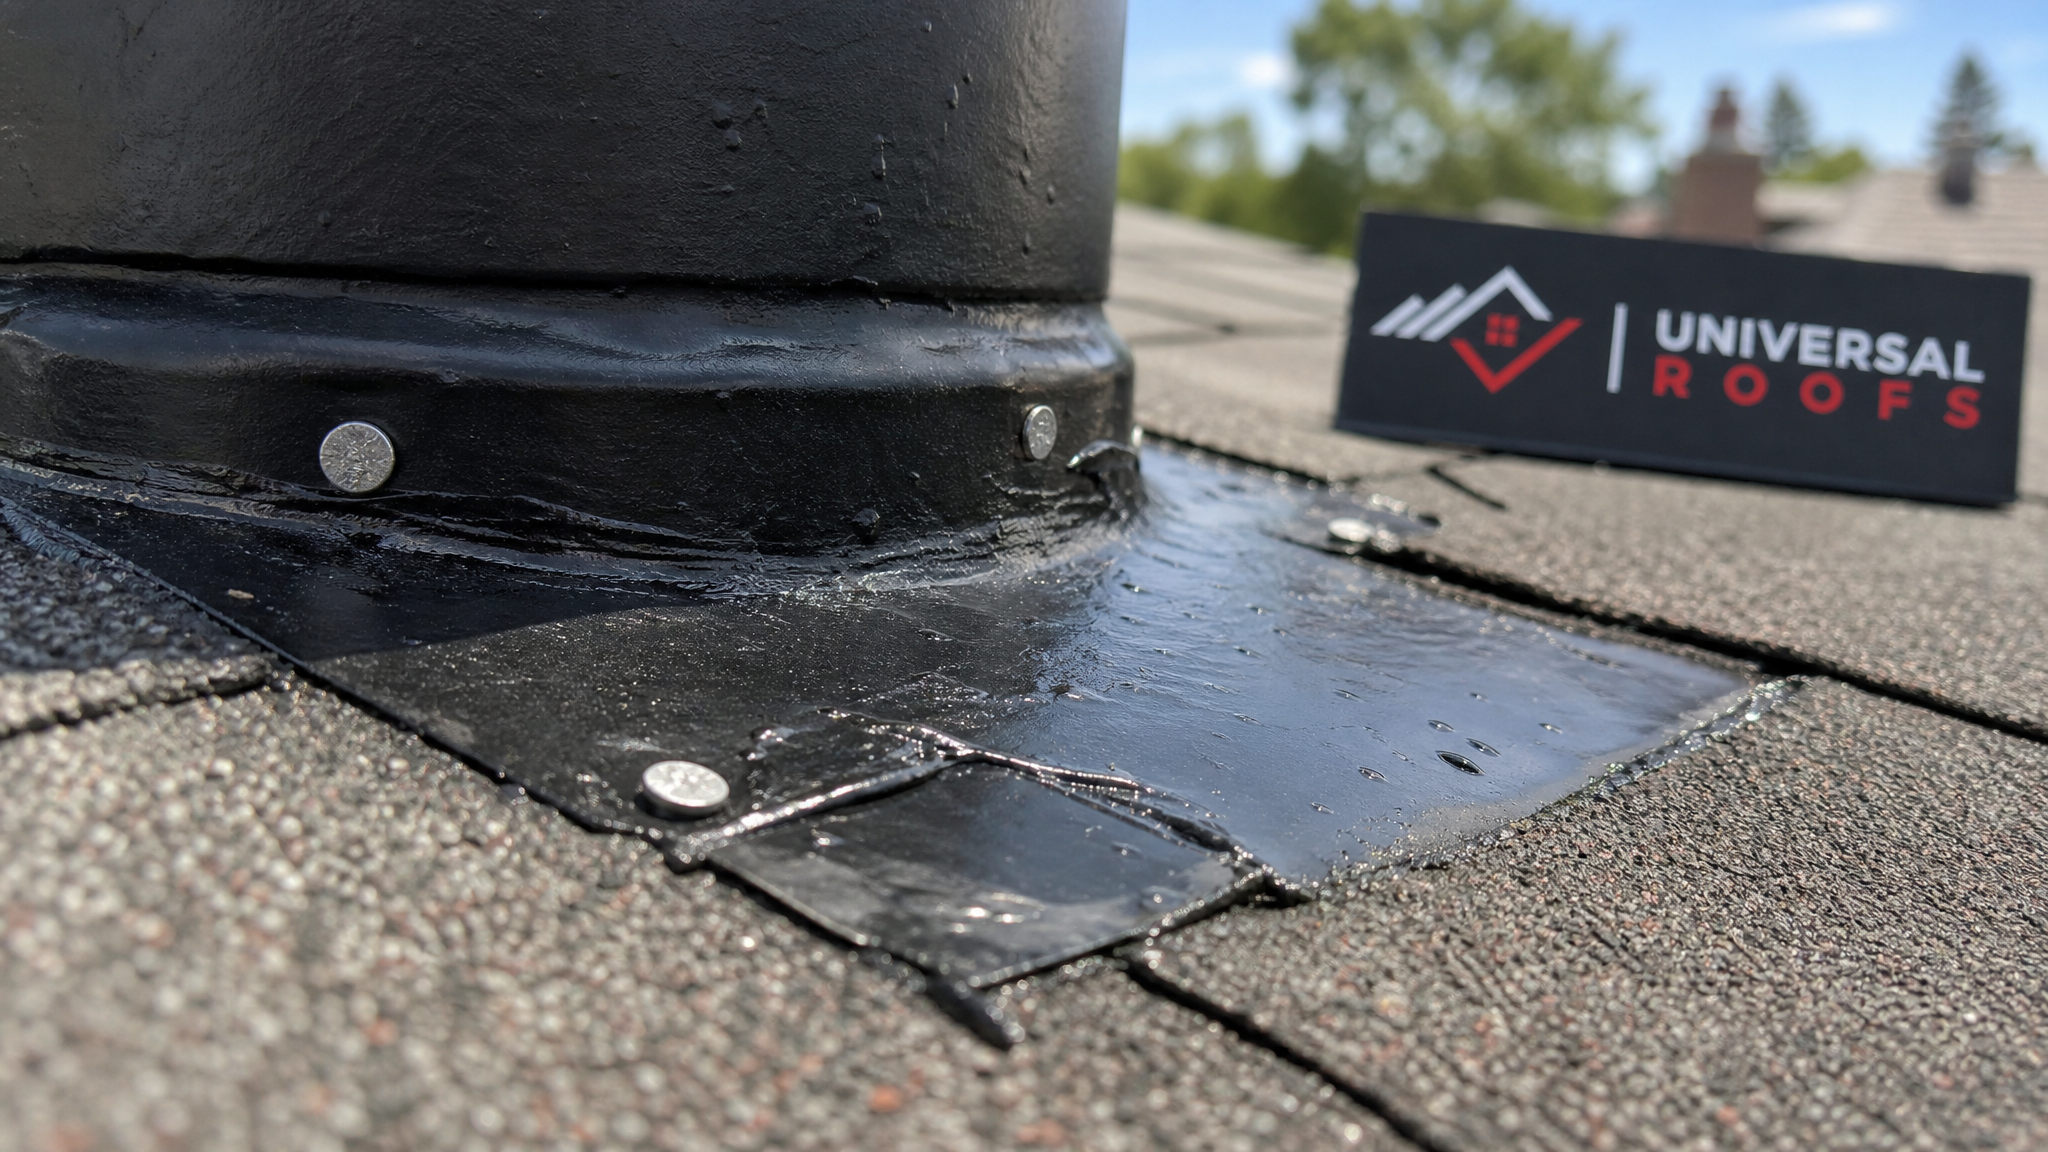
- Address flashing separately. If flashing around a chimney, vent, or skylight has lifted, re-bed it in fresh sealant or butyl tape rather than relying on cement alone.
- Tarp any large exposed area. If decking is visible, screw furring strips over a tarp that extends well past the damaged zone in every direction, always draining water away from the house.
- Recheck the attic. After the patch is complete, go back inside and confirm no active dripping remains, and place a bucket under any residual damp spot as insurance.
This sequence is the same one our technicians follow on emergency calls, just performed with commercial-grade materials and, when needed, a full roof replacement plan if the storm exposed underlying deterioration.
Hail Damage Versus Wind Damage: Different Patching Approaches
Not all storm damage behaves the same way, and the patching method should match the type of damage. Hail tends to bruise or crack shingle mat without necessarily lifting it, while high wind physically tears shingles free or folds them backward. Misdiagnosing the damage type leads to patches that do not address the actual failure point.
| Damage Type | Visible Signs | Best Patch Method | Risk If Ignored |
|---|---|---|---|
| Hail bruising | Dark soft spots, granule loss in circular patterns | Spot-seal with cement; often needs full shingle replacement | Accelerated shingle failure and leaks within 1-2 seasons |
| Hail cracking | Visible cracks through the shingle mat | Full shingle swap, not just sealing | Water tracks directly through the crack into the deck |
| Wind uplift | Shingle tabs lifted or torn, exposed nail lines | Re-nail and re-seal; replace if the tab is torn off | Progressive tear-off of adjacent shingles in the next wind event |
| Flashing displacement | Gaps around chimneys, vents, or skylight curbs | Re-bed flashing with sealant or butyl tape | Concentrated leaking at penetration points, often worse than field leaks |
| Punctures (branches, debris) | Visible hole through shingle and decking | Tarp immediately, then patch decking and shingle together | Direct water entry and rapid interior damage |
Flat Roofs and Skylights Need a Different Patch Strategy
If your home or addition has a flat or low-slope membrane roof, the patching approach is different from sloped asphalt shingles. Flat roofing membranes (modified bitumen, TPO, or EPDM) are damaged by hail through punctures and seam separation rather than granule loss, and patches must be compatible with the specific membrane type or they will peel away within weeks.
For a torn membrane, the damaged section needs to be cut back to sound material, the area cleaned and primed, and a matching patch heat-welded or adhered with compatible membrane cement, never generic roofing tar. Because flat roofs pool water rather than shedding it quickly, even a small unpatched puncture can let significant water into the building before it is noticed. If your property has a flat roof, review our flat roofing page for membrane-specific repair options, or have a technician assess the seams and drains after any hail event.
Skylights are another common storm casualty. Hail impact can crack the outer glazing or dislodge the flashing collar where the skylight meets the roof deck, and a cracked dome is not something a homeowner should attempt to patch with sealant alone, since thermal stress will reopen the crack. If a skylight was struck, tarp over it from the exterior to stop water entry and arrange a proper skylight replacement rather than relying on a caulk-based fix, particularly heading into the colder months when freeze-thaw cycling will worsen any existing crack.
Temporary Patch Versus Permanent Repair: What Lasts Through a Toronto Winter
A patch applied in July under dry, warm conditions is not automatically built to survive a January freeze-thaw cycle. The GTA’s climate swings from humid summers to sub-zero winters with repeated freezing and thawing, and that cycling is hard on temporary repairs. Knowing which fixes are genuinely durable and which are stopgaps helps you plan the right timeline for a permanent repair.
| Repair Type | Expected Lifespan | Survives GTA Winter? | Recommended Follow-Up |
|---|---|---|---|
| Poly tarp over exposed decking | Days to a few weeks | No – tears in wind and ice load | Schedule permanent patch or replacement within days |
| Roofing cement spot patch | A few months | Marginal – cracks in extreme cold | Inspect each season; reapply or replace as needed |
| Single shingle replacement (properly nailed) | Matches remaining roof lifespan | Yes, if sealed and nailed correctly | Monitor seal strip adhesion after first heat cycle |
| Re-bedded flashing with butyl tape | Several years | Yes, better cold flexibility than caulk | Recheck annually for lifting at penetration edges |
| Full section tear-off and reshingle | Full shingle warranty period | Yes | Preferred for widespread hail bruising across a slope |
As a general rule, anything involving a tarp is a stopgap measure, not a repair. If hail has bruised a significant portion of a slope, the more cost-effective path is often a full section reshingle rather than dozens of individual spot patches, since bruised shingles that look intact today frequently fail the following season.
When a DIY Patch Is Not Enough
There is a point where patching your own roof after a storm or hail damage goes from reasonable weekend project to genuine safety and structural risk. Recognizing that line protects both your home and your safety.
- Sagging or soft decking underfoot means the plywood substrate has already absorbed water and needs structural repair, not a surface patch.
- Damage covering more than a few shingles in one area usually indicates the whole slope took a hit and individual patches will not address the full extent.
- Steep pitches or multi-storey roofs should always be left to a crew with proper fall protection and equipment.
- Recurring leaks after a patch mean water is tracking somewhere other than where it is visibly entering, which requires a professional leak trace.
- Attic mould, insulation saturation, or ceiling stains point to damage that has been present longer than the most recent storm and needs a full inspection.
If any of these apply, it is worth having a professional assess your attic ventilation and insulation alongside the roof surface, since storm water intrusion often compromises both at once. Our reviews page has examples from homeowners across the GTA who started with a DIY patch and needed a follow-up professional repair once the full extent of hail damage became clear.
Documenting Damage for Insurance Before and After You Patch
Most home insurance policies in Ontario cover storm and hail damage, but claims are frequently reduced or denied when documentation is incomplete. Before you patch anything, photograph the damage from multiple angles, including wide shots showing the affected slope and close-ups of individual cracked or missing shingles. Keep dented eavestroughs, dented vents, or hail-marked siding in frame as well, since adjusters look for corroborating hail evidence beyond just the roof.
Note the date and approximate time of the storm, and if possible, check local weather service reports confirming hail or high wind in your area that day, since insurers cross-reference these records. If you complete a temporary patch to stop a leak, keep receipts for materials and photograph the patch itself, since insurers generally reimburse reasonable emergency mitigation costs even before a claim is fully approved. Photograph the completed permanent repair as well, both for warranty records and in case future storms cause damage in the same area.
A written inspection report from a licenced contractor carries significant weight with adjusters and often speeds up claim approval compared to homeowner photos alone. Our technicians provide detailed photo-documented assessments specifically formatted for insurance submission on every storm call across Toronto, Peel Region, York Region, Halton Region, and Durham Region.
Preventing Future Storm Damage After You Patch Your Roof
Once the immediate leak is under control, it is worth addressing the conditions that made the damage worse in the first place. Ageing shingles with degraded granules are far more vulnerable to hail bruising than a roof in good condition, and poor attic ventilation accelerates shingle deterioration from underneath even before a storm hits.
Trim overhanging branches that could puncture the roof in high wind, clear eavestroughs regularly so water sheds properly during heavy rain, and check flashing annually around chimneys, vents, and skylights since these are the first points to fail in a storm. If your roof is approaching 15-20 years old, a single hail event is often the trigger that reveals it was already near the end of its service life, and patching becomes a temporary measure ahead of a fuller conversation about replacement timing.
For homeowners who want a second opinion on whether a patch is sufficient or a larger repair makes more sense, our FAQ page covers common questions about roof lifespan, warranty coverage, and what factors influence a repair-versus-replace decision.
Common Mistakes When Patching Storm or Hail Damage
We see the same handful of mistakes repeatedly on emergency calls, and avoiding them will save time, money, and repeat leaks.
| Mistake | Why It Fails | Better Approach |
|---|---|---|
| Using silicone caulk instead of roofing cement | Silicone does not bond well to asphalt and degrades in UV exposure | Use trowel-grade plastic roofing cement rated for shingle repair |
| Nailing through the tarp into shingles | Creates new puncture points and voids future warranty coverage | Use furring strips along tarp edges, nailed into structural framing only |
| Patching over wet or debris-covered shingles | Sealants fail to bond, patch lifts within days | Clean and dry the surface fully before applying any product |
| Ignoring flashing while focusing only on shingles | Most storm leaks originate at flashing, not open field shingles | Inspect and reseal all penetration points during the same repair visit |
| Assuming no visible damage means no damage | Hail bruising and cracked decking are often invisible from the ground | Get an attic and close-range roof inspection after any significant hail event |
How do I patch my roof after a storm or hail damage if I cannot get on the roof safely?
What is the best temporary patch to stop a leak after hail damage?
How long can a temporary roof patch last before I need a permanent repair?
Does hail damage always require a full shingle replacement?
Will my insurance cover the cost to patch my roof after a storm or hail damage?
How do I know if a storm patch failed and water is still getting in?
Need Help With How to Patch Your?
Storm and hail damage rarely announces itself as a simple fix, and even a well-executed DIY patch is often a temporary measure rather than a permanent solution. Universal Roofs has been repairing storm-damaged roofs across the Greater Toronto Area since 2005, and our crews carry the flashing, membrane, and shingle materials needed to move straight from an emergency tarp to a lasting repair.
Call us today at (416) 732-2421 or request a free inspection to get started.
Universal Roofs proudly serves Toronto, Mississauga, Brampton, Vaughan, Markham, Oakville and the GTA since 2005.