
A small roof leak rarely stays small in the Greater Toronto Area. Between spring downpours, summer thunderstorms, and the freeze-thaw cycles that grip the region every winter, a minor gap in your shingles or flashing can turn into a costly interior repair within a single season. The good news is that most roof damage can be addressed without a full tear-off, as long as you patch correctly and address the underlying cause rather than just the symptom.
This guide walks through practical, budget friendly tips for roof patching that homeowners across Toronto, Mississauga, Brampton, Vaughan, Markham, and Oakville can use to extend the life of an existing roof before committing to a full replacement. We will cover when patching makes sense, what materials work best for our climate, how much you should expect to pay, and the warning signs that tell you it is time to call in a professional instead of reaching for a caulking gun.
At Universal Roofs, we have been patching, repairing, and replacing roofs across the GTA since 2005, and we have seen just about every shortcut homeowners try. Some work well. Others end up costing more in the long run. This article separates the two.
When Roof Patching Makes Sense (And When It Doesn’t)
Patching is a cost-effective solution when the damage is localized and the rest of the roof is structurally sound. A good rule of thumb: if the affected area is under 10% of the total roof surface and the roofing material elsewhere still has reasonable flexibility and granule coverage, a patch is usually the right call.
Common scenarios where a budget-friendly patch is the right move include a single cracked or missing shingle after a windstorm, a small puncture from fallen branches, isolated flashing failure around a chimney or vent pipe, or a soft spot where ice damming caused localized water intrusion. In these cases, a targeted repair using our roof repair approach can add years of service life for a fraction of the cost of replacement.
Patching is the wrong choice, however, when the roof is already past 15-18 years old (for standard three-tab asphalt shingles) and showing widespread granule loss, when you have more than two or three separate leak points, or when the decking underneath has already rotted. In those situations, patching becomes a temporary band-aid that delays an inevitable, and often more expensive, roof replacement. We always recommend a proper inspection before deciding, because what looks like a small leak on the ceiling can actually be evidence of much larger hidden damage in the attic.
Assessing the Damage Before You Patch
Before you buy a single tube of roofing cement, spend twenty minutes properly diagnosing the problem. Most wasted patching material and repeat leaks come from patching the wrong spot. Water travels along the roof deck and rafters before it drips through the ceiling, so the visible stain indoors is rarely directly below the actual entry point on the roof.
Start in the attic if you have access. Look for daylight coming through the decking, dark water staining on the rafters or insulation, and any obvious gaps around vent pipes, chimneys, or the ridge. Check for soft or spongy insulation, which indicates ongoing moisture rather than a one-time event. If your home has a finished attic or the space is inaccessible, a visual exterior inspection from the ground with binoculars, or safely from a stable ladder, is the next best option.
On the roof surface itself, look for curled, cracked, or missing shingles, exposed or rusted nail heads, cracked or lifted flashing around penetrations, and granules collecting in gutters (a sign of accelerated shingle wear). Because working at height carries real fall risk, we strongly recommend leaving the actual rooftop inspection and any patch application above a single-storey bungalow to a professional, particularly on steep-pitch roofs common in many GTA neighbourhoods.
| Warning Sign | Likely Cause | Patch-Friendly? | Urgency |
|---|---|---|---|
| Single dark ceiling stain, no growth | Isolated flashing or shingle failure | Yes | Moderate — repair within weeks |
| Granules pooling in gutters | Shingle aging/UV degradation | Sometimes | Low — monitor, plan ahead |
| Ice damming at eaves each winter | Poor attic insulation/ventilation | No — needs root-cause fix | High before next winter |
| Sagging roofline or soft decking | Structural rot | No — replacement likely needed | Urgent — safety concern |
| Multiple active leaks after storms | Widespread material failure | No — full assessment needed | High |
Low-Cost Materials That Actually Hold Up in the GTA Climate
Not every patching product sold at a hardware store is built for our climate. Toronto winters bring repeated freeze-thaw cycles that can crack rigid sealants within a season or two, so choosing a flexible, UV-stable material matters more here than in milder climates.
For asphalt shingle roofs, a rubberized asphalt roofing cement applied with a caulking gun or trowel is the most affordable and reliable option for sealing small cracks, nail pops, and shingle edges. For larger tears or punctures, a self-adhering rubberized flashing membrane (the same type used around valleys and chimneys) gives a stronger, longer-lasting seal than cement alone. On flat or low-slope sections, which many GTA homes have over additions, garages, or porches, a modified bitumen patch or liquid rubber coating is generally more effective; if you have a flat roof, our flat roofing team can advise on the right product for your membrane type.
Avoid pure silicone caulk as a primary shingle sealant — it does not bond well to asphalt and tends to peel within a year or two in our climate. Similarly, roofing tape products marketed as permanent fixes are best treated as short-term measures only, useful for stopping an active leak until a proper repair can be scheduled.
| Material | Best Use | Approx. Cost (CAD) | Expected Lifespan |
|---|---|---|---|
| Rubberized asphalt roofing cement | Shingle edges, small cracks, nail heads | $12-20 per tube | 3-5 years |
| Self-adhering flashing membrane | Punctures, valleys, chimney flashing | $35-60 per roll | 10-15 years |
| Liquid rubber roof coating | Flat/low-slope membrane patches | $60-100 per pail | 5-8 years |
| Roofing repair tape | Temporary emergency seal | $10-25 per roll | Months, not years |
| Replacement shingles (matched) | Individual damaged shingles | $3-6 per shingle plus labour | Matches roof lifespan |
Step-by-Step: Patching a Small Shingle Leak
If you have determined the damage is limited to one or two shingles and you are comfortable and safely equipped to work on a low-pitch, single-storey roof, here is the general process a professional crew follows. If your roof is steep, multi-storey, or you are not fully confident, this is exactly the kind of job where calling for a proper roof repair visit costs far less than a fall injury or a poorly sealed patch that leaks again in six months.
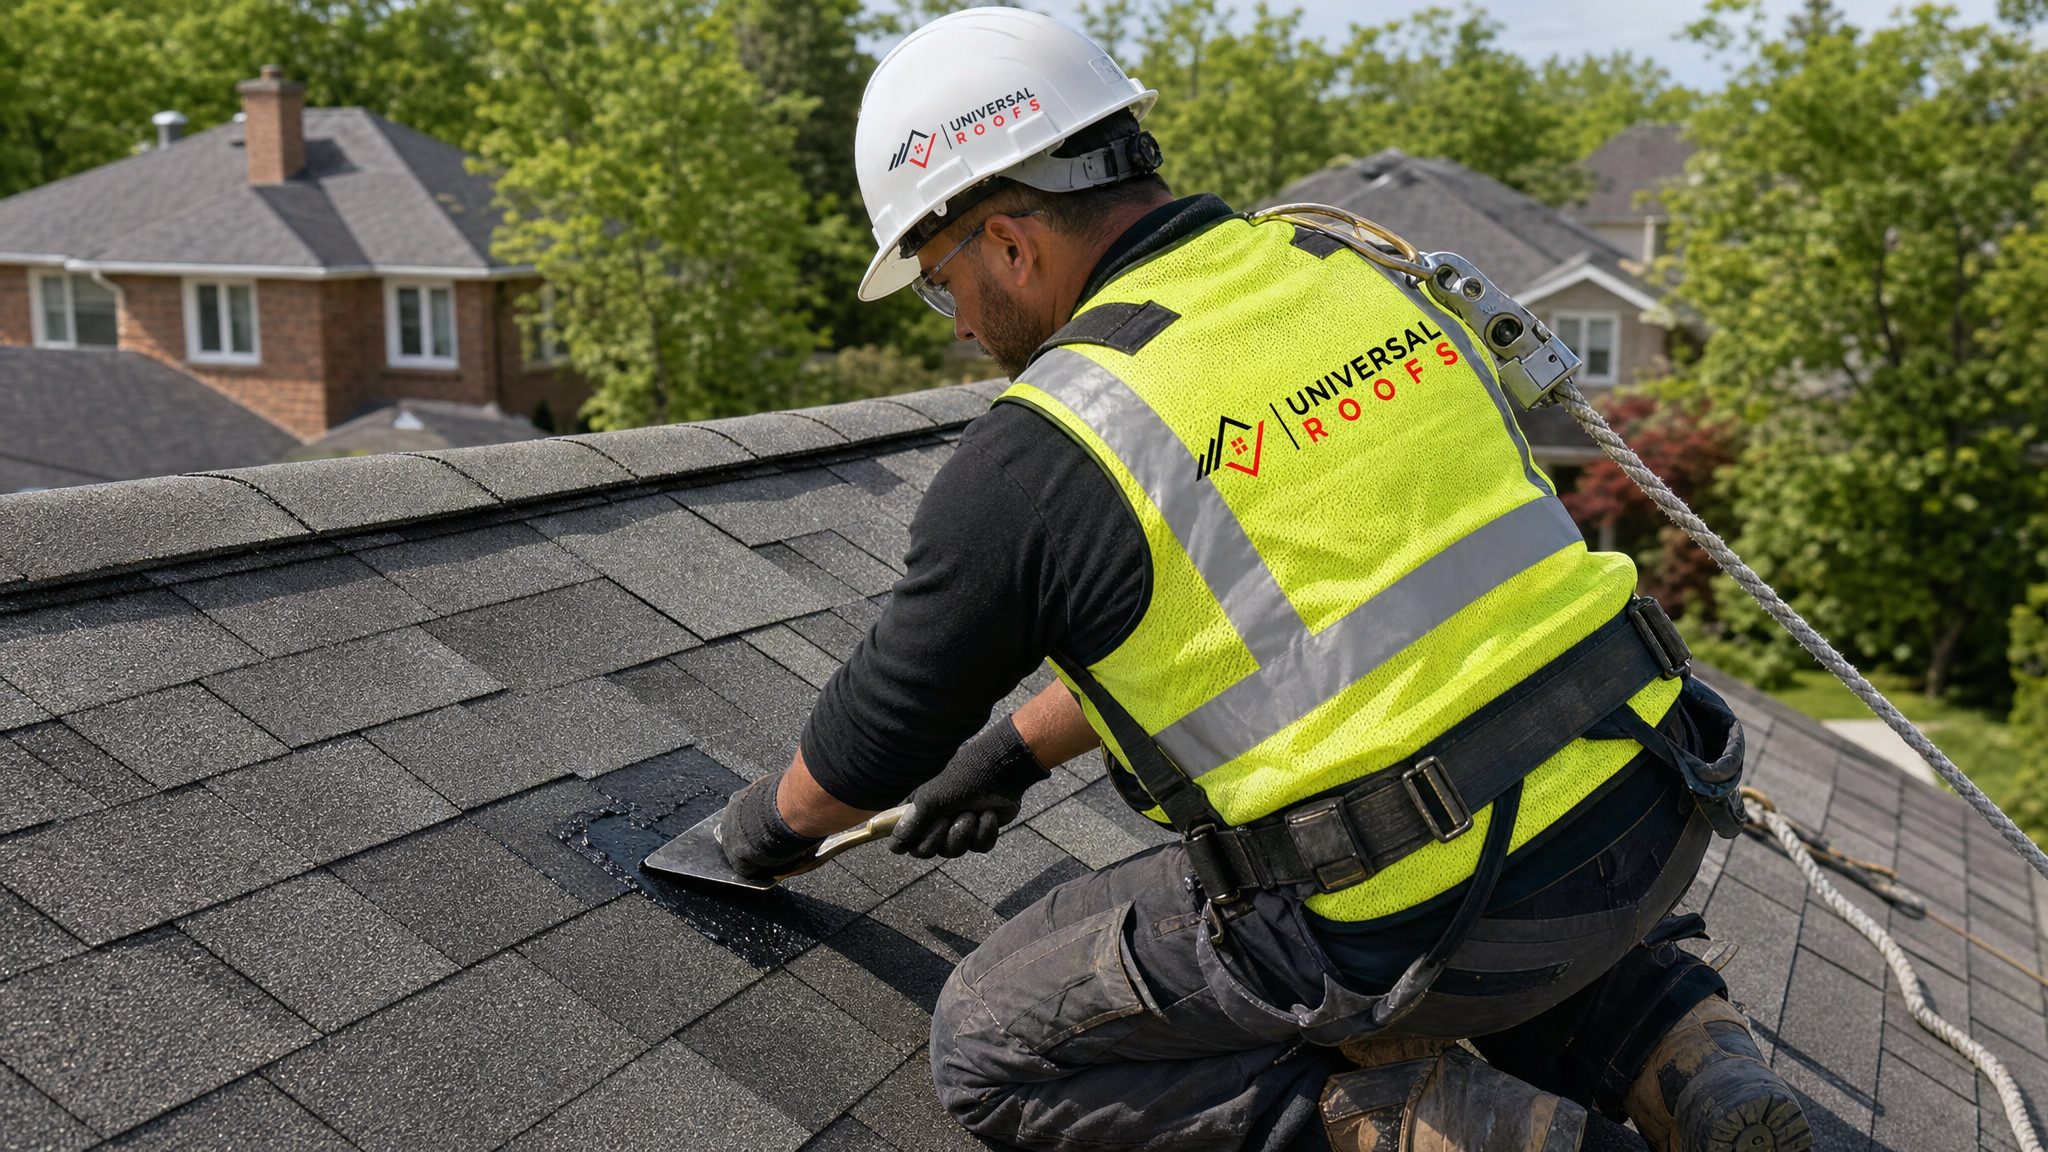
First, clear debris and dry the area completely; roofing cement and adhesive membranes will not bond properly to a wet or dusty surface. Next, gently lift the shingle above the damaged one to access the nails. Remove any cracked or damaged shingle by carefully prying out the nails with a flat bar, taking care not to tear the surrounding shingles. Slide the new matching shingle into place, aligning it with the surrounding coursing, and secure it with four roofing nails placed above the seal line, not through the exposed tab.
Apply a bead of rubberized roofing cement under the tabs and along any nail heads to seal against wind-driven rain, then press the shingle down firmly. For a crack rather than a full shingle failure, clean the crack, apply cement underneath if you can lift the shingle slightly, then seal the top surface with a thin, even layer, feathering the edges so water sheds properly rather than pooling against a raised lip of sealant.
Patching Flashing, Vents, and Chimney Penetrations
A large share of the leaks we are called out to inspect across Toronto, Mississauga, and the surrounding regions do not originate in the shingle field at all — they come from failed flashing around roof penetrations. Flashing is the metal or rubber material that seals joints where the roof meets a vertical surface: chimneys, skylights, plumbing vents, and dormers.
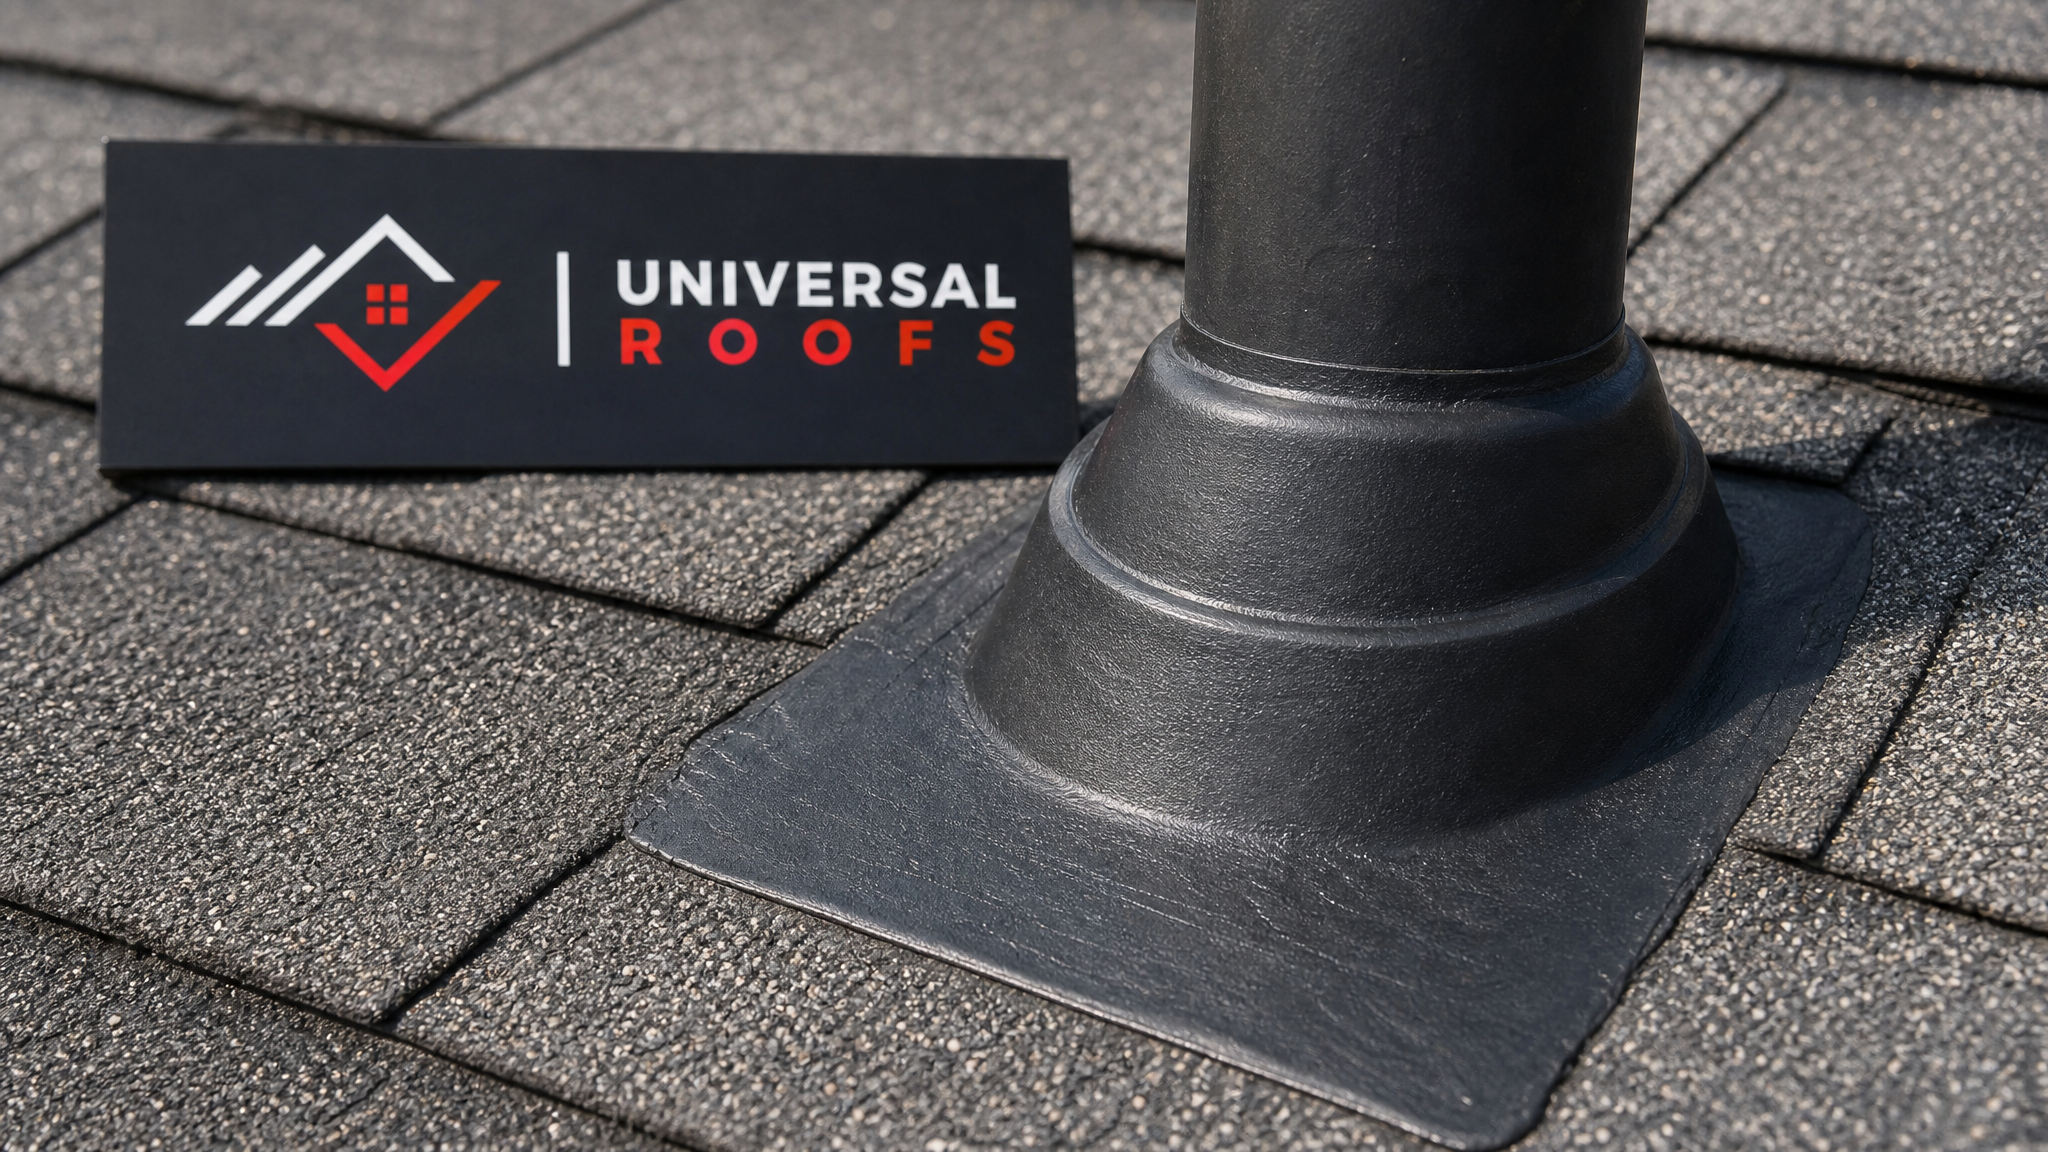
Rubber boot flashing around plumbing vent pipes is a particularly common failure point because the rubber collar dries out and cracks from UV exposure, typically after eight to ten years. Patching this is inexpensive: a new pipe boot costs under $20, though the labour of removing surrounding shingles to slide it into place properly is where professional installation adds value over a surface-only patch. A surface patch applied over a cracked boot without replacing it will usually fail again within a year.
Chimney flashing failures are more involved because they typically combine step flashing (interleaved with each shingle course) and counter-flashing (embedded into the mortar joint). A budget patch here usually means re-sealing the counter-flashing joint with a high-quality masonry-grade sealant and repairing any lifted step flashing pieces, rather than replacing the entire flashing system. If your home has a skylight rather than a chimney, similar principles apply to the flashing around the frame; our skylights and skylight replacement pages cover when a flashing reseal is sufficient versus when the unit itself needs attention.
Cost Comparison: Patch vs. Partial Reroof vs. Full Replacement
One of the most common questions we get from GTA homeowners is simply: is patching actually worth it, or should I just budget for a new roof? The honest answer depends on the roof’s age, the extent of damage, and how many separate problem areas exist. The table below outlines typical costs we see across the region to help frame that decision.
| Repair Type | Typical Cost Range (CAD) | Best For | Added Roof Life |
|---|---|---|---|
| Single shingle/small crack patch | $150-350 | Isolated, recent damage | 3-7 years |
| Flashing repair (vent/chimney) | $250-600 | Failed boots or step flashing | 8-12 years |
| Multi-spot patching (3-5 areas) | $600-1,500 | Aging roof, several minor issues | 2-5 years |
| Partial reroof (one slope/section) | $2,500-6,000 | Localized structural or widespread wear on one section | 15-20 years on that section |
| Full roof replacement | $8,000-18,000+ | Roof at end of service life | 20-30 years |
As a general guideline, if quoted patch repairs start approaching 30-40% of the cost of a full replacement, or if you are patching the same general area for the second time within a few years, it is worth getting a comparative quote for replacement. A licenced contractor can walk the roof and give you both numbers side by side so you are making the decision with full information rather than guessing.
Seasonal Timing: Why Summer Is the Best Window for Patch Work
Roofing materials, particularly asphalt shingles and rubberized sealants, need warmth to bond and seal properly. Cement and adhesive membranes applied in cold weather do not adhere as well and can crack prematurely once temperatures drop further. This is why late spring through early autumn, roughly May through September in the GTA, is the ideal window for patch work, and why we see a spike in repair calls every July and August as homeowners catch up on issues that appeared over the winter.
If you noticed a leak during spring rains or discovered water staining in the attic after the snow melted, summer is the right time to have it addressed properly rather than waiting. Patching in warm, dry conditions gives the sealant time to cure fully before the next freeze-thaw cycle tests it, which meaningfully extends how long a budget patch will actually last. Waiting until October or November, when temperatures start dropping and rain becomes more frequent, often means rushed repairs in worse working conditions.
It is also worth using the summer months to check attic ventilation and insulation levels, since poor ventilation contributes to both summer heat damage to shingles from below and winter ice damming. If you are unsure whether your attic is adequately vented, our attic page outlines the signs of a ventilation problem and how it connects to shingle lifespan.
DIY-Friendly Fixes vs. Jobs That Need a Licenced Roofer
Budget-conscious homeowners naturally want to know what they can safely handle themselves. The honest line is drawn less by cost and more by height, pitch, and complexity. A single-storey bungalow with a low-slope roof and good weather conditions is a reasonable environment for a confident homeowner to seal a small crack or replace a single shingle using the steps above. Anything involving a second storey, steep pitch, wet or icy conditions, or flashing around a chimney or skylight should go to a professional.
Beyond the safety argument, there is a practical one: warranty coverage. Many shingle manufacturers void material warranties if repairs are not performed according to their installation specifications, and DIY patches sometimes inadvertently violate those terms (for example, nailing through the exposed tab instead of the nailing zone, or using an incompatible sealant chemistry that degrades the shingle’s asphalt coating). A professional repair from a company familiar with manufacturer requirements protects the remaining warranty on the rest of your roof.
| Task | Reasonable DIY? | Key Risk if Done Incorrectly |
|---|---|---|
| Sealing a small shingle crack (single storey, low pitch) | Yes, with caution | Poor adhesion if surface not properly dried/cleaned |
| Replacing one shingle (single storey) | Yes, with proper tools | Nail placement errors causing new leaks |
| Vent pipe boot replacement | Marginal — requires lifting shingles | Improper shingle re-lay causing water intrusion |
| Chimney or skylight flashing repair | No | Water intrusion into structural framing |
| Any second-storey or steep-pitch work | No | Fall injury; improper repair |
| Flat roof membrane patching | No | Wrong material for membrane type causes failure |
Stretching Your Budget Further: Preventive Habits That Reduce Future Patch Costs
The cheapest roof repair is the one you never need. A handful of low-cost, low-effort habits meaningfully reduce how often you will need patching in the first place. Clean gutters twice a year, in late spring and late autumn, since clogged gutters cause water to back up under the shingle edge and are one of the most common causes of eave damage we see across Toronto and the surrounding regions.
Trim overhanging branches back from the roofline to reduce both physical abrasion damage during windstorms and the volume of debris (leaves, needles, seeds) that collects in valleys and around vents. Have your attic ventilation checked every few years, since balanced intake and exhaust ventilation reduces both summer shingle overheating and winter ice damming, two of the biggest drivers of the flashing and edge damage that leads to patch calls. Schedule a brief visual roof inspection each spring and autumn; catching a lifted shingle or cracked flashing early, before a heavy rain event, is routinely a $150-300 fix rather than a $1,000+ interior water damage repair.
Homeowners across our service areas in Toronto, Peel Region, York Region, Halton Region, and Durham Region who follow this simple twice-yearly maintenance rhythm consistently report fewer emergency repairs and get more years of service out of their existing roofs before replacement becomes necessary.
Red Flags That Mean It Is Time to Stop Patching
Even the most budget-conscious homeowner reaches a point where continued patching stops making financial sense. Watch for these signals: you have patched the same general area more than twice in three years, multiple independent leak points have appeared in a single season, shingles across large sections show curling or granule loss rather than isolated wear, or a contractor finds soft, spongy decking when walking the roof.
At that stage, every dollar spent on another patch is essentially a sunk cost against an inevitable replacement. We always give homeowners a straightforward assessment of which category their roof falls into, and if replacement is genuinely the more economical path, we will say so rather than sell an endless string of small repairs. You can read how we approach these conversations from real customers on our reviews page, and general questions about our process are answered on our FAQ page.
Working With a Professional Without Overspending
Budget-friendly does not have to mean doing everything yourself. A well-run repair visit from an experienced local roofer is often the most cost-effective route precisely because it is done right the first time, with the correct materials and technique for our climate, rather than requiring a second visit after a DIY attempt fails.
When getting quotes for patch work, ask specifically what material will be used (rubberized cement versus basic caulk makes a real difference), whether the quote includes replacing any surrounding damaged shingles rather than just sealing over them, and what warranty, if any, applies to the repair itself. A reputable contractor will answer all three clearly. We have been serving homeowners across the GTA since 2005, and you can learn more about our approach and licencing on our about page.
What are the most budget friendly tips for roof patching on an older asphalt shingle roof?
How much does roof patching typically cost in the GTA?
Can I patch my own roof to save money?
What is the best time of year for roof patching in Toronto?
How do I know if a patch will actually hold or if I need a full roof replacement?
What roofing materials should I avoid using for budget patch repairs?
Need Help With Budget Friendly Tips for?
Whether you are dealing with a single cracked shingle or several small leak points around your home, Universal Roofs can help you patch it correctly the first time, using materials suited to the GTA’s climate and workmanship backed by two decades of local roofing experience.
Call us today at (416) 732-2421 or request a free inspection to get started.
Universal Roofs proudly serves Toronto, Mississauga, Brampton, Vaughan, Markham, Oakville and the GTA since 2005.