
When a ceiling stain shows up after a summer thunderstorm or a shingle tears loose in a windstorm, the first thing most Toronto homeowners type into Google is some version of “roof patching services nearby.” That instinct makes sense — a patch is almost always faster and cheaper than a full tear-off, and getting a qualified crew on your roof quickly can be the difference between a $400 repair and a $4,000 water damage claim.
The trouble is that “nearby” isn’t really the question that matters most. Toronto and the surrounding GTA are full of roofing contractors, handyman services, and one-truck operators who will happily slap a patch on a leak. What separates a good roof patch from a bad one is workmanship, materials, and whether the underlying cause of the damage was actually addressed — not just how close the company’s office is to your postal code.
This guide breaks down what roof patching actually involves, the different methods and materials contractors use, realistic costs across the GTA, how to evaluate the roofing companies that show up in your local search results, and the mistakes that turn a $350 patch job into a repeat visit six months later. We’ll also cover when a patch is the right call and when it’s really just delaying a larger roof replacement decision.
What “Roof Patching” Actually Covers
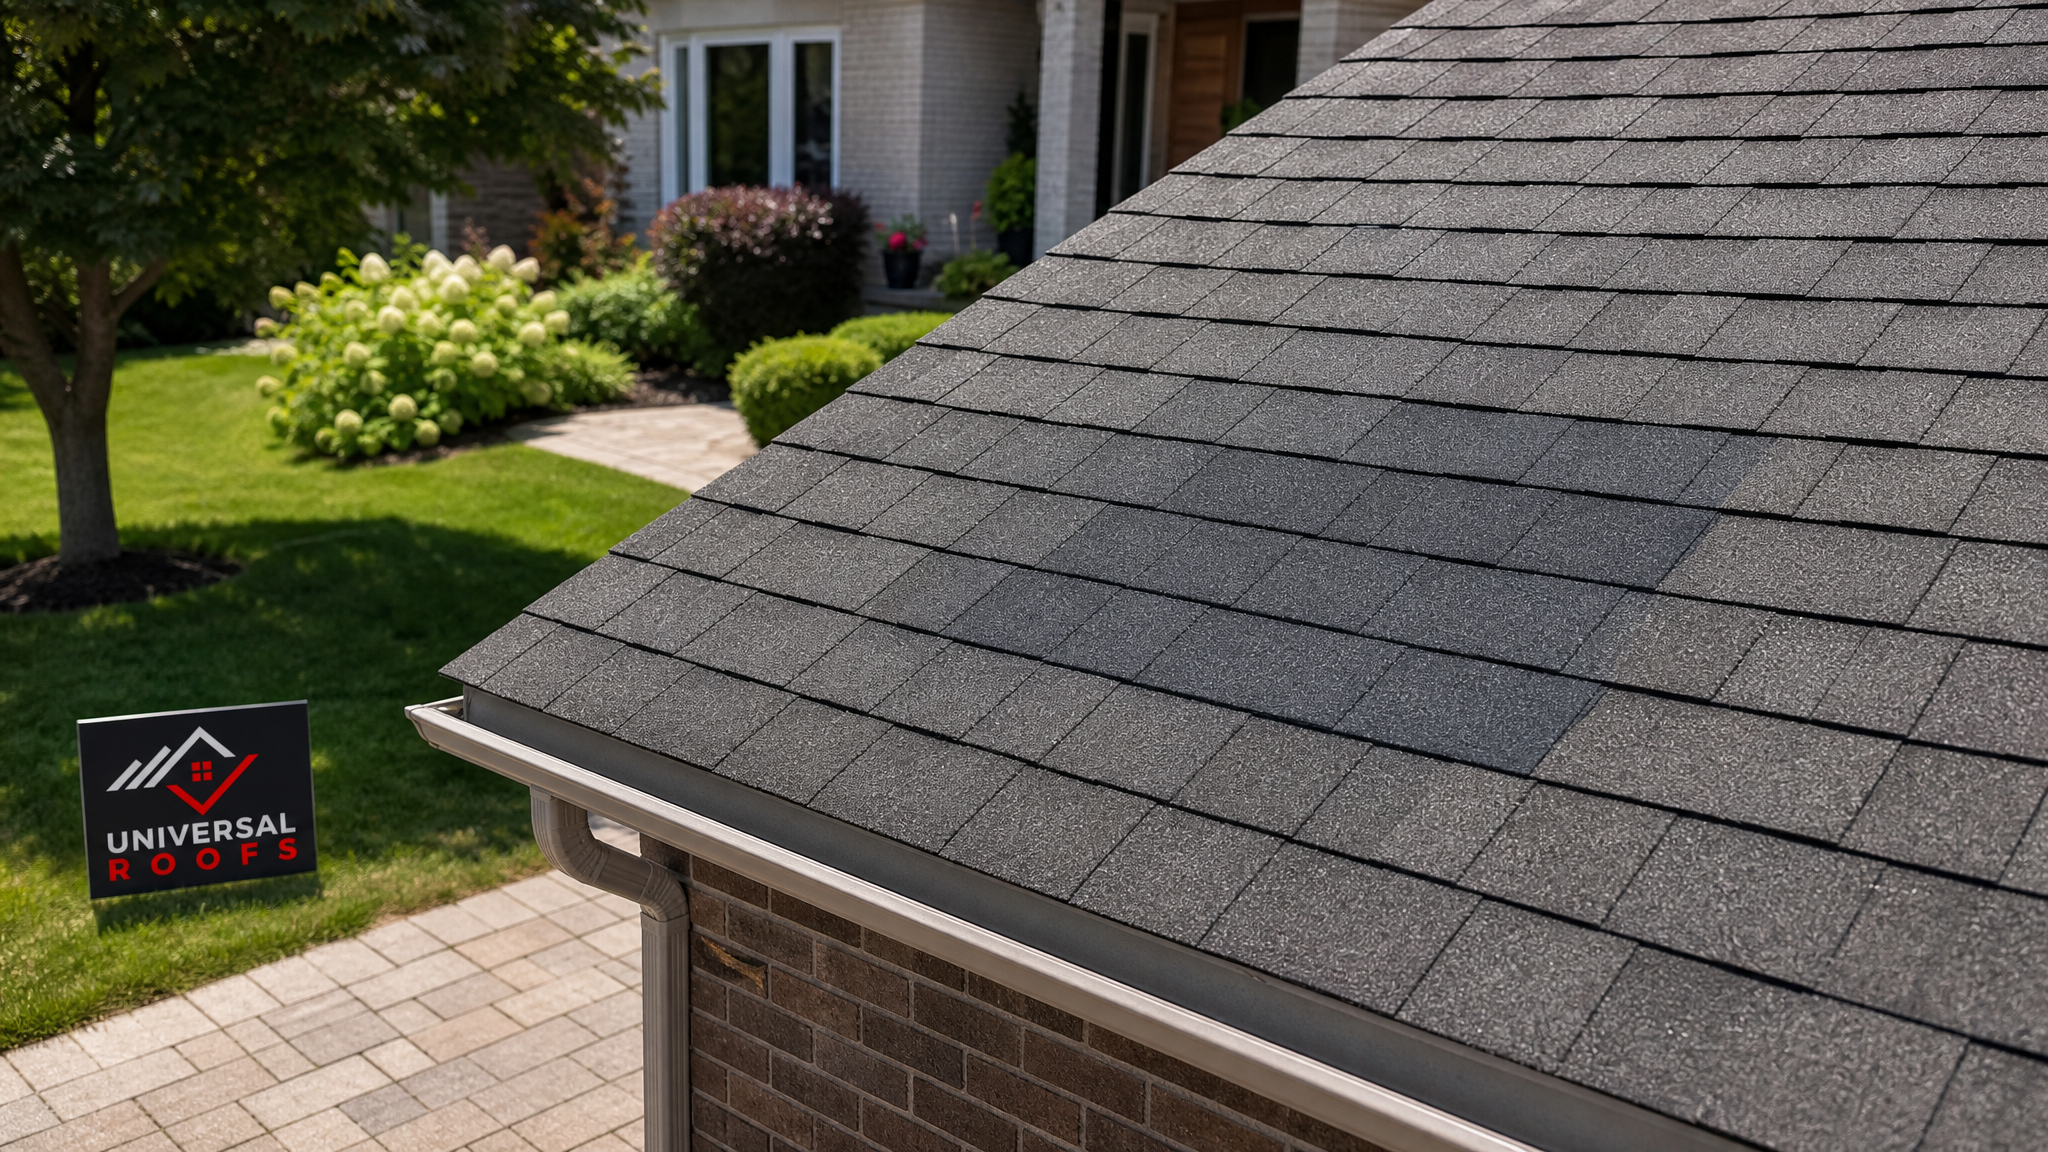
Roof patching is a broad term that covers any localized repair intended to stop water intrusion or restore a small section of roofing without replacing the entire roof surface. In the GTA, the most common patching jobs we see fall into a handful of categories, and the right approach depends heavily on what the roof is made of and where the damage is located.
On asphalt shingle roofs — still the dominant roofing material across Toronto, Mississauga, and Vaughan — patching usually means replacing individual damaged or missing shingles, resealing lifted tabs, and re-flashing around penetrations like vent stacks, chimneys, and skylights. On flat and low-slope roofs, common on additions, garages, and older semi-detached homes downtown, patching typically involves cutting out a damaged section of membrane and welding or adhering in a new piece, which is a different skill set entirely from shingle work and one reason our flat roofing crews are trained separately from our sloped-roof teams.
Metal roofing, increasingly popular on newer builds and cottages-turned-permanent-homes north of the city, requires patching techniques suited to expansion and contraction — a rigid patch on a metal roof will crack loose within a year or two if it doesn’t account for thermal movement. And around chimneys, skylights, and dormers, “patching” is often really a flashing repair rather than a membrane or shingle repair, since flashing failure is the single most common cause of roof leaks we diagnose across the GTA.
Understanding which category your problem falls into matters because it changes both the cost and the skill level required. A homeowner who calls a general handyman for what looks like a simple shingle patch, when the real issue is failed step flashing at a chimney, often ends up paying twice — once for the ineffective patch, and again for the proper roof repair once the leak reappears.
How to Evaluate Local Roof Patching Contractors
Searching “roof patching services nearby” typically returns a mix of large established roofing companies, smaller two- or three-person crews, and general contractors who take on roofing as one of several trades. Proximity is a convenience factor, not a quality signal, so it helps to have a short checklist before you let anyone on your roof.
Start with licensing and insurance. Ontario doesn’t require a province-wide roofing licence in the same way some trades are regulated, but reputable roofing contractors carry general liability insurance (typically $2 million or more) and WSIB coverage for their workers. Ask for proof of both before work begins — if a company hesitates or can’t produce documentation quickly, treat that as a serious warning sign, not an oversight.
Next, look at how long the company has actually been doing roofing in your specific municipality. A contractor based in Barrie who occasionally drives into Toronto for jobs may not know local permit requirements or common issues with Toronto’s older housing stock (knob-and-tube wiring near roof penetrations, balloon-frame construction, lath-and-plaster ceilings that show water stains differently than drywall). Local experience shows up in small but important ways — knowing which municipalities require permits for re-roofing over a certain square footage, or which neighbourhoods have specific bylaw restrictions on ladder placement and noise hours.
Finally, read recent reviews critically, not just for star ratings but for what customers say about follow-up. A pattern of “came out fast, fixed it, never heard from them again when the leak came back” is a red flag. You can see how we handle follow-up and warranty questions on our own reviews page, and we’d encourage you to hold every contractor you’re considering to the same standard: did they answer questions honestly, and did the repair actually last?
| Red Flag | Why It Matters | What to Ask Instead |
|---|---|---|
| No proof of insurance offered | You’re liable for injuries on your property if the crew isn’t covered | “Can you email me your liability and WSIB certificates?” |
| Quote given without seeing the roof | Patching costs vary hugely by damage type and access | “Can someone inspect before quoting a firm price?” |
| Cash-only, no invoice | No paper trail for warranty claims or insurance | “Do you provide a written invoice and warranty document?” |
| Pressure to sign same-day | Common tactic after storms to lock in inflated pricing | “Can I have 24 hours to compare quotes?” |
| Vague material description | “Sealant” and “patch” mean different things to different crews | “What specific product/membrane will be used?” |
Patching Methods by Roof Type
Not all patches are created equal, and the method matters as much as the contractor’s proximity to your street. Below is a breakdown of the most common patching approaches we use across the different roof types found throughout Toronto, Peel, York, Halton, and Durham Region.
For asphalt shingle roofs, the standard approach is a shingle swap: the damaged shingle is carefully lifted, the nails removed, the old shingle slid out, and a new matching shingle slid into place and re-nailed with roofing cement under the tabs. Colour matching is a real consideration here — a repair using shingles even a few years newer than the surrounding roof can be visibly different due to UV fading, which is why we always ask homeowners if they have leftover shingles from the original installation.
Flat and low-slope roofs use an entirely different repair logic. Depending on the membrane type — modified bitumen, TPO, EPDM rubber, or built-up tar and gravel — the patch involves cleaning the damaged area, cutting away compromised material back to sound substrate, and either torch-welding, hot-air welding, or adhering a new membrane patch that overlaps the surrounding material by several inches on all sides. Rushed flat roof patches that skip proper overlap or surface preparation are the number one cause of repeat leaks on flat roofs we’re called out to inspect.
Metal roof patching typically uses a combination of matching metal flashing pieces, high-grade butyl tape, and compatible sealant rated for the specific metal (steel, aluminum, or copper each require different sealant chemistry to avoid corrosion). Around penetrations, we often replace the entire boot or flashing collar rather than just sealing over a crack, since a cracked rubber boot is a sign the material has already degraded and will fail again soon.
| Roof Type | Typical Patch Method | Average Lifespan of Patch | Common Cause of Failure |
|---|---|---|---|
| Asphalt shingle | Shingle swap + cement seal | 8-15 years | Poor colour/granule match, improper nailing |
| Flat/low-slope (TPO, EPDM, modified bitumen) | Cut-out and welded/adhered membrane patch | 5-10 years | Insufficient overlap, contaminated surface |
| Metal roofing | Flashing replacement + butyl tape/sealant | 10-20 years | Wrong sealant chemistry, no allowance for expansion |
| Cedar shake/wood | Shake replacement, flashing repair | 7-12 years | Splitting from moisture cycling, mismatched shake thickness |
| Around skylights | Flashing kit replacement, not just re-caulking | 10-15 years | Caulk-only “fix” instead of proper flashing |
Realistic Patching Costs Across the GTA
Cost is usually the first question homeowners have, and it’s also where “nearby” search results get misleading — a rock-bottom quote from a company an hour outside your service area often excludes travel time, disposal fees, or a proper inspection, and the price climbs once they’re on your roof.
Pricing across Toronto, Mississauga, Brampton, Vaughan, Markham, Oakville, and the wider GTA is fairly consistent for straightforward jobs, but complexity, roof pitch, and access (a two-storey roof with limited ladder access costs more than a bungalow) can shift the number significantly. Emergency or after-hours calls, particularly following a storm when demand spikes, typically carry a premium as well.
| Repair Type | Typical Cost Range (CAD) | Timeframe | Notes |
|---|---|---|---|
| Single/small area shingle patch | $300 – $650 | 1-2 hours | Price rises if matching shingles aren’t available |
| Flashing repair (chimney/vent/skylight) | $400 – $900 | 2-4 hours | Full flashing replacement costs more than re-sealing but lasts far longer |
| Flat roof membrane patch | $500 – $1,500 | Half day | Depends on membrane type and size of damaged area |
| Emergency tarp + temporary patch | $250 – $600 | Same day | Stopgap only; permanent repair still required after |
| Multiple patch areas (storm damage) | $800 – $2,500 | 1 full day | Often partially covered by home insurance |
These figures reflect general market rates across the region and can shift depending on material availability and the season — spring and early summer, when storm and ice-related damage from winter finally gets addressed, tends to be the busiest and sometimes priciest period for roofers across Toronto and the Peel Region.
DIY Patching: What’s Reasonable and What Isn’t
Plenty of homeowners are comfortable with basic home maintenance, and it’s worth being honest about which roof patching tasks are reasonable to attempt yourself and which ones consistently lead to bigger problems.
Re-sealing a small, accessible area with roofing cement on a low-slope garage roof, or replacing a single obviously cracked shingle on a bungalow with safe ladder access, are within reach for a careful, moderately handy homeowner — provided you’re comfortable on a ladder and the roof pitch isn’t steep. Buying the correct product matters more than most people expect: general-purpose caulking is not a substitute for proper roofing cement or elastomeric sealant, and using the wrong product is one of the most common reasons a DIY patch fails within a season.
Where DIY consistently goes wrong is with anything involving flashing, multiple layers of roofing material, or steep/high roofs. Flashing repair looks simple — pull up the old piece, slide in a new one, reseal — but the sequencing (which layer goes under which shingle course, how far up a wall the flashing needs to extend, how it integrates with the underlayment) is easy to get wrong in ways that don’t show up as a leak for months. By the time water finds its way in, it may have already caused hidden damage to sheathing or insulation inside your attic.
Height and pitch are the other major factor. Falls from roofs are a leading cause of serious home-related injuries, and a two-storey roof in July heat with dew still on the shingles in the morning is genuinely dangerous footing, even for confident DIYers. If your roof pitch is steep, if the damaged area is near the edge or a valley, or if you’d need to work more than one storey up, it’s worth paying a professional — the labour cost is small compared to a fall injury.
Signs a Patch Is the Wrong Call
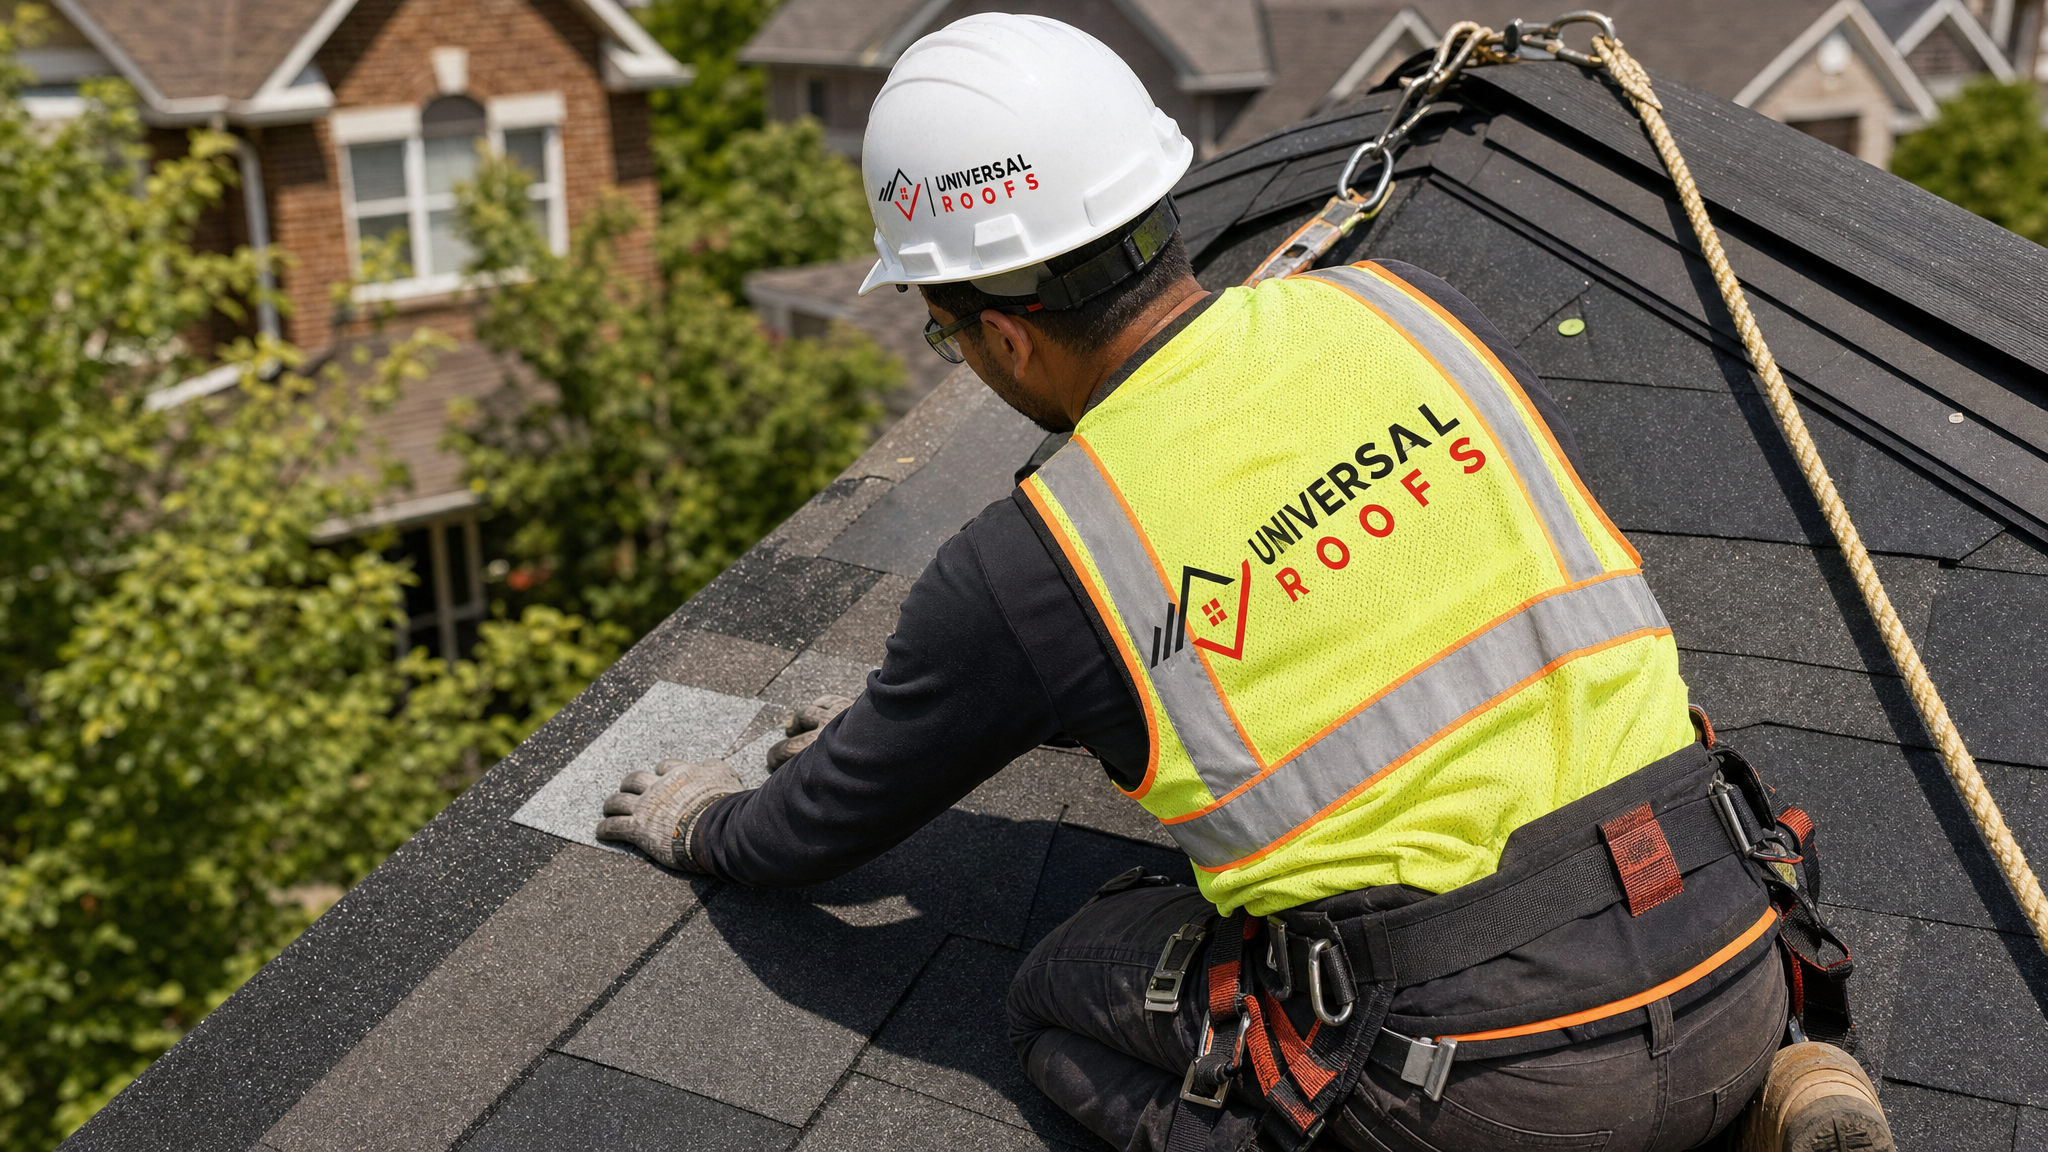
Patching makes sense when the damage is localized and the rest of the roof is in reasonably good condition. It stops being the right call once the roof shows signs of broader, systemic wear — and a contractor who quotes a patch anyway, without mentioning the bigger picture, isn’t doing you any favours.
A few signals suggest you’re looking at a replacement conversation rather than a patching one. If shingles are curling, cupping, or losing granules across large sections of the roof (not just the area you called about), the roofing material itself is at the end of its service life and a patch will only buy a short window before the next leak appears elsewhere. If your roof has already been patched multiple times in the same area, that’s a sign the underlying cause hasn’t actually been fixed. And if the roof is original to a home built before the mid-2000s and has never had major work done, its remaining lifespan may simply be too short to justify further patching investment.
There’s also a practical financial threshold: once patch costs on an ageing roof start approaching 25-30% of what a full replacement would cost, most homeowners are better served putting that money toward a new roof rather than a repair that only delays the inevitable. A straightforward, honest inspection should tell you which side of that line you’re on — it’s a conversation we have with homeowners regularly, and one any contractor should be willing to have transparently rather than defaulting to whichever service pays them more.
| Symptom | Likely a Simple Patch | Likely Needs Broader Repair/Replacement |
|---|---|---|
| Single missing/torn shingle | Yes | – |
| Isolated leak at one penetration | Yes, if flashing repaired properly | – |
| Granule loss across most of the roof | – | Yes, roof is aging out |
| Same spot patched 2+ times already | – | Yes, root cause not addressed |
| Sagging or soft decking underfoot | – | Yes, structural issue beyond patching |
| Roof is 20+ years old with no upgrades | – | Yes, evaluate full replacement cost |
Seasonal Timing for Patch Repairs in the GTA
Toronto’s climate plays a real role in both when damage happens and when it’s best repaired. Freeze-thaw cycling through the winter months is the single biggest driver of shingle cracking, flashing separation, and ice-related membrane damage on flat roofs, which means many homeowners don’t discover leaks until spring thaw or the first heavy summer rainstorm reveals a stain that’s been forming for months.
Summer, like right now, is genuinely one of the best windows for patch work. Warm temperatures let roofing cement, sealants, and adhesives cure properly — most sealant products have a minimum application temperature, and patches applied in cold weather often fail to bond fully, only to crack loose again once temperatures drop further. Shingles are also more pliable in warm weather, which reduces the risk of cracking during a shingle swap. The main downside of summer scheduling is demand: after a spring storm season, roofing companies across the GTA tend to book up quickly, so if you’ve noticed a stain or a lifted shingle, it’s worth getting an inspection scheduled rather than waiting until autumn urgency sets in.
That said, emergency patching (tarping an active leak, temporary sealing after storm damage) happens year-round regardless of ideal curing conditions — the goal in an emergency is stopping active water intrusion, with a proper permanent patch scheduled once conditions allow.
Patching Around Skylights and Chimneys
Some of the most misdiagnosed “patch” calls we get involve leaks near skylights and chimneys, because homeowners (and, frankly, some less experienced roofers) assume the skylight or chimney itself is leaking when the actual failure point is almost always the flashing around it.
Skylight flashing is a layered system — step flashing, counter-flashing, and often a saddle or cricket above the unit to divert water — and when any one layer fails, water can travel along the roof deck before appearing as a stain well away from the actual entry point, which is why DIY caulk-over-the-frame “repairs” so often fail to solve the real problem. If a skylight is older or the flashing has failed more than once, a proper skylight replacement with new flashing is often more cost-effective long-term than repeated patching, and if you’re dealing with a skylight leak for the first time, our skylights team can usually tell within a single inspection whether it’s a flashing patch or a full unit issue.
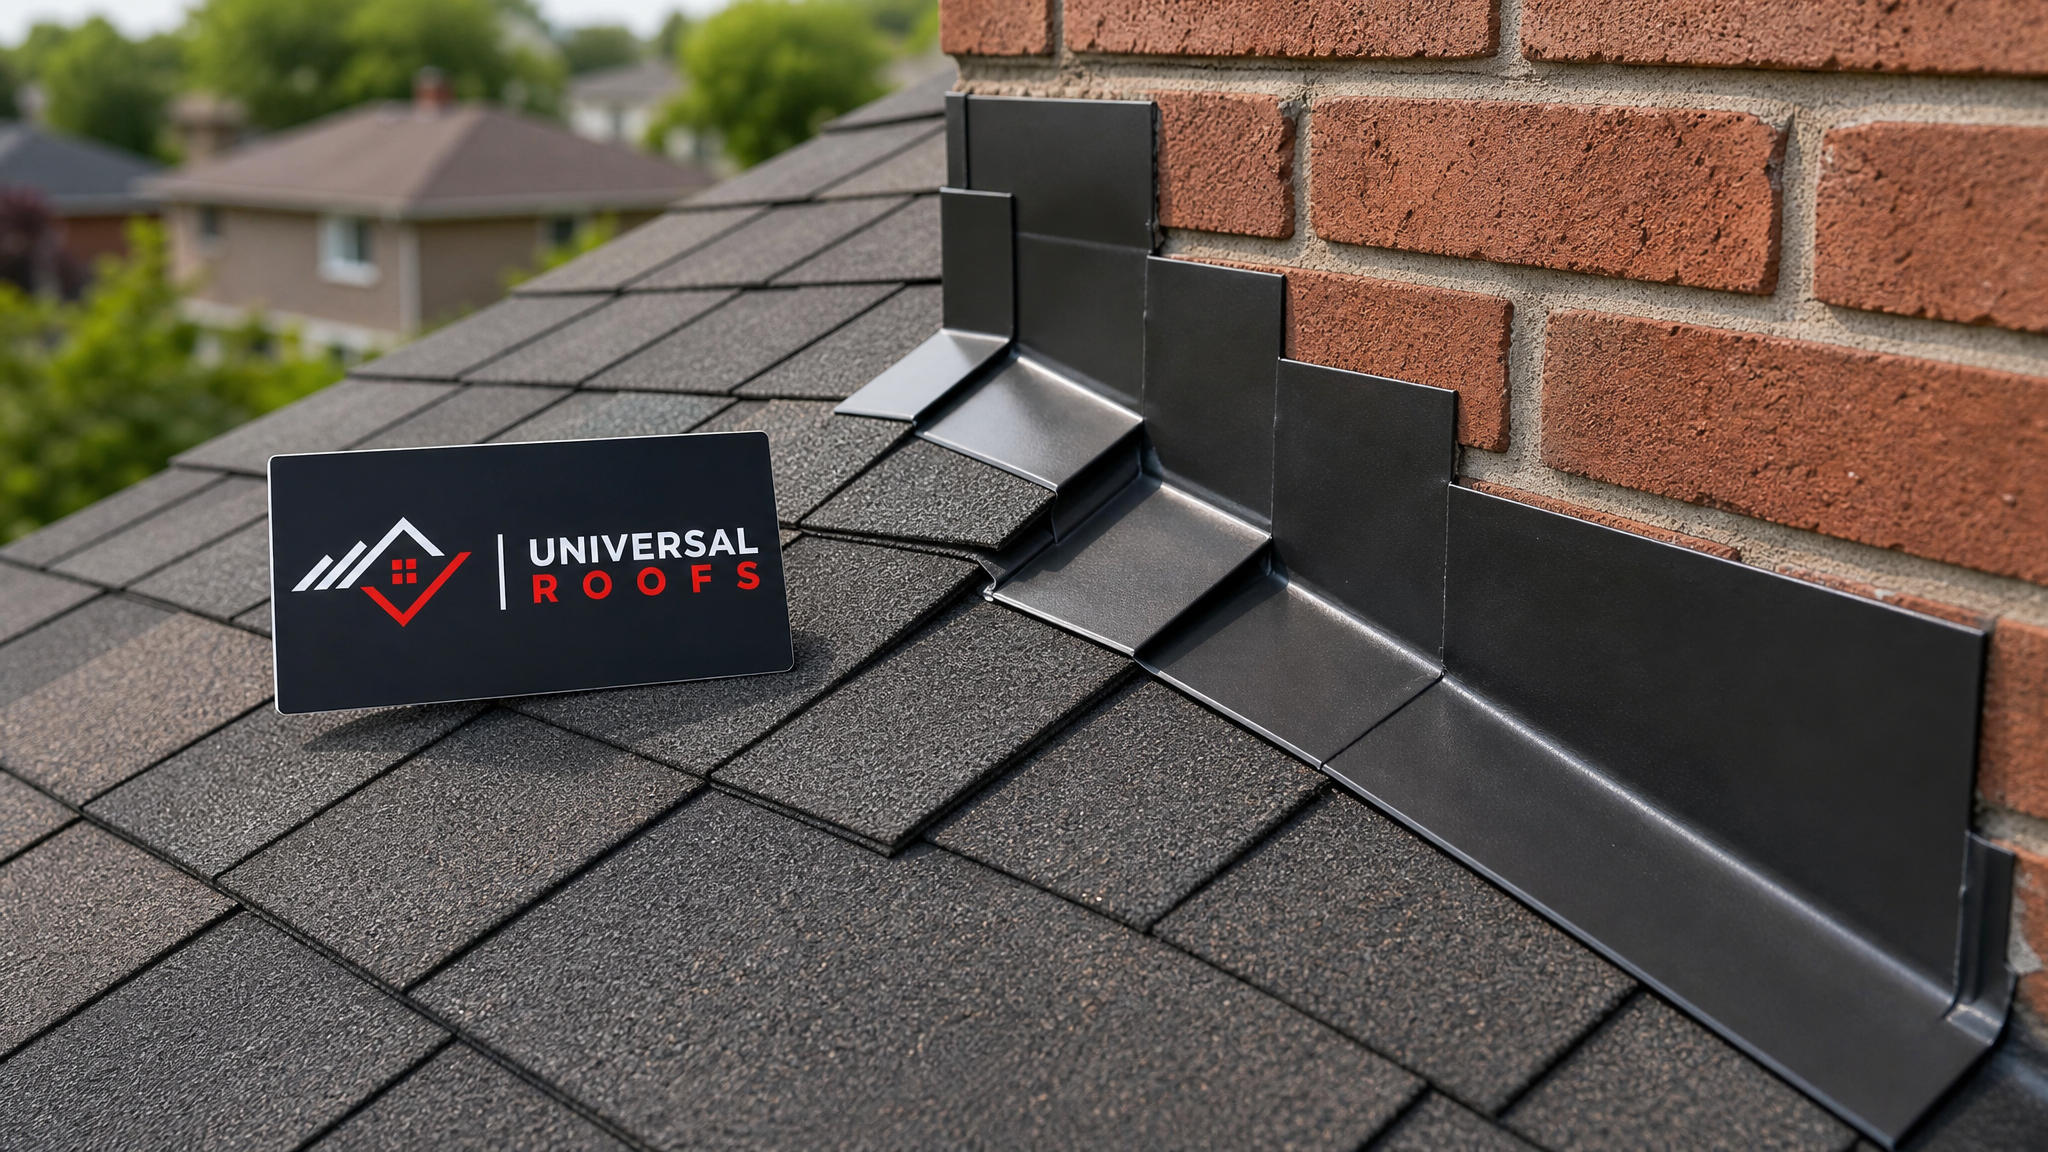
Chimney flashing faces similar wear, compounded by the chimney’s mass expanding and contracting differently than the roof structure around it, which stresses the flashing seal over years of freeze-thaw cycles. A proper chimney flashing patch involves step flashing tucked under each shingle course along the sides and counter-flashing let into the mortar joints — not just a bead of caulk along the base, which is a common shortcut that fails within a year or two.
What a Thorough Patch Job Should Include
Regardless of which company you call, a properly executed roof patch should follow a consistent process, and knowing what that process looks like helps you tell a thorough job from a rushed one.
It starts with an actual inspection, not just a look at the visible damage from the ground. A good roofer walks the roof (or uses a drone/ladder inspection where walking isn’t safe) to check the surrounding area for related issues — because a leak rarely announces exactly where it’s entering, and the visible stain inside your home is often several feet from the actual failure point on the roof. From there, the contractor should explain what they found, what caused it, and what the repair will involve, in plain language, before starting work.
During the repair itself, proper surface preparation matters enormously — cleaning, drying, and removing any degraded material before a new patch or sealant goes down. A patch applied over a damp or dirty surface may look fine on installation day and fail within weeks because the adhesive or sealant never bonded properly. Finally, a reputable company documents the work with photos and provides a written warranty, typically covering workmanship for one to two years on straightforward patches, with material warranties varying by product.
If you’re weighing multiple quotes from companies that turned up in your local search, ask each one to walk you through these same steps. The company that gives you a vague answer versus the one that explains inspection, preparation, materials, and warranty in specific terms is usually the one that will do the more durable repair — regardless of which one happens to be geographically closest.
Frequently Asked Questions About Roof Patching Services Nearby
How do I find reliable roof patching services nearby in Toronto?
How much do roof patching services typically cost in the GTA?
Is it better to patch a roof or replace it?
Can I patch my own roof, or should I hire roof patching services nearby?
What’s the best time of year to get a roof patched in Toronto?
Why does my patched roof keep leaking in the same spot?
Need Help With 8 Best Roof Patching?
Whether you’re dealing with a single lifted shingle, a stubborn flashing leak, or storm damage across several sections of your roof, Universal Roofs has the local experience across Toronto and the wider GTA to diagnose the actual cause and patch it properly the first time.
Call us today at (416) 732-2421 or request a free inspection to get started.
Universal Roofs proudly serves Toronto, Mississauga, Brampton, Vaughan, Markham, Oakville and the GTA since 2005.