
A leaking commercial roof does not wait for a convenient time to fail. It shows up as a stain spreading across a drop ceiling tile on a Monday morning, a drip over a server rack, or a puddle forming near the loading dock after a July thunderstorm rolls through the GTA. For property managers and building owners across Toronto, Mississauga, Brampton, and the surrounding regions, knowing how to patch a commercial roof correctly the first time is the difference between a $400 repair and a $40,000 interior remediation bill.
Commercial roofs are a different animal from residential shingle roofs. Most are low-slope or fully flat systems finished in modified bitumen, EPDM rubber, TPO, PVC, or built-up roofing (BUR) with gravel ballast. Patching these membranes requires different tools, different materials, and a different understanding of how water actually moves across a large, mostly flat surface. A patch that works beautifully on a steep asphalt shingle roof can fail within weeks on a flat commercial membrane if it is applied with the wrong technique or the wrong compatibility assumptions.
This guide walks through seven essential roof patching tips for commercial buildings, drawn from decades of field experience repairing flat and low-slope roofs across the Greater Toronto Area. Whether you manage a strip mall in Mississauga, a warehouse in Brampton, or an office tower in downtown Toronto, these principles apply directly to your building. We will also cover when a patch is the right call versus when it is only delaying an inevitable roof replacement, and how our summer climate here in the GTA changes the calculus.
Why Commercial Roof Patching Is Different From Residential Repair
Before getting into the seven essential roof patching tips for commercial buildings, it helps to understand why the process differs so much from patching a sloped residential roof. A typical house roof sheds water quickly because gravity does most of the work on a 4/12 or 6/12 pitch. Commercial roofs, by contrast, are usually low-slope (a quarter-inch of drop per foot, or less) or completely flat. Water does not rush off; it lingers, pools, and finds every imperfection in the membrane over hours or days rather than seconds.
That single fact changes everything about how a patch must be built. A patch on a commercial membrane needs to handle standing water, not just shedding rain. It needs to resist UV degradation from constant sun exposure across a huge open surface, thermal cycling as black or dark membranes swing from freezing overnight lows to 60°C+ surface temperatures on a July afternoon, and mechanical stress from rooftop HVAC units, foot traffic, and ballast movement. Commercial buildings also tend to have far more roof penetrations per square metre — vents, drains, curbs, conduit, and mechanical equipment — each one a potential leak point that a patch must address correctly.
Material compatibility is another factor unique to commercial work. Using an asphalt-based patch on a PVC membrane, for example, can cause the plasticizers in the PVC to break down, leading to a much larger failure than the original leak. Getting the essential roof patching tips for commercial buildings right starts with correctly identifying what membrane you are working with before you even open a repair kit.
Tip 1: Correctly Identify Your Membrane Type Before Choosing a Patch Material
The single most common mistake we see in DIY and even some contractor-grade commercial roof patches is material mismatch. There are five common commercial roofing membranes in the GTA, and each requires a specific compatible patching approach.
| Membrane Type | How to Identify It | Compatible Patch Material | Common Failure Point |
|---|---|---|---|
| EPDM (rubber) | Black, smooth, slightly stretchy surface | EPDM-specific seam tape or liquid rubber with primer | Seam edges, pooled water zones |
| TPO | White or grey, heat-welded seams, stiffer feel | TPO patch membrane, heat-welded or TPO-compatible adhesive | Seam separation, punctures near rooftop units |
| PVC | Similar to TPO but glossier, often reinforced | PVC-compatible patch (never asphalt-based products) | Plasticizer breakdown, flashing corners |
| Modified Bitumen | Granulated, asphalt-based, torch or peel-and-stick applied | Modified bitumen patch with matching granules | Blistering, lap seam separation |
| Built-Up Roof (BUR) | Gravel-ballasted, layered felt visible when gravel is moved | Asphalt-based flood coat patch with fibreglass mesh | Alligatoring, ponding water breakdown |
If you are ever uncertain which membrane your building has, do not guess. A quick call for a professional roof repair assessment is far cheaper than applying the wrong chemistry and having to redo the work, sometimes after the incompatible material has already damaged the surrounding membrane.
Tip 2: Never Patch Over a Wet or Contaminated Surface
Adhesion is everything in roof patching, and adhesion fails almost every time it is applied over moisture, dust, gravel, or old sealant residue. This is one of the essential roof patching tips for commercial buildings that gets skipped constantly because crews are in a hurry to stop an active leak.
The correct sequence is always: locate the leak source (which is often metres away from the interior stain, since water travels along the deck before dripping through), dry the area completely, clean it with a membrane-appropriate solvent or cleaner, and only then apply primer and patch material. Patching a damp membrane traps moisture underneath the new material, which then blisters, expands with summer heat, and reopens the leak — often larger than before — within a single season.
In the GTA, this step is especially important during our humid summer months. A membrane can look dry on the surface after a storm but still be holding moisture in a seam or around a penetration. Using a moisture meter or simply waiting for a full 24 hours of dry, sunny weather before patching gives a dramatically better bond.
Tip 3: Address the Root Cause, Not Just the Visible Puncture
| Visible Symptom | Likely Root Cause | Correct Repair Approach | Patch-Only Risk if Ignored |
|---|---|---|---|
| Small blister or bubble | Trapped moisture or air under membrane | Cut, dry, re-adhere, and patch over the cut | Blister grows and eventually splits |
| Ponding water stain | Inadequate drainage slope or clogged drain | Clear drains, consider tapered insulation | Patch degrades faster under standing water |
| Cracked flashing at HVAC curb | Thermal movement, aging sealant | Replace flashing, reseal curb corners | Leak returns at same location within months |
| Seam separation | Original seam weld or adhesive failure | Re-weld or re-tape entire seam length, not just the gap | Seam continues unzipping along its length |
| Puncture from foot traffic or debris | Lack of walkway pads, storm debris impact | Clean patch plus walkway pad installation | Repeat punctures in the same high-traffic zone |
A patch placed directly over a puncture without investigating why it happened is a temporary fix at best. If ponding water caused the membrane to degrade in that spot, a new patch will degrade the same way unless drainage is corrected. If foot traffic from rooftop mechanical servicing caused the puncture, the same spot will get punctured again unless a walkway pad is added. This is where an experienced eye matters — our crews look at the whole roof system, not just the hole, whenever we’re called out to a commercial site.
Tip 4: Match Patch Size and Shape to the Damage, With Proper Overlap
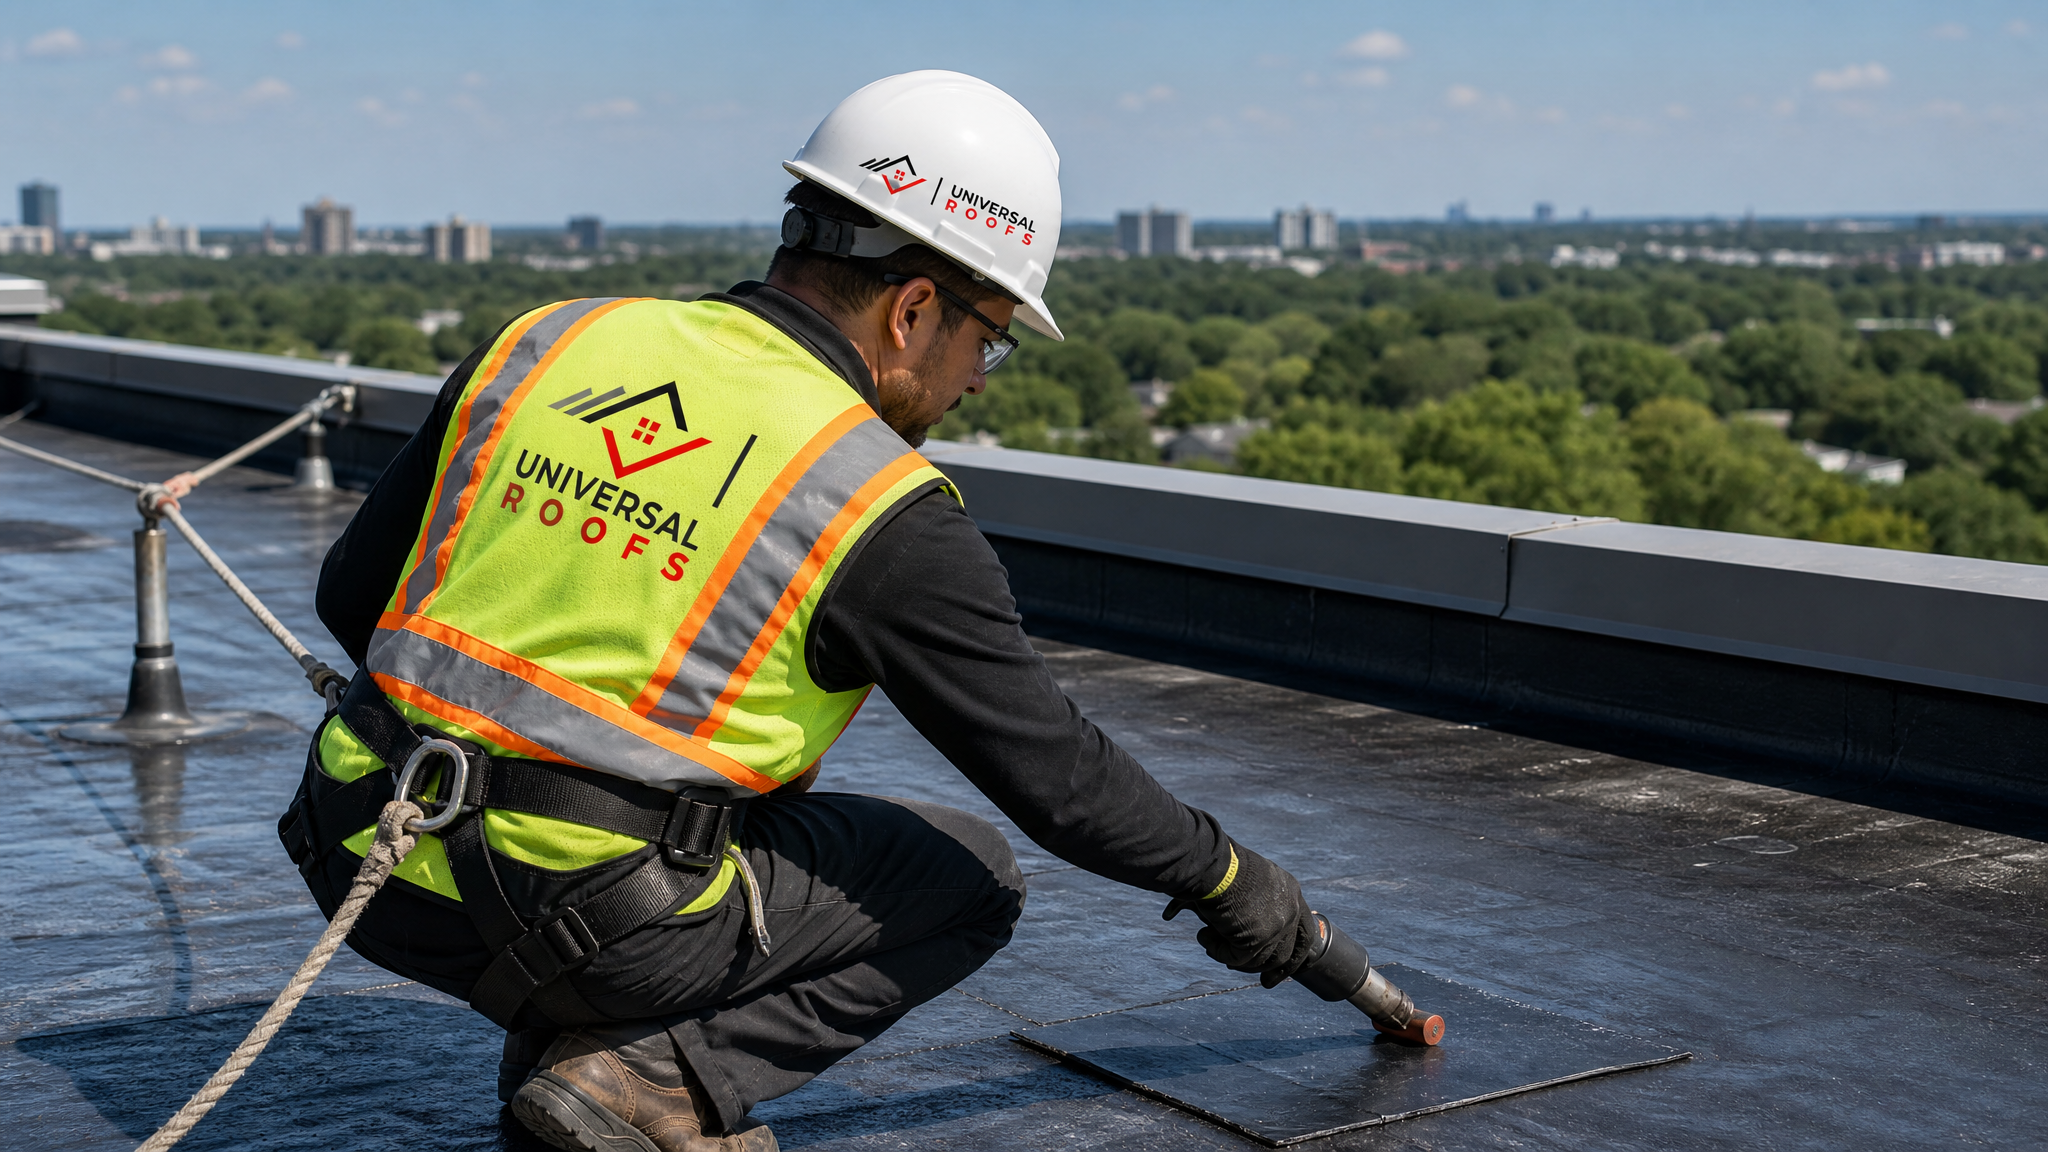
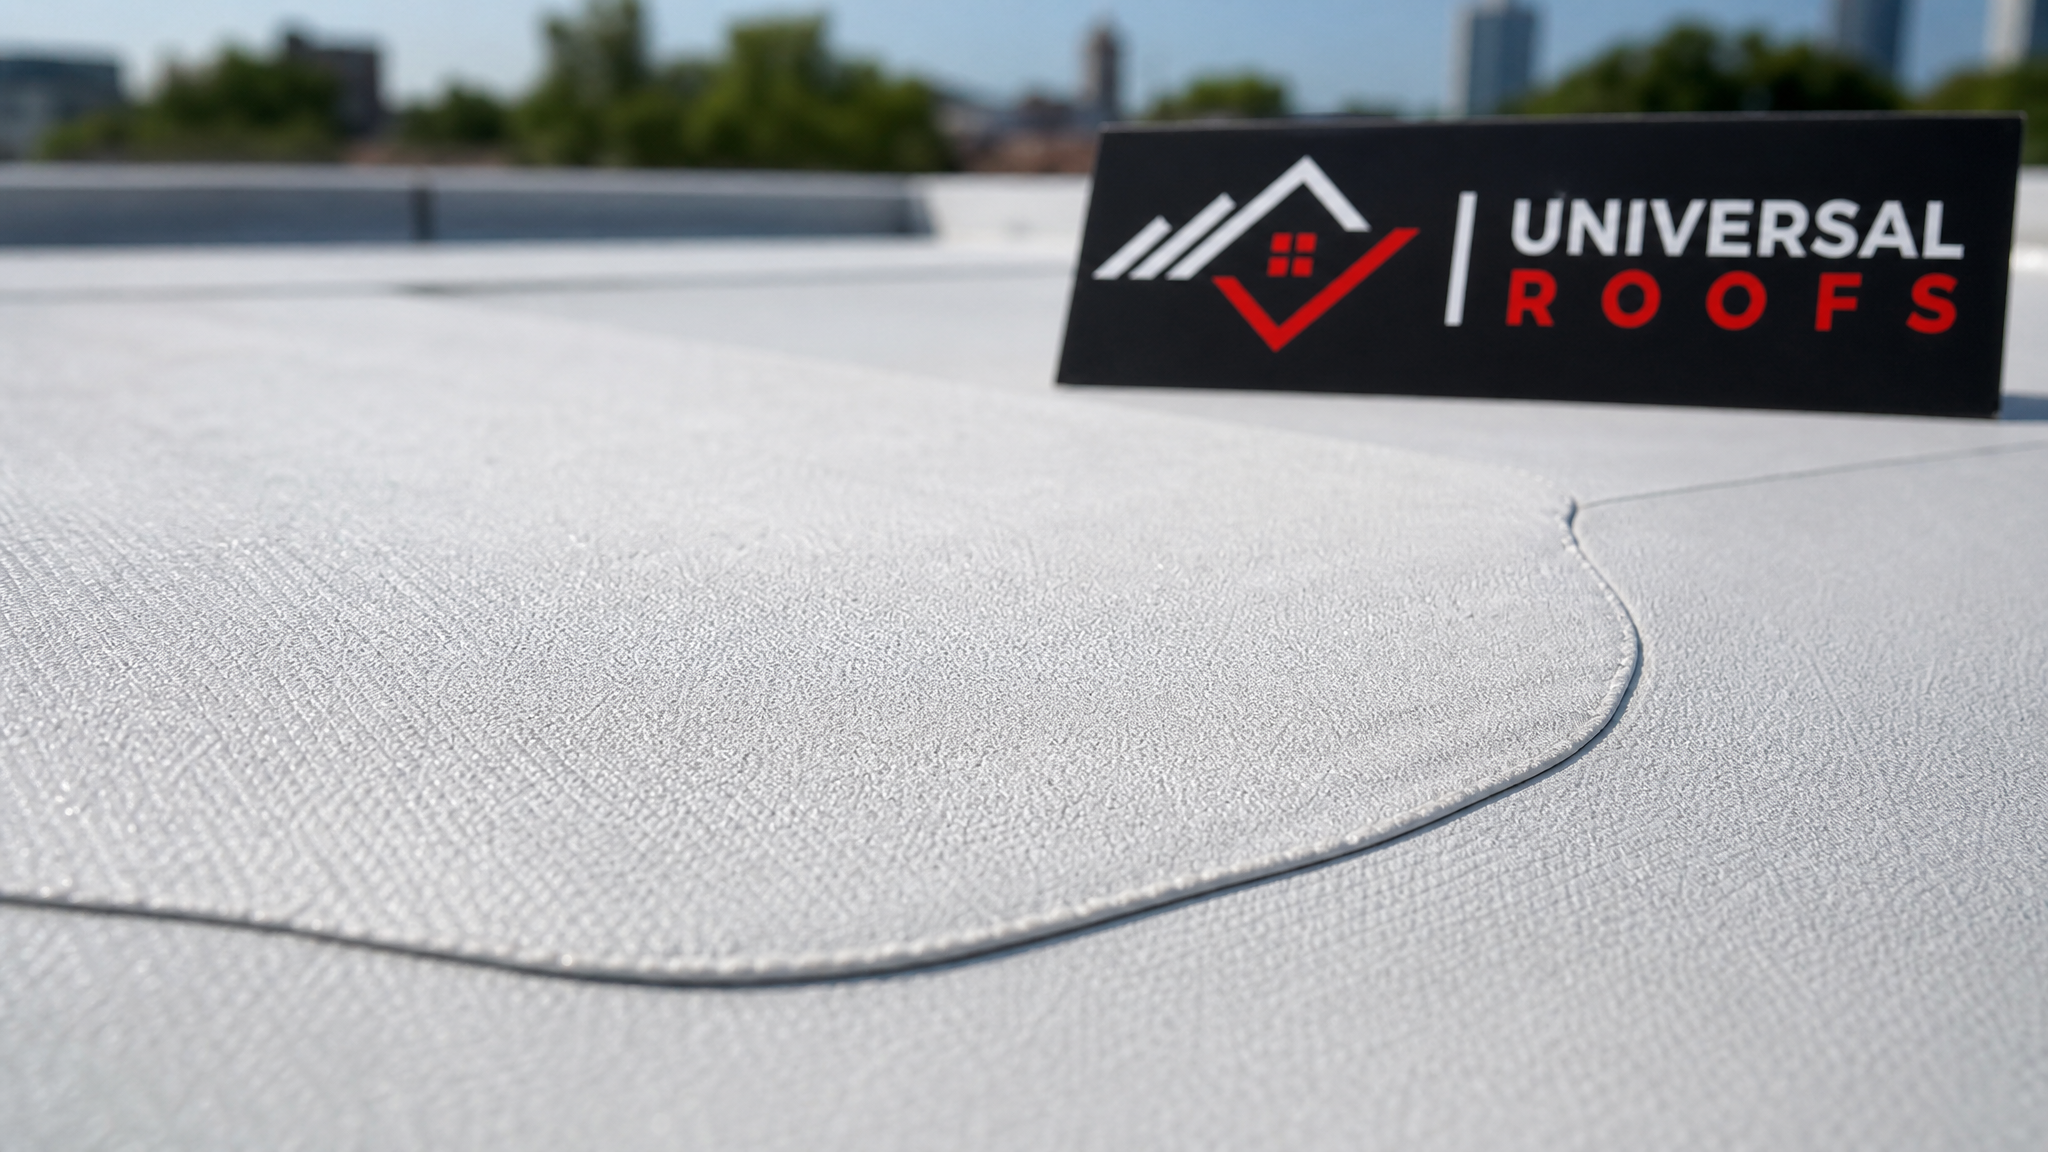
Undersized patches are one of the fastest ways to guarantee a repeat service call. The general rule across all membrane types is that a patch should extend at least 100 to 150 millimetres beyond the visible edge of the damage in every direction. For larger splits or tears, rounding the corners of a patch (rather than leaving sharp 90-degree corners) prevents the patch material itself from lifting at stress points, since sharp corners concentrate tension exactly where adhesive is weakest.
For seam repairs specifically, the patch or reinforcing tape should run the full length of the compromised seam, not just cover the gap that is currently visible. Water travels laterally under membranes far more than most building owners expect, so a “spot fix” on a seam often leaves adjacent inches of failed adhesive that will open up again during the next wind event or thermal cycle.
Tip 5: Understand When a Patch Is the Right Call — and When It Isn’t
Patching is a legitimate, cost-effective strategy for isolated damage on a membrane that still has useful service life remaining. But patching a roof that is nearing the end of its lifespan is often just delaying a much larger expense while risking interior damage in the meantime.
| Situation | Recommended Approach | Typical Cost Range (CAD) | Expected Longevity of Fix |
|---|---|---|---|
| Single isolated puncture, membrane under 10 years old | Standard patch repair | $300 – $900 | 5+ years if root cause addressed |
| Multiple seam failures across the roof | Full seam re-weld or re-tape program | $1,500 – $6,000 | 3–5 years depending on membrane age |
| Widespread blistering, membrane 15+ years old | Roof replacement assessment | Varies by size; ask for a quote | New membrane, 20+ year lifespan |
| Recurring leaks at the same patch location | Root-cause investigation, not another patch | $400 – $1,200 for diagnostic + repair | Permanent if underlying issue is fixed |
| Active leak during a storm, temporary stopgap needed | Emergency patch, follow-up permanent repair | $250 – $700 emergency call | Days to weeks; not a permanent fix |
As a general guideline, if a commercial membrane is more than 15 to 18 years old and showing multiple, unrelated failure points, patching individual spots becomes a losing game of whack-a-mole. At that stage, it is worth having a full inspection to compare the ongoing cost of repeated patch calls against a planned roof replacement. Many GTA property managers choose to budget for replacement during a fiscal year when patching costs start exceeding a few thousand dollars annually.
Tip 6: Factor in the GTA’s Seasonal Climate When Timing and Choosing Materials
Toronto’s climate puts real stress on commercial roofing membranes. Summer surface temperatures on a dark EPDM or BUR roof can exceed 70°C on a sunny July afternoon, causing significant thermal expansion, while winter freeze-thaw cycles contract materials and stress every seam and patch edge. This constant expansion and contraction is exactly why patch material compatibility and proper curing time matter so much here compared to milder climates.
Summer is actually one of the best times of year to perform commercial roof patching in the GTA, since most patch adhesives and primers cure fastest and most reliably in warm, dry conditions above 10°C. Applying a patch in late fall or winter often requires special cold-weather-rated products and longer cure times, and some materials simply should not be applied below their minimum application temperature. If your building has known trouble spots, scheduling proactive patching now, before autumn rain and winter freeze-thaw arrive, is a smart use of the summer season.
Humidity is the other seasonal factor. A muggy July morning after overnight rain can leave a membrane surface damp well past sunrise, even without visible standing water. Waiting for full midday sun exposure before starting patch work in these conditions prevents the moisture-trapping problem covered in Tip 2.
Tip 7: Schedule Regular Inspections to Catch Damage Before It Becomes an Emergency
The most cost-effective roof patching strategy is the one that happens before a leak ever reaches the interior of the building. Twice-yearly inspections — ideally in spring after winter thaw and in early fall before winter arrives — catch small blisters, minor seam lifts, and early membrane wear while they are still simple, inexpensive patch jobs rather than emergency call-outs.
A thorough inspection checklist for a commercial flat or low-slope roof should include checking all drains and scuppers for debris blockage, inspecting flashing around every rooftop penetration (HVAC curbs, vent stacks, skylights, conduit), looking for ponding water that lasts more than 48 hours after rain, checking seam integrity across the full membrane, and confirming that attic and roof deck insulation and ventilation are performing correctly, since poor ventilation accelerates membrane aging from below.
Buildings with rooftop mechanical equipment, frequent maintenance foot traffic, or a history of leaks benefit from even more frequent checks. Many of our commercial clients across Toronto, Peel Region, and York Region now schedule quarterly rooftop walk-throughs as part of a broader preventative maintenance program, which has measurably reduced their emergency repair costs year over year.
Materials and Tools Checklist for Commercial Roof Patching
Whether your maintenance team handles minor patches in-house or you bring in a licenced contractor for anything beyond the simplest fix, having the right tools on hand makes a measurable difference in patch longevity. At minimum, a properly equipped commercial roof patch kit should include a membrane-compatible primer, seam tape or liquid-applied patch material matched to your specific membrane type, a heat gun or torch (only for membranes rated for heat-welding, such as TPO), a roller for seam pressure application, a moisture meter to confirm the deck and membrane are dry before application, and walkway pads to protect high-traffic areas going forward.
For anything beyond a small, isolated puncture, we generally recommend having a professional handle the repair. Improperly applied patches on commercial membranes can void manufacturer warranties on the original roofing system, and incompatible materials can cause chemical breakdown that spreads well beyond the original damage. If you are ever unsure, a quick assessment from a licenced commercial roofer costs far less than remediating a failed DIY patch.
Common Mistakes That Shorten Patch Lifespan
Even experienced maintenance staff fall into a few recurring traps when patching commercial roofs. The most frequent is applying too thin a layer of liquid-applied patch material, which looks complete on application day but fails to build the film thickness needed to survive a full freeze-thaw cycle. Another common issue is skipping the primer step to save time, which dramatically reduces adhesion on both EPDM and modified bitumen membranes. Ignoring manufacturer cure times before allowing foot traffic or reintroducing rooftop equipment is another frequent cause of early patch failure, since a patch that has not fully cured can shift or tear under load.
Finally, using generic hardware-store caulking or roofing cement as a catch-all fix for every membrane type is a mistake we see constantly on commercial buildings that have changed maintenance staff over the years. These general-purpose products are rarely compatible with modern single-ply membranes like TPO and PVC, and while they may stop a drip for a few weeks, they typically cause more harm than good to the surrounding membrane chemistry.
Working With Rooftop Penetrations and Equipment Curbs
A large share of commercial roof leaks originate not from the open field of the membrane but from the dozens of penetrations found on a typical flat commercial roof — HVAC curbs, plumbing vents, electrical conduit, roof drains, and skylight curbs. Each of these transitions from horizontal membrane to vertical flashing represents a stress point where thermal movement, UV exposure, and mechanical vibration from rooftop units combine to accelerate wear.
When patching around these areas, it is critical to reseal the entire flashing perimeter rather than just the visible gap, since water entering at one point of a curb can travel and exit somewhere else entirely, making the original leak location misleading. Pitch pockets around conduit and small penetrations should be checked for cracking and refilled with compatible pourable sealant rather than simply topped up, since a cracked pitch pocket often has voids beneath the surface that a simple top-off will not address.
Need Help With 7 Essential Roof Patching?
Commercial roof patching done right requires the correct membrane identification, proper surface preparation, root-cause diagnosis, and materials that can withstand everything the GTA’s four-season climate throws at a rooftop. Universal Roofs has been solving exactly these problems for commercial property owners and managers since 2005, and our crews carry the training and equipment to get a patch right the first time, whether it’s a single puncture or a full seam repair program.
Call us today at (416) 732-2421 or request a free inspection to get started.
Universal Roofs proudly serves Toronto, Mississauga, Brampton, Vaughan, Markham, Oakville and the GTA since 2005.