
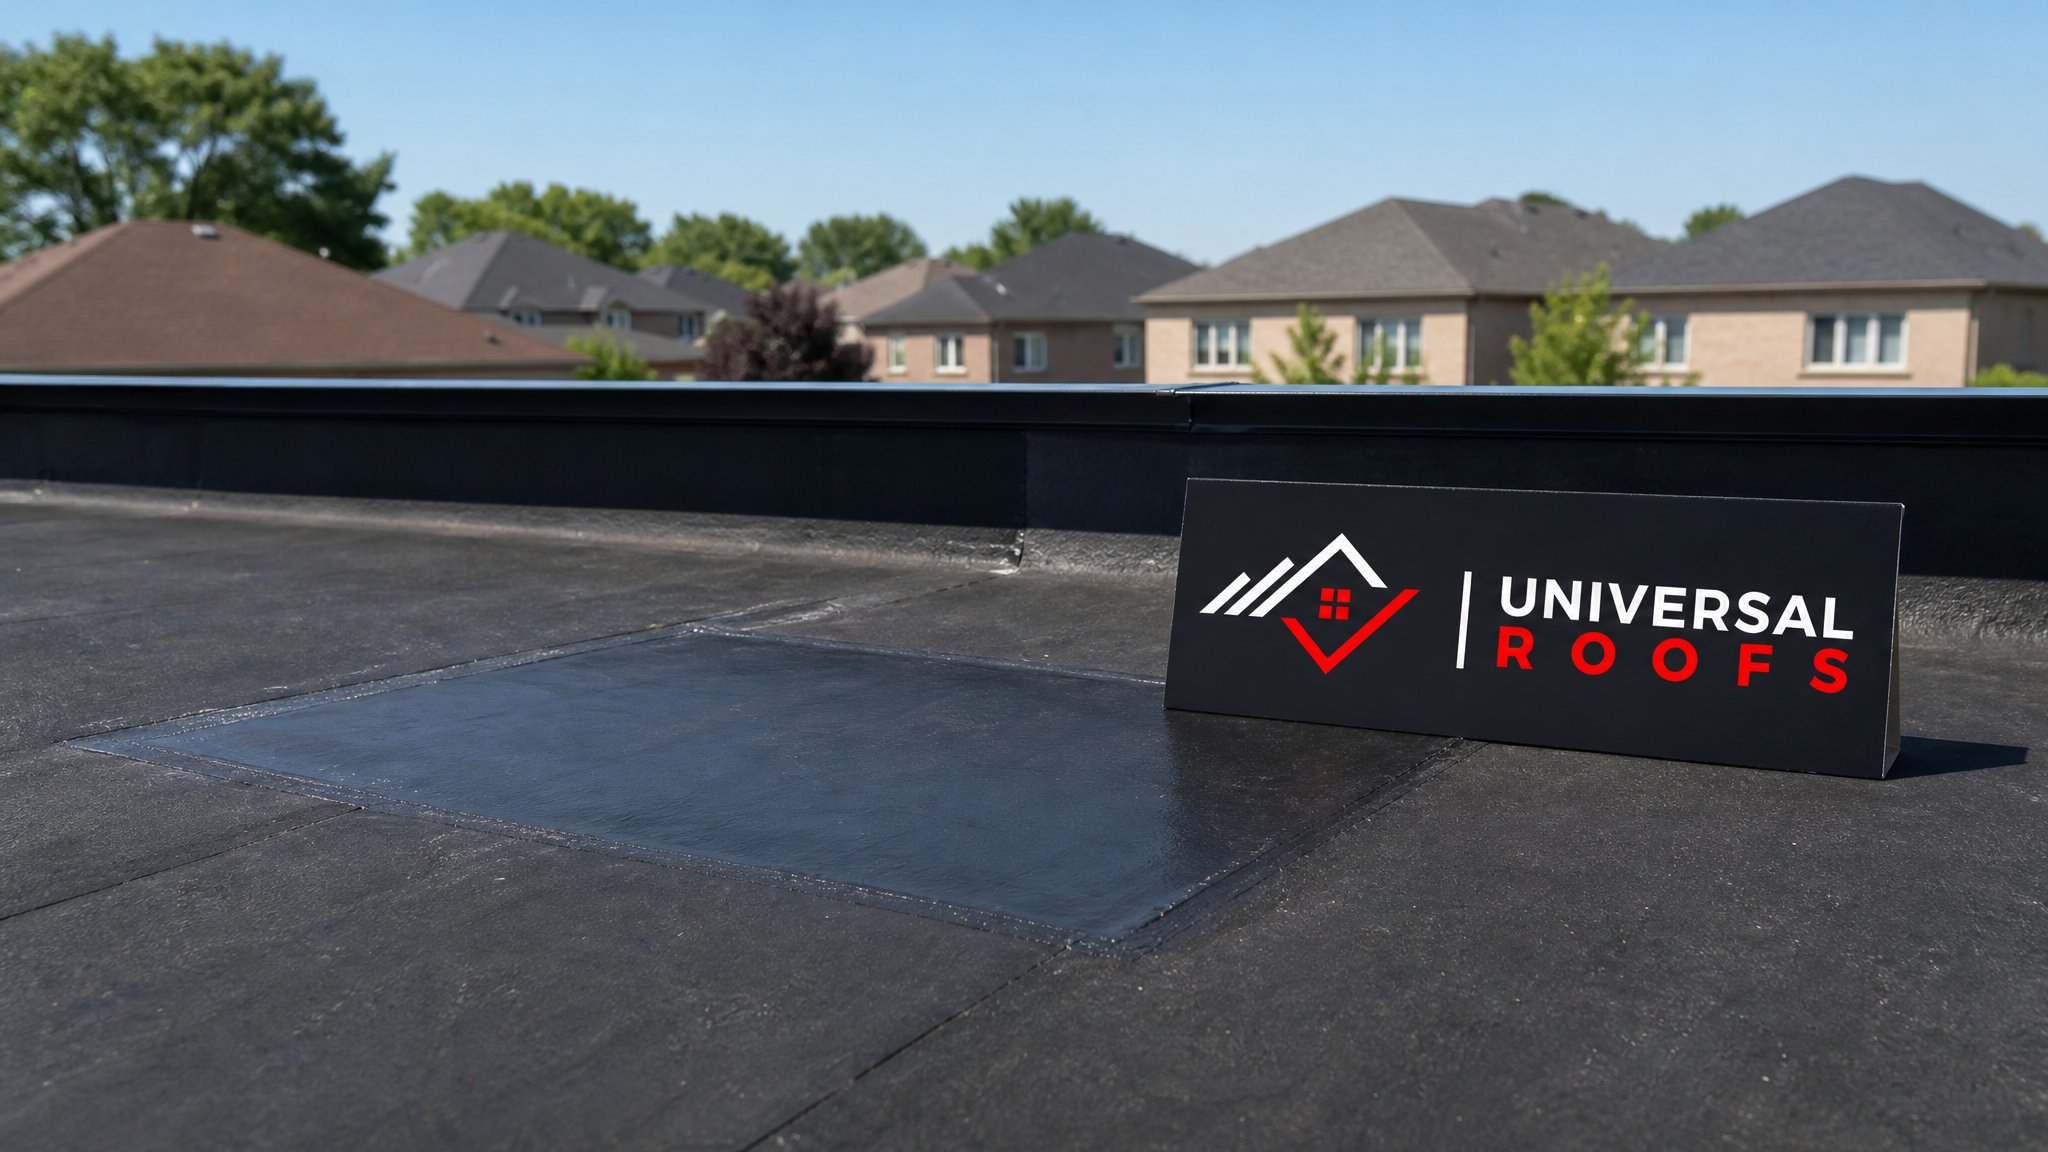
A small bubble, a hairline crack, or a patch of ponding water on a flat roof rarely stays small for long. In the Greater Toronto Area, where summer heat waves bake membranes and winter freeze-thaw cycles pry apart every weak seam, a flat roof patch that is done properly can add years of service life to a membrane. A patch that is rushed, or applied with the wrong material, often fails within a single season and lets water travel into the deck below.
This guide covers the essential tips for flat roof patching that homeowners and property managers across the GTA need to know before they climb a ladder or call a contractor. We will walk through material selection, surface preparation, application technique, weather timing, and the point at which a patch is no longer the right answer and a full repair or replacement is required.
Universal Roofs has been patching, repairing, and replacing flat roofs across Toronto and the surrounding regions since 2005, and the patterns of failure we see on service calls are remarkably consistent. Most patch failures trace back to one of five preventable mistakes. Understanding them before you start is the difference between a repair that lasts and one that reappears the following spring.
Why Flat Roof Patching Requires a Different Approach Than Shingles
Sloped shingle roofs shed water quickly by design. Flat and low-slope roofs, by contrast, are engineered to hold a thin sheet of water briefly during heavy rain before it drains toward scuppers or downspouts. That difference changes everything about how a patch has to perform. A shingle repair only needs to survive gravity. A flat roof patch needs to survive standing water, ultraviolet exposure, thermal movement, and — in Toronto specifically — an annual freeze-thaw cycle that can crack a poorly bonded patch in a single cold snap.
Most GTA flat roofs use one of four membrane types: modified bitumen (torch-down or peel-and-stick), EPDM rubber, TPO, or older built-up (tar and gravel) systems. Each material has a compatible patching product, and using the wrong one is one of the fastest ways to void a warranty or create a patch that peels away from the substrate. Before buying anything at a hardware store, identify your membrane type. If you are unsure, a quick call to a flat roofing specialist can save you from applying an incompatible sealant that has to be scraped off and redone.
It also matters where the damage sits. A puncture in the field of the roof behaves differently than a split at a seam, a crack around a pipe boot, or separation at a parapet wall flashing. Roughly 70 percent of the flat roof leaks we diagnose in the GTA originate at a flashing detail or seam, not in the open field of the membrane, which is why inspection before patching is non-negotiable.
| Membrane Type | Common Patch Material | Typical Lifespan of Patch | Key Compatibility Note |
|---|---|---|---|
| EPDM (rubber) | EPDM-specific liquid rubber or cured patch with EPDM primer | 5-10 years | Never use asphalt-based products on EPDM; they degrade the rubber |
| TPO | TPO patch membrane, heat-welded or TPO-approved adhesive | 8-12 years | Requires TPO-specific bonding adhesive, not generic mastic |
| Modified bitumen | Torch-applied or peel-and-stick modified bitumen patch | 6-10 years | Torch application needs open-flame safety precautions |
| Built-up (tar and gravel) | Hot or cold-process asphalt patch with fibreglass reinforcement | 3-7 years | Gravel must be cleared and surface dried before patching |
Tip One: Diagnose the Real Source of the Leak Before You Patch
The single most common mistake in flat roof patching is treating the visible symptom instead of the actual source. Water travels. A stain on a bedroom ceiling might trace back to a crack in the membrane three metres away, following a rafter or seam before dripping down. If you patch only where the water is dripping inside, you can leave the true entry point open and the leak continues, just re-routed.
Start any patch job with a dry-day inspection. Walk the roof (safely, and only if you are comfortable on a ladder and confident in the surface) and look for:
- Blisters or bubbles where the membrane has separated from the substrate
- Splits or cracks, especially near seams, corners, and penetrations
- Areas of ponding water that sit more than 48 hours after rain
- Deteriorated flashing around chimneys, vents, skylights, or parapet walls
- Granule loss or exposed reinforcement fabric on modified bitumen
Pay particular attention to any point where a skylight penetrates the roof deck, since flashing seals around skylight curbs are a frequent leak source on GTA flat roofs. If your skylight is original to the building and more than 15 years old, a patch at that location may only buy a season or two before skylight replacement becomes the more economical option.
Marking suspect areas with chalk or a grease pencil before you begin work helps you keep track of every problem spot, since flat roofs often have more than one failure point once you start looking closely.
Tip Two: Prepare the Surface Properly — This Is Where Most Patches Fail
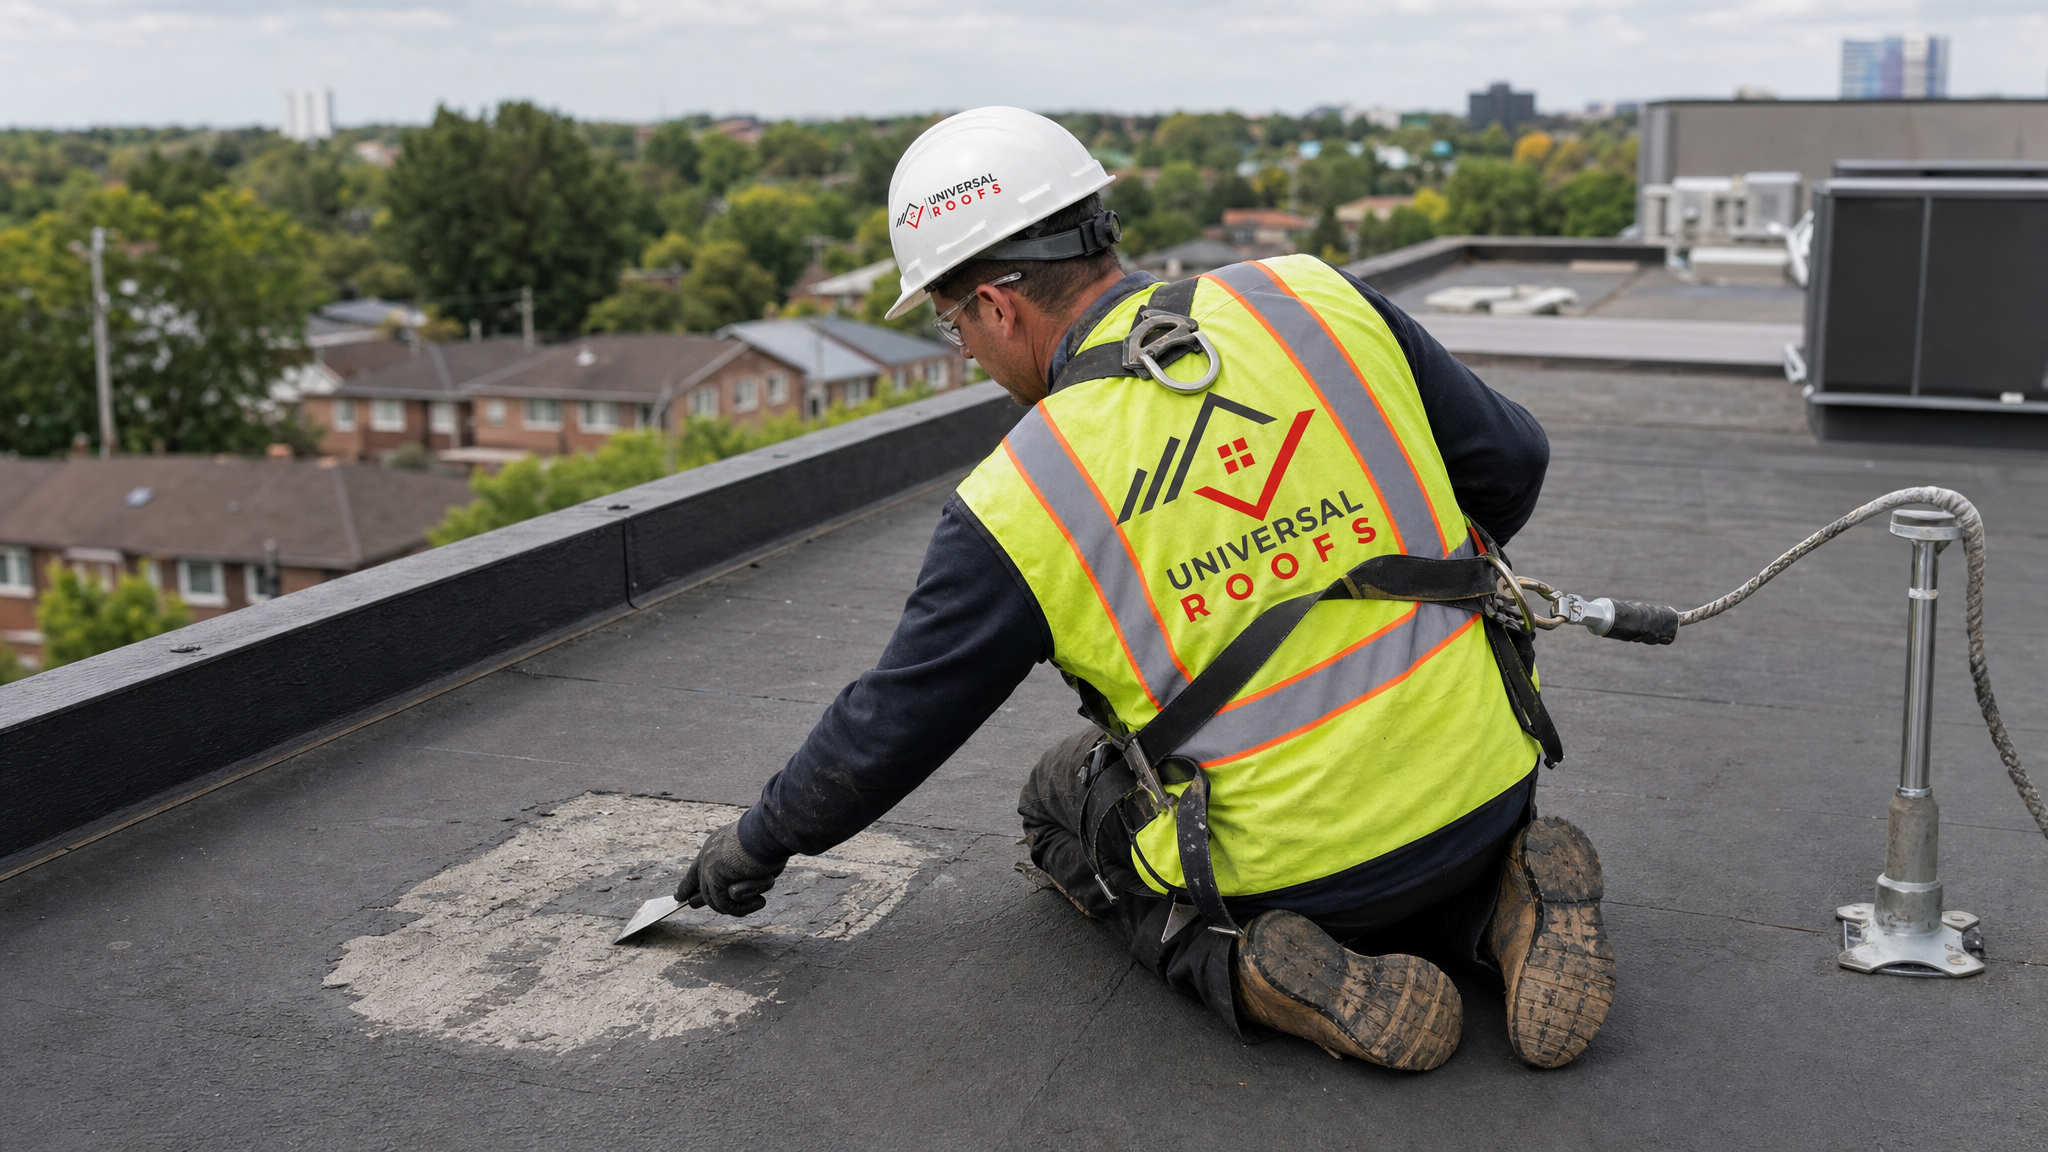
No patching compound, no matter how expensive, will bond permanently to a dirty, wet, or oxidized membrane surface. Surface preparation is unglamorous and it is also the single biggest determinant of whether your patch lasts one season or ten.
A proper prep sequence looks like this:
- Clear debris — sweep away gravel, leaves, and dirt from the repair area and at least 15 centimetres beyond its edges
- Dry the surface completely — membranes can trap moisture beneath the surface even when they look dry; give the area several hours in direct sun, or use a heat gun on low setting for stubborn spots
- Clean with the correct solvent — EPDM needs an EPDM-specific cleaner; asphalt-based membranes typically use a mineral spirits wipe; never mix products across membrane types
- Remove loose or degraded material — cut away any blistered, cracked, or delaminated membrane back to solid, adhered material rather than patching over it
- Prime if the product calls for it — many peel-and-stick and liquid-applied patches require a compatible primer coat and a specific flash-off time before application
Skipping the drying step is the most common shortcut that leads to failure. Trapped moisture beneath a patch will eventually push the patch loose as it heats and expands during summer, or as it freezes and contracts in winter. In Toronto’s climate, that freeze-thaw cycle can happen dozens of times between November and March, and each cycle stresses a poorly bonded patch a little further.
Tip Three: Choose the Right Patch Material and Size It Correctly
Once the surface is properly prepped, material choice and sizing determine whether the patch integrates with the membrane or simply sits on top of it as a temporary bandage. As a general rule, a patch should extend at least 10 to 15 centimetres beyond the visible damage in every direction, since the compromised area is often larger than what is visible on the surface.
For most homeowner-accessible repairs, there are three broad categories of patch material:
| Patch Method | Best For | Approximate Cost (Materials) | Skill Level Required |
|---|---|---|---|
| Liquid-applied rubber/acrylic coating | Small cracks, pinholes, minor blisters | $40-$90 per tub | Beginner to intermediate |
| Peel-and-stick membrane patch | Splits, seam separations, punctures up to 30cm | $60-$150 per roll | Intermediate |
| Torch-down modified bitumen patch | Larger sections, flashing repairs, built-up systems | $100-$250 per roll | Advanced (requires open-flame safety training) |
| Fibreglass-reinforced fabric with asphalt cement | Larger tears, structural reinforcement needs | $70-$180 | Intermediate to advanced |
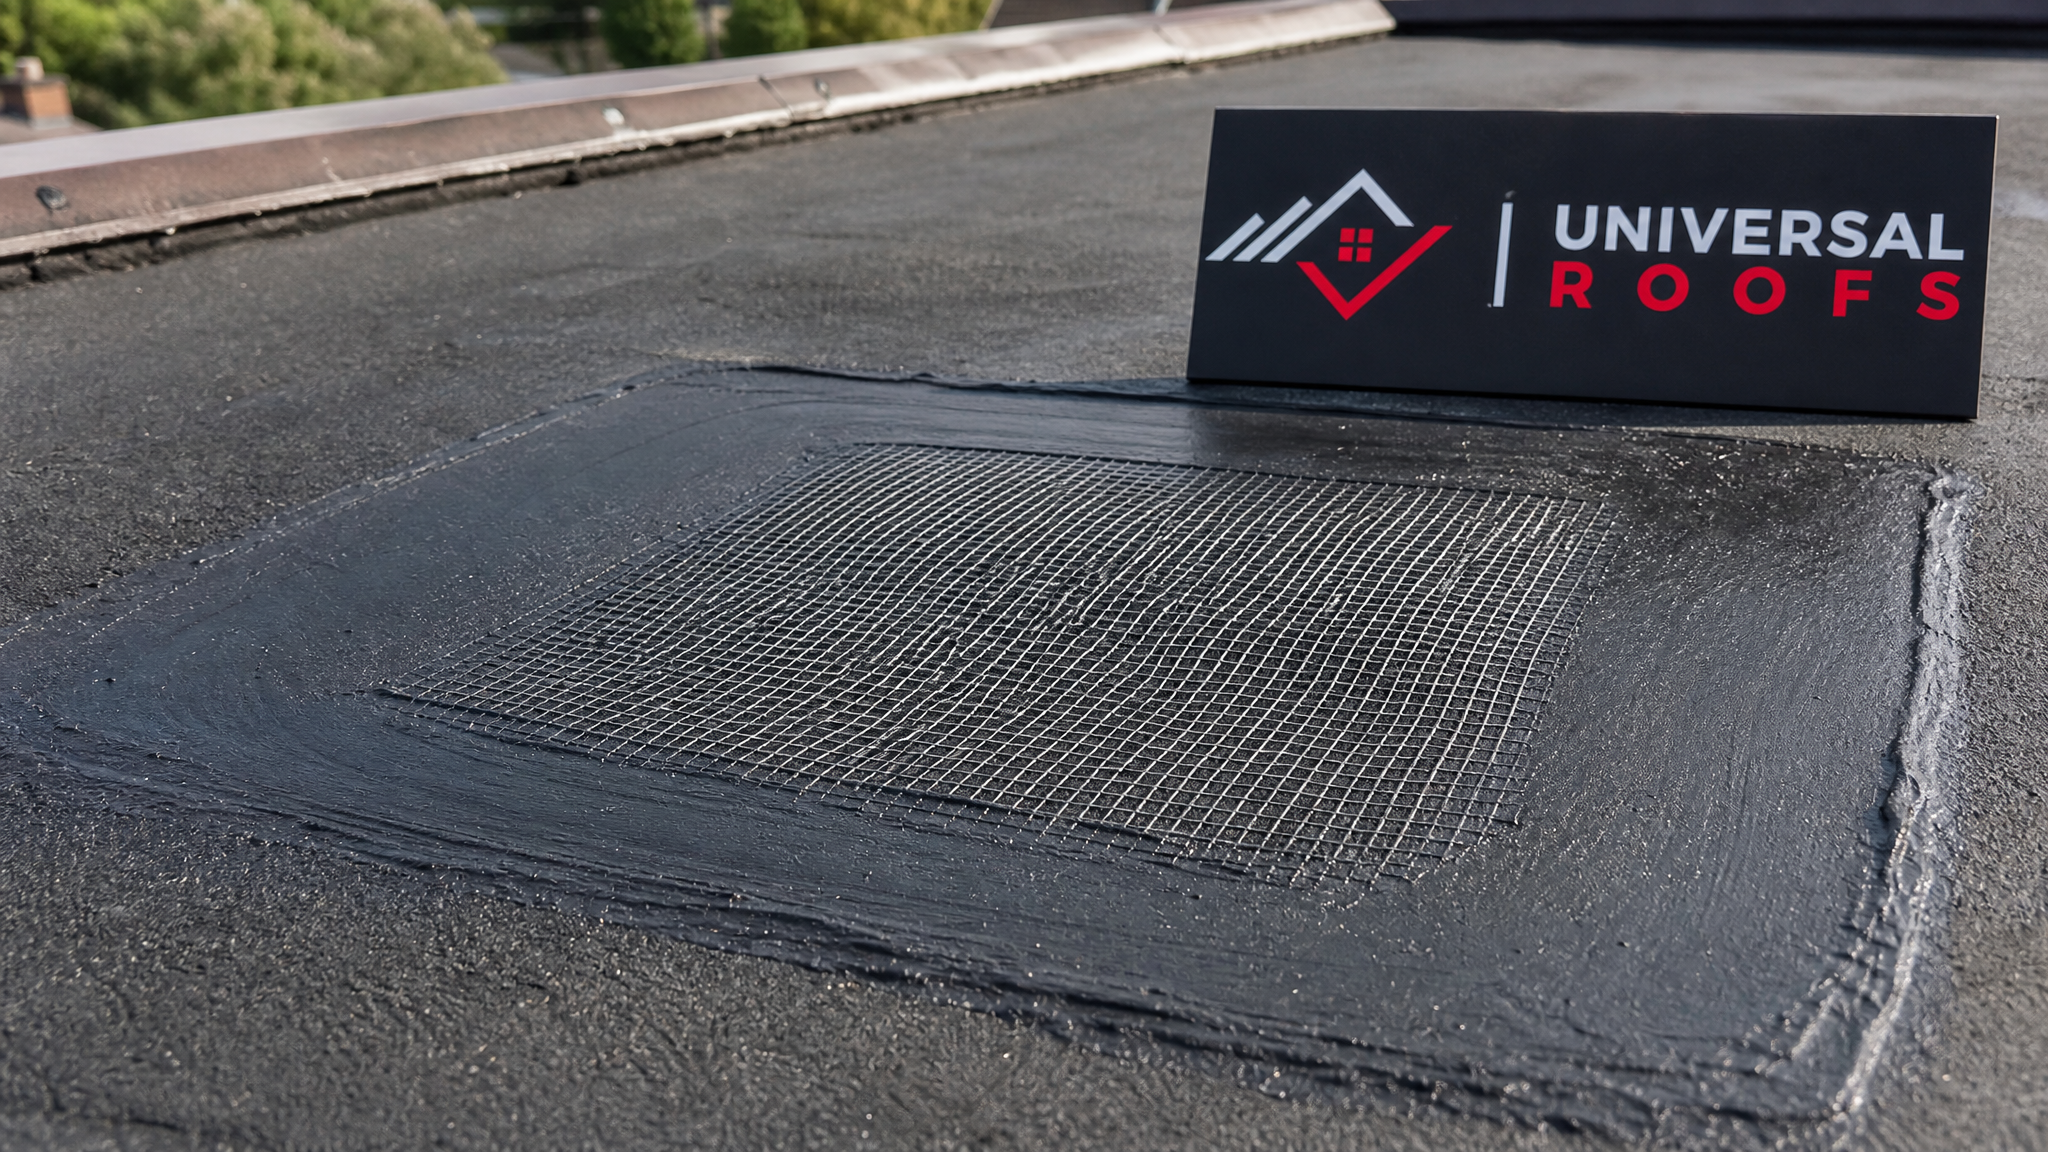
Always favour a two-layer patch system over a single coat: an embedded reinforcement layer (fabric or fibreglass mesh) sandwiched between two coats of compatible sealant or adhesive distributes stress across the patch far better than sealant alone. This is especially important on Toronto flat roofs where thermal movement between hot summer days and cool nights puts continuous flex stress on any repair.
Round the corners of any patch material you cut. Square corners create stress concentration points where a patch is statistically far more likely to lift or crack first. This small detail is one of the most overlooked steps in DIY patching.
Tip Four: Time the Application to the Weather — Toronto’s Climate Punishes Bad Timing
Temperature and humidity at the time of application affect cure time, adhesion strength, and long-term durability more than most homeowners realize. Most patching compounds have a manufacturer-specified application temperature range, typically between 10°C and 30°C, and applying outside that range compromises the bond even if everything else is done correctly.
In the GTA, this creates a practical seasonal window:
| Season | Patching Conditions | Recommendation | Cure Time Impact |
|---|---|---|---|
| Summer (Jun-Aug) | Ideal temperatures, but surface can exceed 50°C in direct sun | Patch early morning or late afternoon to avoid overheated membrane | Fast cure, 2-6 hours typical |
| Fall (Sep-Nov) | Good working temperatures, lower humidity | Preferred season for major patch work before winter | Normal cure, 4-8 hours typical |
| Winter (Dec-Feb) | Below minimum application temperature for most products | Emergency patches only; use cold-weather rated products or arrange temporary tarping | Extended or incomplete cure risk |
| Spring (Mar-May) | Variable temperatures, higher rain frequency | Check forecast for a 24-48 hour dry window before starting | Delayed cure if humidity is high |
Never apply a patch if rain is forecast within the manufacturer’s stated cure window, which is commonly 24 to 48 hours. A patch rained on before it fully cures often fails to bond at all, and you may not discover this until the next storm reveals the same leak. Since summer 2026 is bringing the usual pattern of humid afternoons followed by fast-moving thunderstorms across the GTA, checking an hourly forecast (not just a daily one) before starting any patch job is worth the extra five minutes.
Tip Five: Know When a Patch Is the Wrong Answer
Patching is a legitimate and cost-effective repair strategy, but it has limits. A patch is a localized fix for a localized problem. When the underlying membrane is broadly degraded, patching becomes a losing game of chasing new leaks every few months rather than solving the issue.
Signs that indicate a patch will not hold, and that a full roof repair or eventual roof replacement is the more sensible investment, include:
- Multiple active leak points across different areas of the roof, not just one isolated spot
- Widespread blistering, cracking, or granule loss over more than 25 percent of the roof surface
- A membrane already past its expected service life (most flat roofing systems last 15-25 years depending on material)
- Soft or spongy decking felt underfoot, indicating water has already reached the structural deck
- Repeated patch failures at the same location despite proper technique
- Visible sagging, which can indicate structural water damage rather than a surface-level membrane issue
A well-maintained attic space is often the earliest and most reliable indicator of a developing flat roof problem, since water intrusion typically shows up as staining, mould, or damp insulation in the attic well before it becomes visible on the roof surface itself. If you notice attic moisture but cannot find an obvious source on the roof deck, a professional inspection is worth arranging before more damage accumulates.
DIY Patching Versus Calling a Professional
Many small, isolated flat roof issues are reasonable for a comfortable and safety-conscious homeowner to address, particularly a single pinhole or a small blister on a low, easily accessible roof. However, several situations call for a professional regardless of the size of the visible damage:
| Situation | DIY Suitable? | Why | Recommended Action |
|---|---|---|---|
| Single small pinhole or crack under 5cm | Yes, for confident homeowners | Low risk, low material cost, straightforward technique | Liquid-applied patch with proper prep |
| Roof access requires steep ladder or unstable footing | No | Fall risk outweighs the savings on a small repair | Call a licensed roofing contractor |
| Damage near flashing, skylights, or parapet walls | No | Flashing details require specialized technique and product knowledge | Professional assessment recommended |
| Torch-down or heat-welded membrane repair | No | Open-flame work carries fire and burn risk without training | Licensed contractor only |
| Multiple leaks or unknown source | No | Diagnosis requires experience distinguishing symptom from source | Full roof inspection |
If you are ever unsure whether a repair is within your comfort zone, it is worth reading through real customer experiences on our reviews page to understand what a professional patch or repair visit typically involves, or checking our FAQ page for answers to common flat roof maintenance questions.
Maintaining a Patch Once It Is Applied
A completed patch is not a “set it and forget it” repair. Flat roofs benefit from a simple twice-yearly maintenance check, ideally in late spring after the winter freeze-thaw cycle has finished and again in early fall before winter arrives. During each check:
- Inspect the patch edges for any signs of lifting or separation
- Clear debris and standing water from around the patch and nearby drains
- Check for new blistering or cracking nearby, which can indicate the underlying membrane is aging beyond the patch itself
- Confirm gutters and downspouts are clear so water is not backing up onto the patched area
- Photograph the patch each visit to track any gradual changes over time
Property owners across Toronto, Peel Region, York Region, Halton Region, and Durham Region face the same freeze-thaw and UV exposure challenges, so this maintenance rhythm applies broadly across the GTA regardless of neighbourhood or building age.
Cost Expectations for Flat Roof Patching in the GTA
Understanding realistic cost ranges helps homeowners budget appropriately and recognize when a quoted price seems out of line. Costs vary based on membrane type, damage extent, and roof accessibility.
| Repair Scope | Typical Material Cost (DIY) | Typical Professional Cost (Labour + Materials) | Expected Longevity |
|---|---|---|---|
| Single small pinhole/crack | $30-$80 | $250-$450 | 5-8 years if done correctly |
| Seam separation repair | $60-$150 | $350-$650 | 6-10 years |
| Flashing repair (chimney/vent/skylight) | Not recommended DIY | $400-$900 | 8-12 years |
| Multiple patches (2-4 areas) | $150-$400 | $700-$1,500 | Variable; often signals broader repair needed |
| Larger torch-down section repair | Not recommended DIY | $800-$2,000+ | 10-15 years |
These figures are general GTA-market estimates and actual pricing depends on roof pitch, access, membrane condition, and how many separate repair areas are involved. A professional inspection will always give you a more precise number than any general estimate, and can also flag whether a patch or a broader repair makes more financial sense over a five-to-ten-year horizon.
Putting It All Together: A Reliable Flat Roof Patch Checklist
Before you consider a flat roof patch complete, run through this final checklist:
- Confirmed the true source of the leak, not just the visible symptom
- Identified the correct membrane type and matched patch material accordingly
- Cleared, dried, and cleaned the surface thoroughly before application
- Sized the patch to extend well beyond the visible damage with rounded corners
- Used a reinforced, two-layer application rather than sealant alone where appropriate
- Applied within the manufacturer’s temperature range and confirmed a dry forecast for the full cure window
- Scheduled a follow-up inspection within the first month, then twice yearly going forward
Following these essential tips for flat roof patching will meaningfully extend the life of a repair, but patching always remains a localized fix. A membrane nearing the end of its service life, or one with recurring failures at the same spot, is telling you something a patch alone cannot fix.
What are the most essential tips for flat roof patching before starting a DIY repair?
How long does a properly applied flat roof patch typically last?
Can I patch a flat roof myself, or should I hire a professional?
What is the best weather for applying a flat roof patch in Toronto?
How do I know if my flat roof needs a patch or a full replacement?
Why do flat roof patches fail more often in Toronto winters?
Need Help With 5 Essential Tips for?
Getting a flat roof patch right the first time saves money, protects your attic and interior finishes, and avoids the frustration of a recurring leak. When a repair is beyond a confident DIY scope, or when a patch has already failed once, the team at Universal Roofs can properly diagnose the issue and recommend the right long-term fix.
Call us today at (416) 732-2421 or request a free inspection to get started.
Universal Roofs proudly serves Toronto, Mississauga, Brampton, Vaughan, Markham, Oakville and the GTA since 2005.