
A leaky chimney is one of the most common — and most misdiagnosed — sources of roof leaks in Toronto homes. Homeowners often assume the chimney itself is cracked or crumbling, when in nine cases out of ten the real culprit is the flashing, mortar, or sealant where the chimney meets the roof deck. Getting the diagnosis right is the difference between a patch that lasts one season and a repair that holds for a decade.
Toronto’s climate makes this problem worse than in milder regions. Our winters bring dozens of freeze-thaw cycles every year, and each cycle expands and contracts the metal flashing, the mortar joints, and any sealant around the chimney. Over time, even a properly installed chimney assembly develops hairline gaps that widen with every freeze. By the time water starts dripping into the attic or staining a ceiling below, the damage has usually been building for months.
In this guide, we walk through the 5 best solutions for leaky chimney roof patching, ranked from quick temporary fixes to full flashing replacement, so you can understand what your roof actually needs and how much it should reasonably cost in the Greater Toronto Area.
Why Chimneys Are the Number One Source of Roof Leaks
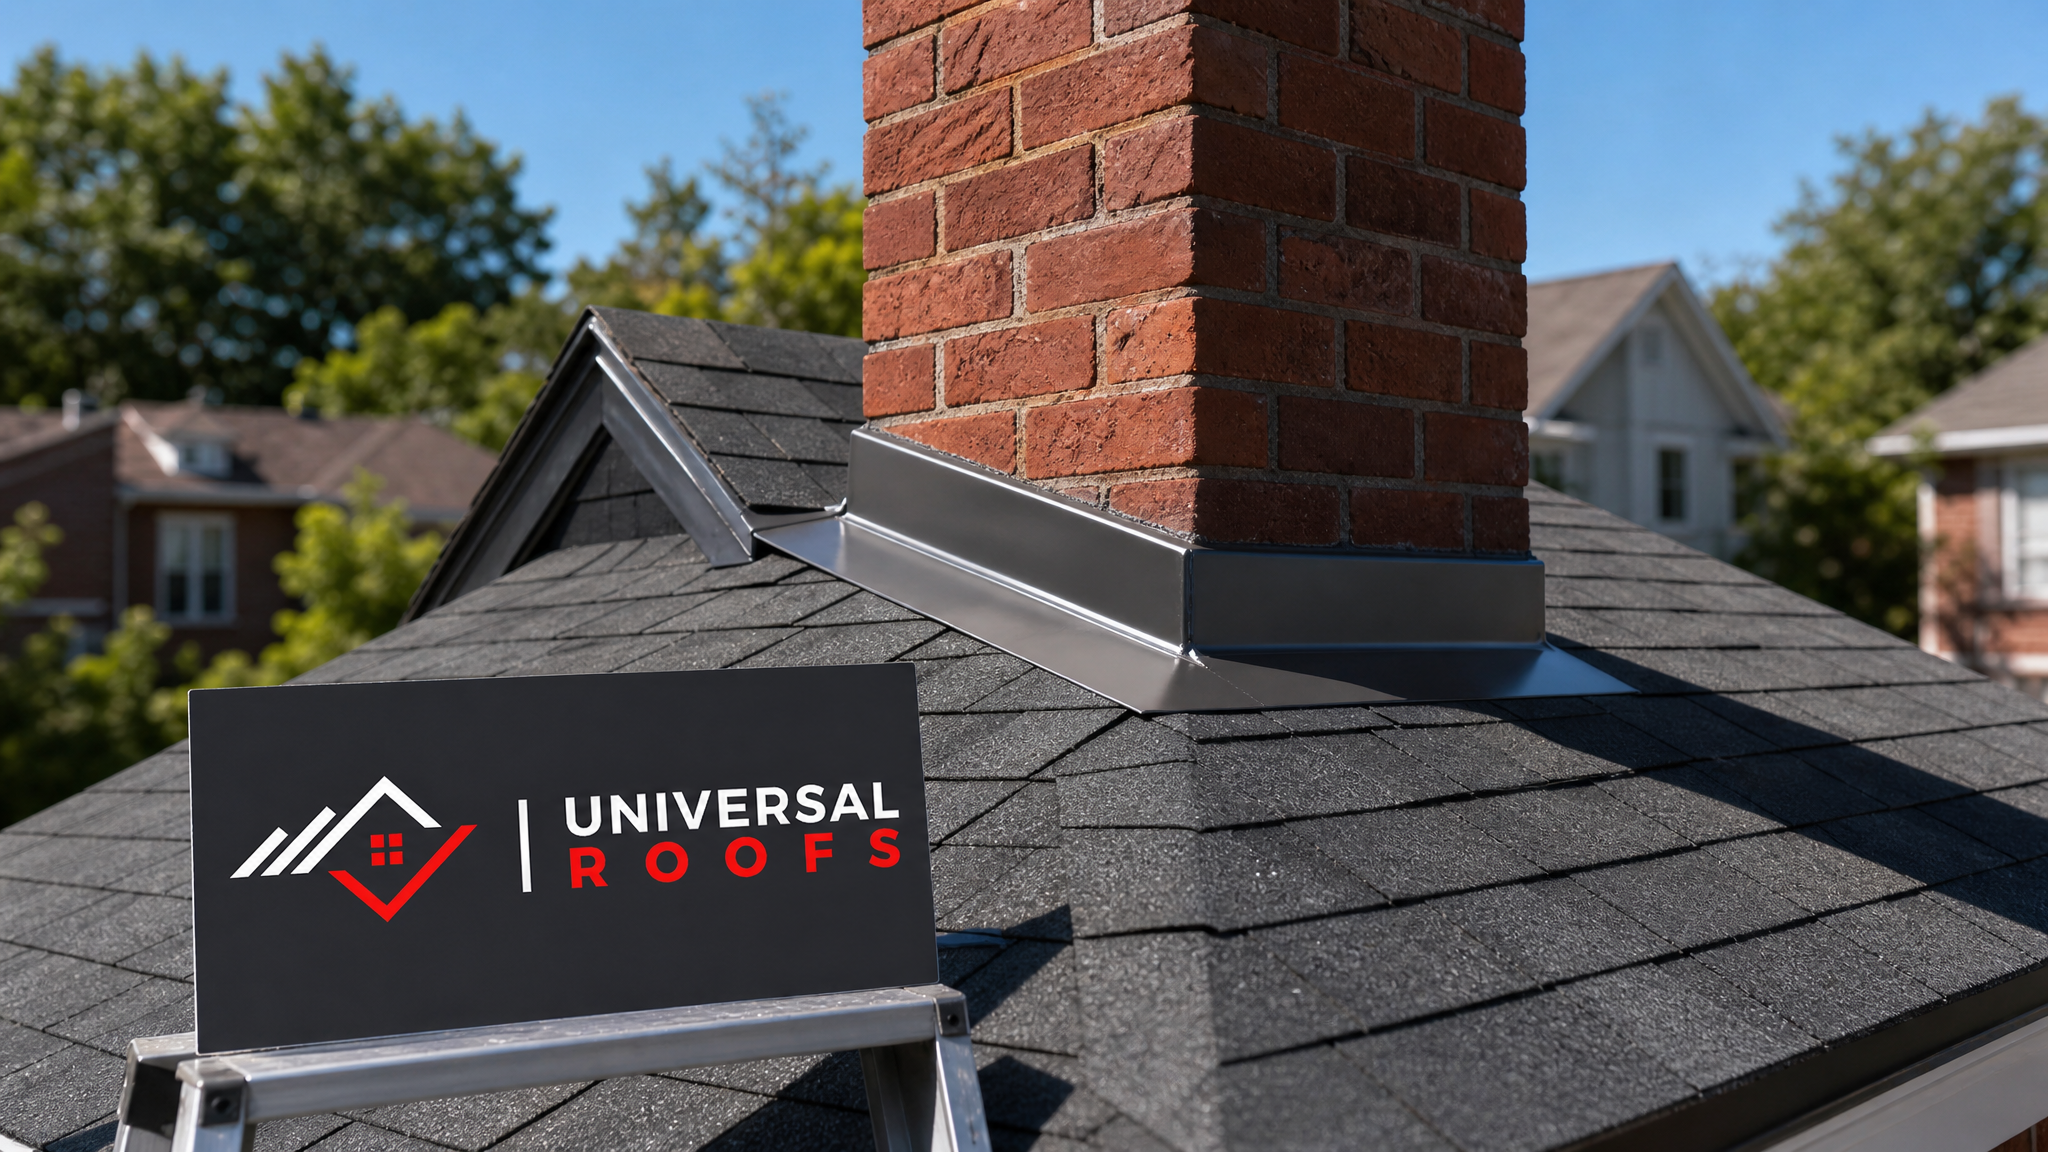
A chimney penetrates straight through the roof plane, which means the roofing system has to create a watertight seal around a rigid masonry or metal structure that moves differently than the surrounding shingles. Every chimney relies on a system of flashing pieces working together:
- Step flashing — individual L-shaped metal pieces woven between shingle courses along the sides of the chimney
- Base flashing (apron flashing) — the piece that covers the front, low side of the chimney
- Counter flashing — the metal that’s embedded into the mortar joints and folds down over the step flashing to shed water
- Cricket or saddle — a small peaked structure behind wide chimneys that diverts water and debris around rather than letting it pool
- Crown and mortar — the concrete cap on top of the chimney and the mortar joints between bricks
When any one of these components fails, water finds its way behind the flashing and travels down into the attic insulation, the ceiling drywall, or the wall cavity beside the fireplace. Because the leak point and the stain point are rarely in the same spot, chimney leaks are notoriously tricky to trace without a trained eye. If you’re noticing water stains near a fireplace wall or on a ceiling below an attic space, it’s worth having a professional roof repair assessment before assuming the problem is something else entirely.
Solution 1: Flashing Sealant and Caulking (Temporary Fix)
The fastest and cheapest of the leaky chimney roof patching solutions is a high-grade roofing sealant or polyurethane caulk applied along the counter flashing seams and any visible gaps. This is genuinely useful as a stopgap — for example, if you’ve spotted a leak mid-storm and need to buy time before a proper repair, or if the gap is very small and isolated.
The problem is durability. Standard silicone or asphalt caulk breaks down under UV exposure and loses flexibility once temperatures drop below freezing, which describes a Toronto winter perfectly. Most sealant patches crack again within one to two seasons, especially if they were applied over a flashing joint that’s structurally failing rather than just weathered.
Best for: Small, isolated gaps on flashing that is otherwise in good condition, or as an emergency measure until a contractor can attend.
Not recommended for: Widespread flashing failure, rusted-through metal, or mortar joints that have already crumbled.
Solution 2: Re-Bedding Counter Flashing Into Fresh Mortar
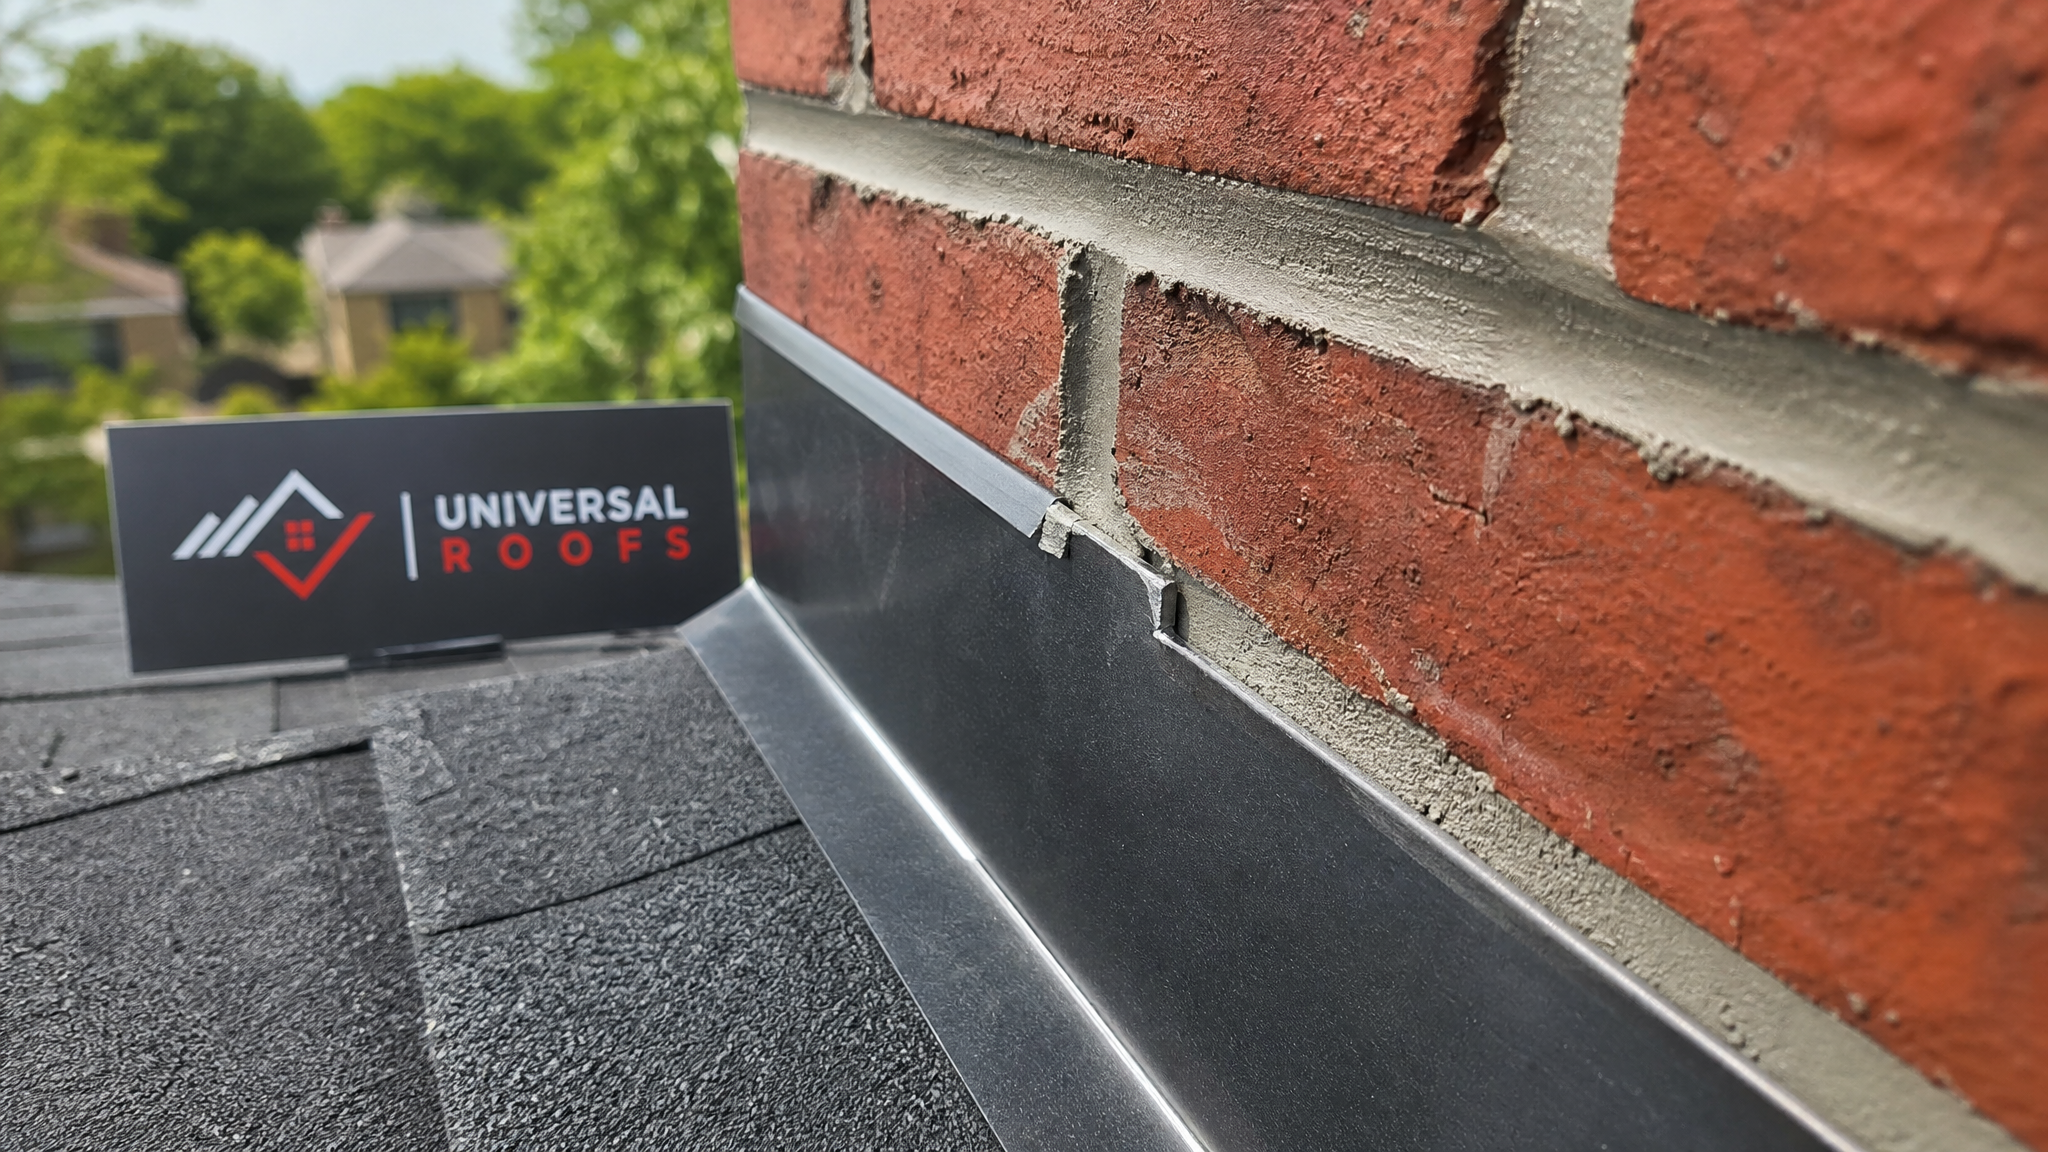
Counter flashing is designed to be embedded roughly 25 millimetres into a mortar joint (a “reglet”) in the chimney brick, then bent down over the step flashing below. Over 15-20 years, that mortar erodes from moisture cycling, and the counter flashing works loose, creating a gap for water to slip behind.
The fix here is to grind out the old, deteriorated mortar along the reglet line, re-insert the counter flashing (or a new piece if the old one is corroded), and re-point the joint with fresh masonry mortar formulated for exterior use. This is a meaningfully more durable solutions for leaky chimney roof patching than sealant alone, because it restores the mechanical connection between the flashing and the brick rather than just gluing a gap shut.
This job requires masonry skill in addition to roofing knowledge, since an improperly mixed or applied mortar joint will fail again within a few years. A qualified crew will match the mortar colour and composition to the existing chimney to avoid accelerating deterioration in adjacent joints.
Solution 3: Full Step and Base Flashing Replacement
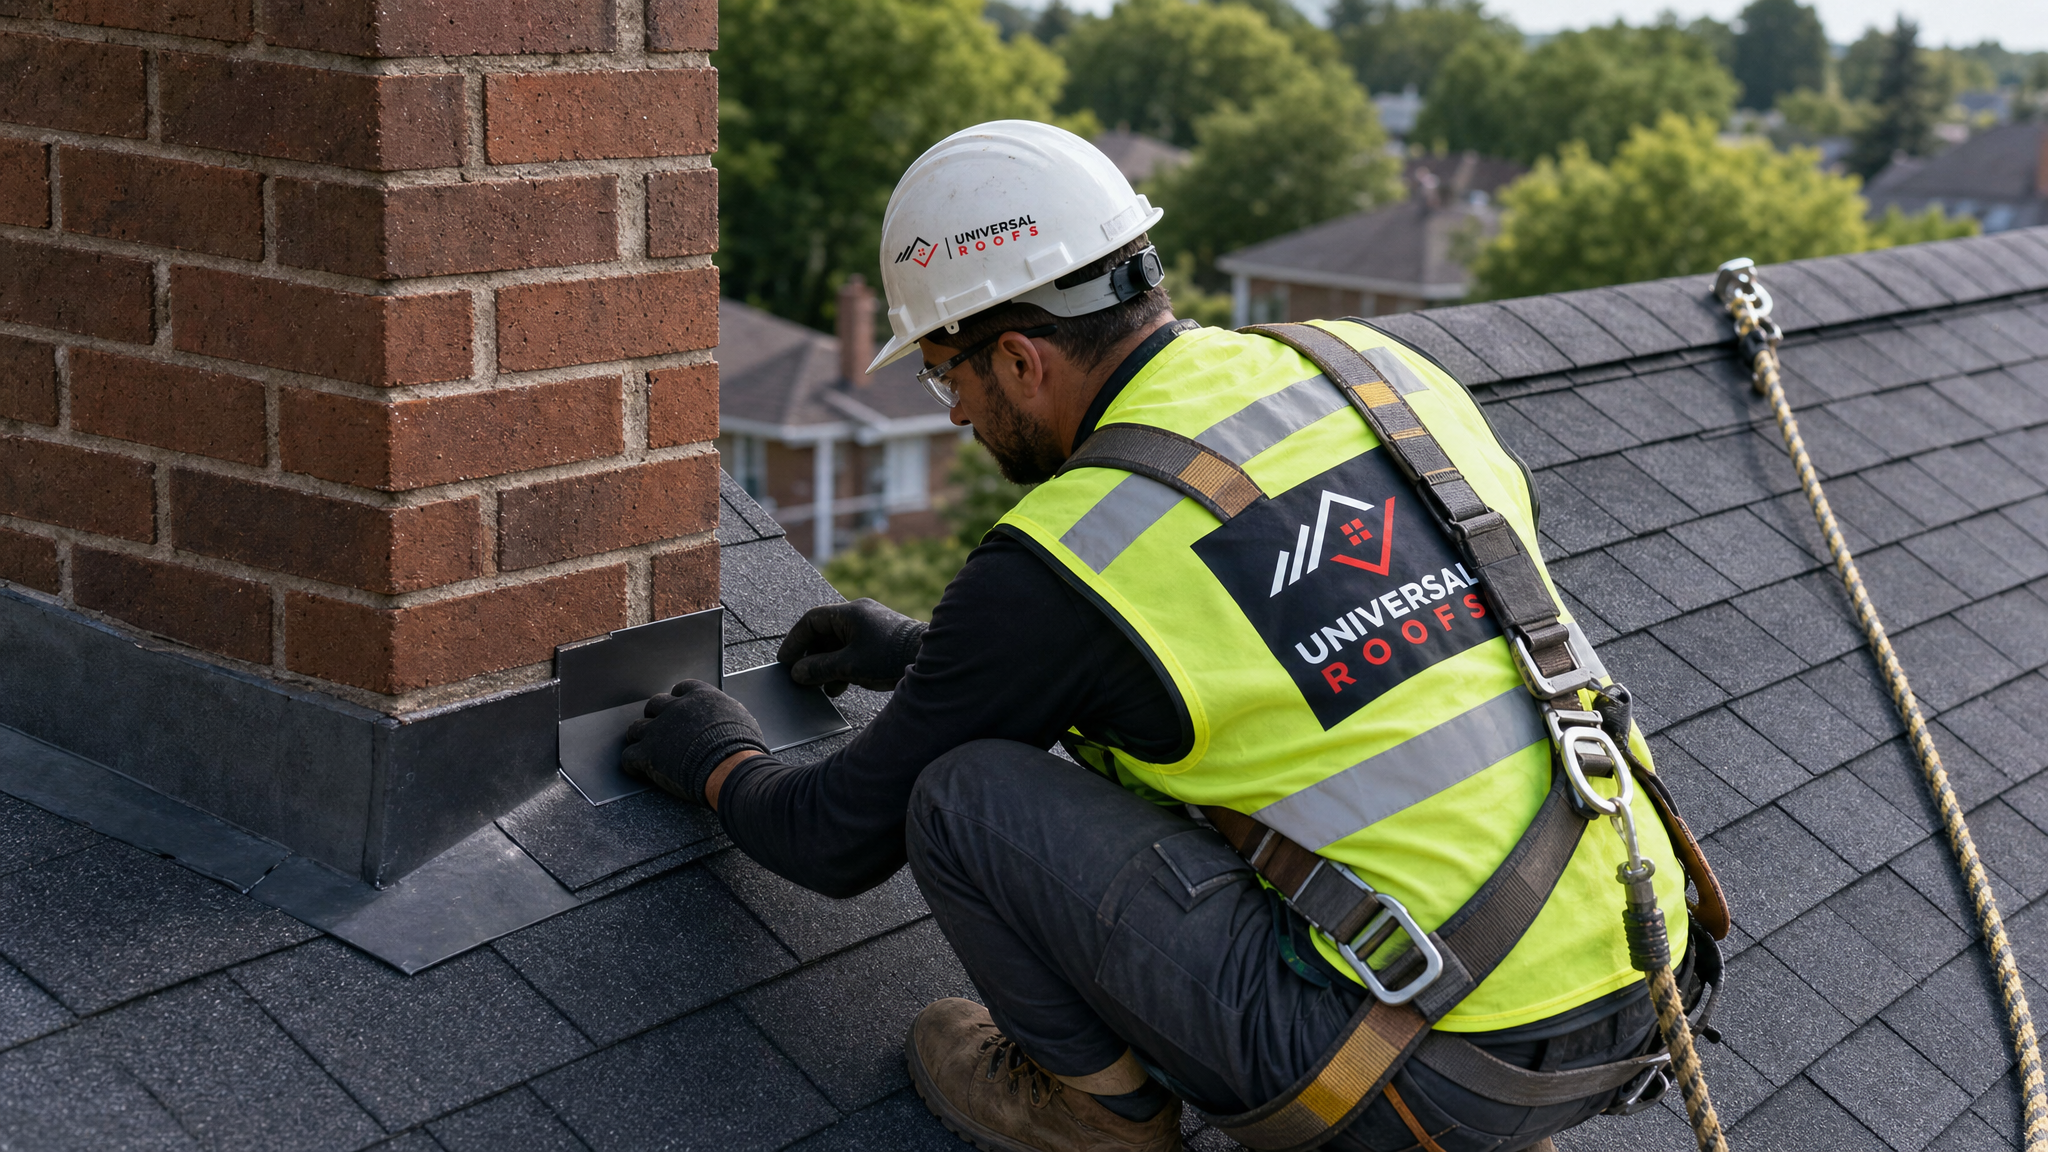
When the flashing metal itself is rusted, bent, punctured, or was improperly installed in the first place (a very common issue on homes where the chimney was added or re-shingled without removing the old flashing), sealant and re-bedding won’t solve the underlying problem. The only durable fix is to remove the old flashing entirely and install new step flashing, base flashing, and counter flashing as a complete system.
This is more involved: it typically means pulling back the shingle courses nearest the chimney, removing the failed flashing, installing new ice-and-water membrane underlayment around the chimney base, and weaving in new step flashing piece by piece before re-shingling. Done correctly, this is the most reliable of all the leaky chimney roof patching solutions because it addresses every failure point simultaneously rather than patching one symptom at a time.
If your roof is more than 15 years old and the chimney flashing has never been replaced, this is often the point where a full roof replacement conversation makes more financial sense than continuing to patch an ageing system piecemeal.
Solution 4: Chimney Cricket (Saddle) Installation
If your chimney is wider than about 60 centimetres (24 inches) measured across the slope of the roof, building code and good roofing practice both call for a cricket — a small triangular structure built behind the chimney that diverts water and snow melt around it instead of letting it dam up against the uphill side.
Without a cricket, wide chimneys accumulate standing water and ice behind them every winter, which is exactly the kind of sustained moisture exposure that overwhelms even well-maintained flashing. Adding a cricket during a flashing replacement is one of the most effective long-term solutions for leaky chimney roof patching because it removes the root cause of repeated water exposure rather than just re-sealing against it year after year.
This solution is usually paired with Solution 3 (full flashing replacement) since the roof deck needs to be exposed to frame and flash the cricket properly.
Solution 5: Crown and Mortar Joint Restoration
Sometimes the leak isn’t at the roofline at all — it’s coming down through a cracked concrete crown on top of the chimney, or through deteriorated mortar joints between the bricks, and simply travelling down the inside of the flue or the exterior brick face until it reaches the roofline, where it gets misdiagnosed as a flashing leak.
A cracked crown lets water directly into the chimney structure, where it can freeze, expand, and spall bricks from the inside out. The fix is either a crown repair (sealing hairline cracks with an elastomeric crown coating) or a full crown rebuild if the concrete has already failed structurally, combined with re-pointing any crumbling mortar joints down the stack.
This solution is often overlooked because it doesn’t look like a “roof” problem, but any thorough chimney leak diagnosis should rule out the crown and mortar before assuming the flashing is solely to blame.
Comparing the 5 Chimney Leak Patching Solutions
| Solution | Typical Lifespan | Estimated Cost (CAD) | Best Use Case |
|---|---|---|---|
| 1. Sealant / caulking | 1-2 years | $150 – $400 | Small isolated gaps, emergency stopgap |
| 2. Re-bedded counter flashing | 8-12 years | $500 – $1,200 | Loose flashing, sound mortar elsewhere |
| 3. Full flashing replacement | 20-25 years | $1,200 – $3,000 | Rusted, punctured, or poorly installed flashing |
| 4. Cricket / saddle install | 20-25 years | $800 – $2,000 | Chimneys wider than 60cm with recurring leaks |
| 5. Crown and mortar restoration | 10-20 years | $400 – $1,800 | Cracked crown, spalling brick, water inside flue |
How to Diagnose Which Solution Your Chimney Actually Needs
Before committing to any patching method, a proper inspection should rule the others in or out. Here’s the diagnostic sequence a qualified roofer will typically follow:
| Step | What to Check | What It Tells You |
|---|---|---|
| 1 | Interior ceiling and attic staining location | Approximate leak entry zone (often several feet from the actual gap) |
| 2 | Condition of visible counter flashing | Rust, gaps, or separation from mortar joint |
| 3 | Mortar joint integrity around flashing | Crumbling or receding mortar needs re-bedding |
| 4 | Crown condition (binoculars or ladder) | Hairline cracks or spalling concrete |
| 5 | Chimney width vs. cricket presence | Missing cricket on wide chimneys is a design flaw, not just wear |
| 6 | Attic underlayment/decking near chimney | Confirms how far water has travelled and whether decking needs replacing |
Homeowners sometimes try to shortcut this by simply re-caulking whatever looks cracked from the ground. That approach almost always misses the actual entry point, because water can travel sideways along a rafter or truss for a metre or more before dripping through drywall. A proper attic inspection is often the fastest way to confirm the real source before any exterior work begins.
Seasonal Timing: Why Summer Is the Best Time to Patch a Chimney Leak
If you’ve noticed a chimney leak this spring or are dealing with a slow drip that shows up during summer thunderstorms, now is genuinely the best window to get it fixed properly. Mortar work requires stable, dry, above-freezing conditions to cure correctly, and shingle removal and re-installation around flashing also perform best in warm weather when the asphalt is pliable rather than brittle.
Waiting until autumn or winter to patch a chimney leak means either living with a temporary sealant fix through another freeze-thaw cycle, or asking a contractor to do masonry repairs in conditions that compromise the mortar cure. Scheduling the work in July or August, while the roof deck is dry and workable, gives any repair the best possible chance of lasting through the winter that follows.
Common Mistakes That Make Chimney Leaks Worse
A few recurring issues show up again and again on chimney repair calls across the GTA:
- Caulk-only repairs on failed flashing. Sealant over a structurally loose flashing joint traps moisture rather than excluding it, sometimes accelerating rot in the roof deck underneath.
- Ignoring the crown. Many homeowners patch flashing repeatedly without ever checking whether water is entering through the crown above.
- Ice dam damage mistaken for chimney failure. A poorly ventilated attic can create ice dams near the chimney that mimic flashing leaks. Improving attic ventilation sometimes resolves what looks like a chimney problem entirely.
- Skipping the step flashing weave. Some lower-cost repairs simply slide new flashing over the old shingles instead of properly weaving it into each course, which looks fine but fails within a season or two.
- Mismatched mortar. Using a mortar mix that’s harder than the original brick can crack the brick face during freeze-thaw cycling instead of sacrificially wearing at the joint as intended.
Flat Roofs and Chimney Penetrations
Chimney leaks aren’t limited to sloped, shingled roofs. On flat and low-slope roof systems, chimney penetrations are sealed differently, typically using a combination of pitch pans, membrane collars, or metal counter flashing set into a reglet, depending on the membrane type. If your home or building has a flat roofing system with a chimney or vent stack penetration, the patching approach and materials will differ from the shingle-and-flashing methods described above, so it’s worth confirming which category your roof falls into before selecting a repair method.
Similarly, if the leak you’re chasing is actually near a skylight rather than a chimney, the diagnostic steps are similar but the flashing hardware is different — see our skylights and skylight replacement pages for that specific repair path.
When to Call a Professional vs. DIY
Applying sealant to a small, accessible gap is within reach for a confident DIYer with proper roof safety equipment. Everything beyond that — re-bedding flashing into mortar, replacing step flashing, building a cricket, or restoring a chimney crown — involves working at height around a masonry structure, and mistakes are expensive to undo. A patch job that looks fine from the ground can still leak internally for months before the damage becomes visible.
Given the stakes — attic insulation damage, rotted roof decking, and interior drywall repairs all cost far more than the original chimney patch would have — most GTA homeowners are better served getting a professional assessment before attempting anything beyond a temporary caulk fix. Our roof repair team inspects the full flashing system, the crown, and the surrounding shingles together, rather than treating the chimney as an isolated problem.
Frequently Asked Questions About Leaky Chimney Roof Patching
| Warning Sign | Likely Cause | Urgency | Recommended Solution |
|---|---|---|---|
| Water stains on ceiling near chimney | Failed counter-flashing or step flashing | High | Re-bedded counter flashing |
| Crumbling mortar around chimney base | Freeze-thaw erosion | Moderate | Tuckpointing with matched mortar |
| Visible daylight around flue in attic | Flashing gap or crown crack | Urgent | Flashing and crown repair |
| Musty attic odour near chimney | Slow chronic leak | Moderate | Full chimney flashing assessment |
| Rust streaks on chimney flashing | Coating breakdown, moisture trapped | Moderate | Flashing replacement |
What are the best solutions for leaky chimney roof patching?
How much does chimney flashing repair cost in Toronto?
Can I patch a leaky chimney myself?
Why does my chimney leak every winter but not in summer?
How do I know if my chimney needs a cricket?
What is the difference between step flashing and counter flashing?
Need Help With 5 Best Solutions for?
Whether you’re dealing with a small drip or a chimney that’s clearly overdue for a full flashing replacement, Universal Roofs has been diagnosing and fixing exactly these problems across the GTA since 2005. We inspect the whole assembly — flashing, mortar, crown, and cricket — so the patch we recommend is the one that will actually last.
Call us today at (416) 732-2421 or request a free inspection to get started.
Universal Roofs proudly serves Toronto, Mississauga, Brampton, Vaughan, Markham, Oakville and the GTA since 2005.