
Historic homes and heritage-designated buildings across Toronto, Mississauga, and the wider GTA carry a level of architectural character that modern construction rarely replicates — steep slate roofs, decorative cornices, ornate dormers, and century-old wood decking that has weathered generations of freeze-thaw cycles. When it comes time for a roof inspection, these buildings demand a different approach than a standard suburban bungalow. Knowing what to consider for historic building roof inspections can be the difference between preserving a heritage asset and accidentally triggering costly, code-related complications.
Whether you own a designated heritage property under the Ontario Heritage Act, a century home in an established Toronto neighbourhood, or a commercial building with protected façade status, the inspection process needs to balance structural safety, material preservation, and regulatory compliance all at once. This guide walks through exactly what a qualified inspector should be checking, why historic roofs fail differently than modern ones, and how to plan a maintenance strategy that protects both the building and its heritage value.
At Universal Roofs, we have inspected and maintained roofs on heritage properties throughout the GTA since 2005, and we have learned that a generic inspection checklist simply does not capture the nuances of century-old construction. Below is our complete framework for evaluating a historic roof properly.
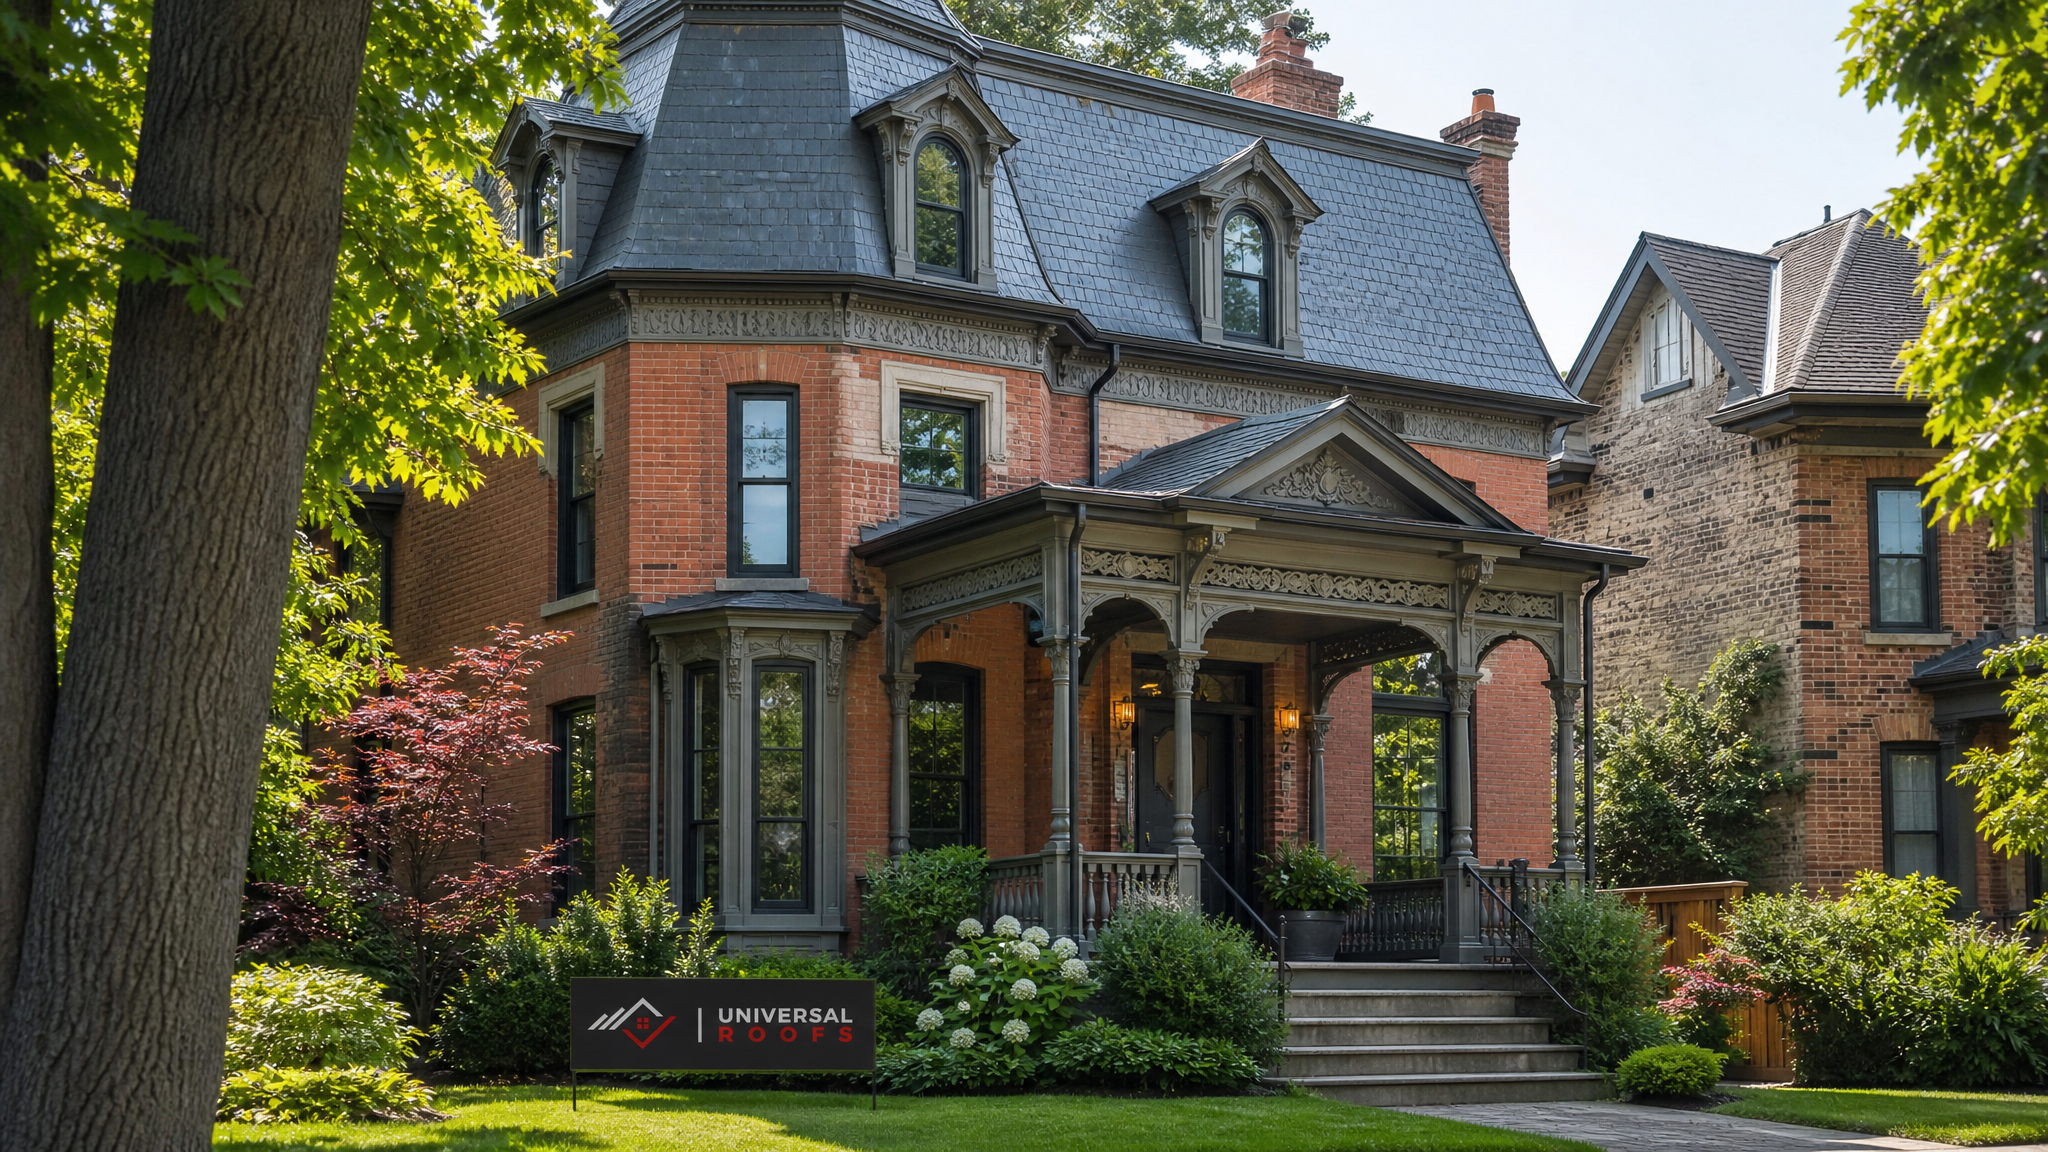
Why Historic Roofs Require a Different Inspection Approach
A standard asphalt shingle inspection focuses on granule loss, flashing corrosion, and shingle curling. Historic building roof inspections have to account for a much wider range of variables because the materials, framing methods, and even the nails used a century ago behave differently than modern equivalents.
Older roof decking is often true 1-inch or 1.25-inch rough-sawn board sheathing rather than plywood or OSB, and it was fastened with cut nails that corrode and lose holding power over decades. Rafters may be undersized by today’s structural standards, hand-hewn, or spaced irregularly. Many historic Toronto homes also used materials that are no longer manufactured in the same way — slate quarried from sources that closed decades ago, clay tile with unique profiles, or cedar shakes split by hand rather than sawn.
An inspector evaluating a historic roof has to think like a detective as much as a technician: identifying original materials versus later repairs, understanding how the building has settled over a century, and recognizing which deterioration patterns are cosmetic versus which threaten the structure. This is also where a heritage-sensitive approach to roof repair becomes essential — a repair method that is perfectly acceptable on a modern roof can violate heritage conservation guidelines or accelerate decay on an older one.
Structural Assessment: What Lies Beneath the Surface
The most important part of any historic roof inspection happens before anyone even looks at the surface material. The structural frame underneath — rafters, purlins, ridge beams, and decking — needs a careful evaluation because decades of moisture infiltration, previous poor repairs, or simple age-related fatigue can compromise load capacity long before visible sagging appears.
Inspectors should check for:
- Sagging or dipping rooflines visible from the attic or exterior, which often indicate rafter deflection or rot at bearing points
- Soft or spongy decking when walked on or probed, a sign of moisture damage in the sheathing
- Cracked, split, or insect-damaged rafters, particularly near chimneys and valleys where moisture concentrates
- Evidence of previous structural modifications, such as added collar ties, sistered rafters, or steel reinforcement plates
- Chimney and masonry connections, since many historic homes have roof structures built directly around or against brick chimneys that shift independently of the wood frame
Because so much of this assessment happens from inside the attic, a thorough attic inspection is not optional on a historic property — it is the single best vantage point for spotting water staining, daylight gaps at the ridge, and insulation that has compacted or shifted over decades.
| Structural Element | Common Historic-Era Issue | Inspection Method | Typical Remediation |
|---|---|---|---|
| Rafters | Undersized, hand-hewn, insect damage | Visual + moisture meter from attic | Sistering with new lumber, localized replacement |
| Roof decking | Rough-sawn board sheathing, cut-nail withdrawal | Walk test, probe with awl | Selective board replacement, re-fastening |
| Ridge beam | Sagging under century of load | String line or laser level check | Sistered beam or engineered support |
| Chimney flashing interface | Mortar deterioration, differential movement | Close visual + tap test on masonry | Re-flashing with counter-flashing into repointed mortar joint |
| Valleys | Concentrated rot from water pooling | Moisture meter, visual staining check | Deck replacement and valley metal renewal |
Evaluating Original Roofing Materials: Slate, Clay Tile, Cedar, and Metal
Most historic buildings in the GTA were roofed in one of four materials: natural slate, clay tile, cedar shakes, or standing-seam metal. Each ages differently, and each requires a specific inspection technique.
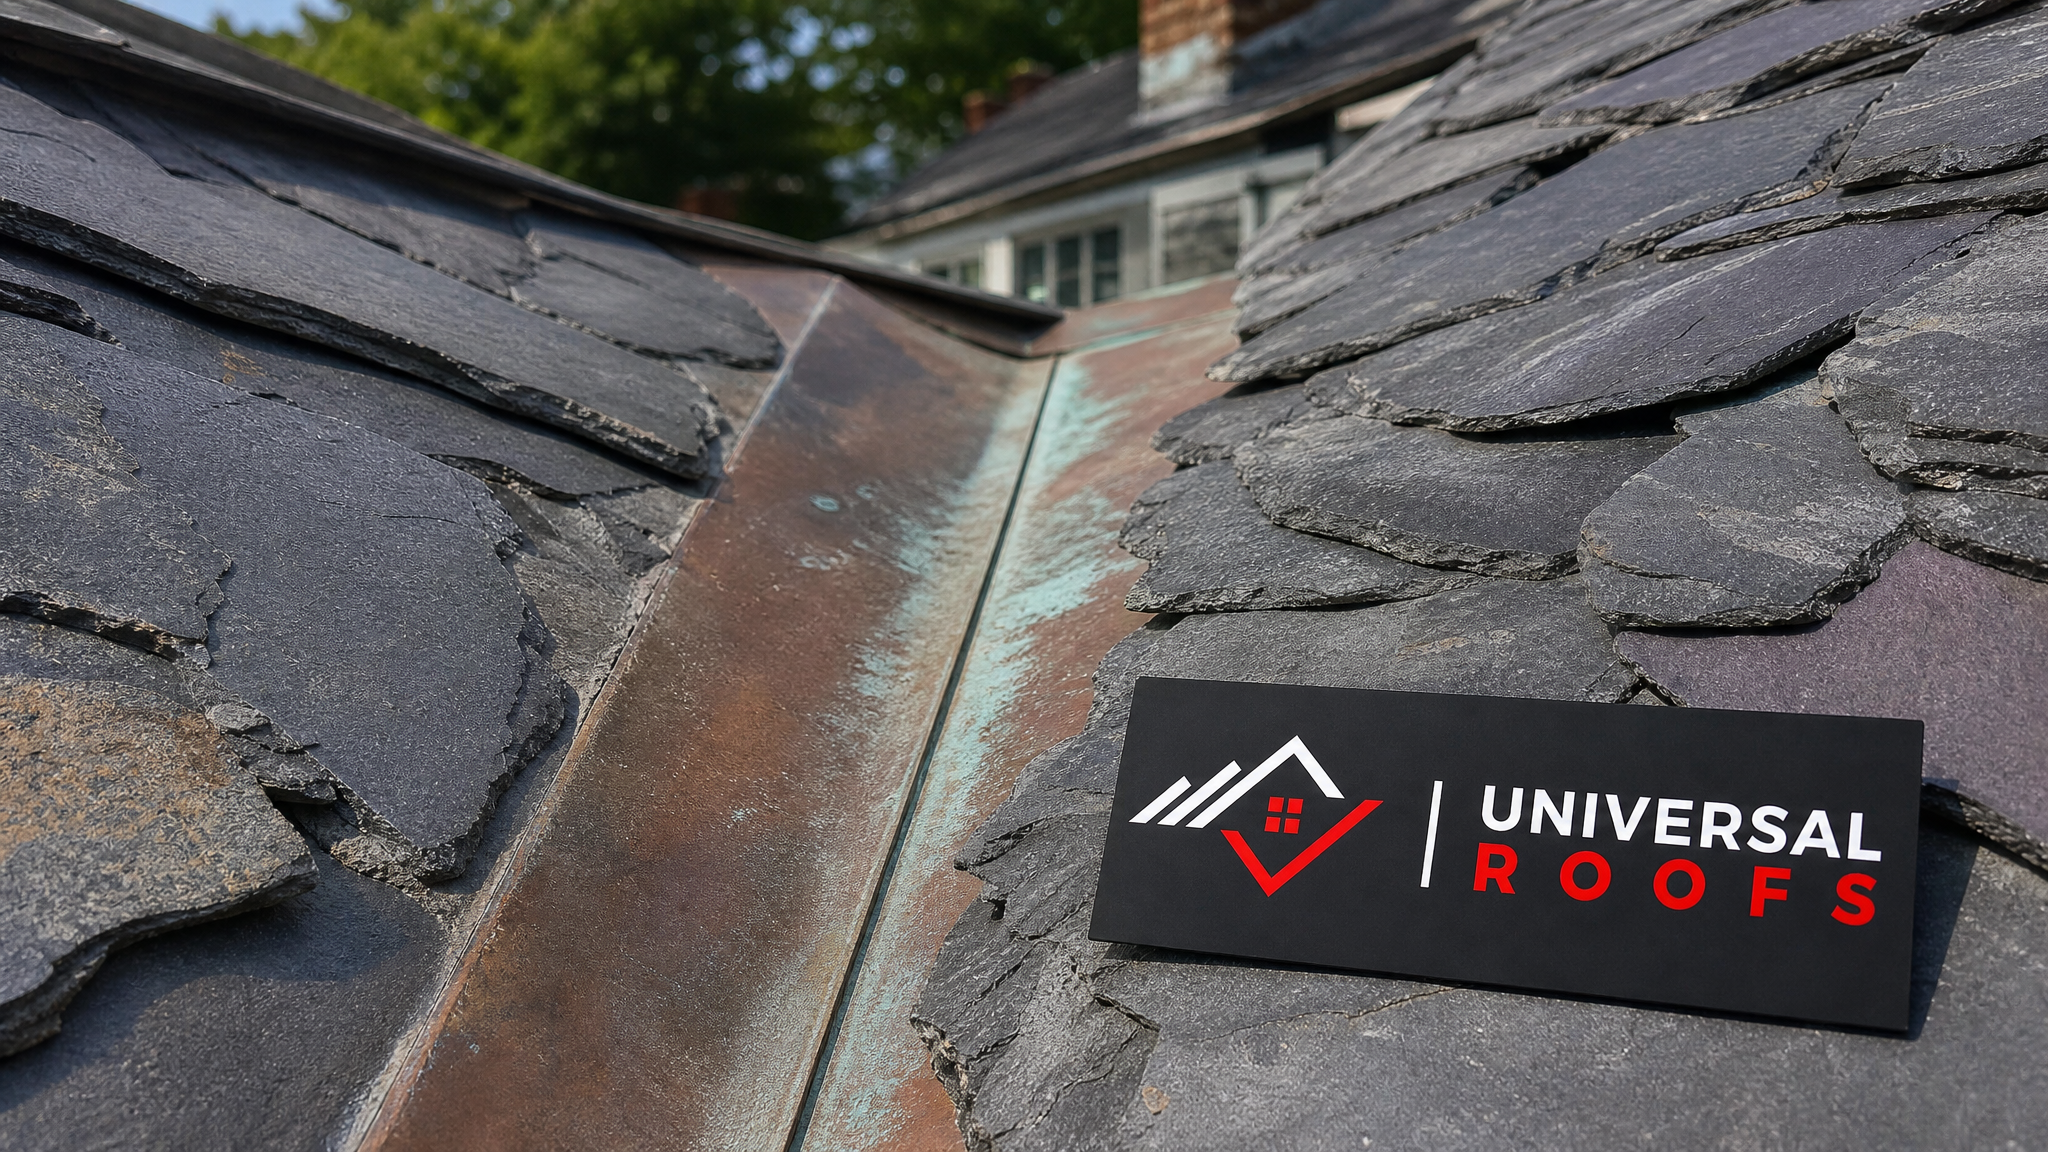
Slate roofing can last well over a century when properly maintained, but individual slates fail due to nail sickness — the corrosion of the original fasteners — long before the stone itself wears out. An inspector should look for slipped or missing slates, delamination (thin layering separation) at slate edges, and a hollow sound when tapped, which indicates the slate has become brittle. Replacement slates must match the original in thickness, colour, and texture, or the roof will look patched rather than restored.
Clay tile roofs are less common but present in some heritage commercial buildings and older estate homes. Inspectors check for cracked or spalled tiles, deteriorated mortar bedding at hips and ridges, and broken interlocking edges that allow wind-driven rain underneath.
Cedar shake roofs, once extremely common on Victorian and Edwardian homes, need evaluation for splitting, moss and lichen growth that traps moisture, and curling shakes that expose the underlayment. Toronto’s humid summers and freeze-thaw winters accelerate cedar decay faster than in drier climates.
Standing-seam metal roofs, sometimes original to commercial heritage buildings, require inspection of seam integrity, paint or coating failure, and rust at fastener penetrations.
| Historic Material | Typical Lifespan | Primary Failure Mode | Inspection Priority |
|---|---|---|---|
| Natural slate | 75-150+ years | Nail sickness, delamination | Individual slate condition, fastener corrosion |
| Clay tile | 50-100 years | Cracking, mortar bed failure | Hip/ridge mortar, interlock integrity |
| Cedar shake | 20-40 years | Splitting, moss/lichen decay | Moisture retention, curling shakes |
| Standing-seam metal | 40-70 years | Seam separation, coating failure | Fastener rust, seam waterproofing |
Heritage Designation and Regulatory Compliance
If a property carries heritage designation under the Ontario Heritage Act or is listed on a municipal heritage register, roof work is not simply a matter of choosing what looks best or costs least. Many municipalities in the GTA — including Toronto, Mississauga, and Vaughan — require a Heritage Permit before any exterior alteration to a designated property, and roofing falls squarely under that requirement when the work is visible from the street or affects a protected façade.
An inspection for a heritage-designated building should always include a review of:
- Whether the building carries individual designation, is part of a Heritage Conservation District, or is simply listed (non-designated) on a municipal register — each carries different obligations
- Any existing heritage easement or conservation agreement that specifies acceptable materials or methods
- Whether visible roof elements (dormers, decorative trim, chimney caps, cresting) are called out specifically in the designation bylaw
- Municipal permit requirements before any repair or replacement begins
Skipping this step is one of the most expensive mistakes a homeowner or building manager can make. We have seen cases where a well-intentioned emergency repair using non-matching materials led to a stop-work order and a costly reversal. If there is any doubt about designation status, it is worth checking with the municipal heritage planning department before any work — including inspection-driven repairs — proceeds.
Flashing, Chimneys, and Weatherproofing Details
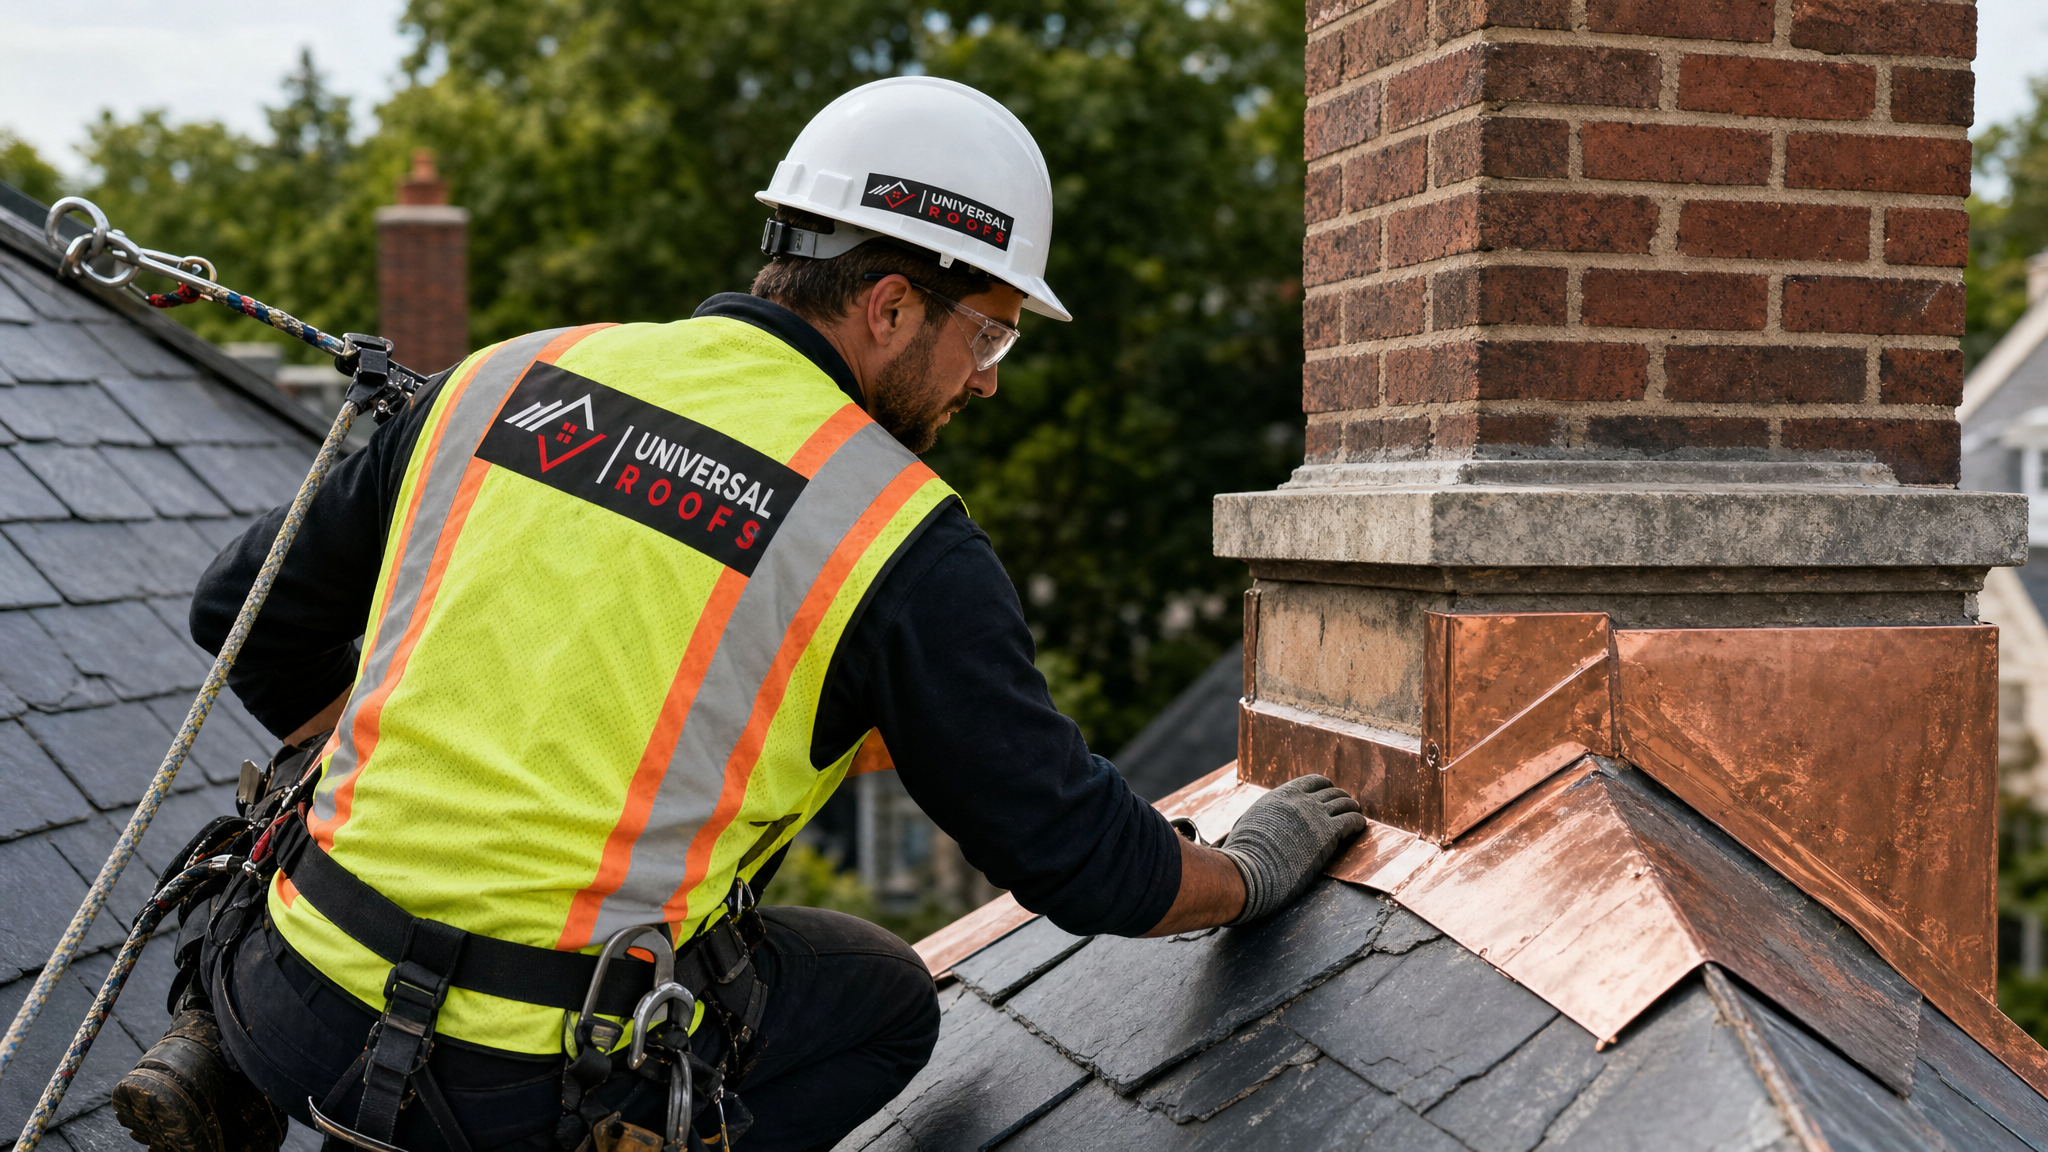
Flashing failures are the leading cause of leaks on historic roofs, and they are often the most overlooked item during a casual walk-around. Century-old flashing was typically installed with lead, copper, or galvanized steel, all of which degrade differently than the modern aluminum and rubber membranes used today.
A thorough inspection examines:
- Chimney flashing and counter-flashing, checking for gaps where mortar has receded from the reglet joint
- Valley flashing, particularly on steep, multi-gable historic rooflines where several valleys converge
- Dormer and wall-to-roof transitions, common sources of leaks on Victorian and Edwardian architecture
- Skylight flashing, if a skylight has been added to the historic roof — a frequent modern addition that needs careful integration. If a building has an older or leaking unit, our skylight replacement team can assess whether it is compatible with the surrounding historic roofing
- Gutters and eavestrough attachment points, especially decorative built-in box gutters found on many century homes
Where a historic roof includes a flat or low-slope section — common on additions built onto older homes, or on commercial heritage buildings — the inspection also needs to account for membrane condition, ponding water, and drainage slope, which our flat roofing specialists routinely evaluate on mixed-roof heritage properties.
| Flashing Location | Historic Material Used | Common Failure | Inspection Frequency |
|---|---|---|---|
| Chimney base | Lead or copper counter-flashing | Mortar reglet erosion | Annually, plus post-storm |
| Valleys | Galvanized steel or copper | Corrosion, seam separation | Twice yearly (spring/fall) |
| Dormer walls | Copper step flashing | Nail hole leaks, lifted edges | Annually |
| Skylight curb | Varies by installation era | Sealant failure, incompatible retrofit | Annually |
| Box gutters | Built-in wood/metal lining | Rust-through, wood rot beneath liner | Twice yearly |
Seasonal Timing and Toronto’s Climate Considerations
The GTA’s climate is particularly hard on historic roofing materials because of repeated freeze-thaw cycles through the winter months, followed by humid summers that encourage moss, algae, and wood decay. This makes the timing of an inspection almost as important as the inspection itself.
Late spring and early summer — like now, in July — is one of the best windows to inspect a historic roof. Winter damage has had time to reveal itself (ice damming, cracked slates from freeze expansion, flashing pulled loose by snow load), but the weather is dry and stable enough for inspectors to safely access steep, aged rooflines without the risk of frost or wet conditions compromising footing. A second inspection in early autumn, before the first hard frost, is equally valuable for catching summer heat damage and preparing the roof for winter.
Ice damming deserves particular attention on historic roofs because older attics were rarely built with modern insulation or ventilation standards in mind. Heat escaping into an under-insulated attic melts snow on the upper roof, which then refreezes at the colder eaves, forcing water backward under the roofing material. This is one of the single most damaging processes affecting historic roofs in the Toronto area, and it is entirely preventable with proper attic ventilation and insulation upgrades that respect the building’s original construction.
Cost Considerations for Historic Roof Inspections and Repairs
Historic roof work costs more than standard residential roofing, and property owners should understand why before requesting quotes. Specialty materials like natural slate or clay tile are more expensive per square than asphalt shingles, matching materials to a century-old profile takes additional sourcing time, and the labour itself requires tradespeople experienced with heritage techniques — not every roofing crew is trained to work with slate hooks, copper standing seams, or traditional lime mortar bedding.
| Service | Typical Scope | Estimated Cost Range (CAD) | Notes |
|---|---|---|---|
| Full heritage roof inspection | Visual + attic + moisture assessment, written report | $350 – $650 | More thorough than a standard inspection due to material identification |
| Slate repair (localized) | Replace 5-15 slipped/broken slates | $800 – $2,500 | Cost varies with roof pitch and access difficulty |
| Flashing renewal (chimney/valley) | Remove and replace copper or steel flashing | $1,200 – $4,000 | Higher end for multi-valley steep roofs |
| Partial deck replacement | Replace rotted board sheathing section | $2,000 – $6,000 | Depends on extent of rot discovered |
| Full heritage-compliant re-roof | Complete replacement matching original material | $25,000 – $80,000+ | Wide range due to slate/tile sourcing and labour intensity |
These figures are general estimates for GTA properties in 2026 and will vary based on roof size, pitch, accessibility, and the specific municipal heritage requirements involved. A detailed on-site inspection is the only way to generate an accurate quote, which is why we recommend booking an assessment before budgeting for any heritage roofing project. If replacement becomes necessary, our roof replacement team works specifically with heritage-appropriate materials and techniques to keep the finished result true to the building’s original character.
Documentation and Long-Term Maintenance Planning
A one-time inspection is valuable, but historic roofs benefit most from an ongoing maintenance record. Because these buildings often outlive several owners, a documented history of inspections, repairs, and material sourcing becomes an asset in itself — both for insurance purposes and for future heritage permit applications.
A strong historic roof maintenance plan should include:
- Photographic documentation of the roof’s condition at each inspection, including close-up detail shots of vulnerable areas
- A written inspection report noting specific findings, not just a pass/fail summary
- A record of materials used in any repair, including slate source, flashing metal type, and fastener specifications, so future repairs can match consistently
- A biannual inspection schedule (spring and fall) rather than the annual schedule often sufficient for modern roofs
- Coordination with a municipal heritage planner when planned work exceeds routine maintenance
This kind of documentation also protects property value. Buyers of heritage homes increasingly ask for maintenance records, and a well-documented roof history can be a meaningful selling point rather than a red flag.
Choosing an Inspector Qualified for Historic Roofs
Not every roofing contractor has the experience needed to properly evaluate a heritage property. When selecting an inspector, look for a company that can demonstrate direct experience with the specific material on your roof — slate, clay tile, cedar, or standing-seam metal — and that understands the regulatory landscape around heritage designation in your municipality.
Questions worth asking a prospective inspector include whether they have worked on designated heritage properties before, how they document findings, whether they can source matching materials for repairs, and whether they carry insurance appropriate for working on steep, aged rooflines. You can review feedback from other GTA homeowners on our reviews page, and our FAQ page answers many of the most common questions we receive about heritage roofing work.
Universal Roofs has served heritage and century-home properties across Toronto, the Peel Region, York Region, Halton Region, and Durham Region since 2005, and our team understands the local heritage bylaws that shape what work is permitted on designated properties throughout these municipalities. Learn more about our approach on our about page.
What to consider for historic building roof inspections beyond a standard roof check?
How often should a historic roof be inspected?
Do I need a permit before repairing a heritage-designated roof?
What is the biggest threat to historic slate and cedar roofs in the Toronto climate?
Can original materials like slate or clay tile be matched during repairs?
What should a written historic roof inspection report include?
Need Help With What to Consider for Historic Building Roof Inspections?
A historic roof deserves an inspection process that respects its original craftsmanship while protecting the structure underneath. Universal Roofs brings two decades of hands-on experience with slate, clay tile, cedar, and heritage flashing details across the GTA, so you get a report you can actually act on.
Call us today at (416) 732-2421 or request a free inspection to get started.
Universal Roofs proudly serves Toronto, Mississauga, Brampton, Vaughan, Markham, Oakville and the GTA since 2005.