
When a shingle blows off in a windstorm or a stain appears on the ceiling after a heavy rain, most homeowners have the same first question: how much is this going to cost to fix? The honest answer is that nobody can give you an accurate number without a proper roof inspection. Estimating the cost for repair starts on the roof itself, not over the phone, because the visible symptom and the underlying cause are often two very different things.
In the Greater Toronto Area, this matters more than most homeowners realize. Our climate puts roofs through repeated freeze-thaw cycles every winter, intense UV exposure every summer, and the occasional wind event that can lift shingles without leaving obvious damage at ground level. A roof that looks fine from the driveway can be hiding cracked flashing, saturated underlayment, or ventilation problems that are quietly shortening its lifespan. A thorough inspection is the only way to move from guessing to a real, defensible number.
This guide walks through exactly how a professional inspection works, what inspectors look for, how each finding translates into a repair cost, and how to read an estimate so you know you are paying for the right scope of work. Whether you noticed a small leak this summer or you are simply planning ahead before the next storm season, understanding this process will help you budget with confidence.
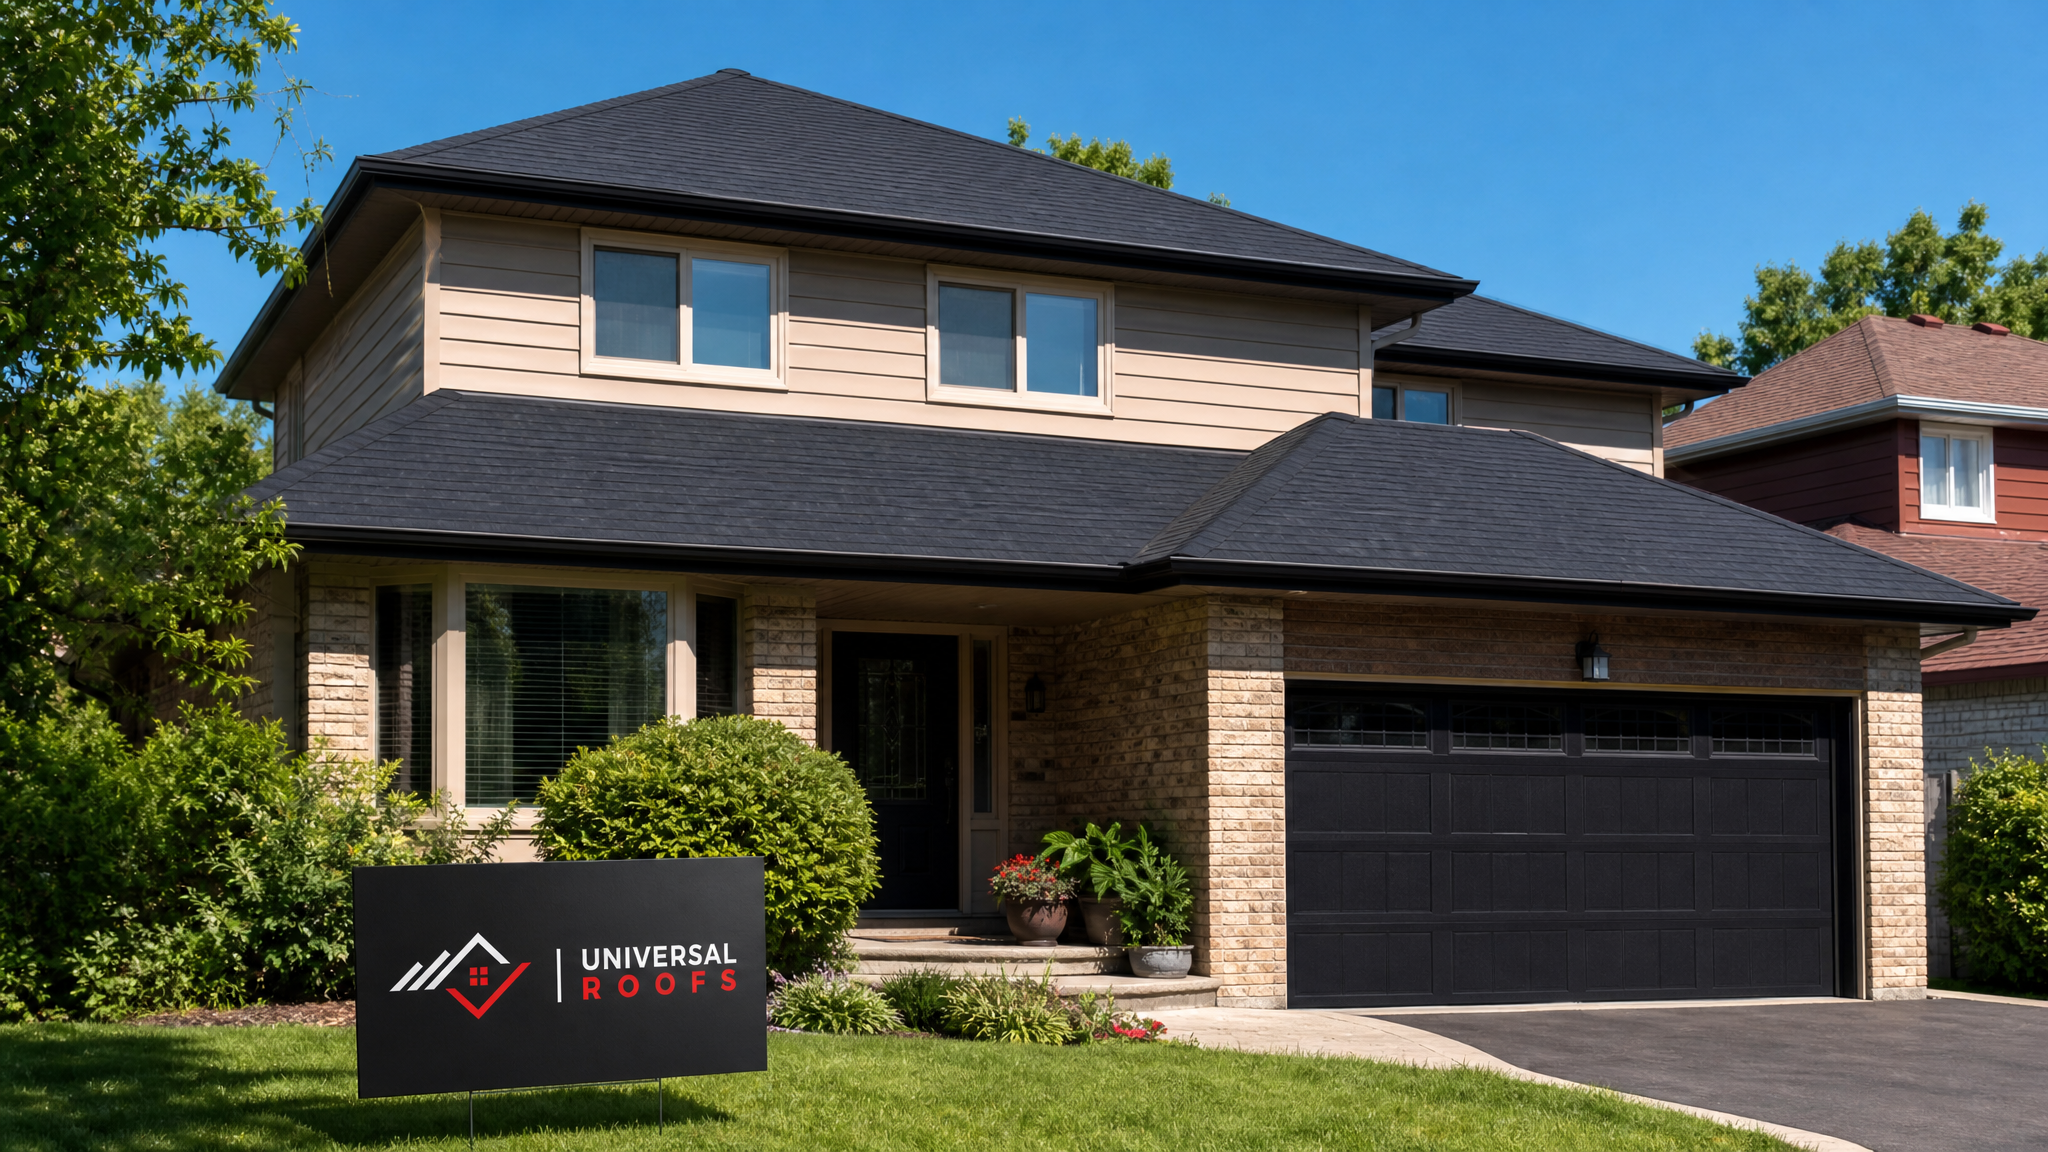
Why a Roof Inspection Comes Before Any Cost Estimate
A trustworthy cost estimate cannot exist without an inspection, because repair pricing depends entirely on what is actually wrong, not just what is visible. Many homeowners call a contractor because they see a water stain on a bedroom ceiling and expect a simple patch. But a stain is a symptom, not a diagnosis. The water could be entering through a cracked pipe boot two metres away, travelling along the underlayment, and only showing itself where the ceiling drywall happens to be thinnest.
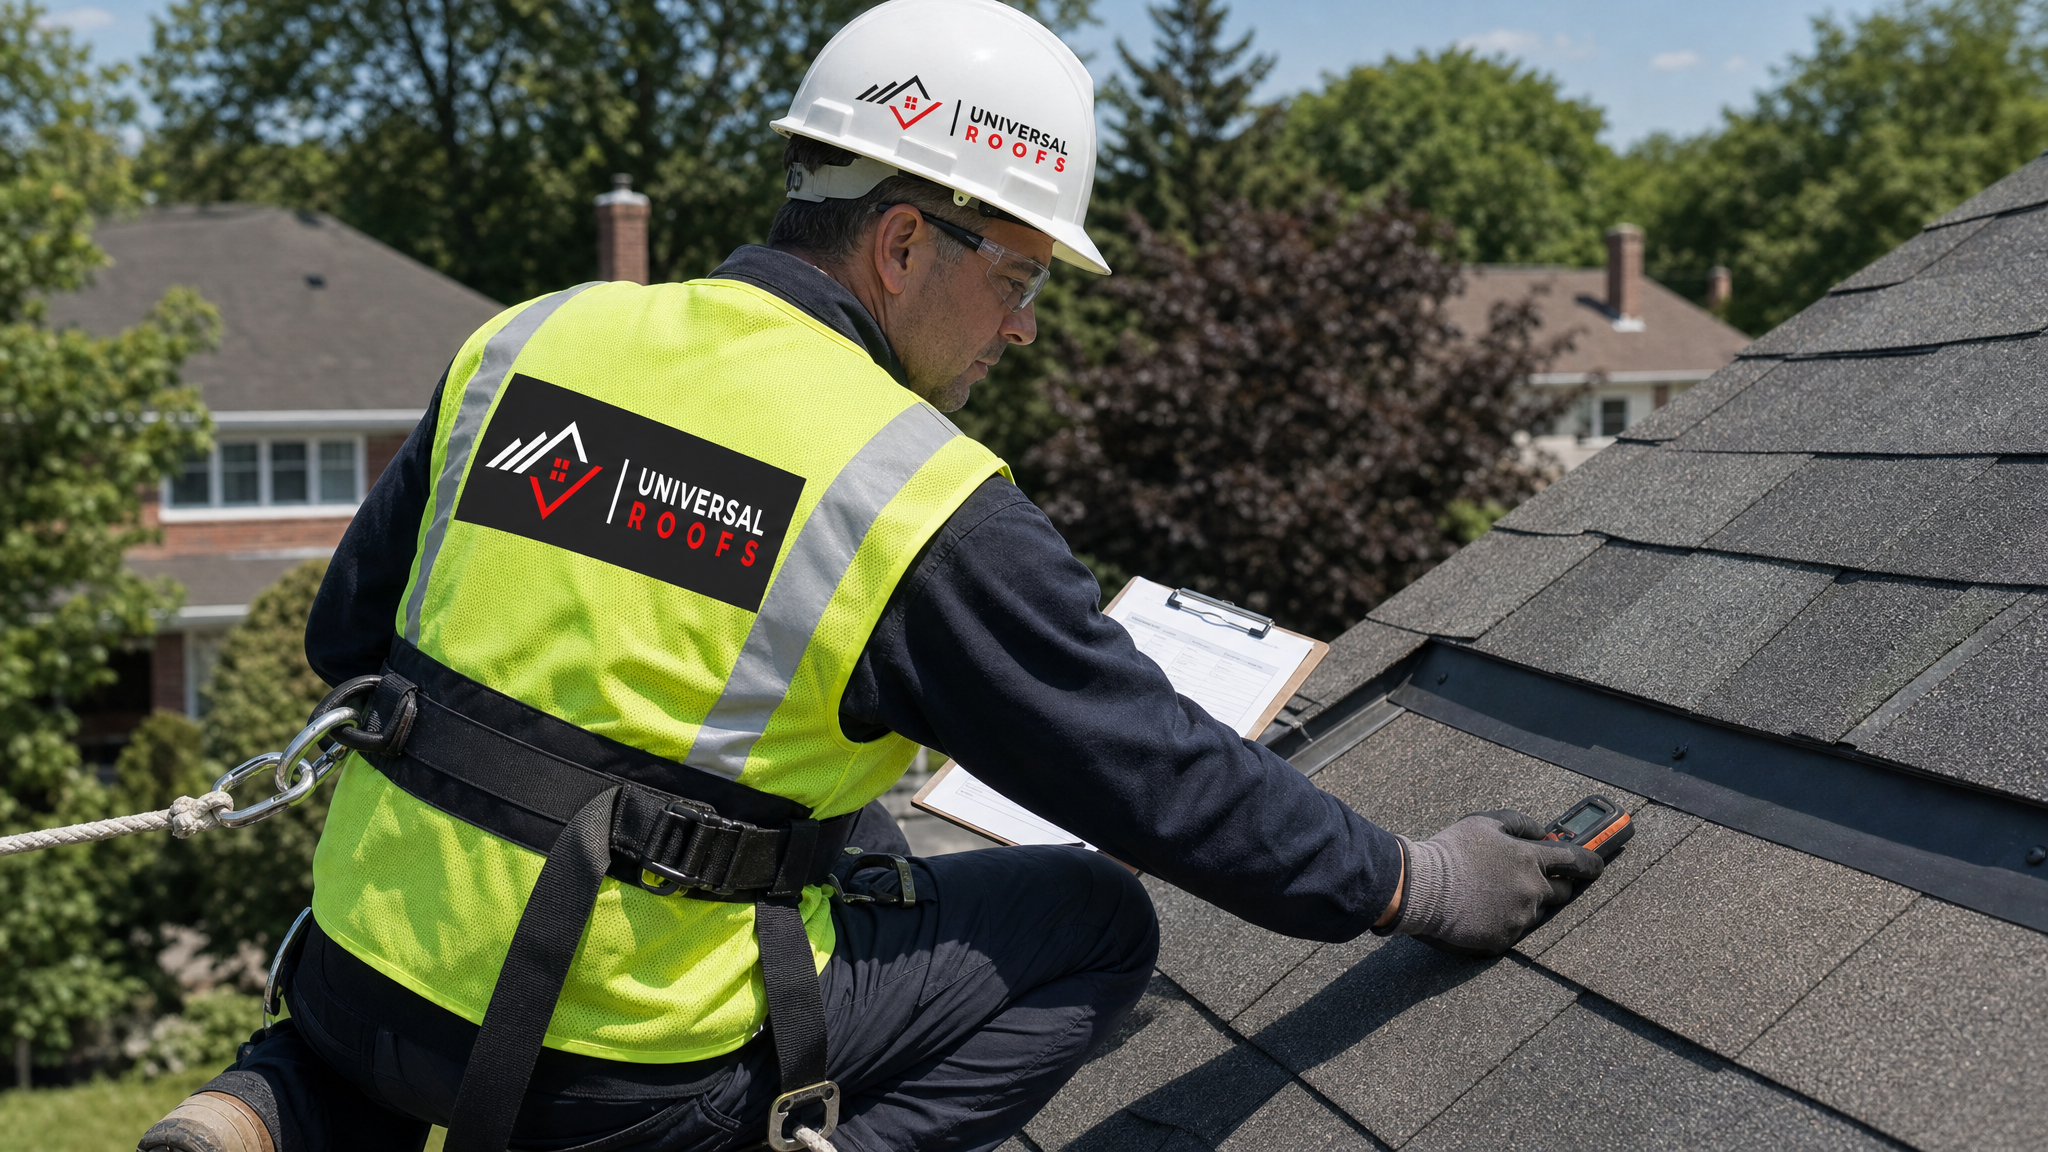
A proper roof repair estimate is built from a documented inspection, not an assumption. At Universal Roofs, every estimate starts with a visual and, where needed, a physical inspection of the roof surface, the attic, and the areas most vulnerable to leaks: valleys, chimneys, skylights, vents, and eaves. This process typically takes 30 to 60 minutes for an average GTA home and forms the entire basis of the repair quote that follows.
Skipping this step is the single biggest reason homeowners end up paying twice for the same problem. A contractor who quotes a price over the phone, or from a photo, is guessing at scope. If the actual damage extends further than assumed, either the repair fails prematurely or the homeowner faces a change order mid-job. An in-person inspection protects both the contractor’s accuracy and the homeowner’s wallet.
What a Professional Roof Inspection Actually Checks
A comprehensive inspection covers far more than a quick glance at the shingles from the ground. Here is what a qualified inspector examines on a typical residential roof in Toronto or the surrounding regions:
- Shingle condition — cracking, curling, granule loss, missing tabs, and blistering caused by UV exposure and heat cycling
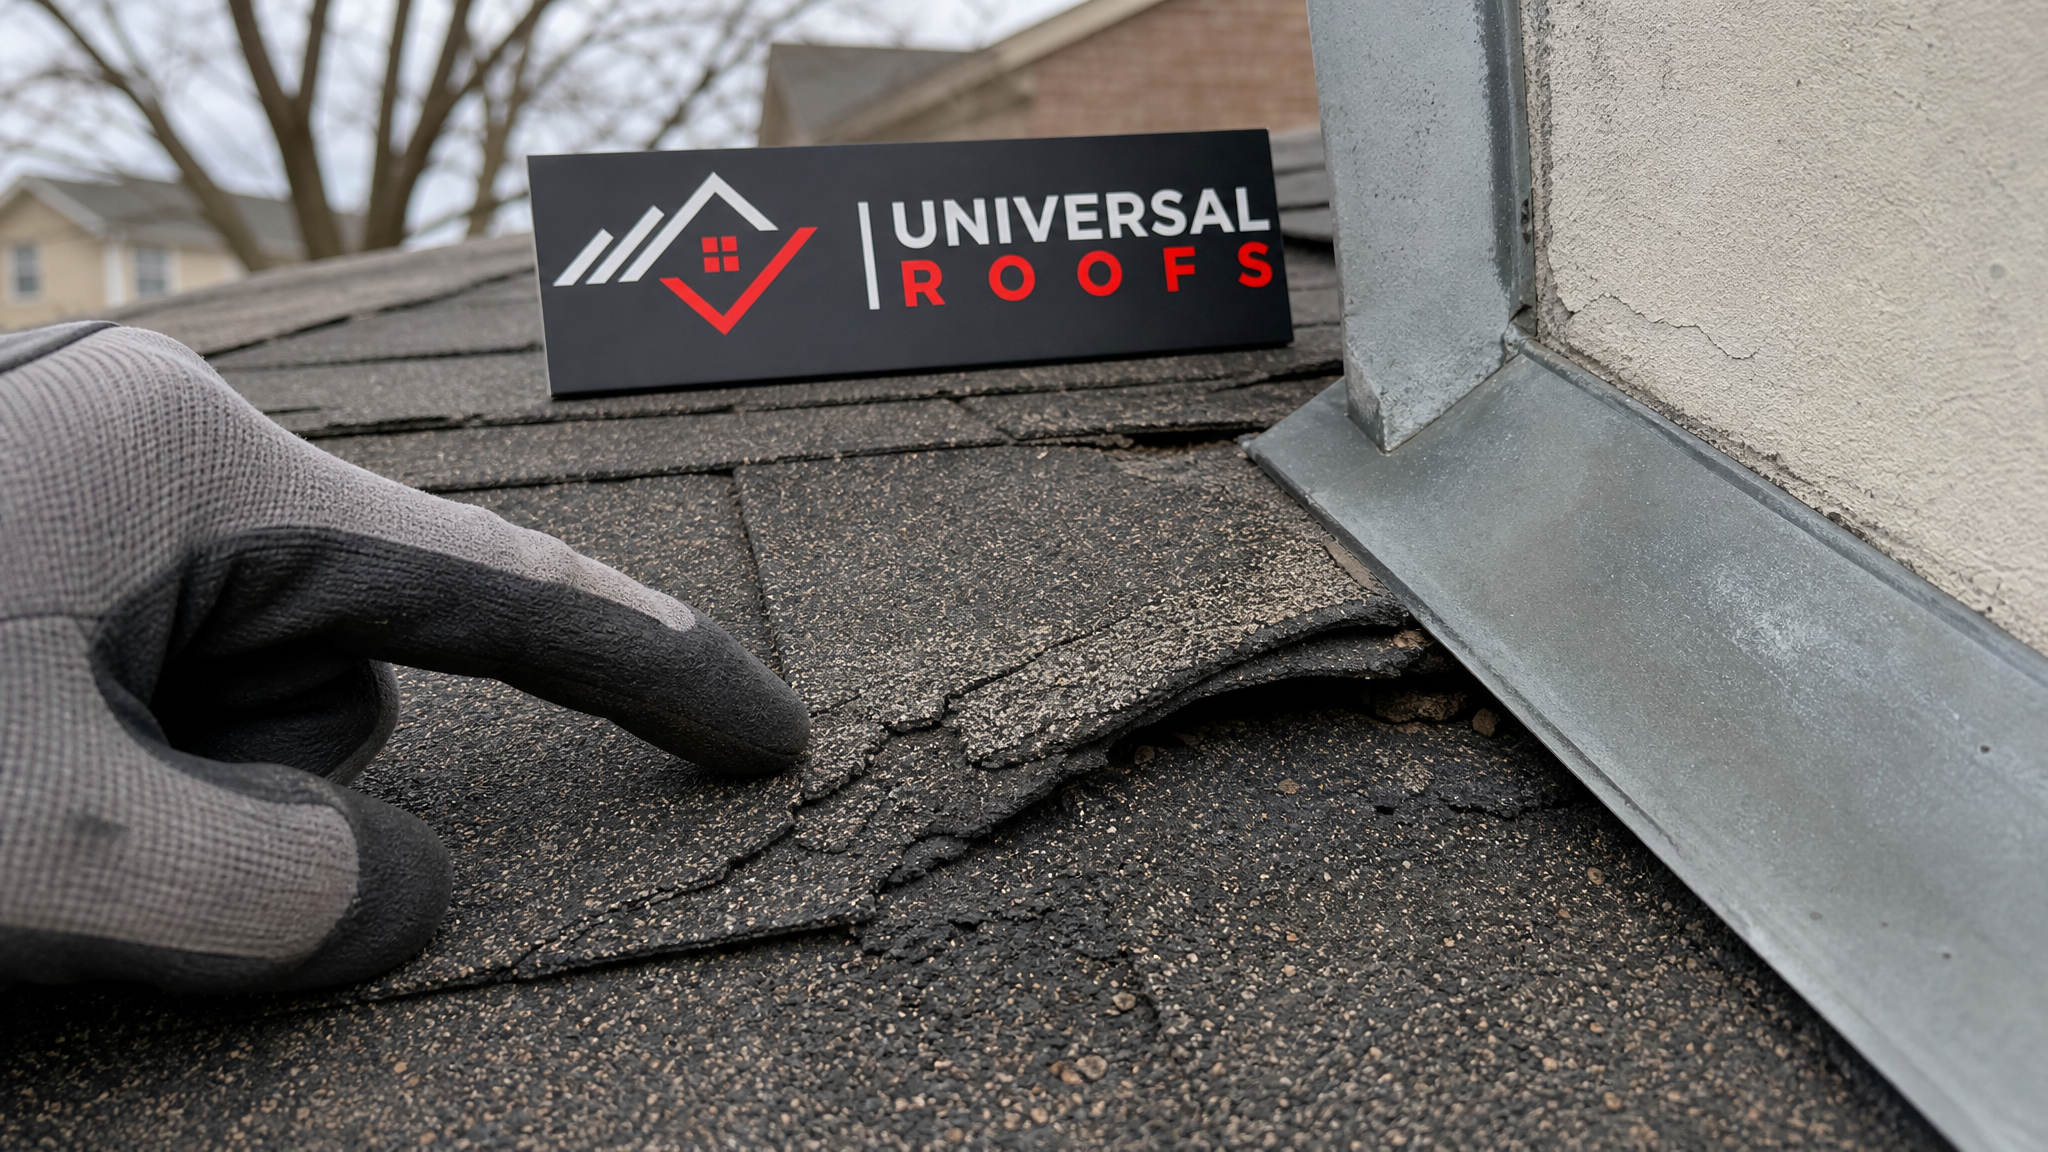
- Flashing — the metal at chimneys, walls, valleys, and roof-to-wall transitions, checking for rust, separation, or failed sealant
- Fasteners and nail pops — exposed or backed-out nails that let water track underneath shingles
- Valleys — high-wear areas where water volume concentrates during heavy rain
- Pipe boots and vent seals — rubber collars around plumbing stacks that dry out and crack over time
- Skylight seals — flashing and gasket condition around any skylights on the roof
- Eavestrough and drainage — clogged gutters that cause water to back up under the shingle edge
- Attic conditions — insulation, moisture staining on rafters, mould, and daylight visible through the roof deck
- Ventilation balance — intake at the soffits versus exhaust at the ridge, since poor airflow accelerates shingle failure from underneath
- Structural sag or deflection — signs of a weakened roof deck that need more than a surface patch
Each of these items is documented, often with photos, and cross-referenced against what is happening inside the attic. Attic access is one of the most overlooked parts of a home inspection, but water staining on the underside of the roof deck often tells a more accurate story than the shingles themselves.
How Inspection Findings Translate Into a Repair Cost
Once the inspection is complete, the findings are categorized by severity and location, and each category carries a different cost structure. Below is a general breakdown of how common findings translate into typical repair costs for GTA homes, based on average material and labour pricing as of 2026.
| Inspection Finding | Typical Repair Scope | Estimated Cost Range (CAD) | Urgency Level |
|---|---|---|---|
| Few missing or cracked shingles | Spot shingle replacement | $300 – $700 | Moderate |
| Failed flashing at chimney or wall | Flashing removal and reseal or replacement | $450 – $1,200 | High |
| Cracked pipe boot / vent seal | Boot replacement and resealing | $250 – $500 | High |
| Valley wear or leak | Valley metal and underlayment repair | $600 – $1,500 | High |
| Skylight seal failure | Flashing kit replacement | $500 – $1,300 | Moderate |
| Localized soft or sagging deck | Deck board replacement plus shingle repair | $800 – $2,200 | High |
| Poor attic ventilation | Additional vents or baffles installed | $400 – $1,000 | Low to moderate |
| Widespread shingle deterioration | Full roof replacement recommended instead of repair | Quoted separately | High |
These ranges are general guidance, not a quote. Actual pricing depends on roof pitch, accessibility, the number of storeys, the type of shingle or membrane installed, and how many separate areas need attention. A steep roof with multiple valleys and a chimney will always cost more to access and repair safely than a simple, low-slope gable roof.
Repair Versus Replacement: What Tips the Scale
One of the most valuable outcomes of an inspection is an honest answer to a question many homeowners are afraid to ask: is this even worth repairing? A good inspector will not automatically push for a full roof replacement when a repair will genuinely solve the problem. But there are situations where repair is a short-term fix that delays an inevitable, larger expense.
| Factor | Favours Repair | Favours Replacement |
|---|---|---|
| Roof age | Under 12 years | Over 18-20 years (asphalt shingle) |
| Extent of damage | Isolated to one or two areas | Spread across multiple slopes |
| Shingle condition overall | Granules intact, flexible | Widespread curling, brittleness, bald patches |
| Number of past repairs | First or second repair | Third or more repair on same roof |
| Underlayment and deck condition | Dry, solid | Saturated, soft, or rotted in multiple spots |
| Cost of repair vs. replacement | Repair under 25-30% of replacement cost | Repair approaching 40%+ of replacement cost |
As a rule of thumb, if a repair estimate starts approaching a third of what a full replacement would cost, it is worth discussing both options honestly. Sometimes a repair genuinely is the right call for another five to eight years of service. Other times, a homeowner is better served putting that money toward a new roof rather than patching a system that is already near the end of its practical life.
Factors That Increase or Decrease Repair Costs in the GTA
Two homes with seemingly identical damage can receive very different repair quotes. Understanding what drives that difference helps homeowners evaluate whether a quote is reasonable.
Factors that typically increase cost
- Steep roof pitch requiring additional fall-protection setup and time
- Multi-storey homes where ladder and equipment access is more complex
- Older shingle profiles that are discontinued, requiring a colour-matched blend from a wider area
- Multiple penetrations (skylights, chimneys, vents) clustered in the damaged area
- Winter or early spring repairs, when sealants need extra time and materials to cure properly in cold temperatures
- Hidden deck damage discovered only once shingles are pulled back
Factors that typically reduce cost
- Simple, low-slope sections with easy ladder access
- Common shingle types with wide product availability
- A single, contained area of damage rather than several separate repair zones
- Summer and early fall scheduling, when sealants cure at ideal temperatures and crews can work efficiently
- Early intervention, before a small leak has time to spread into insulation, drywall, or framing
That last point deserves emphasis. The cost of ignoring a small issue rarely stays small. A minor flashing leak addressed for a few hundred dollars this month can become a drywall, insulation, and mould remediation project costing several thousand dollars if left through another winter of freeze-thaw cycling.
What a Written Repair Estimate Should Include
Once the inspection is complete, a homeowner should receive a written estimate, not a verbal number. A properly detailed estimate protects both parties and prevents scope disagreements once work begins. Look for the following in any quote you receive.
| Estimate Component | Why It Matters |
|---|---|
| Specific location(s) of damage | Confirms the inspector actually identified distinct problem areas, not a generic “roof leak” line item |
| Materials specified by type and brand | Ensures like-for-like replacement and lets you compare quotes fairly |
| Labour scope described in plain language | Clarifies what work is actually being performed, not just a lump sum |
| Warranty terms on workmanship | A reputable contractor stands behind the repair, typically 2-5 years on workmanship |
| Timeline for completion | Weather-dependent work should still have a realistic scheduling window |
| Photos from the inspection | Visual documentation supports the diagnosis and justifies the price |
If an estimate is missing several of these elements, ask for clarification before signing anything. A vague quote is often a sign that the inspection itself was rushed or incomplete, which increases the risk of the repair not addressing the actual root cause.
Seasonal Timing and Its Effect on Inspection and Repair Costs
Summer is one of the best times of year in the GTA to schedule a roof inspection. Dry conditions and warmer temperatures allow sealants and adhesives to cure properly, and there is no snow or ice obscuring problem areas. If you noticed a leak during spring storms or discovered attic staining while doing seasonal maintenance, having the inspection done now, rather than waiting until fall, means repairs can be completed before autumn rains and the eventual return of freeze-thaw conditions.
Homeowners who wait until late fall or winter to address a known issue often face higher costs, longer scheduling delays as crews handle emergency calls, and reduced sealant performance in cold weather. Booking an inspection during the summer or early fall window gives you the most flexibility and the best chance of a durable, properly cured repair.
It is also worth scheduling a proactive inspection even without an active leak. Catching minor flashing wear or a handful of aging shingles before they fail can mean the difference between a $400 repair this year and a $2,000 repair, plus interior damage, next year.
How to Prepare for a Roof Inspection
A few simple steps before the inspector arrives help ensure an accurate, efficient assessment:
- Note the approximate date or trigger of any visible leak (a specific storm, a certain time of year)
- Take photos of any interior staining, including how it has changed or spread over time
- Clear access to the attic hatch so the inspector can check the underside of the roof deck
- Trim back any tree branches overhanging the roof, if it is safe to do so, to give a clearer view of shingle condition
- Have your address and any past roofing invoices ready, since prior repair history helps the inspector understand the roof’s maintenance timeline
These small preparations rarely take more than fifteen minutes but can meaningfully improve the accuracy of the resulting estimate, since the inspector spends less time gathering context and more time examining the roof itself.
Related Roofing Components Worth Checking During the Same Visit
Because an inspector is already on the roof, it makes sense to have them evaluate a few related systems at the same time, since bundling these checks avoids a second service call and a second trip charge.
- Flat roof sections — many GTA homes have a garage or addition with a low-slope section; if yours does, ask about a dedicated flat roofing assessment, since membrane systems fail differently than shingles
- Skylights nearing the end of their service life — if seals are original to the home and over 15 years old, ask about skylight replacement rather than repeated resealing
- Attic insulation and ventilation — since attic health directly affects roof lifespan, it is worth a broader look at your attic condition during the same visit
Homeowners across Toronto, Peel Region, York Region, Halton Region, and Durham Region all face similar climate stresses, but local building age and roof styles vary neighbourhood by neighbourhood, which is another reason a hands-on, in-person inspection consistently outperforms a phone estimate.
Choosing a Contractor for Your Inspection and Repair
Not every company that offers a “free roof inspection” is equipped to translate that inspection into an accurate, fair estimate. A few questions help separate a thorough inspector from a sales-driven one:
- Will you show me photos of the specific damage you found?
- Can you explain, in plain terms, why this repair addresses the actual cause of the leak?
- What is your workmanship warranty, and is it in writing?
- Are you licensed and insured to work in the GTA, and can you provide proof?
- Do you have recent local reviews from homeowners with similar roof types?
A contractor confident in their diagnosis will answer these questions directly and without hesitation. If you are still comparing options, our FAQ page and about page outline how our inspection and estimating process works in more detail, and reading through past customer reviews can help set realistic expectations for both cost and communication.
Putting It All Together: A Realistic Cost Range
For most single-family homes in the GTA, a straightforward, single-area repair (a section of missing shingles, one failed flashing point, or a single pipe boot) typically falls between $300 and $1,200 once the inspection confirms the scope. More involved repairs, such as valley work, deck repair, or multiple simultaneous issues, often land between $1,200 and $2,500. Anything trending higher than that is worth a direct conversation about whether replacement makes more long-term financial sense.
These numbers are only meaningful once grounded in an actual inspection of your specific roof. Two homes on the same street, built in the same year, can have completely different repair needs depending on sun exposure, tree cover, gutter maintenance, and how the original roof was installed. That is exactly why estimating the cost for repair always starts with getting eyes, and often hands, on the roof itself.
How much does a roof inspection cost before estimating the cost for repair?
Why do two roofing companies give different repair estimates for the same roof?
Can a roof inspection determine if repair or full replacement is the better option?
How long does a roof repair take once the cost for repair is confirmed?
Does a roof inspection check the attic as part of estimating the cost for repair?
Is summer a good time to schedule a roof inspection and repair in Toronto?
Need Help With Roof Inspection Estimating the?
If you are dealing with a suspected leak, storm damage, or simply want peace of mind before the next season change, Universal Roofs can provide a thorough, honest inspection and a clear, itemized estimate you can actually understand.
Call us today at (416) 732-2421 or request a free inspection to get started.
Universal Roofs proudly serves Toronto, Mississauga, Brampton, Vaughan, Markham, Oakville and the GTA since 2005.