
A roof is one of the most expensive components of any home, yet most homeowners only think about it when a stain appears on the ceiling or shingles start blowing into the neighbour’s yard. The truth is that a roof’s lifespan is not fixed the day it’s installed — it is largely determined by what happens (or doesn’t happen) in the years that follow. Regular, professional roof inspections are the single most cost-effective way to protect that investment and stretch a roofing system well past its expected service life.
In the Greater Toronto Area, roofs face a punishing mix of freeze-thaw cycles, ice damming, summer UV exposure, and sudden windstorms. A shingle that would last 25 years in a mild, dry climate can lose years of life here without proper attention. This guide walks through exactly how expert inspections work, what they catch before it becomes a costly repair, how often you should schedule them, and how to use the findings to actually extend the life of your roof rather than just documenting its decline.
At Universal Roofs, we’ve been inspecting, repairing, and replacing roofs across the GTA since 2005. This how-to guide distills what our crews look for on every visit, the tools and techniques that separate a thorough inspection from a five-minute walk-around, and the maintenance schedule that keeps a roof performing for its full rated lifespan — and sometimes beyond it.
Why Expert Roof Inspections Matter More Than You Think
Most roofing materials are engineered with a theoretical lifespan based on laboratory testing under ideal conditions. Asphalt shingles rated for 25 or 30 years, for example, assume moderate climate exposure, adequate attic ventilation, and no accumulated physical damage. Real-world Toronto conditions rarely match that ideal. Between freeze-thaw cycling in January, intense UV load in July, and the occasional summer hailstorm, a roof’s actual performance depends heavily on maintenance, not just materials.
An expert inspection is fundamentally a diagnostic exercise. A trained technician isn’t just looking for obvious holes — they’re reading subtle signs of wear that predict failure months or years before it happens. Granule loss in gutters, slightly lifted shingle tabs, soft spots in the decking, minor flashing separation, and early signs of moss growth are all indicators that, if caught early, cost a few hundred dollars to correct. Left unaddressed, the same issues can turn into full deck replacement, interior water damage, mould remediation, and premature full roof replacement — often costing ten to twenty times more.
This is the core argument for why to maximize roof lifespan with expert inspections rather than relying on your own occasional glance from the driveway. A homeowner sees the roof from 6 metres below and typically only after a problem is already visible from the ground — meaning it has usually been developing for a year or more.
What a Professional Roof Inspection Actually Covers
A thorough inspection is far more comprehensive than checking for missing shingles. A properly trained inspector systematically works through every component of the roofing system, both from the exterior and, critically, from inside the attic. Here is what a complete inspection should include.
- Shingle or membrane condition — checking for curling, cracking, blistering, granule loss, and impact damage from hail or debris.
- Flashing integrity — inspecting the metal or rubber seals around chimneys, vents, skylights, and roof-to-wall junctions, which are responsible for the majority of leaks.
- Gutter and downspout function — confirming water is being carried away from the fascia and foundation rather than backing up under the roof edge.
- Attic ventilation and insulation — checking soffit and ridge vents for airflow, since poor ventilation accelerates shingle ageing from the underside and contributes to ice damming.
- Decking condition — looking (and sometimes probing) for soft spots that indicate moisture intrusion into the plywood or oriented strand board substrate.
- Skylight seals and curbs — a common leak point, especially on older installations. If your home has skylights, this is worth pairing with a look at our dedicated skylights and skylight replacement pages to understand typical service life.
- Structural signs — sagging ridgelines, uneven roof planes, or sheathing that has visibly deflected between trusses.
Every one of these items gets documented, usually with photos, so the homeowner has a clear record of the roof’s condition at that point in time. That record becomes valuable later — both for tracking deterioration over multiple years and for insurance claims if storm damage occurs.
The Inspection Process, Step by Step
Homeowners often ask what actually happens during a visit. While details vary by roof type and access, a professional inspection generally follows the same structured sequence every time, which is part of what makes it reliable and repeatable.
- Ground-level assessment. The inspector walks the perimeter of the home, looking at the roofline from multiple angles, checking gutters for granules or debris, and noting any visible sagging, staining, or moss growth.
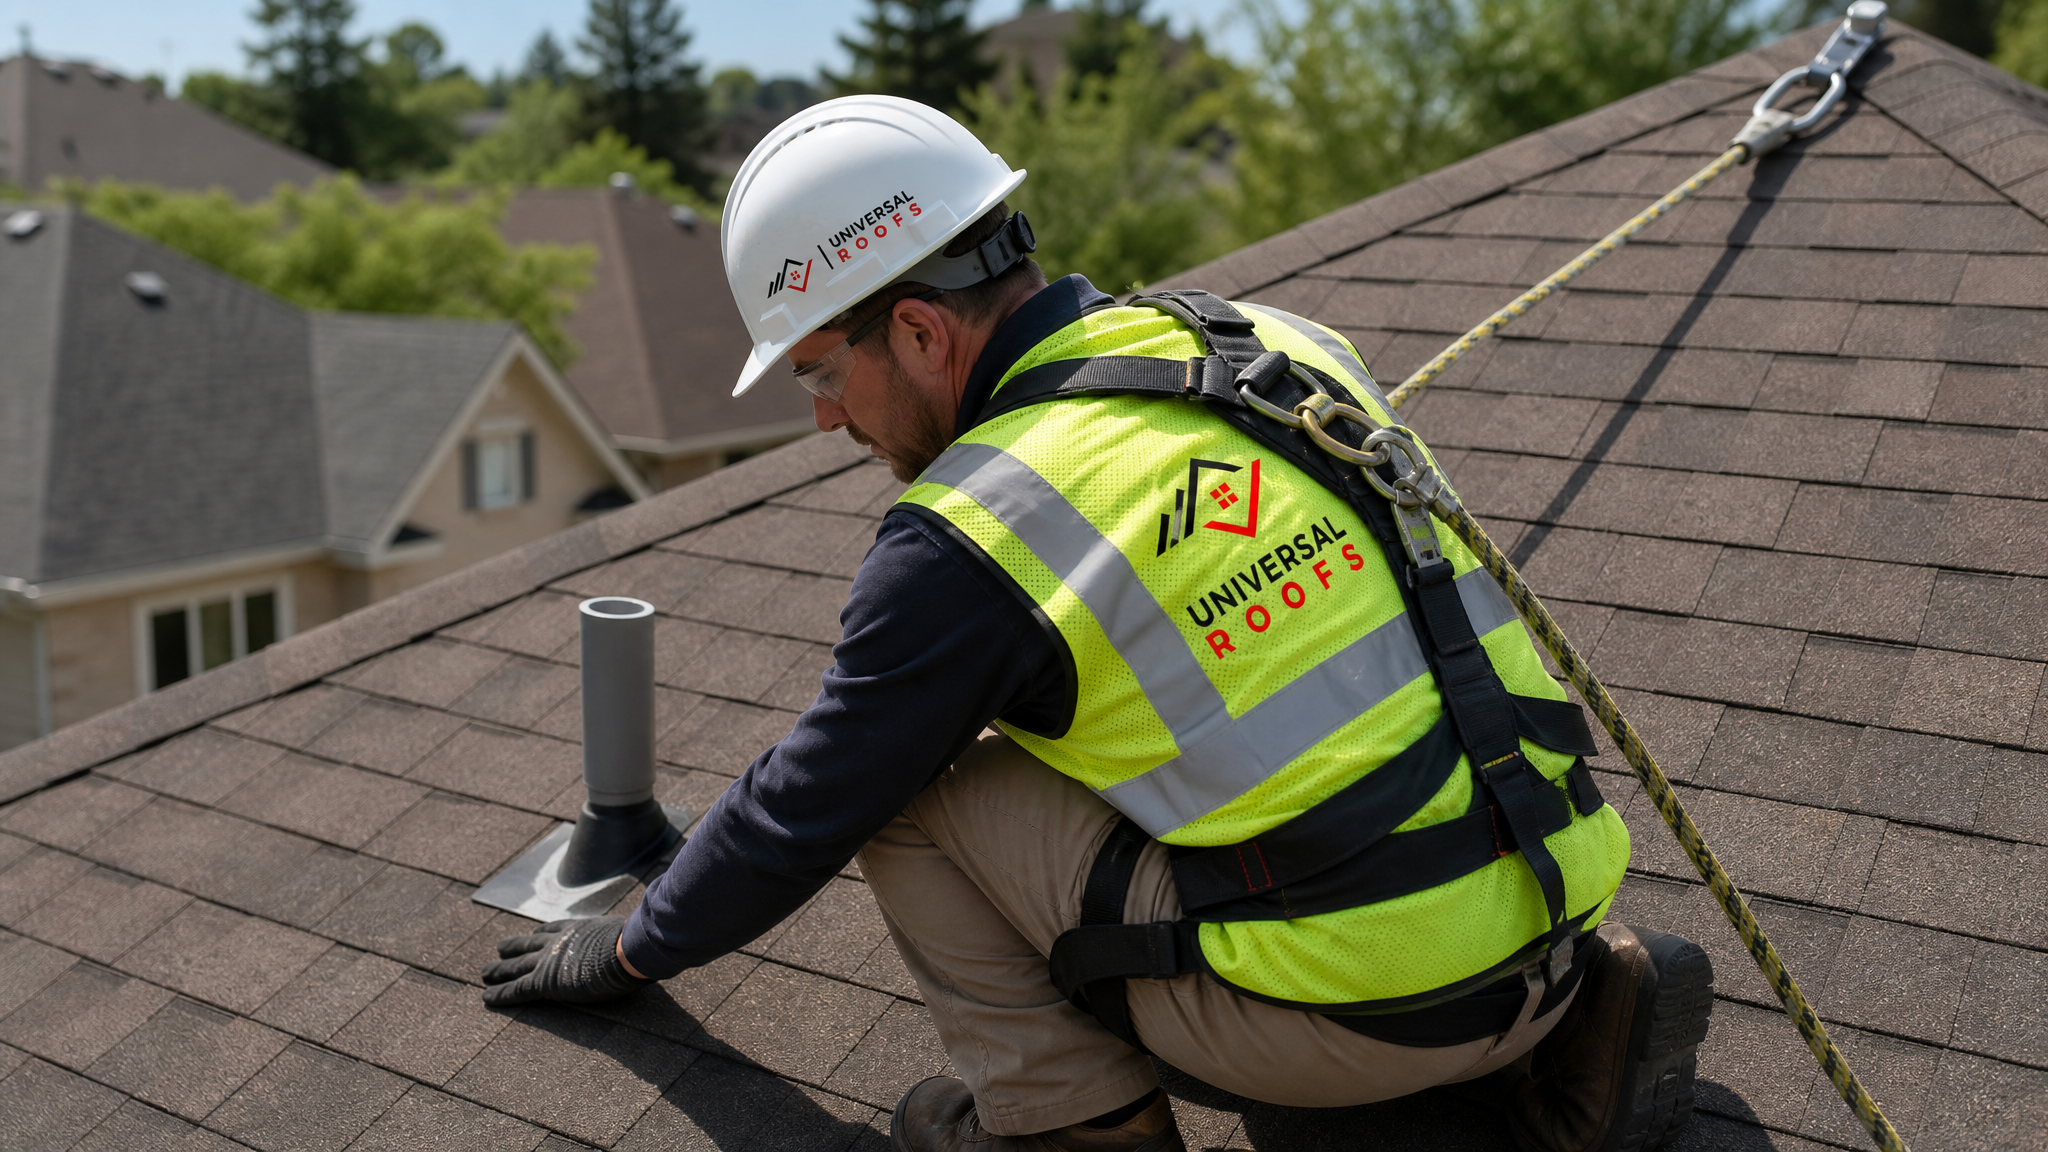
- Roof-surface walk. Using proper fall protection, the technician walks the roof surface directly, checking each field of shingles or membrane, all flashing points, and every penetration (vents, stacks, chimneys, skylights).
- Attic inspection. This is the step most DIY “inspections” skip entirely. From inside the attic, a technician checks for daylight coming through the decking, water staining on rafters, insulation displacement, and adequate soffit-to-ridge airflow.
- Moisture and thermal checks. On higher-end inspections, a moisture meter or infrared camera can detect trapped moisture in the decking or insulation before it becomes visible as a ceiling stain.
- Documentation and reporting. Photos, notes, and a written condition report are compiled, typically broken down by component with a recommended action and rough timeline for each finding.
- Homeowner walkthrough. A good inspector reviews the findings with the homeowner in plain language, explains what’s urgent versus what can be monitored, and provides transparent pricing for any recommended work.
If the inspection reveals a leak already in progress, our roof repair team can typically schedule a fix within days, before the moisture has time to spread into the attic insulation or drywall below.
How Often You Should Schedule an Inspection
The right inspection frequency depends on the age and material of your roof, but there are a few universal rules of thumb that apply across the GTA. Most manufacturers and roofing associations recommend at least one inspection per year, with a second inspection after any major storm event.
| Roof Age / Situation | Recommended Frequency | Primary Focus | Why It Matters |
|---|---|---|---|
| New roof (0-5 years) | Every 12 months | Installation quality, flashing seal-in | Confirms workmanship and catches early manufacturing defects while still under warranty |
| Mid-life roof (6-15 years) | Every 12 months, spring and fall recommended | Granule loss, flashing wear, ventilation | This is when minor issues typically first appear and are cheapest to correct |
| Ageing roof (16+ years) | Every 6-12 months | Structural integrity, decking moisture, widespread wear | Higher risk of failure; more frequent checks catch problems before interior damage occurs |
| After a windstorm or hailstorm | Within 1-2 weeks of the event | Impact damage, lifted shingles, displaced flashing | Storm damage is often not visible from the ground and can void insurance claims if reported late |
| Before listing a home for sale | One inspection, 60-90 days before listing | Full condition report for buyer negotiations | Gives sellers time to address issues instead of losing value in negotiations |
| Before winter (seasonal) | Annually, October-November | Gutter clearing, flashing seal, ventilation check | Prevents ice damming and snow-load related failures through the coldest months |
Homeowners in Toronto and across the Peel Region, York Region, Halton Region, and Durham Region all deal with essentially the same freeze-thaw climate, so this schedule applies fairly uniformly across the GTA regardless of which municipality you’re in.
Common Issues Inspections Catch Before They Become Expensive
The value of an inspection is best illustrated by what it prevents. Below is a comparison of issues that are commonly caught early during a professional inspection versus what happens if the same issue goes unnoticed for a full season or longer.
| Issue Found During Inspection | Typical Early-Stage Cost | Cost If Left Unaddressed 12+ Months | Consequence of Delay |
|---|---|---|---|
| Cracked or lifted flashing around chimney/vents | $150 – $450 | $1,500 – $4,000+ | Water intrusion into decking and insulation, potential drywall repair |
| Minor granule loss / early shingle wear | Monitor or spot-repair, $0 – $300 | $8,000 – $15,000 (full replacement) | Accelerated UV damage leads to premature full roof replacement |
| Blocked or sagging gutters | $100 – $300 (cleaning/repair) | $2,000 – $6,000 | Ice damming, fascia rot, and foundation water damage |
| Poor attic ventilation | $400 – $1,200 (vent upgrade) | $5,000+ | Premature shingle ageing from underside heat and moisture buildup |
| Small skylight seal failure | $200 – $600 | $2,000 – $5,000+ | Interior water staining, mould risk, potential full skylight replacement |
| Soft spot in roof decking | $500 – $1,500 (localized repair) | $4,000 – $10,000+ | Structural sagging and full deck replacement across a larger section |
The pattern is consistent across every category: catching an issue at the inspection stage typically costs a fraction of what it costs once it has been allowed to progress for a year. This is the practical, dollars-and-cents reason to prioritize routine inspections rather than reactive repairs.
How to Use Inspection Findings to Actually Extend Roof Life
An inspection report is only useful if it’s acted on. Many homeowners collect a report, file it away, and forget about it until the next problem surfaces. To genuinely extend a roof’s service life, treat the report as a maintenance roadmap with three tiers of urgency.
Tier one: address immediately. Any active leak, exposed decking, or structural concern should be dealt with within days, not months. These are the findings most likely to cause cascading damage to insulation, drywall, and framing if delayed.
Tier two: schedule within the season. Flashing wear, minor granule loss, or a ventilation deficiency should typically be corrected before the next major seasonal shift — meaning before winter if found in the fall, or before the next heavy rain season if found in spring or summer.
Tier three: monitor and reassess. Cosmetic wear, slight colour fading, or very early-stage granule shedding that isn’t yet affecting waterproofing can often be tracked over one or two more inspection cycles rather than acted on immediately. A good inspector will clearly flag which category each item falls into rather than treating every finding as urgent — that distinction is what separates a trustworthy assessment from an upsell.
Beyond acting on individual findings, a few broader habits compound over time to extend lifespan: keeping gutters clear year-round, trimming overhanging branches that drop debris and hold moisture against shingles, ensuring attic insulation depth meets current code minimums, and avoiding foot traffic on the roof surface outside of scheduled inspections (each walk-over can dislodge granules and stress shingle mat).
DIY Checks vs. Professional Inspections — Where the Line Is
Homeowners can and should do basic visual checks between professional visits, but there’s a meaningful gap between what’s safe and useful to check yourself and what genuinely requires trained access and equipment.
| Task | Safe for Homeowner DIY? | Requires Professional Access | Notes |
|---|---|---|---|
| Visual check from the ground with binoculars | Yes | No | Good for spotting obvious sagging, missing shingles, or debris buildup |
| Clearing debris from gutters (single-storey, stable ladder) | Yes, with caution | Recommended for 2+ storeys | Fall risk increases significantly with height and roof pitch |
| Checking attic for daylight or staining | Yes | No | Easy, low-risk, and one of the most valuable early-warning checks available |
| Walking the roof surface directly | Not recommended | Yes | Requires fall protection, proper footwear, and knowledge of safe walk zones |
| Flashing and seal inspection at height | No | Yes | Small deficiencies are easy to miss without training and close-up access |
| Infrared moisture scanning | No | Yes | Requires specialized equipment and interpretation experience |
The safest and most useful DIY habit is the attic check — grab a flashlight on a bright day and look for pinpricks of daylight through the roof deck, water staining on rafters, or damp insulation. If you spot anything concerning, that’s the moment to book a professional visit rather than attempting to diagnose or fix it from the outside.
Special Considerations for Flat Roofs and Skylights
Not every roof in the GTA is a simple sloped shingle roof. Flat and low-slope roofs, common on additions, garages, and many commercial buildings, age differently and require a slightly different inspection approach — membrane seams, ponding water, and drain function become the priority areas rather than shingle wear. If your property has a flat roofing section, it’s worth having it assessed separately through our flat roofing service, since membrane systems have different failure patterns and repair techniques than sloped asphalt roofs.
Skylights deserve their own mention as well, since they are consistently one of the top sources of roof leaks in older GTA homes. The seal between the skylight curb and the surrounding roofing material degrades faster than the shingles around it, particularly on south-facing installations that see the most UV exposure. An inspection that doesn’t specifically check skylight flashing and seal condition is incomplete. If your skylights are original to a roof that’s more than 12-15 years old, it’s worth discussing options through our skylight replacement page even if there’s no visible leak yet — preventive replacement is almost always cheaper than emergency repair after a failure.
Attic performance ties directly into all of this too. Poor insulation and ventilation don’t just waste energy — they accelerate roof ageing from underneath by trapping heat and moisture against the decking and shingle underside. It’s worth reviewing our attic services if your inspection report flags ventilation as a concern, since correcting it often adds years back onto the remaining life of an otherwise healthy roof.
When Repair Isn’t Enough: Recognizing the Signs of Roof Replacement
Even the most diligent inspection and maintenance schedule cannot extend a roof’s life indefinitely. Part of the value of ongoing inspections is getting an honest, data-backed answer about when repair has reached its limit and replacement becomes the more economical choice. A pattern of recurring leaks in different locations, widespread granule loss across most of the roof (not just one section), multiple soft spots in the decking, or a roof that is already past 80-90% of its material’s rated lifespan are all signals that another round of patch repairs will cost more over time than a full replacement.
This is exactly the kind of decision an inspection report should make easier, not harder — a transparent report will tell you plainly whether you’re looking at another few years of manageable maintenance or a roof that’s genuinely at end-of-life. If replacement is the right call, our roof replacement team can walk through material options, expected new lifespan, and realistic budget ranges so the decision is based on the actual condition of your roof rather than guesswork.
You can also see how this process has worked for other GTA homeowners on our reviews page, and if you have specific questions about inspection scope, pricing, or scheduling, our FAQ page covers the most common ones. For more on our history and the team behind these inspections, our about page has the full story of Universal Roofs since 2005.
Building an Inspection Habit That Actually Sticks
The single biggest reason roofs fail early isn’t bad materials or bad installation — it’s the absence of a consistent inspection habit. Homeowners who treat roof inspections the same way they treat furnace servicing or eavestrough cleaning (a fixed, recurring calendar item rather than a reactive decision) consistently get more years out of their roofing systems.
A practical way to build that habit is to tie roof inspections to a date you already remember — for example, scheduling a spring check alongside your HVAC servicing, and a fall check alongside your furnace tune-up before winter. Keep the written inspection reports in a folder (physical or digital) so you can track how specific areas of the roof are trending year over year, rather than relying on memory. That trend data is also exactly what insurance adjusters want to see if you ever need to file a storm damage claim, since it establishes a clear “before” condition.
Summer, when the weather is stable and roof surfaces are dry, is one of the best times of year to get a thorough inspection completed and to act on any tier-two repairs before autumn rain and winter snow load arrive. If it’s been more than a year since your last inspection, there’s rarely a better window than right now to get ahead of it.
How often should I get an inspection to maximize roof lifespan with expert inspections a how to approach?
What’s the real difference between a basic visual check and an expert roof inspection?
Can regular inspections really add years to a roof’s lifespan?
How much does a professional roof inspection typically cost in the GTA?
Is it worth inspecting a roof that looks perfectly fine from the ground?
What should I do if an inspection finds a problem?
Need Help With Maximize Roof Lifespan with?
A consistent inspection schedule is the single most effective way to protect the lifespan of your roof, and it’s exactly what the team at Universal Roofs has been helping GTA homeowners do for two decades.
Call us today at (416) 732-2421 or request a free inspection to get started.
Universal Roofs proudly serves Toronto, Mississauga, Brampton, Vaughan, Markham, Oakville and the GTA since 2005.