
A dependable gutter system is only as strong as its weakest seam, and in most Toronto homes that weak point is a joint or corner that has lost its watertight bond. Gutter sealant is the flexible, waterproof compound that keeps those seams, end caps, and downpipe connections from leaking, and choosing the right gutter sealant for the summer weather along the GTA lakeshore makes the difference between a system that lasts a decade and one that drips onto your fascia within a season. Whether you have seamless aluminum eavestroughs on a Leaside bungalow or older sectional steel gutters on a Scarborough two-storey, understanding how gutter sealant works helps you protect your roof, your soffit, and your foundation from water damage.
At Universal Roofs, our crews apply and inspect gutter sealant on hundreds of GTA homes every summer, and we see the same avoidable failures again and again. This guide walks through the main types of gutter sealant, where each one belongs, how to apply it properly, and when a small leak is signalling a larger roofing problem that needs a professional eye.

Why Gutter Sealant Matters for Toronto Homes
Toronto summers bring heavy convective downpours that can dump twenty to forty millimetres of rain in under an hour. When a thunderstorm rolls off Lake Ontario, your eavestroughs have to move a surprising volume of water in a very short window, and every joint is under pressure. A failed bead of gutter sealant at a corner or end cap lets that water escape exactly where you do not want it, running down the fascia board, soaking the soffit, and eventually finding its way behind the drip edge.
Because eavestroughs sit fully exposed, the sealant protecting them endures brutal thermal cycling. A dark-coloured gutter in direct July sun can reach surface temperatures above 60 degrees Celsius, then cool sharply during an evening rain. This constant expansion and contraction is what tears cheap gutter sealant apart over time. The right product stays flexible through that movement, while the wrong one goes brittle, cracks, and lets the leak return.
Left unaddressed, a leaking seam does more than stain your siding. Persistent moisture rots wooden fascia, invites carpenter ants and wasps into the soffit cavity, and can saturate the roof deck edge, which is why we frequently trace an interior ceiling stain back to a single failed gutter joint. If the water is reaching your roof structure, the fix goes beyond sealant, and our roof repair team often addresses the eavestrough and the underlying fascia together.
Types of Gutter Sealant Explained
Not all gutter sealant is the same, and matching the chemistry to the job is the single most important decision you will make. The four families you will encounter at any GTA building-supply store each behave very differently once the summer heat sets in. Choosing correctly the first time saves you from stripping and reapplying a failed bead a year later.
Silicone gutter sealant is prized for its extreme flexibility and UV resistance, making it a strong performer on the sun-baked south and west faces of a house. Polyurethane offers outstanding adhesion and can be painted, which suits homeowners who want the sealant to disappear against a coloured gutter. Butyl rubber remains the traditional choice for lapped metal seams because it never fully cures hard, and modern hybrid polymer (MS polymer) sealants combine the best traits of silicone and polyurethane with easier cleanup.
| Sealant Type | Best Application | Flexibility | Paintable | Typical Lifespan |
|---|---|---|---|---|
| Silicone | Sun-exposed seams, end caps | Excellent | No | 10-20 years |
| Polyurethane | Joints needing paint match | Very good | Yes | 10-15 years |
| Butyl rubber | Lapped sectional metal seams | Good | Limited | 5-10 years |
| Hybrid polymer (MS) | All-purpose gutter and flashing | Excellent | Yes | 15-20 years |
For most Toronto eavestrough repairs, we reach for either a high-grade silicone or a hybrid polymer gutter sealant. Both tolerate the region’s temperature swings, bond well to aluminum and galvanized steel, and stay serviceable long after a bargain acrylic caulk would have crumbled. Acrylic latex caulk, by contrast, has no place in a gutter; it is meant for dry interior gaps and will not survive standing water.
Where Gutter Sealant Is Applied on the System
Understanding the anatomy of your eavestrough helps you spot where gutter sealant does its work and where a bead is most likely to fail. Water pools and pressurizes at specific points, and those are the same points that need a reliable seal. On a seamless aluminum system, the long runs have no joints, so leaks concentrate at the fittings.
The most common sealing locations are inside corners and outside corners, where two runs meet at a mitre; end caps, which close off the terminal ends of a run; and outlet or downpipe drops, where the eavestrough connects to the vertical downspout. On older sectional systems, every lapped joint between two lengths of gutter is also a candidate. Each of these is applied on the inside of the gutter so the water pressure presses the sealant against the metal rather than pulling it away.
| Location | Leak Risk | Recommended Sealant | Notes |
|---|---|---|---|
| Inside/outside corners | High | Silicone or hybrid polymer | Apply generous interior bead |
| End caps | High | Silicone | Seal both the inside and the crimp |
| Downpipe outlet | Medium | Hybrid polymer | Water sits here longest |
| Lapped section joints | High | Butyl or hybrid polymer | Only on sectional gutters |
| Fastener/screw points | Low | Silicone | Dab over any interior penetration |
If your home also has skylights or a low-slope section over an addition, the same waterproofing principles carry over to those details. Our skylight and flat roofing teams use closely related sealant chemistries, because the failure points, sun exposure and thermal movement, are fundamentally the same across the roof edge.
How to Apply Gutter Sealant Correctly
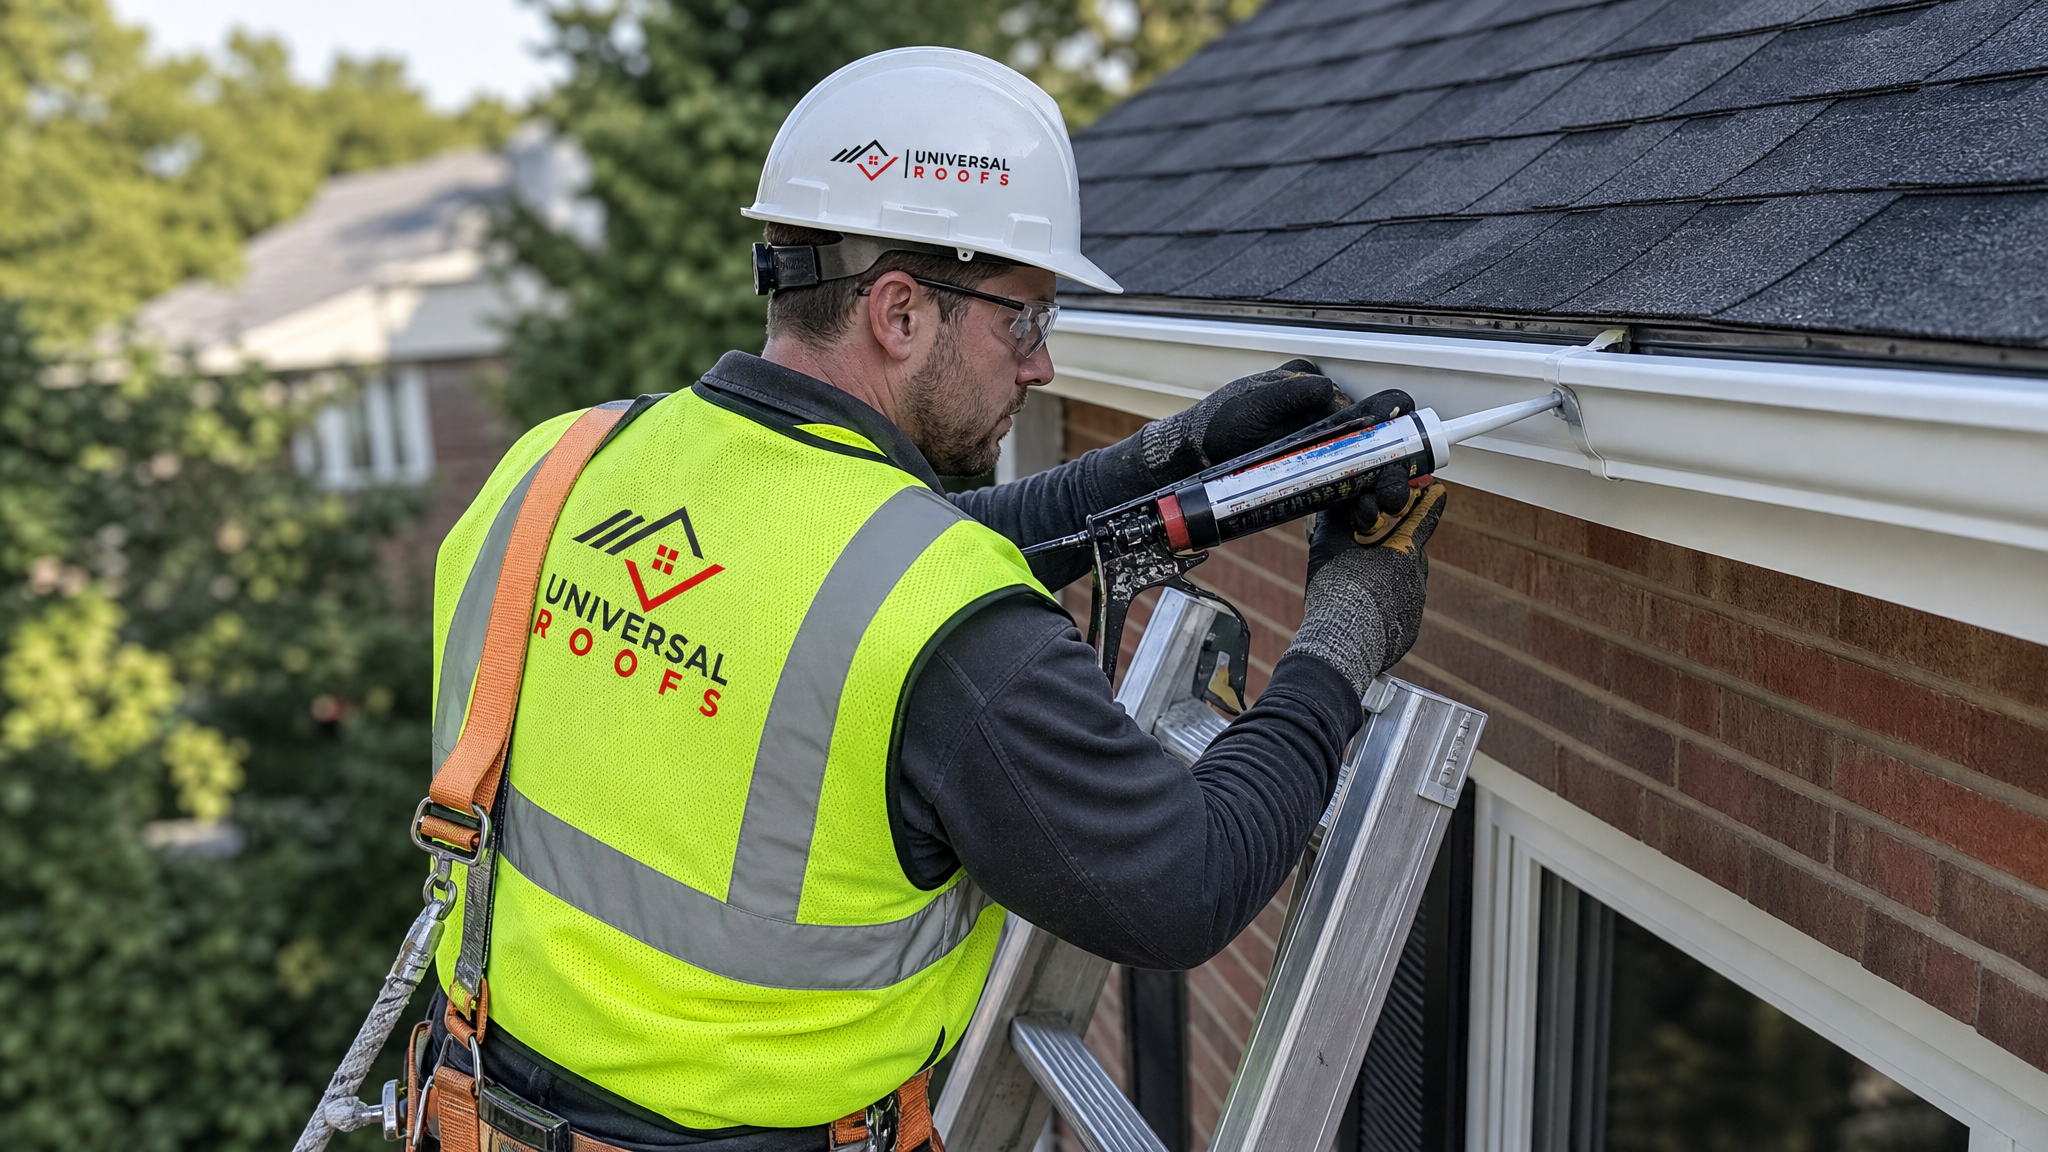
Applying gutter sealant is not difficult, but the preparation determines whether the repair lasts a decade or peels off within weeks. The number one cause of premature failure is a dirty or wet surface. Aluminum and steel accumulate oxidation, dust, and a fine film of grime that no sealant can bond through, so the cleaning step matters more than the application itself.
Start by choosing a dry stretch of weather with at least 24 to 48 hours of no rain in the forecast; a clear Toronto summer morning is ideal because the metal is dry and temperatures are moderate before the afternoon heat. Follow this sequence for a durable seal:
- Clean thoroughly. Remove all debris, then scrub the joint with a wire brush and wipe it down with isopropyl alcohol to strip oils and oxidation.
- Dry completely. The surface must be bone dry; even morning dew will compromise adhesion.
- Remove old sealant. Scrape out cracked or lifting gutter sealant so the new bead bonds to metal, not to a failing layer.
- Apply from the inside. Lay a continuous bead over the seam on the interior of the gutter, pressing it firmly into the joint.
- Tool the bead. Smooth it with a gloved finger or plastic tool so it feathers onto the metal with no gaps or air pockets.
- Cure before rain. Give the product its full cure time, typically 24 hours, before the next storm.
Height is the real hazard here. Working from a ladder along a roofline is where most homeowner injuries happen, and a second-storey eavestrough is not a job to improvise. If the gutter run is high, long, or over a walkout, this is genuinely safer as a professional job, and our crews work tied off with proper fall protection. You can review how homeowners rate that work on our reviews page.
Signs Your Gutter Sealant Is Failing
Catching a failing seal early keeps a minor touch-up from becoming a fascia replacement. The warning signs are usually visible from the ground during or just after a rainstorm, which is the best time to inspect. Walk the perimeter of your home while it is raining and watch how the water behaves at every corner and downpipe.
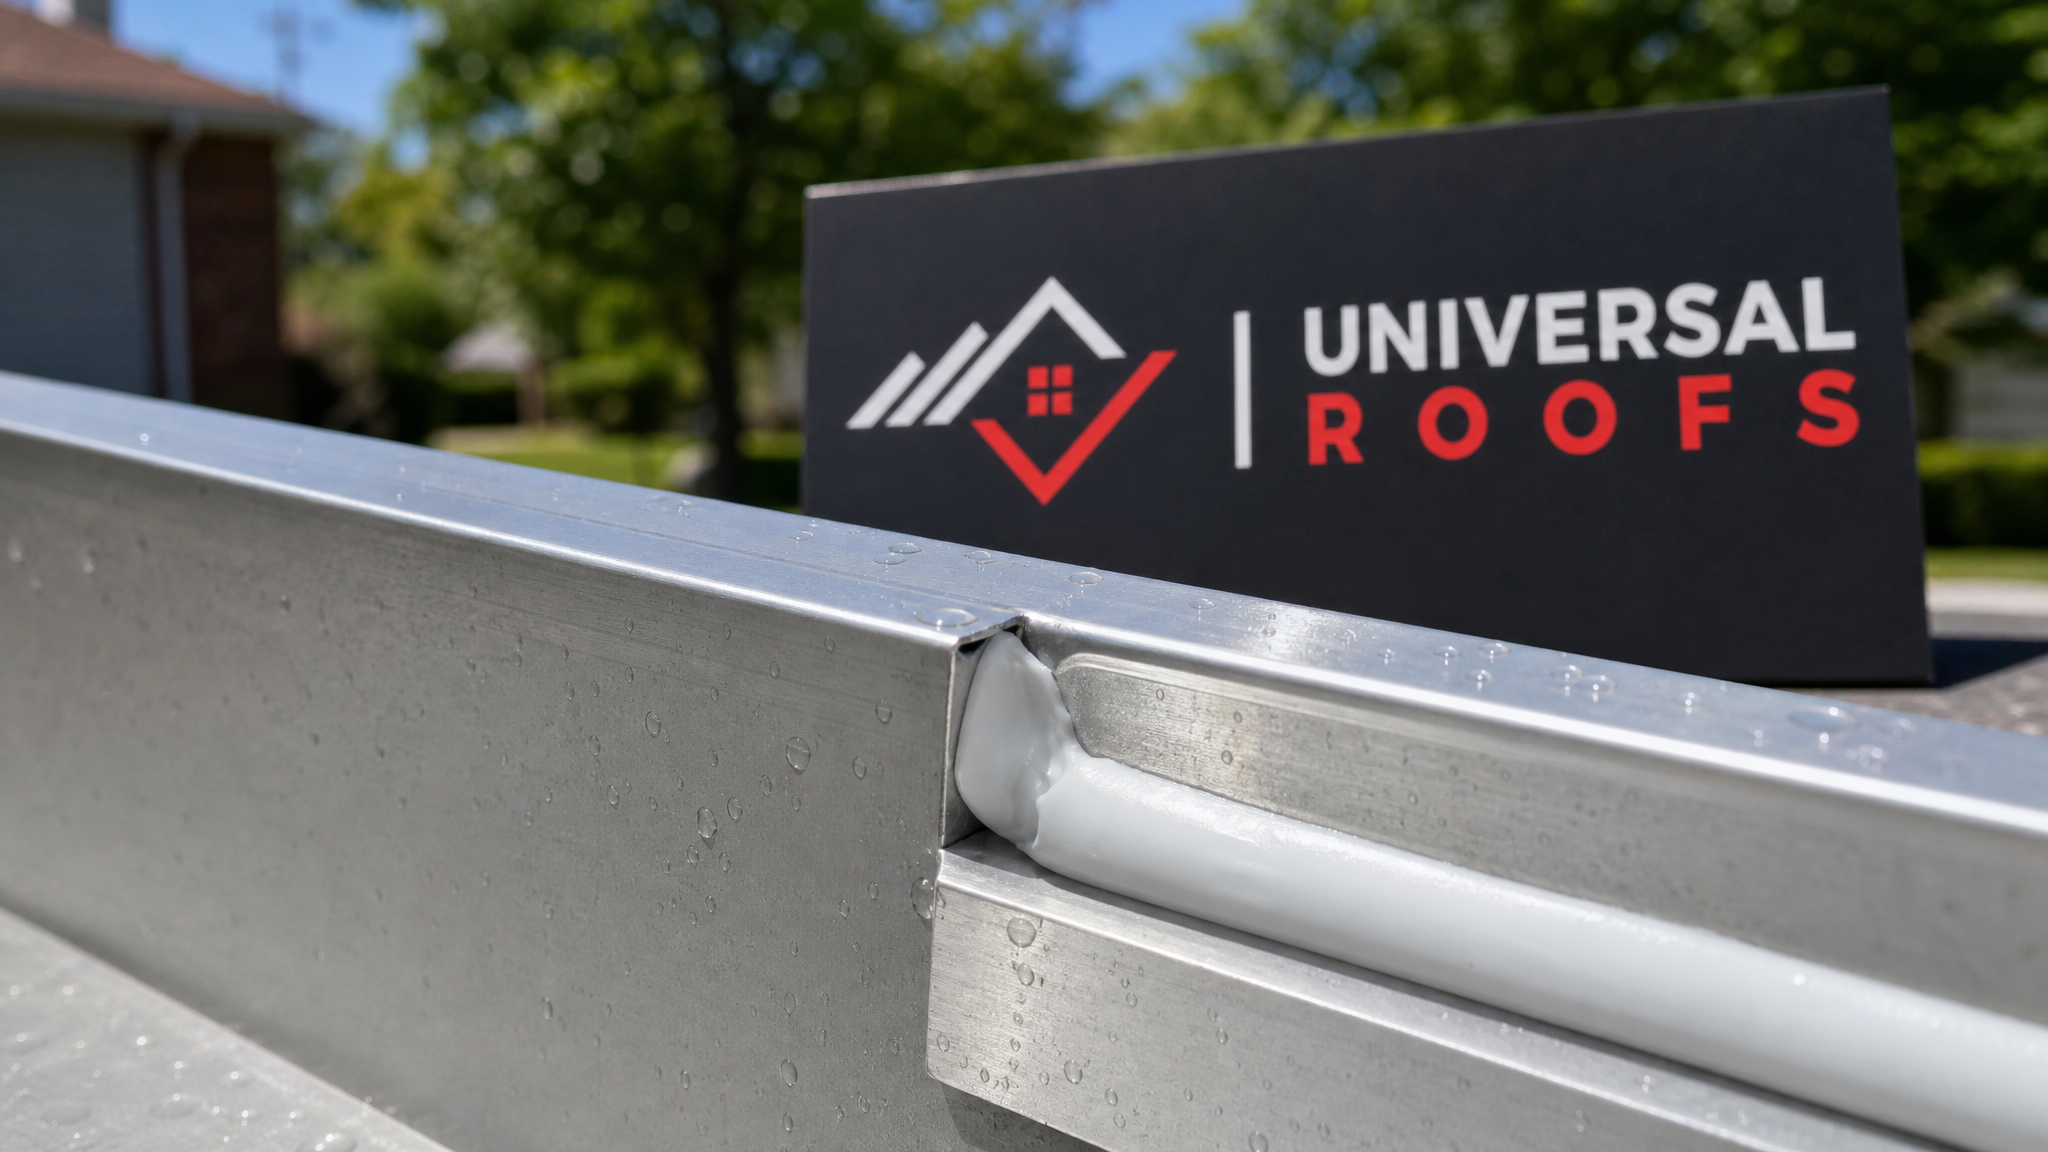
Look for water dripping or streaming from a joint rather than flowing to the downpipe, dark vertical staining on the fascia below a seam, and peeling paint or soft spots on the wood behind the gutter. Inside the eavestrough, cracked, chalky, or lifting gutter sealant tells you the bond is breaking down even if it has not leaked yet. Rust blooming around a steel joint is another red flag, because the old sealant has clearly let moisture reach the bare metal.
If you notice granules from your shingles collecting in the gutter alongside a leak, that can point to aging roofing rather than a simple seam issue, and it may be worth discussing a broader roof replacement assessment. Persistent moisture around the roof edge can also affect airflow into the attic, so a leak that seems purely cosmetic is sometimes the first visible symptom of a bigger moisture problem.
DIY Versus Professional Gutter Sealant Repair
A single accessible ground-floor joint on a low bungalow is a reasonable weekend project for a confident homeowner with the right gutter sealant and a stable ladder. The materials are inexpensive, and the technique is straightforward once the surface is clean. Many small leaks genuinely can be handled without a contractor, and there is no shame in a tidy DIY bead that holds.
The calculation changes with height, run length, and the condition of the surrounding materials. If the fascia is already soft, if multiple joints are failing at once, or if the gutter itself is sagging and pulling away from the house, sealant alone is a bandage over a deeper problem. In those cases a professional can address the root cause, resecure or replace the eavestrough, and repair any water-damaged wood in one visit. Universal Roofs serves the entire Toronto area, and our estimators will tell you honestly when a repair is DIY-friendly and when it warrants a closer look. You can learn more about our approach on our about page or browse common questions in our FAQ.
Quick Comparison: What Affects Your Gutter sealant Outcome
The table below summarizes the main factors that shape the cost, timeline and quality of a Gutter sealant project so you can weigh them against your own priorities before committing.
| Factor | Lower Cost / Faster | Higher Cost / Better Result | Why It Matters |
|---|---|---|---|
| Material grade | Builder-grade | Premium, climate-rated | Drives lifespan and appearance |
| Preparation | Minimal | Thorough surface prep | Determines how long the result lasts |
| Scope | Cosmetic only | Address underlying issues | Avoids repeat work |
| Crew | Lowest bidder | Licensed, insured, experienced | Quality and accountability |
What is the best gutter sealant for Toronto weather?
How long does gutter sealant take to cure?
Can I apply gutter sealant over old sealant?
Where should gutter sealant be applied, inside or outside the gutter?
How much does professional gutter sealant repair cost in Toronto?
Why does my gutter sealant keep failing?
Protect Your Home With the Right Gutter Sealant Today
A watertight eavestrough system is one of the least expensive ways to protect your fascia, soffit, and foundation from summer storm damage, and the right gutter sealant applied correctly is the heart of that protection. Whether you need a single joint resealed or a full inspection of an aging system, the team at Universal Roofs brings the experience, safety equipment, and honest assessment to get it done right the first time.
Call us today at (416) 732-2421 or request a free inspection to get started.
Universal Roofs proudly serves Toronto, Mississauga, Brampton, Vaughan, Markham, Oakville and the GTA since 2005.