
A severe summer storm can strip shingles, crack flashing, and dent vents in a matter of minutes, yet the real damage often stays invisible from the driveway. Knowing the essential steps for assessing storm damage on your roof is the difference between catching a small problem early and discovering a ceiling leak six weeks later. Toronto and the surrounding GTA see a mix of high-wind thunderstorms, hail, and heavy summer downpours, and each type of weather event leaves its own fingerprint on shingles, flashing, and gutters.
This guide walks homeowners through a methodical, safe process for evaluating roof damage after a storm, what to photograph, which materials are most vulnerable, and when a problem is serious enough to call in a professional. Whether you are dealing with a wind event that lifted a few shingles or hail that pockmarked your entire roof slope, these essential steps for assessing storm damage on your roof will help you make informed decisions before you file an insurance claim or book a repair.
We will also cover interior warning signs, the tools you need for a ground-level inspection, and a realistic timeline for getting repairs done before the next weather system arrives. If at any point the damage looks extensive, professional roof repair is always the safer route than climbing a ladder yourself.

Step 1: Start With a Safe Ground-Level Visual Inspection
The first of the essential steps for assessing storm damage on your roof does not involve a ladder at all. Before you go anywhere near the roofline, walk the full perimeter of your house at ground level and look up with binoculars if you have them. You are looking for obvious red flags: shingles that are curled, torn, or missing outright; granules collecting in gutters, downspouts, or on the ground near downspout outlets; dented or dislodged flashing around chimneys and vents; and any visible sagging along the roofline.
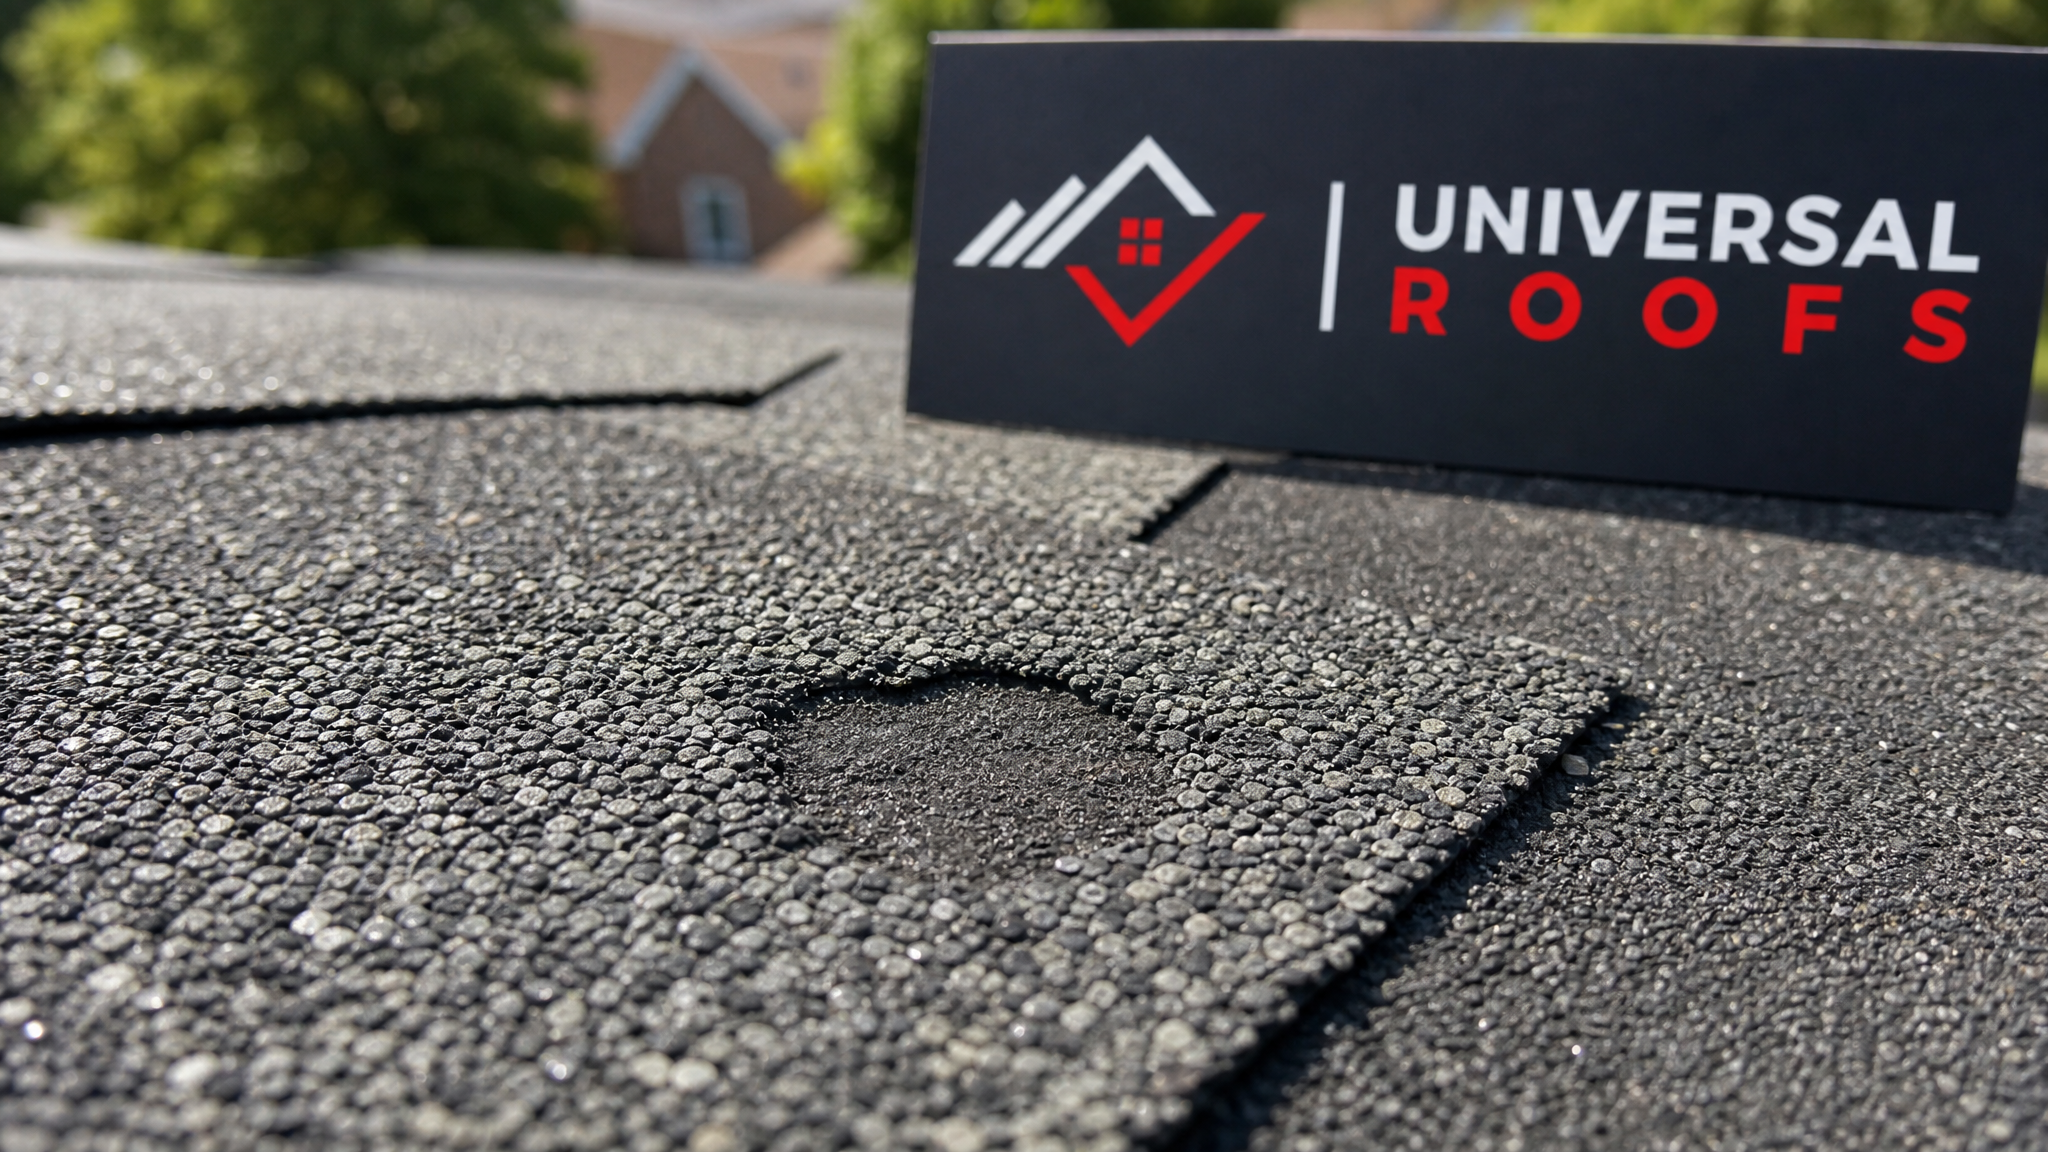
Granule loss is one of the most reliable early indicators of hail or wind damage. Asphalt shingles are coated with a protective layer of mineral granules that shield the underlying asphalt from UV rays. When hail strikes, it knocks these granules loose, and you will often find them pooled like coarse sand at the base of downspouts. A moderate amount of granule loss is normal shingle aging, but a sudden, heavy accumulation right after a storm is a clear signal that something changed.
While you are at ground level, also check your soffits, fascia boards, and eavestroughs for dents or separation. Aluminum eavestroughs dent easily under large hail, and a dented gutter is often a preview of what happened to the shingles above it, since hail typically strikes the roof and gutters at a similar intensity. Take note of any tree branches that came down near the house, since falling limbs are a common cause of localized puncture damage that is easy to miss from a distance.
Step 2: Document Everything With Photos and Notes Before You Touch Anything
Once you have identified visible problem areas, document them thoroughly before any cleanup or temporary repair begins. Insurance adjusters and roofing contractors both rely heavily on dated photographic evidence, and the quality of your documentation can directly affect how quickly a claim is approved and how accurately a quote is scoped.
Photograph each affected area from multiple angles, including a wide shot that shows context (such as the whole roof slope) and a close-up that shows the specific defect. If you can safely capture a photo with a tape measure or a coin next to a hail dent for scale, adjusters appreciate that level of detail. Note the date and approximate time of the storm, the wind speed if you know it (Environment Canada’s historical data for the GTA is a good source), and whether hail was reported in your specific neighbourhood, since hail can be extremely localized and vary block to block.
Keep a written log alongside the photos: date discovered, location on the roof (front slope, rear slope, near chimney, over the garage), and a brief description. This log becomes invaluable later if you need to demonstrate to an insurer that the damage was storm-related and not pre-existing wear. If your home has skylights, pay special attention to the flashing around them, since skylight perimeters are a common leak point after wind-driven rain; a specialist look at skylight installation and repair can clarify whether the unit itself or just the surrounding flashing was affected.
Step 3: Check the Attic and Interior Ceilings for Hidden Leaks
Storm damage does not always announce itself on the exterior. Some of the most costly problems start as a pinhole leak in flashing or a cracked shingle that lets water seep slowly into the deck below, only showing up as a stain on a bedroom ceiling weeks later. That is why a thorough interior check is one of the essential steps for assessing storm damage on your roof that homeowners skip most often.
Grab a flashlight and go into the attic within a day or two of any major storm. Look for new water stains on the underside of the roof deck, damp insulation, a musty smell, or daylight coming through in places it should not. Pay close attention to areas around chimneys, plumbing stacks, and any attic ventilation components, since these penetrations are the most common entry points for water once flashing has been compromised. If your attic has poor ventilation to begin with, trapped moisture from a storm-related leak can linger longer and accelerate mould growth, so this is also a good moment to evaluate whether your attic’s intake and exhaust venting is adequate.
Inside living spaces, check ceilings in every room, particularly top-floor rooms and closets near exterior walls, for discoloration, bubbling paint, or soft spots in drywall. Even a faint yellow-brown ring can indicate an active or past leak. If you find interior water intrusion, treat it as urgent; catching it within 48 hours dramatically reduces the risk of mould and structural damage to rafters or trusses.
Step 4: Inspect Flashing, Vents, and Roof Penetrations Closely
Flashing is thin metal used to seal the joints where your roof meets a vertical surface, such as a chimney, wall, or skylight curb, and it is disproportionately vulnerable during storms. High winds can lift the edges of flashing, and repeated flexing during a storm can crack the sealant that keeps it watertight even if the metal itself looks intact.
Using binoculars from the ground, or having a professional check from the roof, look specifically at: chimney flashing (both the step flashing along the sides and the counter-flashing embedded in the masonry), plumbing vent boots (the rubber collar around pipe vents dries out and cracks over time, and storms can accelerate tearing), skylight flashing, and any flashing where a lower roofline meets a wall, such as where a garage roof meets the main house. Cracked rubber vent boots are one of the most common, and most overlooked, sources of post-storm leaks in the GTA, largely because they are small and easy to miss during a quick visual scan.
If your home has any flat roof sections, such as over a garage, addition, or covered porch, these deserve separate attention, since ponding water after a storm can expose weaknesses in the membrane that a sloped shingle roof would shed immediately. A dedicated look at flat roofing systems is worthwhile if you have any low-slope sections, since membrane damage behaves very differently from shingle damage and often requires a different repair approach entirely.
Step 5: Understand the Different Types of Storm Damage and What Each One Means
Not all storm damage looks the same, and knowing what you are looking at helps you communicate clearly with an adjuster or contractor. The table below breaks down the most common categories of storm damage seen on GTA roofs and what each typically indicates.
| Damage Type | Typical Cause | What It Looks Like | Urgency Level |
|---|---|---|---|
| Granule loss | Hail impact, wind abrasion | Bald or shiny patches on shingles; granules in gutters | Moderate — monitor and repair before winter |
| Shingle creasing or bruising | Hail impact | Soft, dark circular spots; cracks radiating from centre | High — often invisible but leads to leaks |
| Lifted or missing shingles | High wind, wind gusts over 70 km/h | Shingles curled up, torn corners, bare patches of deck visible | Urgent — exposes deck immediately |
| Cracked or displaced flashing | Wind uplift, thermal flexing | Gaps at chimney, wall, or skylight edges | High — common leak source |
| Dented vents or caps | Hail impact | Visible dents on metal or plastic roof vents | Low to moderate — cosmetic unless cracked |
| Punctures or holes | Falling branches, debris impact | Visible tear or hole through shingle and deck | Urgent — active leak risk |
Step 6: Know When to Call a Professional Instead of Climbing Up Yourself
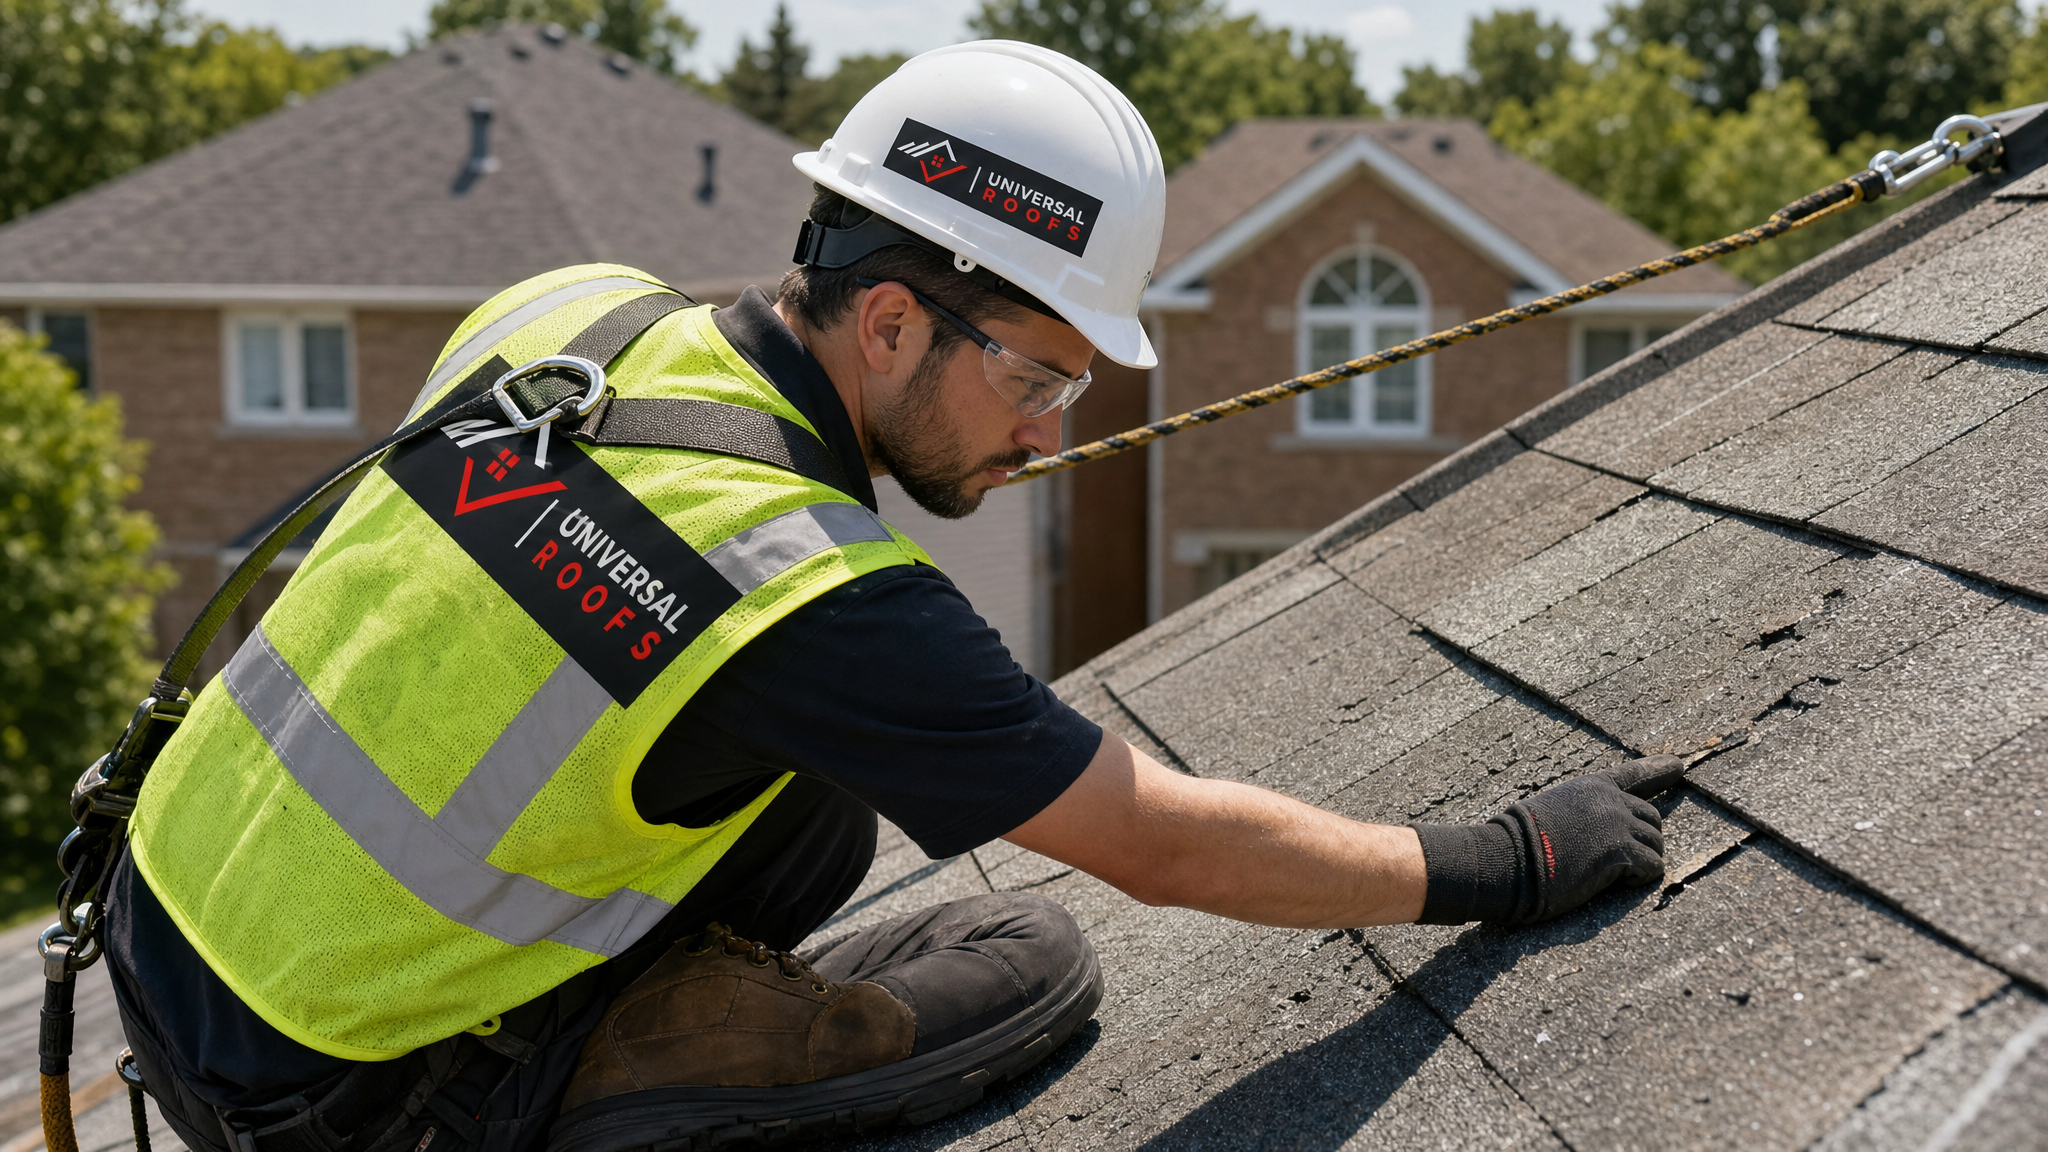
DIY ground-level inspection is a smart first move, but getting onto the roof itself is a different matter entirely. Roofs are more slippery than they appear, especially after rain, and even experienced homeowners can misjudge the pitch or the condition of shingles after a storm. Professional roofers use fall-protection harnesses, safety ropes, and proper ladder stabilizers specifically because roof work carries real fall risk, and that risk does not disappear just because the job looks quick.
Beyond safety, there is a practical reason to bring in a professional: trained inspectors can identify damage that is easy to miss, such as bruised (but not torn) shingles from hail, which look fine from a distance but have lost structural integrity and will fail within a year or two. A professional roof repair assessment typically includes a full walk of every slope, moisture readings where leaks are suspected, and photo documentation suitable for an insurance claim.
You should call a professional immediately if you notice any of the following: active water intrusion into the living space, a sagging roofline anywhere, more than a handful of missing shingles, visible daylight through the attic roof deck, or any damage near a chimney or skylight. These situations tend to worsen quickly, and a short delay can turn a $600 repair into a $6,000 one once water has had time to soak into decking and framing.
Step 7: Decide Between Repair and Replacement, and Plan Your Timeline
Once damage is documented and assessed, the next decision is whether the roof needs a targeted repair or a full replacement. This depends heavily on the age of the existing roof, the extent of the damage, and whether the damage is isolated to one slope or spread across the entire surface.
As a general rule, if your roof is under 10 years old and the damage is limited to a specific area, such as one slope or a section around a single vent, a repair is usually sufficient and cost-effective. If your roof is already near or past its expected lifespan (typically 20 to 25 years for standard asphalt shingles in the GTA climate) and the storm has caused widespread granule loss or multiple areas of hail bruising, a full roof replacement often makes more financial sense than a series of patch repairs that will need to be repeated as the aging shingles continue to fail.
| Factor | Favours Repair | Favours Replacement |
|---|---|---|
| Roof age | Under 10 years old | Over 15-20 years old |
| Damage spread | Isolated to one section or slope | Widespread across multiple slopes |
| Shingle condition elsewhere | Remaining shingles still flexible and intact | Other areas already brittle or curling |
| Insurance coverage | Partial claim approved for specific area | Full-roof claim approved after adjuster inspection |
| Number of prior repairs | First repair needed in several years | Third or fourth patch in recent years |
Timing matters too. In the GTA, contractor schedules fill up quickly after a widespread storm event, since many homeowners in the same neighbourhood are often affected simultaneously. If your assessment turns up urgent damage, it is worth booking an inspection promptly rather than waiting, particularly heading into fall and winter when freeze-thaw cycles can turn a minor crack into a major leak. The table below gives a general sense of how long each stage typically takes.
| Stage | Typical Timeline | Notes |
|---|---|---|
| Initial ground-level self-assessment | Same day as storm | Safe to do immediately once weather clears |
| Professional inspection booking | 1 to 5 business days | Faster response for active leaks |
| Insurance adjuster visit (if filing a claim) | 3 to 14 days | Can be longer after widespread regional storms |
| Minor repair completion | 1 day, once scheduled | Flashing, vent boots, small shingle sections |
| Full roof replacement | 1 to 3 days on site | Weather-dependent; material lead time varies |
Common Mistakes Homeowners Make When Assessing Storm Damage
Even careful homeowners tend to repeat a few predictable mistakes after a storm. The most common is waiting too long to look, assuming that because there is no visible leak yet, there is no damage. Hail bruising and cracked flashing are notorious for causing leaks weeks or even months after the storm event, once the compromised material finally fails under sun exposure or the next heavy rain.
Another frequent mistake is climbing onto a wet or steeply pitched roof without any fall protection to “just take a quick look.” This is precisely the scenario that leads to serious falls every year, and it is simply not worth the risk when a pair of binoculars and a professional inspection can accomplish the same goal safely. Homeowners also sometimes make temporary repairs, such as caulking over a crack or nailing down a lifted shingle, without documenting the original damage first, which can complicate an insurance claim later since the adjuster has less evidence of the storm-related cause.
Finally, many people underestimate how localized hail damage can be. It is entirely possible for one side of a street to have significant hail bruising while the other side has almost none, depending on wind direction during the storm. Do not assume your roof is fine just because a neighbour’s roof looks untouched, and do not assume the worst just because a neighbour is getting a full replacement. Each roof needs its own assessment.
How Toronto’s Climate Shapes Storm Damage Risk Throughout the Year
The GTA’s weather pattern creates a fairly predictable rhythm of storm-related roofing risk. Summer brings the highest frequency of severe thunderstorms, including damaging straight-line winds and, in some years, hail events that can affect wide swaths of the region in a single afternoon. These are the storms most likely to cause the granule loss, bruising, and wind-lift damage described above.
Later in the year, freeze-thaw cycles compound any existing storm damage. A crack in flashing or a bruised shingle that seemed minor in July can become a serious leak once water works its way in during a thaw and then expands as it refreezes overnight, a cycle that repeats dozens of times each winter in this region. This is one of the strongest reasons to address storm damage promptly rather than deferring it to “sometime before winter,” since the repair window before freeze-thaw cycles begin is narrower than most homeowners expect.
If your home has a history of ice damming, storm damage to flashing or shingles near the eaves is worth flagging specifically, since it can worsen existing ice dam vulnerability. A well-ventilated attic reduces this risk considerably, so if your post-storm inspection reveals both roof damage and attic ventilation issues, it is worth addressing both at the same time rather than treating them as separate projects.
What a Professional Storm Damage Assessment Includes
When you book a professional inspection, you should expect more than a quick glance from the ground. A thorough assessment typically walks every accessible roof slope, checks flashing at every penetration point, tests for soft spots that indicate deck damage, and reviews attic conditions from the inside. Many contractors will also cross-check the assessment against reported storm data for your specific area, which strengthens any documentation needed for an insurance claim.
Homeowners in different parts of the GTA should expect slightly different considerations depending on local storm patterns and housing stock. In Toronto, older housing stock sometimes has multiple layers of shingles, which changes how storm damage presents and how it should be repaired. In Peel Region and York Region, newer subdivisions often have more uniform roofing ages, so if one home on a street shows damage, neighbours are frequently affected too. In Halton Region and Durham Region, larger lot sizes and more mature tree cover mean falling branch damage is a more common contributor alongside wind and hail.
Whatever your neighbourhood, a written assessment report with photos, a damage summary, and a clear recommendation (repair versus replacement) gives you a solid foundation whether you are filing an insurance claim or simply deciding how to budget for the work. You can also read homeowner reviews to see how other GTA residents have navigated the process, or check our frequently asked questions for more detail on how assessments and quotes typically work.
Building a Post-Storm Maintenance Checklist for the Future
Once your current storm damage has been assessed and addressed, it is worth building a simple checklist you can use after every future severe weather event. Keep binoculars, a flashlight, and your phone charged and ready so you can inspect promptly rather than putting it off. Photograph the roof from a few standard vantage points on a calm day now, so you have a clean “before” reference to compare against after the next storm.
Schedule a professional roof inspection every two to three years even without storm damage, since general wear, minor flashing issues, and early granule loss are far cheaper to address proactively than reactively. If your roof is approaching 15 to 20 years old, factor a potential replacement into your household budget planning now rather than waiting for a storm to force the decision. A proactive approach consistently costs less than an emergency one, both in repair costs and in the risk of interior damage from an undetected leak.
Finally, keep a simple home maintenance file with your roof’s installation date, the contractor who installed it, warranty documents, and a running log of any repairs or inspections. This file becomes extremely useful both for insurance purposes and for accurately answering questions if you ever sell the home.
What are the essential steps for assessing storm damage on your roof right after a storm?
How do I know if hail actually damaged my roof?
Is it safe to inspect storm damage on my own roof?
How long can I wait before repairing storm damage on my roof?
Should I repair or replace my roof after storm damage?
What should I photograph for an insurance claim after storm damage?
Need Help With 7 Essential Steps for?
A methodical assessment is the best way to protect your home after severe weather, and Universal Roofs has been helping GTA homeowners navigate storm damage, repairs, and replacements since 2005.
Call us today at (416) 732-2421 or request a free inspection to get started.
Universal Roofs proudly serves Toronto, Mississauga, Brampton, Vaughan, Markham, Oakville and the GTA since 2005.