
A roof inspection sounds simple until you are actually standing in your driveway trying to figure out what you are looking at. Homeowners across the GTA often call a roofer only after a stain appears on the ceiling, but the most successful roof inspection happens long before that point, as a planned, methodical check that catches small problems while they are still cheap to fix. Knowing the must know tips for a successful roof inspection can be the difference between a $200 repair and a $12,000 emergency replacement.
Toronto’s climate makes this even more important than in milder regions. Freeze-thaw cycles through the winter, sudden summer downpours, and the punishing UV exposure of a GTA summer all work against your shingles, flashing, and attic ventilation at the same time. A roof that looked fine last July can have a dozen new stress points by the following spring. That is why a successful inspection is not a single glance from the ground — it is a repeatable process with a checklist, the right tools, and a clear idea of what “pass” and “fail” actually look like for each component.
In this guide we will walk through the six most important tips for conducting a thorough, safe, and genuinely useful roof inspection, whether you are doing a seasonal check yourself or preparing to bring in a professional. We will also cover what a contractor inspection includes, how often you should inspect, and the warning signs that mean you should stop reading and pick up the phone.

Why a Successful Roof Inspection Matters More in the GTA
Every roofing material has a lifespan, but that lifespan is only realized if the roof is inspected and maintained on schedule. In Toronto, Mississauga, Brampton, Vaughan, Markham, Oakville, and the surrounding suburbs, roofs deal with a wider temperature swing over a single year than almost anywhere else in the country — from -20°C in January to 30°C-plus humidex days in July. That constant expansion and contraction stresses seams, fasteners, and sealants in ways that are invisible from the street.
A successful roof inspection is really a form of insurance. It costs you an hour of your time (or the price of a professional visit), and in exchange you get an early warning system for problems that would otherwise turn into interior water damage, mould, insulation loss, or a full roof replacement years before it should be necessary. Insurance companies increasingly ask for proof of regular roof maintenance before paying out on a claim, so a documented inspection history also protects you financially.
The six tips below are not arbitrary. They come from what actually causes premature roof failure in this region: neglected flashing, blocked ventilation, granule loss from UV exposure, and small leaks that go unnoticed until they have already rotted the decking underneath. If you only remember one thing from this article, remember that a successful inspection looks at the whole system — shingles, flashing, ventilation, gutters, and the attic — not just the parts you can see from the sidewalk.
Tip 1: Inspect From the Ground First, Then Get Eyes on the Roof Itself
The safest and most successful inspections start with a ground-level walk around the entire perimeter of the house. Use binoculars if you have them. You are looking for asymmetries: shingles that look a different colour or texture than the rest of the roof plane, sagging rooflines, gutters pulling away from the fascia, and moss or algae streaking that suggests trapped moisture.
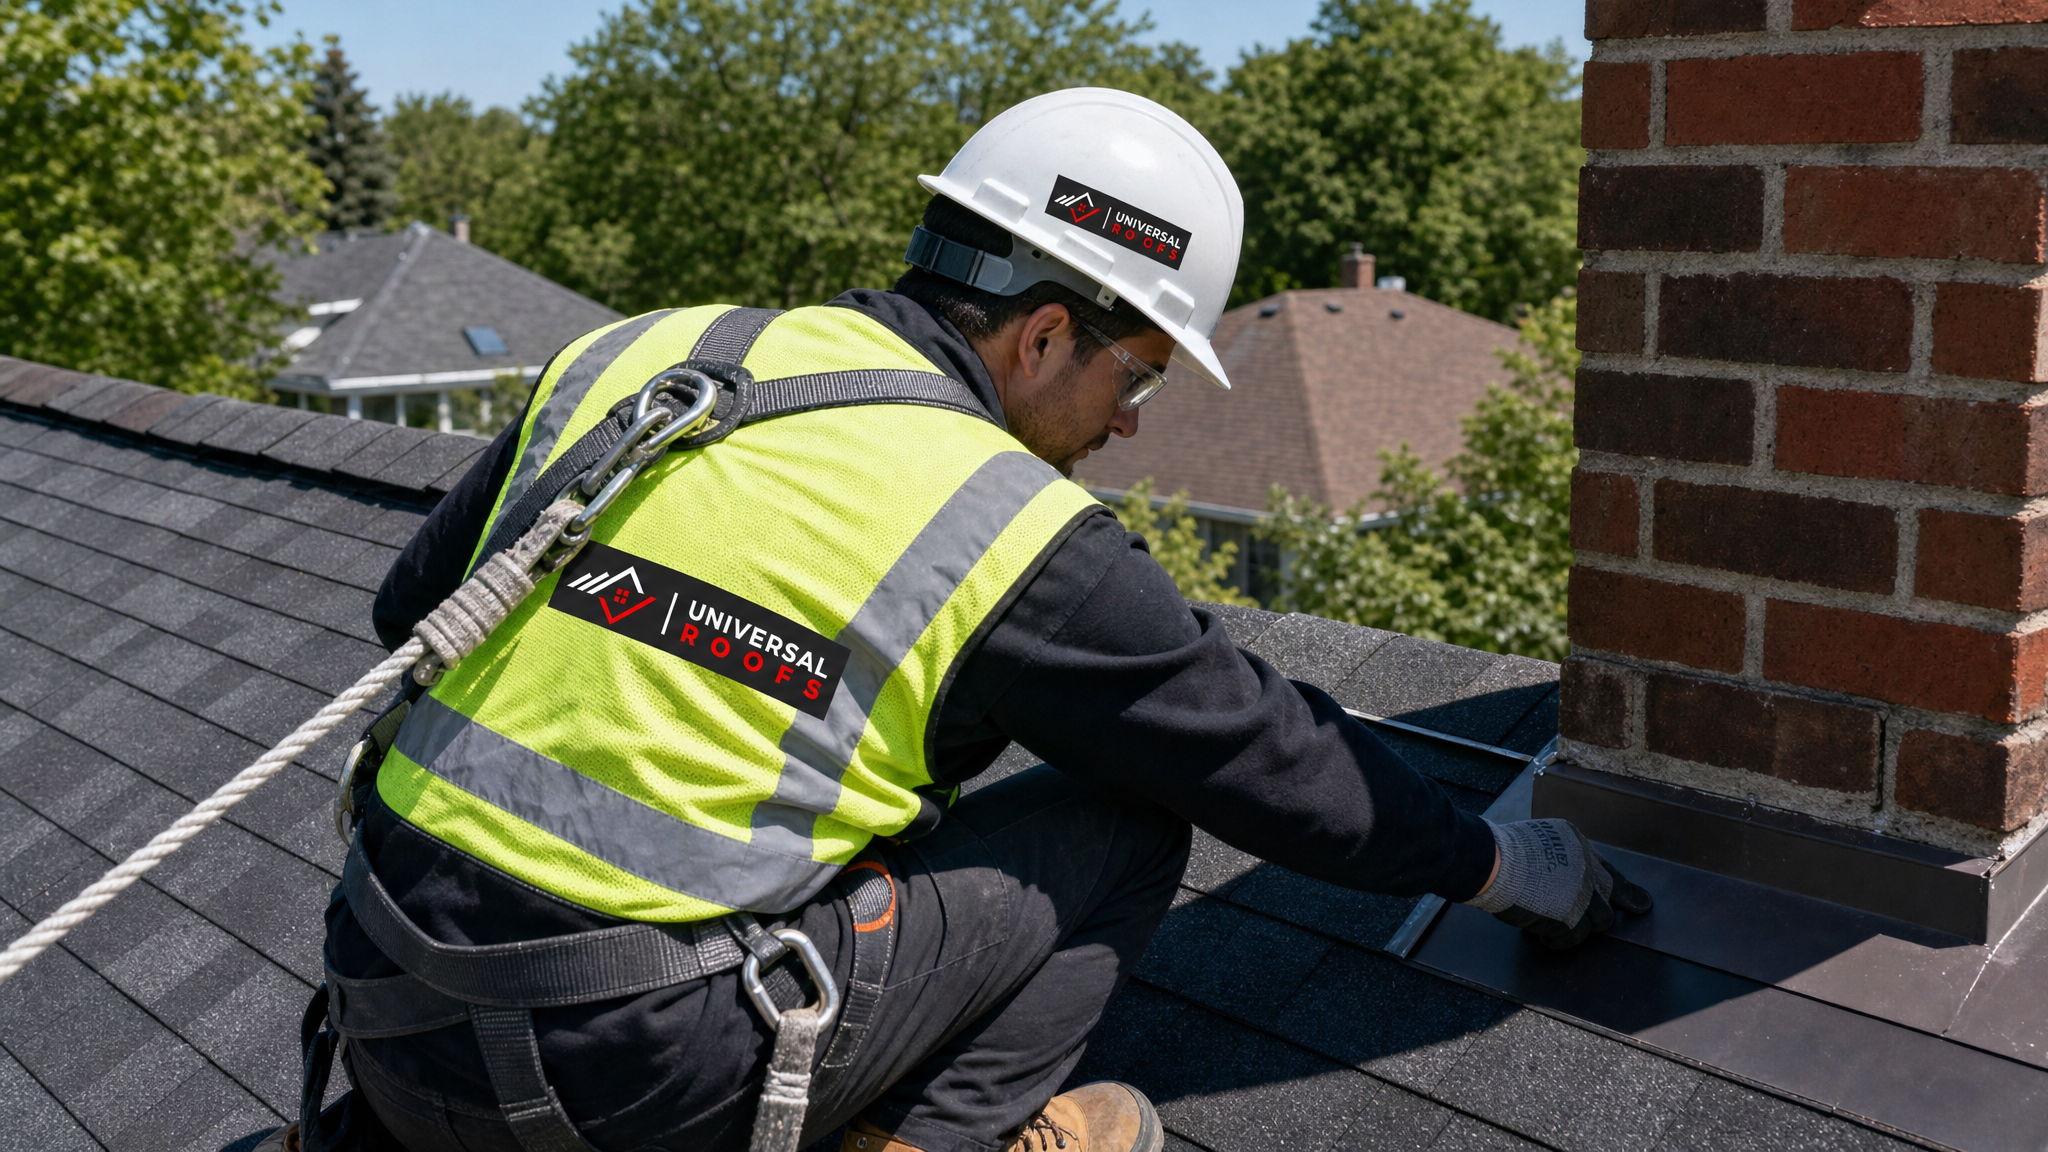
Only after the ground inspection is complete should you consider getting closer. For single-storey homes with a low-slope accessible section, a stable extension ladder secured at the correct angle (the 4:1 rule — one metre out for every four metres up) can let you examine the edge of the roof and the gutter line without walking on the roof surface at all. For anything beyond that, this is exactly the point where it makes sense to call in a professional rather than risk a fall. Universal Roofs technicians carry harnesses, roof anchors, and ladder stabilizers as standard equipment on every roof repair and inspection call specifically because amateur roof climbing is one of the leading causes of home-related injuries in Ontario every year.
Ground-level inspection should happen at least twice a year — once in spring after the snow has melted and once in fall before the first frost — with a bonus check after any major wind or hail event.
| Inspection Method | Best For | Skill Level | What It Catches |
|---|---|---|---|
| Ground-level with binoculars | Quick seasonal checks | Beginner | Sagging, missing shingles, obvious staining |
| Ladder at eaves/gutter line | Single-storey bungalows | Intermediate | Granule loss, gutter separation, flashing gaps |
| Attic-side inspection | Any home with attic access | Beginner | Daylight leaks, water stains, mould, poor ventilation |
| Full walk-on roof inspection | Multi-storey homes, steep slopes | Professional only | Every shingle, seam, penetration, and flashing detail |
| Drone or camera pole inspection | High or complex rooflines | Professional | Full aerial documentation without foot traffic on the roof |
Tip 2: Know Exactly What You Are Looking For on the Shingles
The single biggest mistake homeowners make during a self-inspection is not knowing what a problem actually looks like. “The roof looks fine” is not useful information if you do not know what “not fine” looks like on your specific shingle type. Asphalt shingles, the most common material on GTA homes, show wear in fairly predictable ways: curling edges, cracking, bald spots where granules have worn away, and shingles that are visibly cupped or clawed.
Granule loss is worth calling out specifically because it is the most commonly missed warning sign. As asphalt shingles age, the protective mineral granules on the surface wear away and collect in the gutters and downspouts, looking like coarse black or grey sand. A small amount is normal after a new roof settles in the first year. A steady, heavy accumulation season after season means the shingles are losing their UV protection and are heading toward the end of their service life faster than expected.
Flat or low-slope sections — common on additions, garages, and some bungalow designs across the GTA — need a different eye entirely. Membrane roofing shows problems as blistering, seam separation, or ponding water rather than curling or granule loss. If your home or a section of it has a flat roof, it is worth reviewing our dedicated flat roofing page to understand what “successful” looks like for that specific system, since the inspection criteria are genuinely different from sloped asphalt shingles.
| Shingle Condition | What It Looks Like | Urgency | Recommended Action |
|---|---|---|---|
| Light granule loss | Small sand-like deposits in gutter | Low | Note and re-check next season |
| Curling or cupping edges | Shingle corners lift or bow | Medium | Schedule a professional assessment |
| Cracking or splitting | Visible fracture lines across shingle | Medium-High | Book a repair within weeks, not months |
| Bald spots / exposed mat | Shiny black patches with no granules | High | Localized repair or replacement needed soon |
| Missing shingles entirely | Visible decking or underlayment | Urgent | Same-week repair to prevent water intrusion |
Tip 3: Never Skip the Flashing, Vents, and Penetrations
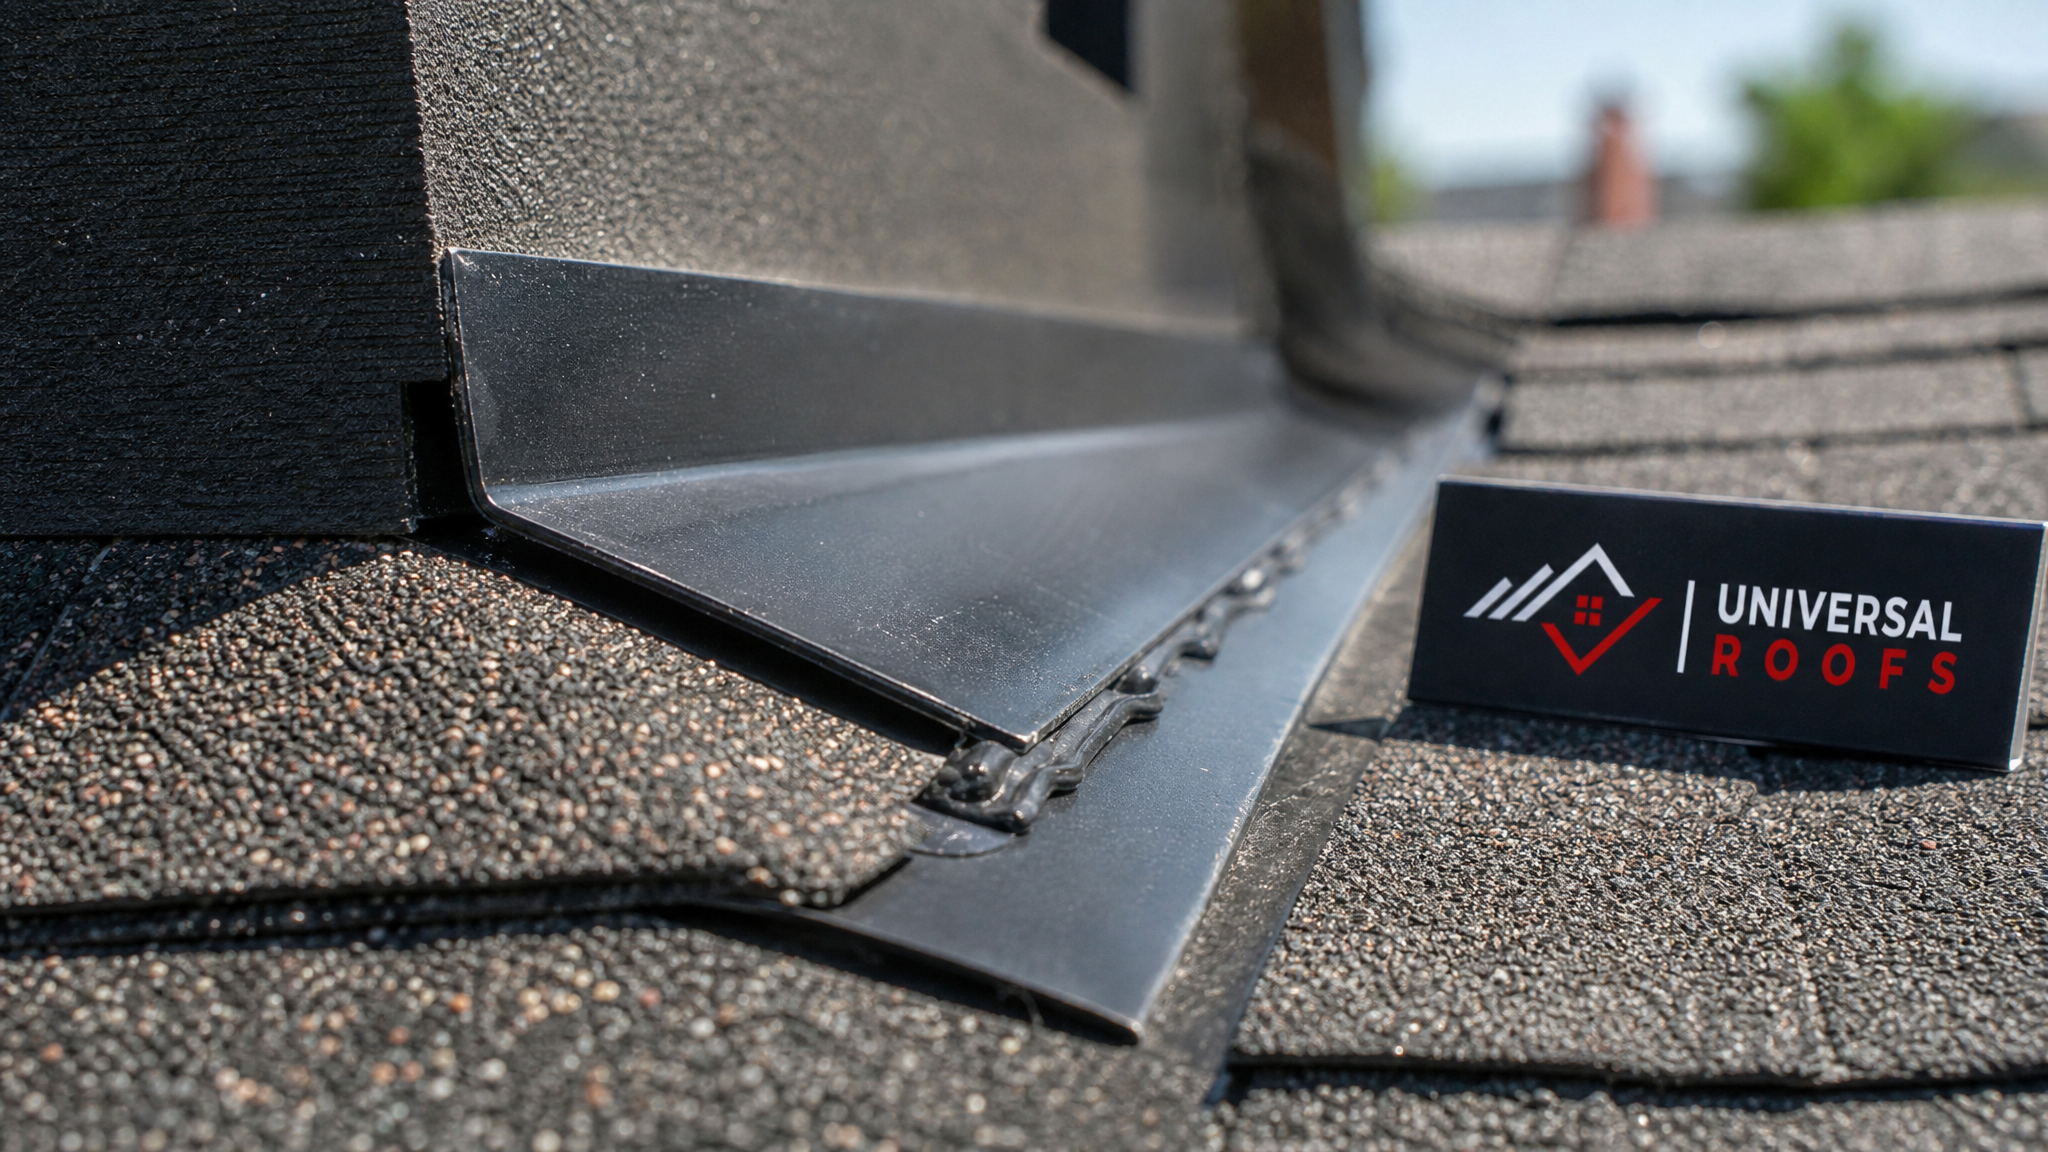
Flashing is the thin metal (or sometimes rubber) material installed anywhere the roof plane is interrupted — around chimneys, skylights, plumbing stacks, and where two roof slopes meet at a valley. Statistically, flashing failure causes more roof leaks than worn-out shingles do, because a flashing seam is a deliberate break in an otherwise continuous waterproof surface, and it depends entirely on sealant and proper overlap to stay watertight.
A successful inspection spends real time on every single penetration. Look for lifted or rusted flashing at chimney bases, cracked or dried-out sealant around vent pipes, and gaps where valley flashing meets the shingle courses on either side. If your home has a skylight, the flashing kit around its perimeter is one of the most common leak points on the entire roof and deserves particular attention — a curb-mounted skylight that is more than 12-15 years old is also a candidate for our skylight replacement service rather than another round of resealing, since older flashing kits degrade faster than the glass unit itself.
Roof vents — box vents, ridge vents, or powered attic fans — need the same scrutiny. Check that the vent covers are intact, that screening has not rusted through (which lets pests and water in), and that caulking around the base has not shrunk away from the shingle surface. A gap as small as a few millimetres around a vent boot is enough to let meaningful water volume into the attic during a heavy summer thunderstorm.
Tip 4: Check the Attic — Because Half the Story Is Inside
This is the tip most homeowners skip entirely, and it is arguably the most valuable one on this list. A successful roof inspection is never complete without going into the attic with a flashlight. From below the roof deck, you can see things that are invisible from outside: daylight coming through nail holes or gaps, water staining on the underside of the sheathing, damp or matted insulation, and dark mould spotting on rafters near the eaves.
Attic ventilation problems are also easiest to diagnose from inside. If insulation is packed tightly against the soffit vents, blocking airflow, or if the attic feels noticeably hot and stuffy in summer, that is a sign the ventilation system is not doing its job — which accelerates shingle aging from below at the same time UV rays are attacking it from above. Poor ventilation is one of the quiet reasons a roof fails 3-5 years earlier than its rated lifespan.
Bring a flashlight, wear a dust mask, and step only on the joists, never directly on the insulation or drywall between them. If you see active daylight through the roof deck, condensation dripping from nail tips (common on cold winter mornings, less so in July, but still worth checking), or any soft, sagging sheathing, stop the self-inspection and book a professional assessment. Soft decking means the plywood has already absorbed moisture and needs replacement, not just a surface patch.
| Attic Warning Sign | Likely Cause | Season Most Visible | Next Step |
|---|---|---|---|
| Visible daylight through deck | Missing shingle or deteriorated flashing | Any season, clearest midday | Book a roof repair inspection |
| Dark staining on rafters | Historic or active leak | Most visible after spring melt | Trace stain source, check flashing above |
| Matted or damp insulation | Chronic slow leak or condensation | Late winter / early spring | Replace insulation, fix leak source |
| Excess summer heat buildup | Blocked soffit or ridge ventilation | Summer | Clear vent paths, consider added ventilation |
| Musty odour | Trapped moisture, early mould growth | Humid summer months | Improve airflow, inspect for hidden leaks |
Tip 5: Time Your Inspection to the Season, Not Just the Calendar
A successful inspection schedule matches the stresses your roof is actually under at that time of year. Spring, right after the snow and ice have cleared, is when you look for winter damage: ice-dam staining along the eaves, shingles lifted or cracked by freeze-thaw cycling, and granule accumulation from a hard winter. Fall, before the first frost, is when you confirm the roof is ready to handle snow load and ice again — clearing debris, checking gutters, and resealing any minor flashing gaps found in spring.
Summer, which is when many homeowners are reading this, is actually an excellent window for a different reason: it is the safest and most comfortable time to get on a ladder or bring in a full professional walk-on inspection, and any repair work identified will cure and seal properly in warm, dry conditions rather than the marginal temperatures of late fall. If your roof took a beating over the past winter and you have been putting off a proper look, July and August are the ideal months to get it done before demand ramps up again in September and October.
Beyond the seasonal calendar, any of the following events should trigger an immediate off-schedule inspection regardless of what month it is: a hailstorm, a windstorm with gusts over 90 km/h, a tree branch or debris strike, or the appearance of any new interior stain, no matter how small. Waiting for the “next scheduled check” after one of these events is how a $400 repair turns into a $4,000 one.
| Trigger | Recommended Timing | Priority Focus Areas | Typical Turnaround |
|---|---|---|---|
| Routine spring check | April – May | Ice-dam damage, granule loss, flashing | Same week if minor repairs found |
| Routine fall check | September – October | Debris, gutters, sealant condition | 1-2 weeks before first frost |
| Post-storm inspection | Within 48 hours of severe weather | Impact damage, lifted shingles, leaks | Emergency same-day to 72 hours |
| Pre-listing / real estate | Any time before sale | Full system report for buyers/insurers | 3-5 business days for full report |
| Age-based checkup (15+ years) | Annually thereafter | Remaining lifespan, replacement planning | Same-day assessment |
Tip 6: Document Everything and Know When to Call a Professional
A successful roof inspection produces a record, not just an impression. Take dated photos of every section of the roof, every penetration, the gutters, and anything unusual you find in the attic. This record does three things: it gives you a baseline to compare against next season, it supports any future insurance claim, and it gives a roofing contractor a head start if you do need professional work.
Knowing your own limits is just as much a “must know tip” as any technical checklist item. A ground-level and attic self-inspection is genuinely useful and something every GTA homeowner should do twice a year. But a full walk-on inspection of a steep or multi-storey roof, any work near power lines, or any inspection where you suspect structural sagging is not a do-it-yourself job. This is precisely the gap that a professional roofing company is built to fill — proper harnessing, insurance, and the trained eye to catch a flashing problem that looks minor but is actually a sign of a bigger issue underneath.
Universal Roofs has been conducting roof inspections across the Greater Toronto Area since 2005, and our technicians follow a documented, photo-based inspection process on every visit across Toronto, the Peel Region, York Region, Halton Region, and Durham Region. You can read what past customers have said about the process on our reviews page, and check our FAQ page for answers to common questions about scheduling, pricing, and what an inspection report includes.
Putting the Six Tips Together: A Simple Inspection Checklist
To make these six tips genuinely actionable, it helps to combine them into a single walk-through you can repeat every season. Start on the ground and walk the full perimeter of the house, using binoculars to scan the roof plane for sagging, discoloration, or obviously missing shingles. Check the gutters for granule accumulation and confirm they are securely attached and draining properly, since a clogged or sagging gutter can force water back up under the shingle edge.
Next, if it is safe to do so, get closer with a properly secured ladder and examine the shingle condition up close: curling, cracking, cupping, or bald spots. Pay specific attention to every flashing point — chimney, skylight, vent stacks, and valleys — since this is where the majority of leaks originate. Then move inside to the attic with a flashlight and dust mask, checking for daylight, staining, damp insulation, and airflow blockages at the soffits and ridge.
Finally, document what you found with dated photographs, note anything that looked borderline, and decide whether it is something to monitor or something that needs a professional call now. A roof that receives this kind of structured, seasonal attention will consistently outlast one that is only ever looked at after something has already gone wrong.
What are the must know tips for a successful roof inspection?
How often should I get a roof inspection in the GTA?
Can I do a successful roof inspection myself, or do I need a professional?
What is the most commonly missed sign during a roof inspection?
Does a successful roof inspection include the attic, not just the exterior?
How much does a professional roof inspection cost in Toronto?
Need Help With 6 Must Know Tips?
Reading a checklist is a great start, but nothing replaces a trained eye walking your specific roof. Universal Roofs has been helping GTA homeowners catch small roofing problems before they become expensive ones since 2005, with a documented, photo-based inspection process on every visit.
Call us today at (416) 732-2421 or request a free inspection to get started.
Universal Roofs proudly serves Toronto, Mississauga, Brampton, Vaughan, Markham, Oakville and the GTA since 2005.