
Solar panels are one of the best long-term investments a GTA homeowner can make, but that investment is only as good as the roof underneath it. Before any solar installer sets foot on your property, your roof needs a thorough evaluation to confirm it can safely support 20-25 years of added weight, hardware penetrations, and Toronto’s freeze-thaw cycles without hidden problems surfacing later.
Skipping this step is one of the most expensive mistakes a homeowner can make. If a roof is nearing the end of its life, or if flashing and decking are already compromised, installing panels on top locks that problem in place. Removing and reinstalling a full solar array to fix a leaking roof underneath can cost thousands of dollars more than simply inspecting and repairing the roof first.
This guide walks through the four most important roof inspection tips for solar panel installation, why each one matters specifically for GTA homes, and what a qualified Universal Roofs inspection actually checks before we ever recommend moving forward with panel mounting.
Why a Pre-Installation Roof Inspection Matters for Solar Panels
Solar panels are typically warrantied for 20 to 25 years. Most asphalt shingle roofs in the GTA last 15 to 25 years depending on material quality and exposure, which means there is a real possibility your roof and your solar array could reach end-of-life around the same time — or worse, your roof could fail years before your panels do. A proper roof inspection before solar panel installation exists to answer one question clearly: will this roof outlast, or at least match, the lifespan of the system being mounted on it?
Beyond lifespan matching, an inspection also protects the structural integrity of your home. Solar arrays add distributed weight (generally 2-4 lbs per square foot including racking), plus concentrated point loads at each mounting foot where lag bolts penetrate the decking. Toronto’s climate compounds these stresses — freeze-thaw cycling between November and March causes shingles to become brittle, ice damming can lift flashing, and heavy spring rainfall exposes any existing weaknesses in the roofing membrane. An inspector needs to evaluate all of this before the racking system, conduit, and panels go up.
There’s also a permitting and warranty angle that many homeowners overlook. Most reputable solar installers — and increasingly, municipal building departments across York Region, Peel Region, and Durham Region — require documentation that the roof has been assessed as structurally sound before issuing final approval. Skipping this step can void both your roofing warranty and your solar installer’s workmanship warranty if a leak or structural issue is later traced back to pre-existing roof damage.
Tip 1: Assess the Remaining Lifespan and Material Condition of Your Roof
The single most important roof inspection tip for solar panel installation is an honest assessment of how many years of service life your roofing material has left. This isn’t guesswork — a trained inspector looks at granule loss on asphalt shingles, curling or cupping at the tab edges, cracked or missing shingles, and the condition of the underlayment where it’s visible at vents, edges, and penetrations.
As a general rule, if your roof is already past 15 years old on standard three-tab or architectural asphalt shingles, or if you’re seeing granule loss in your gutters and downspouts, it’s worth having a full roof replacement conversation before solar goes on. Installing panels over a roof with 3-5 years of life left almost always costs more in the long run, because removing and reinstalling an array to replace the roof underneath typically runs $1,500 to $4,000 in labour alone, on top of the roofing costs.
| Roofing Material | Typical GTA Lifespan | Ideal Age Before Solar Install | Key Inspection Focus |
|---|---|---|---|
| 3-Tab Asphalt Shingles | 15-20 years | Under 8 years old | Granule loss, tab cracking, edge curling |
| Architectural (Laminate) Shingles | 20-25 years | Under 12 years old | Blistering, nail pop-through, seal strip integrity |
| Standing Seam Metal | 40-60 years | Any age (with seam inspection) | Seam clamp compatibility, panel gauge, coating wear |
| Flat/Low-Slope Membrane (TPO, EPDM, Modified Bitumen) | 15-25 years | Under 10 years old | Membrane punctures, ballast displacement, seam adhesion |
| Wood Shake/Shingle | 25-30 years | Under 15 years old | Rot, splitting, moss growth trapping moisture |
If your roof is a flat or low-slope system, this evaluation looks a little different. Ballasted and mechanically attached membranes need a specialized review, since solar racking on flat roofing typically uses non-penetrating ballast trays or specialized mounts rather than lag-bolted feet. An inspector experienced with both roofing and solar-ready assessments will know which mounting approach suits your specific membrane type.
Tip 2: Check the Roof Deck, Rafters, and Structural Framing
Shingles and membranes are only the visible surface — what really matters for solar is what’s underneath. A solar array adds meaningful dead load to your roof structure, and that load needs to be carried safely through the decking into the rafters or trusses and down into the exterior walls. A structural roof inspection for solar panels checks for:
- Sagging or uneven roof deck sections visible from the attic or exterior sightlines
- Water staining or rot on rafters, especially near valleys, chimneys, and plumbing vents
- Deflection or bounce in the decking when walked (a sign of delaminated or waterlogged plywood/OSB)
- Undersized rafters relative to current Ontario Building Code span tables for the added solar load
- Signs of previous ice damming that may have caused hidden deck rot along the eaves
This is also the point in the inspection where we check your attic ventilation and insulation. Poor attic ventilation accelerates deck deterioration from the inside out through trapped moisture and heat — a problem that’s invisible from the roof surface but shows up clearly once you’re inside the attic looking up at the underside of the sheathing. Since solar panels will make certain sections of roof deck inaccessible for the next two decades, any attic moisture or ventilation issue absolutely needs to be resolved before installation, not after.
For homes over 25 years old, or any home that has had additions or renovations to the roofline, we recommend a structural engineer sign-off in addition to the roofing inspection. Many municipalities across the Greater Toronto Area now require this documentation as part of the solar permitting process, particularly for larger residential arrays exceeding 6kW.
Tip 3: Inspect Flashing, Penetrations, and Existing Leak Points
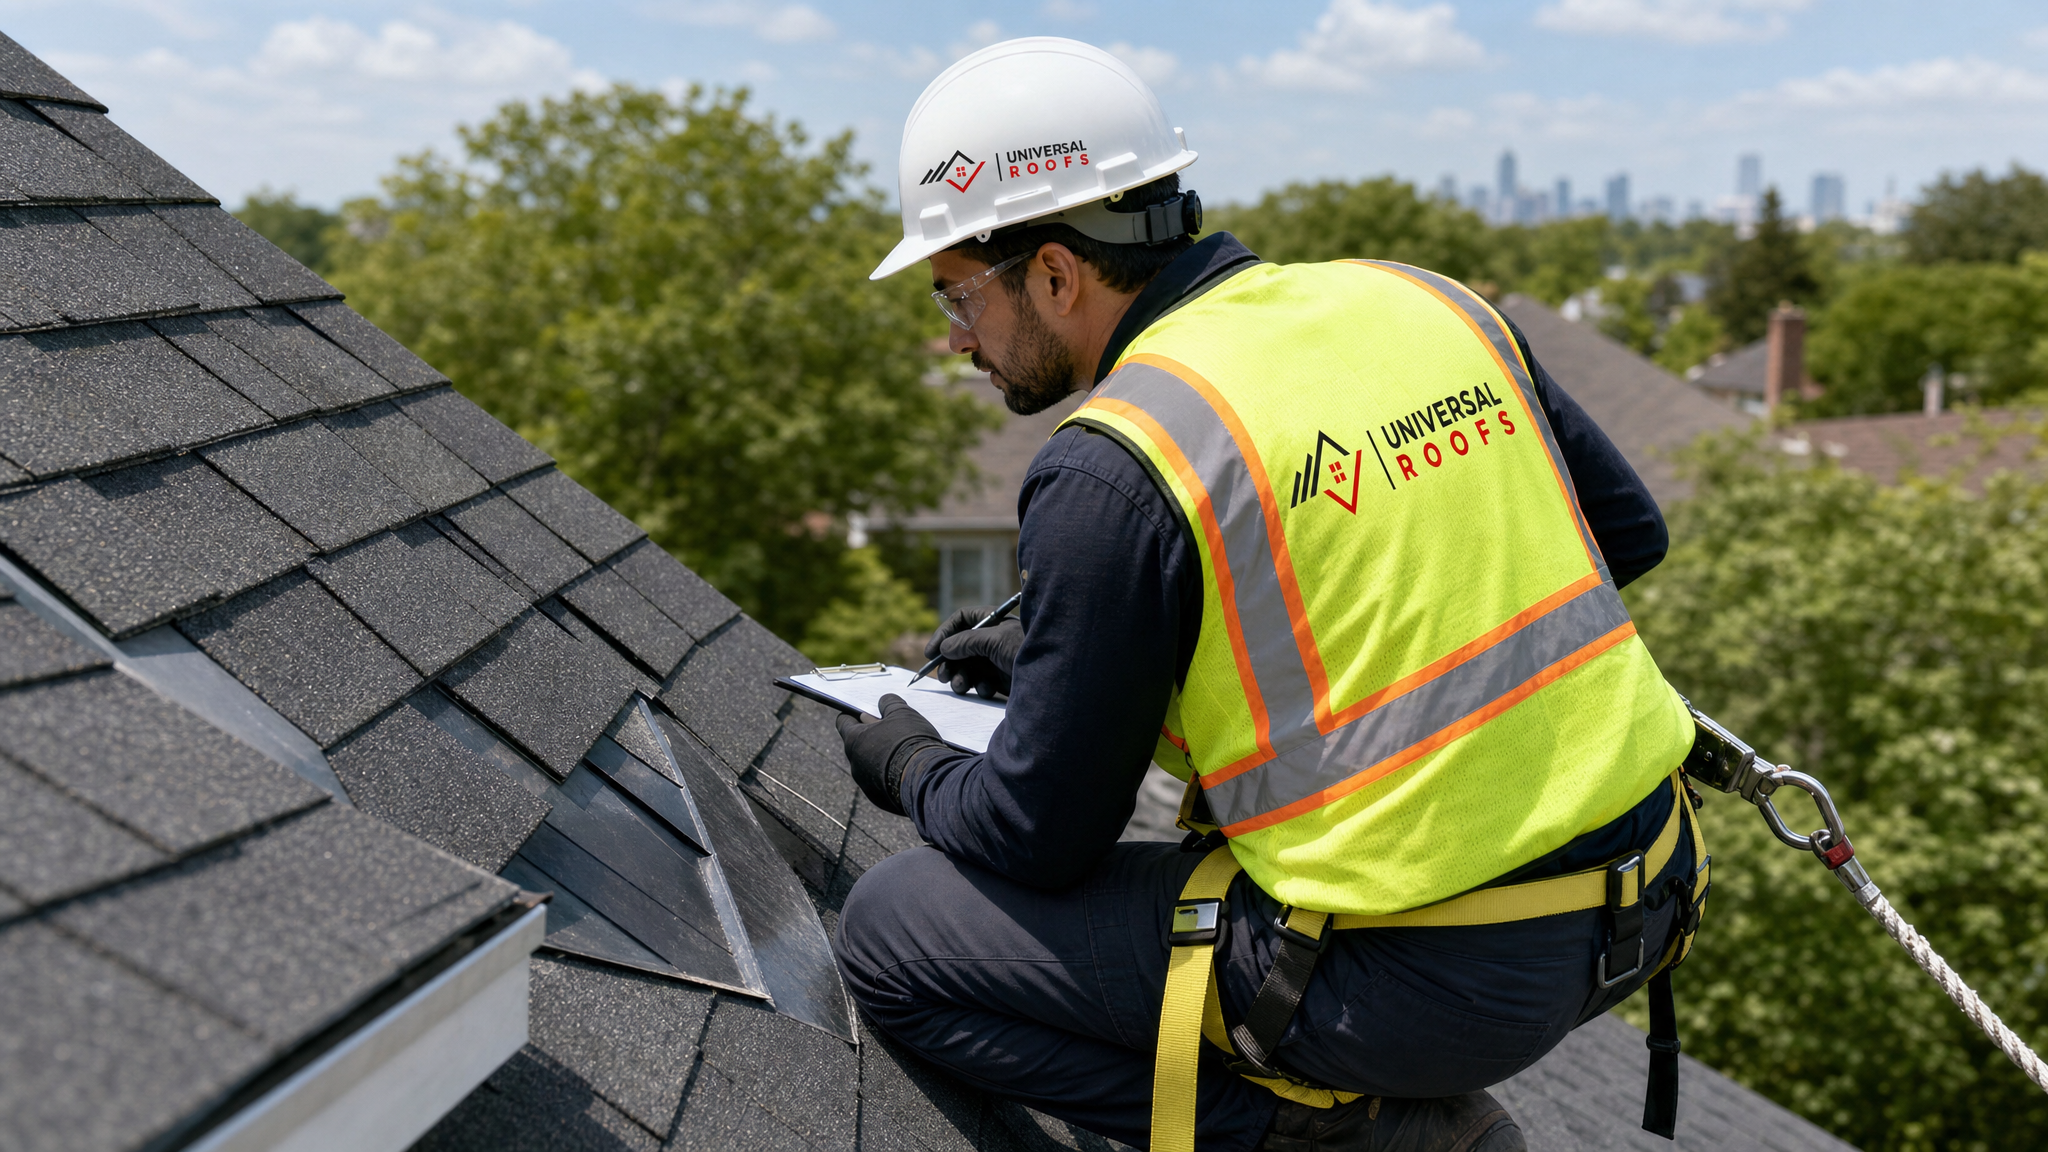
Every solar racking system introduces new penetrations into your roof — lag bolts through the decking into rafters for asphalt and shake roofs, or specialized clamps for standing seam metal. Each of these penetration points is only as watertight as the flashing detail around it, which is why a dedicated flashing inspection is the third essential step before solar goes on.
An inspector will trace every existing penetration on your roof — plumbing stacks, bathroom and kitchen exhaust vents, chimney flashing, skylight curbs, and valley metal — looking for rust, cracked sealant, lifted edges, or improperly lapped flashing that could already be letting moisture in. If you have existing skylights, these deserve particular attention since skylight curb flashing is one of the most common sources of hidden leaks on GTA homes, and solar arrays are frequently mounted in close proximity to skylight openings on the same roof plane. Where a skylight unit itself is aging or the seals have failed, it’s often more cost-effective to pursue skylight replacement at the same time as solar prep, since the roofing crew and equipment are already mobilized.
| Penetration/Flashing Point | Common Failure Sign | Risk if Ignored Before Solar | Recommended Action |
|---|---|---|---|
| Plumbing vent boots | Cracked rubber collar, rust | Leak trapped under racking rails | Replace boot before mounting |
| Chimney flashing | Lifted step flashing, gapped mortar | Water intrusion near array wiring | Reseal or reflash before install |
| Skylight curb flashing | Cracked sealant, staining on ceiling | Leak masked by adjacent panels | Inspect/replace flashing or unit |
| Valley metal | Rust-through, granule buildup | Water diverted under shingles | Replace valley metal |
| Existing roof penetrations (old antennas, vents) | Abandoned unsealed holes | Hidden entry point for water | Properly seal or remove |
Once solar racking, conduit runs, and panels are installed, large sections of your roof become difficult or impossible to inspect and repair without a partial teardown. Any flashing issue found and fixed now saves a far more expensive and disruptive repair later, when accessing the same spot means temporarily removing panels.
Tip 4: Confirm Structural Layout and Shading Suitability of the Roof Plane
The fourth key inspection tip goes beyond material condition and structure — it’s about confirming the specific roof plane being considered for solar actually makes sense for the array, both physically and in terms of performance. This step blends roofing knowledge with basic solar siting principles, and it’s where a lot of installation problems originate if it’s rushed or skipped.
During this part of the inspection, we look at:
- Roof pitch and orientation relative to true south, since south and southwest-facing planes with a 30-40 degree pitch typically produce the best year-round output in the GTA’s latitude
- Obstructions such as HVAC equipment, plumbing stacks, and dormers that will force racking layout changes or reduce usable array area
- Overhanging tree canopy and neighbouring structures that could cast seasonal shade, particularly relevant since shading patterns shift meaningfully between summer and winter sun angles
- Roof plane size relative to the panel count needed to meet the household’s energy goals
- Setback requirements from roof edges and ridges as required by the Ontario Building Code and local fire department access standards
This is also the stage where drainage patterns matter. Racking rails and mounting feet can, if poorly placed, interrupt the natural sheet-flow of water down a roof slope, creating localized ponding or redirected flow toward valleys and edges that weren’t designed to handle it. An experienced inspector will flag any racking layout that risks altering drainage before the array is finalized, not after installation when it’s far more disruptive to correct.
What a Professional Roof Inspection for Solar Actually Includes
When homeowners across Toronto, Peel Region, York Region, Halton Region, and Durham Region book a solar-readiness roof inspection with us, the process typically covers exterior and interior evaluation, documentation, and a written recommendation. Here’s what that looks like from start to finish.
| Inspection Stage | What’s Checked | Typical Duration | Deliverable |
|---|---|---|---|
| Exterior surface walk | Shingle/membrane condition, granule loss, curling, moss | 30-45 minutes | Photo-documented condition report |
| Flashing and penetration review | Vent boots, chimney, skylight, valley flashing | 20-30 minutes | List of flagged repair points |
| Attic and structural check | Deck condition, rafter integrity, insulation, ventilation | 20-30 minutes | Structural adequacy notes |
| Layout and shading assessment | Pitch, orientation, obstructions, drainage impact | 15-20 minutes | Recommended array zone diagram |
| Final report and recommendation | Repair/replace decision, remaining lifespan estimate | 1-2 business days | Written report for solar installer/permit office |
If the inspection turns up isolated issues rather than a full replacement need, targeted roof repair is often all that’s required to bring the roof up to solar-ready condition — replacing a section of aging flashing, addressing a soft spot in the decking, or resealing a vent penetration. We always provide a clear written breakdown of what’s optional versus what’s required before solar racking can safely proceed, so you’re never guessing at the scope or the cost.
Timing Your Roof Inspection Around Your Solar Installation Schedule
Summer is a genuinely good time to schedule a roof inspection ahead of solar installation. Dry conditions make it easier to spot subtle issues like hairline cracks in flashing sealant or minor granule loss that heavy rain or snow cover would otherwise mask, and any repair work identified during the inspection can be completed and fully cured well before autumn’s wet weather and winter’s freeze-thaw cycles arrive.
Most solar installers in the GTA also recommend booking the roof inspection 4-6 weeks before your scheduled panel installation date. This buffer allows time for:
- Any necessary repairs to be completed and inspected before racking crews arrive
- Municipal permit documentation to be submitted and approved
- Material and labour scheduling to be coordinated between the roofing and solar crews
- A follow-up walkthrough to confirm the roof is fully solar-ready
Homeowners who skip this buffer and try to combine roof repairs with solar installation in the same week often face delays, since solar crews generally won’t mount panels on a roof section that still has open repair work in progress.
Common Roof Problems That Delay or Derail Solar Installations
Certain issues come up repeatedly during solar-readiness inspections across the region, and knowing them ahead of time can help you budget and plan realistically.
| Problem Found | How Often It Appears | Impact on Solar Timeline | Typical Resolution |
|---|---|---|---|
| Granule loss / near end-of-life shingles | Very common on roofs 15+ years old | Delays install until reroofing done | Full or partial reroof before array install |
| Deteriorated vent boot seals | Common on most roofs 10+ years old | 1-2 day delay for boot replacement | Swap rubber boots, reseal collars |
| Soft or delaminated decking | Occasional, often near valleys/eaves | Can delay project by a week or more | Deck section replacement before racking |
| Poor attic ventilation | Common in homes built before 2000 | Usually resolved concurrently, minor delay | Add/upgrade ridge and soffit venting |
| Shading conflicts from tree canopy | Site-dependent | May require array reconfiguration | Adjust panel layout or trim canopy |
What are the best roof inspection tips for solar panel installation?
How old can my roof be before it’s too risky to install solar panels on it?
Do solar panels damage roof flashing and shingles during installation?
Can I install solar panels on a flat roof in Toronto?
How much does a roof inspection for solar panel installation cost?
What happens if my roof needs repairs before solar panels can be installed?
Need Help With 4 Best Roof Inspection?
Getting a professional, documented roof inspection before your solar installation is the single best way to protect both investments for the next two decades. The team at Universal Roofs has been evaluating and preparing GTA roofs for major projects like solar arrays since 2005, and we know exactly what local installers and municipal permit offices expect to see in a solar-readiness report.
Call us today at (416) 732-2421 or request a free inspection to get started. You can also browse verified feedback from past clients on our reviews page or check common questions on our FAQ page before you call.
Universal Roofs proudly serves Toronto, Mississauga, Brampton, Vaughan, Markham, Oakville and the GTA since 2005.