
Booking a home renovation is exciting until you realize the roof over your head has been quietly ignored for the past decade. Whether you are adding a second-storey addition, finishing a basement, replacing windows, or simply repainting the exterior, the roof deserves a place at the top of your pre-renovation checklist — literally. A leaking or aging roof can undo new drywall, ruined insulation, and mould remediation faster than almost any other defect in a home, and contractors regularly discover roof damage only after new interior finishes have already gone in.
That is why smart homeowners across the GTA build a roof inspection into the planning phase of any renovation, not as an afterthought once the drywall dust has settled. A thorough inspection before you start work protects your investment, helps you sequence trades correctly, and can even reveal structural issues that change your renovation budget entirely. At Universal Roofs, we have been called in mid-renovation more times than we can count to fix a roof problem that should have been caught before the first permit was pulled.
In this guide we walk through the three best roof inspection tips for home renovation projects, plus the supporting details — what to look for, when to schedule the inspection, how much it typically costs, and how roof condition interacts with other renovation trades. This is written specifically for Toronto and GTA homeowners, where freeze-thaw cycles, ice damming, and older housing stock make roof condition especially relevant to any major renovation.
Why Roof Inspections Matter Before Any Renovation Starts
Home renovation projects put stress on a house that goes well beyond the room being renovated. Adding a dormer, installing skylights, building a second-storey addition, or even scaffolding around the exterior for siding work all interact directly with the roof structure and its waterproofing. If the existing roof already has hidden problems — soft decking, failed flashing, compromised ventilation — renovation work can expose those issues at the worst possible time, or make them significantly more expensive to fix once new finishes are in place.
This is the core reason roof inspection tips for home renovation projects always start with timing: inspect first, renovate second. A pre-renovation roof inspection identifies structural concerns, moisture intrusion, and material degradation before your general contractor finalizes the scope of work. It also gives your renovation team accurate information for permitting, since many municipalities in the GTA require proof of a sound roof structure before approving additions or structural alterations.
Beyond protecting the renovation itself, a roof inspection protects your budget. Roofing repairs discovered mid-renovation almost always cost more than the same repair identified up front, because contractors must remove freshly installed materials, reschedule other trades, and sometimes deal with water damage that has already spread into new work. A $400 inspection can easily save $4,000 or more in rework.
Tip 1: Schedule a Full Structural and Material Inspection Before Design Finalization
The first and most important of our roof inspection tips for home renovation is simple: get a comprehensive inspection completed before your renovation design is finalized, not after. This means booking the inspection during the planning phase, ideally alongside your architect or renovation consultation, so any findings can be folded into the project scope and budget from day one.
A full inspection for renovation purposes should go further than a routine seasonal check. It needs to assess:
- Roof deck condition (plywood or board sheathing) for soft spots, rot, or delamination
- Structural framing — rafters, trusses, and ridge beams — especially if you are planning an addition or removing load-bearing walls below
- Flashing condition around chimneys, vents, valleys, and any existing skylights
- Attic ventilation and insulation levels, since renovations often trigger new building code requirements
- Remaining lifespan of the existing roofing material
- Signs of past or active leaks, staining, or mould in the attic space
If your renovation plans include a roof replacement or reroofing as part of the broader project, this inspection becomes the baseline data your contractor uses to quote material quantities, structural upgrades, and disposal costs. If the roof simply needs targeted repairs before renovation begins, the inspection report gives you a clear scope for a roof repair quote rather than a vague “fix what’s wrong” conversation.
For homeowners in older neighbourhoods across Toronto, Mississauga, and Etobicoke, this step is particularly important. Many houses built between the 1950s and 1980s have roof decking and ventilation that were never designed for today’s insulation standards, and a renovation is often the trigger that requires bringing the whole roof assembly up to current code.
Tip 2: Inspect the Attic Interior, Not Just the Roof Exterior
The second of our essential roof inspection tips for home renovation is one homeowners frequently overlook: the most valuable information about roof health is often found inside the attic, not on top of the roof. A visual exterior inspection can miss slow leaks, inadequate ventilation, and insulation problems that only become visible once you are standing inside the attic space with a flashlight.
During an attic inspection, a qualified roofer looks for:
- Water staining on the underside of the roof deck or on rafters
- Daylight visible through the roof deck at joints or fastener holes
- Compressed, wet, or mouldy insulation
- Frost or condensation buildup on nail tips during winter months (a sign of poor ventilation)
- Signs of pest entry, which often follow the same gaps that let in moisture
- Adequate soffit-to-ridge airflow, especially important if you are adding skylights or changing the roofline
This step matters enormously for renovation planning because attic conditions directly affect decisions elsewhere in the project. If you are finishing an attic into living space, insulating a cathedral ceiling, or planning an attic renovation, ventilation and moisture findings from this inspection will determine what baffles, vents, or vapour barriers your renovation crew needs to install. Skipping this step is one of the most common reasons GTA homeowners end up with condensation problems or ice damming after finishing an attic space.
It is also the stage where skylight-related issues surface most often. If your home already has skylights and you are renovating the rooms below them, this is the moment to check flashing integrity around each unit. Deteriorated skylight flashing is one of the top causes of water staining discovered during renovations, and it is far easier to address with a skylight replacement before new ceiling finishes go in than after.
Tip 3: Coordinate the Inspection Timing With Your Renovation Trade Schedule
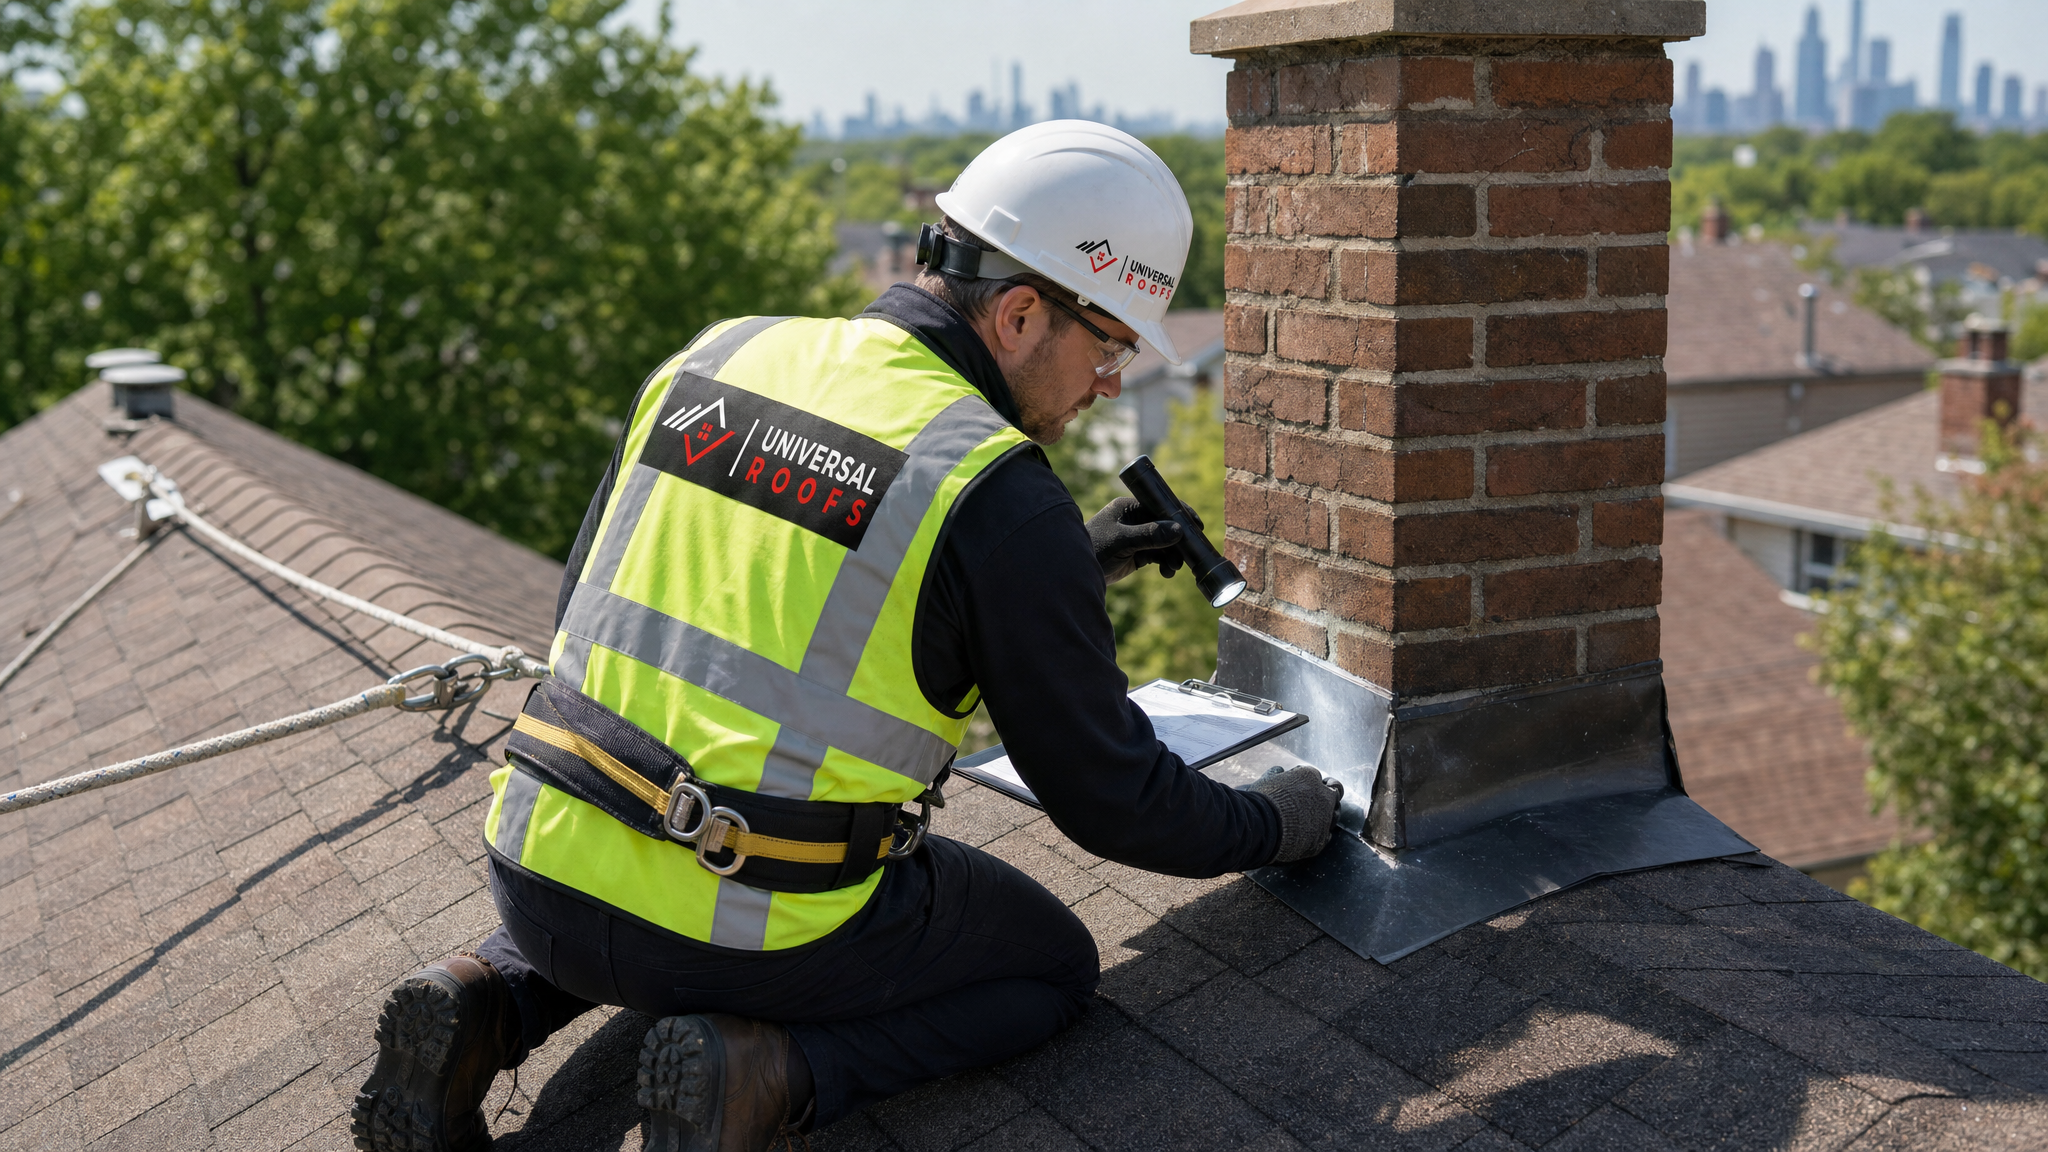
The third of our roof inspection tips for home renovation is about sequencing. Even a perfect inspection loses much of its value if it happens at the wrong point in your project timeline. The ideal sequence is: inspect, resolve any roofing issues, then proceed with interior and exterior renovation trades. Reversing this order is the single most common mistake we see on renovation sites across the GTA.
Consider a typical scenario: a homeowner finishes a basement, only to discover months later that a slow roof leak has been tracking water down through wall cavities into the new basement ceiling. Or a homeowner completes a kitchen renovation with a new skylight opening, but the flashing detail was never properly inspected against current code, leading to leaks during the first heavy spring rain. In both cases, a roof inspection scheduled before renovation work began would have caught the problem for a fraction of the eventual repair cost.
Practical sequencing guidance for GTA renovation projects:
- Book the roof inspection at the same time you book your renovation design consultation
- Share the inspection report with your general contractor and structural engineer before finalizing permit drawings
- Complete any necessary roof repairs or replacement before scaffolding, additions, or exterior trades begin
- Schedule a follow-up inspection after major exterior work (siding, additions, dormers) to confirm flashing and waterproofing were not disturbed
- Keep a copy of the inspection report and any warranty documents with your renovation project file
If your renovation involves a flat roofing section — common on additions, garage conversions, and many mid-century GTA homes — sequencing matters even more, since flat roof membranes are especially sensitive to being disturbed by scaffolding, ladders, and material staging during construction.
Seasonal Timing: Why Summer Is the Best Window for Pre-Renovation Inspections
July and August are ideal months to schedule a pre-renovation roof inspection in the GTA. Warm, dry conditions let inspectors safely access the full roof surface, attic temperatures make ventilation problems easier to diagnose, and any repair work identified can be completed well before the fall rain season and winter freeze-thaw cycles arrive. Booking a summer inspection also gives your renovation team a full season to plan material orders and permits without weather-related delays.
Winter inspections are still possible but more limited — ice and snow cover can hide flashing and shingle deterioration, and steep-slope access becomes riskier. If your renovation timeline is flexible, summer remains the best window to combine a thorough inspection with any necessary repair work.
Common Roof Issues Renovation Inspections Uncover
Across thousands of GTA homes, a handful of issues show up again and again during pre-renovation roof inspections. Recognizing these early means fewer surprises once your renovation is underway.
| Issue Found | Typical Cause | Renovation Impact if Ignored | Recommended Action |
|---|---|---|---|
| Soft or delaminated roof deck | Long-term slow leak, poor ventilation | Cannot support new dormers, skylights, or solar mounts | Deck repair or full roof replacement before renovation |
| Deteriorated flashing at valleys/chimneys | Age, sealant breakdown, thermal movement | Leaks appear after new interior finishes are installed | Reflash before scaffolding or exterior trades begin |
| Inadequate attic ventilation | Blocked soffits, insufficient roof vents | Condensation and ice damming worsen after insulation upgrades | Add ridge/soffit venting as part of attic work |
| Failed skylight seals | Aged rubber gaskets, movement over time | Water staining on new ceilings below | Skylight replacement before interior finishing |
| Undersized structural framing | Original construction not designed for added loads | Cannot support addition, solar panels, or green roof | Structural engineer review plus reinforcement |
Roof Inspection Cost and Timeline Expectations
Homeowners planning a renovation budget naturally want to know what a pre-renovation inspection will cost and how long it takes. While every roof is different, the table below reflects typical ranges we see across Toronto, Peel, York, Halton, and Durham Region projects.
| Inspection Type | Typical Cost (CAD) | Time to Complete | Best Used For |
|---|---|---|---|
| Visual exterior-only inspection | $150 – $250 | 30 – 45 minutes | Cosmetic renovations with no structural changes |
| Full exterior + attic inspection | $300 – $500 | 1 – 2 hours | Additions, dormers, skylight projects, attic finishing |
| Inspection with moisture/thermal scan | $450 – $750 | 1.5 – 2.5 hours | Homes with a history of leaks or ice damming |
| Inspection + structural engineer review | $800 – $1,500+ | Multiple site visits | Second-storey additions, load-bearing changes |
| Post-renovation follow-up inspection | $150 – $300 | 30 – 60 minutes | Confirming flashing/waterproofing after exterior trades |
Most GTA homeowners find that the full exterior-plus-attic inspection offers the best value for a typical kitchen, basement, or addition renovation, since it captures both surface-level and hidden structural information without the added cost of a full thermal scan.
What a Professional Inspection Report Should Include
Not all inspection reports are created equal, and a thin one-page checklist will not give your renovation team enough information to plan around. A proper pre-renovation roof inspection report from Universal Roofs includes photographic documentation, a written assessment of deck and structural condition, ventilation analysis, remaining material lifespan estimates, and clear repair or replacement recommendations prioritized by urgency.
| Report Section | What It Covers | Why Renovation Teams Need It | Priority Level |
|---|---|---|---|
| Photo documentation | Dated photos of deck, flashing, attic, ventilation | Baseline record before any renovation trades begin | Essential |
| Structural summary | Deck, rafter, and truss condition notes | Required for permit and engineering review | Essential |
| Ventilation assessment | Soffit, ridge, and gable vent airflow analysis | Determines insulation and vapour barrier plan | High |
| Remaining lifespan estimate | Years of service life left in current materials | Informs replace-now vs. replace-later decisions | High |
| Prioritized recommendations | Ranked list of repairs by urgency and cost | Helps sequence renovation budget and trades | Essential |
How Roof Condition Affects Other Renovation Trades
Roof condition rarely stays isolated to the roof itself. Once a renovation is underway, roofing issues ripple outward into framing, insulation, drywall, and even electrical work if pot lights or wiring run through affected areas. Coordinating with your general contractor early means the roofing scope gets built into the master schedule rather than causing a mid-project pause.
A few examples we see regularly across the GTA:
- Basement renovations can be undermined by roof leaks that travel down through wall cavities, appearing as basement ceiling stains months after the roof issue actually occurred.
- Kitchen additions with new rooflines require flashing tie-ins at the junction with the existing roof — a common failure point if not inspected and detailed properly.
- Exterior siding or window replacement projects often use scaffolding that rests against the roof edge, and a pre-existing weak point can be damaged if not identified beforehand.
- Solar panel installation, increasingly popular across Toronto and the surrounding regions, requires confirmation that the roof deck and structure can support the added point loads — something only a proper inspection will confirm.
Homeowners renovating in Toronto, Mississauga, Brampton, Vaughan, Markham, Oakville, and across the wider Toronto, Peel Region, York Region, Halton Region, and Durham Region service areas all face the same freeze-thaw climate stresses, which is why a pre-renovation inspection is worthwhile regardless of neighbourhood or house age.
DIY Pre-Check vs. Professional Inspection: What Homeowners Can and Cannot Assess Safely
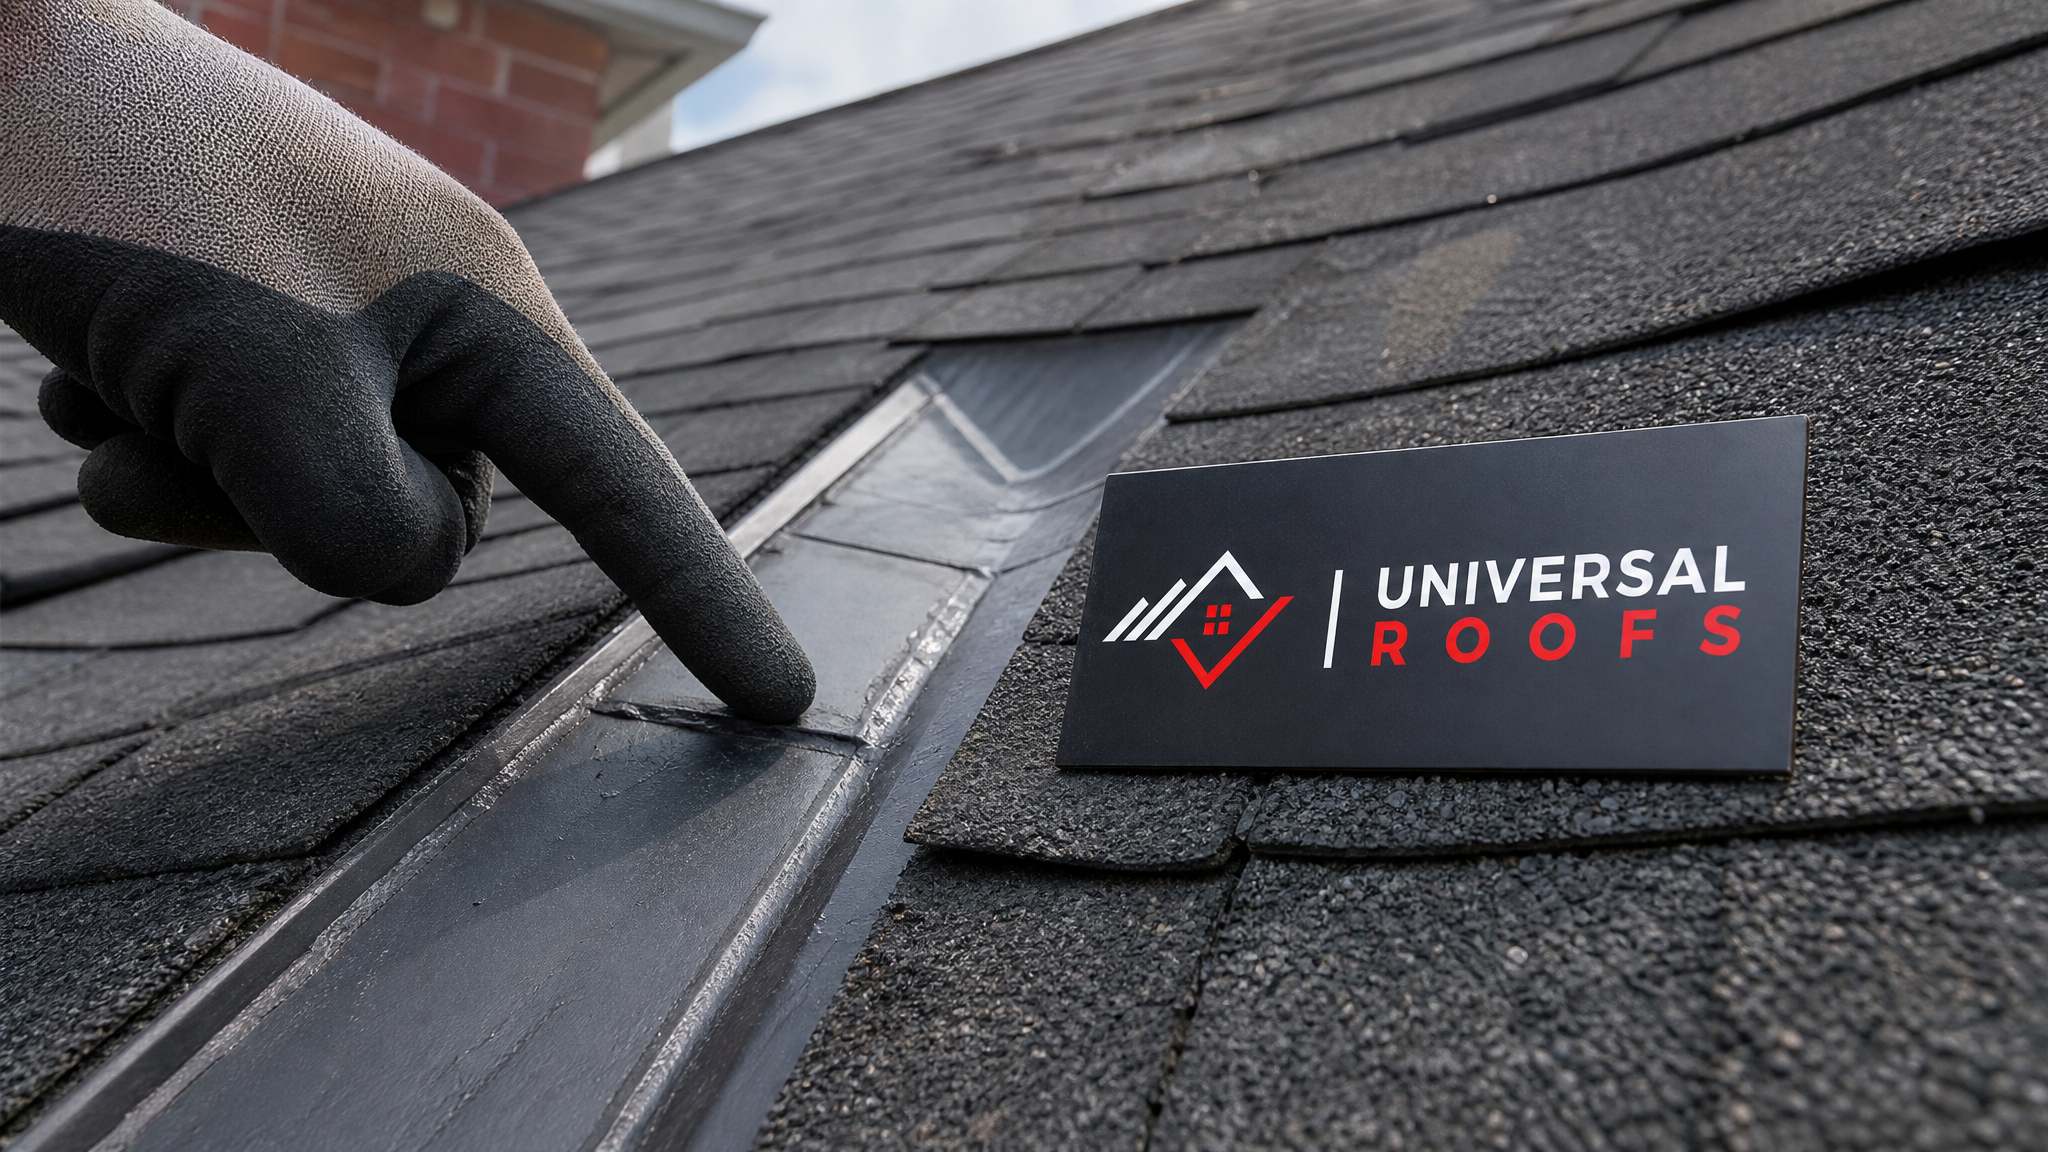
Many homeowners want to do a preliminary check themselves before calling in a professional, and that is a reasonable first step — as long as it stays at ground level and in the attic, not on the roof surface itself. Climbing onto a sloped roof without proper fall protection is genuinely dangerous, and it is one of the leading causes of home injury during DIY renovation prep.
| Assessment Task | Safe for Homeowner DIY? | What to Look For | When to Call a Professional |
|---|---|---|---|
| Ground-level visual scan with binoculars | Yes | Missing/curling shingles, sagging rooflines, visible moss | Any irregularity spotted |
| Attic walkthrough with flashlight | Yes, with caution on joists | Staining, daylight gaps, wet insulation, mould smell | Any moisture or staining found |
| Gutter and downspout check | Yes, from a stable ladder | Granule buildup, sagging gutters, blocked downspouts | Recurring overflow or pulling away from fascia |
| Walking the roof slope directly | No | N/A — fall risk | Always use a professional with fall protection equipment |
| Flashing and structural assessment | No | N/A — requires trained eye | Always, especially before renovation permits |
Choosing the Right Roofing Contractor for a Renovation-Stage Inspection
Not every roofing company is equipped to provide the kind of detailed, renovation-focused inspection report that a general contractor or structural engineer can actually use. When selecting a contractor for this stage of your project, look for a company with documented experience coordinating with renovation teams, a track record of clear written reports, and familiarity with local building code requirements for additions, skylights, and attic conversions.
Since 2005, Universal Roofs has worked alongside renovation contractors, architects, and homeowners across the GTA to provide exactly this kind of pre-renovation inspection. We understand that a roof inspection ahead of a renovation is not just about identifying leaks — it is about giving your entire project team the information they need to plan, permit, and build with confidence. You can read about our approach on our about page, and see feedback from past clients on our reviews page.
If you still have questions about how a roof inspection fits into your renovation timeline, our FAQ page covers many of the most common homeowner questions, from cost expectations to how inspection findings affect permit applications.
What are the best roof inspection tips for home renovation projects?
When should I schedule a roof inspection during a home renovation?
How much does a pre-renovation roof inspection cost in the GTA?
Can I inspect my own roof before a renovation instead of hiring a professional?
What roof problems are most commonly found during renovation inspections?
Does a roof inspection affect my renovation permit application?
Need Help With 3 Best Roof Inspection?
Planning a renovation is the perfect moment to make sure your roof can support the project ahead. The team at Universal Roofs has guided GTA homeowners through pre-renovation inspections, repairs, and replacements for nearly two decades, helping renovation projects stay on schedule and on budget.
Call us today at (416) 732-2421 or request a free inspection to get started.
Universal Roofs proudly serves Toronto, Mississauga, Brampton, Vaughan, Markham, Oakville and the GTA since 2005.