
A roof does more than shed rain and snow — in a wildfire-adjacent province, or even in a dense Toronto neighbourhood where embers can travel from a nearby structure fire, your roofing material is often the first line of defence. Fire resistant roof coatings have become one of the most cost-effective upgrades a GTA homeowner can make, whether you are protecting an ageing asphalt shingle roof, a flat commercial membrane, or a cottage-style cedar shake roof that carries real ember risk.
At Universal Roofs, we have been inspecting, repairing, and upgrading roofs across the Greater Toronto Area since 2005, and fire safety questions come up more often than most homeowners expect — especially after a neighbour’s chimney fire, a nearby brush fire, or an insurance renewal that suddenly asks about your roof’s fire rating. This guide breaks down exactly how fire resistant coatings work, which products actually perform, what they cost installed in the GTA, and five practical tips for getting real fire protection out of your roof this summer.
We will cover the science behind fire ratings, compare coating types side by side, walk through the application process, and answer the questions we hear most from Toronto, Mississauga, Brampton, Vaughan, Markham, and Oakville homeowners. If you want a professional opinion on your specific roof, our team can schedule an assessment and tell you honestly whether a coating makes sense or whether a full roof replacement is the smarter long-term investment.
What “Fire Resistant” Actually Means for a Roof Coating
The phrase “fire resistant” gets used loosely in marketing, so it is worth being precise. In North America, roof coverings and coatings are tested and classified under standards such as ULC/ORD-C108.11 in Canada (aligned with ASTM E108 in the U.S.), which rates assemblies as Class A, Class B, or Class C based on how well they resist flame spread, intermittent flame exposure, and burning brand penetration.
A fire resistant coating does not make your roof fireproof — nothing is truly fireproof under sustained direct flame. What it does is:
- Slow ignition when embers or sparks land on the surface
- Reduce flame spread across the roof deck
- Add a protective barrier over combustible materials like wood shakes or older asphalt shingles
- In some formulations, release water vapour or intumescent char when heated, smothering small ignition sources before they grow
For homes near ravines, wooded lots, or golf courses in York Region and Halton Region, this matters more than most people realize. Dry summer conditions plus wind-blown embers from a brush fire, a barbecue mishap, or fireworks are a realistic scenario, not a hypothetical one. Insurance underwriters in Ontario have also started asking about Class A roof ratings more frequently when renewing policies on older homes, so a documented fire resistant coating can sometimes support a premium discussion with your insurer.
How Fire Resistant Coatings Work: The Chemistry in Plain Language
Most fire resistant roof coatings fall into three broad chemical families, each with a different mechanism:
Intumescent coatings contain compounds that expand and char when exposed to heat, forming an insulating foam layer that starves the fire of oxygen and slows heat transfer to the roof deck below. These are common on commercial flat roofs and are frequently paired with our flat roofing membrane systems.
Ceramic and mineral-based coatings use non-combustible fillers such as ceramic microspheres, vermiculite, or perlite suspended in an acrylic or silicone binder. These do not burn and provide a physical barrier plus reflective properties that reduce surface temperature — a bonus during Toronto’s hot, humid summers.
Elastomeric coatings with fire retardant additives are flexible acrylic or silicone coatings modified with halogen-free or phosphate-based fire retardants. They stretch with the roof’s expansion and contraction through our freeze-thaw winters while still carrying a Class A or Class B fire rating.
Each family has trade-offs in cost, durability, and suitability for different roof types, which we break down in the comparison table below.
| Coating Type | Fire Rating Achieved | Best Roof Substrate | Typical Lifespan | Approx. Cost per Sq. Ft. (Installed, GTA) |
|---|---|---|---|---|
| Intumescent acrylic | Class A (assembly-dependent) | Flat/low-slope membrane, metal | 10-15 years | $1.75 – $2.75 |
| Ceramic/mineral acrylic | Class A or B | Asphalt shingle, tile, metal | 12-20 years | $2.00 – $3.25 |
| Silicone elastomeric FR | Class A | Flat membrane (EPDM, TPO) | 15-20 years | $2.50 – $3.75 |
| Fire retardant shake treatment | Class B (treated wood) | Cedar shake, wood shingle | 5-8 years (needs reapplication) | $1.50 – $2.25 |
| Basic acrylic (no FR additive) | No official rating | Any | 8-12 years | $1.00 – $1.60 |
Notice that basic acrylic roof coatings, while useful for waterproofing and reflectivity, do not carry a fire rating on their own. If fire safety is your primary goal, you need a product specifically formulated and third-party tested for fire resistance — not just any elastomeric coating pulled off a hardware store shelf.
Tip 1: Match the Coating to Your Actual Roof Type
The single biggest mistake we see homeowners make is buying a fire resistant coating designed for flat commercial membranes and trying to apply it to a sloped asphalt shingle roof, or vice versa. Compatibility matters both for the coating’s fire performance and for basic adhesion.
If you have a low-slope or flat roof — common on additions, garages, and many Toronto semi-detached homes — a silicone or acrylic elastomeric fire retardant coating bonds well to EPDM rubber, TPO, or modified bitumen. Our flat roofing team applies these as part of routine maintenance or as a standalone fire-safety upgrade.
If you have asphalt shingles, most fire resistant coatings are only appropriate on shingles that are still in reasonably sound condition — not curling, cracked, or missing granules. Applying a coating to a failing shingle roof is a short-term patch, not a real solution, and we will tell you honestly if your roof needs a roof repair first or a full roof replacement instead.
Cedar shake and wood shingle roofs are a special case. These already carry the highest inherent fire risk of any common Ontario roofing material, and fire retardant shake treatments require reapplication every 5-8 years to stay effective, since UV exposure and rain gradually leach out the fire retardant compounds.
Tip 2: Prep the Surface Properly — Skipping This Step Voids Everything
Fire resistant coatings are only as good as their bond to the substrate. Manufacturers’ fire ratings are typically achieved and tested on a properly prepared surface, and a poorly prepped roof can compromise both adhesion and the coating’s actual fire performance in a real event, because thin spots and pinholes create weak points.
Proper preparation for most coating projects includes:
- Pressure washing to remove dirt, algae, and chalking residue
- Repairing any cracks, blisters, punctures, or seam failures before coating
- Allowing the roof to fully dry (typically 24-48 hours depending on humidity)
- Priming bare metal, exposed fasteners, or particularly porous substrates
- Masking flashing, vents, and any areas that should not receive coating
This is also the point where a professional inspection earns its keep. We frequently find soft decking, hidden moisture, or deteriorated flashing during pre-coating inspections that a homeowner would never catch from the ground — issues that need to be addressed through the attic and decking before any coating goes on, or the coating will fail prematurely regardless of its fire rating.
Tip 3: Apply at the Correct Thickness — More Isn’t Always Better
Fire resistant coatings are rated based on a specific dry film thickness (DFT), usually expressed in mils. Under-applying a coating is the most common way homeowners and even some inexperienced contractors accidentally void the fire rating entirely — a coating tested at 20 mils dry film thickness does not perform the same at 8 mils.
Conversely, over-applying in a single coat can cause the coating to crack, blister, or fail to cure properly, which also compromises fire performance and can trap moisture underneath. Most manufacturers specify two to three coats applied in thin, even layers, with adequate cure time between coats — rushing this process in the name of finishing a job faster is a false economy.
| Application Step | Recommended Practice | Common Mistake | Consequence of Mistake |
|---|---|---|---|
| Surface prep | Clean, dry, repaired substrate | Coating over dirt/moisture | Poor adhesion, early peeling |
| Priming | Prime porous/bare areas per spec | Skipping primer to save time | Uneven absorption, weak bond |
| Coat thickness | Meet manufacturer’s rated DFT | Applying one thin coat | Fire rating not achieved |
| Cure time between coats | Follow humidity/temp chart | Recoating too soon | Blistering, trapped solvent |
| Weather conditions | Dry, 10-32°C, low wind | Applying before rain or in high heat | Washout or skinning defects |
Summer in the GTA is actually one of the better windows for coating projects, since most fire resistant acrylic and silicone products need daytime temperatures above roughly 10°C and enough dry weather to cure fully before rain returns. July and August give installers the reliable multi-day dry stretches these coatings need.
Tip 4: Understand What a Coating Can and Cannot Protect Against
Homeowners sometimes assume a fire resistant coating means their roof is now immune to fire damage. It is important to set realistic expectations, because overconfidence in a coating’s capabilities is itself a safety risk.
A quality fire resistant coating will generally:
- Resist ignition from small embers, sparks, or a dropped cigarette
- Slow the spread of flame across the roof surface if a fire does start
- Buy additional time for fire services to respond
- Reduce heat transfer into the attic space in some formulations
It will not:
- Stop a fire that is already fully involved inside the attic or structure
- Protect against direct, sustained flame contact from an adjacent structure fire
- Replace proper attic ventilation, which itself affects how a fire behaves in the roof assembly
- Substitute for basic fire safety practices like clearing gutters of dry leaves and keeping trees trimmed back from the roofline
We always recommend pairing a fire resistant coating with good attic ventilation and insulation practices, since a well-ventilated attic reduces heat buildup and moisture, both of which affect overall roof assembly performance and longevity — fire safety and general roof health go hand in hand.
Tip 5: Budget for Reapplication and Ongoing Maintenance
Fire resistant coatings are not a one-time, forever solution. Like any coating system, they degrade gradually from UV exposure, thermal cycling, and general weathering, and their fire performance can decline before the coating looks visibly worn.
Plan for periodic inspection and eventual recoating on this rough schedule:
| Coating Type | Inspect Every | Typical Recoat Interval | Signs You Need to Recoat Sooner |
|---|---|---|---|
| Intumescent acrylic | 2 years | 10-15 years | Chalking, thinning at seams |
| Ceramic/mineral acrylic | 2 years | 12-20 years | Colour fade, hairline cracking |
| Silicone elastomeric FR | 3 years | 15-20 years | Loss of gloss, ponding water marks |
| Fire retardant shake treatment | 1 year | 5-8 years | Visible wood greying, splitting |
Set a reminder to have your roof inspected after major weather events — freeze-thaw cycles each spring, summer hailstorms, and heavy wind events can all create small punctures or seam separations that undermine an otherwise sound coating. An annual or biannual check from our team, alongside routine roof repair maintenance, keeps small issues from becoming safety gaps.
Fire Resistant Coatings vs. Other Roof Fire Safety Upgrades
Coatings are one tool among several for improving a roof’s fire safety profile. Depending on your roof’s age, material, and location, other upgrades may make more sense on their own or in combination with a coating.
| Upgrade Option | Fire Safety Benefit | Typical Cost Range (GTA) | Best For |
|---|---|---|---|
| Fire resistant coating | Moderate — slows ignition/spread | $1.50 – $3.75/sq ft | Sound roofs needing an upgrade, not a rebuild |
| Class A shingle replacement | High — full assembly rating | $5.50 – $9.00/sq ft | Roofs already due for replacement |
| Ember-resistant vent upgrades | High for attic ignition specifically | $150 – $450 per vent | Homes near ravines/wooded lots |
| Metal roofing conversion | Very high — non-combustible surface | $9.00 – $14.00/sq ft | Long-term fire-conscious rebuilds |
| Gutter guards + tree trimming | Reduces ember fuel load | $400 – $1,200 total | Every home, regardless of roof type |
If your roof is nearing the end of its service life anyway, it often makes more financial sense to invest in a Class A rated shingle or membrane during a full roof replacement rather than coating a roof that will need replacing again within a few years. Our team can walk through this cost comparison honestly during an on-site assessment rather than upselling a coating that will not serve you long-term.
Skylights, Flashing, and Other Fire-Vulnerable Roof Penetrations
Every penetration through your roof surface — skylights, vent stacks, chimneys — is a potential weak point where embers can gather, water can pool, and coatings can thin out prematurely at the flashing edges. This is especially relevant for GTA homes with older skylights, where aging seals and flashing can trap debris.
If your skylight flashing is original to a home built before double-pane glazing became standard, it is worth having it evaluated alongside any fire coating project. In some cases, a skylight replacement with modern, better-sealed units addresses both energy efficiency and fire safety at the same time, since debris and dry leaves tend to accumulate less around newer, tighter-fitting frames.
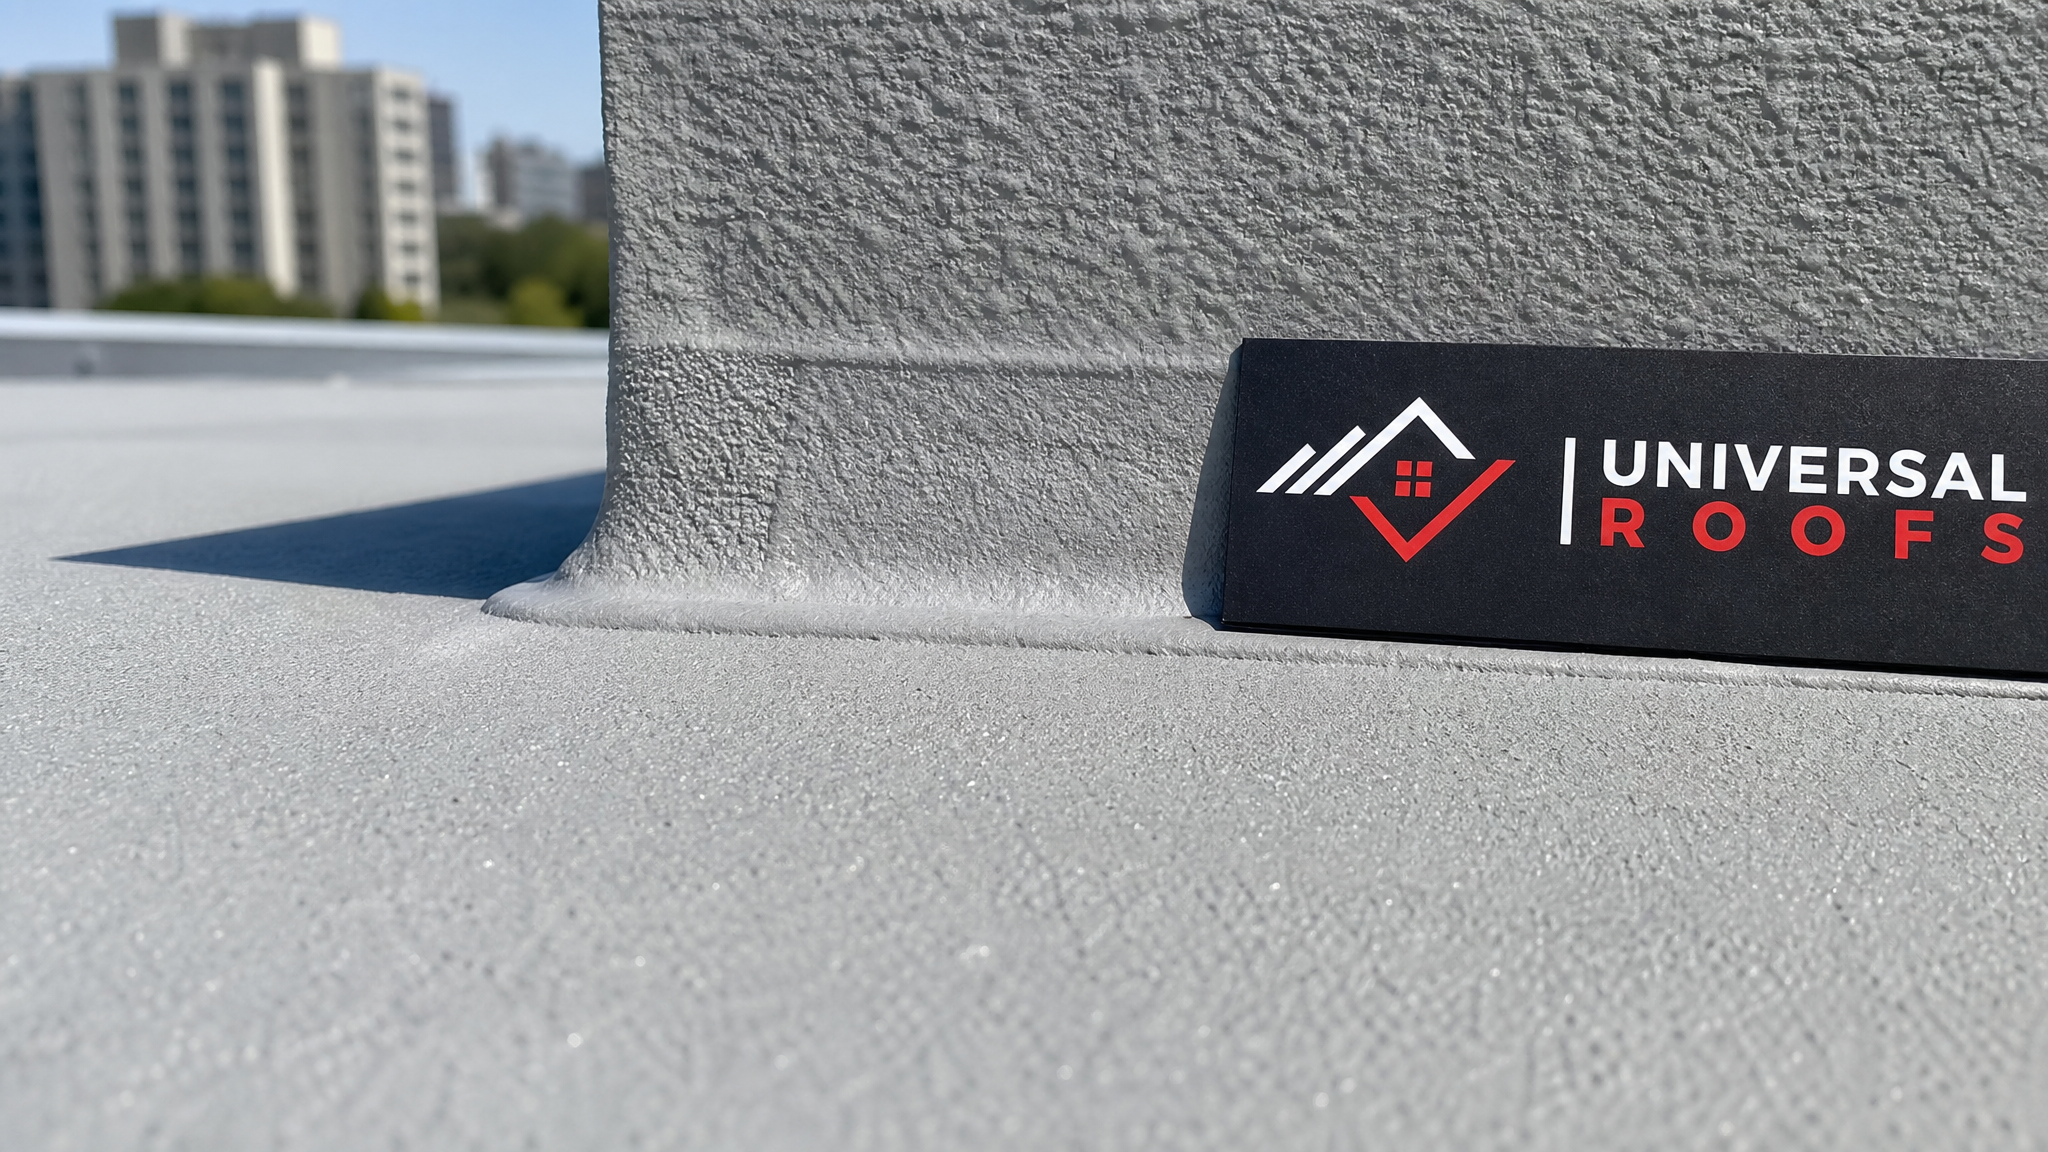
When we coat a roof with penetrations, we pay particular attention to feathering the coating properly around flashing edges and ensuring full manufacturer-specified thickness is maintained right up to the penetration, not just across the open field of the roof.
Regional Considerations Across the GTA
Fire risk and roof coating needs vary somewhat across the region we serve. Homes in Toronto proper, particularly in denser neighbourhoods, face more risk from structure-to-structure fire spread and embers travelling between closely spaced homes. Properties in Peel Region and York Region that back onto ravines, golf courses, or wooded corridors carry more wildland-urban interface risk, especially during dry summer stretches like the one we are in now.
In Halton Region, larger lots and more mature tree canopy mean gutter and roof debris accumulation is a bigger factor in ember-related risk. Meanwhile, Durham Region homeowners closer to rural and agricultural land sometimes deal with seasonal field-burning smoke and ember drift that urban Toronto homes rarely encounter.
Local building codes across these municipalities generally reference the Ontario Building Code’s fire-rating requirements for roof coverings on new construction, but coatings applied to existing roofs as an upgrade are typically a homeowner choice rather than a code requirement — which is exactly why an informed decision matters. Every property we assess gets recommendations specific to its actual site conditions, not a generic checklist.
Cost Factors That Affect Your Final Quote
When we prepare a quote for a fire resistant coating project, several factors move the price beyond the simple per-square-foot numbers in the tables above:
- Roof accessibility — steep slopes or multi-storey homes require more scaffolding and safety equipment
- Substrate condition — extensive prep work for a neglected roof adds labour
- Number of penetrations — more vents, skylights, and chimneys mean more detail work
- Coating brand and rating level — Class A rated products cost more than Class B
- Square footage — larger flat commercial roofs often have better per-foot pricing than small residential jobs
We provide itemized, written quotes so you can see exactly what you are paying for — prep work, primer, number of coats, and the specific product’s fire rating documentation. You can also read what past clients say about our transparency and workmanship on our reviews page before booking.
Common Mistakes That Undermine Fire Resistant Coatings
Beyond the application errors already covered in Tips 2 and 3, we regularly see a few other issues that reduce a coating’s real-world fire performance:
- Using a generic “cool roof” reflective coating and assuming it carries a fire rating it was never tested for
- Coating over existing debris trapped in valleys or behind chimneys, creating hidden fuel pockets under the new film
- Ignoring gutter maintenance, allowing dry leaf litter to build up against the coated roof edge every autumn
- Failing to re-inspect after storm damage, letting small punctures go unnoticed for years
- Choosing the cheapest available product without checking for actual ULC or ASTM fire-rating documentation
Ask any contractor for the specific test data and Class rating (A, B, or C) for the exact product they are proposing — not just a verbal assurance that it is “fire resistant.” Legitimate manufacturers publish this documentation freely, and a professional installer should be able to produce it on request.
When a Coating Isn’t the Right Answer
Honesty matters more than a sale. There are situations where we will recommend against a fire resistant coating:
- The roof deck has structural rot or moisture damage that needs repair first
- The existing shingles are past 80% of their expected service life
- The roof has extensive prior patch-repairs that create an inconsistent substrate
- A full roof replacement with a Class A rated material is a better long-term value than repeated recoating
In these cases, a coating simply delays an inevitable replacement while giving a false sense of security. We would rather tell you that upfront than sell a short-term fix. Check our FAQ page for more on how we approach these assessments, or read more about our inspection philosophy.
How can I enhance roof safety with fire resistant coatings in 5 practical steps?
Do fire resistant roof coatings actually stop a fire completely?
How much does a fire resistant roof coating cost in the Toronto area?
Can I apply a fire resistant coating to any roof type?
How often do fire resistant roof coatings need to be reapplied?
Is a fire resistant coating better than replacing my roof for fire safety?
Need Help With Enhance Roof Safety with?
Fire resistant coatings are a genuinely valuable safety upgrade when matched to the right roof and installed correctly — but the details matter as much as the product you choose. Universal Roofs has been assessing and upgrading roofs across the GTA since 2005, and we will always give you a straightforward, honest recommendation for your specific roof.
Call us today at (416) 732-2421 or request a free inspection to get started.
Universal Roofs proudly serves Toronto, Mississauga, Brampton, Vaughan, Markham, Oakville and the GTA since 2005.