
Metal roofing has become one of the most popular upgrades for homeowners across the Greater Toronto Area, and it is easy to see why. It shrugs off hail, sheds snow load quickly, and can outlast three or four generations of asphalt shingles. But even the toughest metal roof eventually needs attention, and when a homeowner spots a lifted panel, a rusting fastener, or a small leak around a flashing detail, the question that comes up almost immediately is whether this is something to tackle personally or something that belongs in the hands of a licensed contractor.
The honest answer is more nuanced than a simple yes or no. There are genuinely a handful of small, low-risk metal roof repairs that a reasonably handy homeowner can attempt safely from a stable ladder, with the right tools and the right weather. There are also a much longer list of situations where DIY metal roof repair turns a $300 problem into a $3,000 one, or worse, sends someone to the emergency room. This guide walks through exactly where that line sits, what tools and materials are involved, what it actually costs to do it yourself versus hiring a professional, and how to tell the difference between a repair you can handle and one that needs a trained crew with fall protection and proper equipment.
We wrote this guide from the perspective of Toronto-area roofs specifically, because our freeze-thaw cycles, ice damming, and summer thunderstorm patterns change the calculus in ways that generic American roofing articles do not cover. If you are staring at a metal roof problem right now and trying to decide whether to grab a caulking gun or call for help, this is the resource that will get you there.
What Counts as a Safe DIY Metal Roof Repair
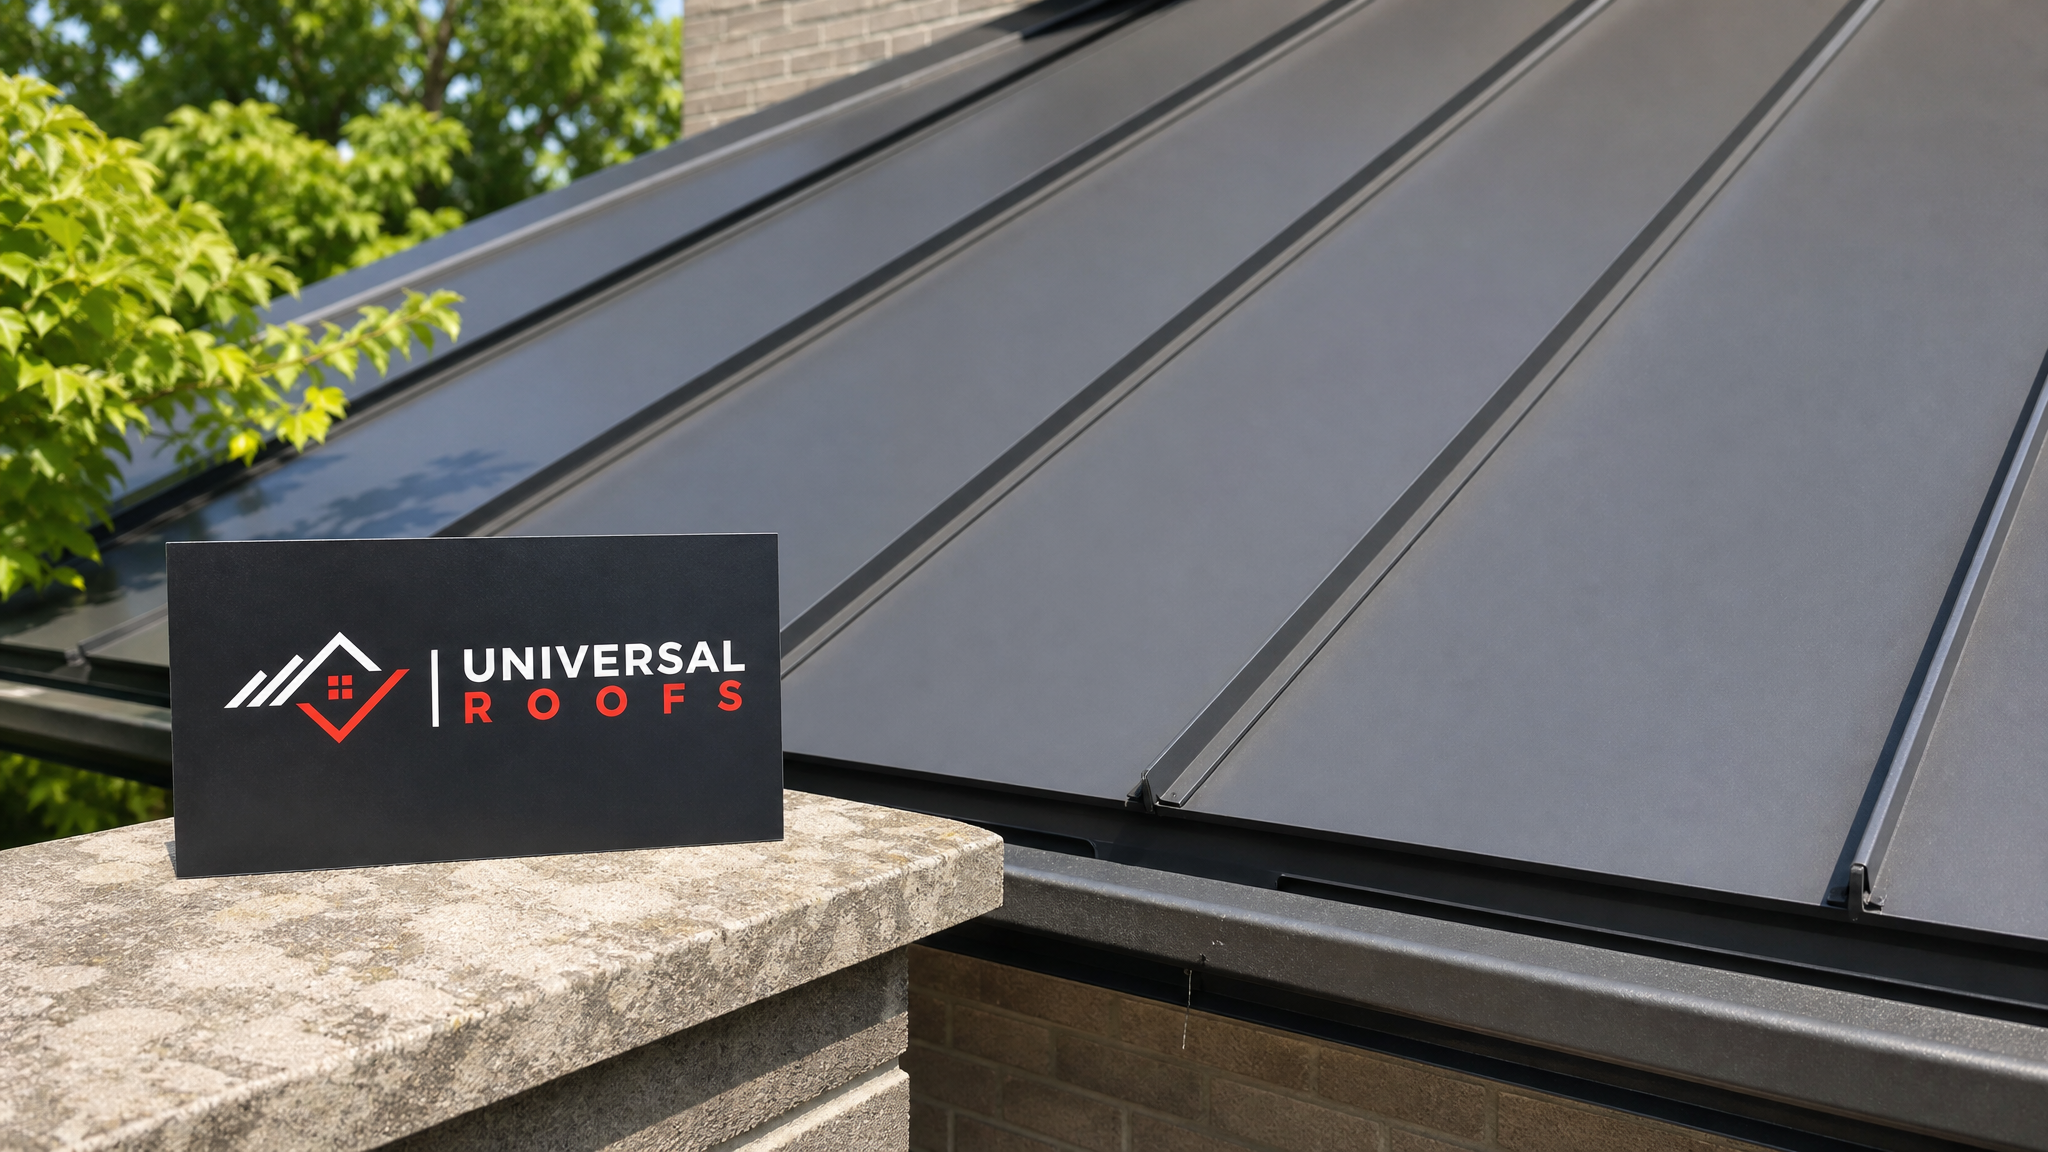
Before reaching for a ladder, it helps to sort metal roof problems into categories based on actual risk and skill level. Not every issue on a metal roof requires a crew. Some genuinely small, cosmetic, or ground-accessible fixes are within reach of a careful homeowner, provided the roof pitch is low, the weather is dry, and the area of concern is easy to reach without walking across large panel spans.
Good candidates for a DIY approach typically include a single popped or backed-out screw fastener that is visible and accessible near the eave, a small area of surface rust that has not yet penetrated the panel, minor scuffing or scratched paint that needs a touch-up coat, or a loose piece of trim along a fascia that can be re-secured from a ladder without stepping onto the roof deck at all. These are the kinds of jobs where a mistake costs you an afternoon, not a structural repair.
On the other end of the spectrum, anything involving standing seam panel separation, valley flashing, chimney or skylight flashing, structural fastener failure, or repairs above a single storey should be handed to a professional. The roof repair specialists who do this daily understand panel overlap tolerances, thermal movement, and the fastener patterns that keep a metal roof watertight for decades, and getting those details wrong is what turns a small leak into a full re-roof.
| Repair Type | DIY Suitability | Typical Skill Level | Risk If Done Incorrectly |
|---|---|---|---|
| Single popped screw near eave | Good DIY candidate | Beginner | Low — easy to redo |
| Surface rust spot treatment | Good DIY candidate | Beginner | Low — cosmetic only |
| Loose fascia or trim piece | Good DIY candidate | Beginner-Intermediate | Low-Medium |
| Standing seam separation | Not recommended | Advanced/Professional | High — active leak risk |
| Valley or chimney flashing | Not recommended | Professional | High — structural water intrusion |
| Panel replacement | Not recommended | Professional | Severe — voids warranty, fall risk |
Tools and Materials You Actually Need
If your repair falls into the safe DIY category, having the correct materials makes an enormous difference in how long the fix lasts. Metal roofing is unforgiving of shortcuts — the wrong sealant, the wrong fastener, or the wrong touch-up paint will fail within a single Toronto winter, and you will be back on the ladder before spring.
The essential kit for a basic metal roof touch-up includes a tube of high-quality butyl or polyurethane roofing sealant rated for metal substrates (never use standard silicone caulk, which does not bond properly to painted steel or aluminum and will peel within months), a caulking gun, a wire brush for removing rust and loose paint, a can of rust-inhibiting primer, colour-matched touch-up paint formulated for exterior metal roofing, replacement neoprene-washer roofing screws in the correct gauge, a cordless drill with a hex driver bit, and a stable extension ladder rated for the height involved with proper standoffs.
For anything beyond that basic list — tin snips, seam crimping tools, a chalk line for panel alignment, or specialty flashing tape — you have crossed into territory that usually signals the job itself has grown beyond a simple patch. If you find yourself needing to special-order tools you have never used before, that is a strong signal to call a professional instead.
| Tool or Material | Purpose | Approximate Cost (CAD) | DIY-Friendly? |
|---|---|---|---|
| Butyl/polyurethane roof sealant | Sealing small gaps and fastener heads | $15–$25/tube | Yes |
| Neoprene-washer roofing screws | Replacing popped fasteners | $10–$20/box | Yes |
| Rust-inhibiting primer + touch-up paint | Colour-matching and corrosion protection | $25–$40/set | Yes |
| Seam crimping tool | Re-securing standing seam joints | $150–$300 | No — specialist tool |
| Fall protection harness and anchor kit | Working safely at height on steep pitch | $200–$500 | Rarely justified for one repair |
Step-By-Step: Fixing a Popped Fastener or Small Rust Spot
For the repairs that genuinely are appropriate for a homeowner, here is the process a professional crew would follow, scaled down to what is safe to do from a secure ladder or a low-pitch, walkable roof section.
Start by inspecting the fastener or rust spot in dry weather with no wind. Metal roofs become dangerously slick with morning dew or overnight condensation, so always wait until the surface has fully dried and the temperature is comfortable enough that the sealant will cure properly — most products need temperatures above 10°C to bond correctly, which favours late spring through early autumn work in this climate.
For a popped screw, back it out completely rather than trying to drive it back into the same worn hole, since a stripped hole will never hold torque again. Move over slightly to fresh material, or use a slightly larger-gauge replacement screw with an intact neoprene washer, and drive it in straight until the washer compresses evenly without over-tightening, which can crack the washer and create a new leak point.
For surface rust, use the wire brush to remove all loose scale down to sound metal, wipe the area clean of dust, apply a thin coat of rust-inhibiting primer, let it cure fully per the manufacturer’s instructions, then apply colour-matched touch-up paint in thin, even coats rather than one thick layer that will crack as it dries. Allow at least 24 hours of dry weather after painting before the area is exposed to rain.
Once any repair is complete, run a garden hose test from the ground on a warm day and have a second person check the underside from the attic space for any sign of moisture. This single step catches problems before they become drywall stains or insulation damage, and it is far easier to do while you are still set up than to discover a failed repair mid-winter.
Why Metal Roof Repair Is Riskier Than It Looks
Metal roofing looks deceptively simple — it is just sheets of coated steel or aluminum, after all — but the physics of how it performs are considerably more particular than asphalt shingles, and that is exactly where DIY attempts go wrong most often.
The first issue is thermal movement. Metal panels expand and contract significantly more than shingles across a Toronto summer-to-winter temperature swing, sometimes moving several millimetres along their length. Fasteners and sealants must accommodate this movement, which is why generic construction adhesive or standard caulk fails within a season: it simply cannot flex the way the specialized products can. A homeowner who does not know this will often use whatever sealant is in the garage, and the repair fails by the first hard freeze.
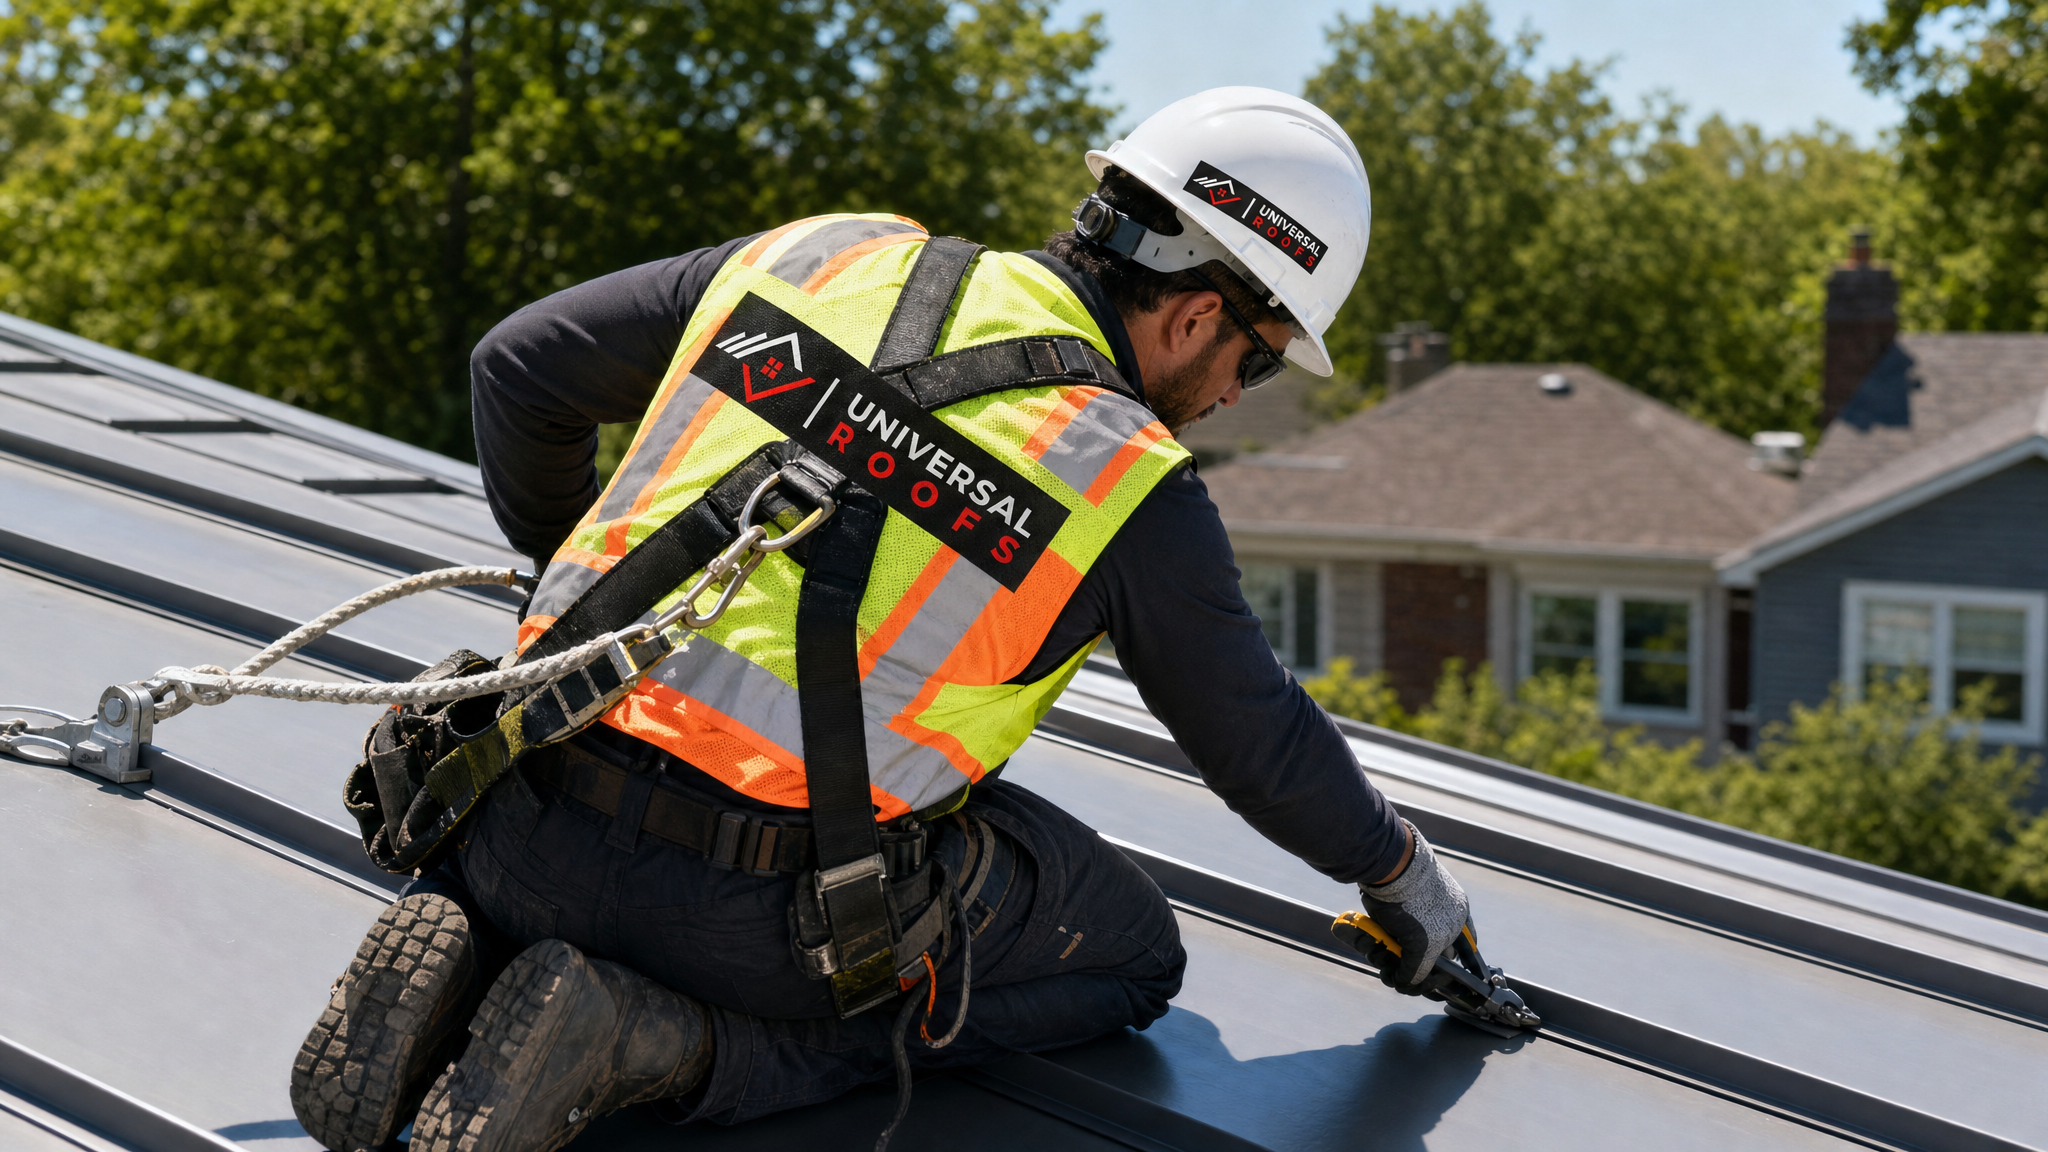
The second issue is walkability. Standing seam and many profiled metal panels are only safe to walk on along specific ribs or with proper roof-walking pads, and stepping in the wrong location can permanently dent or oil-can the panel, creating a cosmetic and sometimes structural problem that is expensive to reverse. Professionals know exactly where the load-bearing points are on each panel profile; most homeowners do not, and this alone accounts for a large share of the “small repair turned expensive mistake” calls we receive.
The third issue is fall risk, which is not theoretical. Falls from residential roofs remain one of the leading causes of serious injury in home improvement work in Canada, and metal roofing is measurably more slippery than shingles, especially with any morning dew, frost, or algae film present. A professional crew works with harnesses, anchor points, and rope systems precisely because the consequences of a slip are severe, and that infrastructure is simply not something most households have or should invest in for a single repair.
DIY Versus Professional Repair: A Cost and Timeline Comparison
Cost is usually the first question homeowners ask, and it is worth being honest about the real numbers rather than the marketing version. A DIY fastener or rust touch-up genuinely does cost very little in materials. But when that comparison is stretched to cover flashing, seam, or structural repairs, the “DIY savings” evaporate quickly once you account for a failed attempt, water damage remediation, and the eventual professional visit that follows anyway.
| Repair Scenario | DIY Cost | Professional Cost | Typical Timeline |
|---|---|---|---|
| Single popped fastener | $15–$30 in materials | $150–$250 service call | 30–60 minutes |
| Small rust spot touch-up | $30–$50 in materials | $200–$350 | 1–2 hours |
| Standing seam re-crimp | Not recommended (tool cost $150+, high failure rate) | $400–$800 | Half day |
| Flashing replacement (chimney/valley) | Not recommended | $600–$1,500 | Half to full day |
| Failed DIY repair remediation | Original cost plus new damage | $800–$3,000+ | 1–3 days |
The pattern in that table is the important takeaway: the professional cost for the small jobs is disproportionately high relative to the DIY cost because contractors have minimum service call fees, but the professional cost for the complex jobs is actually the cheaper long-run option once you weigh the risk of a failed attempt. This is exactly why we tell homeowners to be honest with themselves about which category their repair falls into before picking up a caulking gun.
Warning Signs That Mean You Should Stop and Call a Professional
Even a repair that started out looking simple can reveal bigger problems once you get a closer look. Knowing when to stop is just as important as knowing how to start, and this is the point where many DIY attempts should pivot to a phone call instead of a second trip to the hardware store.
Stop and call a professional if you notice any of the following during your inspection: rust or corrosion that has fully penetrated the panel rather than sitting on the surface, soft or spongy decking felt underfoot near the repair area (a sign of rotted sheathing beneath the metal), staining or discolouration on the attic side of the roof deck indicating an active or historical leak, separation at a standing seam joint rather than a single loose fastener, any damage near a chimney, vent stack, or skylight flashing, or a roof pitch steep enough that you cannot comfortably and safely stand without a harness.
Any of these situations indicates the problem is either larger than it appears from the ground or requires equipment and expertise beyond a basic repair kit. In these cases, a proper inspection from a licensed Universal Roofs technician will identify the full scope of the issue rather than just patching the visible symptom, which is often what separates a lasting fix from a repeat call next season.
How Toronto’s Climate Changes the Repair Equation
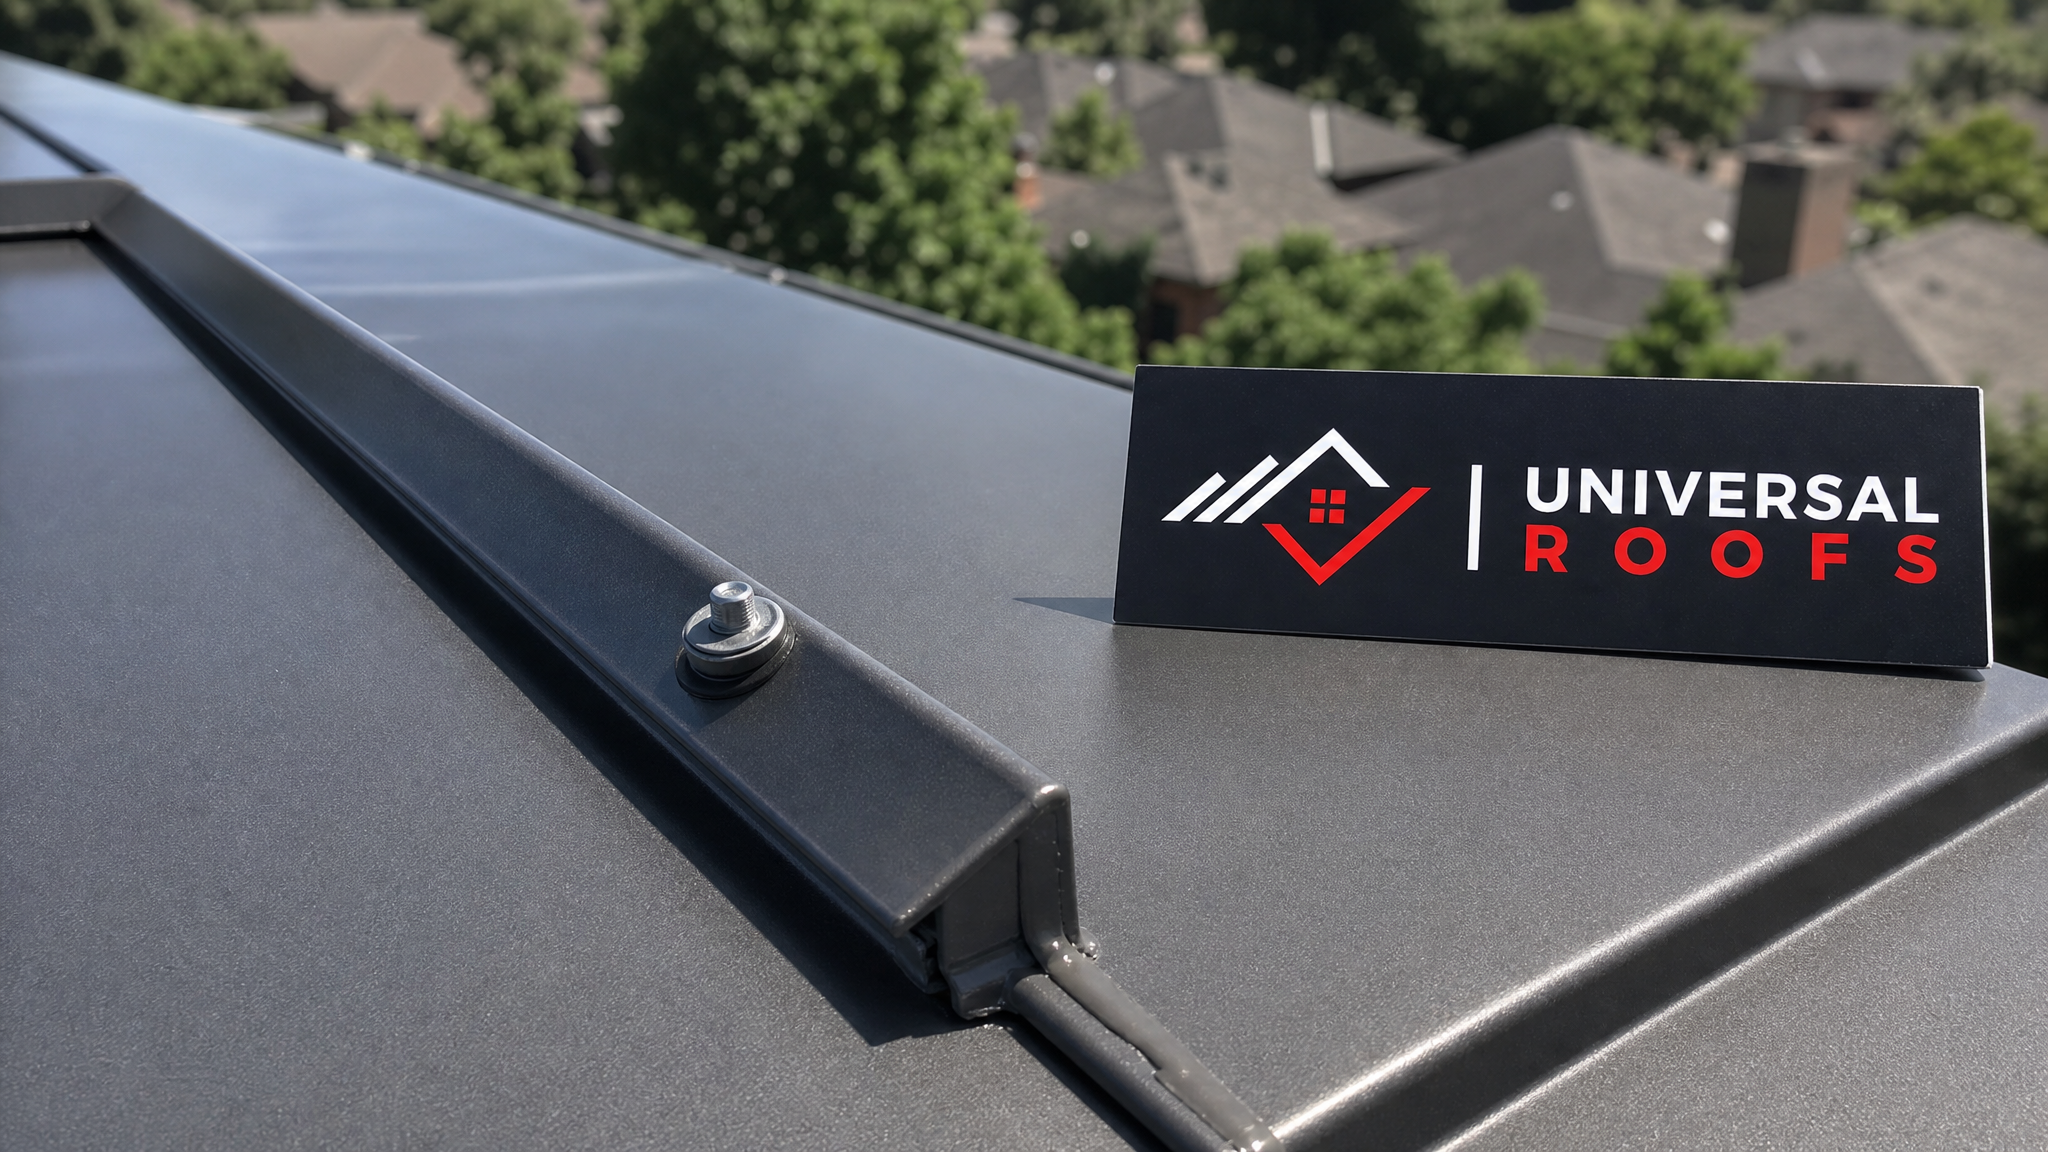
Every roofing decision in the GTA has to account for our climate swings, and metal roof repair is no exception. Summers bring intense UV exposure and sudden thunderstorms that test any repair almost immediately, while winters bring ice damming, heavy snow load, and repeated freeze-thaw cycles that can pry open a poorly sealed repair within a single season.
This is one of the biggest reasons a rushed or improperly sealed DIY repair tends to fail specifically in this region compared to milder climates. A sealant that looks fine in July can crack by February once it has gone through several freeze-thaw cycles, and water that finds its way behind a panel during a winter thaw has nowhere to drain until the next warm spell, which is exactly the mechanism behind most hidden attic damage. If your home has a poorly ventilated attic space, trapped moisture from a failed repair can sit for months before anyone notices the damage.
Because of this seasonal pressure, timing matters. Late spring through early autumn — including right now in the summer months — is genuinely the best window to attempt any DIY repair or to schedule a professional visit, since materials cure properly in warm, dry weather and any issues can be caught and corrected well before winter arrives. Waiting until October or November to address a small issue often means the repair happens under worse conditions with less margin for error.
When a “Repair” Is Actually a Sign You Need a Roof Replacement
Sometimes what looks like a single repairable issue is actually the first visible symptom of a metal roof reaching the end of its service life, or of an installation that had underlying problems from day one. Widespread fastener failure across many panels, chronic rust appearing in multiple unrelated locations, or a pattern of repeated leaks after previous patch jobs are all signs that patching is only delaying an inevitable larger project.
In these cases, continuing to chase individual repairs can end up costing more over several years than simply moving to a roof replacement once and addressing the underlying cause. A proper assessment can tell you honestly whether you are looking at a $200 fix or a $200 fix that will be followed by five more over the next two years. If your home also has a flat roofing section, skylight, or other transition point near the area of concern, these junctions are common failure points that are worth having checked at the same time, since a metal roof rarely fails in isolation from the rest of the roofing system around it.
It is also worth having any nearby skylights inspected during the same visit, since flashing around a skylight is one of the most common sources of a leak that homeowners initially misdiagnose as a metal panel problem. If the skylight itself is original to an older roof, a skylight replacement done alongside the roof work often prevents a second service call within the same year.
Getting a Second Opinion Before You Commit to DIY
If you are still unsure whether your specific situation is a safe DIY project or one that needs a professional, the lowest-risk move is simply to ask before you climb the ladder. A quick phone conversation or photo review can often settle the question in minutes, and it costs nothing compared to the price of a failed attempt.
Homeowners across Toronto, the Peel Region, York Region, Halton Region, and the Durham Region regularly send in photos of a suspected fastener or rust issue and get a straight answer about whether it is safe to handle themselves. You can also browse our reviews to see how other GTA homeowners have handled similar decisions, or check our FAQ page and our about page for more background on how our team approaches repair versus replacement recommendations.
Why should you try DIY metal roof repair for small issues but not larger ones?
What tools do I need before I try DIY metal roof repair myself?
Is it safe to walk on a metal roof to make a repair?
How does Toronto’s climate affect whether I should try DIY metal roof repair?
What are the warning signs I should stop a DIY metal roof repair and call a professional?
Will attempting DIY metal roof repair void my warranty?
Need Help With Why Should You Try?
Deciding whether to try DIY metal roof repair yourself or bring in a professional does not have to be a guessing game. Universal Roofs has been helping GTA homeowners make that exact call since 2005, and we would rather give you an honest answer over the phone than have you attempt a repair that ends up costing more to fix twice.
Call us today at (416) 732-2421 or request a free inspection to get started.
Universal Roofs proudly serves Toronto, Mississauga, Brampton, Vaughan, Markham, Oakville and the GTA since 2005.