
Metal roofing has become one of the most popular upgrades for homeowners across Toronto, Mississauga, and the surrounding GTA, and for good reason. It shrugs off hail, sheds heavy snow loads, and can last 40 to 70 years when properly maintained. But “properly maintained” is the operative phrase. Even the best-installed metal roof will eventually develop a leak somewhere — usually at a seam, a fastener, a flashing detail, or a penetration point where a vent stack or chimney passes through the panels. The good news is that metal roof leaks are almost always repairable, and most are caused by a small handful of predictable problems.
This guide walks through eight essential tips for metal roof leak repairs, written specifically for homeowners dealing with the freeze-thaw cycles, ice damming, and wind-driven summer storms that define roofing conditions in Southern Ontario. Whether you are trying to diagnose a mystery stain on your ceiling or you already know exactly where the water is getting in, these tips will help you understand what a proper repair actually involves, what it should cost, and when it is time to call a professional rather than climb up there yourself.
If you would rather skip the troubleshooting and have a certified team assess the problem directly, our roof repair specialists handle metal roof leak calls across the GTA every week of the year.
1. Understand Why Metal Roofs Leak in the First Place
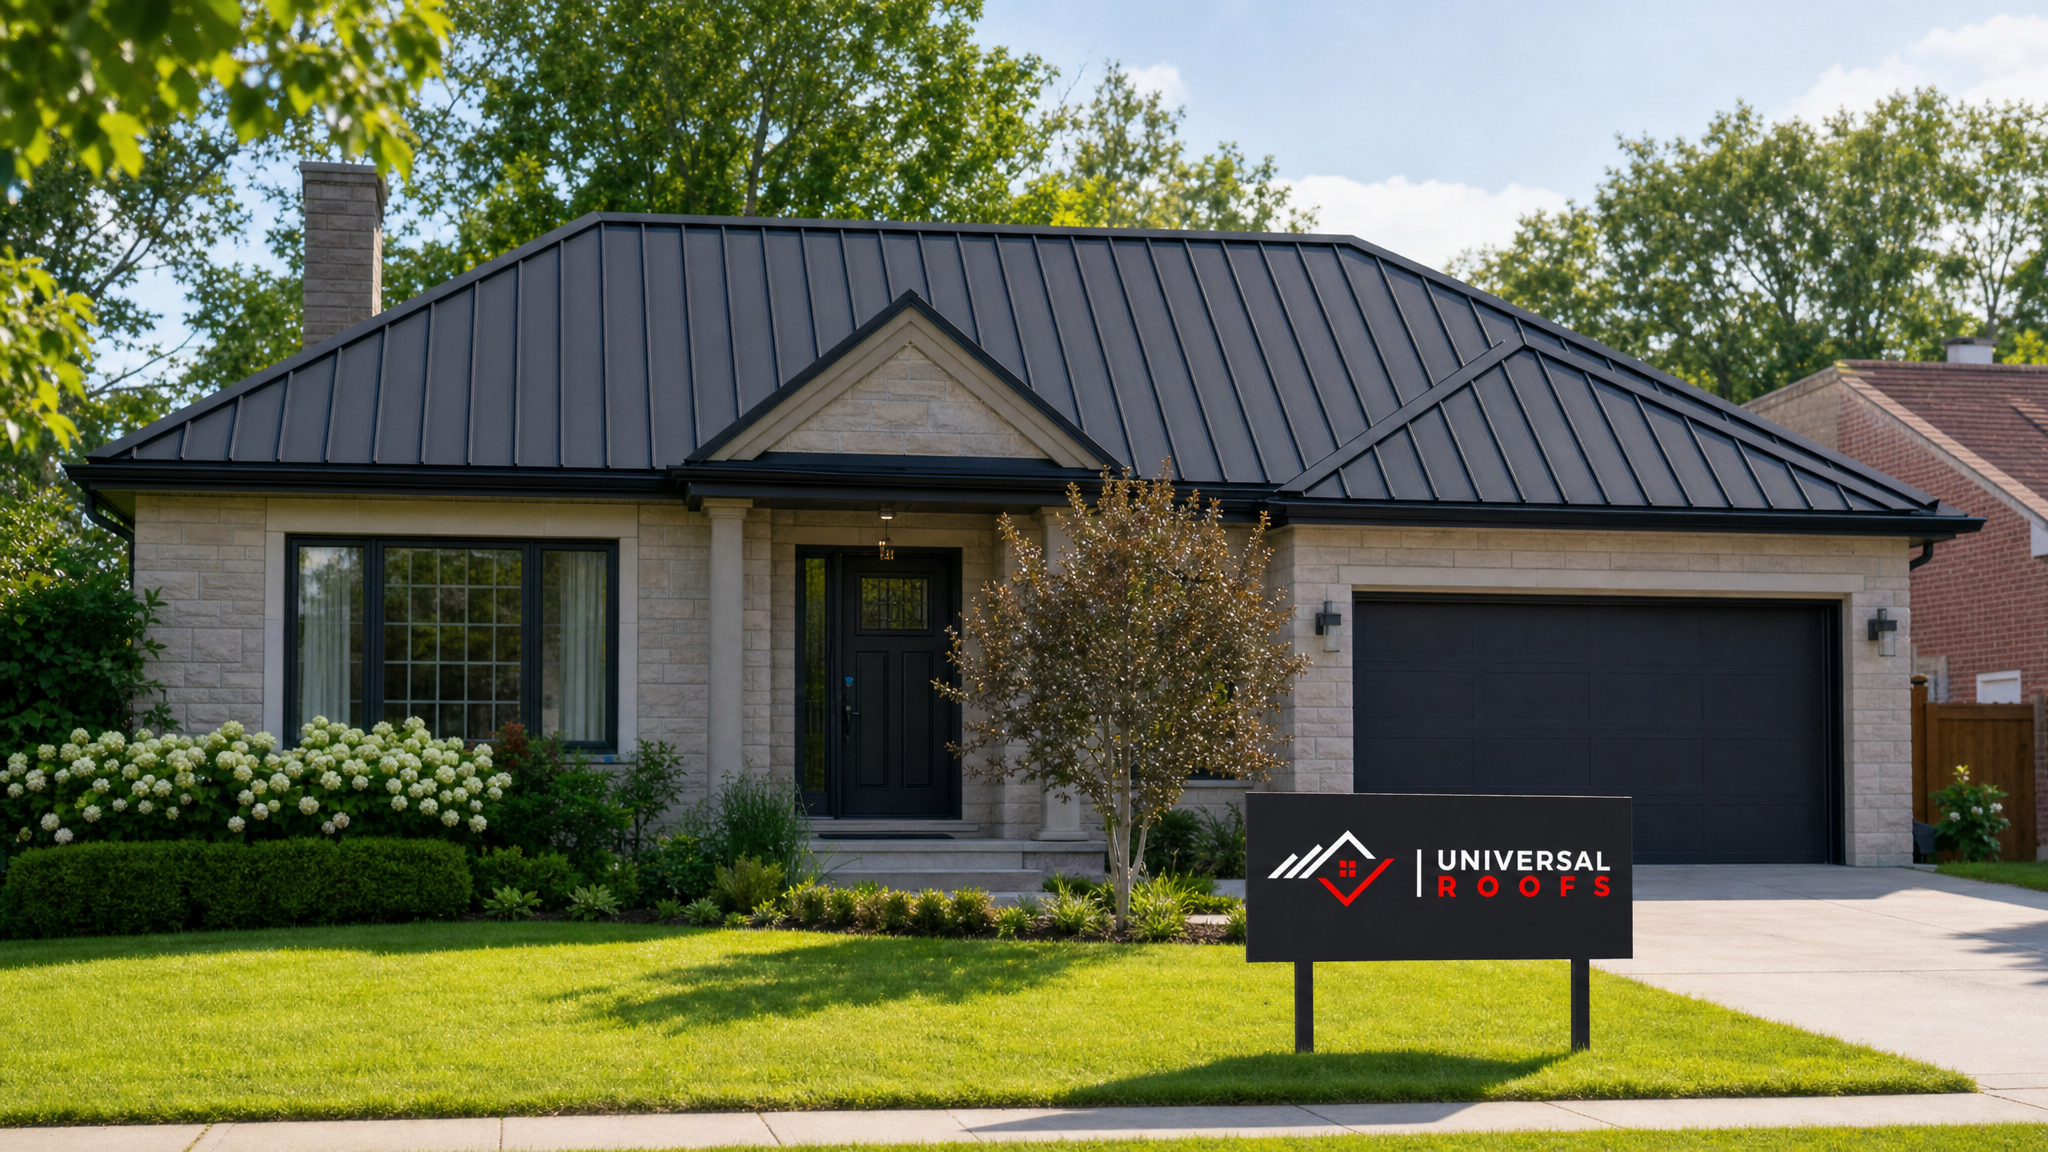
Before you can fix a leak, it helps to understand why metal roofs fail differently than asphalt shingle roofs. A shingle roof leaks when the shingles themselves degrade — granule loss, curling, cracking. A metal roof’s panels rarely fail on their own; the metal itself can outlast the house. Instead, leaks develop at the connection points: where two panels overlap, where a screw penetrates the panel, where flashing meets a wall or chimney, and where the roof changes plane at a valley or ridge.
In the GTA specifically, our climate adds three accelerants. First, the freeze-thaw cycle that runs from November through March expands and contracts metal panels thousands of times per winter, gradually working fasteners loose and cracking sealant that was never rated for the temperature swing. Second, ice damming at the eaves can force meltwater backward under panel laps that were designed to shed water moving downhill, not water pushing uphill. Third, summer thunderstorms bring wind-driven rain that can find its way into laps and seams that would never leak in calm conditions.
Understanding this pattern matters because it tells you where to look first. Roughly 80% of the metal roof leaks our crews diagnose trace back to one of four locations: fastener penetrations, panel side-laps, flashing transitions, or roof penetrations like plumbing vents and chimneys. Very rarely does the flat field of a metal panel actually corrode through and leak, unless the roof is decades old and was never coated.
2. Tip One — Trace the Leak to Its True Source, Not Just the Stain
The single biggest mistake homeowners make is patching the spot directly above an interior water stain. Water on a metal roof travels. It can enter at a fastener near the ridge, run along the underside of a panel rib for two or three metres, then drip onto the underlayment and travel further before finally soaking through insulation and showing up on a bedroom ceiling on the opposite side of the house from where it actually entered.
To trace a leak properly, start in the attic with a flashlight during or immediately after rain. Look for water trails on the underside of the roof deck or on rafters, follow the trail uphill toward its highest point, and mark that location from inside with a nail or piece of tape pushed through the deck so you can find it from the exterior. Only then should you go up on the roof (or have a professional go up) to inspect that specific area for a failed fastener, a lifted seam, or damaged flashing.
If you cannot access the attic or the leak only shows up during specific wind directions, it is worth having our roof repair team run a moisture scan and a controlled water test, which isolates the exact entry point without guesswork.
| Leak Symptom | Likely True Source | How Far Water May Travel | Diagnostic Method |
|---|---|---|---|
| Stain near a light fixture | Nearby vent stack flashing or nail pop | 1–2 metres | Attic flashlight trace |
| Stain along an exterior wall | Step flashing where roof meets wall | Directly below, minimal travel | Visual exterior inspection |
| Stain appears only in windstorms | Lifted side-lap or ridge cap | 2–4 metres along panel ribs | Controlled water test |
| Stain appears only after snow melt | Ice dam forcing water under eave panels | Can travel 3+ metres uphill | Attic inspection post-thaw |
| Ceiling stain far from any visible roof feature | Underlayment failure at an old fastener | Can travel along entire rafter bay | Moisture meter + attic trace |
3. Tip Two — Replace, Don’t Just Reseal, Failed Fasteners
Exposed-fastener metal roofs use screws with a rubber or neoprene washer to create a watertight seal at every point the screw passes through the panel. Over 15 to 20 years of Ontario winters, those washers harden, crack, and shrink away from the screw shaft, and the fastener itself can back out slightly as the panel expands and contracts. A common but flawed repair is simply squirting a bead of caulking over the top of a failing screw head. This buys a season, maybe two, but it does not address the washer underneath, and the leak returns.
The correct approach is to remove the failed fastener entirely, check whether the original hole has enlarged or become oval-shaped from movement, and then either drive a new, slightly larger-gauge screw with a fresh bonded washer, or move over a few centimetres to virgin metal if the hole is too worn to seal reliably. On a full re-fastening job, our crews typically replace every exposed fastener on a roof section at once rather than fastener by fastener, since if one has failed, the neighbouring ones are usually close behind on the same weathering timeline.
4. Tip Three — Treat Seams and Laps as a System, Not a Single Bead of Caulk
Standing-seam and side-lap joints are engineered to shed water through overlap and mechanical seaming, not through sealant alone. Sealant at a seam is a backup layer, not the primary defense. When a seam leaks, it usually means one of three things happened: the mechanical seam was crimped incorrectly during the original installation, thermal movement has pulled the seam open slightly, or debris (leaves, pine needles, granules from a neighbouring roof) has wedged into the seam and is wicking water in by capillary action.
A durable seam repair involves cleaning the joint completely, checking that the seam is still mechanically closed to spec, and using a butyl-based or polyurethane sealant rated for the temperature range our region actually experiences — roughly minus 30°C in January to plus 35°C in July. Silicone sealants, while common, tend to lose adhesion on painted metal panels over a few winters and are not our first choice for structural seam work. If a seam has genuinely separated due to a botched original seaming job, sealant is a stopgap; the real fix is having that section reseamed or the panel replaced, which is a job for a licensed metal roofing crew, not a DIY caulk gun project.
5. Tip Four — Give Flashing the Attention It Deserves
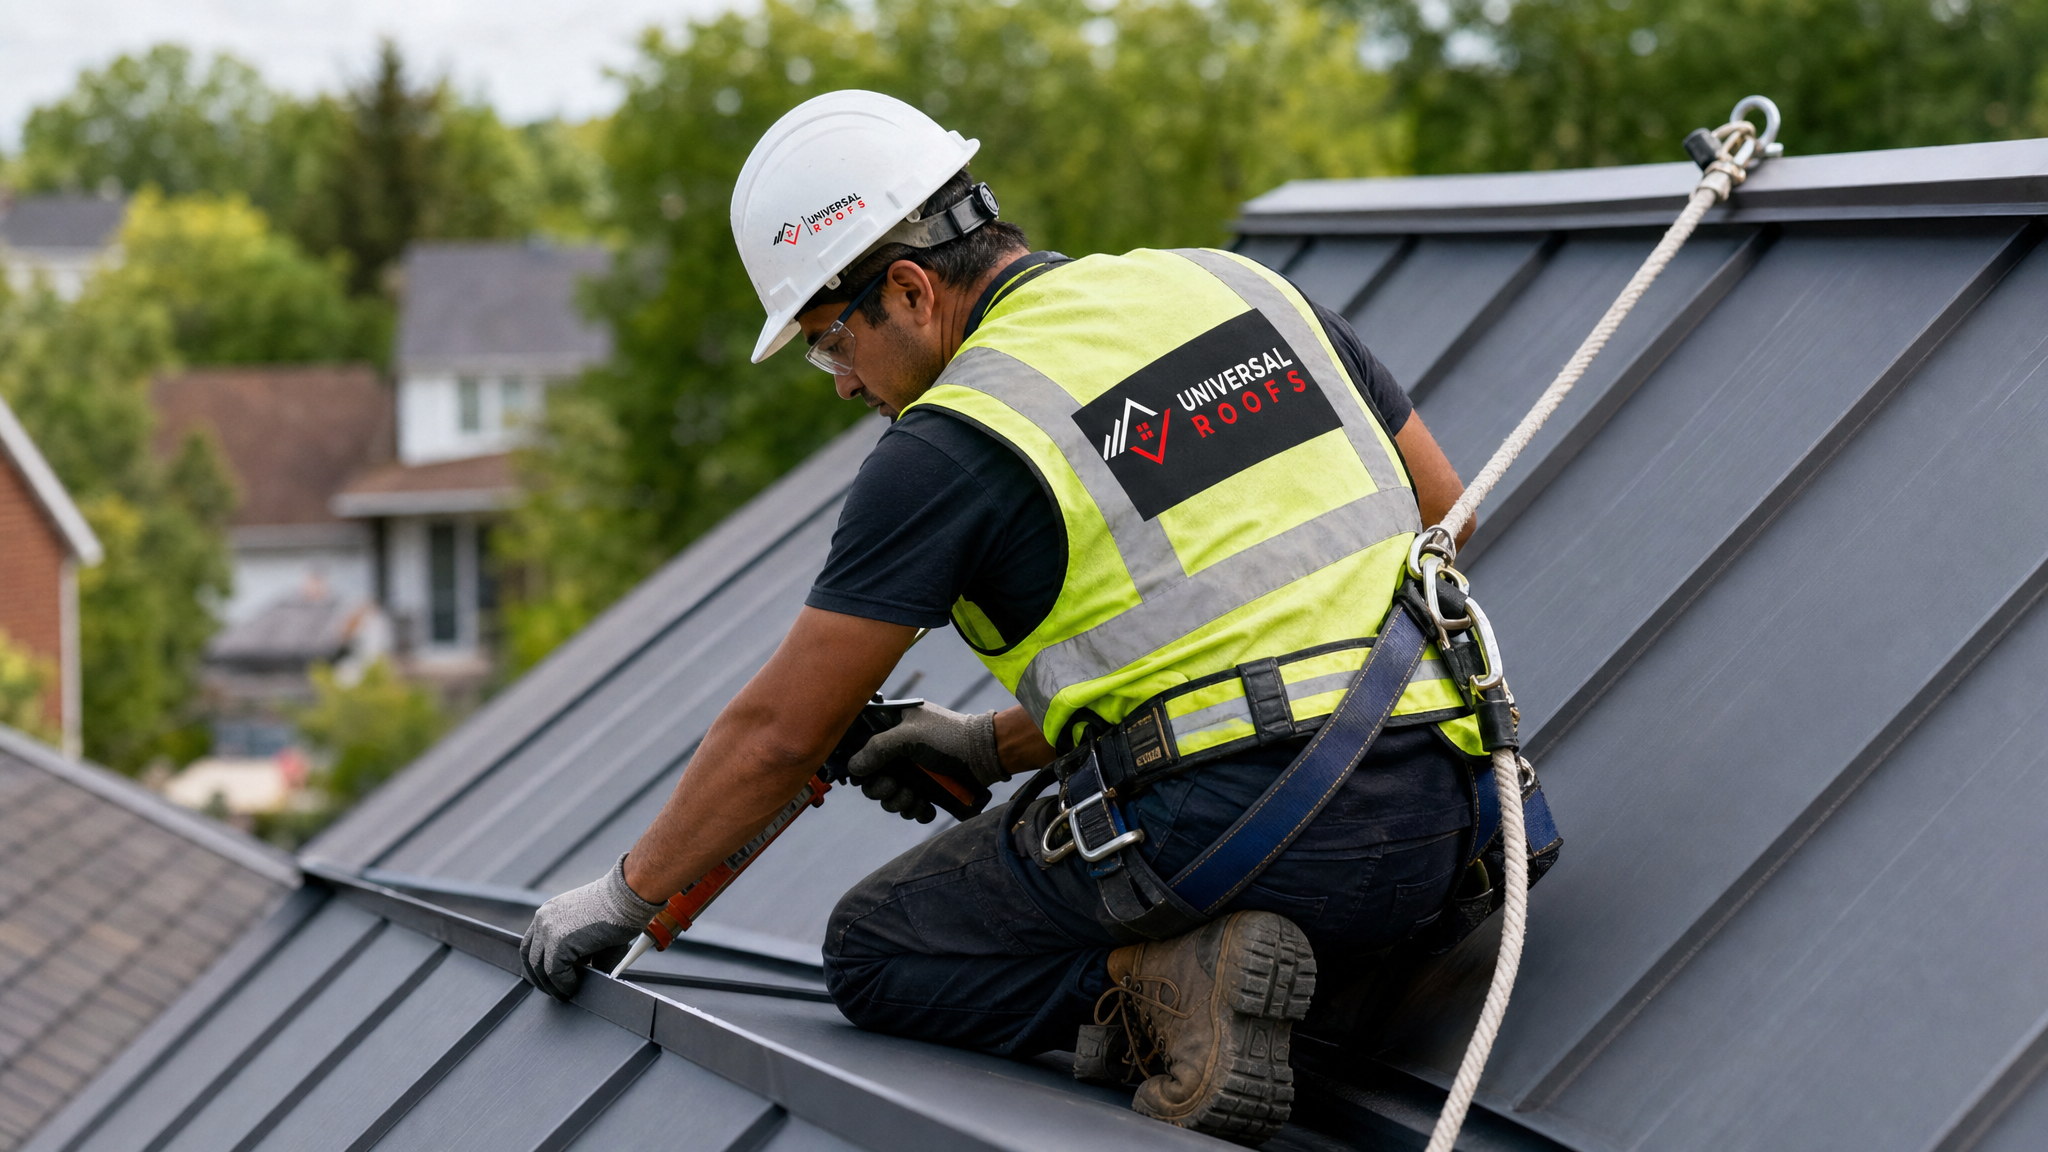
Flashing — the metal strips and pans installed around chimneys, skylights, dormers, and where a roof plane meets a wall — is involved in more metal roof leaks than the panels themselves. Flashing is a separate component from the roof panels, often installed at a different time or by a different trade, and its seals age independently of the roofing metal around it.
Step flashing along a wall should overlap correctly with each course and tuck under the wall’s water-resistive barrier or siding. Chimney flashing needs both a base flashing and counter-flashing that is set into a reglet cut in the masonry, not just caulked to the brick face. Skylight flashing is its own specialized detail entirely, and a leaking skylight is frequently mistaken for a roof panel leak when the actual problem is the flashing kit or a deteriorated skylight seal. If your home has a skylight anywhere near the leak location, it is worth having our skylights team confirm whether the skylight itself, rather than the surrounding metal roofing, is the culprit. Sometimes the fix is simple resealing; other times a full skylight replacement is the more cost-effective long-term answer, especially on units that are original to a home built before 2010.
6. Tip Five — Choose the Right Materials for Ontario’s Climate
Not every sealant, fastener, or flashing material sold at a hardware store is appropriate for our climate. Products rated for milder regions can become brittle in a Toronto January or lose adhesion during a humid August. When we repair a metal roof, we specify materials chosen specifically for freeze-thaw durability and UV resistance, since the sealant on a south-facing slope takes far more UV exposure over a Canadian summer than most manufacturers’ baseline testing accounts for.
| Material | Best Use | Typical Lifespan in GTA Climate | Notes |
|---|---|---|---|
| Butyl rubber sealant/tape | Seams, laps, fastener heads | 15–20 years | Excellent flexibility through freeze-thaw cycles |
| Polyurethane sealant | Flashing transitions, penetrations | 10–15 years | Paintable, strong adhesion to metal and masonry |
| Silicone sealant | Minor touch-ups only | 5–8 years on painted metal | Loses adhesion faster; not recommended as primary repair |
| Bonded neoprene washer screws | Fastener replacement | 15–20 years | Must match original screw gauge and colour |
| Aluminum or steel flashing (matched gauge) | Full flashing replacement | 30–50 years | Should match existing panel material to avoid galvanic corrosion |
One detail homeowners often overlook: mixing incompatible metals accelerates corrosion through a process called galvanic reaction. Aluminum flashing fastened directly against a steel panel with the wrong fastener, for example, can corrode rapidly once moisture is present. A qualified metal roofing crew checks metal compatibility before any repair, which is one of the reasons a DIY trip to a generic hardware store aisle can create a second leak while fixing the first.
7. Tip Six — Know When Repair Isn’t Enough
Most metal roof leaks are legitimately repairable, and a well-executed fastener replacement or seam reseal can extend a roof’s service life by another decade or more. But there are situations where patching becomes a losing game of whack-a-mole. If a roof is showing corrosion through the panel itself (not just at fasteners), if multiple sections are leaking simultaneously in unrelated locations, or if the original installation used the wrong panel profile or fastening pattern for our snow-load requirements, ongoing patch repairs will cost more over five years than a partial or full roof replacement would have cost up front.
A good rule of thumb: if a licensed inspector finds three or more independent leak sources on the same roof in a single visit, or if the roof is approaching 40+ years old with its original fasteners never having been replaced, it is time to have a serious conversation about replacement economics rather than continuing to chase individual leaks. This is also true for homes with a flat or low-slope metal roof section, where ponding water dramatically increases the odds of a full membrane or panel failure; our flat roofing team can assess whether a low-slope section needs a different repair strategy altogether than the sloped metal panels elsewhere on the same house.
| Scenario | Recommended Action | Approximate Cost Range (CAD) | Expected Result Lifespan |
|---|---|---|---|
| Single failed fastener or small seam gap | Spot repair | $250–$600 | 10–15 years |
| Widespread fastener failure across one slope | Full re-fastening of that slope | $1,200–$3,500 | 15–20 years |
| Chimney or skylight flashing failure | Flashing replacement | $600–$1,800 | 25–30 years |
| Multiple unrelated leak sources, roof 30+ years old | Full roof assessment for partial replacement | $8,000–$20,000+ | 40–60 years |
| Corrosion through panel material | Panel section replacement | $1,500–$5,000 per section | 30–50 years |
These figures are general GTA-market ranges and will vary based on roof pitch, access difficulty, panel profile, and how much of the underlying deck or insulation was affected by the leak before it was caught. An accurate number always requires an on-site assessment, which our team provides at no cost.
8. Tip Seven — Protect the Attic and Insulation, Not Just the Roof Surface
A metal roof leak repair that only addresses the exterior symptom while ignoring interior damage is an incomplete repair. Water that has been entering for months or years, even slowly, often soaks insulation, promotes mould growth on rafters, and can compromise the wood roof deck itself. Before closing up any leak repair, it is worth having the attic checked for saturated or compressed insulation, since wet insulation loses most of its R-value and will continue to encourage condensation even after the roof leak itself is fixed.
Our attic inspection service is often bundled with metal roof leak repairs precisely because the two problems are connected: a leak that has been active for even a single winter can leave insulation compressed and mouldy in a way that a roof repair alone will not resolve. Catching this early, ideally within the same service visit as the roof repair, avoids a second contractor visit and prevents the moisture problem from migrating into wall cavities.
9. Tip Eight — Schedule Repairs at the Right Time of Year, and Don’t Wait for an Emergency
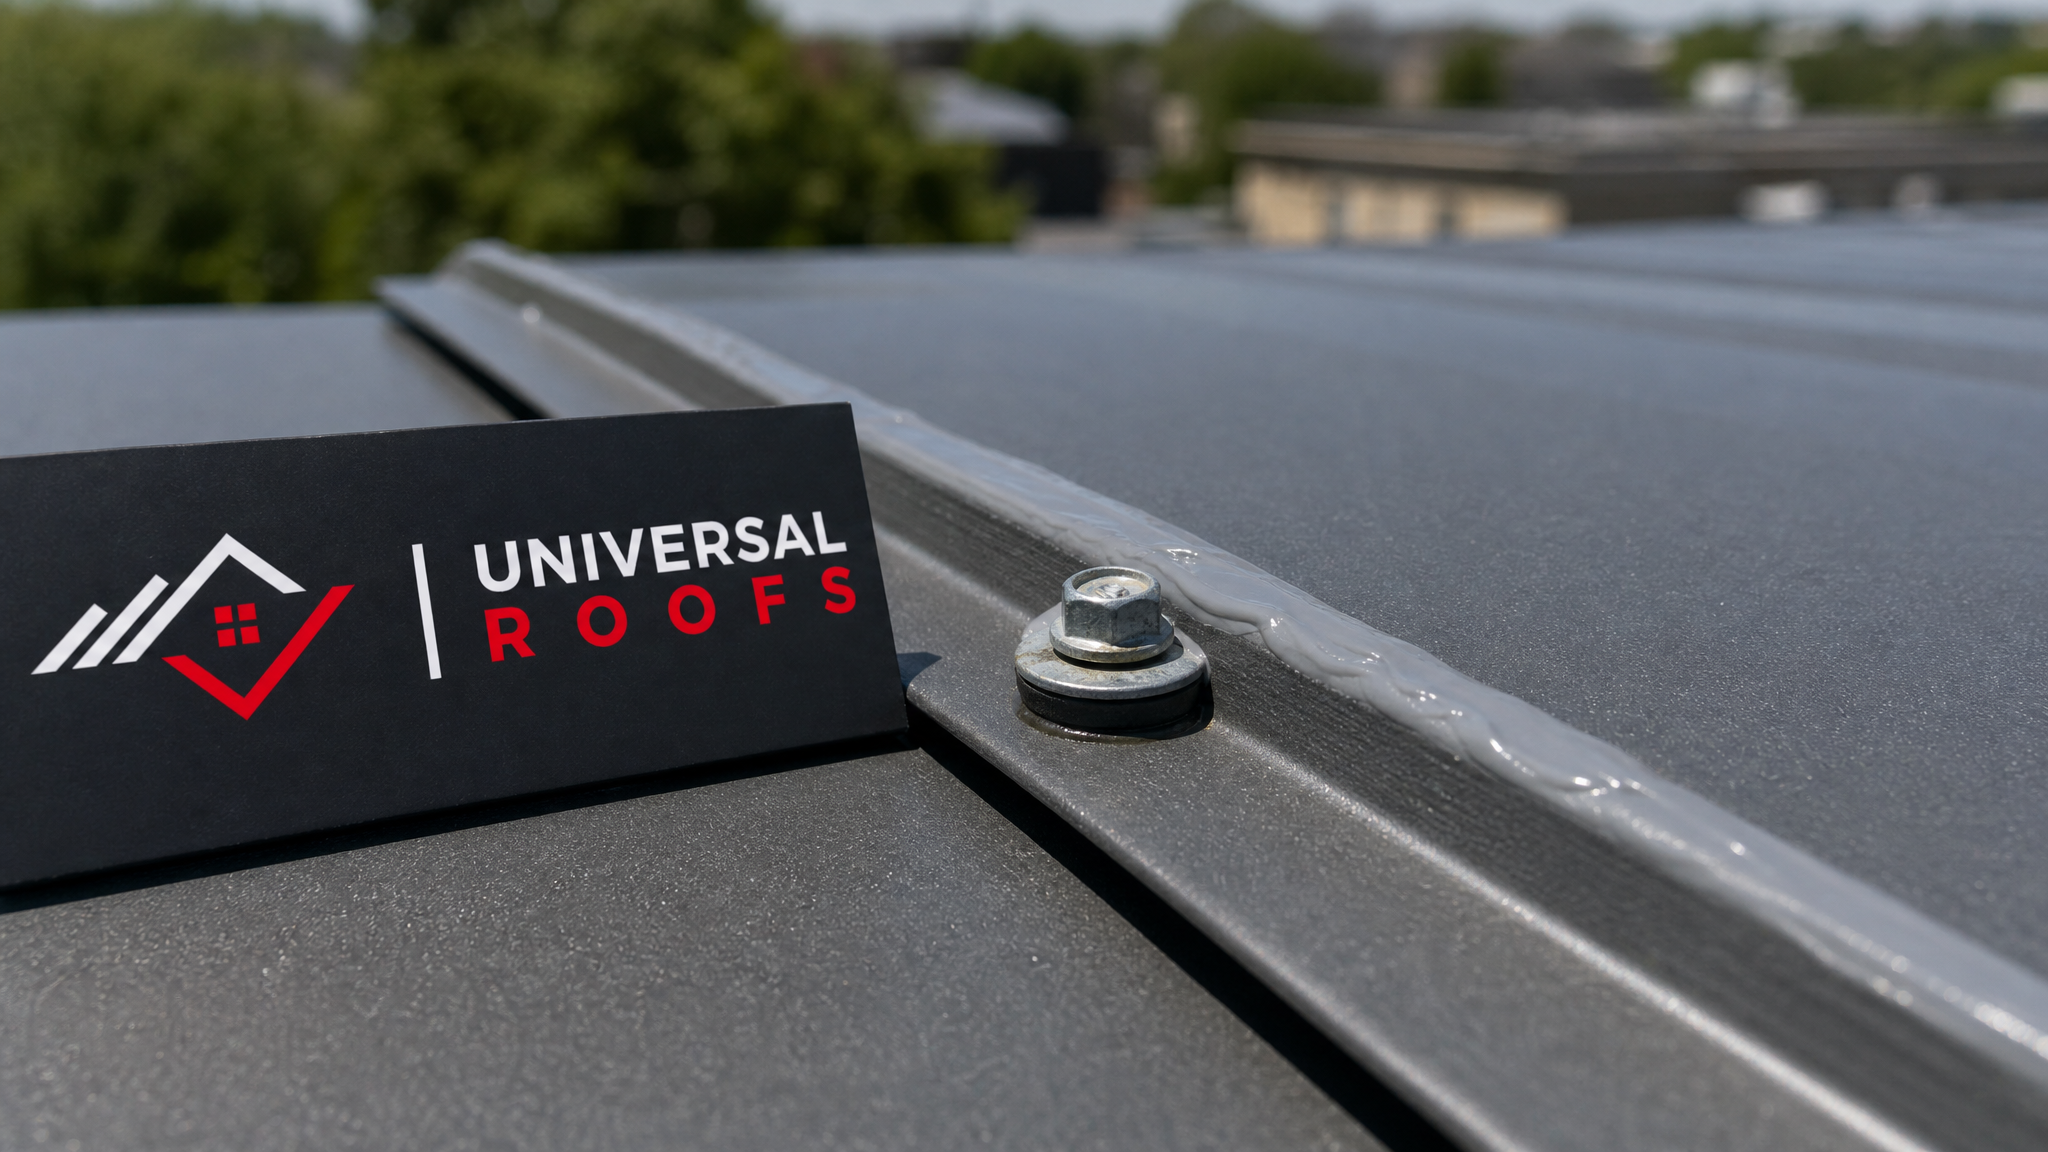
Timing matters more with metal roofs than most homeowners realize. Sealants and coatings need a minimum surface temperature to cure properly, generally above 5–10°C depending on the product, which makes late spring through early autumn the ideal repair window in our climate. A leak discovered in July, like right now, is actually good timing — warm, dry conditions let sealants cure fully and give a crew safe, stable footing on the metal surface, which can become dangerously slick with morning dew or an unexpected summer shower.
Waiting until a leak becomes an emergency, typically discovered during the first big autumn rain or a mid-winter thaw, means repairs happen under time pressure, sometimes in freezing conditions that compromise sealant performance, and often after additional interior damage has already occurred. A scheduled summer or early-fall roof inspection, even without an active leak, catches loosening fasteners and aging sealant before they become a 2 a.m. ceiling drip. Homeowners across Toronto, Peel Region, York Region, Halton Region, and Durham Region can book a seasonal inspection well ahead of the fall storm season, which is consistently our busiest emergency call period.
DIY vs. Professional Repair: What You Can Safely Handle
Some minor metal roof maintenance is within reach for a comfortable, properly equipped homeowner — clearing debris from valleys, visually inspecting flashing with binoculars from the ground, or touching up an obviously cracked bead of sealant on a low-slope, walkable section. However, metal roofs present real fall hazards that shingle roofs do not: the surface can be extremely slippery when wet, dewy, or frosted, and standing seams can shift underfoot in ways that catch inexperienced climbers off guard.
Fastener replacement, seam repair, and flashing work all require specific tools, correctly matched materials, and comfort working at height with proper fall protection, which is why the majority of legitimate roofing contractors recommend against DIY repair for anything beyond ground-level debris clearing. If in doubt, a free assessment from a licensed crew costs nothing and removes the guesswork, and you can always check independent feedback from local homeowners on our reviews page before deciding who to trust with the job.
Frequently Asked Questions
What are the most essential tips for metal roof leak repairs?
Can I repair a metal roof leak myself?
How much does a metal roof leak repair cost in the GTA?
Why does my metal roof only leak during heavy wind or rain?
Is it normal for a metal roof to leak after 15 to 20 years?
What is the best time of year to fix a metal roof leak in Toronto?
Need Help With 8 Essential Tips for?
Diagnosing and fixing a metal roof leak correctly the first time protects your home from the compounding damage that comes with repeat repairs, and it is exactly the kind of work our team at Universal Roofs handles every week across the GTA.
Call us today at (416) 732-2421 or request a free inspection to get started.
Universal Roofs proudly serves Toronto, Mississauga, Brampton, Vaughan, Markham, Oakville and the GTA since 2005.