
A metal roof is one of the most durable investments a Toronto homeowner can make, often lasting 40 to 70 years with minimal upkeep. But durable does not mean indestructible, and even a well-installed metal roof can develop a leak after a decade or two of freeze-thaw cycles, wind-driven rain, and summer thunderstorms. When water starts tracking through a seam or around a fastener, the fix depends entirely on where the leak originates and how the panels were installed in the first place.
This guide walks through the seven best methods for metal roof leak repair used by professional roofers across the Greater Toronto Area, explains when each technique applies, and gives you realistic cost and timeline expectations so you can make an informed decision before water damage spreads into your attic, insulation, or ceiling drywall.
Whether you are dealing with a small drip after a July downpour or a slow, mysterious stain that only shows up during heavy rain, understanding these roof repair methods will help you talk to a contractor with confidence and avoid paying for the wrong fix.
How to Diagnose the Source of a Metal Roof Leak
Before any repair method makes sense, you need to know where the water is actually entering. Metal roof leaks are notoriously deceptive because water can travel along the underside of a panel for several metres before dripping through the deck. A stain on your bedroom ceiling might trace back to a failed fastener two rooms away, near the ridge.
The most common leak points on a metal roof, in order of frequency, are:
- Exposed fastener heads where the rubber washer has cracked or backed out
- Side-lap seams between adjacent panels that were not sealed or have opened up
- Flashing around penetrations such as plumbing vents, chimneys, and skylights
- Ridge caps and hip caps with degraded closure strips
- Valleys where two roof planes meet and debris accumulates
- End laps where panels overlap end-to-end on longer roof runs
- Punctures or corrosion holes from falling branches, hail, or age
A thorough inspection should happen from both the exterior, on a dry day, and the attic interior, ideally during or right after rain when active leaks are visible. If you are not comfortable walking a metal roof, which can be slippery even when dry, it is worth having a professional handle the climb. Our roof repair team uses moisture meters and thermal imaging in the attic to pinpoint the exact source before recommending a fix, rather than guessing based on where the ceiling stain appears.
Method 1: Fastener Replacement and Re-Sealing
Exposed-fastener metal roofing systems, the most common residential style in Ontario, rely on thousands of screws with neoprene washers to hold panels down. Over 15 to 20 years of thermal expansion and contraction, those washers dry out, crack, and shrink, allowing water to wick down the screw shaft. This is, by far, the single most common cause of leaks on older metal roofs in the GTA.
The repair involves removing the failed fastener, backfilling the old hole with a butyl sealant plug, and driving a new, slightly larger fastener with a fresh neoprene washer into a new location nearby. Simply re-driving a screw into the same worn hole rarely holds long term because the hole has already been enlarged by years of movement.
This method works best when the failure is isolated to a handful of fasteners rather than the entire field of the roof. If a roofer finds that more than 15-20% of fasteners across a slope are failing, it usually signals the whole roof is at the end of its washer life, and a full re-fastening pass, or panel replacement, becomes more cost-effective than spot repairs.
Method 2: Seam and Side-Lap Sealing
Standing seam and snap-lock metal panels rely on mechanically formed seams rather than exposed fasteners, but those seams can still open slightly due to thermal cycling, improper installation, or panel movement during high winds. When a seam opens even a millimetre, capillary action can pull rain water sideways into the seam during a storm.
Professional repair here uses a butyl-based sealant tape or a high-grade polyurethane sealant applied inside the seam, followed by mechanically re-seaming the panel edge with a specialized seaming tool where possible. Surface-applied caulking alone is a short-term patch at best; it degrades under UV exposure within a season or two and rarely bonds well enough to withstand Toronto’s freeze-thaw cycles.
For end laps specifically, roofers typically apply a continuous bead of sealant between the overlapping panels before fastening, plus a secondary sealed cover strip on more exposed roof runs. This is a detail that is easy for a DIYer to miss and is one of the more common causes of recurring leaks after an amateur repair attempt.
Method 3: Flashing Replacement Around Penetrations
Any place where something interrupts the metal panel field, a plumbing stack, a chimney, a bathroom exhaust vent, or a skylight, requires custom flashing to shed water around the obstruction. Flashing failures are the second most common leak source we see after fastener failures, and they are particularly common where a skylight or vent was added to a roof after the original metal installation.
| Penetration Type | Typical Flashing Material | Common Failure Mode | Repair Approach |
|---|---|---|---|
| Plumbing vent stack | Lead or EPDM boot | Rubber boot splits from UV exposure | Replace boot, re-seal collar |
| Chimney | Step flashing + counter-flashing | Mortar joint cracks, counter-flashing pulls loose | Re-set counter-flashing, re-point mortar reglet |
| Skylight curb | Custom metal flashing kit | Corner seams open, sealant dries out | Replace flashing kit, re-seal corners |
| Bath/kitchen exhaust vent | Metal or plastic vent cap flashing | Cracked plastic housing, fastener backout | Replace vent cap assembly |
| Satellite dish or antenna mount | Improvised sealant patch (often non-standard) | No proper flashing installed originally | Remove mount, install proper flashing or relocate |
If your leak is originating around a skylight and the flashing kit itself is deteriorating rather than just the sealant, it is often more economical to combine the flashing fix with a broader skylight replacement, since removing and reinstalling the old flashing kit costs nearly as much labour as installing a new unit with fresh flashing included.
Method 4: Ridge Cap and Closure Strip Repair
The ridge cap, the metal piece that covers the peak where two roof slopes meet, depends on foam or rubber closure strips underneath it to block wind-driven rain and snow melt from being pushed uphill under the cap. In Toronto’s climate, where winter thaw cycles send meltwater back up under ridge caps repeatedly, these closure strips compress, crack, or shift out of position over time.
The repair involves removing the ridge cap fasteners, lifting the cap, replacing the closure strips with new profile-matched foam or rubber, and re-fastening with fresh sealant at every screw location. This is a relatively contained repair in terms of area, but it requires working at the highest, most exposed point of the roof, so proper fall protection is essential, and it is not a repair we recommend for a homeowner to attempt solo.
Method 5: Valley Metal Replacement and Cleaning
Valleys, where two roof planes converge, concentrate an enormous volume of water runoff compared to the flat field of the roof, and they also tend to collect leaves, pine needles, and debris that dam up water during a storm. On metal roofs, valley metal can corrode faster than the field panels simply because it stays wet longer and is exposed to debris-trapped moisture and organic acids from decomposing leaves.
When a valley leak is diagnosed, the fix usually falls into one of two camps: if the valley metal itself is sound but debris has caused water to back up under the panel edges, a thorough cleaning plus re-sealing of the panel-to-valley overlap solves the problem. If the valley metal shows through-corrosion or pitting, full replacement of that valley section is required, which involves carefully lifting the adjacent field panels, installing new valley flashing, and re-lacing the panels back down with fresh sealant and fasteners.
| Repair Method | Typical Cost Range (CAD) | Typical Timeline | Expected Lifespan of Repair |
|---|---|---|---|
| Fastener replacement (spot repair) | $250 – $600 | Half day | 10-15 years |
| Seam and side-lap sealing | $400 – $900 | Half day to 1 day | 8-12 years |
| Flashing replacement (single penetration) | $350 – $1,200 | Half day to 1 day | 15-20 years |
| Ridge cap and closure strip repair | $500 – $1,500 | 1 day | 15-20 years |
| Valley metal replacement | $800 – $2,500 | 1-2 days | 20-25 years |
| Panel section replacement | $1,200 – $4,000 | 1-3 days | 25-40 years |
| Full re-coat / sealant system | $3,500 – $9,000 | 2-4 days | 10-15 years |
Costs vary based on roof pitch, accessibility, panel profile, and whether matching materials are readily available, so treat this table as a planning guide rather than a quote. A proper on-site assessment from our roof repair team will give you an accurate number for your specific situation.
Method 6: Panel Section Replacement
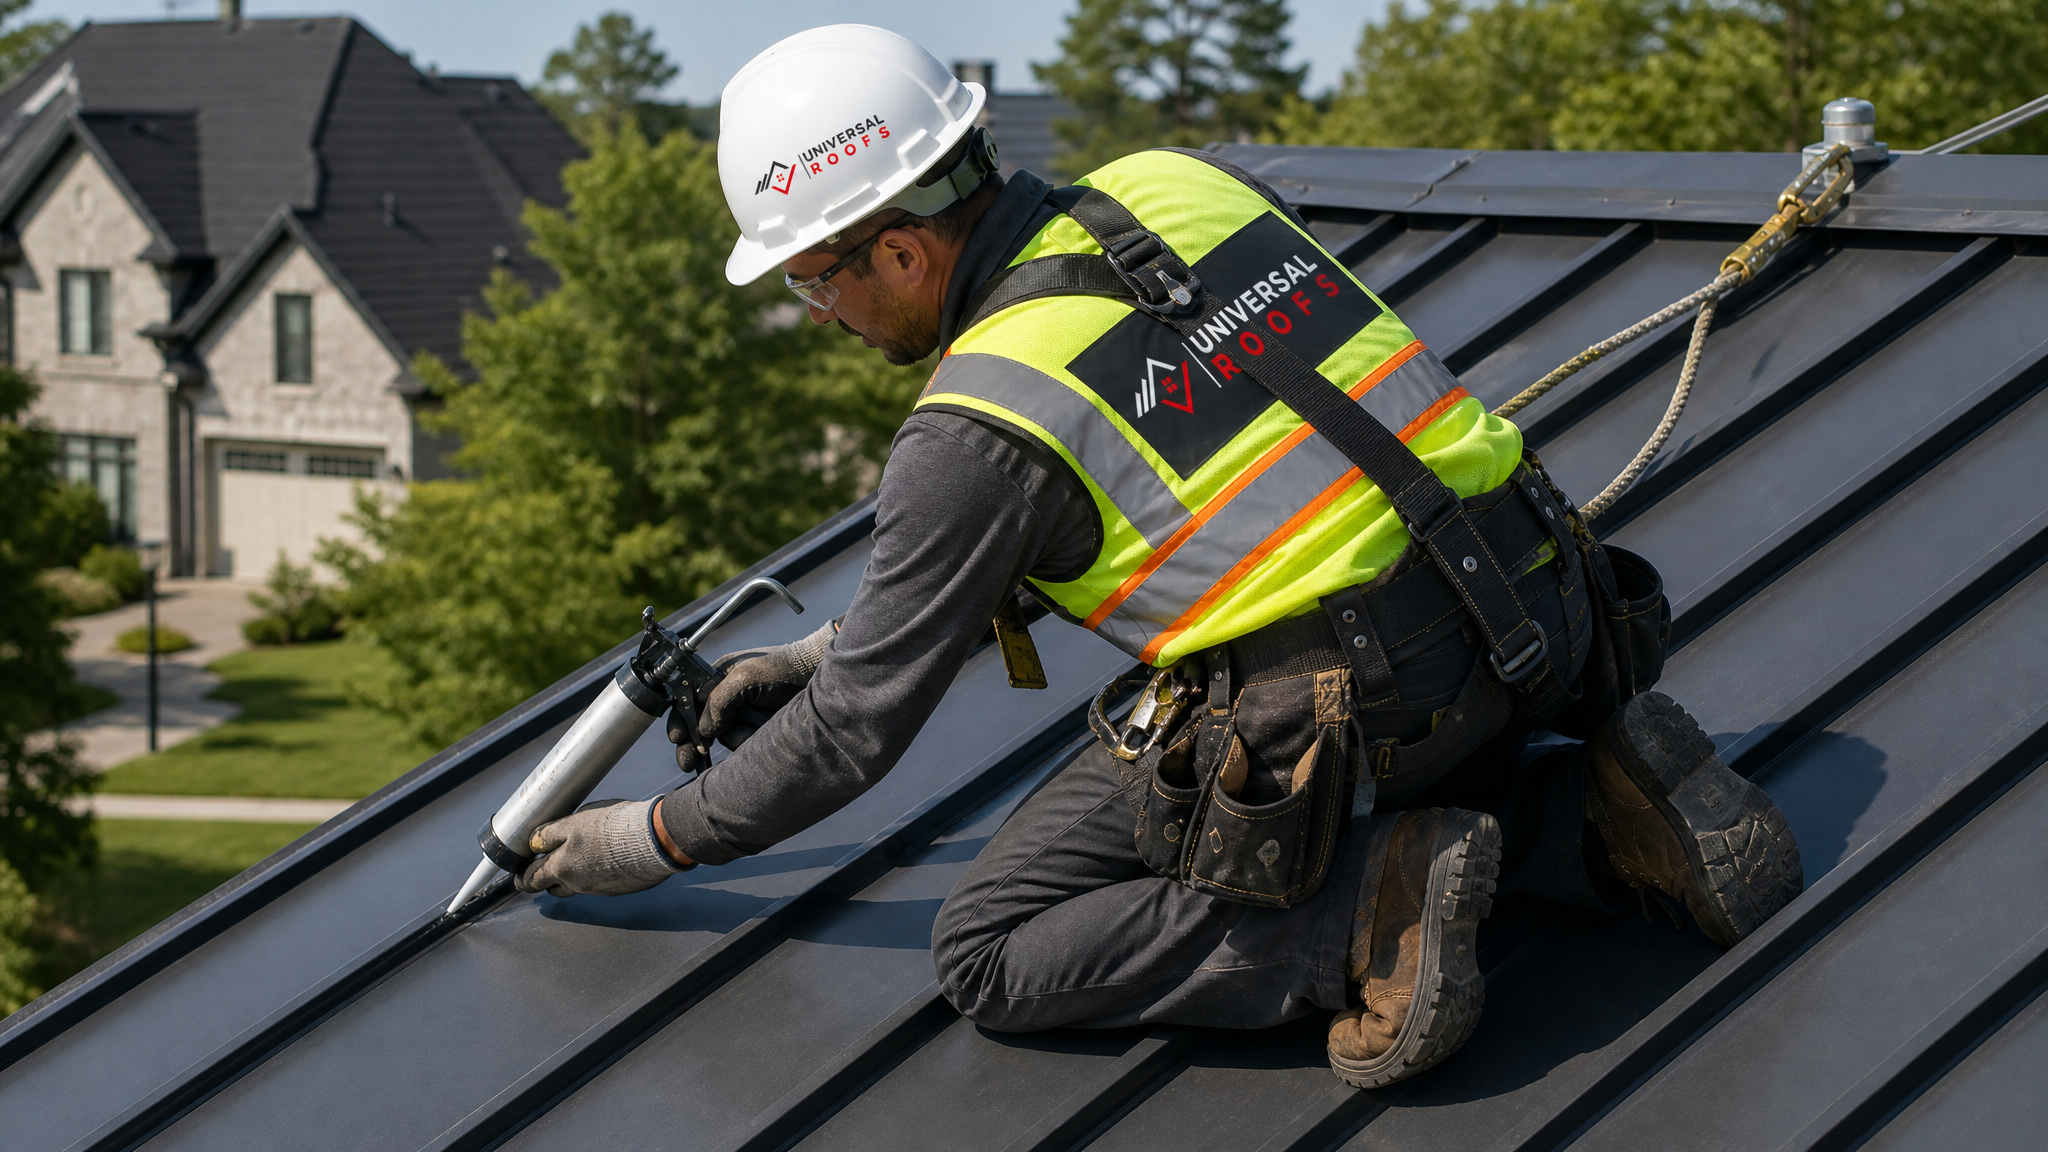
Sometimes a leak is not caused by a failed seal or fastener but by physical damage to the panel itself, corrosion from prolonged contact with wet debris, a puncture from a falling tree branch during a summer storm, or hail denting that has cracked the paint finish and exposed bare steel to rust. In these cases, sealants and patches are only a temporary band-aid; the damaged section of panel needs to be cut out and replaced with a matching profile.
This is a more involved repair that requires sourcing metal panel stock that matches your existing profile, rib spacing, and finish colour as closely as possible, since exact discontinued colours can sometimes be hard to match precisely. The damaged panel is cut back to sound metal, a new section is fabricated or ordered, and it is fastened and sealed into place with proper overlap at all seams. On a roof with an unusual or older panel profile, this can take longer to source materials, so it is worth budgeting extra lead time if your roof uses a discontinued style.
Method 7: Full Sealant Coating System
When a metal roof has many small, scattered leak points rather than one or two isolated failures, spot-repairing every fastener and seam individually can become more expensive and time-consuming than applying a full elastomeric or silicone sealant coating system across the entire roof. This approach essentially creates a monolithic, seamless waterproof membrane over the existing metal panels, sealing every seam, fastener, and minor imperfection at once.
A full coating system is not appropriate for every roof. It works best on roofs that are structurally sound with widespread minor sealant failure, rather than roofs with major corrosion, structural sagging, or extensive panel damage. It also typically requires the metal surface to be pressure washed, primed, and free of loose rust before application, and it should be done during a stretch of dry, moderate-temperature weather, which makes late spring through early autumn the ideal window in the GTA. If you are reading this in July, this is actually one of the better months of the year to schedule this kind of work, since the coating needs several dry days to cure properly.
Comparing the 7 Methods: Which One Fits Your Leak
| Symptom You’re Seeing | Likely Cause | Best-Fit Method |
|---|---|---|
| Small drip during heavy rain, no visible pattern | Isolated failed fasteners | Method 1: Fastener replacement |
| Staining along a straight line following a panel edge | Open side-lap or end-lap seam | Method 2: Seam sealing |
| Leak near a vent, chimney, or skylight | Failed flashing | Method 3: Flashing replacement |
| Leak at the very peak of the roof | Degraded ridge closure strips | Method 4: Ridge cap repair |
| Leak where two roof slopes meet | Valley debris or corrosion | Method 5: Valley replacement |
| Visible dent, hole, or rust patch on a panel | Physical damage or corrosion | Method 6: Panel replacement |
| Multiple small leaks across an older roof | Widespread sealant failure | Method 7: Full coating system |
Preventing Future Metal Roof Leaks in the GTA Climate
Toronto’s climate is particularly hard on roofing materials because of how often the temperature swings above and below freezing between November and March. Every freeze-thaw cycle causes metal panels, fasteners, and sealants to expand and contract slightly, and it is this repeated movement, not any single storm, that eventually works seams and fasteners loose.
A few habits meaningfully extend the life of any metal roof repair:
- Clear valleys and eavestroughs of leaves and debris each autumn before the first freeze
- Have your attic inspected annually for early signs of moisture, since attic staining almost always shows up before ceiling staining does
- Check that attic ventilation is adequate, since poor ventilation increases condensation that can mimic or worsen an actual leak; our attic assessment covers this specifically
- Avoid pressure washing a metal roof directly, since high-pressure water can force its way under panels and washers that are otherwise intact
- Schedule a professional inspection every 3-5 years even without visible leaks, since fastener washers and sealants degrade gradually and are easiest to address before a leak actually appears
If your metal roof is approaching 20-25 years old and has needed several rounds of spot repairs, it is worth having a broader conversation about whether continued patching still makes financial sense compared to a roof replacement. Our team can walk you through the honest math on that comparison rather than defaulting to whichever option is more profitable for us.
DIY Repair vs. Hiring a Professional
Small, accessible fastener replacements on a low-slope, walkable metal roof are within reach for a confident, safety-conscious homeowner with the right sealant and a few replacement fasteners on hand. However, several factors push most metal roof leak repairs firmly into professional territory:
| Factor | DIY-Appropriate | Call a Professional |
|---|---|---|
| Roof pitch | Low slope, walkable safely | Steep slope requiring harness and rope |
| Leak location | Easily accessible fastener near eave | Ridge, valley, or near skylight/chimney |
| Number of failure points | 1-2 isolated spots | Widespread failures across multiple slopes |
| Materials needed | Standard fasteners, common sealant | Profile-matched panel stock, custom flashing |
| Warranty considerations | No existing manufacturer warranty | Roof still under manufacturer or installer warranty |
A key risk with DIY metal roof repair is inadvertently voiding a manufacturer’s warranty by using an incompatible sealant or fastener type, or by damaging the panel’s factory finish while walking or kneeling on it improperly. If your roof is anywhere close to a slope that requires fall protection, it genuinely is not worth the risk, roofing falls remain one of the leading causes of serious home-maintenance injuries in Canada every year.
What are the most reliable methods for metal roof leak repair?
Can I use caulking alone to fix a metal roof leak?
How much does metal roof leak repair typically cost in Toronto?
Why does my metal roof only leak during heavy storms?
Is it worth repairing an older metal roof instead of replacing it?
What is the best season in Toronto to schedule metal roof leak repair?
Need Help With 7 Best Methods for?
Chasing a mysterious leak across a metal roof yourself can waste a whole weekend and still leave the real problem unsolved. Universal Roofs has been diagnosing and fixing metal roof leaks across the GTA since 2005, using moisture meters and attic inspections to find the actual source before recommending a repair.
Call us today at (416) 732-2421 or request a free inspection to get started.
Universal Roofs proudly serves Toronto, Mississauga, Brampton, Vaughan, Markham, Oakville and the GTA since 2005.