
A single missed roof leak can turn into thousands of dollars in drywall repair, insulation replacement, and mould remediation before a homeowner ever notices a stain on the ceiling. That is the uncomfortable truth behind why proactive roof leak detection is essential for every home in the Greater Toronto Area, not just an optional add-on to your annual maintenance list. Water does not wait for a convenient time to find its way through a compromised shingle, a cracked flashing seam, or a clogged valley. It works quietly, often for months, hidden above your insulation and behind your drywall, until the damage is severe enough to show itself.
Toronto’s climate makes this risk especially acute. Our winters bring repeated freeze-thaw cycles that expand and contract roofing materials, our spring brings heavy rain on top of melting snow, and our summers bring intense UV exposure and sudden thunderstorms that test every seam and seal on your roof. A reactive approach, waiting until you see a stain or feel a draft, means the damage has already happened. A proactive approach catches the failure point while it is still a small, inexpensive fix.
In this guide, we will walk through exactly why proactive detection matters so much in this region, the specific warning signs to watch for, the tools and techniques professionals use, and a realistic maintenance schedule you can follow to protect your home. Whether you are a first-time homeowner or you have owned your property for decades, this is the kind of guidance that saves real money and real stress.

Why Proactive Roof Leak Detection Is Essential in the GTA Climate
The Greater Toronto Area experiences one of the more demanding climates for roofing systems in North America. We see temperature swings of more than 40 degrees Celsius across a calendar year, from deep winter cold to humid summer heat. Every one of those swings causes roofing materials, shingles, flashing, sealants, and fasteners, to expand and contract. Over time, this constant movement works fasteners loose, cracks sealant beads, and opens hairline gaps in flashing joints that water can exploit.
Add in the freeze-thaw cycle that defines a Toronto winter. Meltwater seeps into tiny cracks during a warm afternoon, then refreezes overnight and expands, widening the crack. Repeat that cycle dozens of times over a winter and even a well-installed roof develops vulnerabilities. That is precisely why proactive roof leak detection is essential rather than a nice-to-have: the damage accumulates silently, cycle after cycle, and by the time a stain appears on your ceiling, the underlying structure may have been wet for a long time.
Homeowners who schedule routine inspections through a trusted roof repair provider catch these small issues, a lifted shingle tab, a hairline crack in a pipe boot, a slightly separated flashing seam, before they become active leaks. The cost difference is enormous. A flashing reseal might cost a few hundred dollars. Repairing water-damaged framing, insulation, drywall, and potentially remediating mould can run into the tens of thousands.
The Hidden Cost of Reactive Roof Repair
Most homeowners only think about their roof when something goes wrong: a brown ring appears on the ceiling, water drips during a storm, or a musty smell develops in a bedroom closet. By that point, you are no longer dealing with a simple repair. You are dealing with a cascade of secondary damage that a proactive inspection would have prevented entirely.
Consider what actually happens when a small leak goes undetected. Water first saturates the roof deck sheathing, weakening the plywood or OSB board. It then travels along rafters or trusses, following the path of least resistance, often emerging in a location far from the original entry point, which makes diagnosis harder later. From there it soaks attic insulation, destroying its R-value and creating the damp, dark conditions mould spores need to establish a colony. Eventually it reaches drywall ceilings, staining paint and weakening the gypsum board itself.
Here is a comparison of typical costs when a leak is caught proactively versus after it has caused secondary damage:
| Detection Stage | Typical Issue Found | Estimated Repair Cost (CAD) | Timeline to Fix |
|---|---|---|---|
| Proactive inspection | Lifted shingle tab or minor sealant crack | $150 – $450 | Same day |
| Proactive inspection | Deteriorated flashing at chimney or vent | $300 – $900 | 1 day |
| Early reactive (first stain noticed) | Wet insulation, minor deck staining | $800 – $2,500 | 2 – 4 days |
| Delayed reactive (visible drip or sagging) | Rotted deck sheathing, damaged drywall | $3,000 – $8,000 | 1 – 2 weeks |
| Severe neglect (multi-season leak) | Structural rot, mould remediation required | $8,000 – $25,000+ | 3+ weeks |
The pattern is unmistakable. Every stage you allow a leak to progress multiplies the eventual cost, often by a factor of five or ten. This is the core financial argument for why proactive roof leak detection is essential: it is simply far cheaper to find and fix a small problem than to remediate a large one.
Warning Signs You Should Never Ignore
Part of being proactive is knowing what to actually look for, both inside and outside your home. Many of these signs are subtle and easy to dismiss, but each one is a data point that, taken together, can reveal a developing leak long before it becomes a visible ceiling stain.
Inside your home, walk through your attic (if accessible) and top-floor rooms a few times a year with a flashlight. Look for dark streaks on rafters or the underside of the roof deck, compressed or discoloured insulation, a musty or earthy smell, and any daylight visible through the roof boards. In living spaces, watch for faint yellow-brown rings on ceilings, peeling paint near ceiling-wall junctions, and soft or spongy drywall when gently pressed.
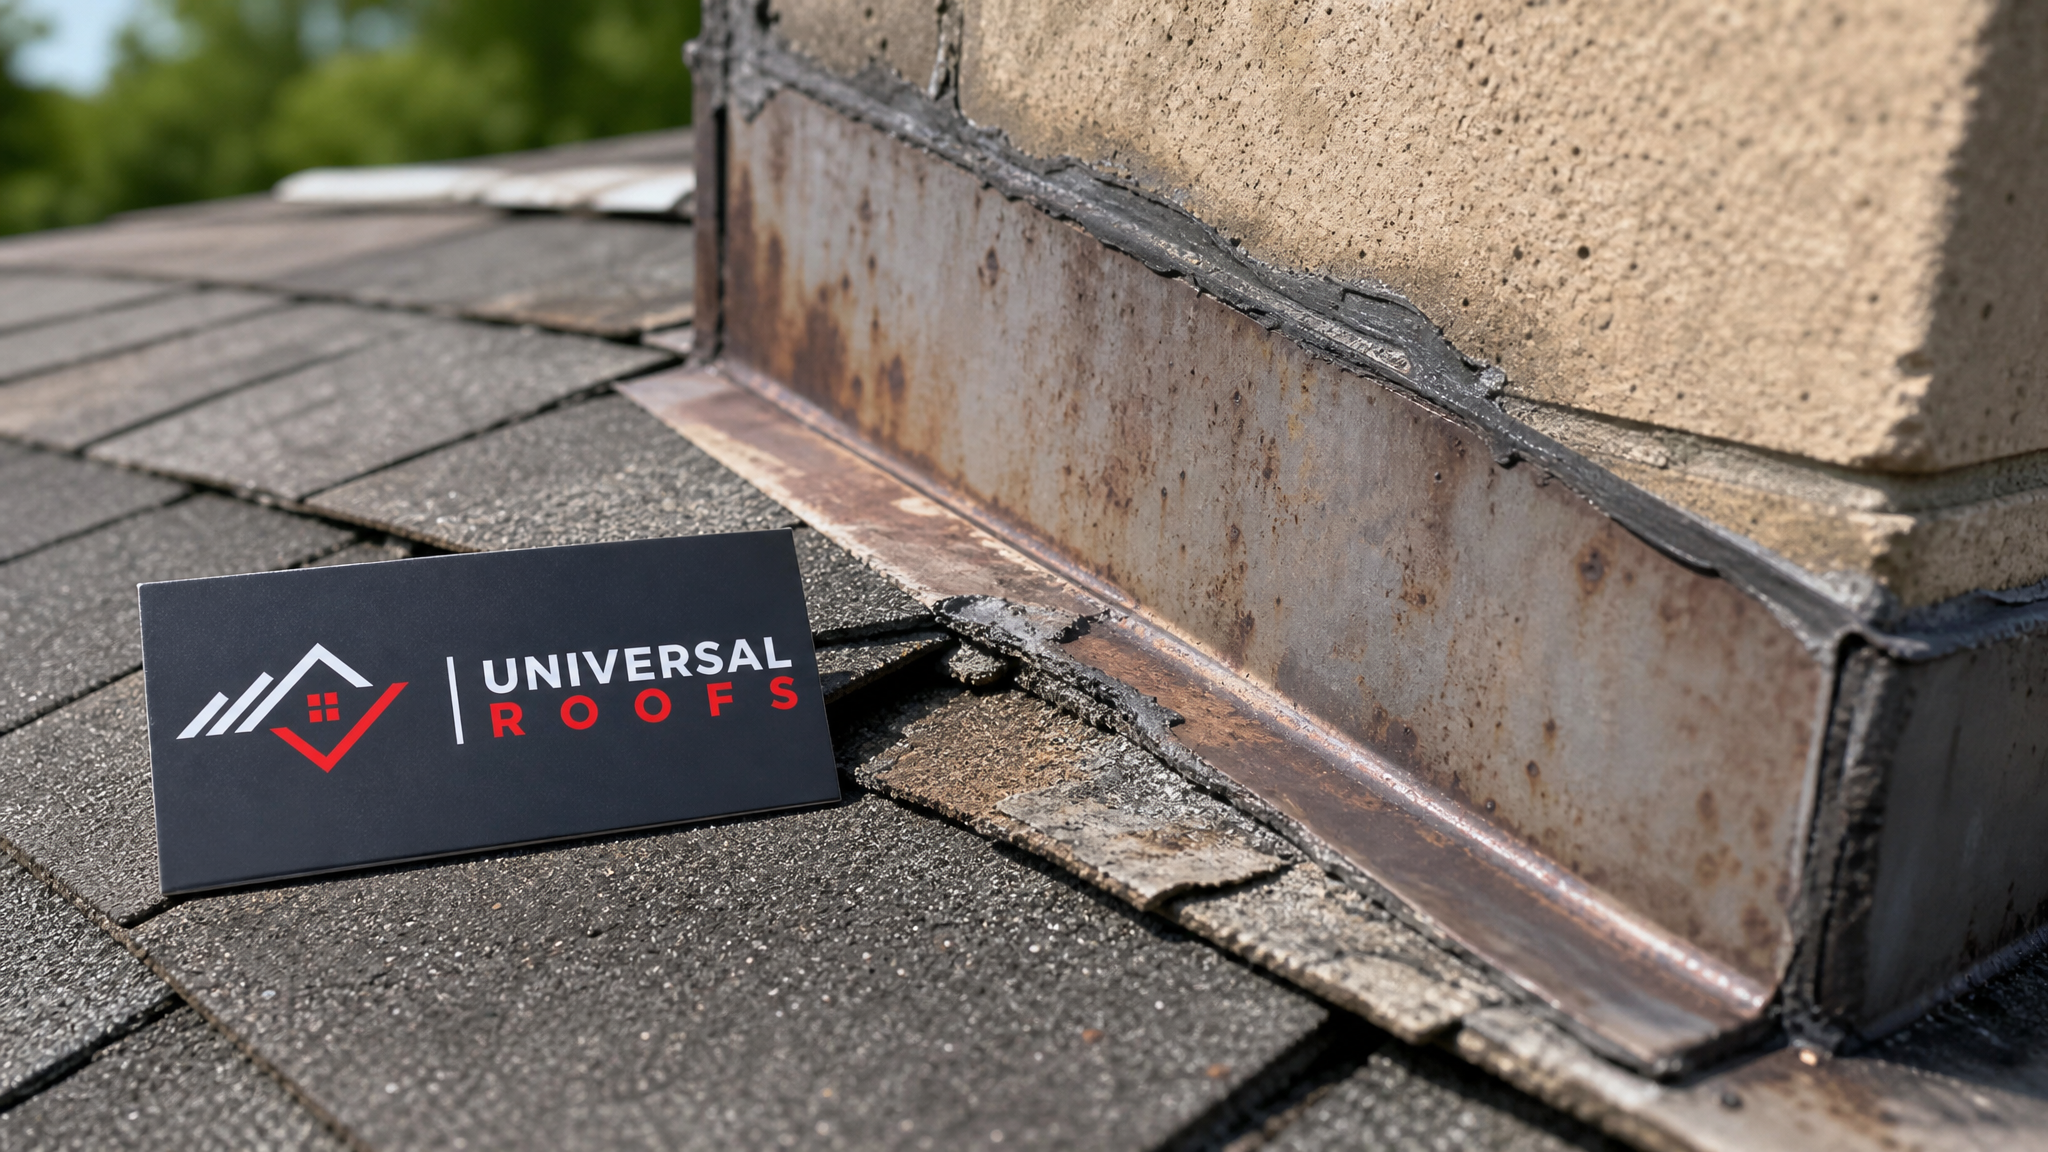
Outside, use binoculars from the ground or, better yet, have a professional inspect the roof surface directly. Look for missing, curled, or cracked shingles, granules accumulating in your gutters or downspouts (a sign of shingle wear), rusted or lifted flashing around chimneys, skylights, and vent pipes, and sagging sections of the roofline that suggest deck damage below.
| Warning Sign | Where to Look | What It Usually Means | Urgency |
|---|---|---|---|
| Granules in gutters | Gutters, downspout splash area | Shingle surface wearing thin, reduced water resistance | Schedule inspection within weeks |
| Musty attic smell | Attic, closets under roofline | Trapped moisture, possible early mould growth | Inspect within days |
| Ceiling ring or stain | Top-floor ceilings | Active or recent water intrusion above | Inspect immediately |
| Curled or cracked shingles | Roof slopes, especially south-facing | UV and heat damage, age-related wear | Schedule inspection within weeks |
| Rusted flashing | Chimney, skylights, vent pipes | Failing seal at a common leak point | Inspect within days |
| Daylight through roof boards | Attic, viewed from inside | Gap or hole in roof deck | Inspect immediately |
If you notice any of the “inspect immediately” items above, do not wait for your next scheduled visit. A quick call to a Universal Roofs technician can confirm whether the issue is cosmetic or structural before it worsens.
How Professional Leak Detection Actually Works
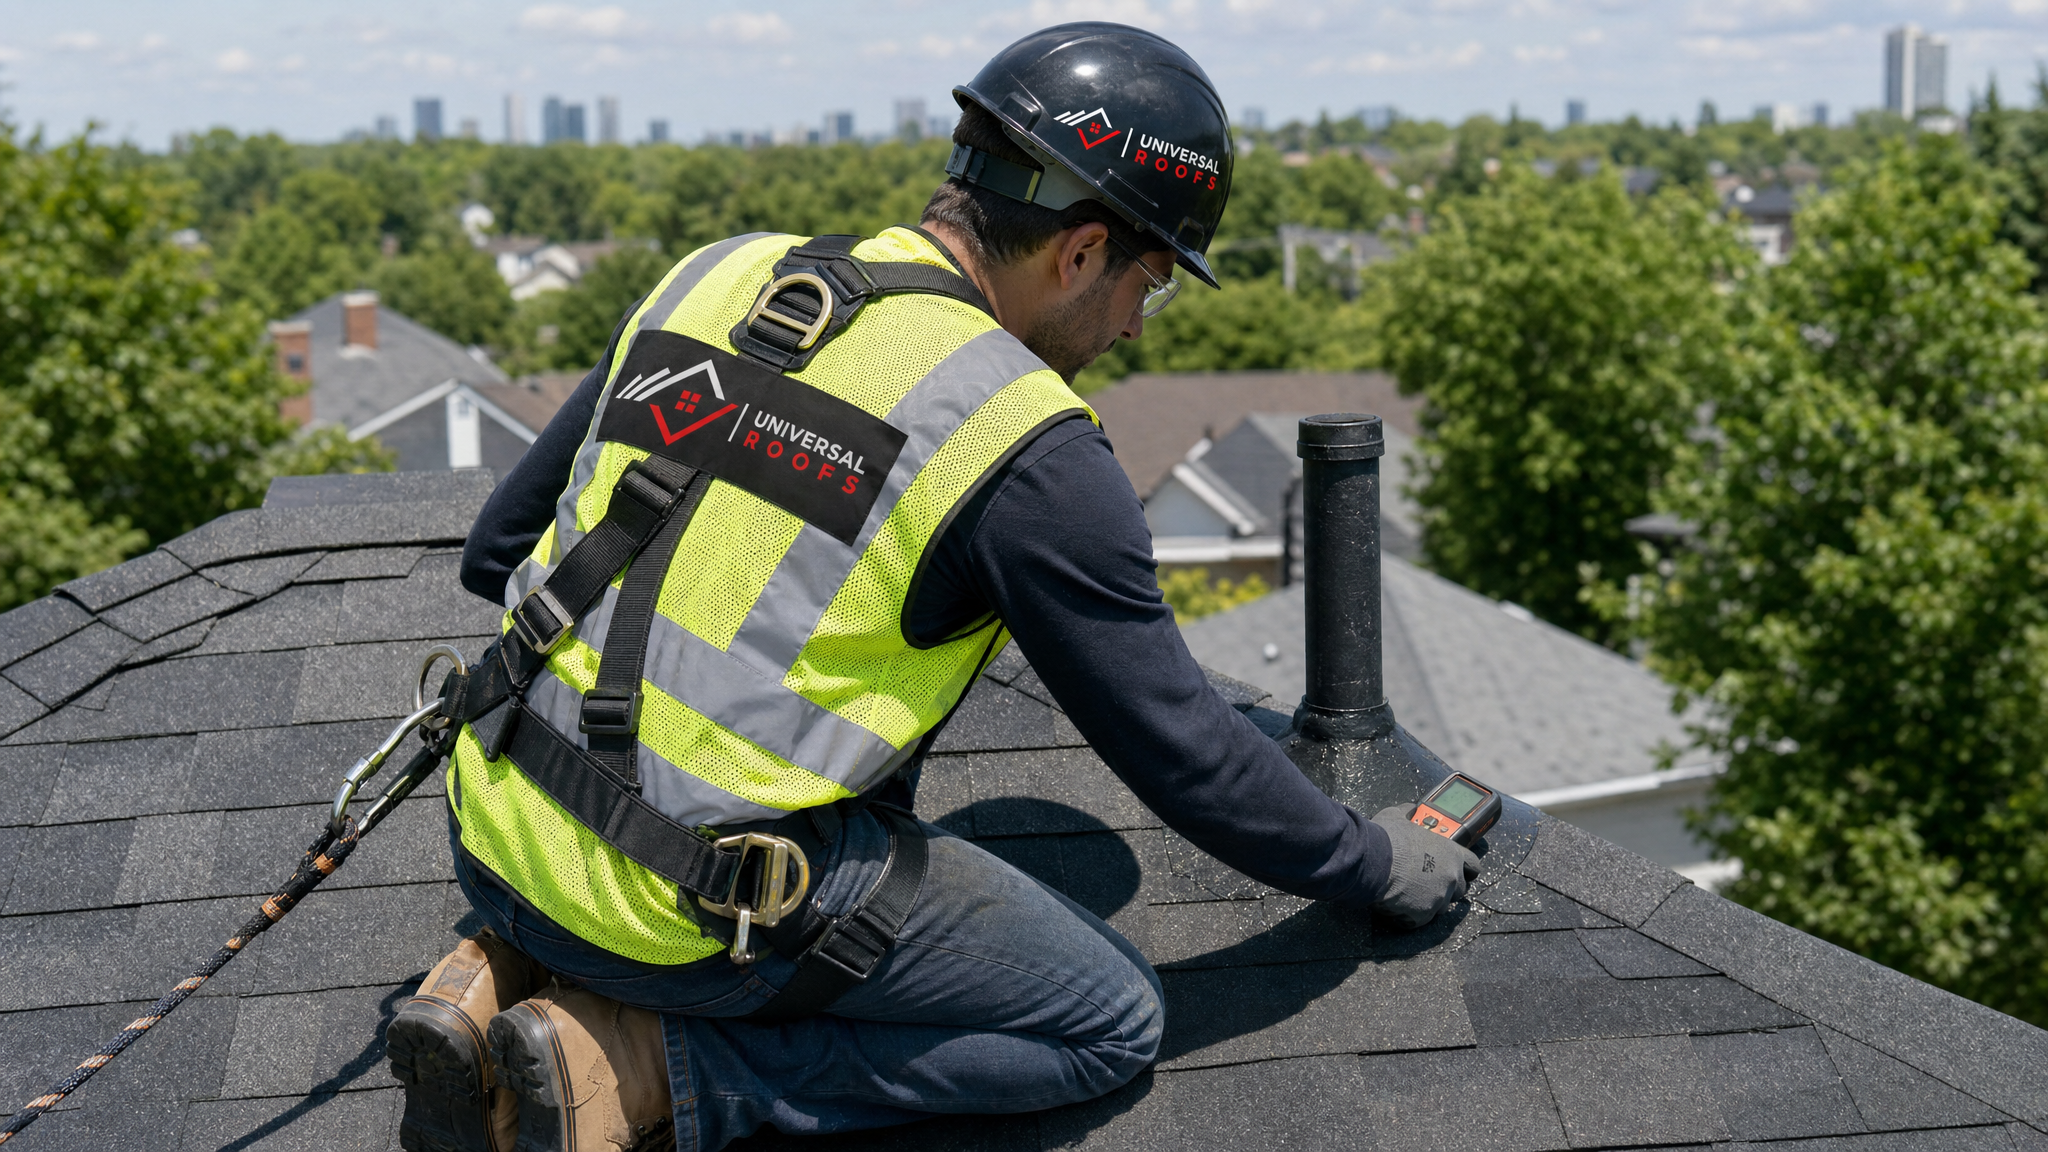
Homeowner walkthroughs are valuable, but they only catch what is visible to the naked eye. Professional leak detection combines visual inspection with tools and techniques that reveal problems long before they are obvious. Understanding this process helps you know what to expect and why it is worth scheduling regularly.
A thorough inspection typically starts with a full walk of the roof surface, checking every shingle course, every flashing detail, and every penetration point (vents, chimneys, skylights) for signs of wear or separation. Technicians pay particular attention to valleys, where two roof slopes meet and water volume concentrates, and to the transition points where the roof meets walls, dormers, or a skylight unit.
From there, a moisture meter is often used on the underside of the roof deck in the attic to detect elevated moisture content in the wood before any visible staining appears. Thermal imaging cameras can also be used to spot temperature differentials that indicate trapped moisture behind a wall or ceiling assembly, since wet materials retain heat differently than dry ones. On flat or low-slope sections, technicians check membrane seams, drain points, and pooling areas specifically, since flat roofing systems fail differently than sloped shingle roofs and require their own inspection protocol.
Attic ventilation and insulation are checked as part of the same visit, because poor ventilation contributes to ice damming in winter (a major cause of leaks) and to premature shingle aging in summer. A complete inspection of your attic system, not just the roof surface, gives a far more accurate picture of your home’s overall moisture risk.
Building a Realistic Inspection Schedule
One of the most common questions we hear is simply: how often should this actually happen? The honest answer depends on your roof’s age, material, and recent weather events, but there is a reliable baseline schedule that works for the vast majority of GTA homes.
At minimum, plan for two professional inspections per year: one in late spring, after the freeze-thaw season has ended and before summer storm season begins, and one in early fall, before winter sets in. These two windows catch the two periods of highest stress on a roofing system in our climate. Beyond the scheduled visits, you should also request an inspection after any major weather event, a severe wind storm, a heavy hailstorm, or an unusually harsh winter with significant ice buildup.
| Roof Age | Recommended Inspection Frequency | Additional Trigger Events |
|---|---|---|
| 0 – 5 years | Annually | After any severe storm or hailstorm |
| 6 – 15 years | Twice per year (spring and fall) | After severe storms, ice damming, or high winds |
| 16 – 20 years | Twice per year, plus a full condition assessment | Any visible wear, granule loss, or interior signs |
| 20+ years or nearing end of service life | Twice per year, with replacement planning underway | Any warning sign at all; consider proactive roof replacement planning |
Homes with older roofs benefit especially from this schedule, since the materials have less tolerance left for movement and wear before a small crack becomes a genuine leak path. If your roof is approaching the higher end of its expected lifespan, an inspection can also help you plan and budget for a replacement on your own timeline rather than being forced into an emergency decision after a failure.
Seasonal Considerations Across the GTA
Because Toronto’s seasons place very different stresses on a roof, a truly proactive strategy adjusts its focus depending on the time of year. Summer, like right now, is an ideal window for inspections because roofs are dry, accessible, and free of snow or ice, which means technicians can examine every detail without weather interference. It is also the season with the most sudden, intense thunderstorms, so confirming your roof’s readiness before a heavy summer downpour is genuinely useful, not just routine box-checking.
Fall inspections focus on clearing debris, checking gutters, and confirming flashing and seals are tight before winter’s freeze-thaw cycles begin. Spring inspections focus on assessing any damage caused by the winter that just passed, especially ice damming along eaves and valleys, and confirming ventilation is adequate to prevent the same issue from recurring.
Regardless of the season, homeowners across Toronto, the Peel Region, York Region, Halton Region, and Durham Region face broadly similar climate stresses, though microclimates near the lake shore or in higher-elevation areas can slightly alter timing and severity. A local inspection team that understands these regional differences will tailor its recommendations accordingly rather than applying a one-size-fits-all checklist.
DIY Checks You Can Safely Perform Between Professional Visits
While a full inspection is best left to trained technicians who have the right safety equipment and diagnostic tools, there are several checks any homeowner can safely perform from the ground or from inside the attic without climbing onto the roof itself.
From the ground, use binoculars to scan for missing or curled shingles, visible rust on flashing, and moss or algae growth, which can indicate trapped moisture. Check that gutters and downspouts are clear and properly draining away from the foundation, since clogged gutters are a leading cause of water backing up under shingles at the eaves. After storms, look for shingle debris on the lawn or driveway, a clear sign that wind has damaged your roofing material.
From inside your attic, on a dry day, look for any dark staining on the underside of the roof deck or rafters, check that insulation appears evenly distributed and free of dark discoloration, and confirm you cannot see any daylight through the roof boards. If you notice condensation on the underside of the roof deck itself, especially on a cold day, this often points to inadequate attic ventilation rather than a leak, but it is worth having assessed either way since both problems shorten roof life.
| DIY Check | Frequency | Tools Needed | When to Call a Professional |
|---|---|---|---|
| Gutter and downspout clearing | Spring and fall | Gloves, ladder (ground-level use only) | Persistent overflow or sagging gutters |
| Ground-level visual scan | Monthly | Binoculars | Any missing, curled, or lifted shingles |
| Attic walkthrough | Quarterly | Flashlight, flat shoes | Staining, odour, or visible light through boards |
| Post-storm debris check | After major weather events | None | Shingle granules or fragments on the ground |
These simple habits, none of which require going onto the roof yourself, dramatically increase the odds of catching a developing problem between your scheduled professional visits. Never attempt to walk on a wet or steeply pitched roof, and always leave flashing repairs, membrane work, and detailed diagnostics to trained professionals with proper fall protection.
The Role of Attic Ventilation and Insulation in Preventing Leaks
It surprises many homeowners to learn that a significant share of “roof leaks” in the GTA are not caused by a failed shingle or flashing at all, but by poor attic ventilation creating ice dams in winter. When warm air escapes from the living space into an under-insulated or poorly ventilated attic, it melts snow on the upper roof surface. That meltwater runs down to the colder eaves, where it refreezes into a dam. Subsequent meltwater then backs up behind that dam and finds its way under the shingles, entering the home through a path that has nothing to do with the shingles’ actual condition.
This is why a proactive roof strategy always includes an attic assessment alongside the roof surface inspection. Adequate insulation keeps living-space heat where it belongs, and balanced intake and exhaust ventilation keeps the attic close to outdoor temperature, preventing the melt-refreeze cycle that drives ice damming. Addressing ventilation is often a more permanent solution to recurring winter leaks than repeatedly patching the same section of roof each spring.
What to Expect During a Professional Inspection Visit
Knowing what a proper inspection visit actually involves helps set expectations and ensures you are getting thorough value from the service. A comprehensive visit typically includes an exterior walk of the roof surface documenting shingle condition, flashing integrity, and gutter function; an interior attic check for moisture, ventilation, and insulation quality; photo documentation of any areas of concern; and a written report outlining findings with recommended next steps, prioritized by urgency.
Reputable roofing companies will not pressure you into unnecessary work after an inspection. Instead, they should clearly separate items that need immediate attention from those that are simply worth monitoring over the next year. If you want to understand how a company approaches this process before booking, reading through reviews from other GTA homeowners or checking a company’s about page for their experience and credentials can help you choose a provider you trust with this important task.
Why is proactive roof leak detection essential rather than just fixing leaks after they appear?
How often should a Toronto homeowner schedule a roof leak inspection?
What are the earliest warning signs of a roof leak?
Can poor attic ventilation actually cause roof leaks?
What tools do professionals use for proactive roof leak detection?
Is proactive roof leak detection worth it if my roof looks fine?
Need Help With Why Is Proactive Roof?
Protecting your home starts with a roof that is inspected regularly, not one that only gets attention after something goes wrong. The team at Universal Roofs has been helping GTA homeowners catch small issues before they become expensive problems for years, and our inspection process is built specifically around the freeze-thaw and storm patterns unique to this region.
Call us today at (416) 732-2421 or request a free inspection to get started.
Universal Roofs proudly serves Toronto, Mississauga, Brampton, Vaughan, Markham, Oakville and the GTA since 2005.