
A roof leak rarely announces itself where the water actually gets in. By the time a ceiling stain appears in the hallway, the water may have travelled a metre or more along a rafter, a truss, or a layer of sheathing before finally showing itself. That gap between cause and symptom is exactly why so many Toronto homeowners spend a full afternoon in the attic with a flashlight and still walk away no closer to an answer.
The good news is that leak detection does not have to be guesswork. Professional roofers rely on a short list of repeatable techniques for detecting roof leaks that work whether the roof is asphalt shingle, flat membrane, or metal. Used in the right order, they narrow down a search area from “somewhere over the second floor” to a specific nail, seam, or flashing joint in under an hour.
This guide walks through those techniques step by step, explains what tools actually help versus what wastes time, and covers when a stain on the ceiling is a genuine roof leak versus something else entirely (condensation, a plumbing vent, or an HVAC line are common look-alikes). We will also cover the GTA-specific factors — summer thunderstorms, ice damming in the shoulder seasons, and decades-old flashing on older Toronto homes — that make a methodical approach worth the extra 20 minutes.

Why Roof Leaks Are So Hard to Pinpoint
Water does not fall straight down once it gets past your shingles or membrane. It follows the path of least resistance, which is almost never a straight vertical line. On a sloped roof, water can enter at a nail hole near the ridge and travel down the underside of the sheathing for several feet before dripping onto insulation, then wicking sideways along a truss chord before it finally soaks through drywall. On a flat or low-slope roof, ponding water can find a single split seam and spread laterally under the membrane for a surprising distance before it drips through a fastener penetration.
Toronto’s climate compounds the problem. Freeze-thaw cycles in the shoulder seasons open up tiny cracks in flashing sealant and shingle tabs that were watertight the previous summer. Summer thunderstorms then drive that water sideways under wind-loaded pressure, forcing it into gaps that would stay dry in a light, straight-down rain. That is why a leak that seems to “come and go” with specific storms is one of the more diagnostic clues a homeowner can hand a roofer.
Because the entry point and the drip point are rarely the same spot, effective techniques for detecting roof leaks always work backward from the interior evidence toward the exterior source, then confirm the theory with a targeted test rather than a random inspection of the whole roof surface.
Step One: Read the Interior Evidence First
Before anyone gets on a ladder, the attic and ceiling tell most of the story. Start with these checks:
- Stain shape and colour. A fresh leak often leaves a yellow-brown ring with a darker centre. An old, dried stain is usually uniformly tan or grey with a hard, flaky edge. Multiple concentric rings mean the leak has been active across more than one rain event.
- Attic insulation. Matted, discoloured, or mouldy insulation directly under a roof plane is one of the fastest ways to narrow a search area, since insulation holds moisture and stains long after the wood around it dries.
- Nail point rust or frost. On the underside of the roof deck, look for rusted nail tips. In cold weather these often show a small ring of frost, a telltale sign that warm, moist attic air is condensing on a cold nail — sometimes a condensation issue rather than a true leak (more on that distinction below).
- Wood staining along framing. Trace any dark streak along a rafter or truss upward toward the roof deck. Water almost always travels toward the lowest point of a slope, so the highest point of the stain is closer to the true entry location.
Take photos and note distances (in metres) from a fixed reference point, such as the chimney, a plumbing vent stack, or the ridge. Those measurements let you translate the interior evidence to the correct spot once you get onto the roof or into the attic with a flashlight.
Core Techniques for Detecting Roof Leaks
Once the interior evidence points to a general area, these are the methods professionals use to confirm the exact entry point.
1. The Daylight Test
On a sunny day, turn off all attic lights and look for pinpricks of daylight coming through the roof deck. This works well for small punctures, popped nails, and gaps around vent boots, but it will not catch leaks hidden under overlapping shingle tabs or membrane seams, since those areas block light even when they leak.
2. The Garden Hose Test
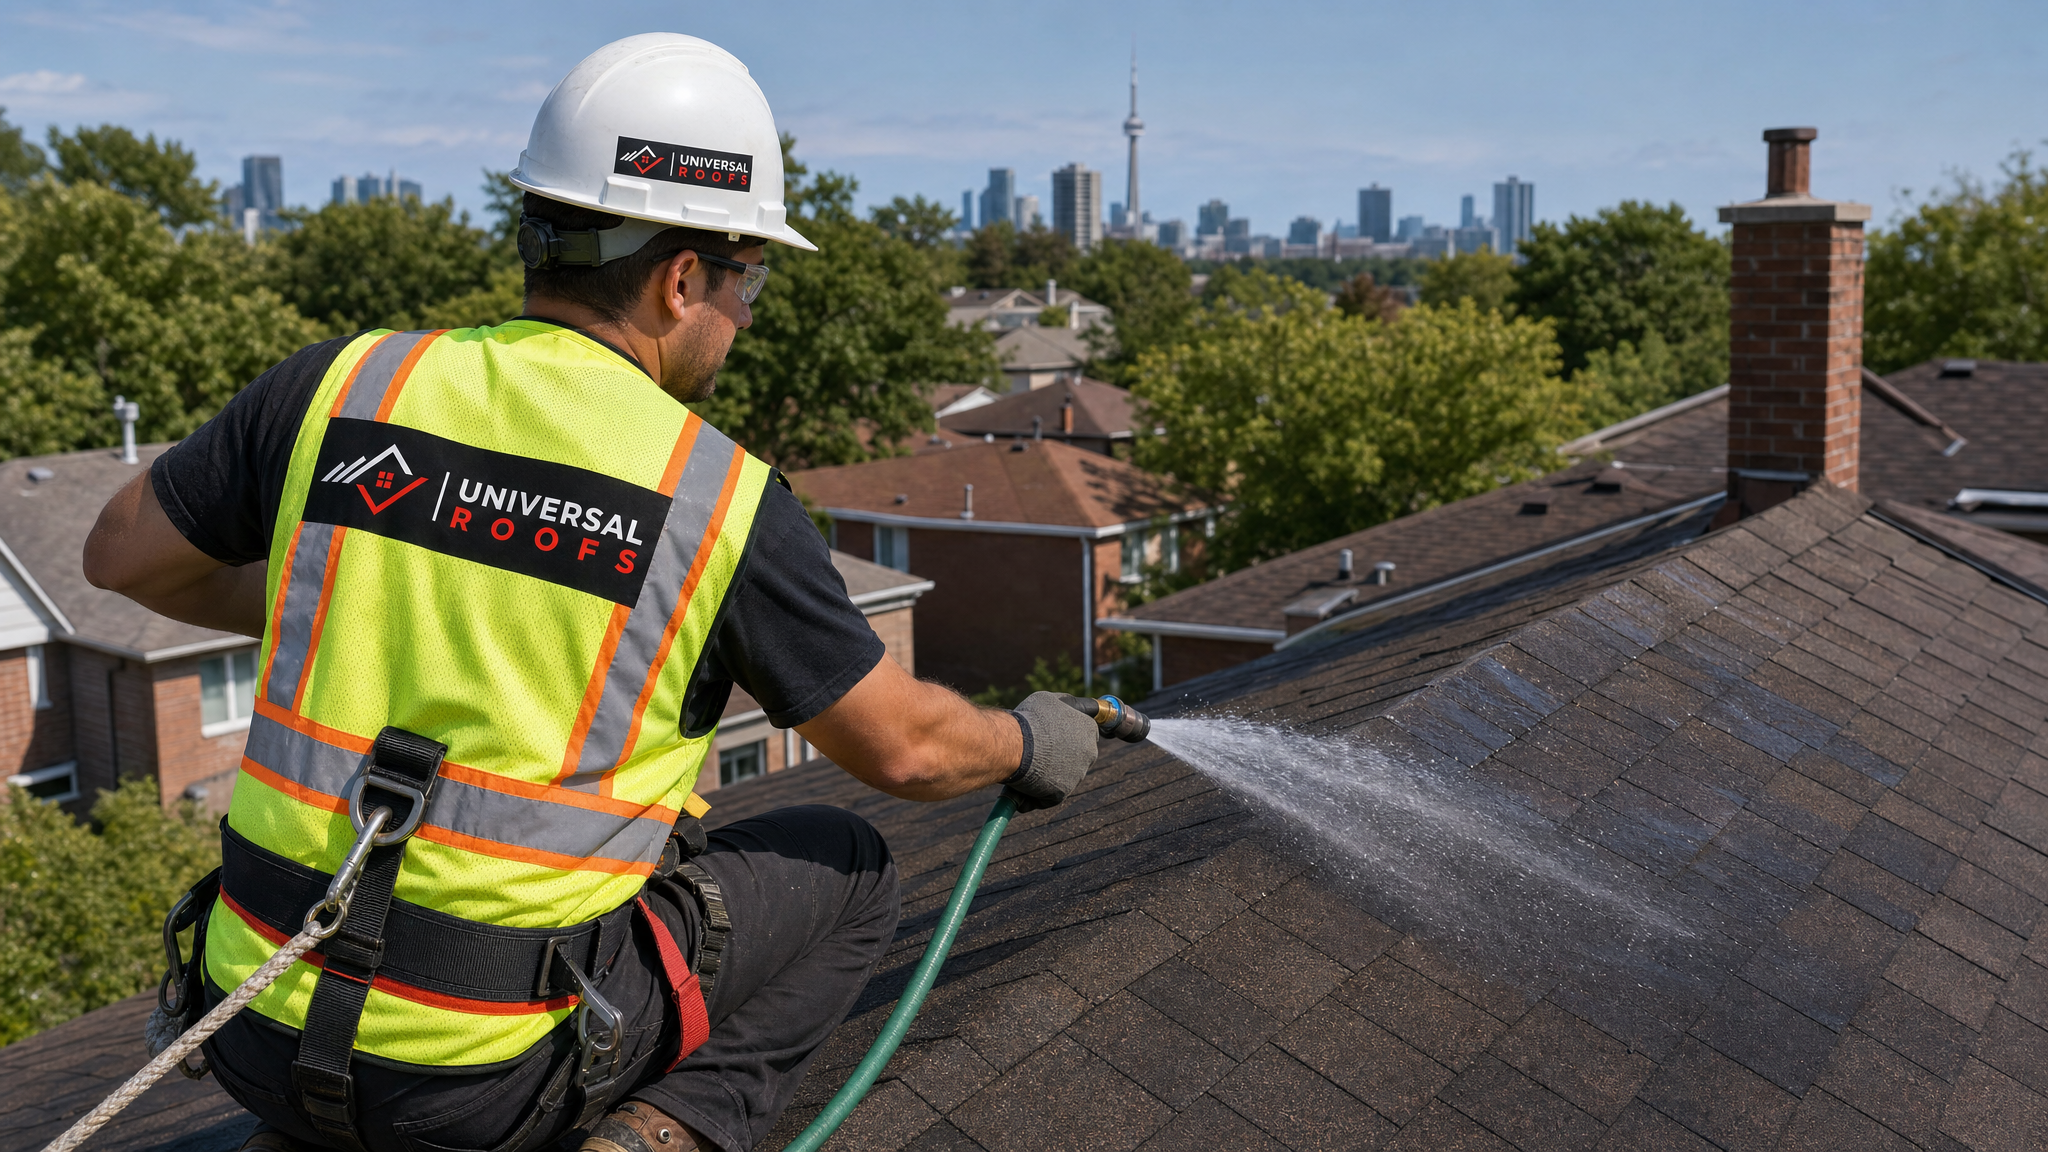
This is the most reliable do-it-yourself method and the one most professional roofers still use as a confirmation step. With a helper inside the attic (with a flashlight and phone for communication) and another person on the roof or ladder with a garden hose, water is applied to one small section at a time, starting at the low point of the suspected area and working upward. Each section is soaked for several minutes before moving to the next, and the attic observer calls out the moment water appears. Testing section by section, rather than spraying the whole roof at once, is what makes this method diagnostic rather than just confirmatory that a leak exists somewhere.
3. Chalk Line and Grid Mapping
For larger or flat roofs where the leak source is not obvious, snapping a chalk grid across the membrane or shingle field and testing one grid square at a time with the hose method turns a vague “somewhere in this corner” into a documented, repeatable process. This is especially useful on flat roofing systems, where a leak that shows up in the middle of a ceiling may actually originate near a parapet wall or drain a considerable distance away.
4. Moisture Meters
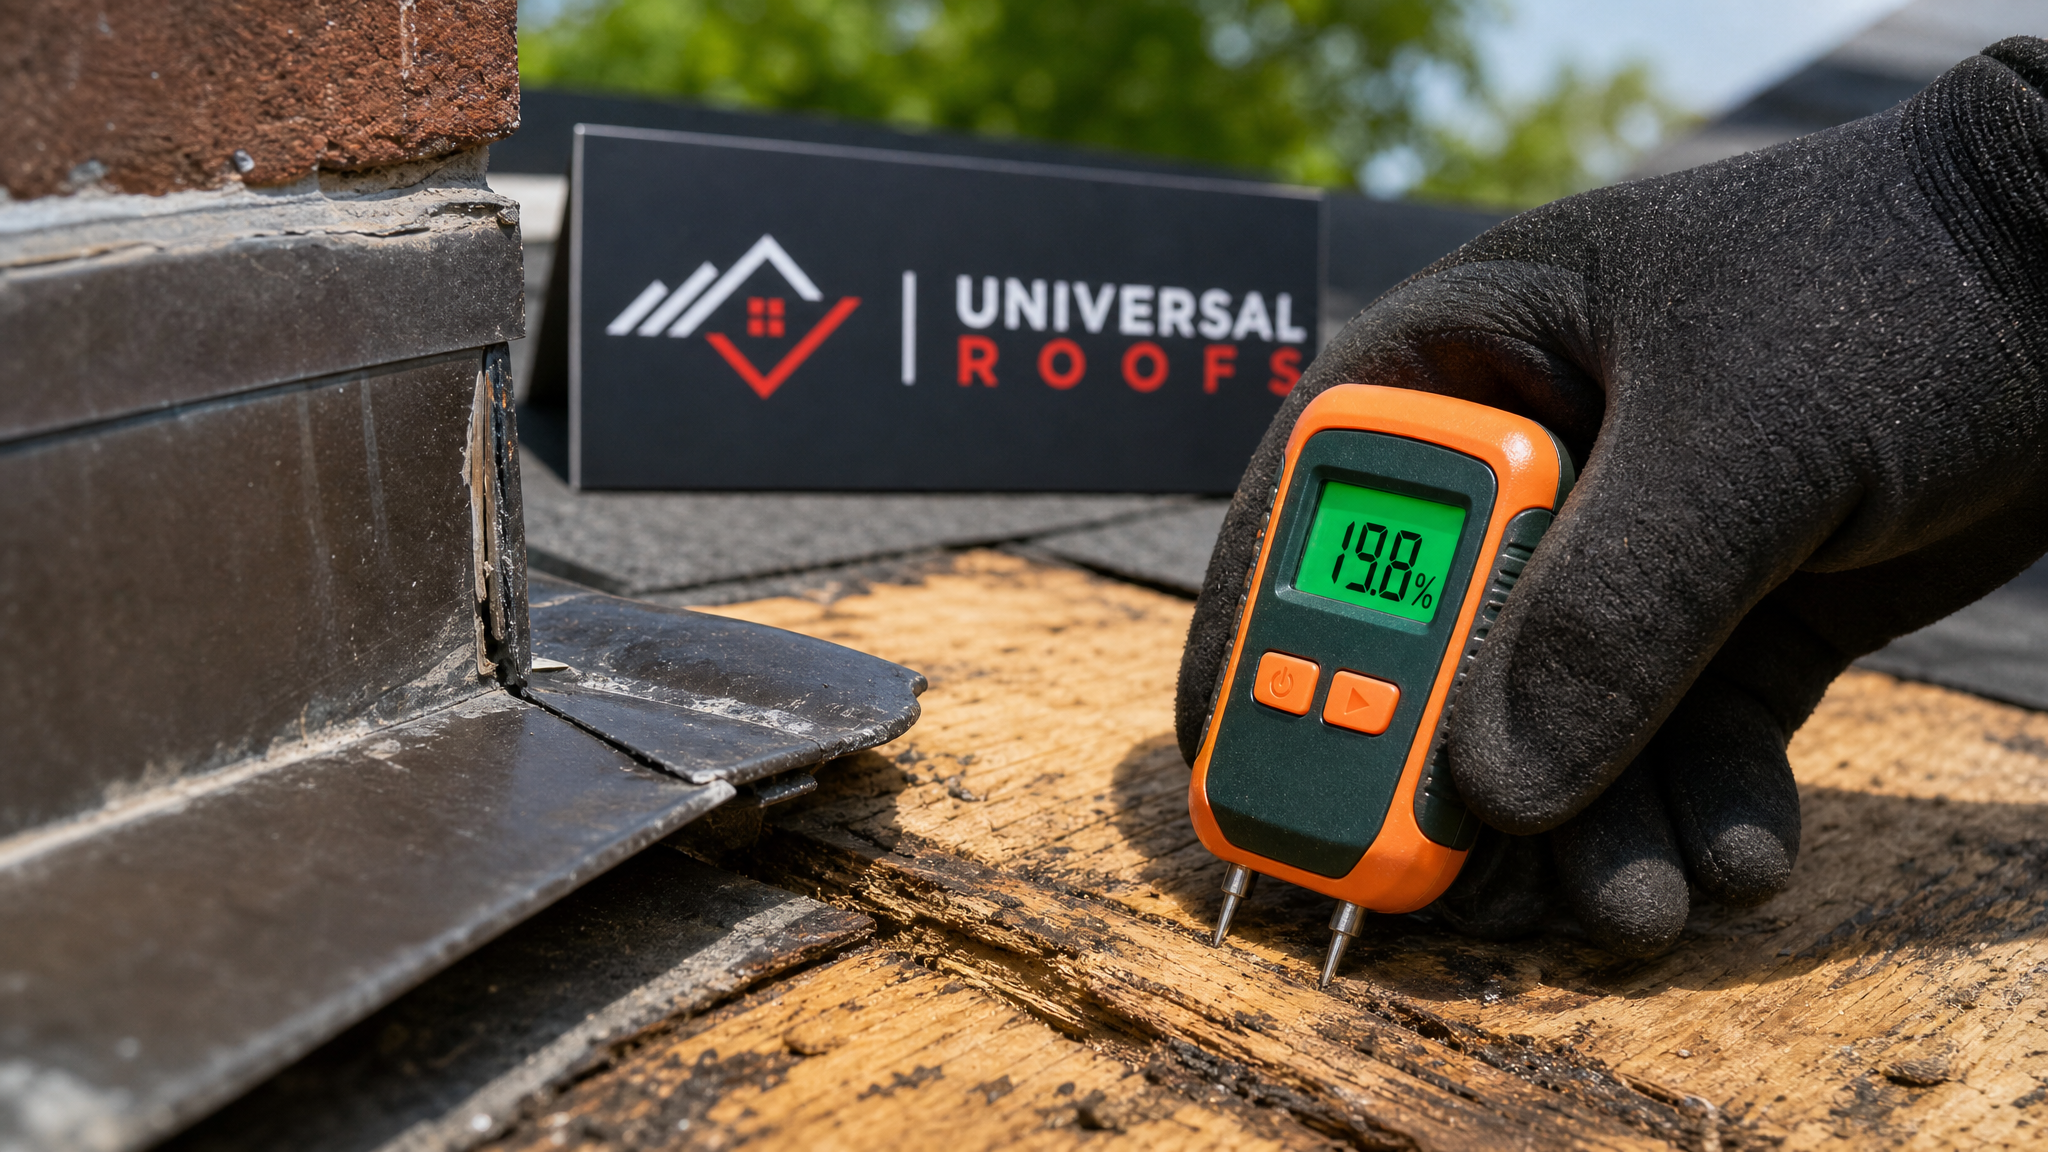
A pin-type or non-invasive moisture meter reads the moisture content of roof decking, insulation, and framing members. Because wet wood reads dramatically higher than dry wood, sweeping a meter across the underside of the deck in the suspected zone can locate a saturated area even after the surface has dried between rain events. This is one of the more reliable techniques for detecting roof leaks that are intermittent, since the meter reads the history of moisture exposure rather than only active dripping.
5. Infrared Thermal Imaging
Infrared cameras detect temperature differences, and wet insulation or wet decking holds and releases heat differently than dry material. Scanned from inside the attic (or from the exterior on a flat roof after sunset, when wet areas cool more slowly), thermal imaging can reveal the full extent of a moisture pocket, not just the point where it happens to be dripping. It is particularly effective for flat and low-slope roofs where standing water spreads underneath the membrane.
6. Smoke Pencil / Smoke Testing for Ventilation-Related Gaps
Occasionally what looks like a roof leak is actually warm, humid house air escaping into the attic and condensing on cold roof sheathing. A smoke pencil held near bathroom fan penetrations, pot lights, and attic hatches will reveal air leakage. If smoke is drawn strongly toward the roof deck, ventilation and air-sealing, not roof repair, may be the real fix.
Comparing the Main Detection Techniques
Different methods suit different roof types and leak behaviours. The table below compares the techniques covered above.
| Technique | Best For | Tools Needed | Typical Time | DIY Friendly? |
|---|---|---|---|---|
| Daylight test | Small punctures, popped nails, vent gaps | Flashlight, sunny day | 10-15 minutes | Yes |
| Garden hose test | Shingle roofs, isolating one section at a time | Hose, two people, phone/radio | 30-60 minutes | Yes, with a helper |
| Chalk grid mapping | Flat roofs, large or unclear leak zones | Chalk line, hose, grid plan | 1-2 hours | Moderate |
| Moisture meter | Intermittent leaks, confirming saturation extent | Pin or non-invasive meter | 15-30 minutes | Limited (meter cost) |
| Infrared thermal imaging | Flat roofs, hidden or spread-out moisture | Thermal camera, ideally after dark | 30-45 minutes | No, professional tool |
| Smoke pencil test | Distinguishing condensation from true leaks | Smoke pencil, calm air | 15-20 minutes | Moderate |
Roof Leak or Condensation? A Common Mixup
Roughly one in five “leak” calls in the GTA turns out to be attic condensation rather than a breach in the roofing material. This distinction matters because the fix is completely different — better attic ventilation and air sealing versus a physical roof repair.
| Clue | Points to a Roof Leak | Points to Condensation |
|---|---|---|
| Timing | Appears during or right after rain/storms | Appears in cold weather regardless of rain |
| Location | Follows a slope or valley, near flashing/penetrations | Widespread, near bathroom fans, kitchen vents, or the attic hatch |
| Moisture pattern | Concentrated stain, single drip point | General dampness, frost on nail tips across a wide area |
| Ventilation check | Soffit and ridge vents look normal | Blocked soffit vents, insufficient ridge exhaust, or bathroom fans venting into the attic |
| Seasonality | Any season, tied to storm events | Worse in winter and shoulder seasons with big indoor-outdoor temperature swings |
If the smoke pencil test and a look at your soffit and ridge venting suggest condensation rather than a breach, the fix usually involves improving attic airflow rather than opening up the shingles. It’s worth confirming this before paying for a repair on a roof plane that was never actually leaking.
The Most Common Leak Sources on GTA Roofs
Once you know a leak is real, experience across thousands of GTA roofs shows the entry point is disproportionately likely to be in one of these locations:
- Flashing around chimneys, skylights, and wall step-flashing. Metal flashing relies on sealant and proper overlap, both of which degrade with UV exposure and freeze-thaw movement over 10-15 years.
- Vent boots and pipe collars. The rubber gasket around plumbing stacks and exhaust vents cracks well before the surrounding shingles wear out, often by year 8-10.
- Valleys. Where two roof planes meet, water volume concentrates and any debris buildup (leaves, granule loss) can force water sideways under the shingle edge.
- Nail pops and improperly sealed fasteners. Especially common after a roof has been walked on for solar panel installs, chimney work, or satellite dish mounting.
- Parapet walls and drains on flat roofs. Membrane seams near a parapet cap or a clogged interior drain are the leading cause of flat roof leaks in our service area.
- Skylight curbs and seals. Older skylight installations, or ones that were never properly integrated with the surrounding roofing membrane, are a frequent source of both active leaks and slow seepage.
What to Do the Moment You Spot a Leak
- Contain the water. Place a bucket or basin under the active drip and, if the ceiling is visibly bulging, carefully poke a small relief hole at the lowest point of the bulge to release trapped water before it spreads or the ceiling collapses.
- Move anything valuable out of the drip path, including electronics and stored items in the attic.
- Photograph the stain, the date, and any relevant weather conditions (this documentation matters for insurance claims).
- Check the attic with a flashlight if it is safe to do so, but avoid walking directly on insulation between joists.
- Avoid climbing onto a wet or steep roof yourself — this is the point where calling a professional roof repair team is both safer and faster than DIY exterior investigation.
DIY Detection vs. Calling a Professional
Homeowners can reliably handle the daylight test, a basic garden hose test on a single-storey, walkable roof, and the interior attic inspection. Anything involving steep slopes, second-storey roof access, flat roof membrane work, or infrared equipment is worth handing to a professional, both for safety and because misdiagnosing the leak source often leads to repeated, ineffective patch attempts.
| Factor | DIY Reasonable | Call a Professional |
|---|---|---|
| Roof pitch | Low slope, walkable | Steep slope, 2+ storeys |
| Roof type | Simple asphalt shingle | Flat membrane, metal, skylight-integrated |
| Leak pattern | Obvious, consistent, single point | Intermittent, spread out, multiple stains |
| Tools required | Flashlight, hose, ladder | Moisture meter, thermal camera, harness |
| Urgency | Slow drip, no active structural risk | Active dripping, ceiling bulging, or sagging |
A trained technician from a roof repair team combines the same diagnostic techniques above with the experience of having traced thousands of leaks across the GTA’s housing stock, which usually shortens the diagnosis from hours to minutes.
Preventing Leaks Before They Start
Detection is only half the picture — most leaks are preventable with routine attention. A few habits go a long way:
- Have your roof inspected each spring and fall, since freeze-thaw cycles are the single biggest driver of new flashing and sealant failures in the GTA.
- Keep gutters and valleys clear of leaves and debris so water has a clear path off the roof instead of pooling against shingle edges.
- Check attic ventilation annually — proper soffit-to-ridge airflow prevents both ice damming in winter and the summer heat buildup that accelerates shingle ageing.
- Address small issues (a lifted shingle tab, a cracked vent boot) immediately rather than waiting for a full leak, since a five-minute repair today often prevents a full roof replacement conversation five years from now.
- If your home has a skylight, have the curb and seal inspected on the same schedule as the rest of the roof, since skylight leaks are frequently misattributed to the surrounding shingles.
- For homes with flat roof sections, check that drains and scuppers are clear before every major storm; a blocked drain is the number one cause of the ponding that eventually finds a weak seam in flat roofing membranes.
Summer Is the Ideal Window for a Full Inspection
July’s long daylight hours and dry, stable weather make this one of the best times of year to schedule a comprehensive inspection, since technicians can safely walk the full roof surface, run hose tests without worrying about freezing pipes, and use infrared imaging on flat sections after sunset when temperature contrast between wet and dry areas is sharpest. Summer heat can also accelerate the failure of already-aging sealant and rubber vent boots, so a leak that was a slow drip in spring can become a steady one by August — another reason not to defer an inspection once you notice the first stain.
If your attic inspection turns up more general concerns, such as insufficient insulation, poor airflow, or signs of pest entry alongside the moisture, it is worth having a broader look at your attic system rather than treating the roof surface in isolation.
Documenting and Tracking a Suspected Leak
If a leak is intermittent, a simple log dramatically improves the odds of catching it in the act. Record the date, the weather (wind direction matters, since driving rain from a specific direction often explains why a leak is inconsistent), the exact location of any new staining, and photos with a consistent reference point. This log is also valuable if you end up filing an insurance claim, since insurers frequently ask for a documented timeline showing when the damage was first noticed and what steps were taken.
Homeowners across our service areas in Toronto, Peel Region, York Region, Halton Region, and Durham Region all deal with the same freeze-thaw and storm patterns, so the detection process described here applies whether you’re in a 1960s bungalow in Scarborough or a newer build in Vaughan.
Reading Customer Experiences Before You Choose a Roofer
Leak diagnosis is one of those jobs where experience shows up directly in the outcome — a roofer who has traced thousands of leaks across different roof ages and construction styles will typically find the source faster and with less exploratory demolition than one who has not. Before booking an inspection, it’s worth reading through verified customer reviews or checking a company’s FAQ page for details on how their diagnostic process works. You can also learn more about our team and the roofing systems we’ve worked on since 2005.
What are the fastest techniques for detecting roof leaks without climbing onto the roof?
How long does a professional roof leak detection typically take?
Can a moisture meter really find a leak that isn’t actively dripping?
Why does my ceiling stain only appear after certain storms?
Is it safe to do a garden hose test myself?
What is the difference between a roof leak and attic condensation?
Need Help With Quick and Reliable Techniques?
A methodical inspection saves you money, time, and unnecessary repairs — and it’s exactly the process our technicians at Universal Roofs follow on every callout across the GTA.
Call us today at (416) 732-2421 or request a free inspection to get started.
Universal Roofs proudly serves Toronto, Mississauga, Brampton, Vaughan, Markham, Oakville and the GTA since 2005.