
A single unresolved roof leak can quietly ruin drywall, insulation, and framing long before a homeowner ever sees a stain on the ceiling. In the Greater Toronto Area, where summer thunderstorms, freeze-thaw cycles, and heavy spring runoff all take turns punishing a roof, leak detection is not a luxury skill — it is a core part of responsible home ownership. Mastering roof leak detection and repair means learning to read the early warning signs, understanding how water actually travels once it gets under your shingles, and knowing which fixes are genuinely permanent versus which ones just buy you a season.
This guide walks through the full process: how professional roofers trace a leak back to its true source (which is almost never where the stain appears), the materials and methods used for lasting repairs, realistic cost expectations, and the maintenance habits that keep leaks from recurring. Whether you are dealing with a slow drip during a July downpour or a mysterious damp patch that only shows up after a storm, the principles below apply to almost every sloped and low-slope roof in the GTA.
At Universal Roofs, we have been diagnosing and repairing roof leaks across Toronto and the surrounding regions since 2005, and the patterns repeat constantly: a homeowner notices a symptom indoors, assumes the leak originates directly above it, and either delays calling a professional or hires someone who patches the visible symptom without ever finding the real entry point. This guide is designed to help you avoid both mistakes.

Why Roof Leaks Are So Difficult to Trace
The biggest misconception homeowners have about roof leaks is that water travels straight down. In reality, water follows the path of least resistance along the underside of roof decking, rafters, trusses, and insulation batts, often surfacing several metres from the actual point of entry. A leak that appears above a bedroom window might originate at a chimney flashing, a plumbing vent boot, or a valley near the opposite end of the roof.
Several factors make mastering roof leak detection genuinely difficult without training and the right tools:
- Gravity and slope direction — water runs downhill along the decking until it hits an obstruction (a truss, a nail, insulation) and pools or drips from there.
- Capillary action — water can be drawn upward or sideways through wood fibres and along seams, defying the assumption that leaks always travel down.
- Intermittent entry points — some leaks only appear during wind-driven rain from a specific direction, or only during rapid snowmelt, making them nearly impossible to reproduce on a calm, dry day.
- Multiple failure points — older roofs often have more than one compromised area, so fixing the obvious spot doesn’t stop the leak if a second entry point is feeding the same stain.
This is why a proper roof repair always starts with systematic detection rather than a quick patch on the first suspicious spot a contractor sees from the ground.
Reading the Early Warning Signs Indoors and Out
Most leaks announce themselves well before they cause visible interior damage, if you know what to look for. Catching these signs early is the single best way to avoid a costly repair down the road.
Indoor signs include: yellow-brown ceiling stains with a ring pattern (indicating repeated wetting and drying), peeling paint or bubbling drywall, a musty odour in an attic or upper closet, visible mould on rafters or the underside of roof sheathing, and soft or spongy spots in ceiling drywall. Attic inspections are particularly valuable in summer, since a hot, humid attic combined with any moisture intrusion accelerates mould growth and can compromise insulation R-value.
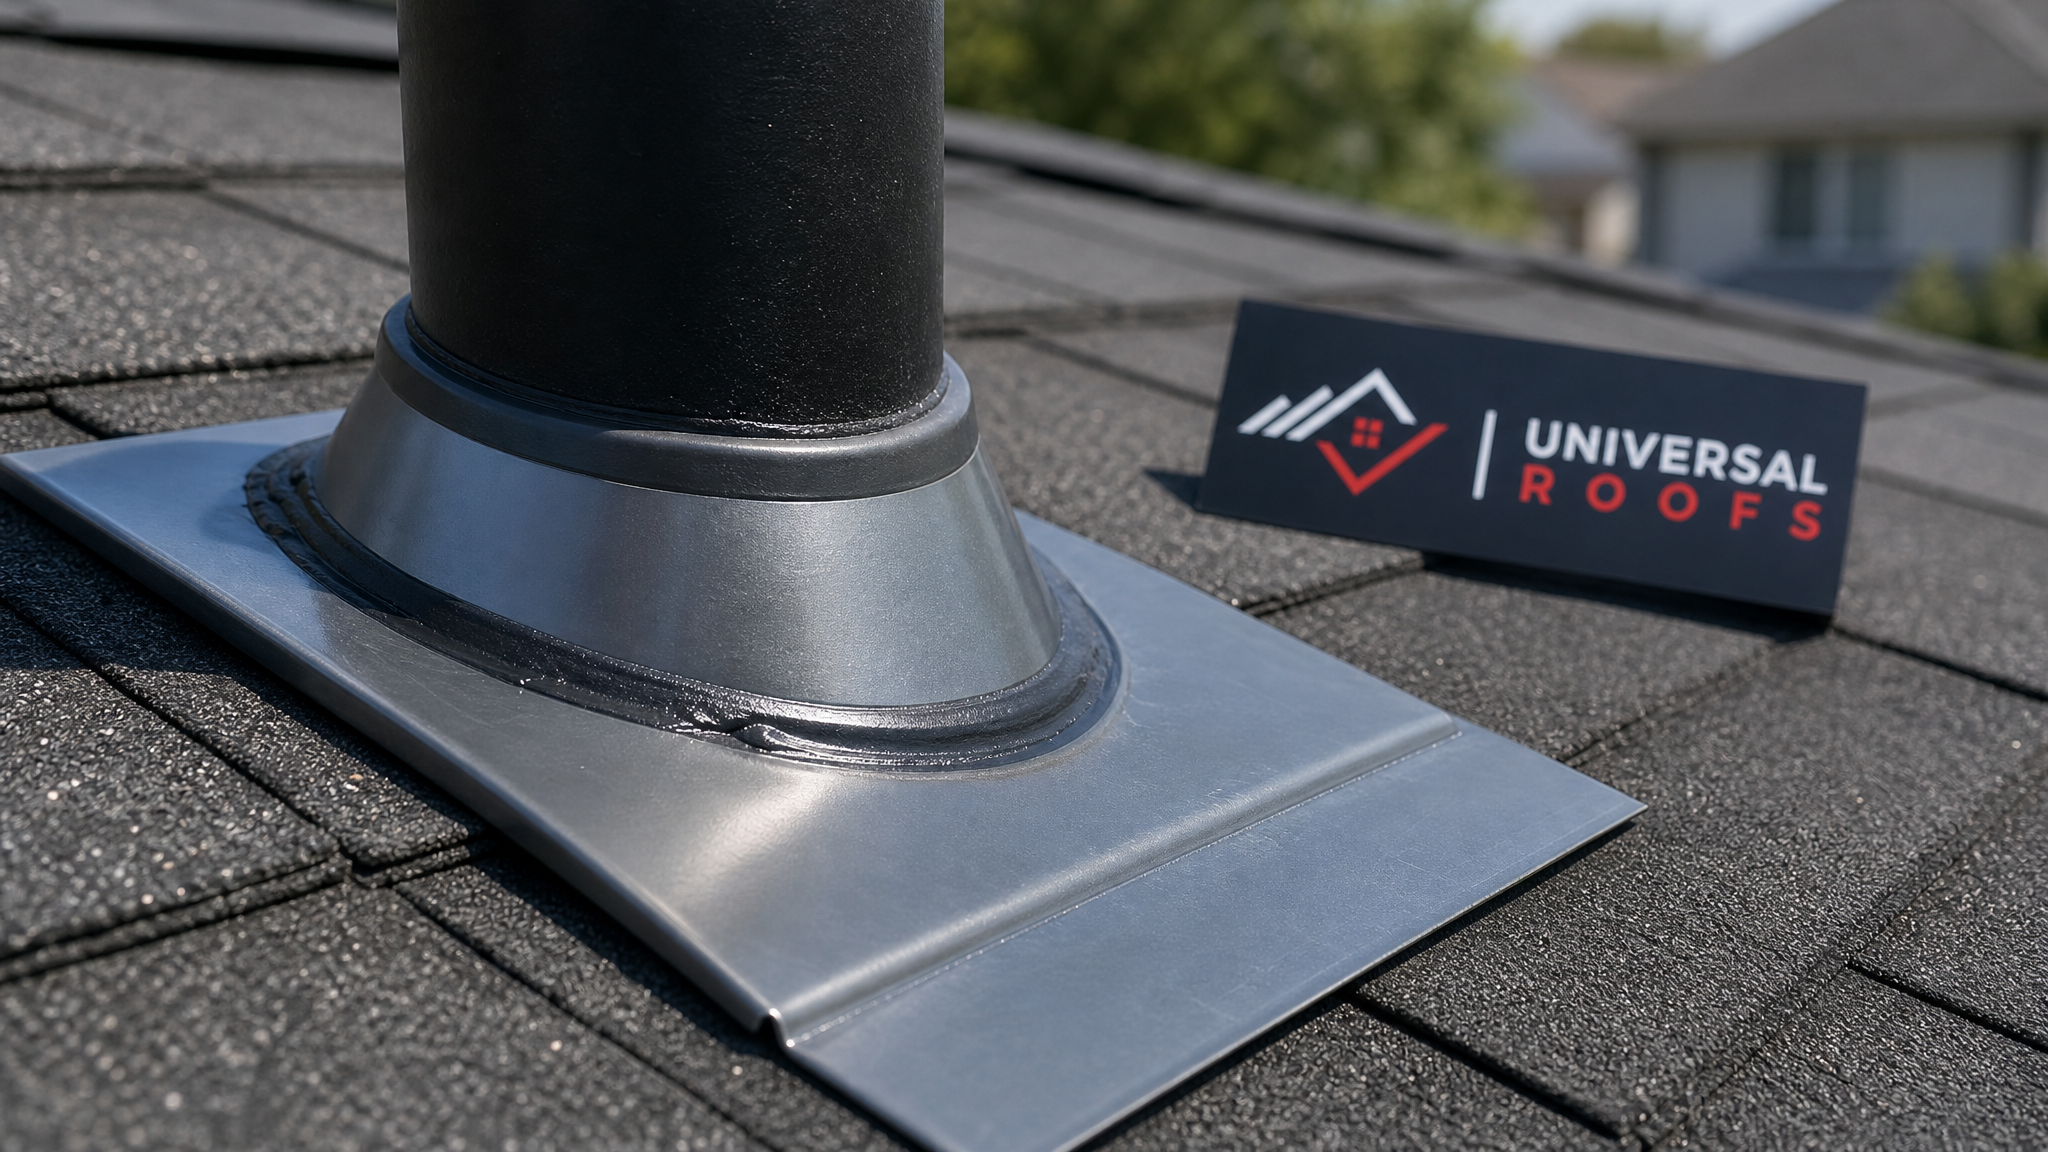
Outdoor signs include: missing, cracked, or curling shingles, granules collecting in gutters (a sign of accelerated shingle wear), lifted or corroded flashing around chimneys and vent pipes, daylight visible through the roof deck from inside the attic, and sagging sections of the roofline that suggest saturated decking underneath. Homeowners should also check for damaged or missing pipe boots, since the rubber collar around plumbing vents is one of the most common leak sources on any GTA roof.
If you notice any combination of these signs, scheduling a professional inspection through our roof repair team is far cheaper than waiting for a full ceiling collapse or mould remediation project.
How Professionals Trace a Leak to Its True Source
Professional leak detection follows a repeatable process rather than guesswork. Here is the sequence a trained roofer typically follows:
- Interior mapping — documenting exactly where the stain or drip appears, including its shape, size, and whether it grows during specific weather conditions.
- Attic inspection — using a flashlight to trace moisture trails, staining, or rot along the rafters and decking, working uphill from the interior stain toward the roofline.
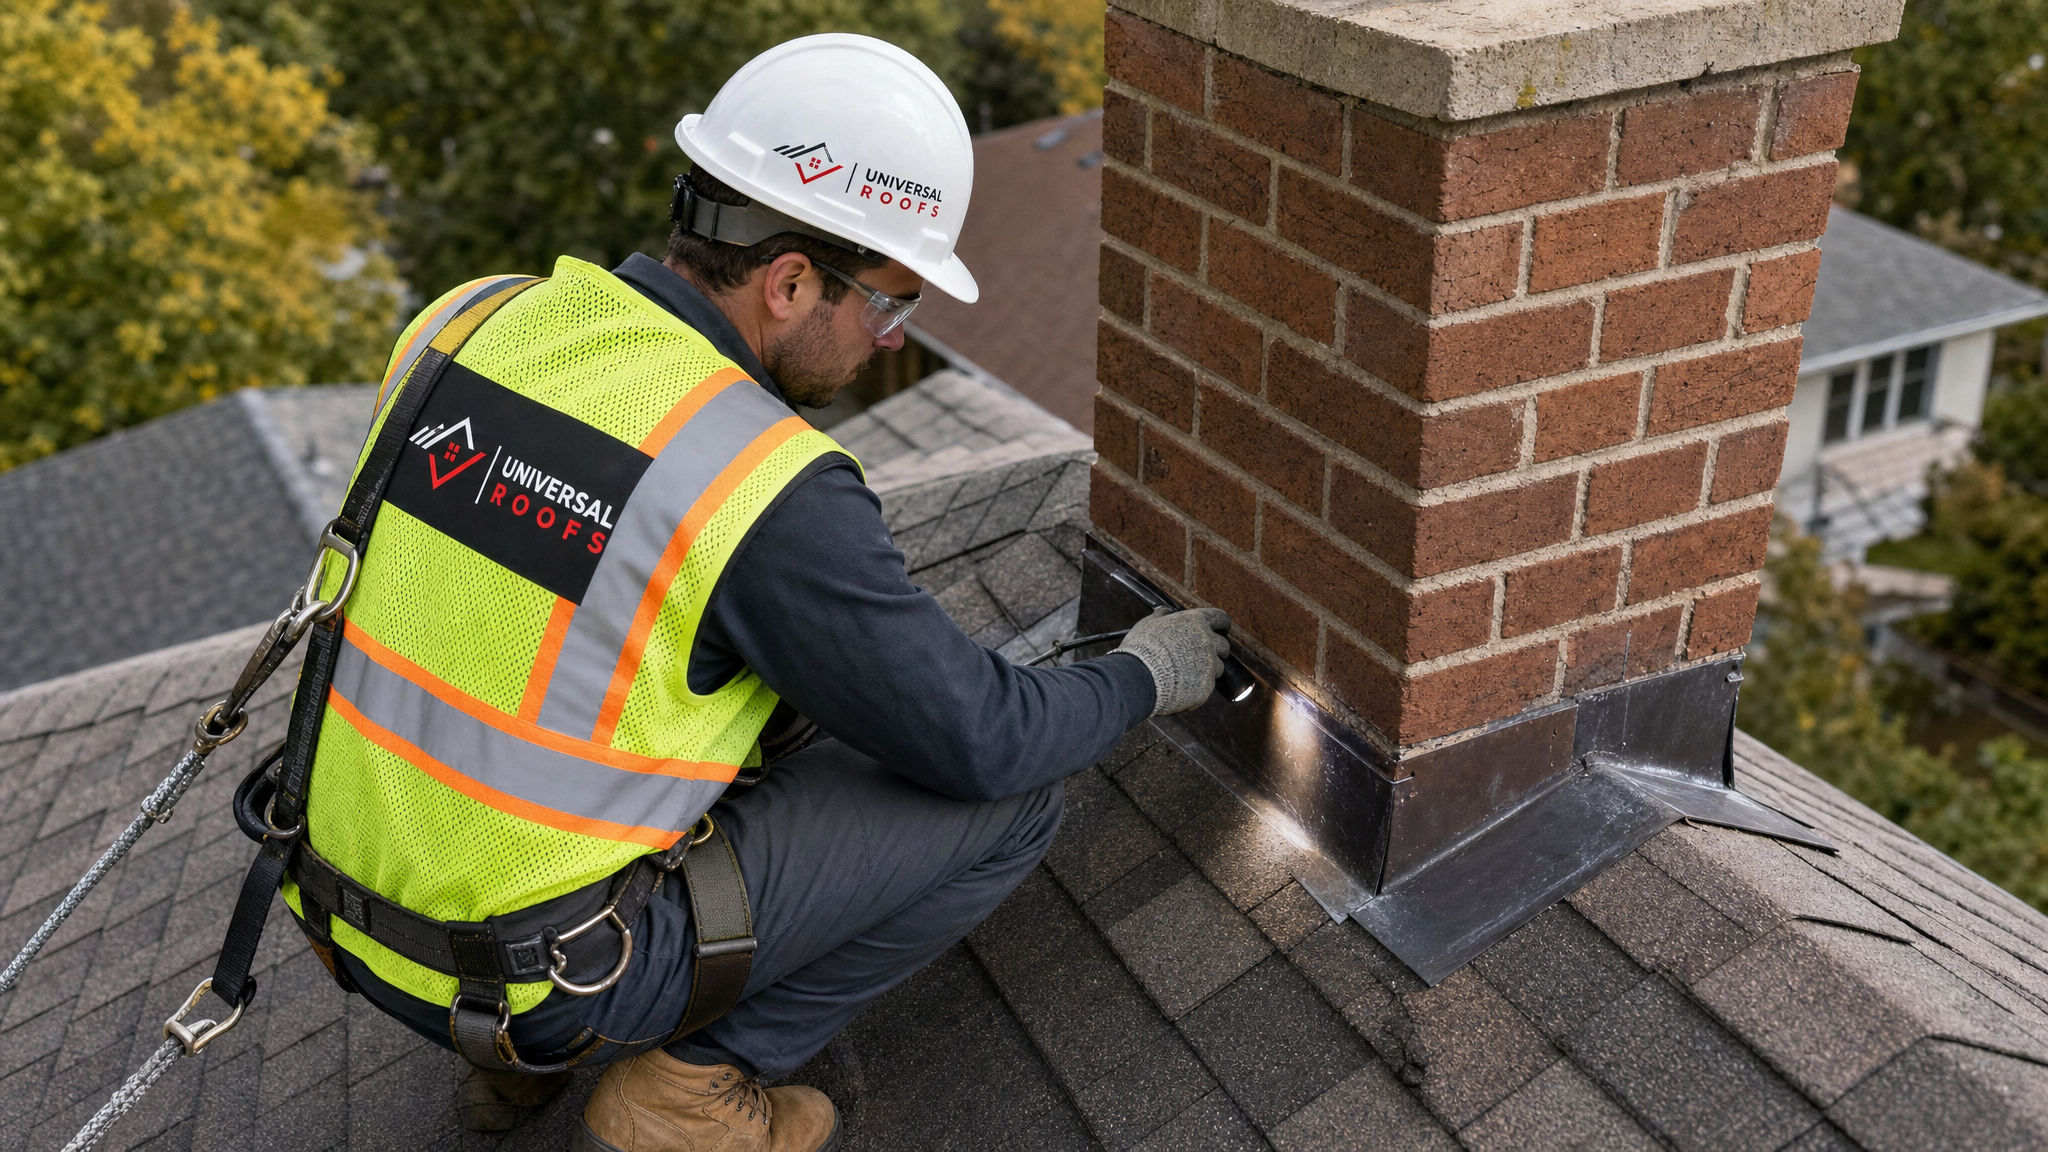
- Exterior visual survey — checking flashing, shingles, valleys, vent boots, skylights, and any roof penetrations directly above and upslope from the suspected area.
- Water testing — in stubborn cases, controlled water application with a garden hose over suspected sections, working from the lowest point upward, while a second technician watches the attic for the first sign of intrusion.
- Thermal imaging — infrared cameras can reveal moisture trapped in insulation or decking, since wet materials retain heat differently than dry ones, making this especially useful on flat and low-slope roofs where standing water leaves no obvious surface clue.
- Moisture metering — a handheld moisture meter confirms wet decking or insulation and helps define exactly how far the damage has spread, which determines whether a patch repair or a larger section replacement is needed.
This layered approach is why DIY leak chasing so often fails — a homeowner without thermal imaging or a systematic hose test will usually find the symptom, not the cause.
| Detection Method | Best Used For | Typical Cost Range (CAD) | Accuracy |
|---|---|---|---|
| Visual attic inspection | Sloped roofs with accessible attics | $0–$150 | Moderate |
| Controlled hose testing | Intermittent or wind-driven leaks | $150–$350 | High |
| Infrared thermal imaging | Flat/low-slope roofs, hidden moisture | $250–$600 | Very high |
| Moisture meter scanning | Confirming decking/insulation saturation | $100–$250 | High |
| Dye testing (flat roofs) | Membrane seams and drains | $200–$400 | High |
Common Leak Sources on GTA Roofs
While every roof is different, the vast majority of leaks we diagnose across Toronto, Mississauga, and the surrounding region trace back to a handful of recurring weak points:
Flashing failures around chimneys, skylights, and roof-to-wall junctions are the single most common source. Flashing relies on overlapping metal and sealant to shed water, and both degrade with age, thermal cycling, and improper original installation. If your leak seems to trace back to a rooftop window, our skylights and skylight replacement teams frequently find that the surrounding flashing — not the glazing unit itself — is the actual culprit.
Deteriorated pipe boots (the rubber collar around plumbing vents) crack and shrink after 10-15 years of Toronto’s freeze-thaw exposure, creating a direct channel for water at every vent penetration.
Valley failures occur where two roof slopes meet and water volume concentrates; if valley flashing or shingles were installed with insufficient overlap, this area fails faster than the rest of the roof.
Ice dam damage, while more of a late-winter and early-spring issue, leaves damaged shingles and lifted flashing that often doesn’t leak visibly until the next heavy summer rain, which is why a July leak sometimes has a root cause from months earlier. Poor attic ventilation and insulation, addressed through our attic services, is frequently the underlying driver of ice dam formation.
Membrane punctures and seam failures on flat and low-slope sections are a distinct category entirely, covered in more detail below, and typically require our dedicated flat roofing expertise rather than standard shingle repair techniques.
Repair Techniques by Roof Type and Damage Category
Once the source is confirmed, the repair method depends heavily on the roofing material, the age of the roof, and how widespread the underlying damage is. Below is a realistic breakdown of what each repair category typically involves.
| Roof Type / Issue | Repair Method | Typical Timeline | Estimated Cost (CAD) |
|---|---|---|---|
| Asphalt shingle — single missing/cracked shingle | Spot replacement, re-nail, reseal | 1–2 hours | $150–$400 |
| Flashing failure (chimney, vent, skylight) | Remove and re-flash with new metal + sealant | 2–4 hours | $300–$800 |
| Valley leak | Strip and rebuild valley with new membrane/metal | Half day | $600–$1,500 |
| Flat roof membrane puncture | Patch weld or torch-applied patch | 2–3 hours | $250–$700 |
| Widespread decking rot | Section tear-off, replace decking, re-shingle | 1–2 days | $1,500–$4,000+ |
For asphalt shingle roofs, minor repairs involve carefully lifting surrounding shingles, removing the damaged one, and sliding in a replacement secured with roofing cement and matching nails. Flashing repairs require full removal of the old metal and sealant rather than simply caulking over the gap — caulk-only fixes are a temporary band-aid, not a genuine repair, and they typically fail again within a year or two of GTA weather cycling.
When the damage is extensive enough that patch repairs would just be delaying the inevitable, it’s worth having a frank conversation about full roof replacement instead of repeatedly paying for repairs on a roof nearing the end of its service life. A general rule of thumb: if repair costs exceed roughly 30-40% of a full replacement, or if the roof is already past 18-20 years old for asphalt shingles, replacement is usually the more economical long-term choice.
Flat Roof and Low-Slope Leak Considerations
Flat and low-slope roofs — common on additions, garages, and commercial buildings across the GTA — behave very differently from pitched shingle roofs when it comes to leaks. Because water doesn’t shed quickly, even small membrane punctures or seam separations can allow standing water to work its way through over hours or days rather than minutes.
Key flat roof leak sources include: seam separation on modified bitumen or EPDM membranes, ponding water around clogged or undersized drains, membrane blistering from trapped moisture or UV degradation, and improperly sealed penetrations for HVAC equipment or vent stacks. Because these membranes are engineered systems, effective repair often requires heat-welding or torch-applying a matching patch material rather than a generic sealant, which is why flat roof leak repair benefits from our specialized flat roofing team rather than a general handyman approach.
Dye testing is particularly useful here: a coloured dye is introduced at suspected seams or drains, and technicians trace its path from below to confirm the exact failure point before opening up the membrane for repair.
DIY Leak Detection vs. When to Call a Professional
Homeowners can safely perform some basic detection steps themselves, but there’s a clear line where DIY efforts should stop and professional help should start.
Safe for most homeowners: checking the attic with a flashlight during or immediately after rain, looking for daylight through the roof deck, inspecting visible flashing and shingles from the ground with binoculars, and documenting stain patterns and dates to share with a contractor.
Best left to professionals: walking on the roof itself (steep-slope roofs and wet shingles are a serious fall hazard), hose testing (requires coordination between two people and knowledge of where to concentrate water without causing new damage), thermal imaging (requires specialized equipment and training to interpret correctly), and any repair involving flashing, membrane welding, or structural decking.
| Task | DIY-Appropriate? | Risk Level | Recommended Approach |
|---|---|---|---|
| Attic flashlight inspection | Yes | Low | Homeowner, during/after rainfall |
| Ground-level visual survey with binoculars | Yes | Low | Homeowner |
| Climbing onto the roof | No | High (fall hazard) | Licensed roofer with harness/fall protection |
| Hose testing for intermittent leaks | Not recommended | Moderate | Professional, two-person team |
| Flashing or membrane repair | No | High (recurring failure if done wrong) | Licensed roofing contractor |
Working at height is inherently dangerous, and a rushed or improperly executed repair frequently causes more damage than the original leak. If you are ever unsure, it costs nothing to get a free quote and have a trained technician assess the situation before you climb a ladder.
Preventing Future Leaks: Maintenance That Actually Works
The best leak repair is the one you never need because the roof was properly maintained. A handful of habits dramatically reduce leak risk over the life of a roof:
- Bi-annual inspections — spring (post-winter damage check) and fall (pre-winter preparation) are the two most valuable times to have a professional look at flashing, shingles, and attic ventilation.
- Gutter maintenance — clogged gutters cause water to back up under the shingle edge, so cleaning them at least twice a year prevents a whole category of edge leaks.
- Attic ventilation and insulation — proper airflow through the attic keeps the underside of the roof deck at a stable temperature, which reduces both ice dam formation in winter and premature shingle aging in summer.
- Trim overhanging branches — branches that rub against shingles during wind wear through the granule layer and can puncture the surface over time.
- Address minor damage immediately — a single cracked shingle repaired promptly costs a fraction of what the same area costs after two seasons of water infiltration into the decking below.
Homeowners who want a second opinion on their roof’s overall condition, not just a leak-specific visit, can read what past clients have said on our reviews page, or check our FAQ page for answers to common questions about inspection frequency and warranty coverage.
Regional Considerations Across the GTA
Roofing conditions vary somewhat across the region, largely due to tree cover, building age, and microclimate differences. In older neighbourhoods throughout Toronto, many homes still have original flashing details from decades-old roofing standards that simply weren’t built to modern water-shedding specifications, making leak-prone flashing a frequent finding on older housing stock.
Newer subdivisions across Peel Region and York Region tend to have more consistent modern roofing systems, but rapid construction during boom periods sometimes means corners were cut on flashing details or underlayment, which surfaces as leaks 10-15 years down the line. Homes in Halton Region and Durham Region often see more exposure to wind-driven rain given proximity to the lake and more open terrain, which increases the importance of properly sealed valleys and ridge details.
Regardless of which part of the GTA you’re in, the freeze-thaw cycle that defines our climate — dozens of freeze and thaw transitions each winter, followed by intense summer thunderstorms — puts consistent, repeated stress on every roofing material. This is exactly why routine inspection matters more here than in more climatically stable regions.
What to Expect From a Professional Leak Repair Visit
Knowing what a proper service call looks like helps you evaluate whether a contractor is doing thorough work or just patching the surface. A complete leak repair visit typically includes: an initial phone or in-person discussion of symptoms and their timing, a full exterior and interior/attic inspection (not just a glance from the ground), a written explanation of the suspected cause with photos, a clear repair recommendation with cost breakdown before work begins, the actual repair using appropriate materials for the roof type, and a follow-up recommendation for monitoring the area after the next significant rainfall.
Be wary of any contractor who quotes a flat repair price over the phone without ever inspecting the roof, or who immediately recommends full replacement without first attempting a proper diagnosis. Mastering roof leak detection and repair, from a homeowner’s perspective, largely comes down to insisting on this level of diligence rather than accepting the quickest, cheapest patch on offer.
What is the first step in mastering roof leak detection and repair?
How much does professional roof leak detection and repair typically cost in the GTA?
Can I do roof leak detection and repair myself?
What are the most common causes of roof leaks in Toronto homes?
How long does a typical roof leak repair take?
Should I repair or replace my roof if I keep finding new leaks?
Need Help With Mastering Roof Leak Detection?
Chasing a stubborn leak on your own can waste time and money on repairs that don’t address the real problem. Universal Roofs brings the systematic detection process, the right diagnostic tools, and two decades of GTA roofing experience to every leak call, so the fix actually lasts.
Call us today at (416) 732-2421 or request a free inspection to get started.
Universal Roofs proudly serves Toronto, Mississauga, Brampton, Vaughan, Markham, Oakville and the GTA since 2005.