
A roof leak rarely announces itself where the water actually enters. By the time you spot a stain spreading across the ceiling drywall, the moisture may have already travelled a metre or more along a rafter, a truss, or a layer of insulation before it found a path down into your living space. That gap between “where the water shows up” and “where the water gets in” is the single biggest reason DIY leak chasing wastes time, and it’s exactly the problem that modern leak detection technology was built to solve.
At Universal Roofs, we’ve been diagnosing leaks on Toronto-area homes since 2005, and the tools we use today look nothing like the flashlight-and-ladder approach that used to be standard practice. Thermal imaging, moisture meters, smoke pencils, electronic leak detection membranes, core sampling, and drone-assisted visual surveys now let a trained technician pinpoint an entry point in an hour instead of guessing across an entire afternoon. This matters more in the GTA than almost anywhere else in Canada, because our freeze-thaw winters, ice-damming, and sudden summer downpours create leak patterns that are notoriously hard to trace with the naked eye.
This guide walks through six proven, field-tested methods professional roofers use to detect leaks, what each one actually shows you, where it falls short, and how to know which technique fits your situation. Whether you’re dealing with a fresh water stain after last week’s storm or a slow, mysterious drip that only shows up in certain conditions, understanding these methods will help you have a smarter conversation with whoever ends up on your roof.
Why Roof Leaks Are So Difficult to Trace
Before getting into the six methods, it helps to understand why leaks are such moving targets. Water follows the path of least resistance, not the shortest path. On a sloped asphalt shingle roof, water that enters through a cracked pipe boot near the ridge can travel down the underlayment, hit a nail head, and redirect sideways for a metre before dripping onto the attic floor. On a flat or low-slope membrane roof — common on additions, garages, and commercial buildings across Toronto — water can pool at a low point far from the actual puncture and seep down through a seam that isn’t even close to where the ceiling stain appears.
Add in Toronto’s climate swings, where January thaws refreeze overnight and July humidity condenses inside poorly ventilated attics, and you get two additional complications: ice-dam leaks that only appear in winter, and condensation that mimics a leak but has nothing to do with the roofing membrane at all. This is why a proper roof repair assessment starts with detection, not patching. Patch the wrong spot and the leak returns the next time it rains, often in a new location on the ceiling that makes homeowners think the problem has spread when really it never left.
The six methods below are listed roughly in the order a professional inspection typically applies them, moving from simple visual work up to advanced diagnostic equipment.
Method 1: Visual Roof and Attic Inspection
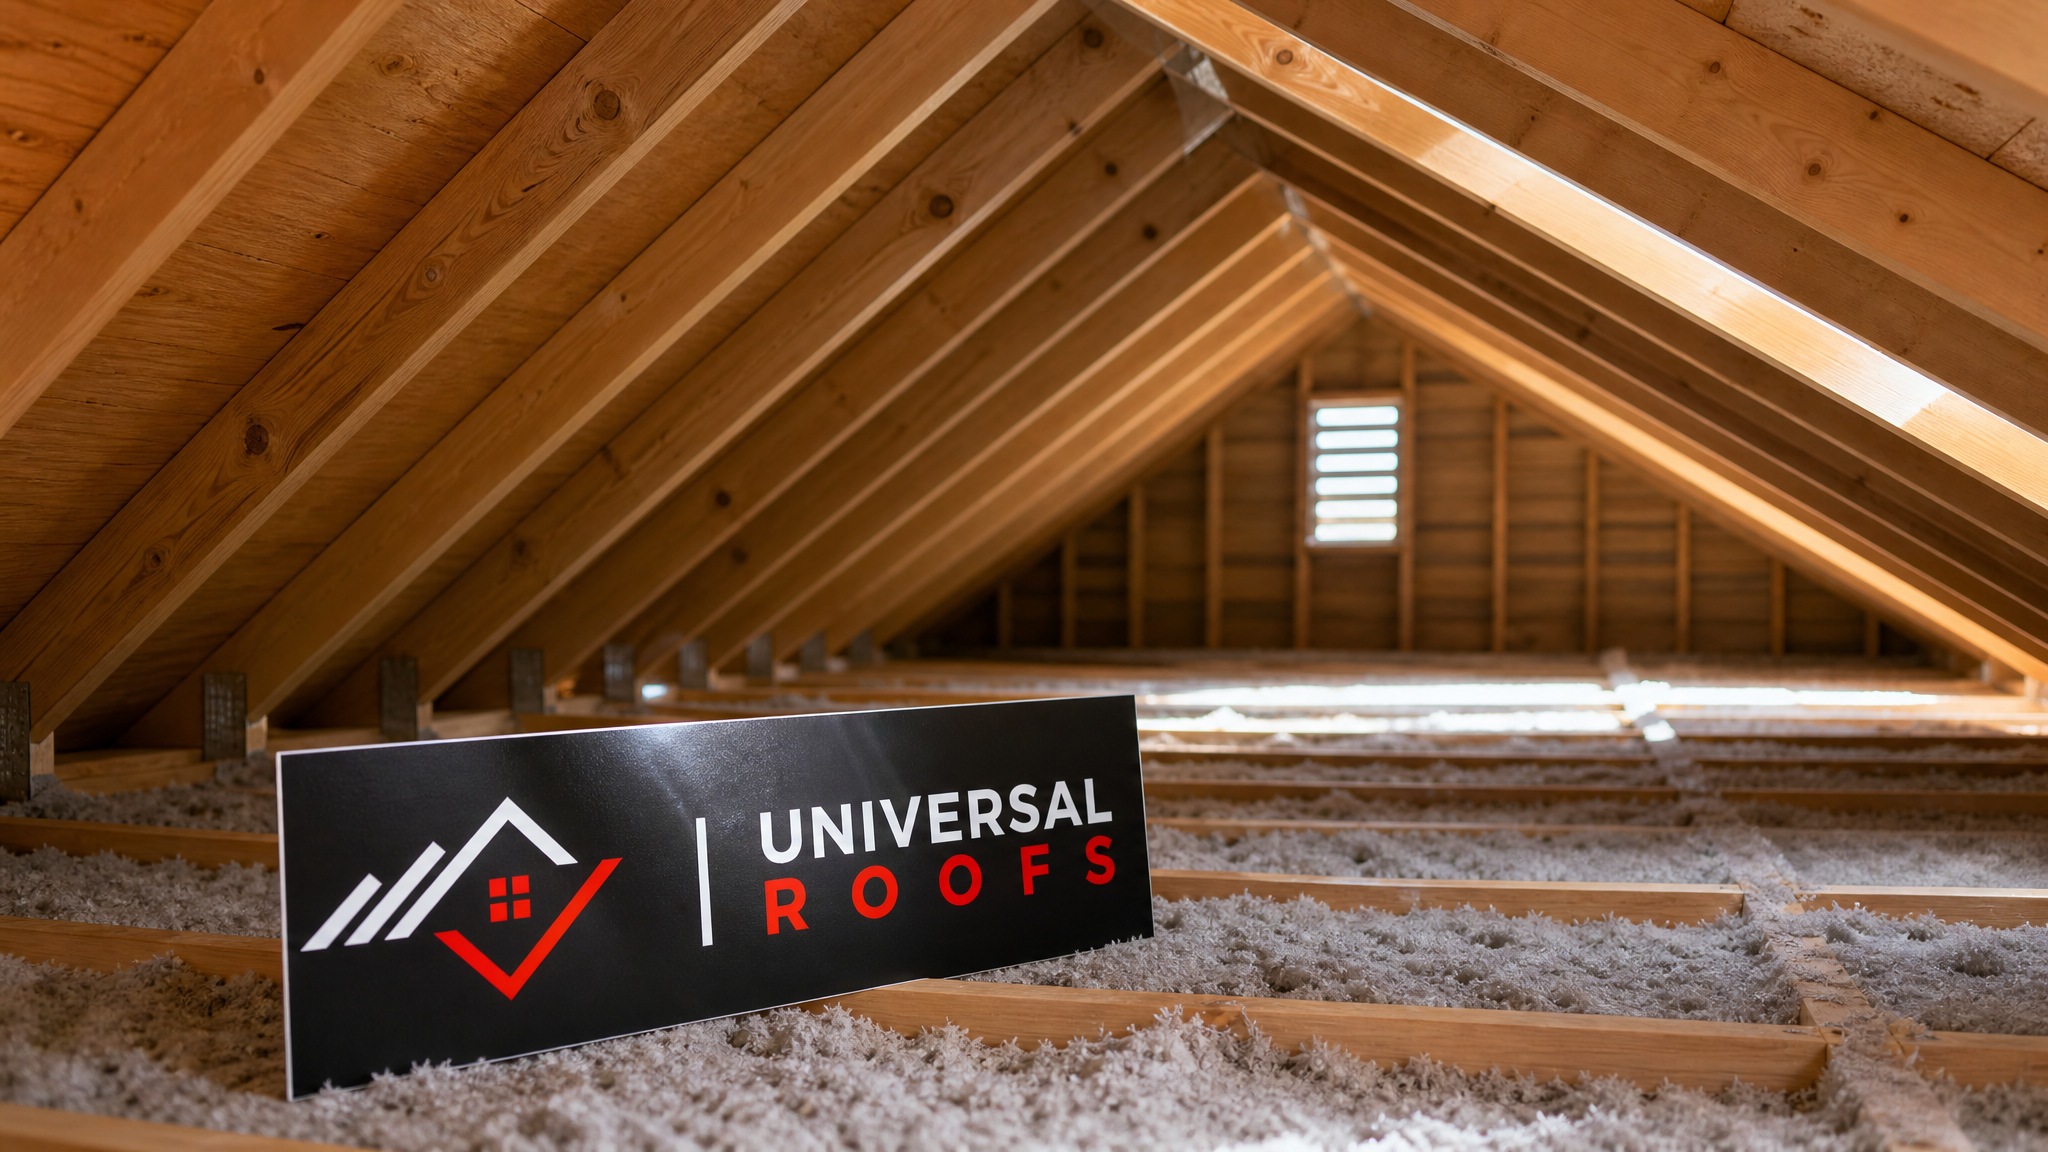
Every leak investigation should start here, and it’s still the most valuable ten minutes of the entire process. A trained eye walking the roof surface and the attic space underneath can identify obvious problems before a single piece of equipment comes out of the truck.
On the roof surface, we look for lifted, cracked, or missing shingles, deteriorated pipe boots and vent flashing, gaps at chimney step-flashing, worn valley metal, and ponding water on flat sections. In the attic, we check for staining on the underside of the roof deck, rusted nail tips (a sign of trapped moisture), compressed or damp insulation, and daylight visible through the deck at penetration points. A moisture-stained rafter is often the single best clue to narrowing down a search area before more technical tools get involved.
The limitation is obvious: visual inspection only catches what’s visible, and a huge share of leaks originate at seams, fasteners, and transitions that are hidden under shingles, membrane laps, or insulation. That’s where the remaining five methods come in.
| Visual Clue | Likely Cause | Typical Location | Urgency |
|---|---|---|---|
| Brown ceiling ring, expanding after rain | Active leak, recent | Directly under or near penetration | High |
| Rusted or dark nail tips in attic | Chronic condensation or slow leak | Anywhere on deck underside | Medium |
| Peeling paint near a soffit or eave | Ice damming or blocked ventilation | Eaves, roof edges | Medium (seasonal) |
| Damp, compressed insulation | Long-term slow leak or roof-vent failure | Attic floor below leak path | High |
| Musty smell with no visible stain | Hidden leak inside wall cavity or condensation | Variable — needs thermal or moisture testing | Medium |
Method 2: Thermal Imaging (Infrared Roof Scanning)
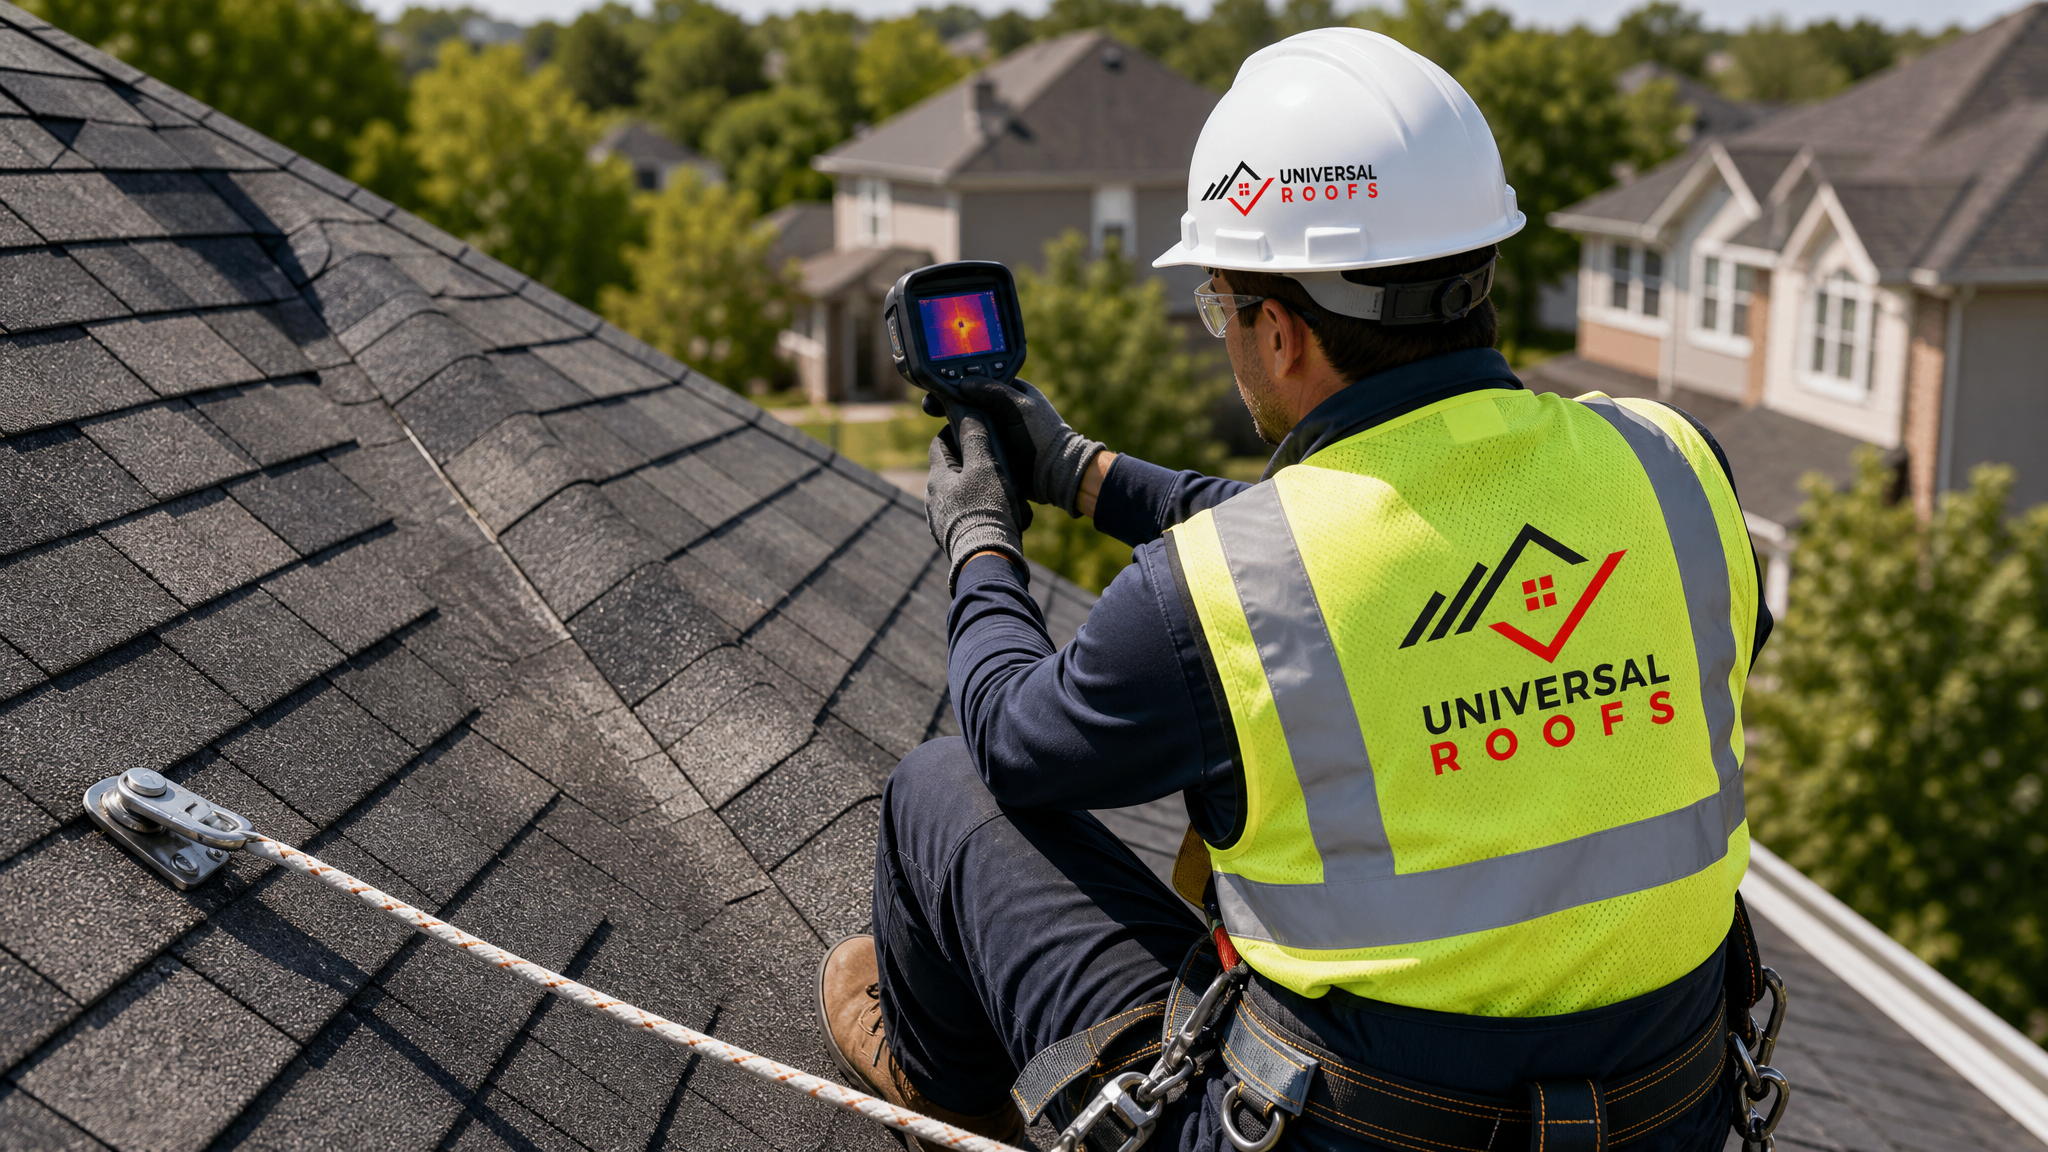
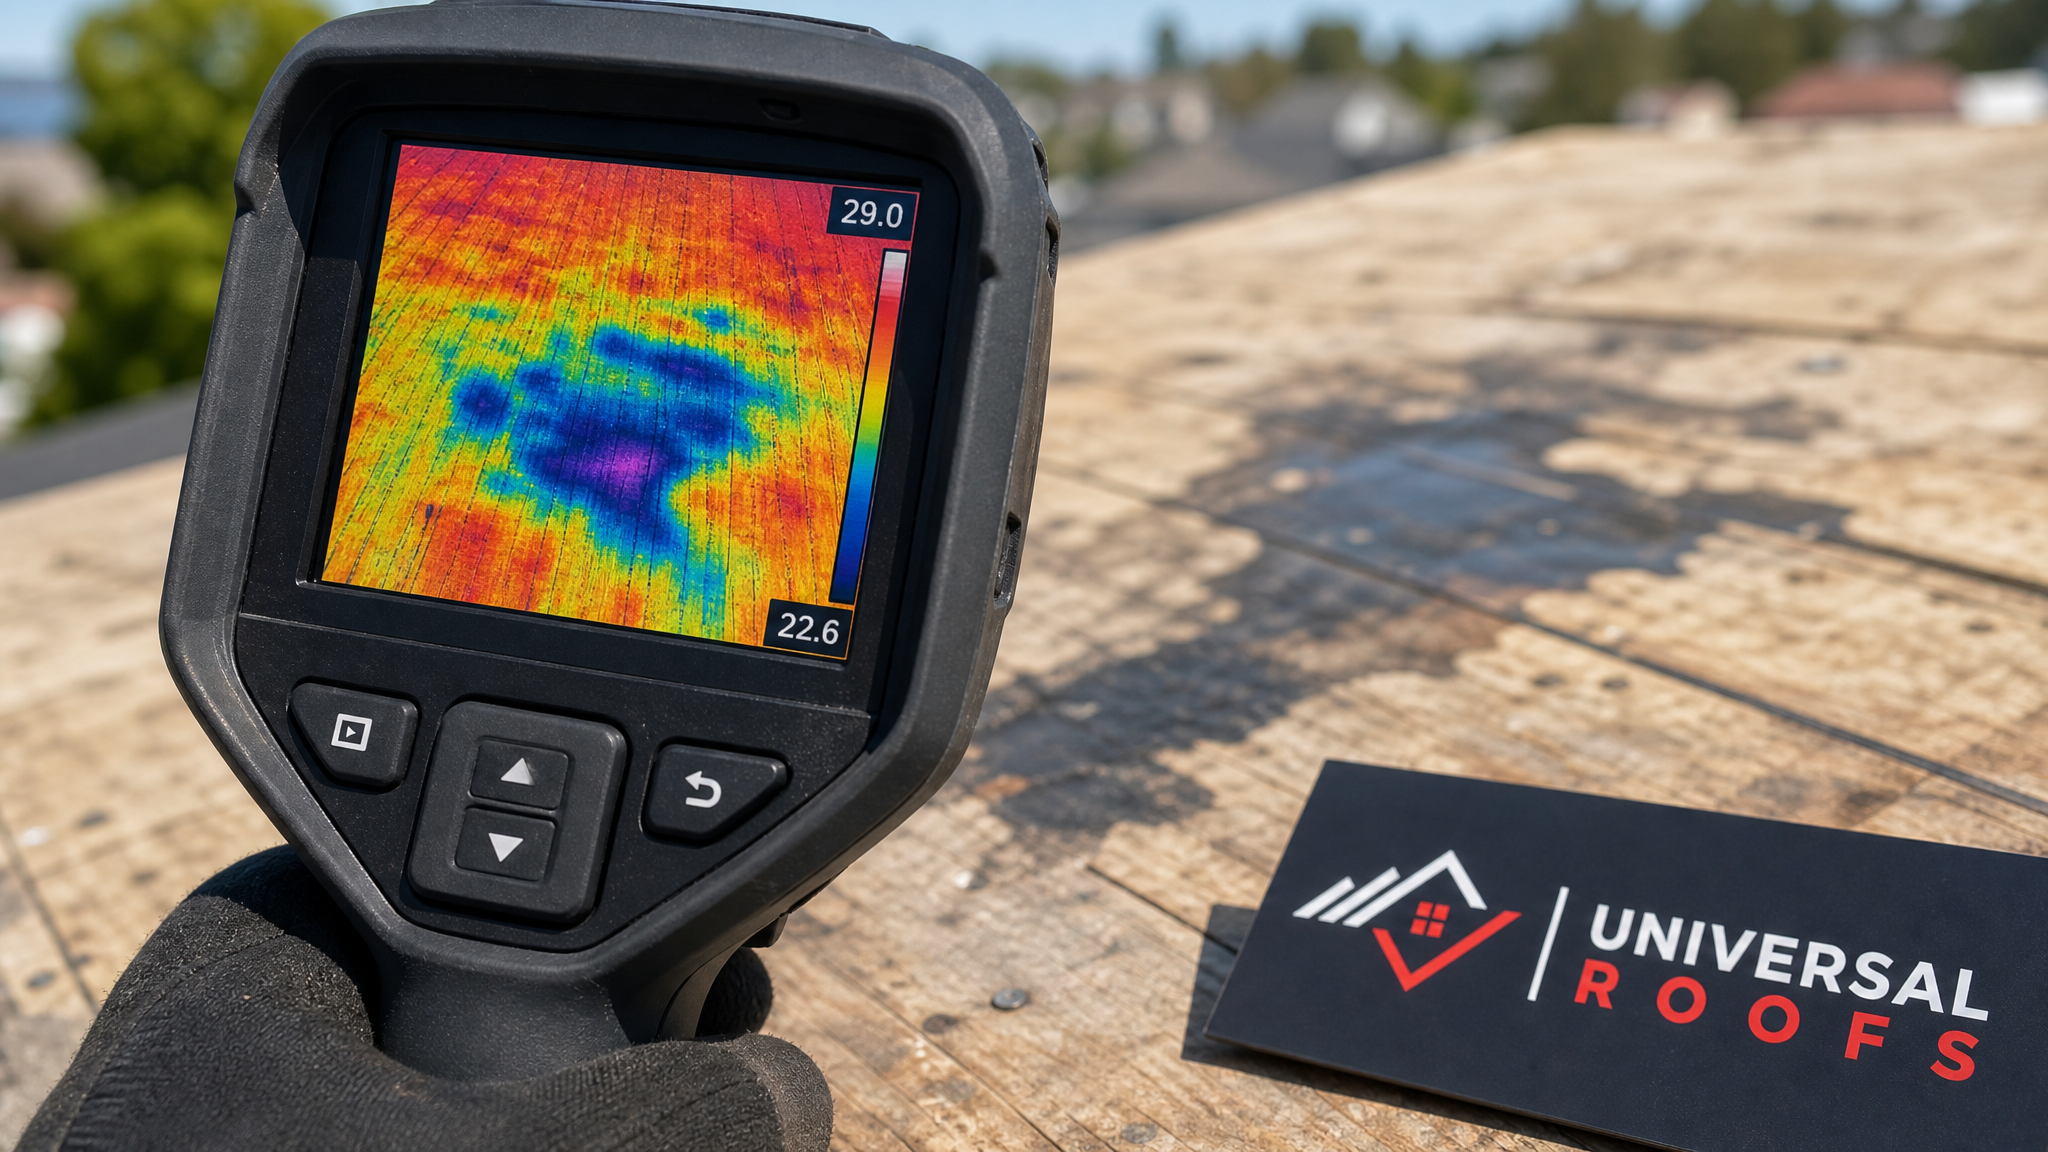
Infrared thermography is arguably the biggest advancement in leak detection over the past two decades, and it’s now a standard part of how we diagnose stubborn leaks on both residential and commercial roofs across the GTA. A thermal camera detects surface temperature differences invisible to the human eye. Wet insulation and wet roof decking hold heat differently than dry material, so a scan can reveal a moisture footprint that’s much larger — and often in a different location — than the visible stain suggests.
Thermal scans work best under specific conditions: typically early morning or evening, after the roof surface has absorbed heat during the day and is now releasing it. Wet areas cool at a different rate than dry areas, creating a visible contrast on the infrared display. This technique is especially useful on flat and low-slope membrane roofs, where moisture can spread laterally under the membrane for several metres, and it’s a core diagnostic tool we use before recommending flat roofing repairs, since cutting open a membrane in the wrong spot means an unnecessary repair and a fresh point of vulnerability.
The trade-off is cost and training. Thermal cameras capable of producing reliable, interpretable results aren’t cheap, and reading a thermal image correctly takes experience — reflective surfaces, direct sun exposure, and even shaded areas from nearby trees can create false temperature differentials that an inexperienced operator might misread as a moisture pocket.
Method 3: Electronic Leak Detection (ELD) for Membrane Roofs
Electronic leak detection is a specialized technique used almost exclusively on single-ply and built-up membrane roofs — the kind found on flat-roofed additions, garages, and commercial buildings. It works on a simple electrical principle: a low-voltage current is passed across the roof surface, and because a dry membrane doesn’t conduct electricity while water does, any breach in the membrane shows up as a change in the circuit at that exact spot.
There are two common variants. The vector mapping method uses a grid of electrodes and measures voltage changes across the surface to triangulate a breach location, often to within a few centimetres. The flood-testing variant (sometimes combined with a low-voltage sweep) floods a section of roof temporarily and monitors for where water intrusion occurs. Both approaches are non-destructive, meaning technicians don’t need to cut into the membrane to search for the problem — a major advantage over “exploratory” methods that used to involve opening up sections of roof on a guess.
ELD is precise, but it’s also the most equipment- and labour-intensive method on this list, so it tends to be reserved for larger flat roofs or cases where thermal imaging and visual inspection haven’t produced a confident answer. It pairs especially well with a broader roof replacement assessment, since knowing exactly how a membrane failed helps determine whether a targeted repair will hold or whether the whole system is due for replacement.
Method 4: Moisture Meters and Core Sampling
Moisture meters give a numeric reading of moisture content in roofing materials, insulation, and wood decking, which turns “this feels damp” into an actual, comparable data point. There are two main types used in the field: pin-type meters, which use two small probes inserted into the material to measure resistance between them, and pinless (capacitance) meters, which scan a surface non-invasively using electromagnetic signals to estimate moisture content beneath it without puncturing anything.
Pinless meters are typically used first for a broad sweep of an attic deck or a membrane surface, since they don’t damage the material. When a pinless scan flags an area of concern, a pin-type reading or a small core sample can confirm the moisture percentage and help judge severity — insulation and OSB decking that read consistently above certain saturation thresholds usually need replacement rather than drying out, since the wood fibre has already begun to break down.
Core sampling, where a small plug of the roofing system is cut out and examined layer by layer, is more invasive but extremely informative on membrane and built-up roofs. It shows exactly how many layers are present, where saturation starts within the roof assembly, and whether the insulation board underneath is still structurally sound. This is often the deciding factor in whether a section can be patched or needs a full tear-off.
| Method | Best Used On | Invasiveness | Typical Turnaround |
|---|---|---|---|
| Visual inspection | All roof types | None | Same visit |
| Thermal imaging | Flat, low-slope, and steep-slope roofs | None | Same visit, ideal at dawn/dusk |
| Electronic leak detection | Single-ply and built-up membrane roofs | None to minimal | 1 visit, longer for large roofs |
| Moisture meter / core sample | Wood decking, insulation, membrane layers | Minimal (small core plug only) | Same visit |
| Smoke and pressure testing | Seams, penetrations, wall-roof transitions | None | Same visit |
| Drone and aerial survey | Steep, large, or hard-to-access roofs | None | Same visit, footage reviewed after |
Method 5: Smoke and Pressure Testing
Smoke testing is an older technique that has been refined with modern non-toxic smoke generators and is still one of the most reliable ways to find air and water leaks at seams, penetrations, and transitions — particularly where a roof meets a wall, parapet, or skylight curb. A technician introduces smoke into the attic or roof assembly under slight positive pressure and then watches from outside for where smoke escapes. Any gap that lets smoke out is also a gap that lets water in.
This method shines around complex flashing details: chimney-to-roof transitions, dormer walls, and skylight curbs are common trouble spots because they involve multiple materials meeting at an angle, and it’s exactly where a lot of skylight and skylight replacement calls originate — homeowners assume the glazing unit itself is failing, when the actual leak is at the flashing seam around the curb. Pressure testing, a related technique, pressurizes a roof section or membrane seam and measures whether it holds air, which is a fast way to confirm seam integrity on newer membrane installations without waiting for the next rainstorm to prove it one way or the other.
Smoke and pressure testing require calm, dry conditions to get a clean read, and they work best on isolated, well-defined problem areas rather than as a first-pass survey of an entire roof — which is why they’re typically used after a visual inspection or thermal scan has already narrowed the search to one or two zones.
Method 6: Drone and Aerial Visual Survey
Drones have become a genuinely useful addition to the leak-detection toolkit, especially for steep-slope roofs, multi-storey homes, and roofs with tricky access. High-resolution and thermal-equipped drones can capture close, detailed footage of an entire roof surface in a fraction of the time a physical walk-around would take, and they do it without anyone needing to stand on a fragile or steep section of roofing before a full assessment has been made.
For homeowners, the aerial survey has a practical benefit beyond speed: it produces a visual record. Photos and video of shingle condition, flashing details, valley wear, and vent penetrations give a documented “before” state that’s useful for insurance claims, warranty discussions, or simply comparing roof condition year over year. On larger or commercial properties, drone thermal passes can also cover far more square footage in a single flight than a technician could reasonably walk and scan by hand.
Drone surveys don’t replace hands-on inspection entirely — you still need someone physically checking flashing, fasteners, and seams up close for a full diagnosis — but as a first-pass tool for identifying which sections of a large or steep roof deserve closer attention, aerial imaging has cut a meaningful amount of guesswork out of the process.
How Professionals Combine These Methods
In practice, no single method above is used in isolation on a genuinely difficult leak. A typical Universal Roofs assessment for a hard-to-find leak layers these techniques together: start with a visual walk of the roof and attic to establish a baseline and identify obvious candidates, follow with a thermal scan to map the actual extent of moisture intrusion, then apply smoke testing or a moisture meter to confirm the precise entry point once the search area is narrowed. On flat and membrane roofs, electronic leak detection often replaces or supplements the smoke test step, since it’s purpose-built for that roofing type.
This layered approach matters because acting on a single data point can send a repair crew to the wrong spot. A ceiling stain alone might suggest one location, but a thermal scan can reveal the moisture has actually travelled from a valley two metres away, and only a smoke test or core sample at that valley will confirm the theory before anyone starts cutting into shingles or membrane. Getting the sequence right is what separates a repair that lasts from one that reappears after the next heavy rain.
| Roof Type | Recommended Detection Sequence | Common Leak Points | Notes |
|---|---|---|---|
| Asphalt shingle (sloped) | Visual → Thermal → Smoke test | Pipe boots, valleys, chimney flashing | Check attic insulation for staining first |
| Flat / low-slope membrane | Visual → Thermal → Electronic leak detection | Seams, drains, parapet walls | Ponding water often misleads the search area |
| Metal roofing | Visual → Smoke test → Moisture meter | Fastener penetrations, ridge caps | Thermal readings can be distorted by metal conductivity |
| Skylight and curb assemblies | Visual → Smoke test → Core sample if needed | Curb flashing, glazing seals | Often mistaken for a failed skylight unit |
| Steep or multi-storey roofs | Drone survey → Visual (targeted) → Thermal | Valleys, dormers, high ridge lines | Drone pass reduces initial access risk |
What Homeowners Can Check Before Calling a Professional
While most of the six methods above require training and equipment, there are a few practical steps a homeowner can take before booking an inspection that will save time once a technician arrives. First, note exactly when the leak appears — during rain, after rain stops, during a thaw, or seemingly at random — since timing alone rules certain causes in or out. A leak that only shows up during winter thaws points strongly toward ice damming, while one that appears mid-storm points toward an active penetration or seam failure.
Second, photograph the stain’s size and shape over a few days if it’s not urgent, since a growing stain suggests an active leak rather than a one-time event like a wind-driven rain that found a temporary gap. Third, check the attic yourself if it’s safely accessible, using a flashlight to look for dark staining, and note roughly where on the roof deck (relative to vents, chimneys, or the ridge) the staining sits — that single observation often shortcuts a technician’s search significantly.
What homeowners should not do is attempt to seal a suspected leak with roofing cement or tarp it themselves without knowing the actual source, since a mis-applied sealant can trap moisture against the deck and accelerate rot, or mask the visible symptom while the water continues entering somewhere else entirely.
When Detection Reveals a Bigger Problem
Sometimes a leak investigation confirms a simple, isolated fix — a cracked pipe boot or a lifted shingle that a targeted roof repair resolves in an afternoon. Other times, the combination of thermal imaging, moisture readings, and core samples reveals something more serious: widespread saturated decking, insulation that has lost most of its R-value, or a membrane that’s failed at multiple seams rather than just one. In those cases, detection data becomes the basis for a roof replacement conversation rather than a patch.
Attic ventilation is another factor that detection work regularly uncovers. A poorly ventilated attic traps humid air in winter, which condenses on the underside of cold roof decking and mimics a leak — sometimes for years — without any actual breach in the roofing material. Distinguishing condensation from an active leak is one of the more valuable things a thorough, multi-method inspection can do, since fixing ventilation is a very different (and usually less expensive) project than replacing roofing material.
Across the GTA, we see the same handful of leak patterns repeat by neighbourhood and roof age. Homes in older sections of Toronto with original 1950s and 60s roof decks tend to show more condensation-related staining due to outdated ventilation designs, while newer builds across Peel Region and York Region more often show penetration leaks around skylights, plumbing vents, and HVAC curbs added after the original roof was installed. In Halton Region and Durham Region, where larger lots often mean more roof surface and more valleys, valley flashing failure is consistently one of the top causes we trace back with thermal imaging.
Choosing the Right Detection Approach for Your Situation
Not every leak needs the full six-method treatment. A fresh, obvious problem — a shingle blown off in a windstorm, visible daylight through a vent boot — usually only needs a visual inspection and a straightforward repair. The advanced methods earn their keep on the leaks that have resisted a first attempt at diagnosis, that reappear seasonally, or that occur on flat and membrane roofing where the entry point is never where the interior stain suggests.
If you’ve already had a leak “fixed” once and it came back, that’s usually the clearest signal that the original diagnosis missed the actual entry point, and it’s worth requesting thermal imaging or electronic leak detection rather than another guess-and-patch attempt. Reading through reviews from homeowners who’ve gone through repeat-leak situations is a useful gut check on how thoroughly a roofing company investigates before repairing, and our FAQ page covers several of the most common questions we get about leak diagnosis timelines and costs. You can also learn more about our approach and history on our about page.
What are the most cutting edge tech 6 proven methods to detect roof leaks?
How does thermal imaging help detect a roof leak?
Can I detect a roof leak myself before calling a professional?
Why did my roof leak come back after it was repaired?
Is electronic leak detection only used on flat roofs?
How much does professional roof leak detection cost in Toronto?
Need Help With Cutting Edge Tech 6?
If you’re dealing with a leak that keeps coming back, or you just want a definitive answer on where water is actually entering your roof, the team at Universal Roofs brings the thermal imaging, moisture testing, and hands-on experience needed to find it the first time.
Call us today at (416) 732-2421 or request a free inspection to get started.
Universal Roofs proudly serves Toronto, Mississauga, Brampton, Vaughan, Markham, Oakville and the GTA since 2005.