
When a roof is leaking, missing shingles, or showing signs of storm damage, most homeowners assume the fix is simple: patch the hole, slap on some sealant, call it done. But the roofers who actually stop leaks for good rely on a different toolkit entirely. Advanced techniques for professional roof repair combine diagnostic methods, materials science, and precise installation sequencing that go well beyond a caulking gun and a bundle of shingles.
At Universal Roofs, we have spent almost two decades repairing roofs across the Greater Toronto Area, where freeze-thaw cycles, ice damming, wind-driven rain, and summer UV exposure all take turns punishing a roof system. A repair that looks fine in July can fail by February if the underlying technique was wrong. This guide walks through the seven advanced methods our crews use most often, why each one matters, and how to tell whether a contractor is actually using them or just patching the surface.
Whether you are dealing with a persistent attic leak, curling shingles, a failing flat roof membrane, or storm damage after a summer thunderstorm, understanding these techniques will help you ask better questions, evaluate quotes, and know what a genuinely professional roof repair should look like.
1. Infrared Thermal Imaging for Leak Detection
The single biggest mistake in DIY and even some professional roof repair is treating the visible symptom as the problem. Water rarely drips straight down from where it enters the roof deck. It travels along rafters, insulation, and vapour barriers before showing up as a stain on a ceiling that can be metres away from the actual breach.
Advanced roofing contractors use infrared thermal imaging cameras to solve this. Wet insulation and saturated decking hold heat differently than dry materials, which shows up as a distinct thermal signature even when the surface looks completely dry. A technician scans the underside of the roof deck from the attic, or the topside of the membrane on a flat roof, and the camera reveals the true extent of moisture intrusion — often revealing a much larger wet area than the visible stain suggested.
This matters enormously for cost and longevity. Cutting into a roof to fix a leak without infrared confirmation is guesswork. Cutting into the wrong spot means the leak continues, the homeowner pays twice, and hidden rot keeps spreading. A thorough diagnostic pass with thermal imaging, sometimes paired with a moisture meter for a second data point, is now considered baseline good practice for any leak that is not immediately obvious from a visual inspection.
| Diagnostic Method | What It Detects | Best Used When | Approx. Time Required |
|---|---|---|---|
| Visual inspection | Obvious cracks, missing shingles, exposed nails | First-pass triage on any call | 20-30 minutes |
| Infrared thermal imaging | Hidden moisture, saturated insulation | Interior stains with no obvious exterior cause | 30-45 minutes |
| Moisture meter (pin/pinless) | Wet decking, quantifiable moisture percentage | Confirming infrared readings before cutting into deck | 15-20 minutes |
| Water testing (controlled hose test) | Exact entry point of an active leak | Leaks that only appear during specific wind/rain direction | 1-2 hours |
| Smoke pencil / air leakage test | Ventilation gaps, attic air bypass points | Ice damming or condensation-related concerns | 30 minutes |
2. Controlled Water Testing to Pinpoint Entry Points
Some leaks only appear under very specific conditions — a certain wind direction during a storm, or heavy rain that overwhelms a particular valley or flashing detail. For these intermittent leaks, experienced technicians use a controlled water test: methodically wetting sections of the roof with a hose, starting low and working upward, while a second person watches the interior for the first sign of water.
This section-by-section approach isolates the entry point without guessing. It is especially useful around chimneys, skylights, dormers, and anywhere two roof planes meet. If your home has a skylight that leaks only during wind-driven rain from a particular direction, a controlled water test is often the only reliable way to confirm whether the issue is the skylight flashing itself or an adjacent shingle course.
The key discipline here is patience. Rushing a water test by soaking the whole roof at once defeats the purpose — you need to isolate variables one section at a time, holding each section for several minutes before moving on, because water can take time to travel through underlayment before it becomes visible inside.
3. Proper Flashing Reconstruction, Not Just Resealing
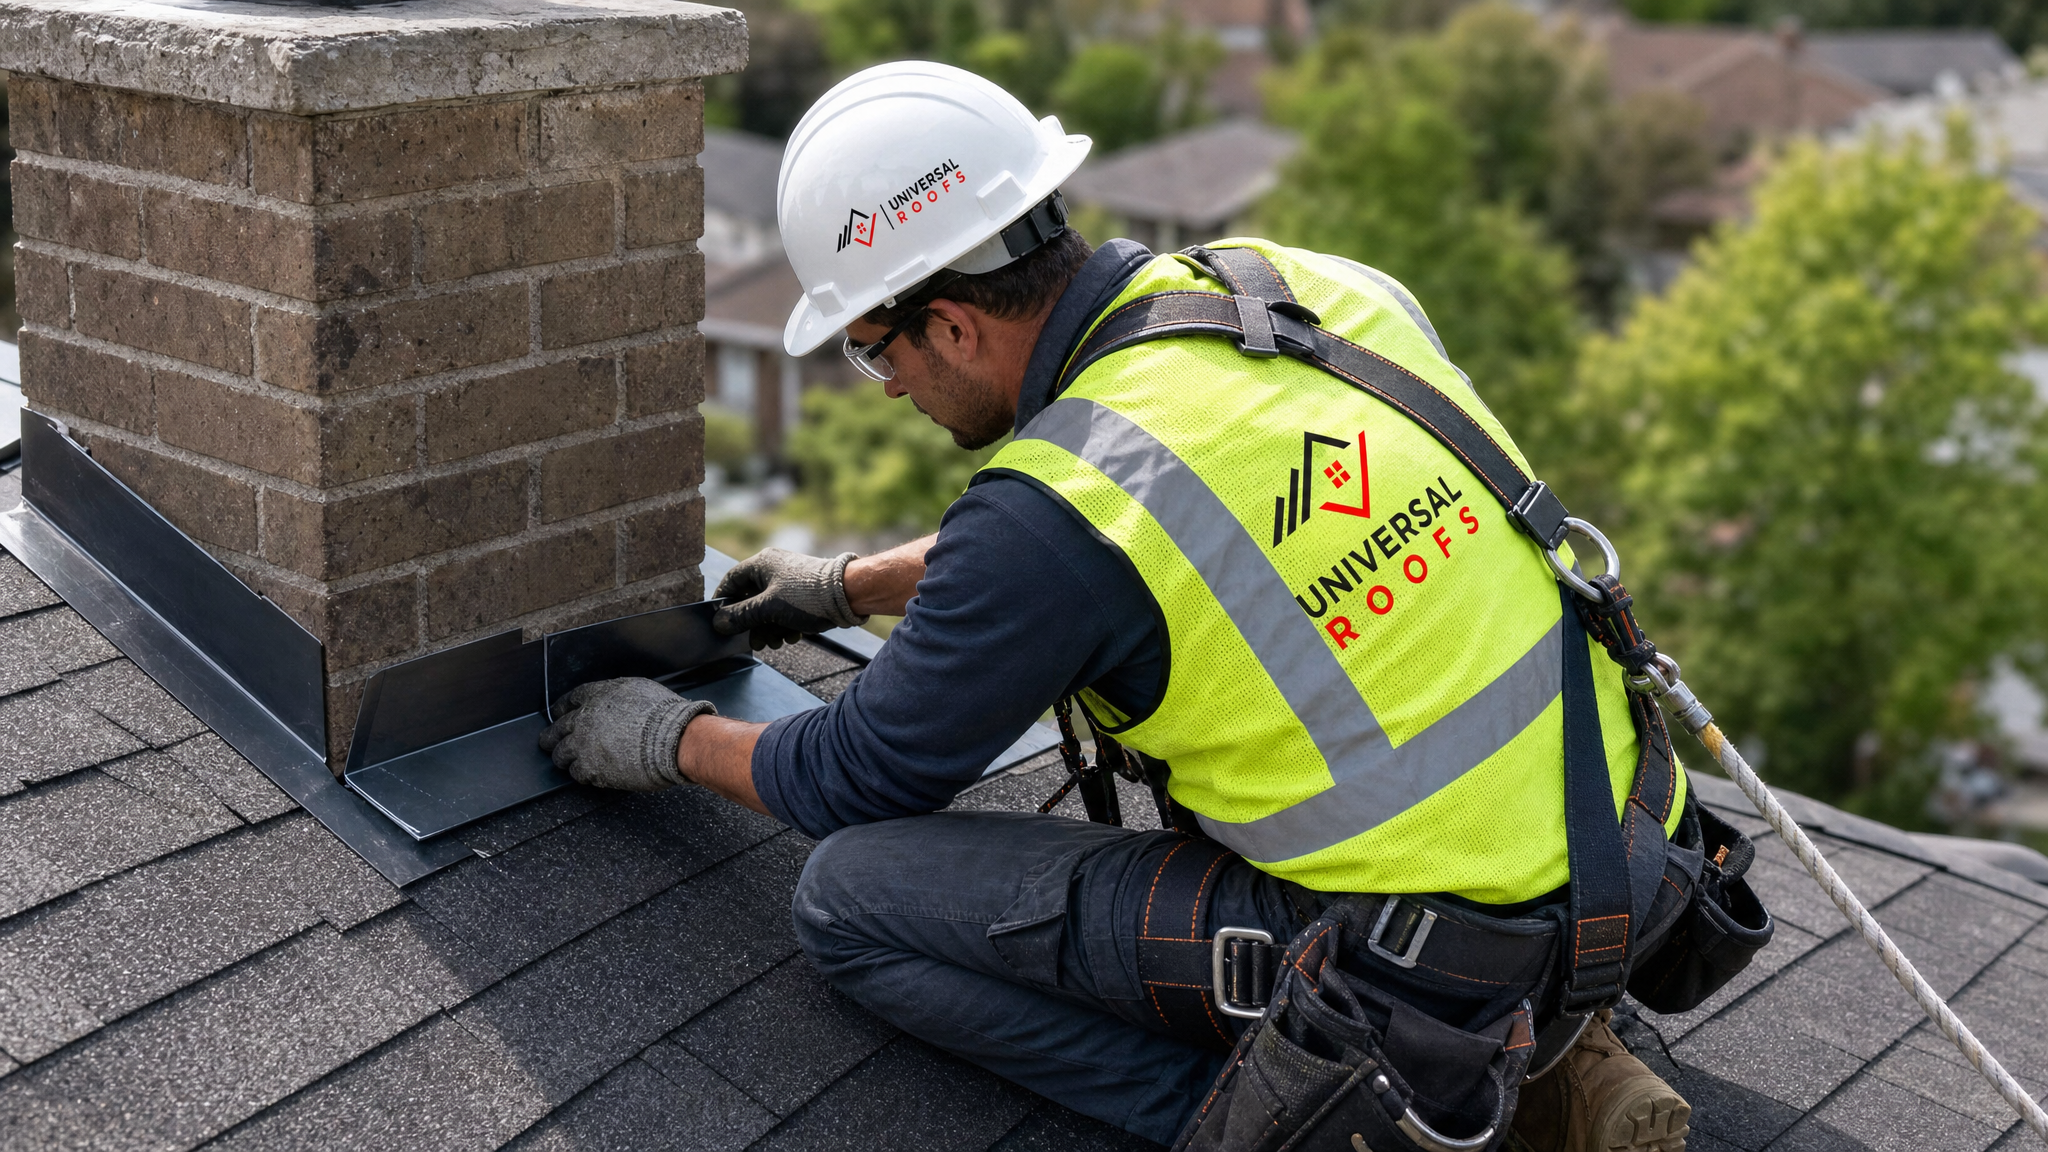
Flashing failure is the single most common cause of roof leaks we diagnose in the GTA, particularly around chimneys, sidewalls, valleys, and roof-to-wall transitions. The advanced technique here is not caulk — it is full reconstruction using step flashing, counter-flashing, and correctly layered underlayment so that water is shed by gravity and geometry rather than relying on a bead of sealant to hold back years of freeze-thaw movement.
Step flashing must be woven into each shingle course, not simply slid under the top layer. Counter-flashing at a chimney needs to be cut into the mortar joint (reglet) so it cannot be pulled loose by ice or wind uplift. When a previous repair used only roofing cement or caulk over old, corroded flashing, that is a strong signal the job was a temporary patch, not a real fix. Caulking has its place as a secondary seal, but it should never be the primary waterproofing strategy for a flashing detail.
This is one of the areas homeowners can actually inspect themselves from a ladder or with binoculars: look for flashing that is rusted, has visible caulk beads with no metal underneath, or has pulled away from the wall or chimney. Any of those are signs a full flashing rebuild is overdue.
4. Membrane Welding and Patching for Flat and Low-Slope Roofs
Flat and low-slope roofs — common on additions, garages, and many commercial buildings across the GTA — use an entirely different repair discipline than sloped shingle roofs. For TPO and PVC membranes, advanced repair involves hot-air welding: heating the membrane seams to a precise temperature and fusing a patch directly into the existing material, creating a monolithic bond rather than a glued-on cover.
For modified bitumen and built-up roofing, the equivalent technique is torch-applied or cold-applied patching with proper overlap and sealing at every edge, feathered so water cannot pond at the patch perimeter. Amateur flat roof repairs often fail because the patch is applied like a bandage on top of the membrane rather than fused or properly lapped into it, which leaves an edge for water to work underneath during the next freeze-thaw cycle.
If your property has a flat section, it is worth having it assessed separately from the rest of the roof, since the failure modes and repair techniques are genuinely different. Our flat roofing team handles this membrane-specific work daily, and a proper weld test (a probe test on the seam) should always follow any welded repair to confirm the bond is complete.
| Flat Roof Membrane | Advanced Repair Method | Typical Lifespan After Proper Repair | Common Failure If Done Wrong |
|---|---|---|---|
| TPO | Hot-air seam welding | 8-12 years added life | Unwelded lap edge lifts within one winter |
| PVC | Hot-air welding (higher temp than TPO) | 10-15 years added life | Weld too cool, seam separates under UV stress |
| Modified bitumen | Torch-applied patch with feathered overlap | 6-10 years added life | Patch edge not sealed, ponding water infiltrates |
| EPDM rubber | Seam tape or liquid-applied flashing | 8-12 years added life | Contact cement used alone, seam peels back |
5. Ventilation and Ice-Dam Correction as Part of the Repair
A repair that only addresses the visible damage without correcting the underlying ventilation problem is incomplete. In our climate, poor attic ventilation combined with inadequate insulation causes heat to escape into the attic space, melt snow on the roof, and refreeze at the colder eaves — forming ice dams that force water back up under the shingles. This is one of the most common causes of repeat winter leaks in Toronto and the surrounding regions.
Advanced repair technicians treat ventilation correction as part of the repair scope, not a separate upsell. That can mean adding or clearing soffit intake vents, installing or repairing ridge venting, sealing attic bypasses (like gaps around bathroom fans or pot lights) that let warm, moist air escape into the attic, and confirming baffles keep insulation from blocking the soffit intake. Fixing the shingle damage without addressing why the ice dam formed in the first place is a guaranteed repeat call the following winter.
If your home has recurring ice dams, has icicles that form unevenly along the eaves, or shows frost on the underside of the roof deck in winter, it is worth having your attic ventilation and insulation assessed alongside any surface repair. Summer, when the attic is accessible and dry, is actually the ideal time to correct these issues before the next heating season.
6. Matching Materials and Fastening Patterns to Existing Roof Systems
An advanced repair blends into the existing roof rather than standing out as a visible patch — and more importantly, performs the same way structurally. This means matching not just shingle colour and style, but nailing pattern, exposure, and underlayment compatibility. Using the wrong fastener length, nailing too high on the shingle, or mixing incompatible underlayment types can undermine wind resistance and warranty coverage even if the patch looks fine on day one.
For older roofs where exact shingle matches are no longer manufactured, experienced contractors will source the closest match from a lower, less visible slope and move that shingle to the repair area, then use the discontinued style in the hidden location — a technique sometimes called “shingle borrowing.” This preserves curb appeal on the most visible roof plane.
Fastening pattern matters just as much on a full roof replacement as it does on a spot repair. Manufacturers specify exact nail placement for a reason: nails placed too high miss the reinforced nailing strip, and shingles nailed incorrectly are far more likely to blow off in high wind — a real risk during GTA summer thunderstorm season and fall wind events.
| Repair Element | Amateur Approach | Advanced Professional Approach | Long-Term Impact |
|---|---|---|---|
| Shingle matching | Closest colour available, applied anywhere | Shingle borrowing from low-visibility slope | Preserves curb appeal, no visible patch |
| Nail placement | Wherever is convenient | Exact manufacturer nailing strip location | Full wind-rating performance retained |
| Underlayment | Any leftover felt or membrane | Compatible synthetic/ice-and-water matched to slope | No chemical incompatibility or premature wear |
| Flashing metal | Reused old, corroded flashing | New step and counter-flashing, correct gauge | Eliminates recurring flashing leaks |
7. Post-Repair Verification and Warranty-Grade Documentation
The final advanced technique is one homeowners rarely think to ask about: verification after the repair is complete. A genuinely professional repair does not end when the last shingle is nailed down. It includes a secondary water test on the repaired section, photo documentation of the completed flashing and underlayment before it is covered, and a written scope of work that specifies exactly what materials and methods were used.
This documentation matters for two practical reasons. First, if a leak recurs, having a clear record of what was repaired and how narrows down the troubleshooting dramatically. Second, most manufacturer warranties on shingles and underlayment require proof of proper installation technique to remain valid — a contractor who cannot show you what they did under the shingles is also a contractor whose warranty claims may be difficult to support later.
Ask any contractor bidding on your repair whether they provide before-and-after photos of the actual repair area (not just the finished roof from the ground) and a written description of the materials and fastening method used. If they hesitate, that is a meaningful signal about how thorough the underlying work actually was.
How to Tell If Your Roof Repair Needs an Advanced Approach
Not every repair requires the full diagnostic toolkit above. A single wind-lifted shingle after a storm might genuinely just need a new shingle and a few strategically placed nails. But certain signs indicate that a surface-level patch will not hold, and that one or more of these advanced techniques should be part of the scope:
- The leak has appeared more than once in the same general area, even after a previous “repair”
- There is no obvious visible damage but you have interior staining, musty odour, or peeling paint on a ceiling
- The affected area involves a chimney, skylight, valley, or any place where two roof planes or materials meet
- You have noticed ice damming or icicles concentrated at one part of the roofline every winter
- The roof is a flat or low-slope section rather than standard sloped asphalt shingles
- A previous repair used visible caulk or roofing cement as the primary seal rather than proper flashing
If any of these apply, it is worth getting an assessment from a contractor who can walk you through which of the seven techniques above your specific situation calls for, rather than accepting a quote that only describes “patching the leak.”
Toronto and GTA Climate Considerations for Roof Repair Timing
Summer is genuinely one of the best times of year in the GTA to have repairs completed properly. Shingles seal best when installed in warm weather, since the asphalt sealant strips need heat to bond fully — a repair done in cold weather may not fully seal until the following spring, leaving a vulnerability window. Attics are also dry and accessible in summer, making it the ideal season to correct ventilation issues alongside a surface repair, well before the first snowfall tests the fix.
That said, summer thunderstorms bring their own risks: wind-driven rain, hail, and occasional high-wind events can expose weaknesses in flashing and shingle fastening that were not previously visible. If a summer storm reveals a leak, treating it as an opportunity for a proper diagnostic-driven repair — rather than a rushed patch before the next rain — sets the roof up to handle the coming winter without repeat callbacks.
Homeowners across our service areas in Toronto, Peel Region, York Region, Halton Region, and Durham Region deal with essentially the same freeze-thaw and wind-driven-rain conditions, which is why these seven techniques apply broadly regardless of which GTA municipality your home is in.
Questions to Ask Before Hiring a Roof Repair Contractor
Before committing to any repair, it is reasonable to ask a contractor direct questions about method, not just price. Consider asking whether they perform a diagnostic inspection (including thermal imaging or moisture testing where relevant) before quoting the fix, whether flashing will be rebuilt or simply resealed, what underlayment and fastening pattern they plan to use, and whether they will provide photo documentation of the completed work before it is covered by shingles or membrane.
You can also check a contractor’s reviews for mentions of repeat leaks or callback issues, and review our FAQ page for more detail on how we approach diagnostics and warranty terms. A contractor confident in their technique will welcome these questions rather than deflect them.
What are the most advanced techniques for professional roof repair?
How does infrared thermal imaging help diagnose a roof leak?
Why does flashing fail even after it has been resealed with caulk?
Is a flat roof repaired differently than a sloped shingle roof?
Can poor attic ventilation cause a roof leak that looks like storm damage?
What should a contractor provide after completing a roof repair?
Need Help With 7 Best Advanced Techniques?
If your roof has a recurring leak, storm damage, or a repair that just is not holding up, the team at Universal Roofs can diagnose the real cause and apply the right advanced technique the first time.
Call us today at (416) 732-2421 or request a free inspection to get started.
Universal Roofs proudly serves Toronto, Mississauga, Brampton, Vaughan, Markham, Oakville and the GTA since 2005.