
A roof leak rarely announces itself the way you would expect. There is no dramatic waterfall through the ceiling on day one — instead, there is a faint discolouration in a corner, a musty smell in the attic, or a few missing granules in the eavestrough after a summer storm. By the time water is visibly dripping into a room, the damage has usually been building for weeks or months. Recognizing the common roof leak signs and expert solutions for each one is the difference between a same-day repair and a five-figure insurance claim.
At Universal Roofs, we have been inspecting, repairing, and replacing roofs across the Greater Toronto Area since 2005. Our crews see the same three leak patterns over and over again: staining around penetrations (chimneys, vents, skylights), granule loss and shingle deterioration on open roof fields, and ice-and-water membrane failures at valleys and eaves. Each has a distinct cause, a distinct warning sign, and a distinct fix. This guide walks through all three in detail, explains why Toronto’s climate makes leak detection especially urgent in the shoulder seasons, and gives you a clear framework for deciding whether you are looking at a simple patch job or a sign that full roof replacement is coming due.
We will also cover the tools and techniques a professional inspector uses to trace a leak back to its true source (which is often metres away from where the stain appears), the realistic cost ranges for each type of repair in the GTA market, and the maintenance habits that prevent these problems from recurring. Whether you own a century home in the east end or a two-year-old build in Vaughan, the underlying physics of water intrusion is the same, and understanding it will help you make better decisions about your roof.
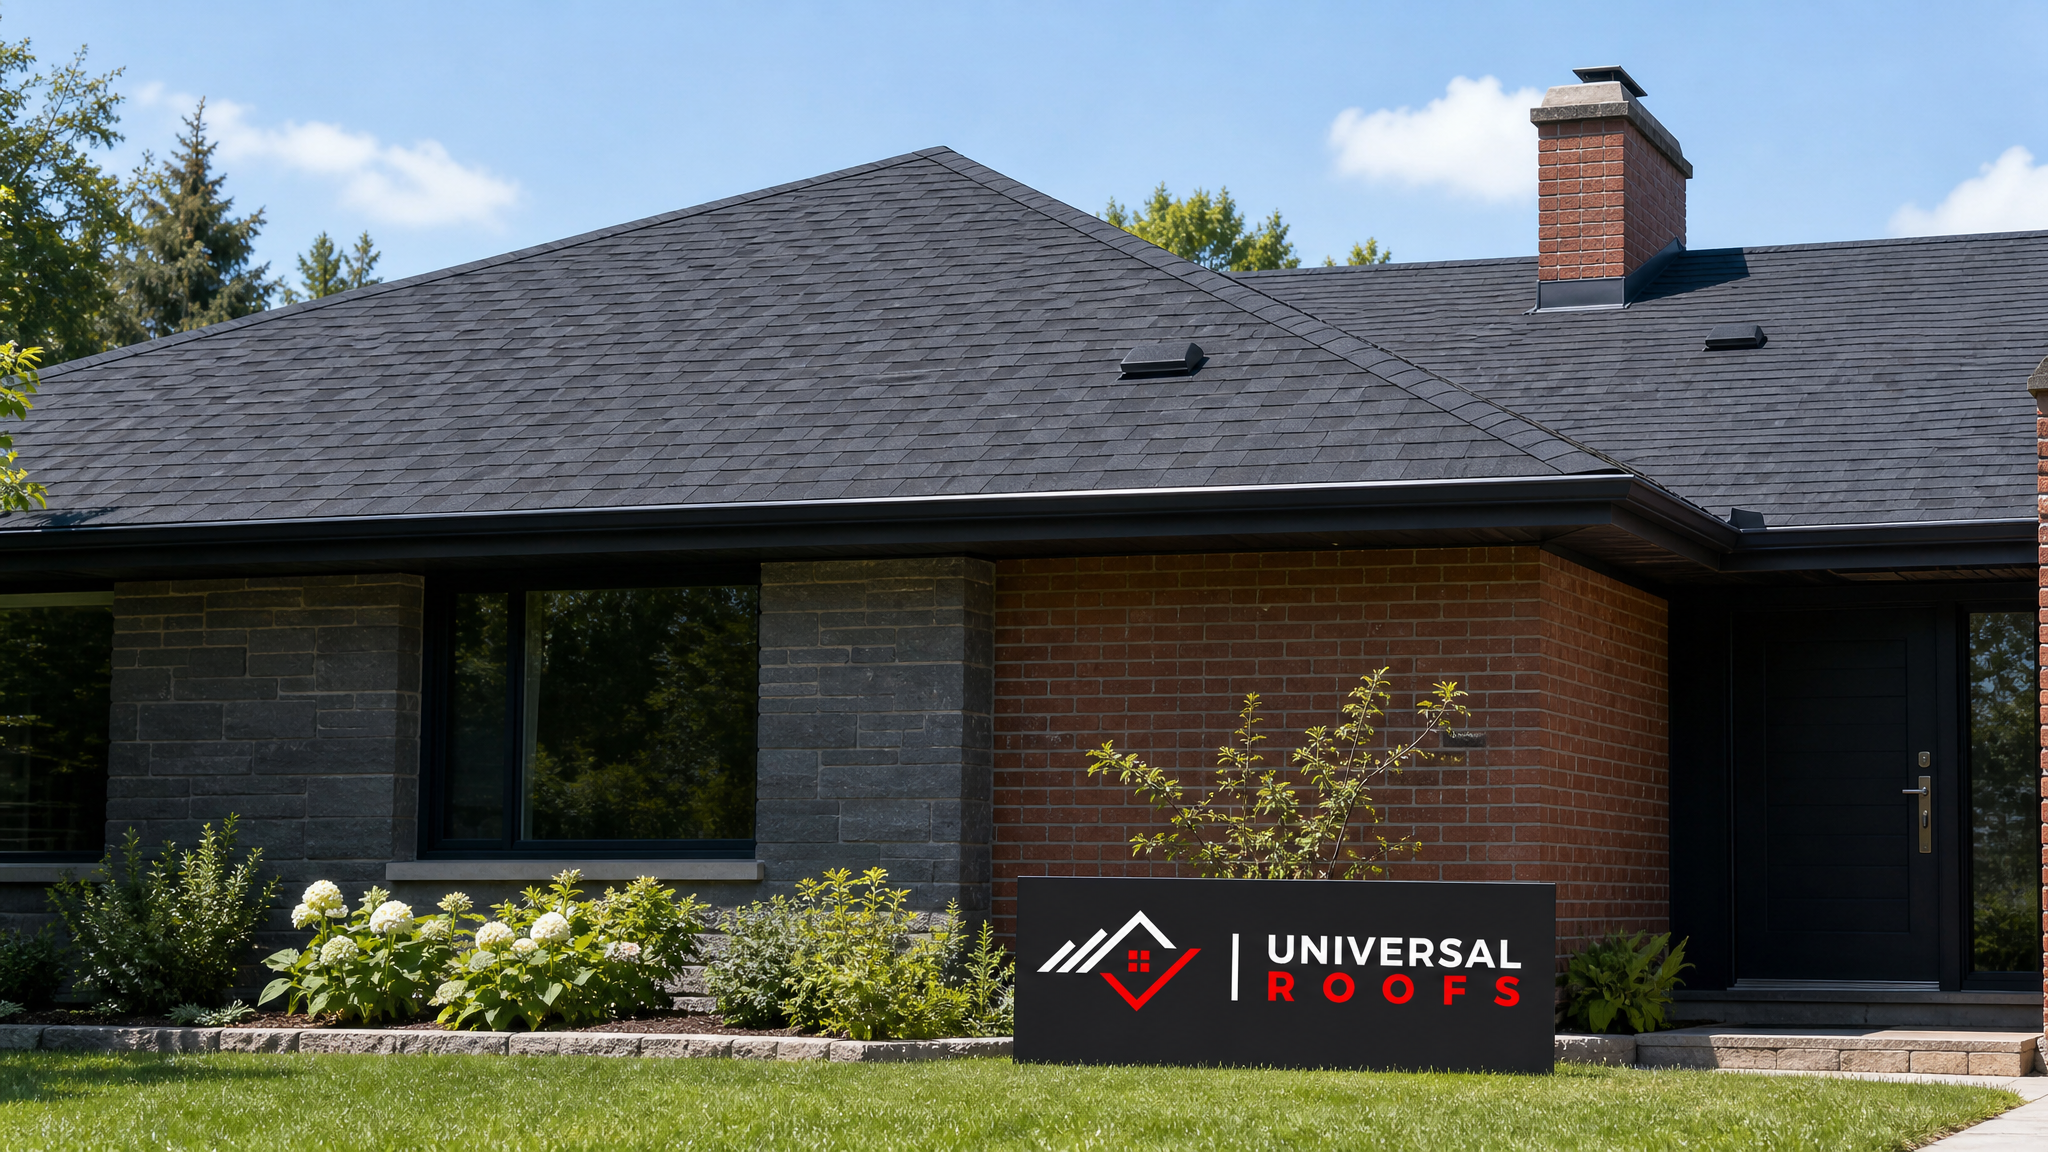
Why Roof Leaks Are Especially Common in the GTA
Toronto and the surrounding regions experience one of the more punishing climate cycles for asphalt shingle and flat roofing systems in North America. We swing from humid, thunderstorm-heavy summers to deep winter freeze-thaw cycles, often several times within a single week during March and November. That freeze-thaw action is the single biggest driver of hidden leaks: water gets into a tiny crack, freezes, expands by roughly nine percent in volume, and widens the crack. Repeat that fifteen or twenty times over a winter and a pinhole becomes a genuine entry point.
Add in the wind-driven summer storms that roll through the region from June through August, and you have two very different leak seasons with two very different failure mechanisms. Winter leaks tend to show up as ice damming at the eaves and around skylights. Summer leaks tend to show up after wind lifts shingle tabs or drives rain sideways under flashing that has already lost its seal. Because it is currently mid-summer, this is actually the ideal time to catch and fix small deficiencies before autumn rain and the next freeze-thaw cycle turn them into structural problems.
Homes built before the early 2000s in older Toronto neighbourhoods often have original flashing details that were never designed for today’s higher-efficiency attic insulation, which changes how heat escapes and how snow melts on the roof deck. Meanwhile, newer builds in Peel and York Region sometimes suffer from rushed flashing installation during the original construction phase. Regardless of the age of the home, the three leak categories below cover the overwhelming majority of service calls we respond to across the Toronto, Peel Region, York Region, Halton Region, and Durham Region service areas.
Sign #1: Ceiling and Wall Staining Around Penetrations
The most commonly reported leak sign is a brown, ring-shaped stain on a ceiling or the top of an interior wall, usually near a chimney, plumbing vent stack, bathroom exhaust vent, or skylight curb. Homeowners often assume the stain means the roof is failing broadly, but in the vast majority of cases the culprit is a single failed flashing detail at one specific penetration.
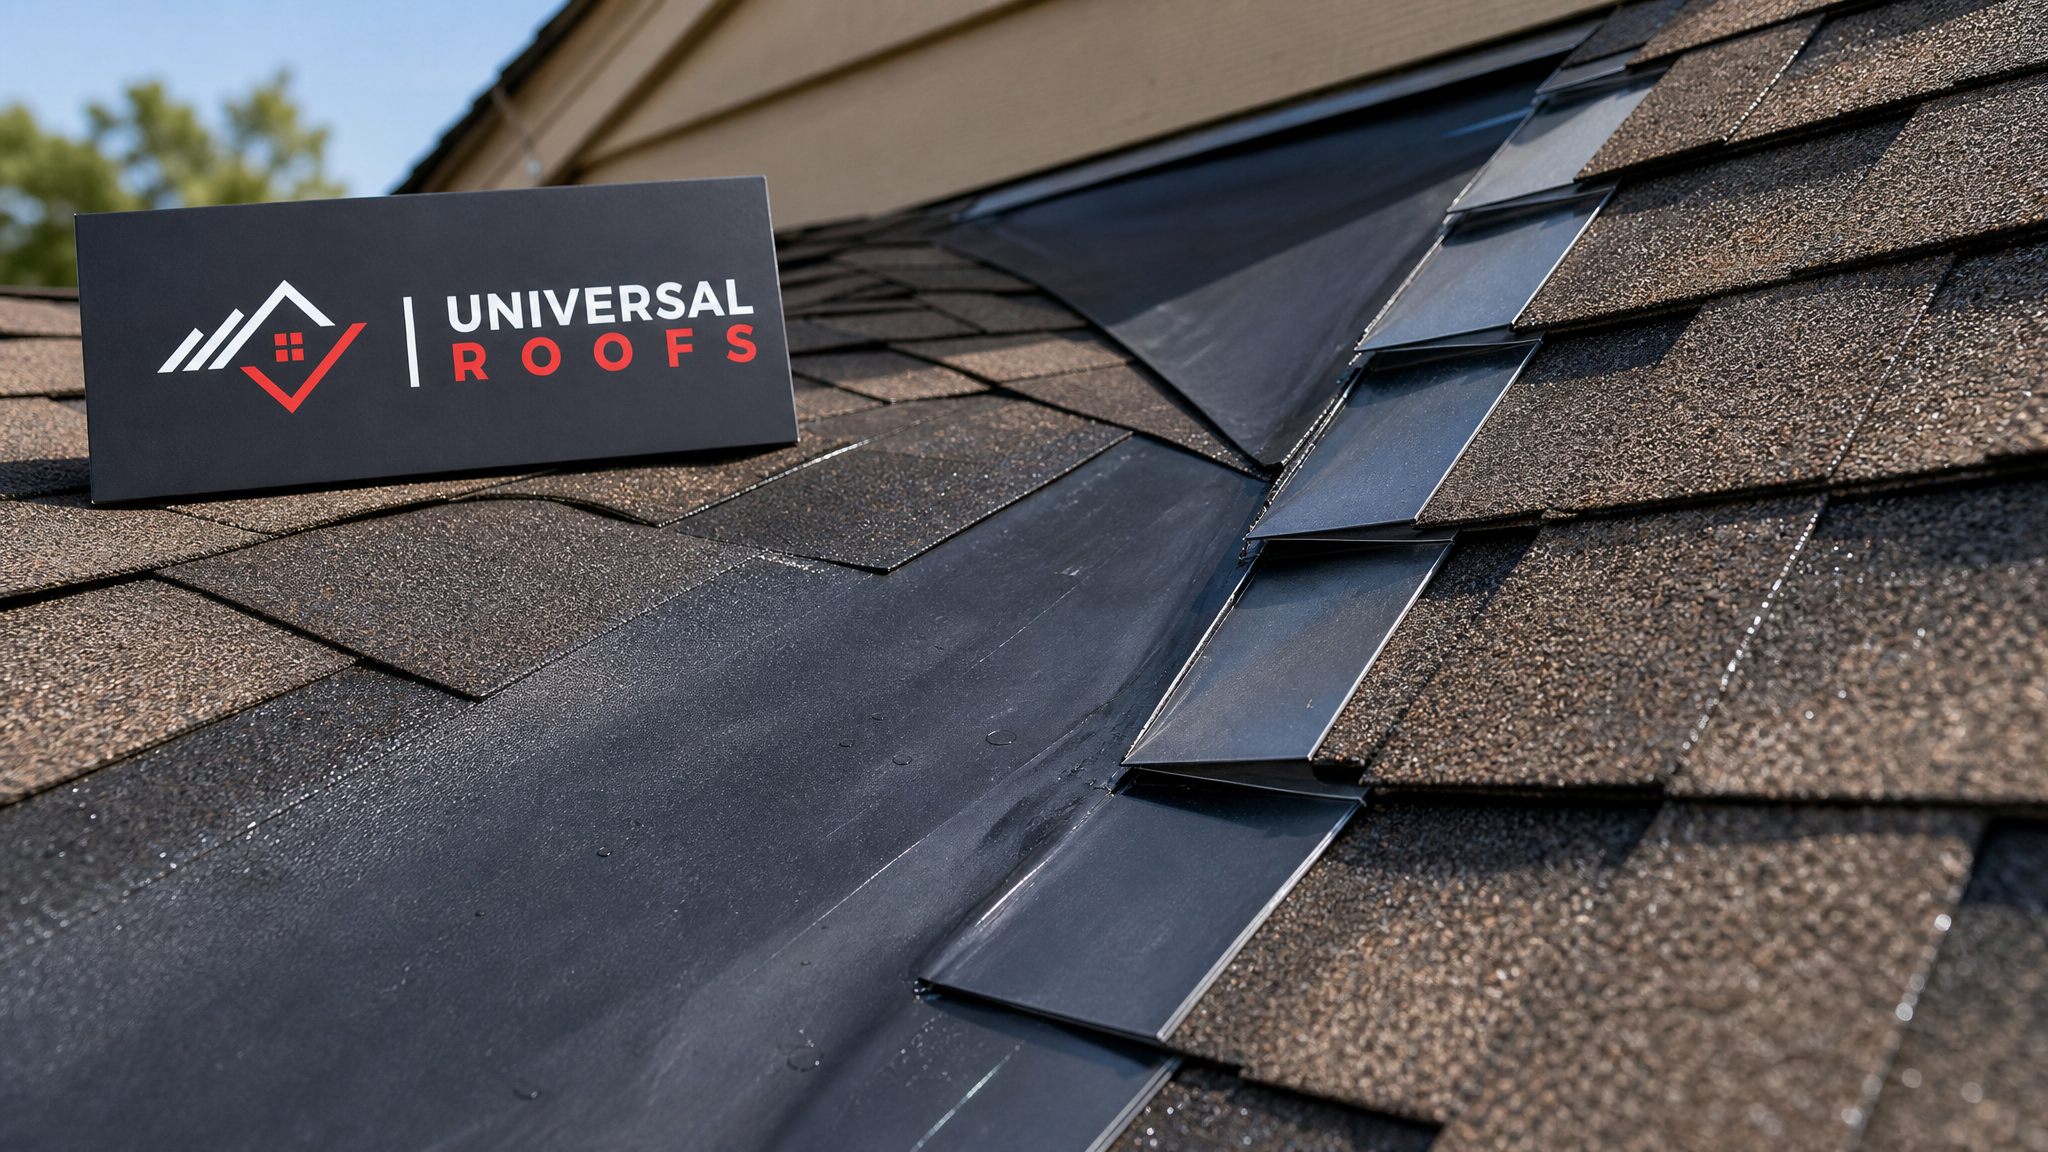
Flashing is the metal or rubber material that seals the transition between the flat plane of the roof and a vertical object poking through it. It is inherently the weakest point of any roofing system because it relies on a mechanical seal (caulking, step flashing, or a rubber boot) rather than the shingle-over-shingle water-shedding design that covers the rest of the roof. Over time, caulking dries out and cracks, rubber boots around vent pipes become brittle and split from UV exposure, and step flashing around chimneys can pull away from mortar joints as the house settles.
The tricky part of this leak type is that water frequently travels sideways along the roof deck or down a rafter before it finds a path through the ceiling drywall, so the stain you see indoors can be a metre or more away from the actual point of entry. This is why DIY caulk-gun fixes applied directly under the visible stain so often fail — the homeowner sealed the wrong spot. A proper diagnosis requires accessing the attic with a flashlight during or immediately after rain, or performing a controlled water test on the roof exterior while a second person watches the underside of the deck.
Our roof repair technicians trace these leaks systematically: checking the penetration itself, then the flashing corners, then the shingle courses immediately upslope, before finally inspecting the attic insulation and decking for the true entry path. Repairs typically involve replacing the rubber boot or step flashing entirely rather than re-caulking, since caulk is a temporary measure at best on a surface exposed to direct sun and winter ice.
| Penetration Type | Typical Failure Cause | Average Repair Cost (GTA) | Expected Lifespan of Fix |
|---|---|---|---|
| Plumbing vent boot | UV-cracked rubber collar | $180 – $350 | 10–12 years |
| Chimney step flashing | Mortar joint separation, corroded metal | $450 – $900 | 15–20 years |
| Bathroom/kitchen exhaust vent | Cracked cap seal or bird damage | $150 – $300 | 8–10 years |
| Skylight curb flashing | Failed sealant, deteriorated counter-flashing | $400 – $1,200 | 15–20 years |
| Furnace/HVAC stack | Loose collar or missing storm collar | $200 – $400 | 10–15 years |
Sign #2: Granule Loss, Curling, and Bald Patches on the Open Roof Field
The second common leak sign is more visual and less immediately alarming: granules collecting in the eavestroughs or at the base of downspouts, shingle tabs that have curled up at the edges, or entire patches of roof where the shingle colour looks noticeably lighter or darker than the surrounding field. None of these are leaks in themselves — they are early warnings that the shingle’s protective wear layer is failing, and a leak is on its way if nothing is done.
Asphalt shingles are essentially a fibreglass mat saturated with asphalt and coated in mineral granules. The granules are not decorative; they reflect UV radiation and protect the asphalt layer underneath from breaking down. As shingles age, especially on south and west-facing slopes that receive the most direct sun in the GTA, the asphalt becomes brittle and granules shed. Once enough granules are gone, the exposed asphalt degrades rapidly, and the shingle mat itself starts to crack. Curling is often a sign that the shingle has reached the end of its serviceable life, or that attic ventilation is inadequate and trapped heat is cooking the shingles from below.
This is where homeowners most often ask us whether they need a repair or a full re-roof. The honest answer depends on how widespread the deterioration is. If granule loss and curling are confined to a small area — say, a section that was damaged in a windstorm or a spot with a known ventilation issue — a targeted shingle replacement is usually sufficient and cost-effective. If the deterioration is spread across the entire roof plane and the shingles are within a few years of their rated lifespan, patching becomes a losing game: you will be back on the roof every season chasing the next bald patch, and the labour cost of repeated small repairs quickly exceeds the cost of doing the job once, properly.

We also check attic ventilation whenever we see widespread granule loss, since a poorly ventilated attic can shave years off shingle life regardless of shingle quality. Improving intake and exhaust airflow through soffit and ridge venting is often a low-cost addition to a repair or replacement project that meaningfully extends the life of the new roof.
| Visual Sign | What It Indicates | Recommended Action | Urgency |
|---|---|---|---|
| Granules in eavestrough | Normal aging (light) or accelerated wear (heavy) | Monitor annually or schedule inspection | Low to moderate |
| Curling shingle tabs | Asphalt embrittlement, possible ventilation issue | Localized repair or full inspection | Moderate |
| Bald/discoloured patches | Wind or hail damage, or wear concentration | Targeted shingle replacement | Moderate to high |
| Cracked shingle mat visible | End-of-life shingle, asphalt has failed | Full or partial re-roof | High |
| Widespread deterioration (whole roof) | Roof at or past rated service life | Full roof replacement | High |
Sign #3: Ice Damming and Valley/Eave Membrane Failure
The third recurring pattern is specific to our climate and shows up most dramatically in late winter, though the underlying vulnerability is baked into the roof year-round and is worth addressing during summer maintenance. Ice damming happens when heat escaping from a poorly insulated attic melts snow on the upper roof, the meltwater runs down to the cold eave overhang where there is no heat loss, and it refreezes into a ridge of ice. That ridge then backs up subsequent meltwater, which can work its way under the shingles and the ice-and-water membrane, eventually finding a gap in the roof deck sheathing and dripping into the attic or down an exterior wall.
Valleys — the V-shaped channels where two roof slopes meet — carry a disproportionate volume of water compared to the open roof field, since they collect runoff from two planes at once. If the valley’s ice-and-water membrane was installed poorly, has aged past its effective seal life, or was never installed at all (common in older homes built before this was code-mandated), the valley becomes the single most likely place on the entire roof for a leak to develop during a heavy summer downpour or spring melt.
Homeowners typically notice this leak type as staining along an interior wall directly below a roof valley, ice buildup visibly hanging off the eaves in winter, or water intrusion that seems to correlate specifically with heavy rain rather than being constant. Because the failure point is buried under shingles and membrane, diagnosing it accurately almost always requires a professional inspection rather than a visual guess from the ground.
The permanent fix generally involves removing the affected shingles, installing or replacing a properly lapped self-adhering ice-and-water membrane along the entire valley and up the eaves to at least 60 centimetres past the interior wall line (per Ontario Building Code guidance for cold climates), and reinstalling shingles with correct valley weaving or open-metal-valley technique. For homes with a documented ice-damming history, we frequently recommend increasing attic insulation depth and improving soffit intake ventilation at the same time, since fixing the membrane without fixing the underlying heat loss just delays the next failure.
| Repair Method | Best Suited For | Typical Cost Range | Timeline |
|---|---|---|---|
| Valley membrane replacement (localized) | Single valley leak, roof otherwise sound | $800 – $1,800 | 1 day |
| Eave membrane extension | Recurring ice damming at eaves | $600 – $1,500 | 1 day |
| Attic insulation top-up | Heat-loss-driven ice damming | $700 – $2,000 | 1 day |
| Soffit/ridge ventilation upgrade | Poor attic airflow contributing to leaks | $900 – $2,500 | 1–2 days |
| Full valley and slope re-roof | Widespread membrane failure, aged shingles | $4,500 – $12,000+ | 2–4 days |
How Professionals Trace a Leak to Its True Source
One of the most common frustrations we hear from homeowners is that they patched what looked like the problem area, and the leak came back a season later. This almost always means the visible symptom and the actual entry point were not in the same place. Professional leak tracing follows a repeatable process rather than guesswork.
First, we document exactly where interior staining appears and its shape, since gravity-fed water travel along rafters or trusses leaves telltale directional patterns. Second, we inspect the attic from the underside during or shortly after active rainfall whenever possible, using a flashlight at a low angle to catch reflective moisture on the deck or insulation. Third, if the source is not obvious from inside, we perform a controlled exterior water test, flooding sections of the roof systematically from the lowest point upward while a second technician monitors the interior. This isolates the entry point without guesswork. Finally, once the entry point is confirmed, we assess whether the surrounding shingles, flashing, and membrane are otherwise sound enough to support a localized repair, or whether age and condition warrant a broader conversation about replacement.
This same systematic approach applies to flat roofing systems as well, though the diagnostic techniques differ slightly since flat roofing membranes fail through seam separation, membrane punctures, or ponding water rather than shingle granule loss. If your home has a flat-roofed addition, garage, or porch roof showing signs of leaking, the underlying principle is identical: trace before you patch.
DIY Detection vs. When to Call a Professional
Homeowners can safely handle a first-pass visual inspection from the ground and from inside the attic, and doing so regularly is genuinely useful for catching problems early. What homeowners should not attempt is walking on a steep-slope roof, removing and reinstalling flashing or shingles, or performing water testing without training, since both the fall risk and the risk of creating a new leak through improper reinstallation are significant.
| Task | Safe for Homeowner? | Recommended Professional Task? | Notes |
|---|---|---|---|
| Visual check from ground with binoculars | Yes | Not required | Do seasonally, especially after storms |
| Attic inspection with flashlight | Yes, with caution | Not required | Watch footing on joists, avoid insulation contact |
| Clearing eavestrough debris | Yes, from ladder | Not required | Use ladder stabilizer, have a spotter |
| Walking the roof surface | No | Yes | Fall risk; also risks shingle damage underfoot |
| Flashing/membrane repair | No | Yes | Requires proper lapping technique and materials |
| Controlled water testing | No | Yes | Requires two-person team and roof access equipment |
Preventing Leaks Before They Start: A Seasonal Maintenance Approach
Summer, right now, is genuinely the best window for preventive roof maintenance in the GTA. Temperatures are warm enough for sealants and membranes to cure properly, there is no snow load obscuring problem areas, and any deficiencies found and fixed now will be fully cured and tested well before the first autumn rains and the winter freeze-thaw cycle begins. A basic seasonal maintenance routine includes clearing eavestroughs and downspouts of debris, checking that attic insulation has not shifted or compressed (which reduces its R-value and contributes to ice damming), confirming that soffit vents are not blocked by insulation or debris, and doing a visual scan of flashing and shingle condition from the ground.
Homeowners who schedule an annual or bi-annual professional inspection tend to spend significantly less over the life of their roof than those who wait for a visible leak to call. A trained eye catches a cracked vent boot or a lifting shingle tab long before it becomes an active leak, and the cost of that inspection is a small fraction of the cost of drywall repair, insulation replacement, and mould remediation that often follows a leak left unaddressed for months.
It is also worth checking your roof’s documented history and warranty status. Many asphalt shingle products carry manufacturer warranties in the 25 to 30 year range, but those warranties frequently require proof of proper ventilation and installation to remain valid, and they rarely cover labour after the first several years. Knowing where your roof stands in its lifecycle helps you plan financially for either an eventual replacement or continued targeted repairs, rather than being caught off guard by a sudden failure.
Materials and Techniques Behind a Lasting Repair
Not all repair materials are created equal, and this is where the gap between an inexpensive patch and a genuinely durable repair becomes clear. Silicone and asphalt-based caulking, while inexpensive and easy to apply, degrade rapidly under UV exposure and temperature swings, and should never be treated as a permanent flashing solution on their own. Self-adhering rubberized ice-and-water membrane, by contrast, bonds directly to the roof deck and remains flexible across a wide temperature range, making it the correct long-term solution at valleys, eaves, and around penetrations.
Metal flashing choice matters as well. Aluminum flashing is cost-effective and resists corrosion well in most GTA conditions, but galvanized steel offers superior durability in areas with heavy tree cover or near masonry chimneys where mortar chemistry can accelerate corrosion of certain metals. Copper flashing, while significantly more expensive, is often specified on heritage homes or high-end renovations both for its longevity (60-plus years) and its weathered appearance over time.
Underlayment selection is another factor homeowners rarely think about but that meaningfully affects leak resistance. Synthetic underlayments have largely replaced traditional felt paper because they resist tearing, stay flatter underfoot during installation, and shed water more effectively if wind-driven rain gets under a shingle course before the roof is fully sealed. When we perform a repair or a full roof replacement, we select materials based on the specific slope, sun exposure, and historical leak pattern of that roof rather than defaulting to whatever is cheapest, because the material cost difference over the life of the roof is small compared to the cost of a repeat leak.
Reading Your Attic: The Early Warning System Most Homeowners Ignore
The attic is genuinely the single best diagnostic space in the house for catching a roof leak before it reaches your ceiling. Signs to look for include dark staining or streaking on the underside of the roof deck, a musty or mildew smell (which indicates moisture even before visible staining appears), compressed or discoloured insulation, and any daylight visible through the roof deck at penetrations or the ridge. Rodent or insect activity in the attic can also be an indirect sign, since pests are frequently drawn to the moisture created by a slow leak.
If you can safely access your attic, we recommend a five-minute check twice a year: once in late spring after the snow has fully melted, and once in early autumn before the first hard frost. Bring a flashlight, avoid stepping off the joists onto the insulation itself, and look specifically at the areas below chimneys, vent stacks, skylights, and valleys, since those are the areas most likely to show the earliest signs of trouble based on everything covered above.
If you notice any of the three common roof leak signs and expert-level diagnosis feels beyond what you can safely do yourself, that is exactly the point at which a professional inspection pays for itself. Our team has performed thousands of these inspections across the GTA and can typically tell within the first fifteen minutes on a roof whether you are looking at a simple repair or a sign of broader deterioration. You can review the experiences of homeowners we have helped on our reviews page, and browse answers to more specific questions on our FAQ page.
Insurance, Documentation, and Protecting Yourself Financially
When a roof leak causes interior damage, most home insurance policies will cover the resulting drywall, flooring, or personal property damage, but coverage for the roof repair itself often depends on the cause. Sudden, accidental damage (a tree branch puncturing the roof during a storm, for example) is typically covered. Gradual deterioration from age, neglected maintenance, or a slowly failing flashing detail is frequently excluded, since insurers consider that a maintenance issue rather than an insurable event.
This is one of the most practical reasons to address the signs covered in this article promptly rather than waiting. A homeowner who can show a paper trail of regular inspections and prompt repairs is in a far stronger position with an insurance adjuster than one who let a known issue sit for two years. When we complete a repair, we provide documentation of the work performed, the materials used, and photos of the affected area before and after, which homeowners can keep on file for exactly this purpose.
If you are unsure whether a specific instance of water damage in your home is roof-related, plumbing-related, or condensation-related, a professional inspection can usually make that determination quickly, which matters both for getting the right party (roofer vs. plumber) involved and for any insurance claim you may need to file. Learn more about how we approach these assessments on our about page.
What are the most common roof leak signs and expert-recommended first steps?
Can a small roof leak really cause serious damage if I wait?
How can I tell if my roof needs a repair or a full replacement?
Why do roof leaks in Toronto seem to get worse in early spring?
Is it safe to inspect my own roof for leak signs?
Does home insurance cover roof leak repairs in Ontario?
Need Help With 3 Common Roof Leak?
Spotting the warning signs is only half the job — getting a correct diagnosis and a lasting repair is what actually stops the damage. The team at Universal Roofs has traced and repaired thousands of leaks across the GTA, from single flashing failures to full valley membrane replacements, and we can tell you within minutes of arriving whether you need a quick fix or a longer-term plan.
Call us today at (416) 732-2421 or request a free inspection to get started.
Universal Roofs proudly serves Toronto, Mississauga, Brampton, Vaughan, Markham, Oakville and the GTA since 2005.