
If your Toronto-area home was built before the 1990s, there is a good chance the roof assembly above your head is working harder than it should. Older attics were framed and insulated to standards that look thin by today’s energy codes, and decades of settling, moisture, and rodent activity can leave even a well-intentioned original installation performing at a fraction of its rated value. Homeowners searching for the options for insulating old roofs are usually dealing with one of three symptoms: ice damming along the eaves every winter, a second floor that turns into an oven every summer, or a heating bill that keeps climbing even after a furnace upgrade.
The good news is that insulating an older roof is one of the most cost-effective upgrades a homeowner can make, and there is rarely a need to tear the whole roof off to do it. Depending on your attic configuration, roof age, and budget, you can choose from several proven approaches — each with different costs, disruption levels, and long-term performance. This guide walks through every major option for insulating old roofs, how Toronto’s climate affects the decision, and how to avoid the mistakes that cause callbacks and comfort complaints.
We will cover attic floor insulation upgrades, cathedral and sloped-ceiling retrofits, exterior rigid board approaches used during re-roofing, spray foam applications, and the ventilation and air-sealing work that has to happen alongside any of them. Whether you are planning a simple top-up or a full roof replacement that includes an insulation overhaul, this article will help you understand what is actually involved before a contractor sets foot on your property.
Why Older Toronto Roofs Are Almost Always Under-Insulated
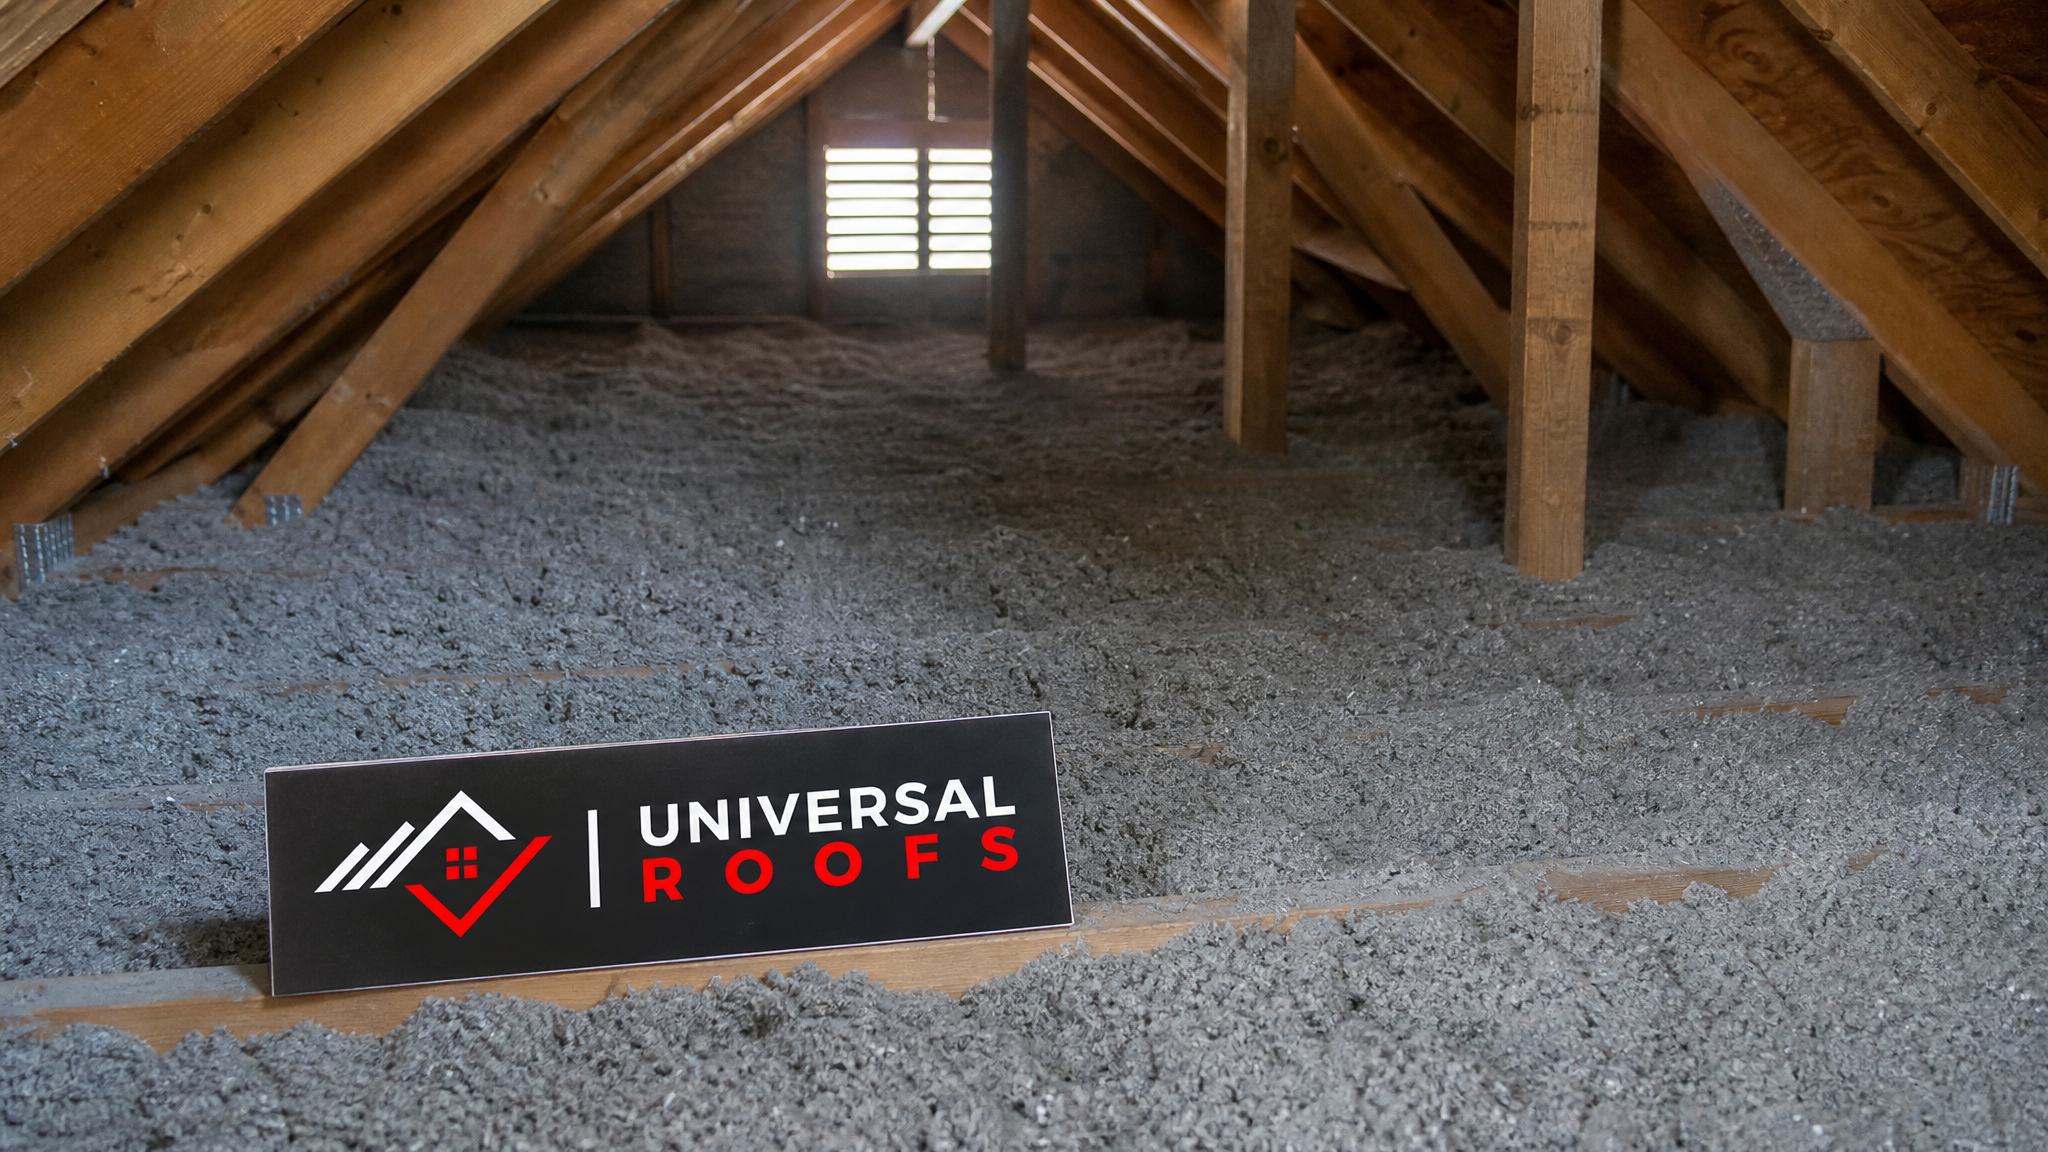
Most homes in the Greater Toronto Area built before the early 1990s were originally insulated to R-20 or R-28 in the attic, which was standard practice at the time. Ontario’s current building code recommends R-60 for attic spaces in new construction, meaning many older homes are insulated to less than half of today’s target. On top of that gap, three additional factors compound the problem in aging houses:
- Settling and compression. Loose-fill insulation, particularly older cellulose or fibreglass batts, settles over 20-30 years and loses loft, which is what actually creates R-value.
- Moisture damage. Roof leaks, ice damming, and bathroom fans venting into the attic instead of outside all soak insulation over time, matting it down and encouraging mould growth.
- Disturbed or missing sections. Past electrical or plumbing work, pot light installations, and rodent nesting frequently leave bald patches where insulation has been pushed aside and never replaced.
The result is an attic that looks insulated from a quick glance through the hatch but is actually performing at R-12 to R-18 in practice — barely a third of what current standards recommend. This is precisely why an insulation assessment should be part of any conversation about roof repair or replacement on an older home; the roofing surface and the insulation underneath it are connected problems, not separate ones.
Option 1: Topping Up Attic Floor Insulation (Blown-In Loose Fill)
For the large majority of Toronto homes with a standard pitched roof and an accessible, unfinished attic, adding blown-in insulation on top of the existing attic floor is the single most cost-effective option for insulating old roofs. This approach does not touch the roof deck or shingles at all — it works entirely from inside the attic, which keeps costs down and avoids any disruption to your roofing warranty.
Blown-in cellulose and blown-in fibreglass are the two materials used almost universally for this work. Cellulose is treated with borate for fire and pest resistance and has a slightly higher installed R-value per inch; fibreglass is non-combustible by nature and is less attractive to rodents looking for nesting material. Both are installed with a machine that blows the loose material through a hose, filling gaps around joists, wiring, and irregular framing far more completely than batts ever could.
| Material | R-Value per Inch | Typical Depth for R-60 | Best For |
|---|---|---|---|
| Blown-in cellulose | R-3.6 – R-3.8 | ~16-17 in. | Homes wanting maximum air-gap filling around obstructions |
| Blown-in fibreglass | R-2.2 – R-2.7 | ~22-24 in. | Homes with limited rodent tolerance or fire-code sensitivity |
| Fibreglass batts (existing) | R-3.0 – R-3.2 | N/A (removal likely needed) | Rarely reused; usually removed if compressed or wet |
| Mineral wool (rock wool) loose fill | R-3.0 – R-3.3 | ~18-20 in. | Homes prioritizing fire resistance and moisture tolerance |
Before any new material goes in, a reputable crew should air-seal the attic floor first — sealing around plumbing stacks, electrical penetrations, top plates, and bathroom fan housings with spray foam or caulking. Skipping this step is the single biggest reason a top-up job underperforms; warm, moist household air will keep bypassing straight through the new insulation and condensing against the cold roof deck, which is exactly what causes ice damming in January and February.
Option 2: Cathedral and Sloped-Ceiling Roof Insulation
Not every home has a simple flat attic floor. Additions, dormers, converted attics, and homes with vaulted or cathedral ceilings have insulation running along the roof slope itself, tucked between the rafters. This is a much more constrained space — often only 2×6 or 2×8 rafters deep — and it is one of the trickiest scenarios homeowners face when weighing options for insulating old roofs, because there is rarely enough rafter depth to hit modern R-value targets with batts alone.
The three realistic approaches for a sloped-ceiling retrofit are:
- Spray foam in the rafter bays. Closed-cell spray polyurethane foam delivers roughly R-6 to R-7 per inch, the highest of any common material, which matters enormously when depth is limited. It also acts as its own air and vapour barrier in one step.
- Rigid foam board added to the interior finish. A layer of rigid polyisocyanurate or extruded polystyrene board can be installed under the existing rafters before new drywall goes up, adding continuous insulation that breaks the thermal bridging caused by wood framing.
- Exterior rigid board during re-roofing. Covered in detail in the next section, this avoids interior disruption entirely but requires the roof to already be scheduled for replacement.
Cathedral ceilings must maintain a clear ventilation channel between the insulation and the underside of the roof deck (typically using baffles), or the assembly risks trapping moisture and rotting the sheathing from the inside. This is an area where an experienced Toronto roofing contractor should be involved even when the work is framed as an “insulation job,” because the ventilation strategy is a roofing decision, not just an insulation decision.
Option 3: Exterior Rigid Insulation During a Roof Replacement
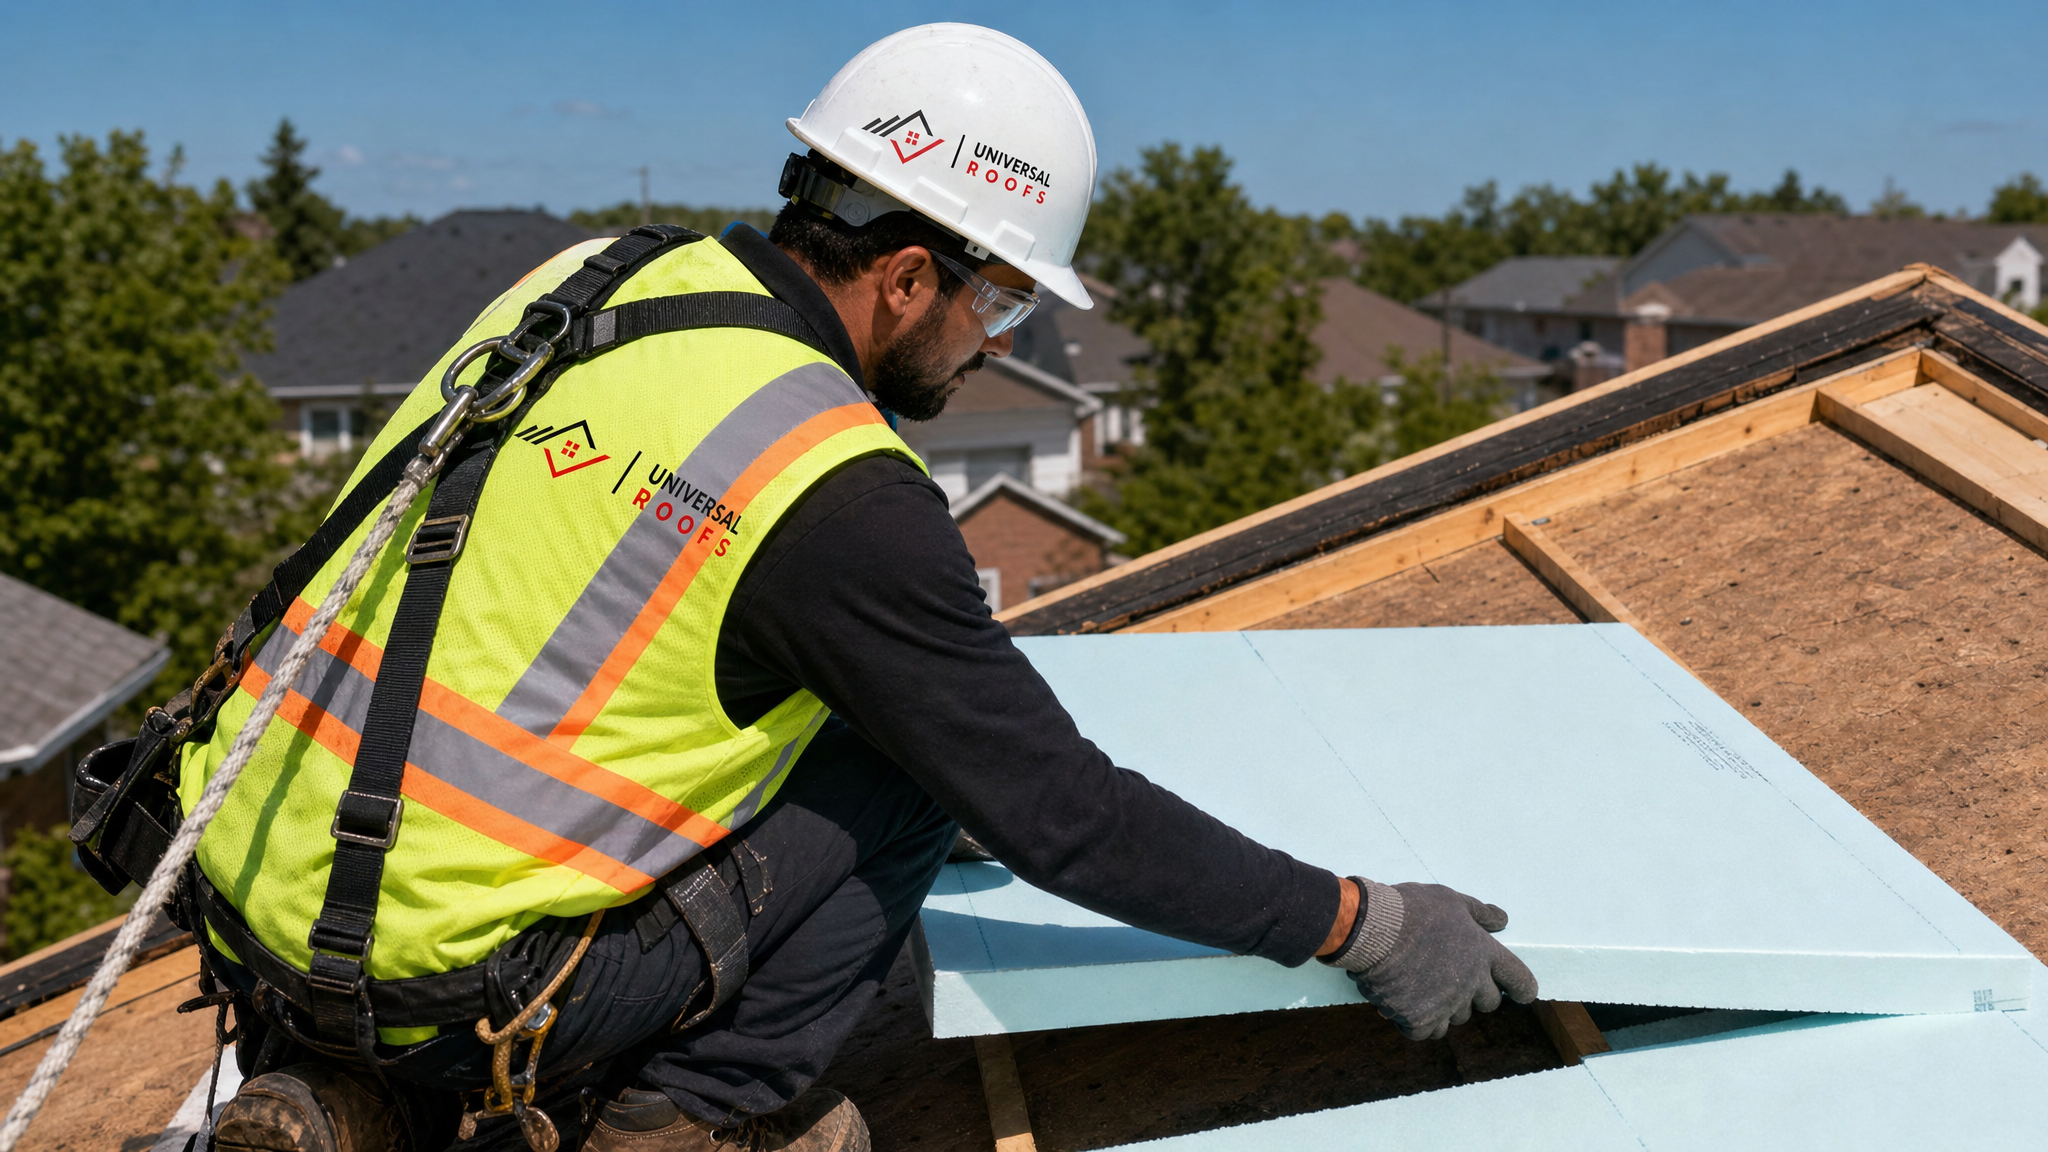
If your old roof already needs a new roofing surface, replacement is the ideal window to add exterior rigid insulation above the existing deck. This approach, sometimes called an “overroof” insulation retrofit, involves installing a continuous layer of rigid foam board on top of the roof sheathing before the new underlayment and shingles (or membrane) go down.
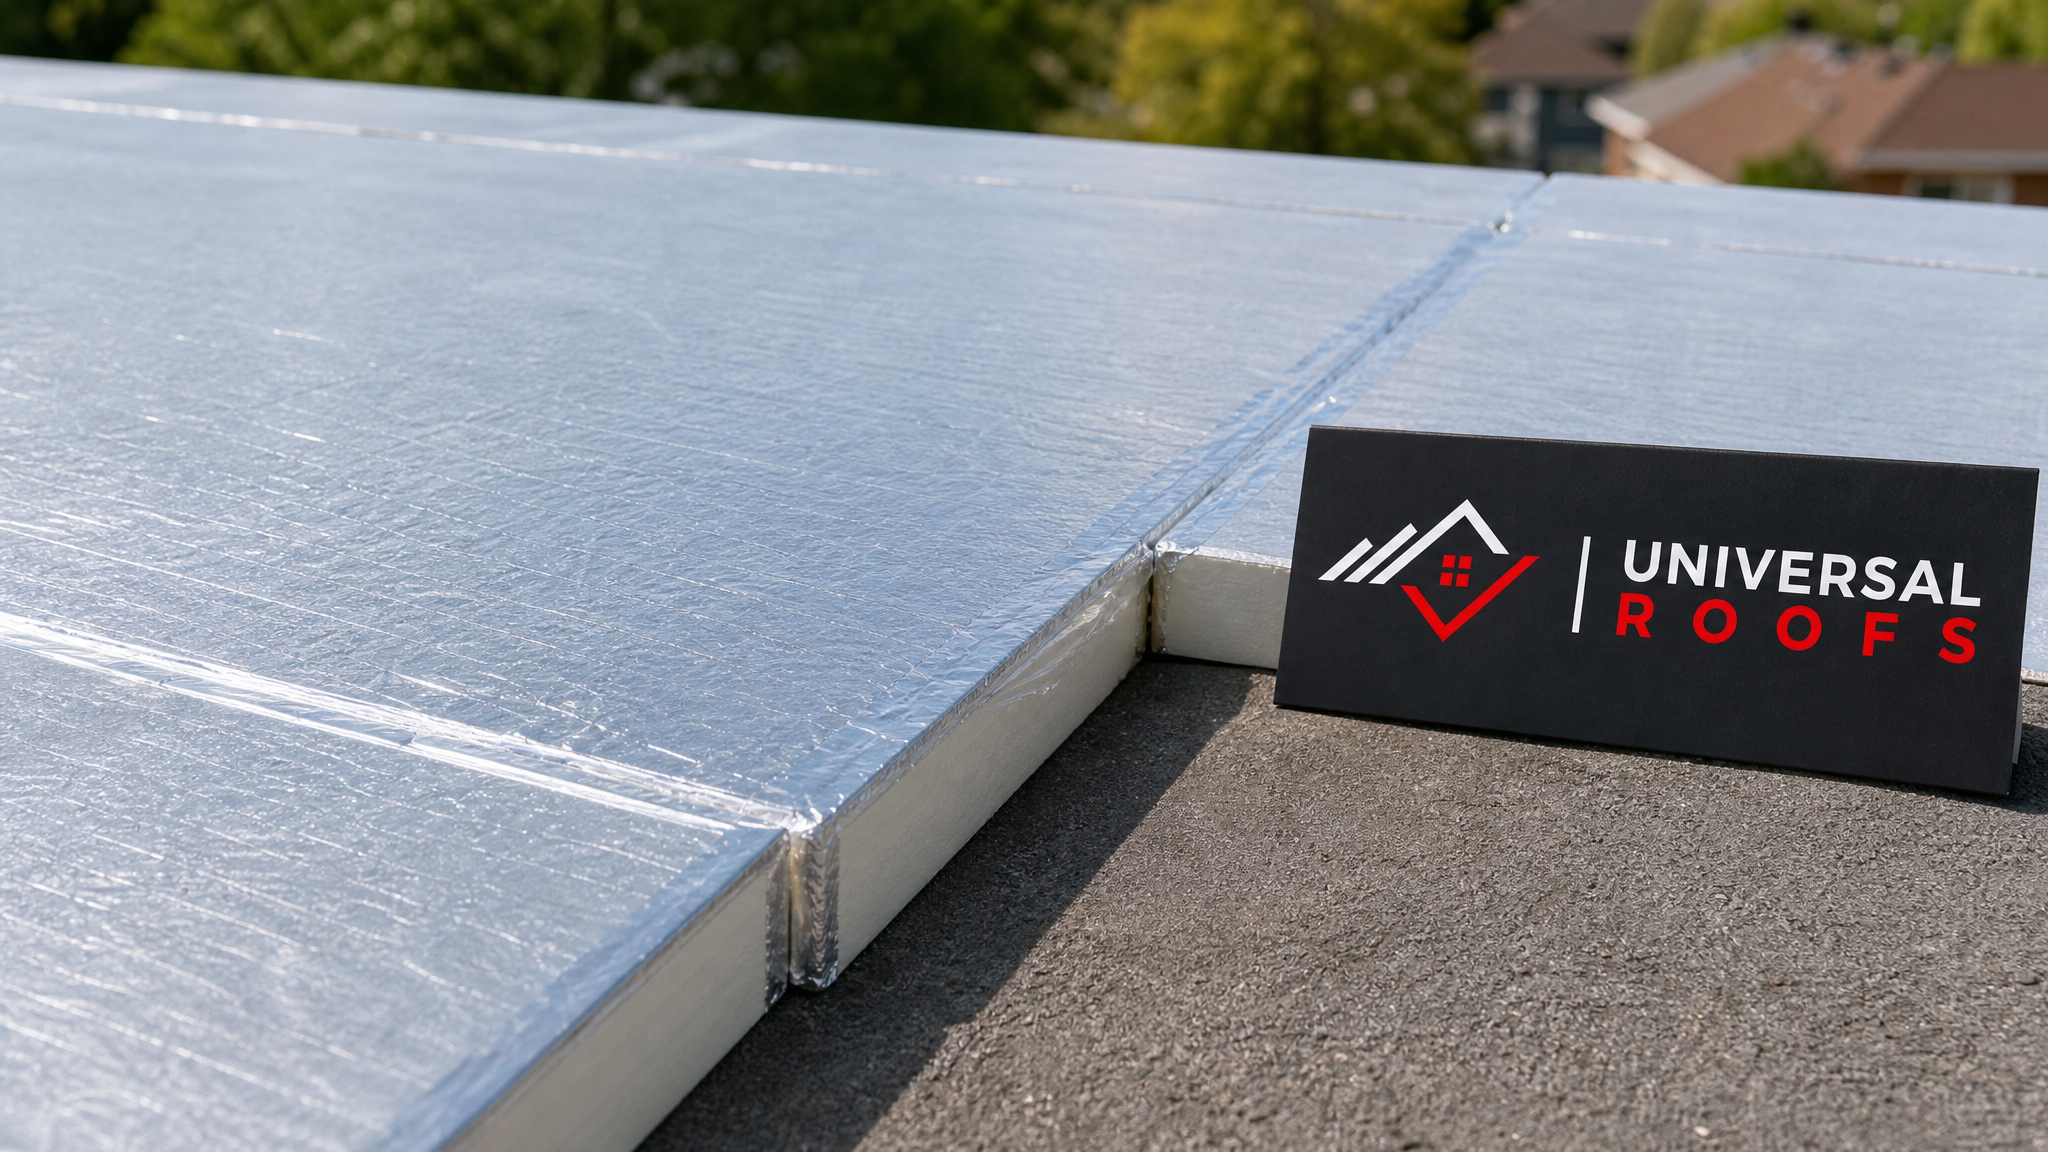
The advantage is significant: exterior rigid board eliminates virtually all thermal bridging through the rafters, something that is impossible to achieve from inside the attic. It is particularly well-suited to homes with cathedral ceilings, low-slope additions, and any structure where interior access is difficult or finished ceilings would need to be torn out otherwise. It is also the standard approach we use on flat roofing systems, where tapered rigid insulation both improves R-value and creates the slope needed for proper drainage.
| Approach | Where It’s Installed | Disruption Level | Typical Added R-Value |
|---|---|---|---|
| Attic floor blown-in top-up | Inside attic, on existing floor | Low — attic access only | R-20 to R-40+ added |
| Rafter-bay spray foam | Between roof rafters | Moderate — interior or attic access | R-25 to R-49 depending on depth |
| Exterior rigid board (re-roof) | Above roof deck, under shingles/membrane | High — coincides with full re-roof | R-10 to R-25 added, no thermal bridging |
| Interior rigid board + drywall | Under rafters, before new ceiling finish | High — interior renovation required | R-8 to R-15 added |
Because this work happens at the same time as tear-off and re-decking, it adds relatively little labour cost compared to doing it as a standalone project. If you are already budgeting for a roof replacement, it is always worth asking your contractor for pricing on an insulation upgrade at the same time — the incremental cost is almost always lower than tackling it later as a separate job.
Ventilation, Air-Sealing, and Vapour Control: The Part Homeowners Skip
No discussion of the options for insulating old roofs is complete without covering the three supporting systems that determine whether new insulation actually performs as advertised. Insulation alone does not solve comfort or moisture problems if these are ignored.
Ventilation. Ontario building code requires a minimum ratio of intake (soffit) to exhaust (ridge or roof vent) ventilation for attics, generally 1:300 of the attic floor area, split evenly. Old homes frequently have soffit vents blocked by decades of insulation piled against them, or roof vents that were never properly balanced. Restoring clear airflow is essential before or during any insulation top-up.
Air-sealing. As covered above, sealing bypasses at the attic floor — around chimneys, plumbing stacks, electrical boxes, attic hatches, and top plates — stops conditioned air from short-circuiting the insulation. This single step often delivers a bigger comfort improvement than the insulation upgrade itself.
Vapour control. In cold-climate cities like Toronto, warm interior air holds moisture that wants to migrate toward the cold roof deck in winter. A poly vapour barrier (or the vapour-retarding facing on certain insulation products) on the warm side of the assembly prevents that moisture from condensing inside the insulation or on the sheathing.
How Ice Damming Connects Back to Insulation Choices
Ice damming is the most visible symptom of an under-insulated, poorly ventilated old roof, and it is one of the most common reasons Toronto homeowners start researching insulation upgrades in the first place. The mechanism is straightforward: heat escaping from the living space warms the roof deck unevenly, melting snow on the upper roof while the eaves stay cold. The meltwater runs down and refreezes at the eaves, building a dam that backs water up under the shingles.
Because the underlying cause is heat loss through the roof assembly, no amount of eavestrough heating cable or ice-and-water shield alone will permanently fix a chronic ice damming problem — those are damage-control measures, not cures. Proper attic insulation combined with balanced ventilation is the actual long-term fix, which is why our roof repair assessments for ice-damming complaints almost always start with a look at attic insulation depth and ventilation before we touch the shingles.
| Symptom | Likely Insulation-Related Cause | Recommended Fix | Priority |
|---|---|---|---|
| Ice dams at eaves every winter | Heat loss through thin/settled attic insulation | Top-up blown-in insulation + air-seal bypasses | High |
| Uneven melt pattern on roof after snowfall | Uninsulated or poorly ventilated sections | Full attic insulation audit and re-balance | High |
| Second floor too hot in summer | Insufficient R-value and/or poor ventilation | Blown-in top-up + confirm soffit/ridge airflow | Medium |
| Musty smell or visible mould in attic | Trapped moisture from missing vapour barrier | Remove wet insulation, air-seal, re-insulate | High |
| Rising heating bills with no other changes | General insulation degradation over time | Insulation top-up to current R-60 target | Medium |
Skylights, Dormers, and Other Roof Penetrations That Complicate Insulation
Older homes with skylights present a particular challenge because the insulated shaft running from the roof deck down to the ceiling opening is a common weak point for both heat loss and condensation. If your home has an older, poorly insulated skylight well, it is worth having it evaluated alongside your broader roof insulation plan — sometimes a skylight replacement with a modern, better-insulated unit resolves a condensation or heat-loss complaint that a homeowner originally attributed to the attic insulation alone. Our skylights team frequently finds that the skylight shaft, not the surrounding attic, is the actual source of a specific cold spot or drip.
Dormers and knee walls behind them are another common weak spot in older homes, since the small, hard-to-access triangular attic spaces behind knee walls are frequently under-insulated or missed entirely during a previous renovation. These spaces should be included in any comprehensive insulation assessment, not treated as an afterthought.
What Insulating an Old Roof Actually Costs in the GTA
Costs vary with attic size, accessibility, material choice, and whether air-sealing and ventilation repairs are bundled in, but the ranges below reflect what Toronto-area homeowners can generally expect to budget for each approach.
| Insulation Option | Typical Cost Range (avg. GTA home) | Timeline | Roof Tear-Off Required? |
|---|---|---|---|
| Blown-in attic top-up (with air-sealing) | $1,800 – $4,000 | 1 day | No |
| Rafter-bay spray foam (cathedral ceiling) | $4,500 – $12,000 | 1-3 days | No, but may need interior access |
| Exterior rigid board (bundled with re-roof) | $3 – $8 added per sq. ft. of roof | Adds 1-2 days to re-roof timeline | Yes (already in progress) |
| Full attic insulation removal + reinstall (mould/pest damage) | $3,500 – $7,500 | 2-3 days | No |
Homeowners should treat any quote that skips a ventilation check or air-sealing step with some scepticism — a contractor who only wants to sell the insulation material itself, without addressing the moving air and moisture underneath it, is not solving the whole problem. Ask for a written breakdown of attic ventilation ratios, planned air-sealing locations, and target R-value before signing off on any insulation upgrade.
Choosing the Right Option for Your Home
With several viable paths available, the right choice usually comes down to three questions: what does your attic or roof structure actually look like, is a roof replacement already on the horizon, and what symptom are you trying to solve? A simple pitched attic with easy hatch access almost always points toward a blown-in top-up as the most efficient first step. A cathedral ceiling or converted attic space narrows the field to spray foam or rigid board, chosen based on rafter depth and whether interior finishes are being touched anyway. And if a new roofing surface is already needed, bundling exterior rigid insulation into that project captures value that would otherwise be lost.
It is also worth having your roof’s overall condition assessed at the same time insulation is discussed. An insulation upgrade on a roof that is already near the end of its service life, or one with an active leak, is money spent solving half a problem. A combined inspection covering both the roofing surface and the attic assembly gives a much clearer picture of what to prioritize and in what order — something our attic and roofing specialists assess together on every insulation consultation across Toronto, Peel Region, York Region, Halton Region, and Durham Region.
Summer Is the Right Time to Plan This Work
While ice damming and cold-weather comfort complaints are what usually prompt homeowners to search for options, summer is genuinely the best season to act. Attic work in July heat is more predictable for contractors to schedule, roofing materials for an exterior rigid board retrofit install more consistently in warm, dry conditions, and completing the upgrade now means your home is fully prepared before the next heating season begins. Waiting until October or November often means competing for installation slots against homeowners who are dealing with an active emergency.
Before committing to any option, it is worth reading through independent feedback from other GTA homeowners who have had insulation and roofing work done recently — our reviews page includes candid accounts of exactly this kind of project, and our FAQ page answers many of the follow-up questions homeowners ask once a quote is in hand. You can also learn more about how our team approaches these assessments on our about page.
What are the best options for insulating old roofs without removing the shingles?
How much insulation do old Toronto homes typically need to add?
Can insulating an old roof stop ice damming?
Is spray foam or blown-in insulation better for an old roof?
Should I add insulation at the same time as a roof replacement?
How do I know if my old roof’s insulation has failed or settled?
Need Help With What Are the Options?
Choosing the right approach for insulating an older roof depends on your attic layout, roof condition, and budget, and getting an honest, experienced assessment makes all the difference. Universal Roofs has been helping GTA homeowners solve exactly these kinds of comfort and moisture problems since 2005.
Call us today at (416) 732-2421 or request a free inspection to get started.
Universal Roofs proudly serves Toronto, Mississauga, Brampton, Vaughan, Markham, Oakville and the GTA since 2005.