
When most homeowners think about roof insulation, they picture warmer bedrooms in January and lower heating bills. Fewer realize that the wrong insulation, installed the wrong way, can actually make a roof assembly more dangerous in a fire. Choosing the right roof insulation solutions for fire safety means understanding fire ratings, combustibility classes, and how insulation interacts with the rest of the attic and roof deck during a blaze.
In the Greater Toronto Area, building and fire codes set minimum standards, but “meeting code” and “genuinely fire-safe” are not always the same thing. Older homes across Toronto, Mississauga, Brampton, Vaughan, Markham and Oakville were often insulated decades ago with materials that would not pass muster today, and many attics have been topped up over the years with whatever was on sale rather than what was fire-tested for the application.
This guide walks through the fire-safety side of roof and attic insulation: the material classes that perform best, how they are rated, where ignition risks actually originate, and what a proper installation looks like. We will also cover the summer maintenance window, since July is one of the best times of year in the GTA to have an attic inspected and upgraded before the fall furnace season begins.
Why Fire Safety Matters in Roof Insulation Choices
Insulation is not just a thermal product — it is a fuel source, a fire barrier, or both, depending on the material and how it is installed. Some insulation types are naturally non-combustible and can slow the spread of flame across an attic. Others are combustible on their own but are manufactured with fire retardants and must be covered with an approved thermal barrier to remain compliant. A mismatch between material, installation method, and end use is one of the most common issues our crews find when we open up an older roof assembly during a roof replacement.
The stakes are real. Attic and roof fires often start from an ignition source most people never think about: recessed pot lights that run hot, an aging knob-and-tube electrical run brushing against insulation, a masonry chimney chase with gaps, or a bathroom exhaust fan duct that terminates inside the attic instead of outside. When insulation is packed directly against these heat sources without the required clearance, or when a combustible product is used where a non-combustible one is required, a small electrical fault can become a structure fire far faster than it should.
Choosing the correct roof insulation solutions for fire safety is therefore about three things working together: the inherent fire rating of the material, correct clearance and detailing around penetrations, and ongoing condition — because insulation that has settled, gotten wet, or been disturbed by rodents no longer performs the way it did when it was installed.
Understanding Fire Ratings and Combustibility Classes
Insulation materials are typically evaluated using a handful of standard tests, and it helps to know what the terminology actually means before comparing products.
- Flame Spread Index (FSI) — measured under ASTM E84 / CAN/ULC-S102, this rates how quickly flame travels across the surface of a material. Lower numbers are better; most code-compliant insulations fall in the 25-or-under “Class A” range when properly faced or covered.
- Smoke Developed Index (SDI) — measures how much smoke a burning material produces, which matters for occupant evacuation time.
- Non-combustible vs. combustible — materials like mineral wool and fibreglass are classified as non-combustible in their core form, while spray foam, cellulose, and most rigid foam boards are combustible and require a code-recognized thermal barrier (typically 12.7 mm drywall or an equivalent intumescent coating) between the insulation and occupied space.
- Ignition barrier vs. thermal barrier — in unoccupied attic spaces, some spray foams are approved with a lighter “ignition barrier” coating rather than a full drywall thermal barrier, but only specific tested products qualify, and only when installed exactly per the manufacturer’s listing.
This is one of the areas where DIY top-ups go wrong most often: a homeowner adds loose-fill insulation over an existing layer without checking whether the original material was ever covered with the required barrier, effectively burying a code violation under a fresh layer of otherwise fine material.
Comparing Insulation Materials for Fire Performance
No single insulation product is “best” in every category — cost, R-value per inch, moisture tolerance, and fire performance all pull in slightly different directions. The table below compares the materials our crews most commonly install or remove across GTA attics.
| Insulation Type | Combustibility | Typical Flame Spread Rating | Fire-Safety Notes |
|---|---|---|---|
| Mineral (rock) wool batt | Non-combustible | 0-5 (Class A) | Withstands direct flame contact for a period without igniting; excellent around chimneys and flue penetrations |
| Fibreglass batt | Non-combustible core | Typically under 25 with facing removed or unfaced | Facing (kraft paper/foil) is combustible and must be installed away from exposed flame sources |
| Cellulose (loose-fill) | Combustible, treated with fire retardant | Under 25 when properly treated | Retardant can degrade if the material gets wet repeatedly; needs periodic verification |
| Open-cell spray foam | Combustible | Varies by product; requires thermal or ignition barrier | Never leave exposed in an occupied space without an approved barrier coating |
| Closed-cell spray foam | Combustible | Varies by product; requires thermal or ignition barrier | Higher R-value per inch but same barrier requirements as open-cell |
| Rigid foam board (XPS/EPS/polyiso) | Combustible | Requires facing and barrier per listing | Common on flat roofs; must be paired with a fire-rated cover board under the membrane |
For most sloped attics in the GTA, a hybrid approach performs best: mineral wool or fibreglass batts for the bulk of the thermal envelope, with careful attention paid to keeping any spray foam or rigid foam applications properly covered per their listing. On flat and low-slope roofs — common on additions, garages, and commercial buildings we service through our flat roofing division — rigid insulation boards are standard, but the cover board and membrane above them do the heavy lifting for fire resistance, not the foam itself.
Common Ignition Risks Hiding in GTA Attics
Fire-rated material alone will not protect a home if the installation ignores the real sources of heat and sparks inside the attic. Over hundreds of inspections across Toronto and the surrounding regions, a short list of recurring problems shows up again and again.
Recessed Pot Lights Without Rated Covers
Older pot lights (also called can lights) that are not IC-rated (insulation contact rated) can overheat if insulation is packed directly against the housing. Non-IC-rated fixtures need a code-compliant clearance box or must be replaced with IC-rated LED fixtures before insulation is installed around them.
Chimney and Flue Chases
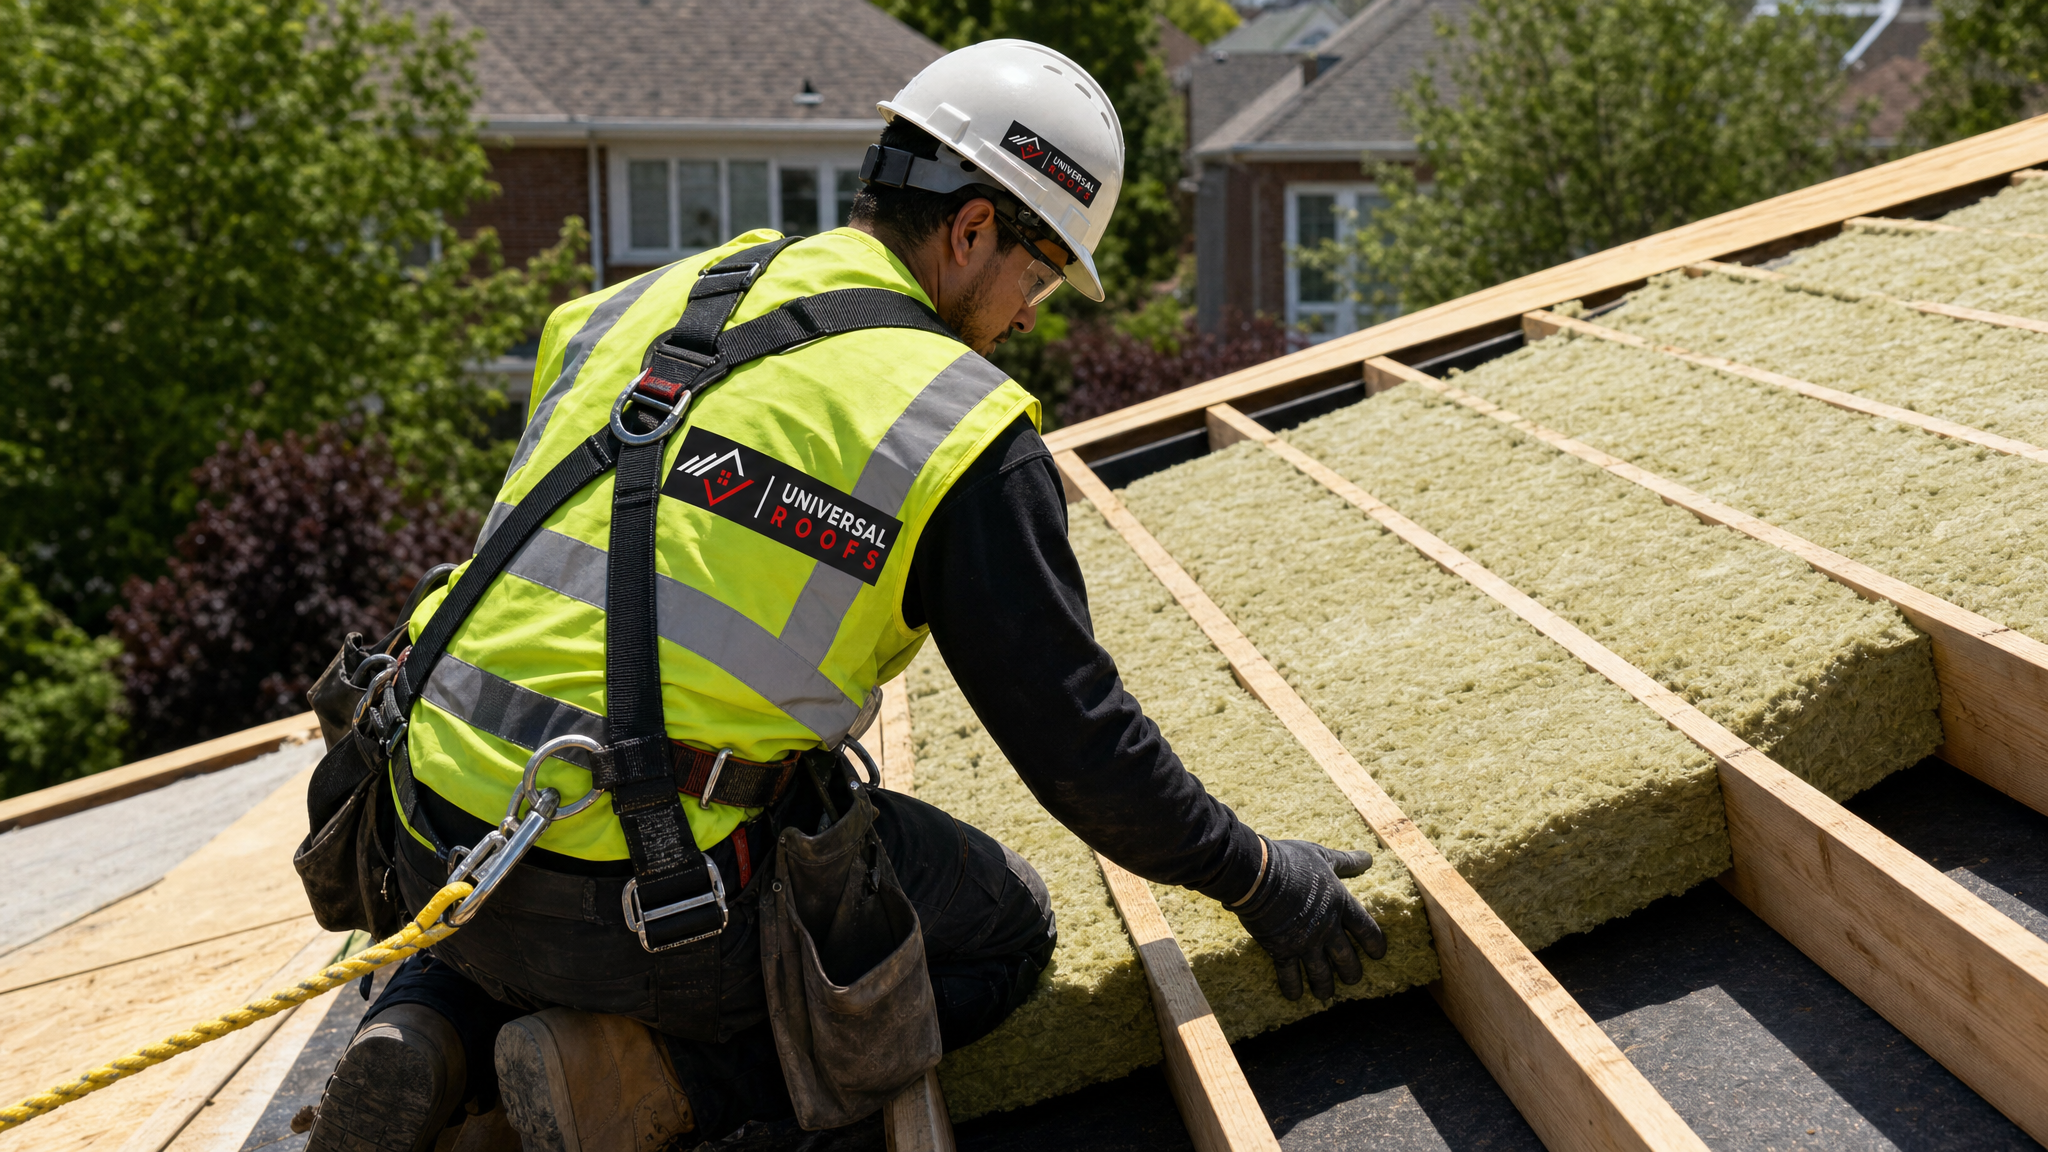
Masonry and metal chimneys require a minimum clearance from combustible material — typically 50 mm (2 inches) for masonry chimneys and more for certain metal flue types. We regularly find insulation stuffed directly against a chimney chase in homes that have never had an attic inspection since original construction.
Bathroom and Kitchen Exhaust Ducts
Exhaust ducts that terminate inside the attic instead of venting outside through a proper roof or wall cap create a moisture problem first and a fire risk second, as damp insulation loses its rated performance and electrical connections nearby corrode.
Knob-and-Tube and Aluminum Wiring
Many older Toronto-area homes still have some original electrical wiring in the attic. Certain insurance policies and electrical codes restrict or prohibit covering knob-and-tube wiring with insulation because it prevents the wiring from dissipating heat, raising fire risk substantially.
Recessed HVAC and Water Heater Vents
B-vents and other combustion appliance vents passing through the attic need firestop spacers and proper clearance — insulation crammed against a hot vent pipe is a preventable but common cause of slow-smouldering attic fires.
Fire-Safe Installation Practices We Follow
Material selection is half the equation. Correct installation and detailing is the other half, and it is where most fire-safety failures actually occur.
| Installation Practice | Why It Matters | Typical Clearance / Standard |
|---|---|---|
| Clearance around chimneys and flues | Prevents insulation from reaching ignition temperature over prolonged contact with masonry or metal heat | 50 mm minimum for masonry; per manufacturer listing for metal flues |
| IC-rated fixture boxes around pot lights | Allows insulation contact without overheating the fixture | IC-rated fixture or code-approved clearance box required |
| Thermal or ignition barrier over spray foam | Prevents combustible foam from being an exposed fuel source | 12.7 mm drywall (thermal) or listed intumescent coating (ignition) |
| Ductwork terminated outside the attic | Removes moisture and heat buildup around insulation and wiring | Insulated duct with proper roof or wall cap termination |
| Baffles at soffit vents | Maintains airflow so insulation does not trap heat against the roof deck | Continuous baffle from soffit to above insulation line |
We also verify attic ventilation as part of any insulation project, since a poorly ventilated attic traps heat that accelerates the aging of both roofing materials and the insulation itself. Ventilation problems and insulation problems tend to travel together, so we assess both whenever we are called out for a roof repair that touches the attic space.
Skylights, Roof Penetrations, and Fire-Rated Detailing
Every penetration through a roof deck — a skylight curb, a vent stack, a chimney chase — is a place where insulation continuity breaks and fire-stopping detail becomes critical. Skylight wells in particular need careful attention because the insulation around the light shaft often gets compressed or omitted entirely during original construction, leaving a thermal and fire gap running from the attic down into the living space.
When we perform a skylight replacement or a new skylight installation, we insulate and air-seal the full shaft, not just the roof-level opening, and we make sure any spray foam used in that cavity is either fully cured and covered per its ignition-barrier listing or kept clear of any nearby electrical junction boxes. This detail is frequently missed by installers who focus only on weatherproofing the skylight flashing and never revisit the insulation continuity of the shaft itself.
Seasonal Timing: Why Summer Is the Right Time to Upgrade
July might not feel like the obvious month to think about insulation, but it is actually one of the best times of year to address it in the GTA. Attic temperatures on a hot summer day can climb well above 60°C, which is exactly when heat-related insulation degradation, off-gassing, and any marginal fire-safety issues around light fixtures or vents become most apparent to a trained inspector. Contractors also have fuller crew availability in summer compared with the pre-winter rush in September and October, when everyone in the GTA suddenly wants attic work done before the furnace goes back on.
Getting insulation upgrades done now means the work is finished, cured, and settled well before cold weather returns — and it avoids the scramble that happens every year when homeowners wait until the first cold snap to notice ice damming or a spike in heating bills tied to inadequate or improperly installed insulation.
Cost and Project Timeline Expectations
Homeowners often ask what a fire-safety-focused insulation upgrade actually involves in terms of time and investment. While every attic is different, the table below gives a general sense of scope for a typical GTA detached home.
| Project Scope | Typical Timeline | What’s Included |
|---|---|---|
| Attic fire-safety inspection only | 1-2 hours | Visual inspection of insulation condition, pot lights, chimney clearance, exhaust venting, wiring |
| Pot light box retrofit + top-up insulation | 1 day | IC-rated boxes installed, new mineral wool or fibreglass batts added to target R-value |
| Full insulation removal and replacement | 1-2 days | Old insulation removed, air sealing, baffles installed, new fire-rated material to code R-value |
| Spray foam application with barrier coating | 1-3 days | Foam applied to roof deck or rafters, cure time, ignition/thermal barrier coating applied |
| Skylight shaft re-insulation (per unit) | Half day per skylight | Shaft insulation and air sealing coordinated with skylight flashing work |
Warning Signs Your Current Insulation Is a Fire Risk
Not every homeowner needs a full attic overhaul, but certain warning signs should prompt a professional assessment rather than a DIY top-up.
- Visible scorch marks, discolouration, or a burnt smell anywhere near pot lights or electrical junctions in the attic
- Insulation packed directly against a chimney chase, flue pipe, or exhaust duct with no visible gap
- Older pot lights with no visible IC rating stamp, especially in homes built before the early 2000s
- Knob-and-tube wiring visible in the attic with insulation touching or covering it
- Spray foam applied to the underside of the roof deck with no drywall or coating covering it in a finished or semi-finished attic
- Exhaust fan ducting that simply stops in the attic rather than terminating through the roof or wall
If any of these apply to your home, it is worth scheduling an assessment before the next heating season rather than waiting for a problem to surface. Our reviews page has feedback from homeowners across the GTA who have had exactly this kind of inspection done alongside routine roof work.
How Universal Roofs Approaches Fire-Safe Insulation Projects
Every insulation project we quote starts with a full attic assessment, not just a measurement of square footage. We check pot light ratings, chimney and flue clearances, exhaust duct termination, and the condition of existing wiring before recommending a material or method. Since 2005, Universal Roofs has handled roofing and insulation work across Toronto, Peel Region, York Region, Halton Region, and Durham Region, and fire-safety detailing is part of every insulation quote we prepare, not an upsell.
We also coordinate insulation work with any roofing project already underway. If a roof deck is exposed during a roof replacement, that is the ideal moment to correct any insulation or ventilation issues from below, since access to the underside of the deck is otherwise limited. Our team documents every clearance and barrier detail with photographs so homeowners have a record of exactly what was installed and where.
Questions about specific products, code requirements, or what a particular home might need are answered in more depth on our FAQ page, and you can read more about our background and licencing on our about page.
What are the best roof insulation solutions for fire safety in an older GTA home?
Is spray foam insulation a fire risk on a roof deck?
How do I know if my attic insulation is a fire hazard?
Do fire-rated roof insulation solutions cost more than standard insulation?
Can I install fire-safe roof insulation myself?
How often should GTA homeowners check their roof insulation for fire-safety issues?
Need Help With Top Roof Insulation Solutions?
Getting roof insulation solutions for fire safety right takes more than picking a material off a shelf — it takes an assessment of your specific attic, wiring, and roof penetrations. Universal Roofs has been handling exactly this kind of detailed insulation and roofing work across the GTA since 2005.
Call us today at (416) 732-2421 or request a free inspection to get started.
Universal Roofs proudly serves Toronto, Mississauga, Brampton, Vaughan, Markham, Oakville and the GTA since 2005.