
If your Toronto-area home has ice damming every winter, mysterious ceiling stains, or an attic that turns into a sauna every July, the culprit is often not your shingles at all — it is how the insulation underneath them was installed. After two decades of inspecting attics across the GTA, our crews at Universal Roofs see the same five installation mistakes again and again, on homes ten years old and homes forty years old alike. The good news is that every one of them is preventable, and most are fixable without tearing off the roof.
This guide walks through the top roof insulation installation mistakes to avoid, why each one happens, what it costs homeowners in comfort and energy bills, and how a proper fix looks in a GTA climate that swings from -20°C polar vortex days to +30°C humid summer afternoons. Whether you are planning a new attic insulation project, reviewing a quote from a contractor, or troubleshooting a problem in a home you just bought, understanding these mistakes will help you ask the right questions before any work begins.
We will also cover how insulation problems connect to your attic ventilation system, your roof repair needs, and even your skylights, since poor insulation around penetrations is one of the most overlooked failure points on GTA roofs.
Why Roof Insulation Installation Mistakes Matter So Much in the GTA
Southern Ontario’s climate is uniquely hard on roofs. We get deep freezes in January, rapid thaw-refreeze cycles in February and March, and then intense humidity and heat through the summer months. Insulation is the thermal boundary that separates your conditioned living space from that swing in outdoor conditions, and when it is installed incorrectly, the consequences show up in very specific, very expensive ways.
Poorly installed insulation is the single biggest contributor to ice dams we see on service calls across Toronto, Mississauga, Brampton, Vaughan, Markham, and Oakville. Warm air leaking into the attic melts the underside of the snowpack, that meltwater runs down to the cold eaves, and it refreezes into a dam that backs water up under your shingles. It is also a major driver of summer discomfort, since a poorly insulated attic can reach temperatures that make upstairs bedrooms unbearable by mid-afternoon in July and August — which is exactly the season we are in as this guide is being written.
The five mistakes below are listed roughly in order of how often we encounter them during attic inspections, not necessarily in order of severity. All five are serious enough that we recommend addressing them before, or at the same time as, any new roof replacement or major repair project.
Mistake #1: Blocking Soffit Vents With Insulation
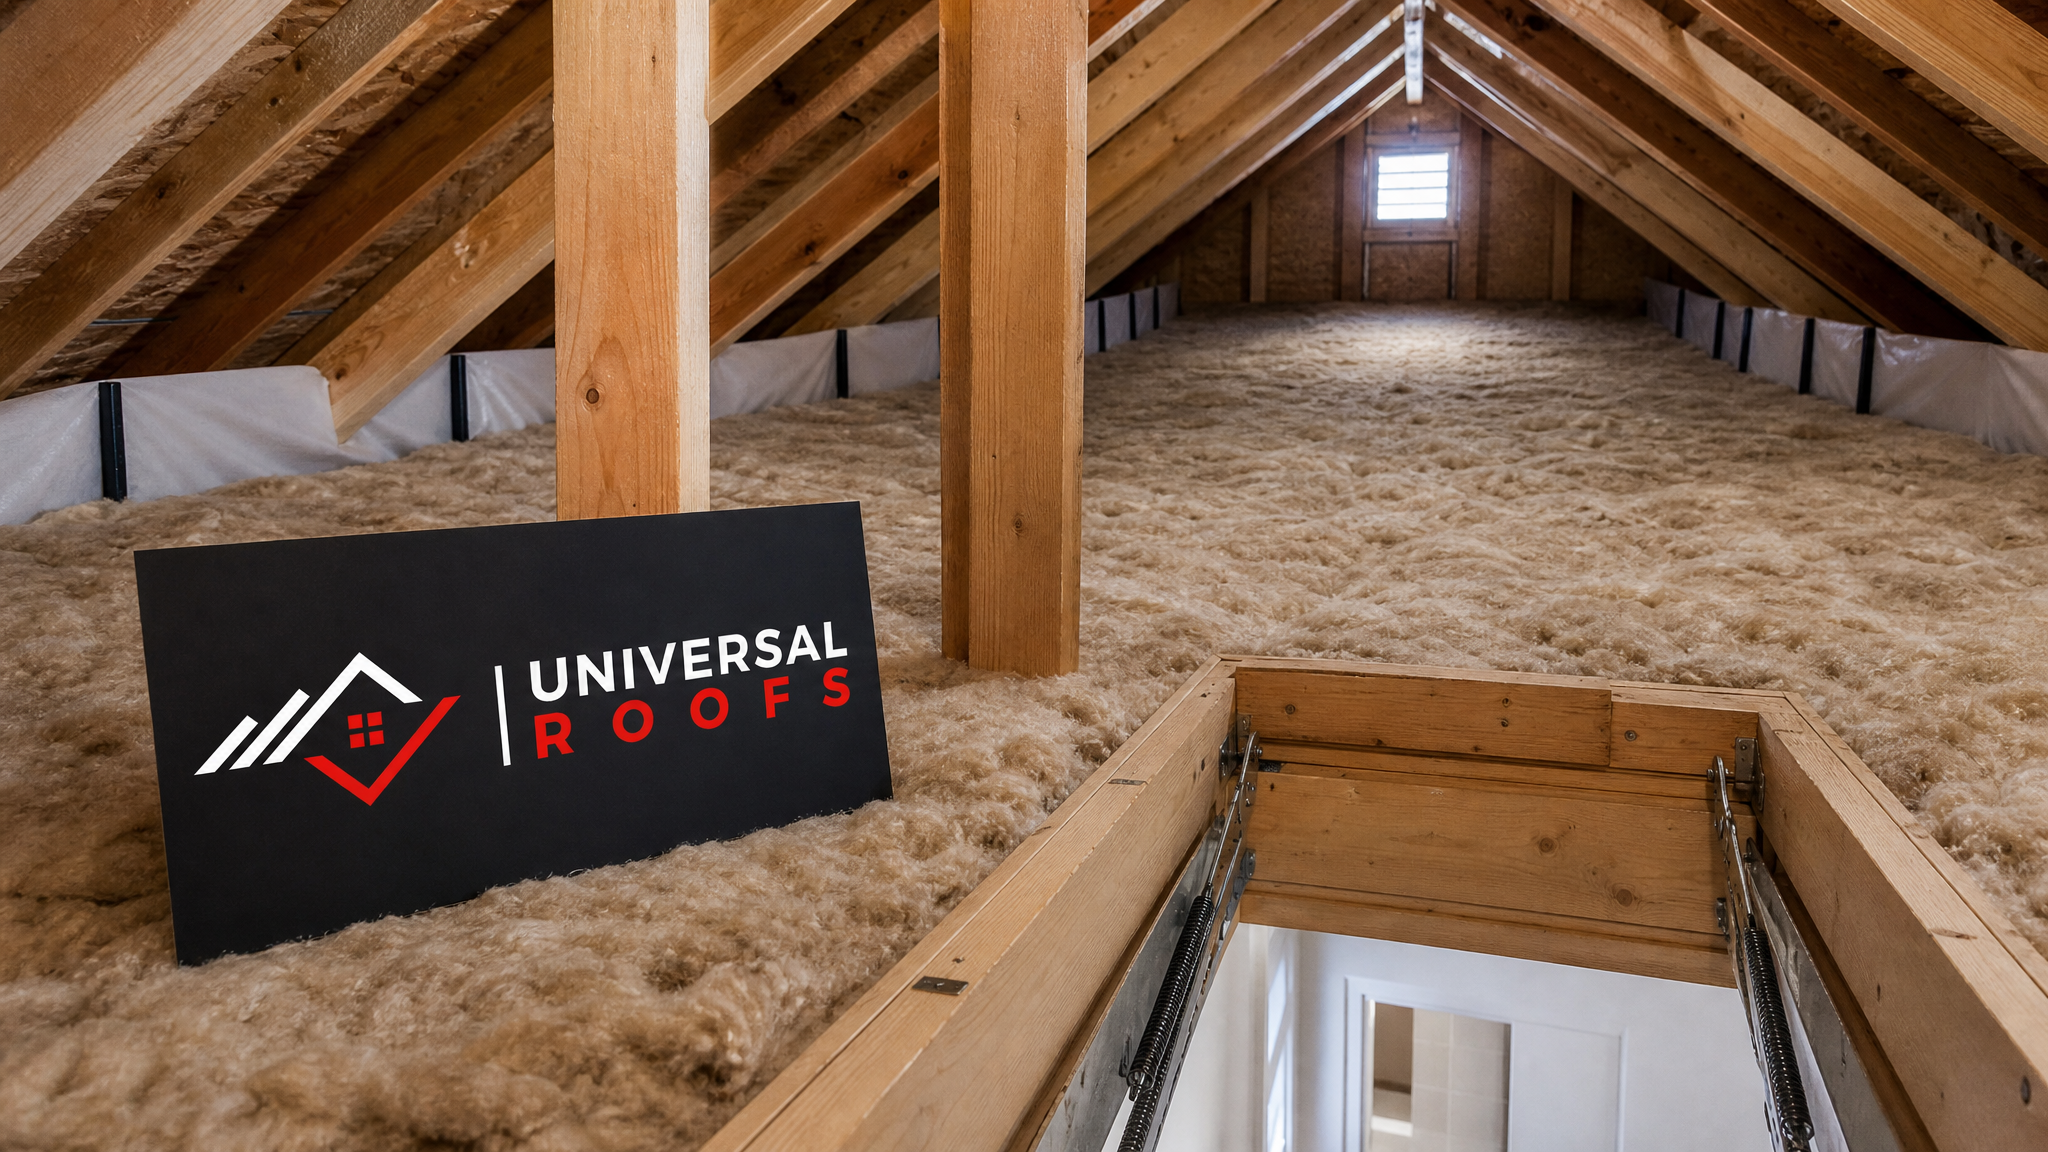
This is, without question, the most common roof insulation installation mistake we find in the GTA. When insulation is blown or laid across the entire attic floor without regard for the eaves, it gets pushed right up against — or directly over — the soffit vents. Those vents are supposed to draw fresh, cool air into the attic space, which then exits through a ridge vent or roof vents higher up. When the intake is blocked, that entire airflow loop collapses.
The result is a stagnant, humid attic in the summer and a warm, moisture-laden attic in the winter — both of which accelerate sheathing rot, mould growth, and shingle deterioration from the underside. It is also one of the leading causes of ice damming, because a blocked soffit means warm air has nowhere to go except straight up into the roof deck.
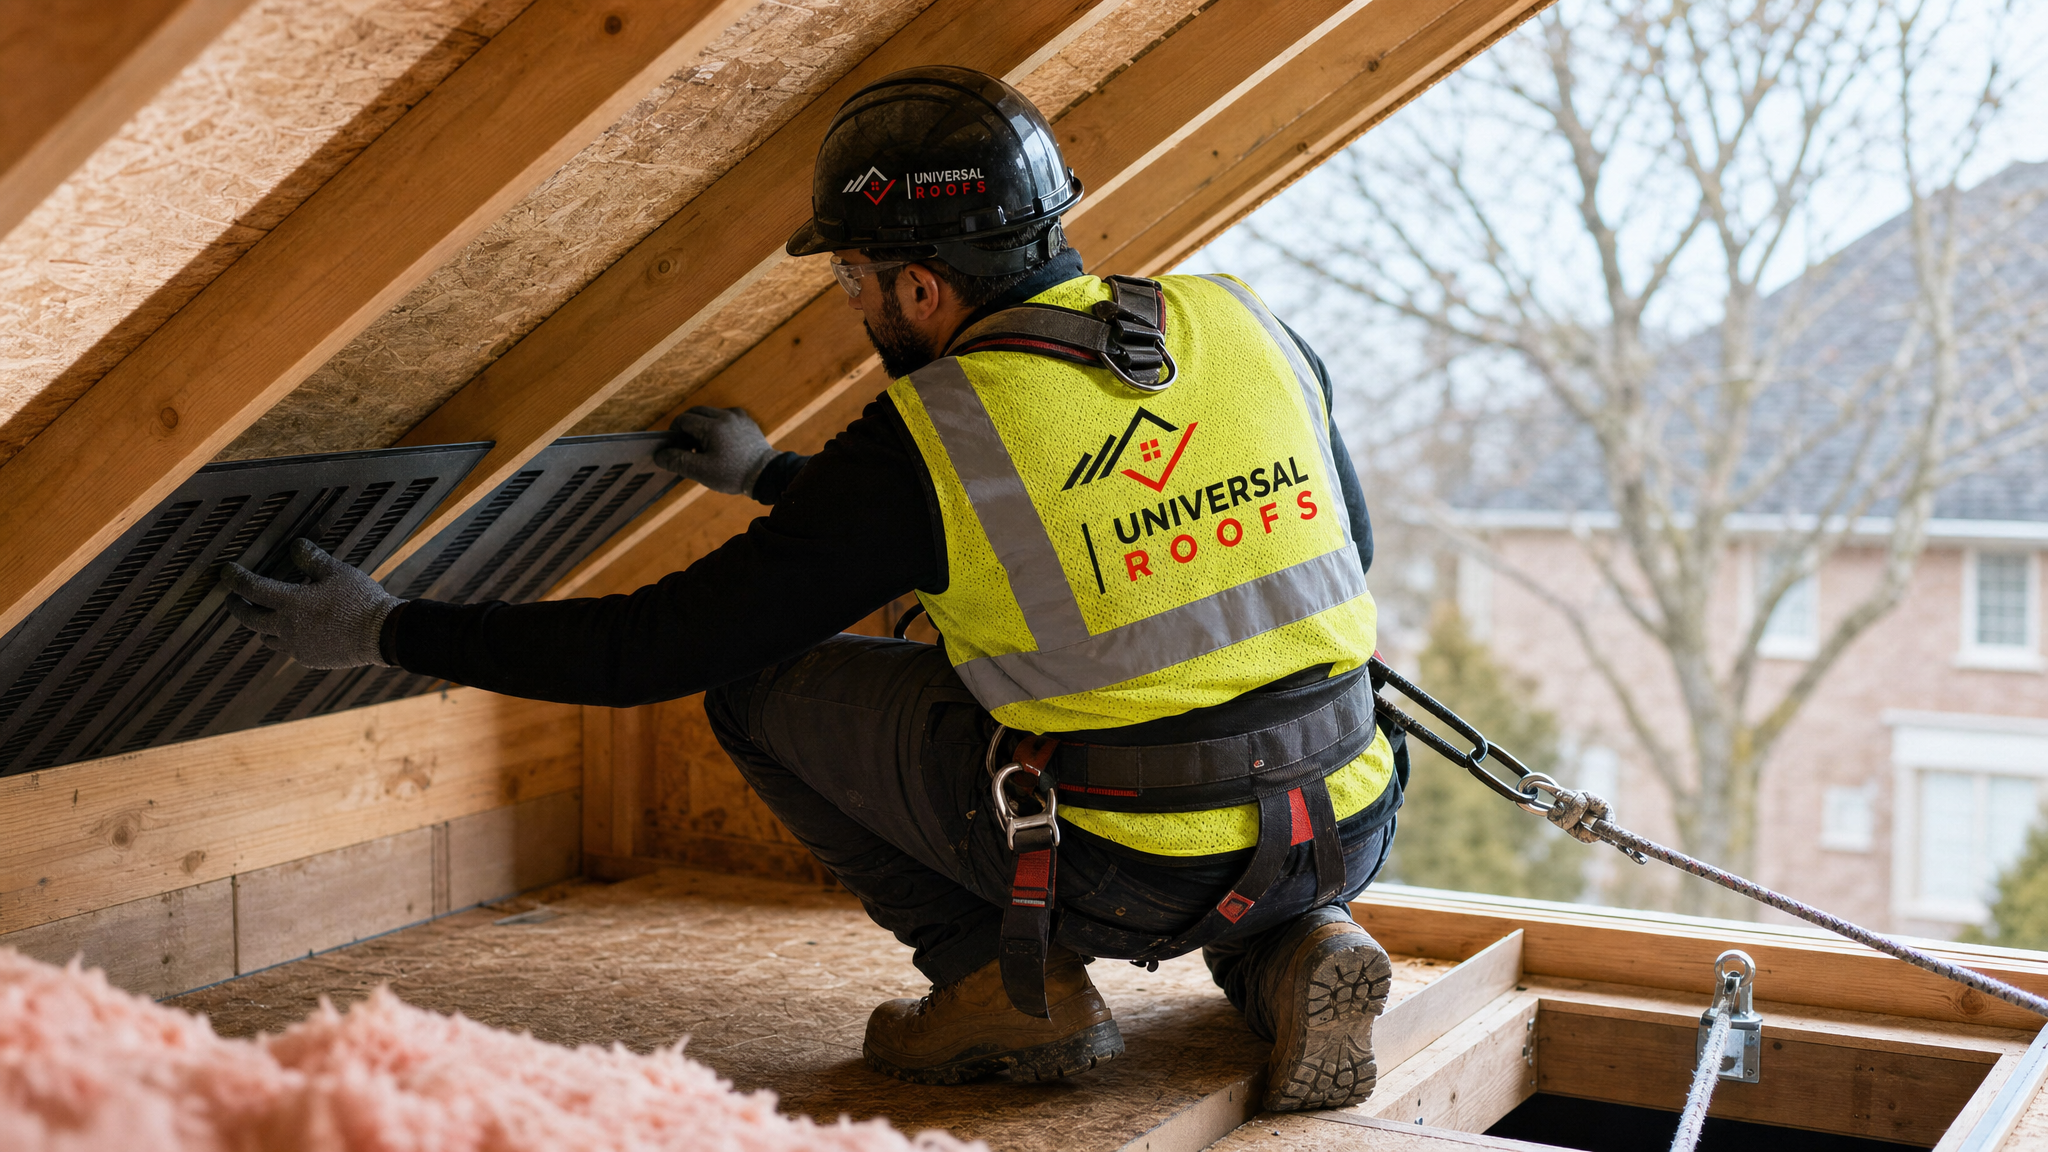
The fix is straightforward but often skipped by crews trying to save time: rigid foam or cardboard baffles (sometimes called “rafter vents”) must be installed at every eave before insulation goes down, holding a clear air channel from the soffit vent to the open attic space above the top plate. Any competent insulation contractor should insist on this step, and any homeowner reviewing a quote should ask specifically whether baffles are included.
| Symptom | Likely Cause | Severity | Typical Fix |
|---|---|---|---|
| Ice dams at the eaves every winter | Blocked soffit vents / air leakage | High | Install baffles, air-seal attic floor, top up insulation |
| Musty smell in upstairs closets | Trapped humidity, no attic airflow | Medium | Clear soffit vents, add baffles, check ridge/roof vents |
| Visible mould on roof sheathing | Long-term moisture buildup from blocked ventilation | High | Remediate sheathing, restore full vent path, re-insulate |
| Frost on the underside of the roof deck in winter | Warm moist air reaching cold sheathing | Medium to High | Air-seal ceiling penetrations, restore soffit-to-ridge airflow |
| Higher summer cooling bills | Stagnant attic heat with no exhaust path | Medium | Clear intake vents, verify exhaust vents are functional |
Mistake #2: Skipping or Damaging the Vapour Barrier
The vapour barrier — typically a continuous sheet of polyethylene installed on the warm side of the insulation, just under the ceiling drywall — is designed to stop moisture-laden household air from migrating up into the attic where it can condense on cold surfaces. In a lot of older GTA homes, especially those built before the 1990s, the vapour barrier was either never installed properly or has been perforated repeatedly over the years by electricians, cable installers, and pot-light retrofits.
Every unsealed hole around a wire, pipe, or light fixture is a pathway for warm, humid interior air to escape into the attic. Once there, it condenses on the cold roof sheathing, and over a winter season that condensation can add up to litres of water sitting on your plywood deck. This is one of the most damaging and hardest to diagnose issues we deal with, because the symptoms — soft spots in the roof deck, dark staining, a persistent damp smell — often do not appear until real damage has already occurred.
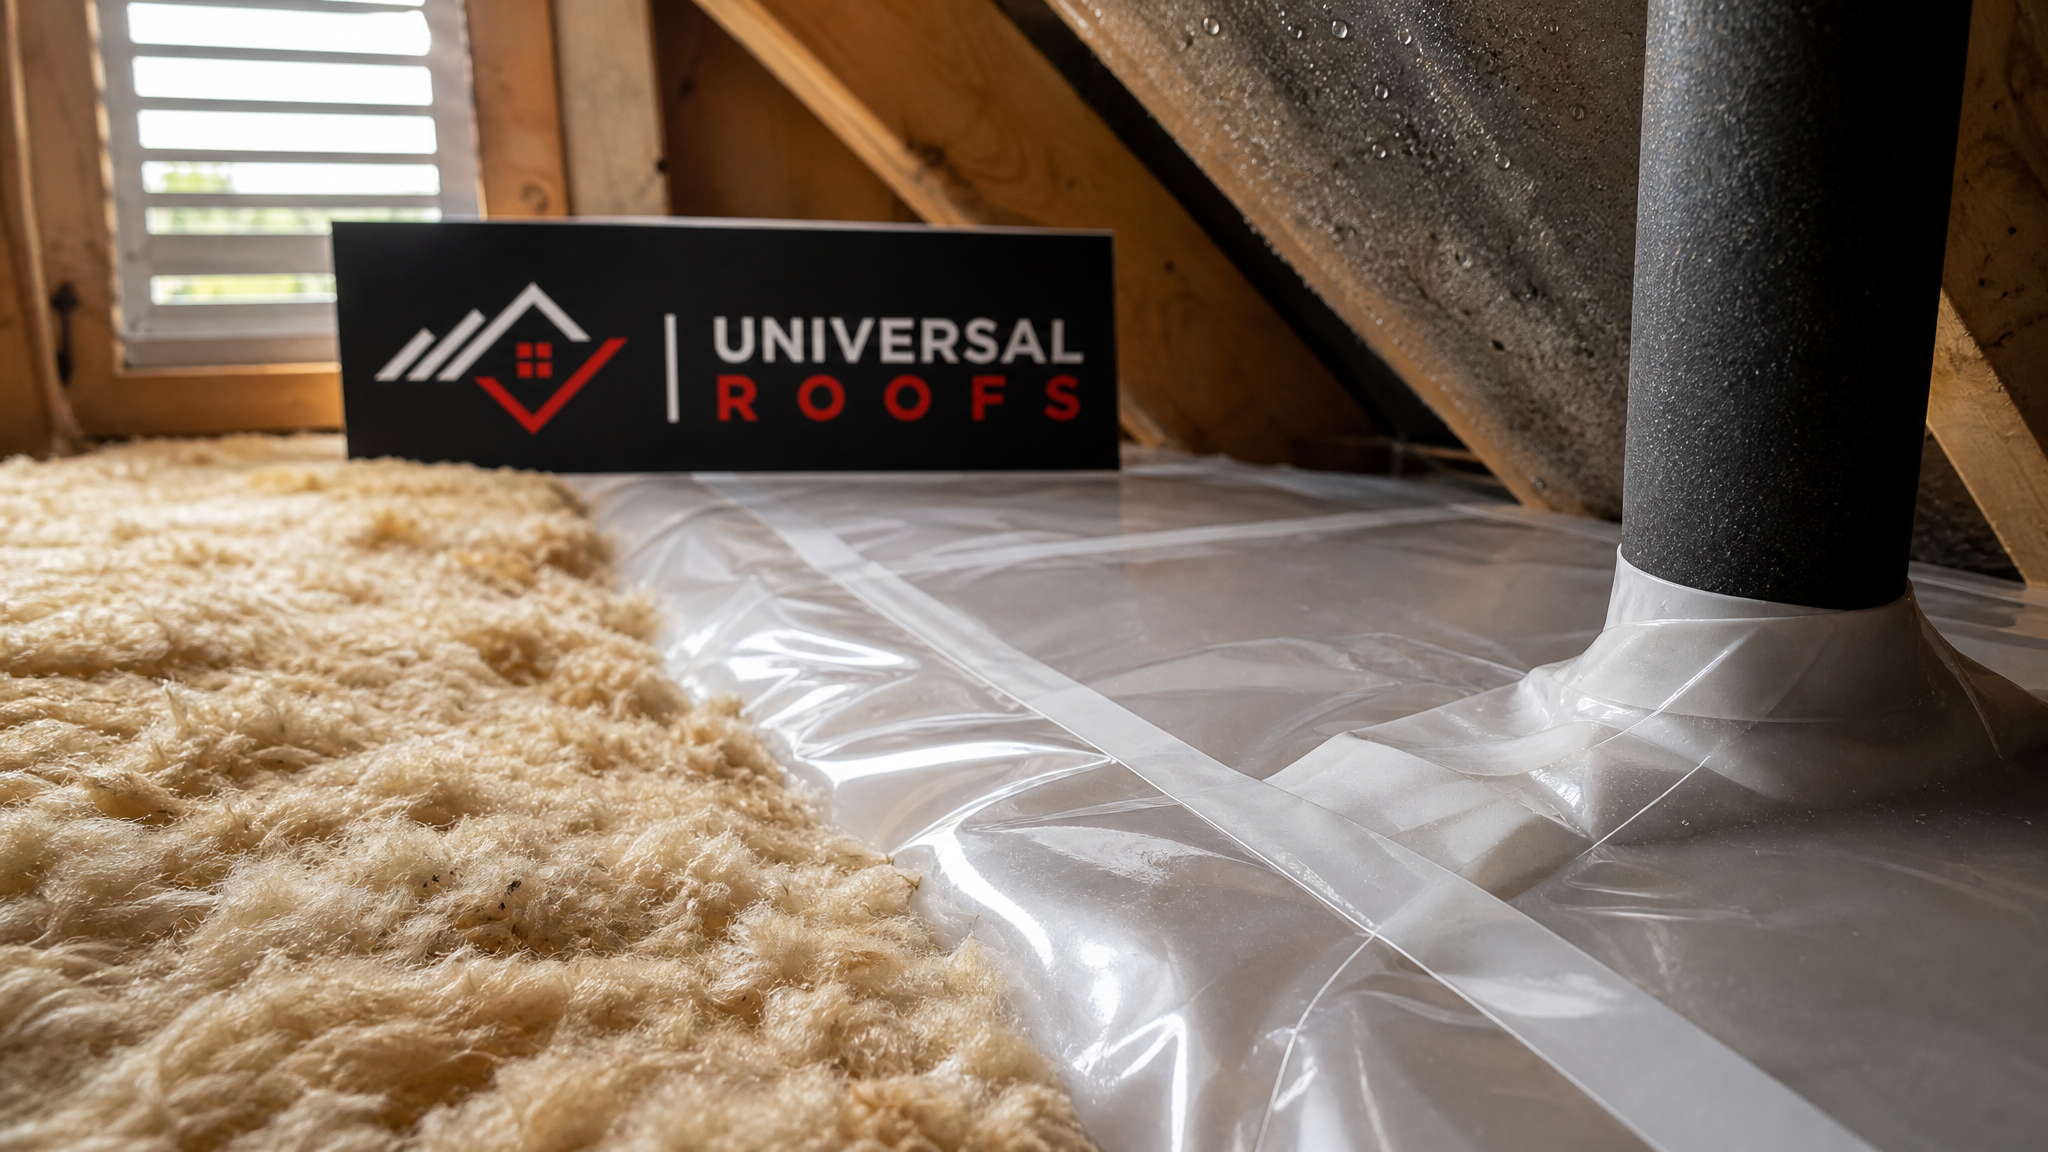
When we are called out for what looks like a leak but the weather has been dry, a compromised vapour barrier combined with poor attic insulation is very often the actual explanation. If you are having insulation upgraded, this is the moment to have an installer seal every visible penetration with acoustic sealant or spray foam before new insulation goes down.
Mistake #3: Inadequate Insulation Depth (R-Value) for Our Climate
Ontario’s building code recommends a minimum of R-60 for attic insulation in most residential applications, which typically translates to roughly 450 to 500 millimetres of loose-fill fibreglass or cellulose, or an equivalent depth of batt insulation. A shockingly large number of GTA attics we inspect — particularly in homes built in the 1970s through the 1990s — sit at R-20 to R-30, which was code decades ago but is now well below the recommended standard for our climate.
Under-insulating does two things: it drives your heating and cooling bills up significantly, and it creates the temperature differential across the roof deck that leads directly to ice damming. A roof surface that is a few degrees warmer than it should be in January, because heat is escaping through thin insulation below, is enough to keep snow melting and refreezing at the eaves all winter long.
The fix is usually a straightforward top-up with blown-in fibreglass or cellulose, which is far less disruptive than a full insulation replacement. It is one of the best return-on-investment upgrades a GTA homeowner can make, and it is something we frequently recommend alongside a roof replacement project, since the attic is already easily accessible at that point.
| Insulation Level | Approximate R-Value | Approximate Depth (Loose-Fill) | GTA Recommendation |
|---|---|---|---|
| Older code minimum (pre-1990s) | R-20 to R-28 | 150–225 mm | Below current standard, top-up strongly recommended |
| Common existing attic (1990s–2000s builds) | R-31 to R-40 | 230–305 mm | Below current standard, top-up recommended |
| Current Ontario Building Code target | R-60 | approx. 450–500 mm | Meets current standard |
| High-performance / net-zero ready | R-70+ | 530+ mm | Exceeds standard, ideal for extreme swings |
Mistake #4: Compressing Insulation Around Eaves, Pot Lights, and Access Hatches
Insulation only performs at its rated R-value when it is installed at full, uncompressed loft. We frequently find batts stuffed and compressed into tight eave spaces to make them “fit,” which can cut their effective R-value by more than half in exactly the spot where the roof edge is most vulnerable to ice damming. The same problem shows up around older, non-insulation-contact-rated pot lights, where installers leave a gap for fear of fire risk, creating an uninsulated hole directly above a living space, and around attic access hatches that are left completely bare of insulation or weatherstripping.
Every one of these compressed or skipped areas becomes a thermal bridge — a direct, uninsulated pathway for heat to escape. Thermal bridges are often invisible to the eye but show up clearly on an infrared scan as a bright, warm patch against an otherwise cool roof surface.
The fix depends on the specific penetration. Modern IC-rated (insulation contact rated) pot lights can be fully buried in insulation safely. Attic hatches need a rigid insulated cover and a weatherstripped seal. Eave areas need careful baffle placement so batts or loose-fill can reach full depth without blocking the vent channel discussed in Mistake #1.
Mistake #5: Ignoring Insulation Around Roof Penetrations, Skylights, and Flat Roof Transitions
The fifth mistake is the one most homeowners never think to check: insulation and air-sealing quality around every point where the roof plane is interrupted. Skylight shafts, plumbing stack penetrations, chimney chases, and the transition between a sloped roof and a flat roof section are all locations where insulation is either an afterthought or physically difficult to install correctly, and installers frequently leave gaps rather than take the extra time to detail them properly.
Skylight wells in particular are a common trouble spot. If the insulation around the shaft is thin, gapped, or missing a proper vapour barrier, condensation forms on the shaft walls and drips down onto the skylight frame, which then gets misdiagnosed as a leaking skylight when the skylight unit itself is perfectly fine. We address this directly as part of both our skylights and skylight replacement work, since the surrounding insulation detail matters as much as the unit itself.
Flat roof sections, common on additions, garages, and portions of many GTA homes, present their own version of this problem. Rigid insulation boards need to be installed continuously and properly fastened, with careful attention at the parapet and transition points where the flat section meets a sloped roof. Gaps here lead to concentrated heat loss and, over time, moisture intrusion into the roof assembly. Our flat roofing crews pay particular attention to these transition details because they are the single most common failure point on mixed-roof homes.
| Roof Penetration | Common Insulation Mistake | Consequence | Recommended Fix |
|---|---|---|---|
| Skylight shaft | Thin or missing insulation on shaft walls | Condensation misdiagnosed as a leak | Insulate and vapour-seal full shaft depth |
| Plumbing stack | Insulation left loose or gapped around the pipe | Localized heat loss, frost buildup | Seal with foam collar, restore insulation depth |
| Chimney chase | Insulation pulled back for fire clearance without proper detailing | Cold ring around chimney, potential moisture | Use fire-rated insulation collar per code clearance |
| Flat-to-sloped transition | Rigid insulation not continuous across the joint | Concentrated heat loss, water intrusion risk | Continuous rigid board with sealed transition flashing |
| Attic access hatch | No insulation or weatherstripping on the cover | Direct thermal bridge above living space | Insulated, weatherstripped hatch cover |
How to Tell If Your GTA Home Has One of These Mistakes
Most of these problems can be identified without cutting into a single wall or ceiling. A visual attic inspection is usually enough for a trained eye to spot compressed insulation at the eaves, missing baffles, thin coverage, or gaps around penetrations. Homeowners can do a basic self-check too: on a cold winter morning, walk around the outside of the house and look at the snow on the roof. Uneven melting, especially patches that clear faster near the ridge or around vent stacks while the rest of the roof stays snow-covered, is a strong visual indicator of heat escaping through weak insulation.
Icicles concentrated at specific sections of the eaves, rather than evenly across the whole roofline, often point to a localized insulation or ventilation gap directly above that spot. Inside the house, cold upstairs rooms in winter paired with uncomfortably hot upstairs rooms in summer is the classic signature of an attic that is losing the battle on both ends of the thermal cycle.
If any of this sounds familiar, the next step is a proper inspection rather than guesswork. Our team evaluates the insulation, the vapour barrier condition, and the ventilation path together, because fixing one without the others rarely solves the underlying problem.
What Proper Insulation Installation Should Look Like
A correctly executed attic insulation project in the GTA follows a specific sequence, and it is worth knowing what that sequence is so you can hold any contractor accountable to it. First, every visible air leak and penetration in the ceiling plane gets sealed — pot lights, wiring holes, plumbing stacks, the attic hatch. Second, baffles go in at every eave to preserve the soffit-to-ridge airflow channel. Third, insulation is installed to full, uncompressed depth across the entire attic floor, meeting current Ontario Building Code R-value targets, with special attention paid to maintaining depth right out to the edge of the eave. Fourth, all penetrations — skylight shafts, chimney chases, flat roof transitions — are detailed individually rather than simply insulated around.
Skipping any one of these four steps is how the five mistakes above end up baked into a home for years, often unnoticed until a roof repair, a stubborn ice dam, or a spike in energy bills forces the issue.
| Installation Step | Purpose | What Happens If Skipped |
|---|---|---|
| Air-seal ceiling penetrations | Stop warm humid air from reaching the attic | Condensation, mould, ice damming |
| Install eave baffles | Preserve soffit-to-ridge ventilation path | Blocked vents, trapped attic moisture |
| Insulate to full code depth | Meet R-60 target, reduce energy loss | High bills, uneven roof temperatures |
| Detail all penetrations individually | Eliminate thermal bridges at skylights, stacks, chases | Localized leaks and heat loss misdiagnosed as roofing failures |
When to Repair, Top Up, or Fully Re-Insulate
Not every insulation issue requires tearing everything out. If the existing insulation is dry, free of mould, and simply too thin, a top-up with new loose-fill is usually the most cost-effective fix and can often be completed in a single day. If the vapour barrier has been compromised in multiple locations, or if there is visible moisture damage to the sheathing, a more involved approach is needed — sealing penetrations properly and, in some cases, removing damaged sections of insulation entirely before replacing them.
If your home is due for a roof replacement, that project is the ideal time to correct insulation and ventilation issues at the same time, since the roof deck is already exposed and any hidden damage from years of moisture intrusion can be addressed before new shingles go on. For homes with flat roof sections, insulation upgrades are often integrated directly into the flat roofing assembly itself using continuous rigid board insulation.
Get a Proper Attic Assessment Before You Commit
Because these five mistakes are so often layered on top of one another — thin insulation and blocked vents and a compromised vapour barrier all happening in the same attic — a proper assessment needs to look at the whole system, not just add more insulation on top of an existing problem. We recommend homeowners ask any contractor quoting insulation work three specific questions: will baffles be installed at every eave, will existing ceiling penetrations be sealed before new insulation goes down, and what R-value will the finished attic reach.
If you want to see how our past insulation and attic ventilation projects turned out for homeowners across the region, our reviews page has detailed feedback from clients in Toronto, Peel, York, Halton, and Durham. You can also check our FAQ page for answers to common questions about attic work, or learn more about how our team approaches every project.
We serve homeowners across the Toronto, Peel Region, York Region, Halton Region, and Durham Region areas, and attic insulation assessments are one of the most common calls we get heading into both the winter freeze-thaw season and the summer heat.
What is the most common roof insulation installation mistake to avoid?
How do I know if my attic insulation was installed incorrectly?
What R-value should attic insulation have in the GTA?
Can insulation mistakes cause a roof leak?
Do I need to remove old insulation before adding new insulation?
Is attic insulation work worth doing alongside a roof replacement?
Need Help With Top 5 Roof Insulation?
Getting attic insulation right the first time protects your roof, your energy bills, and your comfort in every season, and it is one of the most overlooked parts of a healthy roofing system at Universal Roofs.
Call us today at (416) 732-2421 or request a free inspection to get started.
Universal Roofs proudly serves Toronto, Mississauga, Brampton, Vaughan, Markham, Oakville and the GTA since 2005.